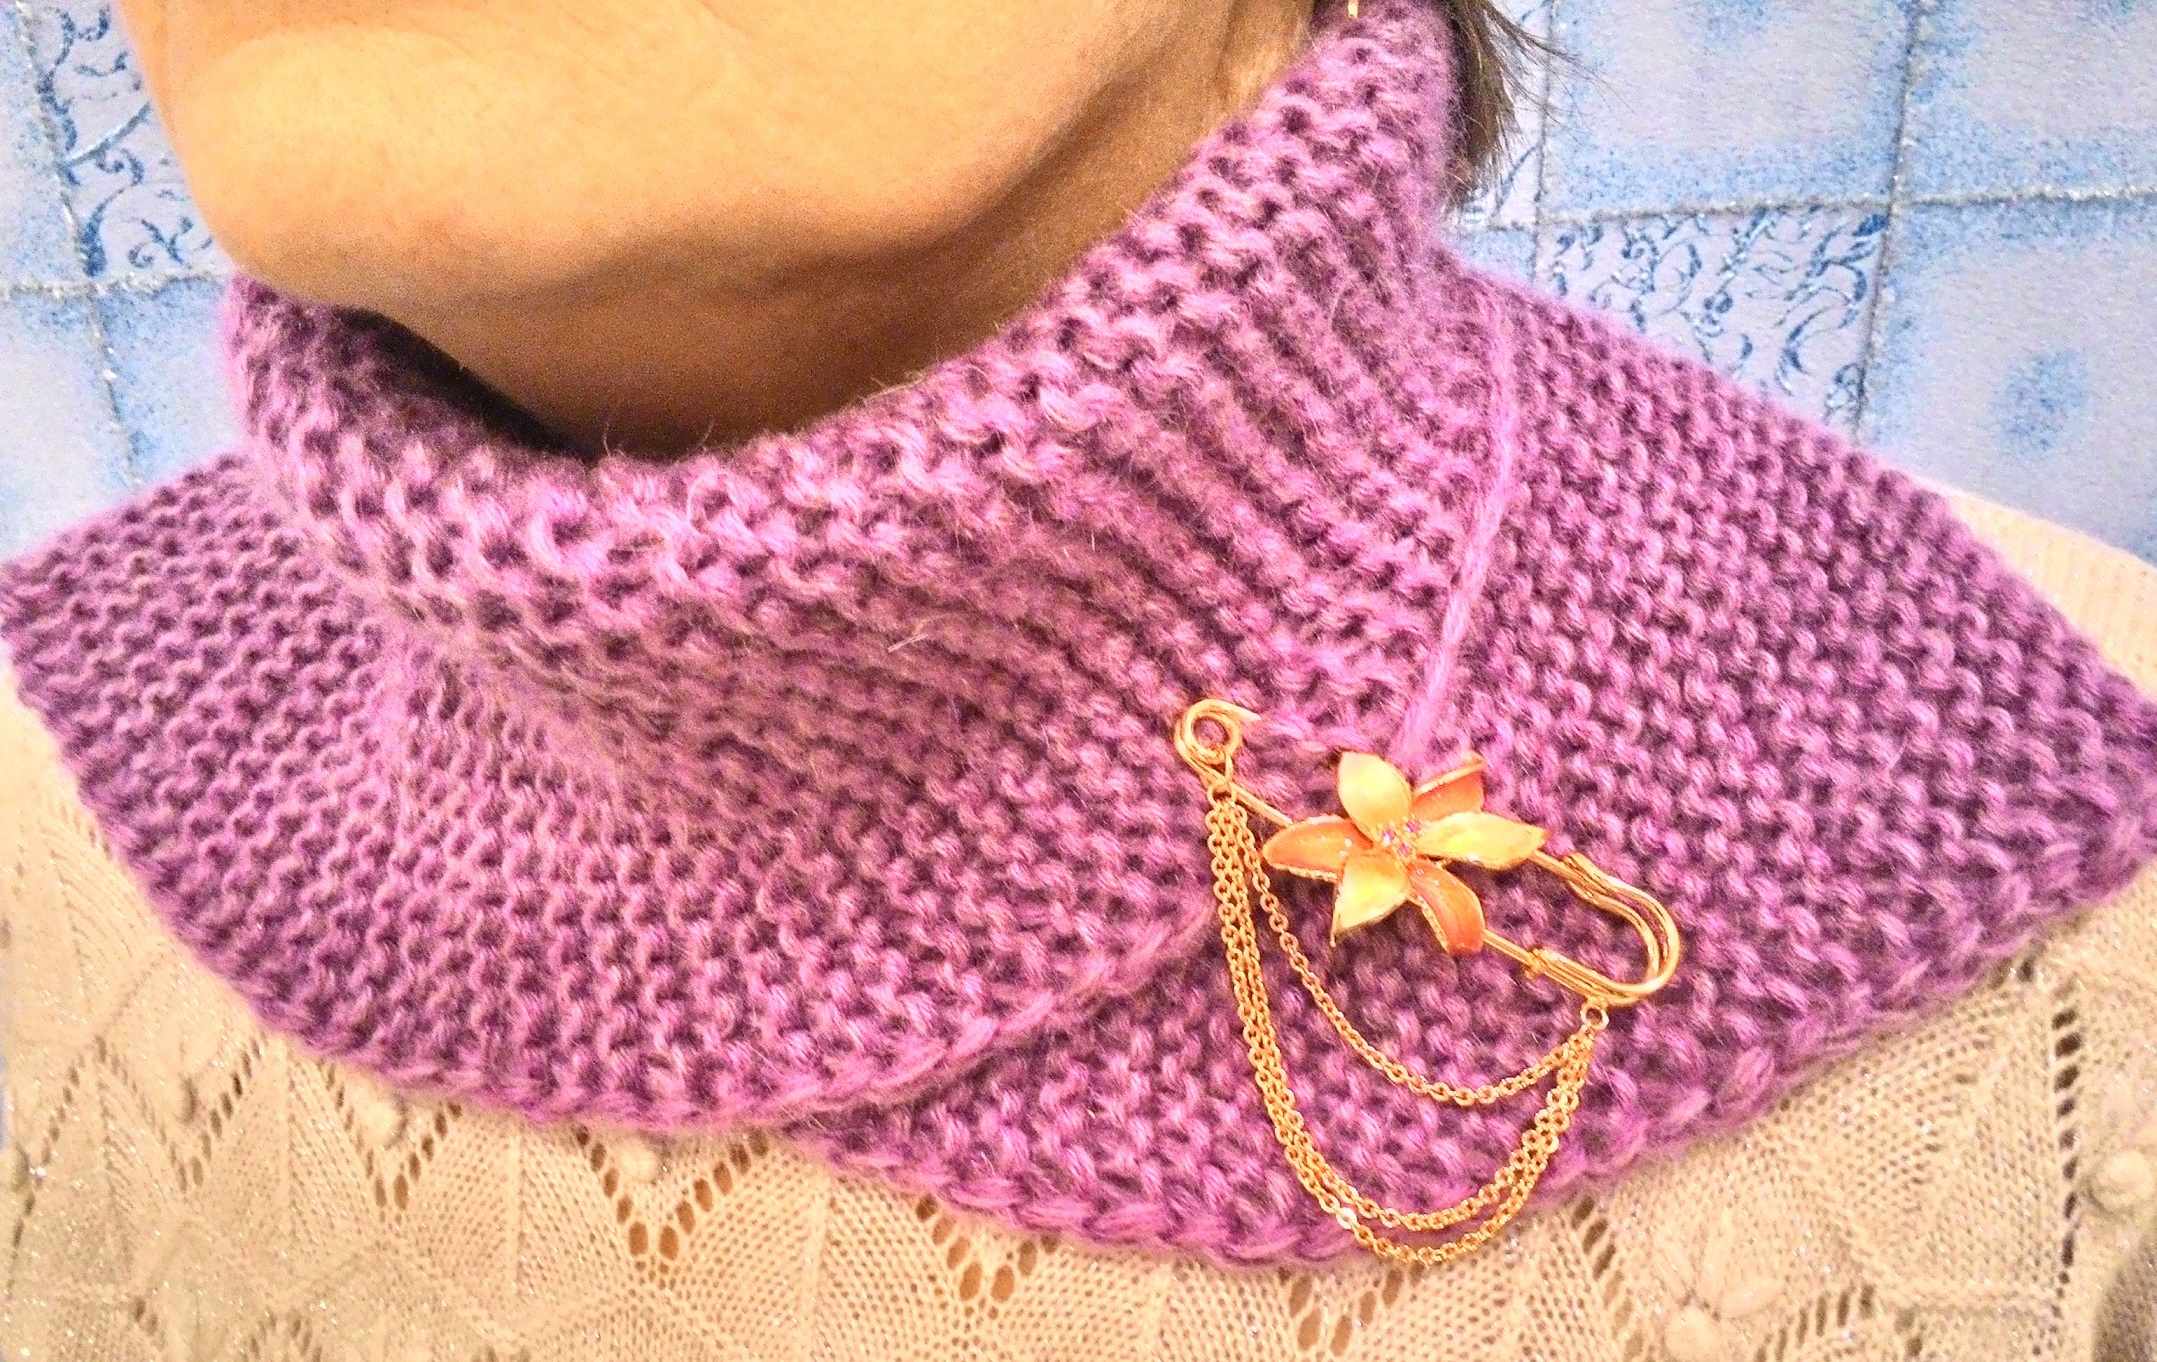
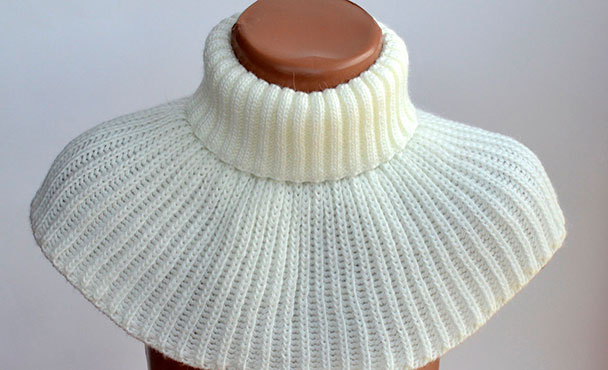
Most people wear scarves, shawls, and shawls in the cool season. Often, when walking, they slip down, exposing the throat, which is not very comfortable. The best solution to this problem is a knitted bib, which even a novice craftswoman can knit. Such a product will not only keep the owner warm, but will also serve as a wonderful decoration for the image. This accessory is especially convenient for children. The baby will not be able to lose or take it off, which means he will not freeze on a cool day.
Materials and tools
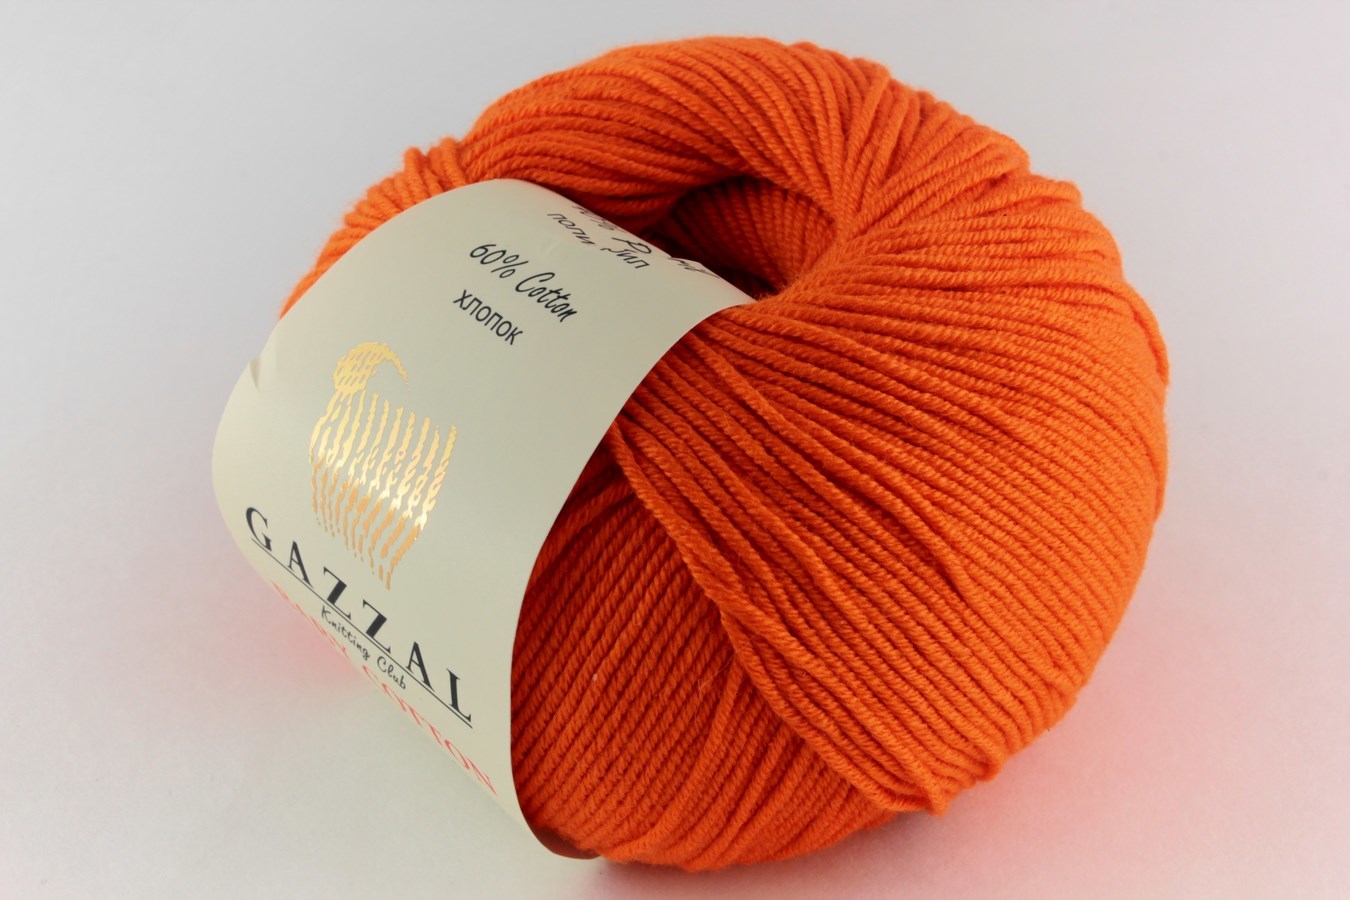
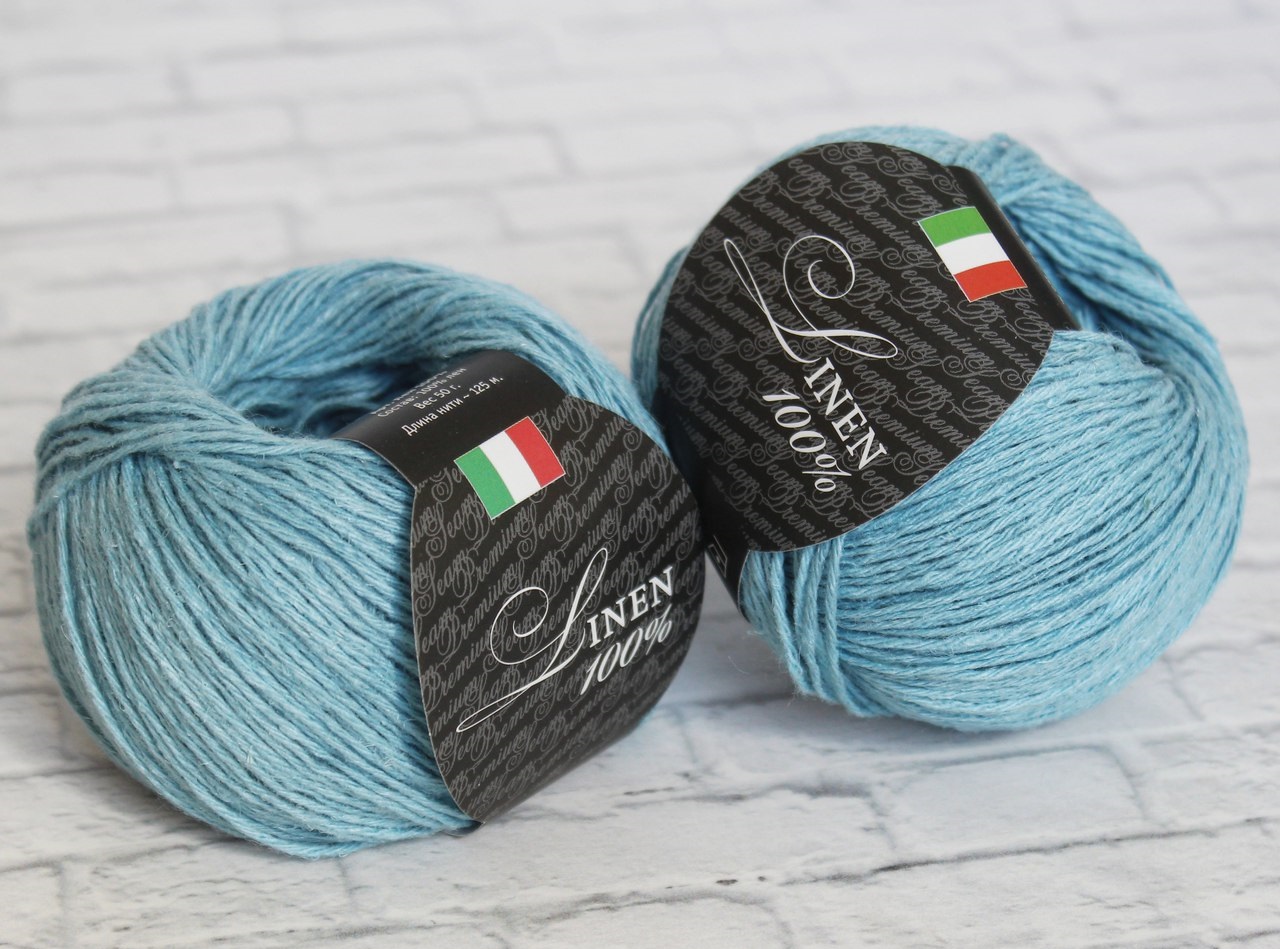
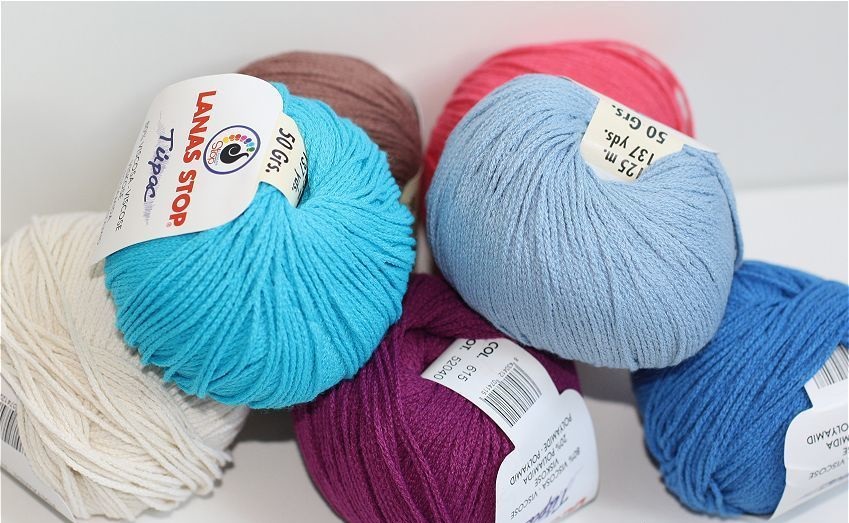
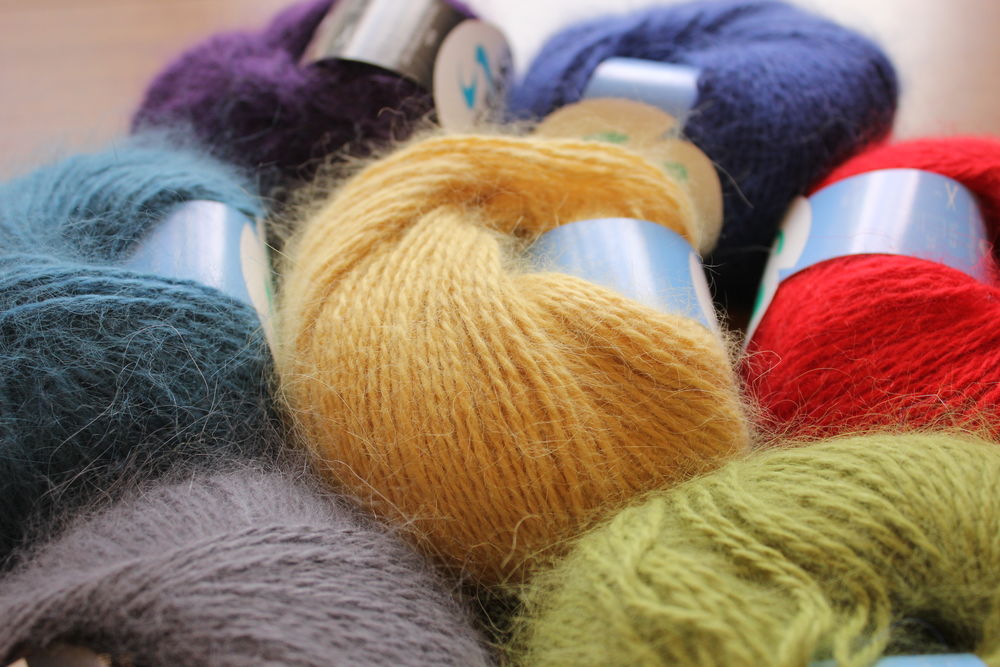
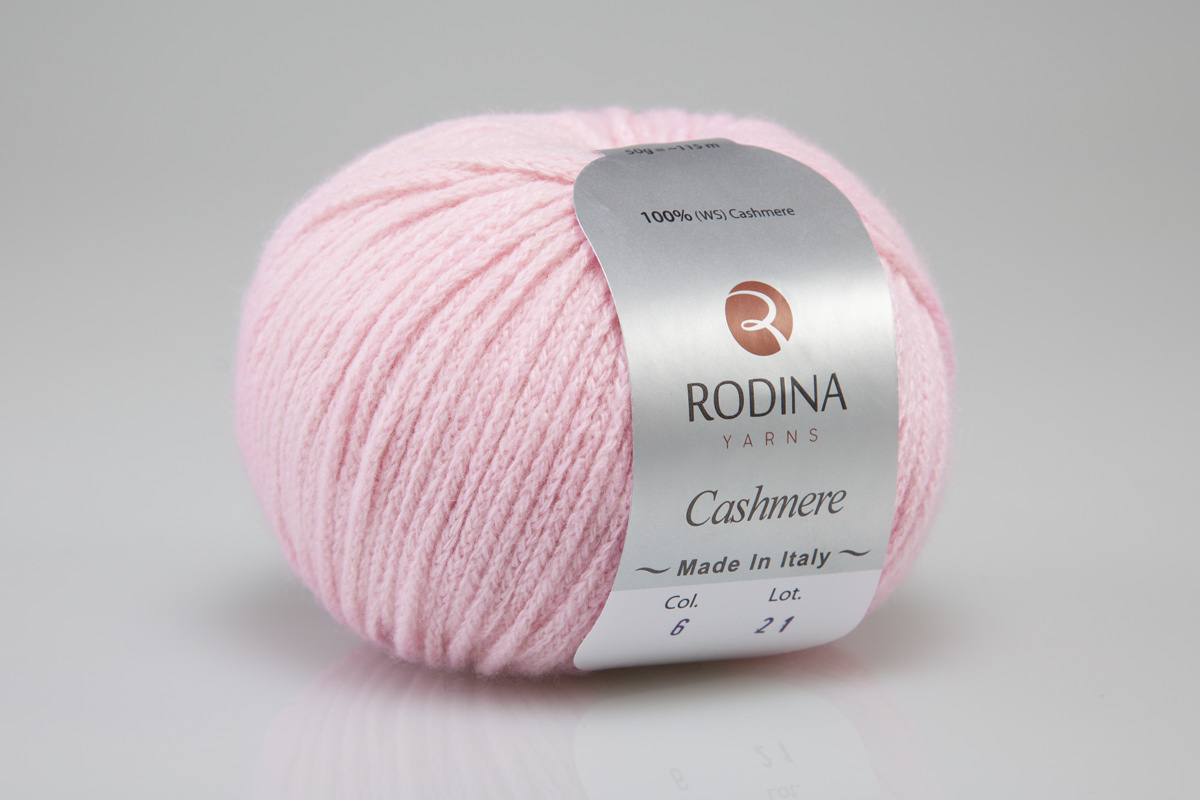
It is best to use natural yarn to make a bib, because the product is in direct contact with the skin. A light, openwork bib requires cotton or linen threads. Viscose yarn is also suitable for this case. It is better to knit a warm bib from pure wool or from a material with the addition of angora, cashmere. Such a product will look very beautiful and at the same time warm the owner.
An important stage in preparing to create a thing is choosing the thickness of the yarn. It is determined by the length of the thread (in meters) in 100 grams of the product. Often the yarn number is indicated in the instructions that describe the process of making a collar. Often on the label of the skein you can find out the approximate amount of thread that will be needed to knit a particular product. Accordingly, the longer the length of the yarn in the skein, the thinner it is.
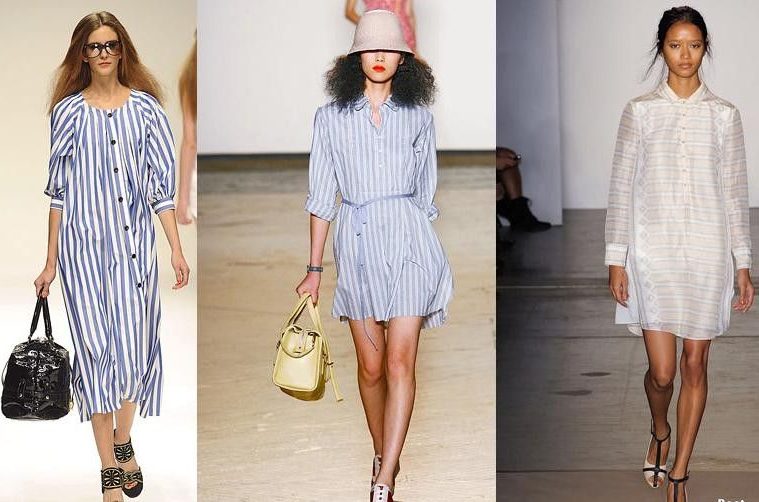
Today, these comfortable, beautiful accessories are in great demand, so new models are constantly appearing on the shelves. Light, thin cotton jabots are popular. Among warmer products, the following are at the peak of popularity:
- voluminous snoods;
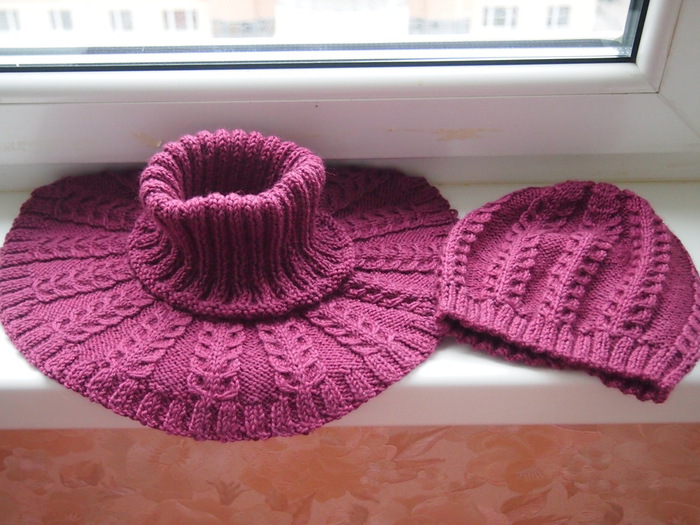
- scarves-hats;
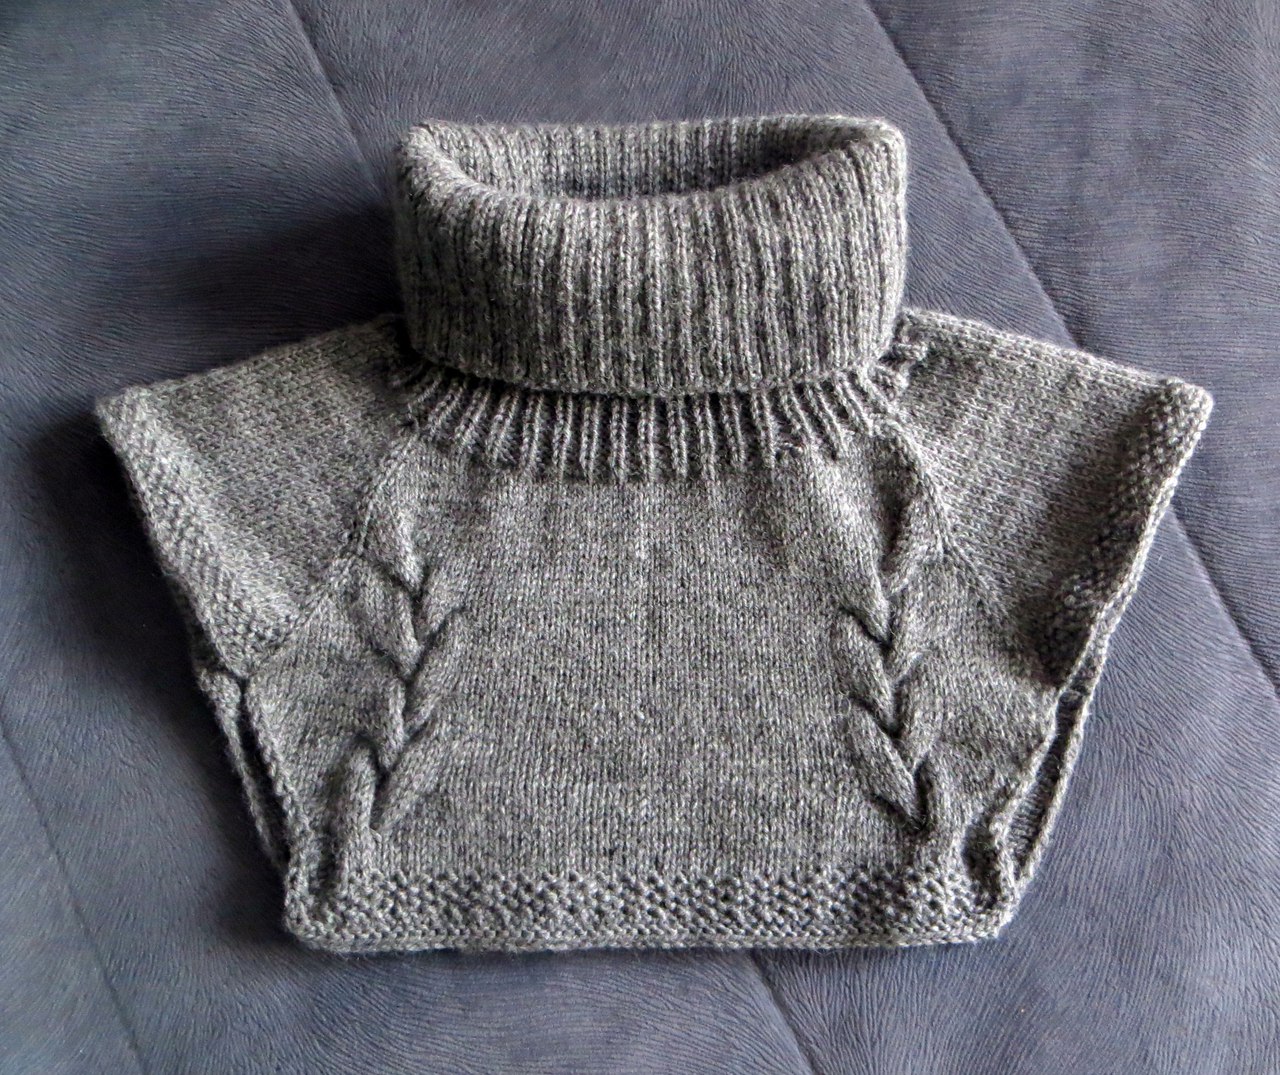
- Large knitted bibs that cover the chest.
You can knit a women's collar using knitting needles - regular or circular. The tool number should be selected based on the thickness of the thread. As a rule, you can find it on the label of the skein of yarn.
The thickness of the knitting needles should be one unit greater than the thread number.


Choosing a knitting technique
The choice of tool depends on the preferences of the craftswoman. However, it should be noted that circular knitting needles are more convenient to use for such items as a knitted collar. To create a thing, you do not need a set, only this modernized tool will be enough. In addition, production with its help does not involve the formation of seams. The collar is knitted with knitting needles as one piece, without any additional elements.
The main feature of circular knitting is the fact that only the front side of the item is knitted. This point should be taken into account initially and the loops should be cast on immediately taking this nuance into account.
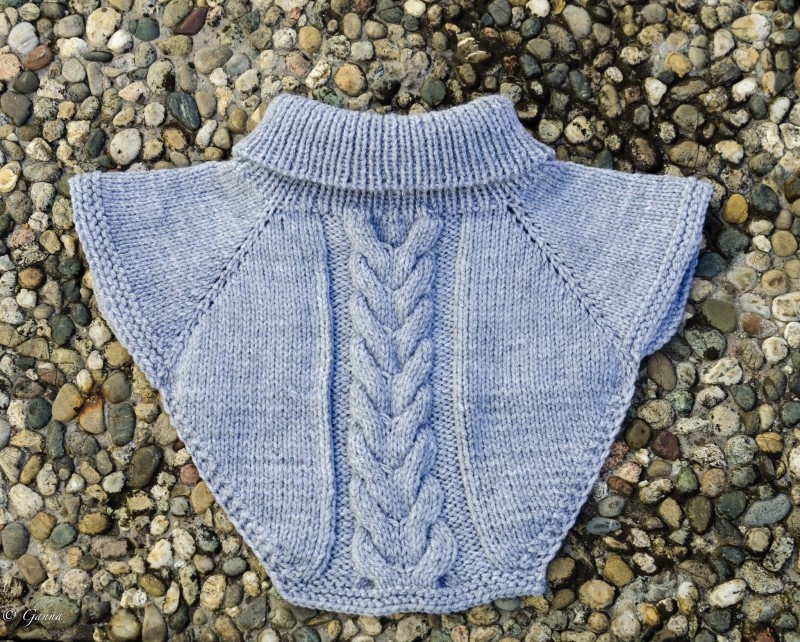
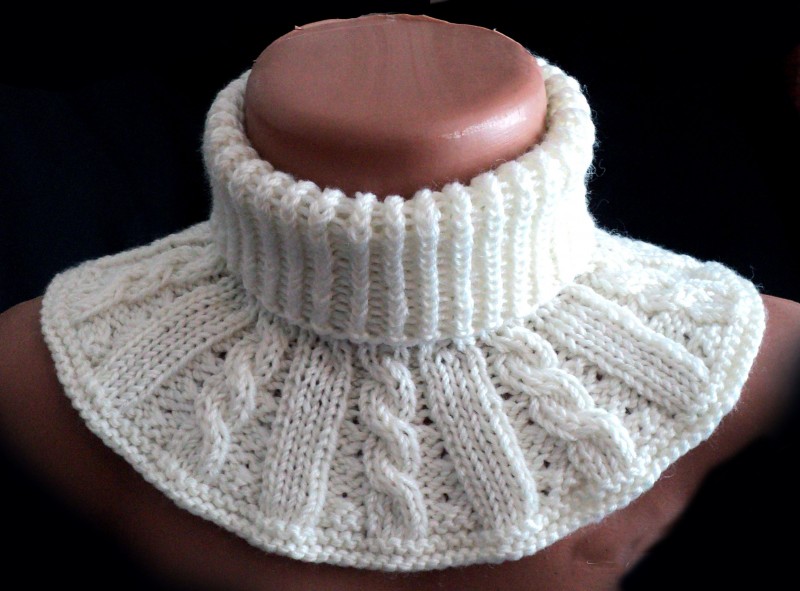
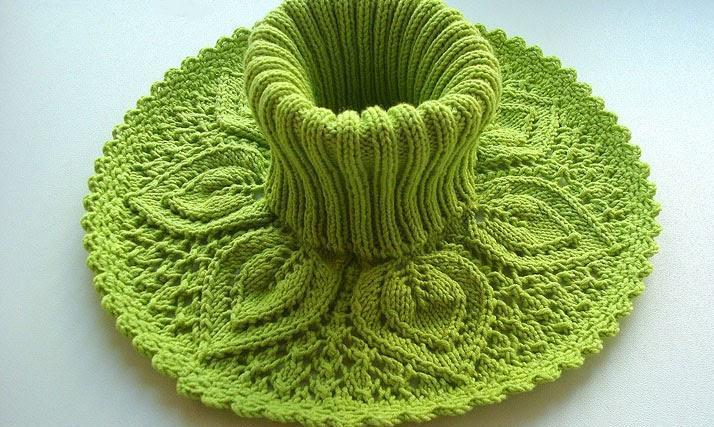
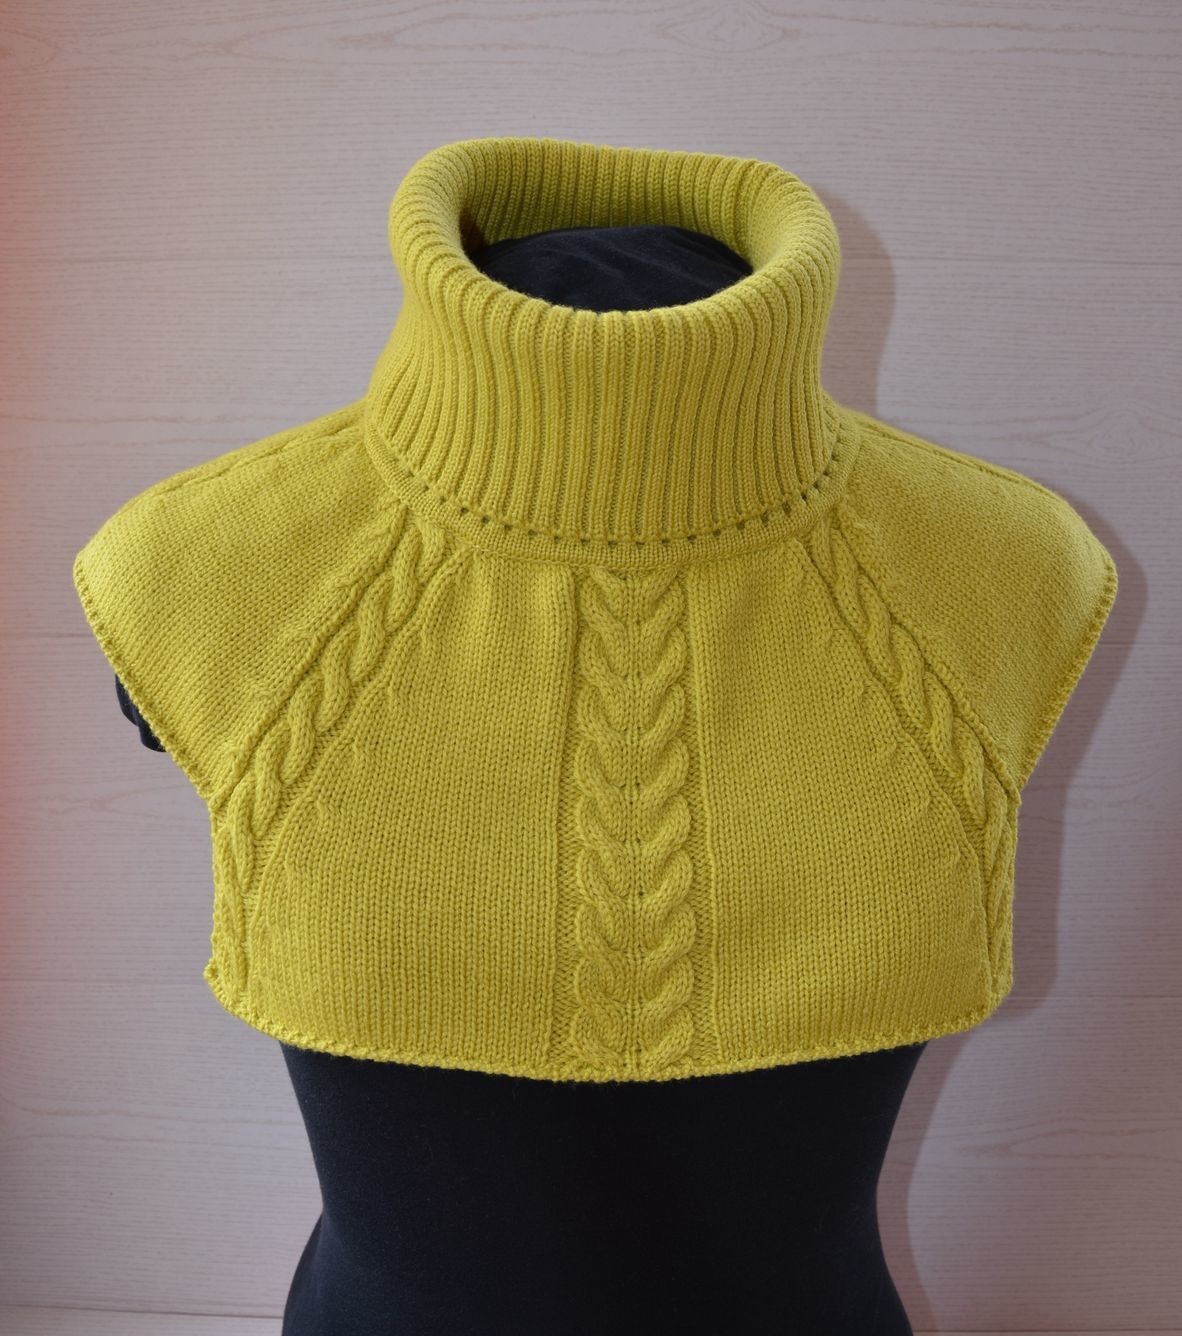
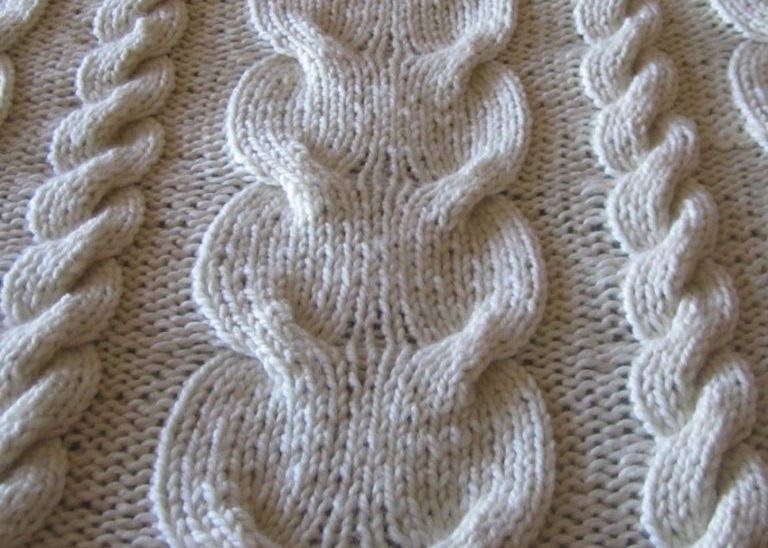
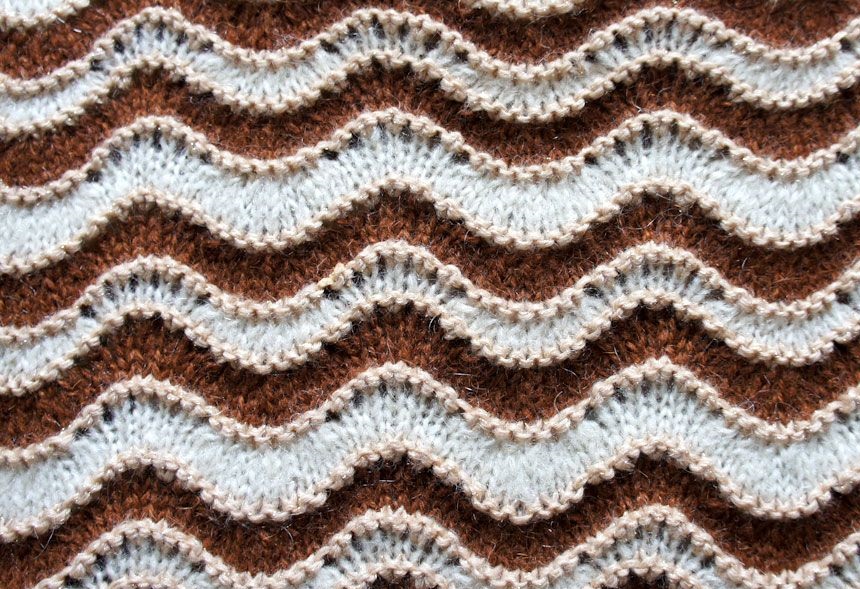
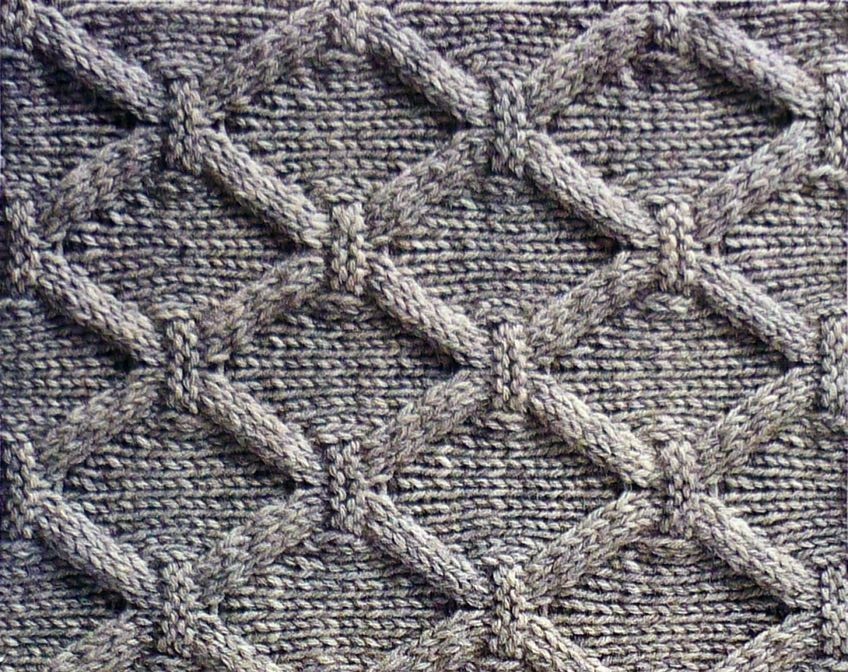
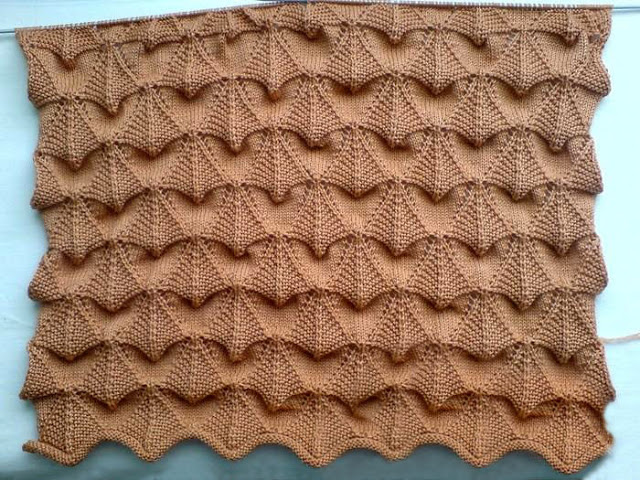
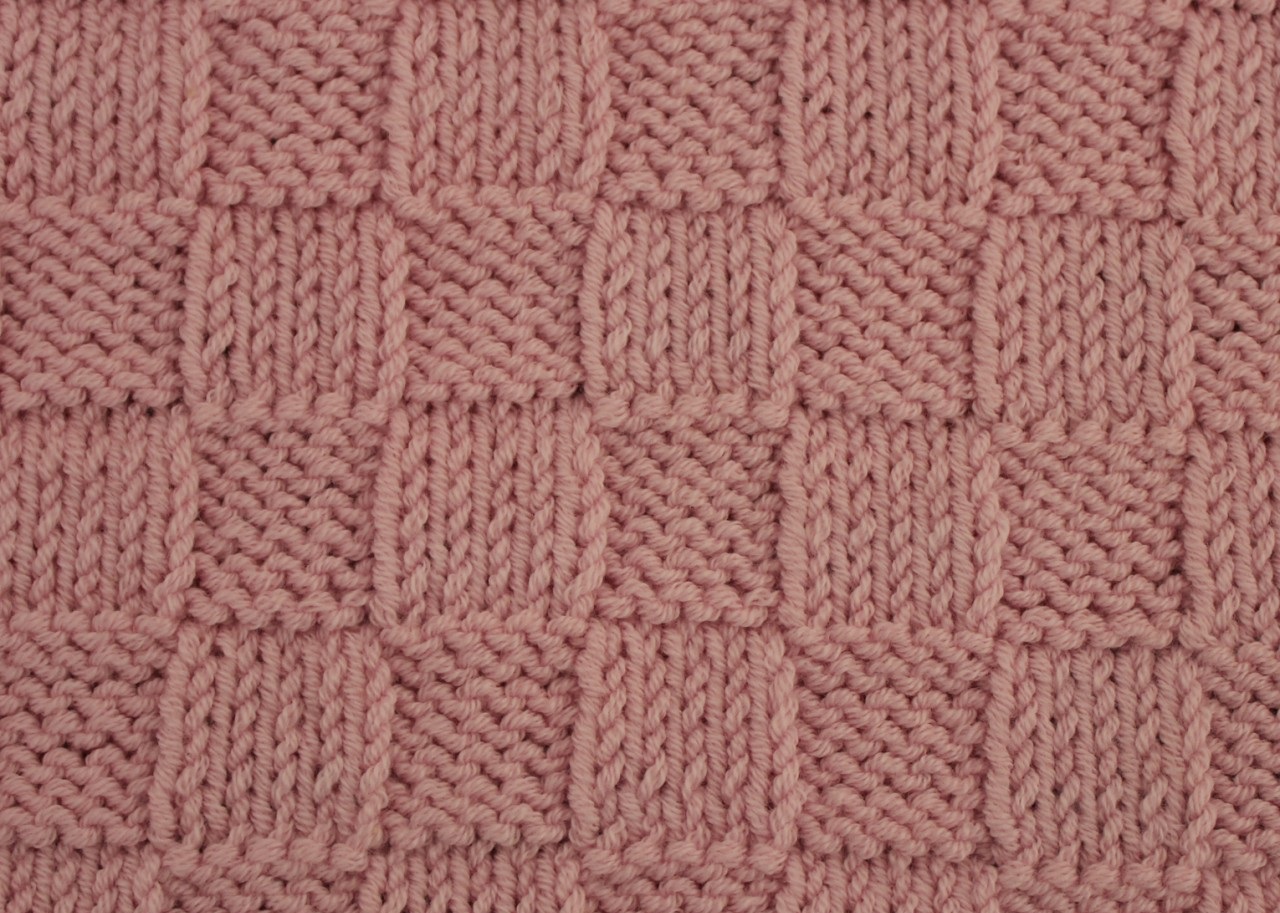
A variety of techniques and patterns can be used to knit a collar in a circle. Elastic and satin stitch are more relevant for laconic models. Fashionable products are made with voluminous patterns. These can be braids, waves, diamonds. Collars made with openwork patterns look very beautiful and delicate: scales, squares, waves. It should be noted that collars are used not only as a warming element. Often they act as an accessory that complements an office or evening look. There are even collars with semi-precious stones.
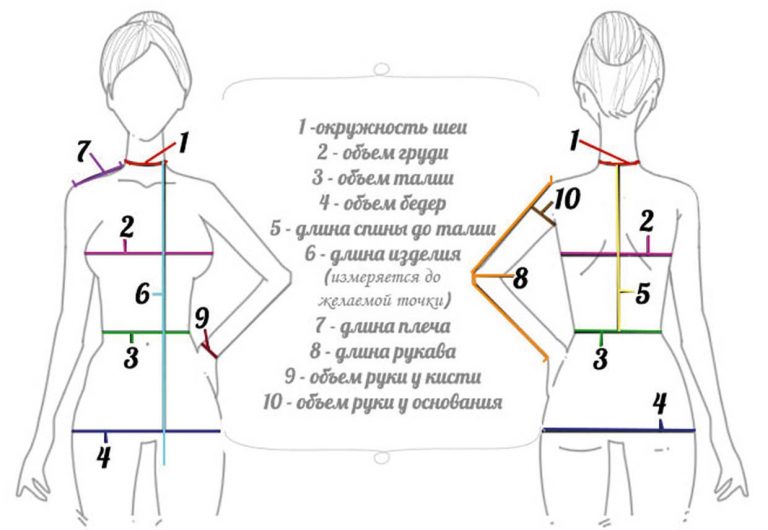
Measurements and calculations
The result of the work greatly depends on the correct calculation of the required number of loops. It is important to remember that the finished scarf-collar should not be too tight or too close to the neck. Therefore, before knitting a collar, it is necessary to take measurements correctly.
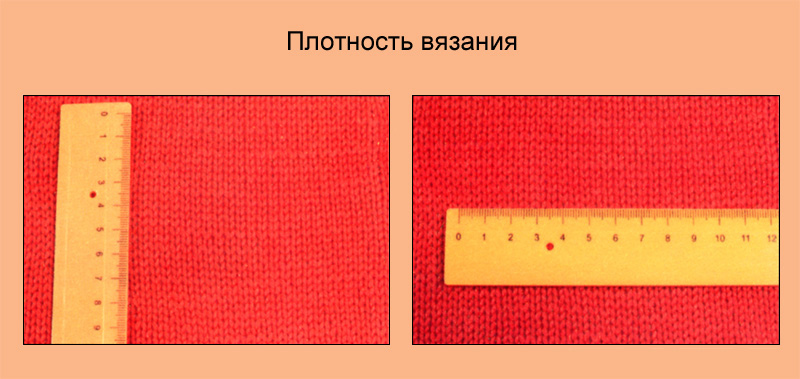
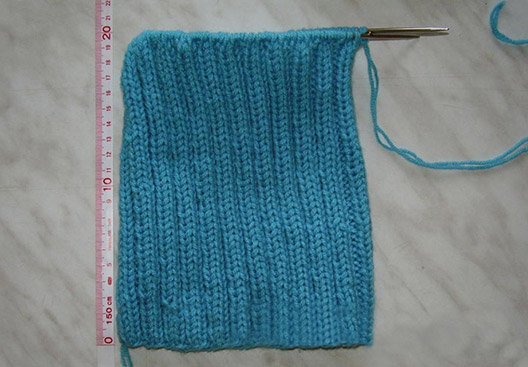
First of all, it is recommended to make a 10 x 10 cm sample with the pattern that you plan to make the product with. The resulting fabric must be steamed so that the threads shrink. Then you can start calculating.
Step by step it will look like this:
- First, you need to understand how many loops there are per 1 cm in each direction.
- Next, you need to determine how elastic the knit is. To do this, you need to measure the sample by width in its normal state, and then by stretching it as much as possible. After that, you need to calculate the stretch coefficient by dividing the first indicator by the second.
- Next, multiply the obtained value by the measurement indicating the head circumference. Compare the calculation result with the neck circumference and use the larger value for the remaining calculations.
- First, you need to leave a 4 cm allowance. This will allow the product to fit comfortably around the neck.
- To find out how many stitches you need to cast on, you need to multiply the knitting density by width by the calculation result obtained in the previous step.
The required number of rows for making the neck is determined by the knitting density in height.
Step-by-step master class on knitting fashionable models
It is not difficult to make a collar with knitting needles. However, if you have no experience in handicrafts, you should start with simple items. Later, you can take on more complex models.
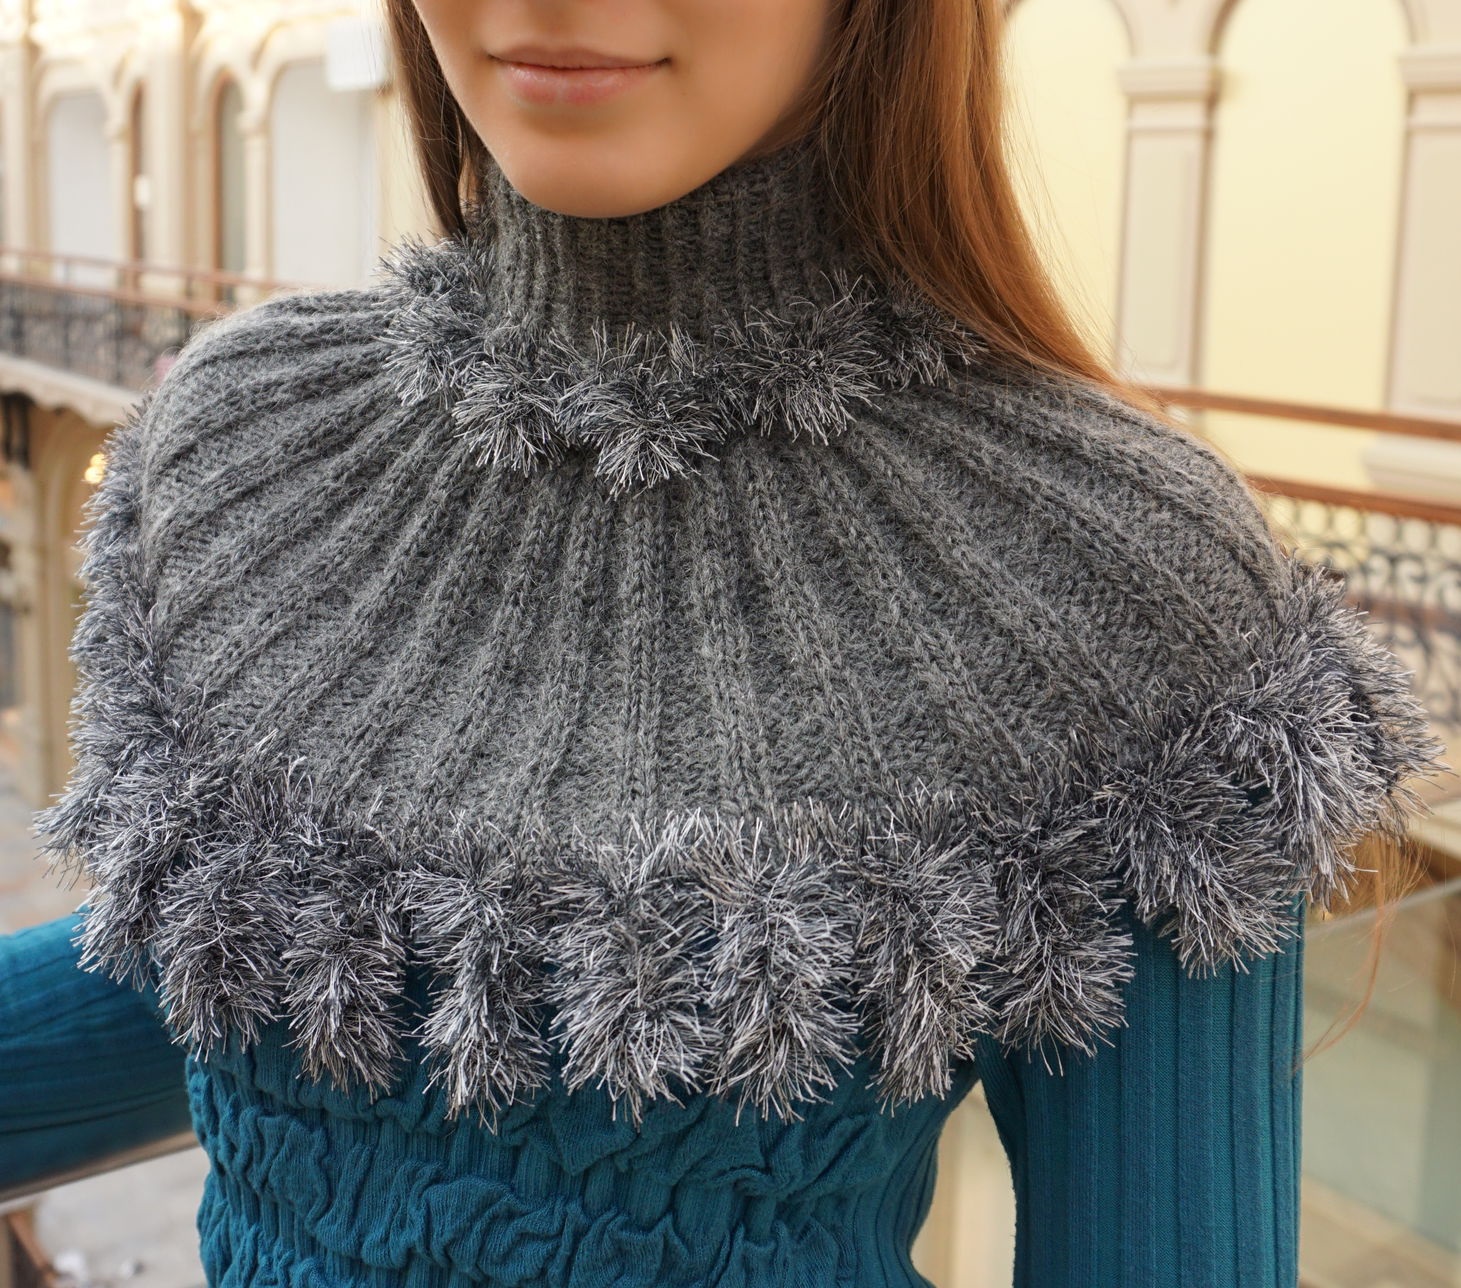
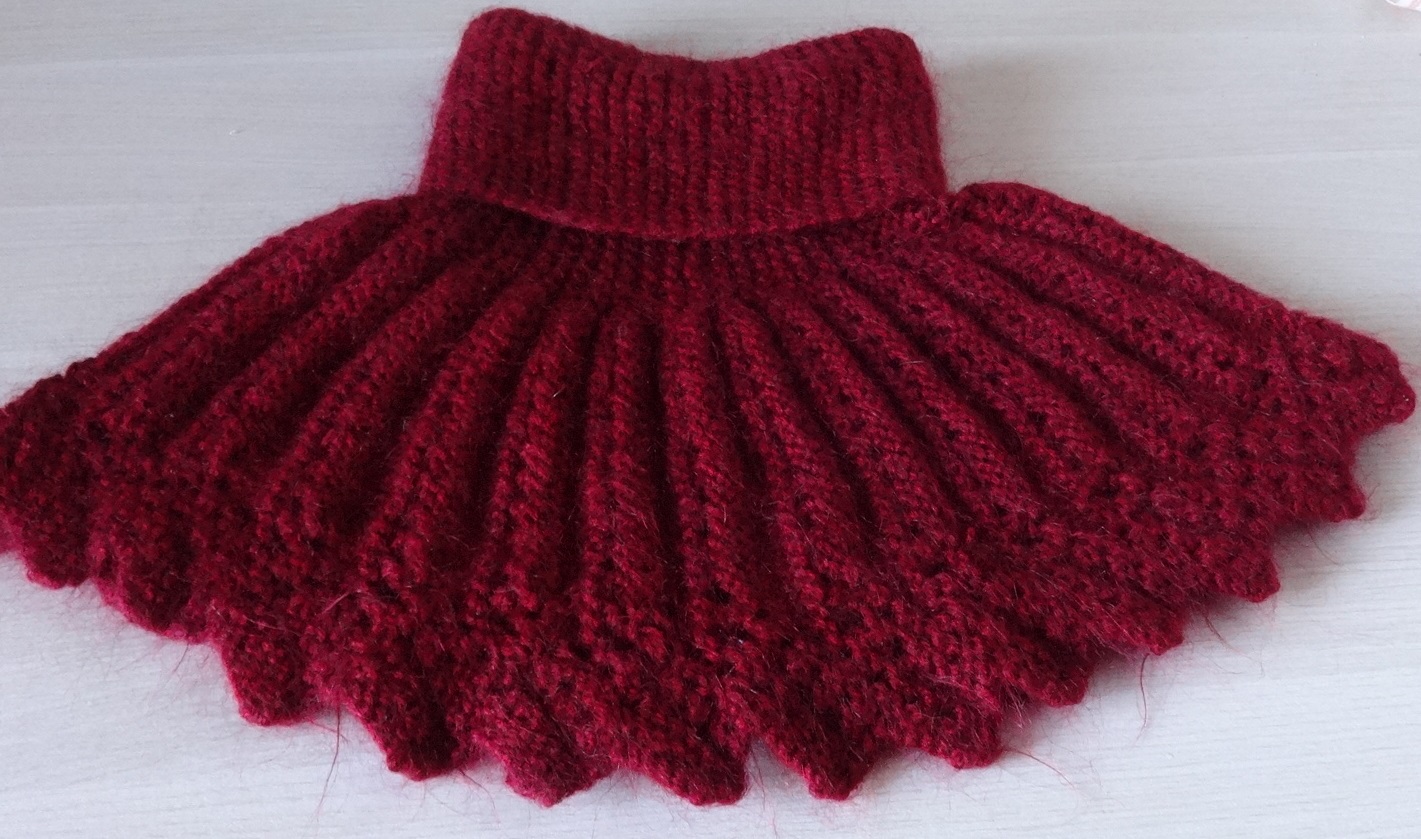
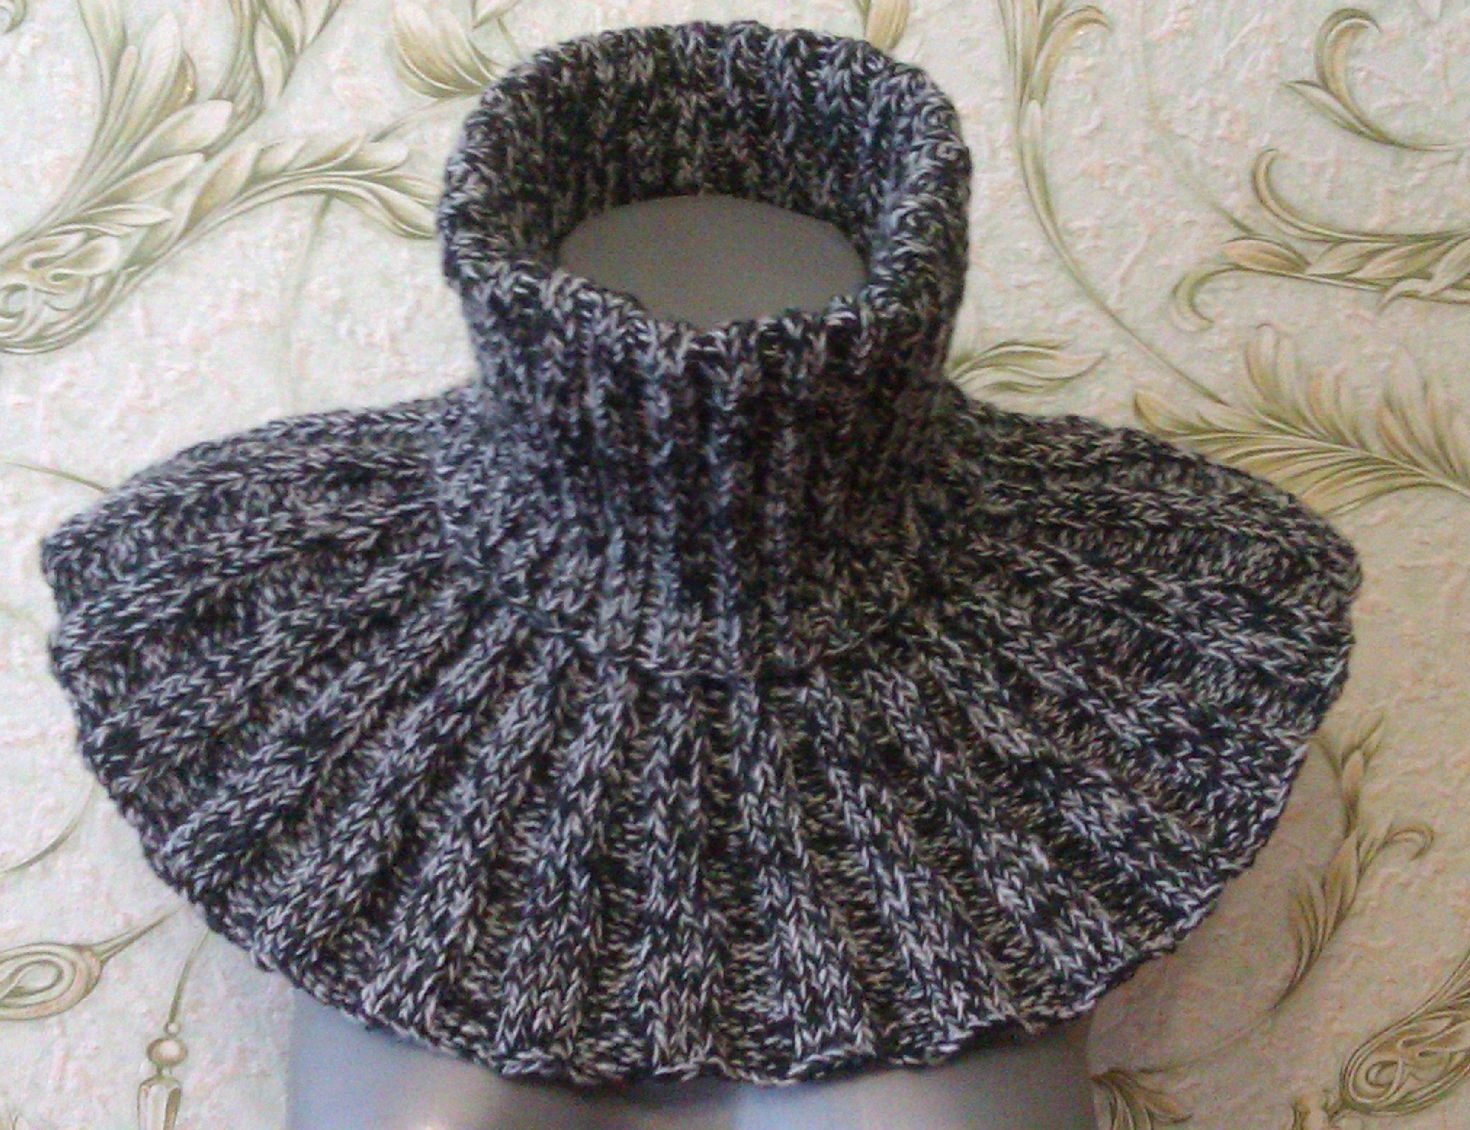
Easy for beginners
To make this collar, we recommend using Pekhorka "Popular" yarn. You will also need a tape measure, circular knitting needles of the appropriate number, and scissors. First, you need to take measurements and calculate the number of loops. After that, you can start working, following the instructions with a description of the stages:
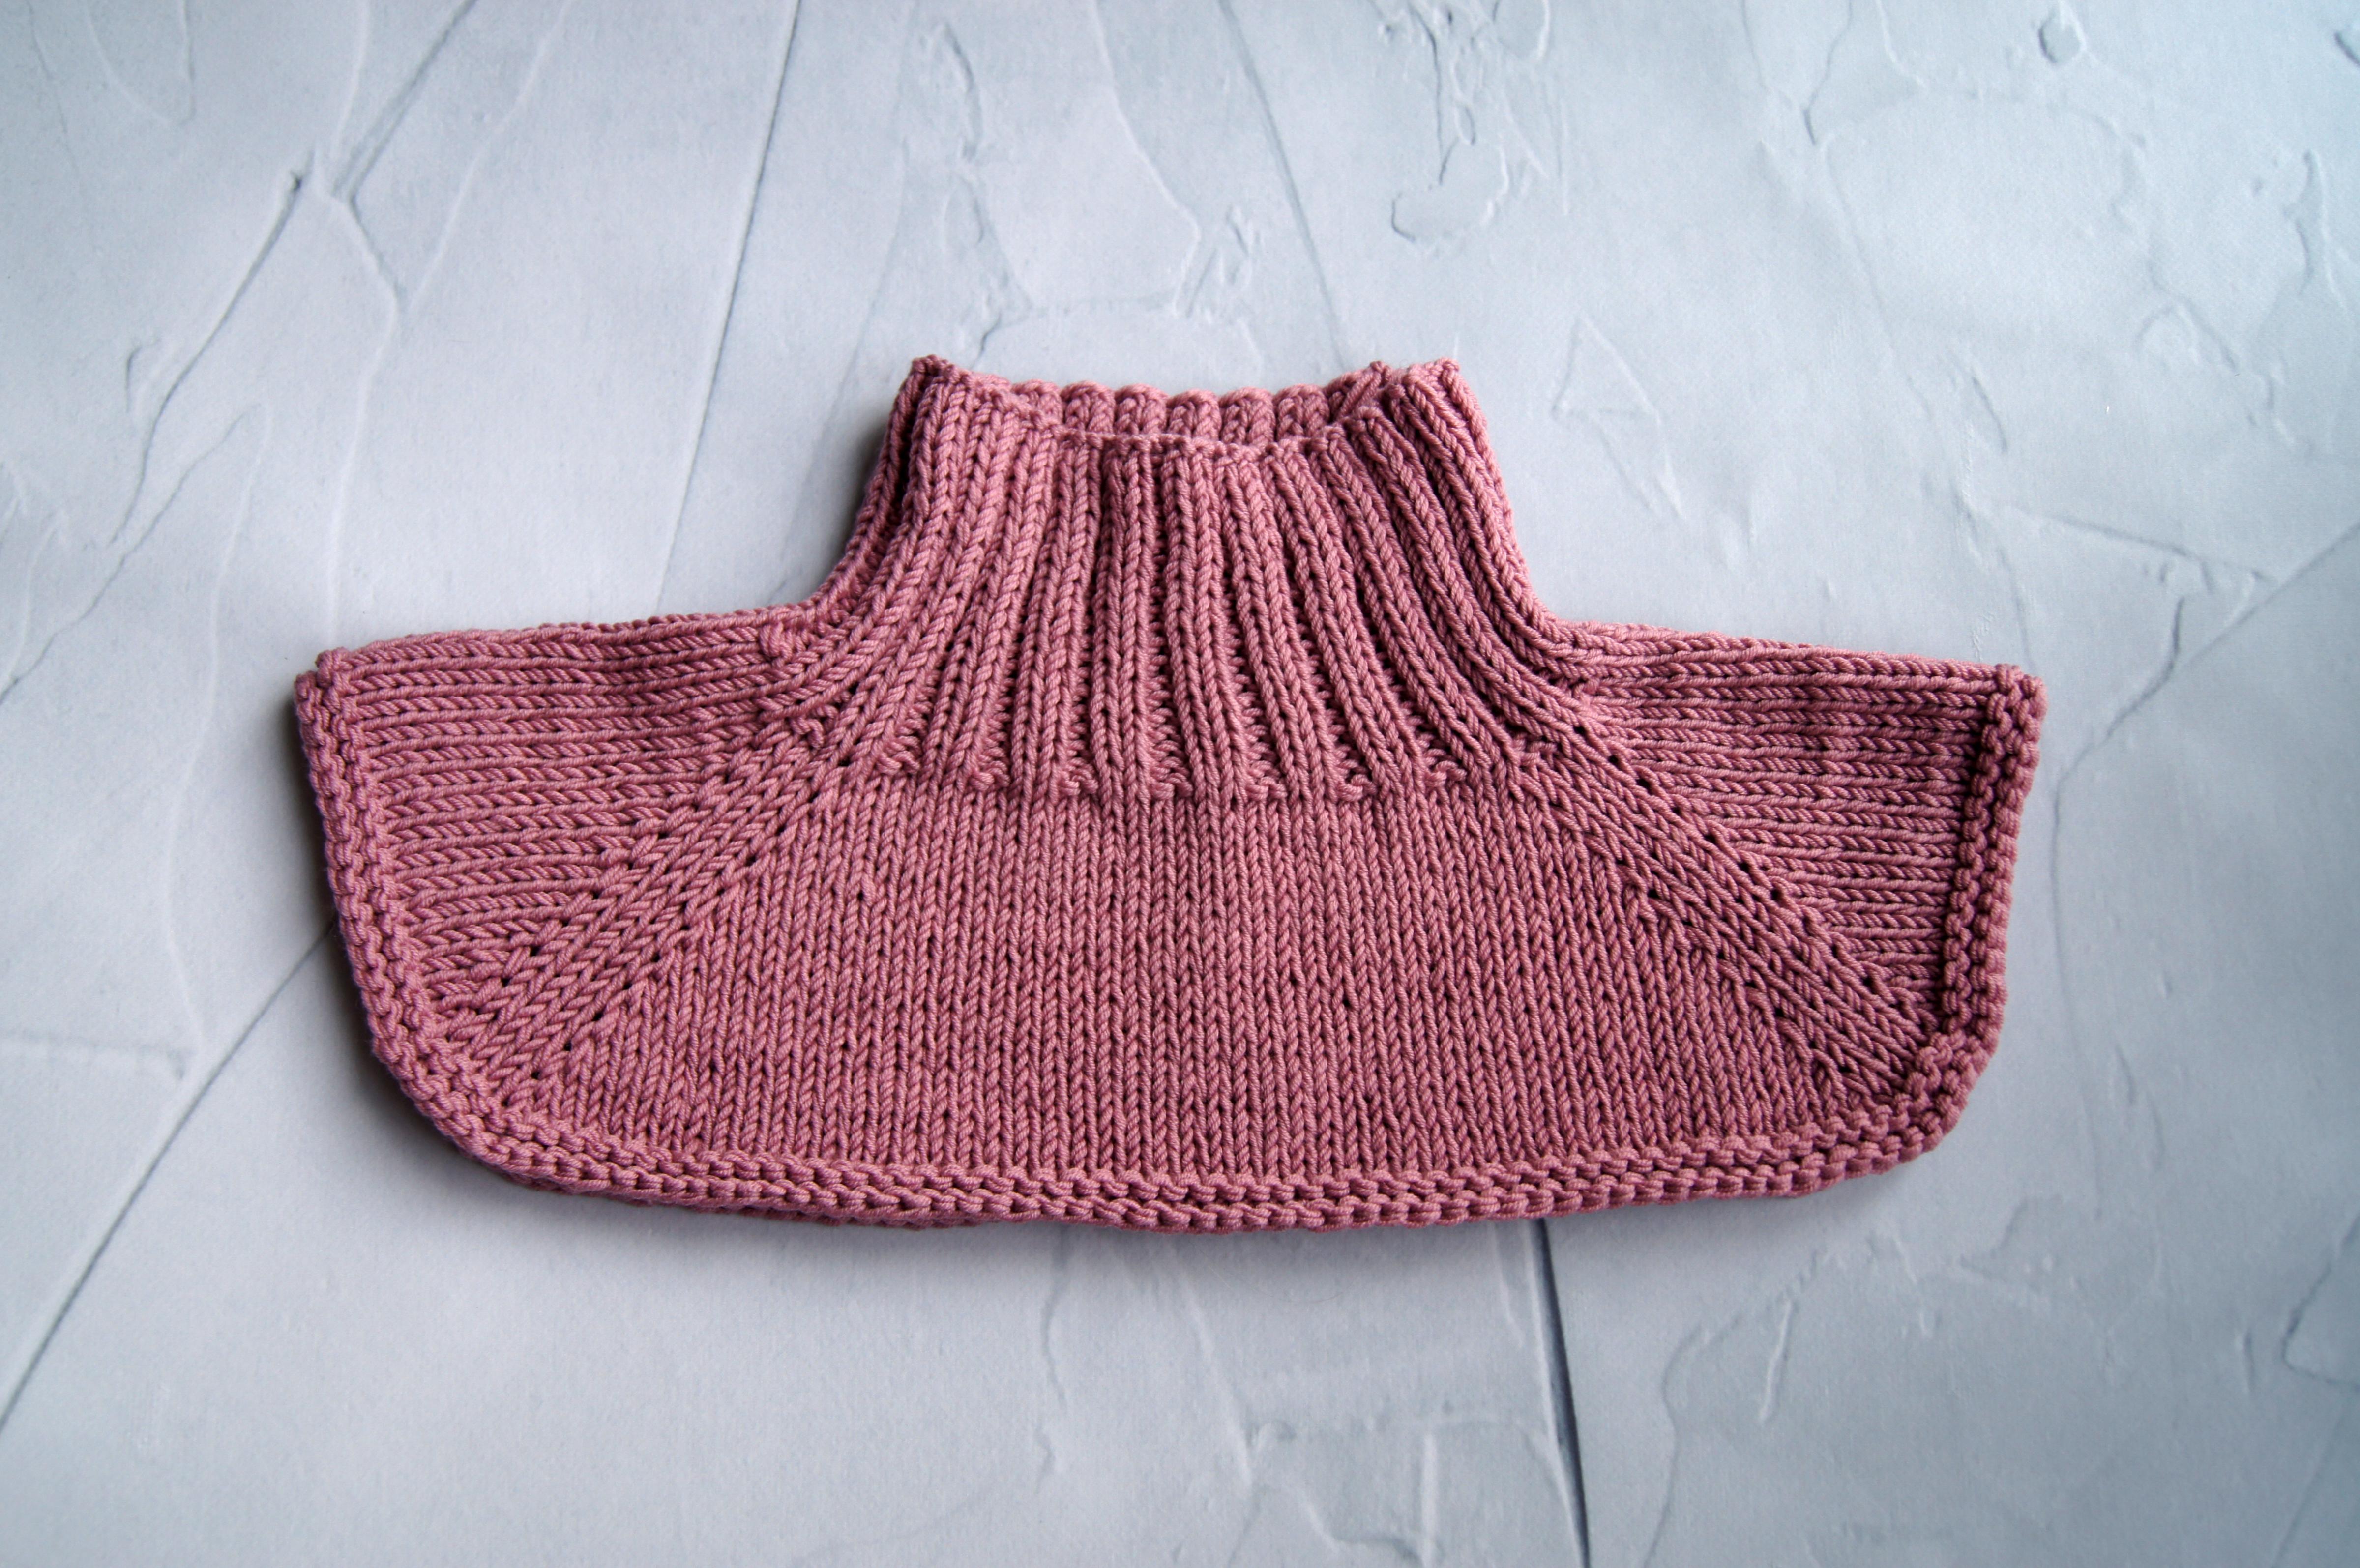
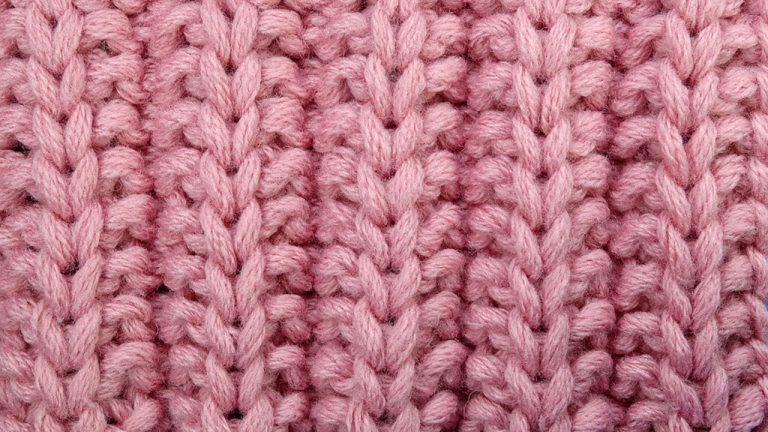
- Cast on stitches on circular knitting needles, then knit with a rib pattern (one front loop, then one back loop) to a height equal to the length of the neck.
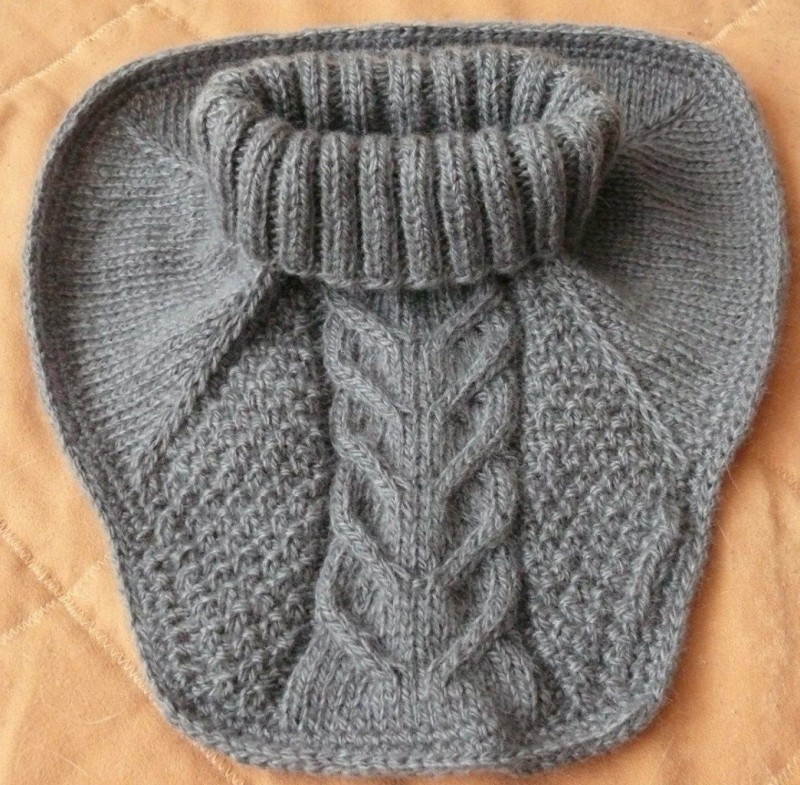
- Afterwards, you can start knitting the expanding part of the product. To do this, you need to knit a circle according to the pattern: 2 purl loops (PL) and 10 front loops (FL).
- Next, before the purl loop, you need to make a yarn over, after 2 IR and a yarn over, 10 LP and so on until the end of the row.
- Then a row of LP, 2 IP, yarn over, 10 LP and so on until the end of the row.
Next, the product is knitted by alternating the second and third rows to the desired length. After that, you should close the loops and tuck in the threads. The simple bib is ready, all that remains is to wash it.
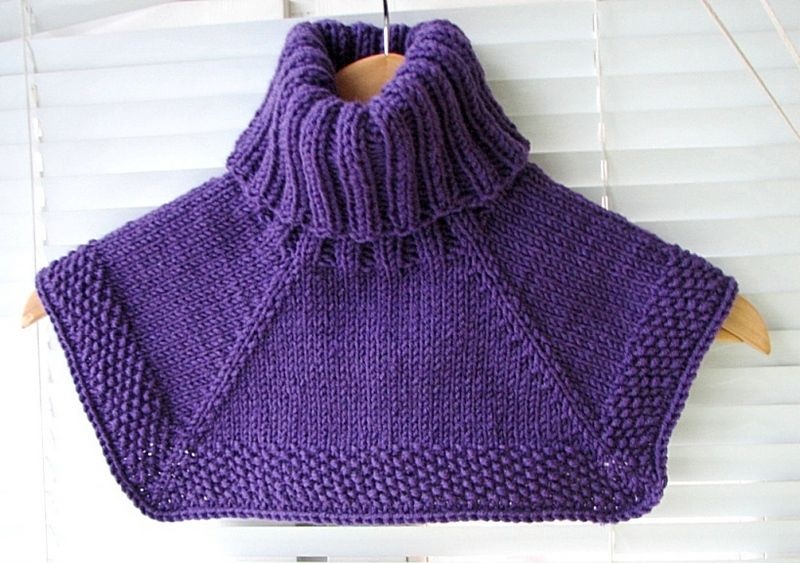
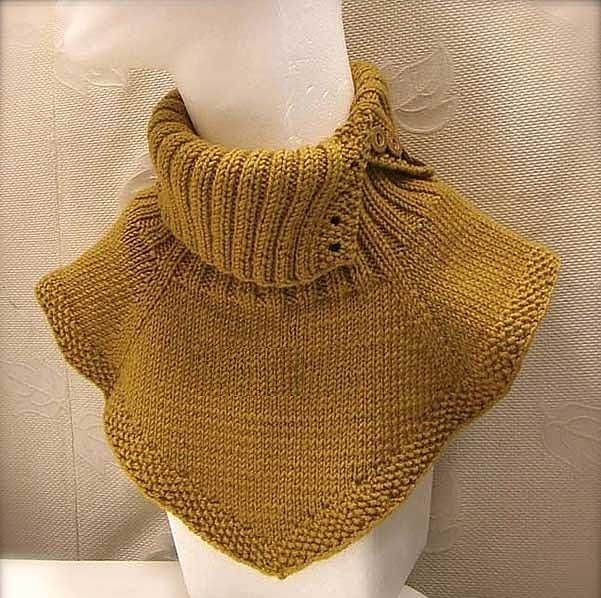
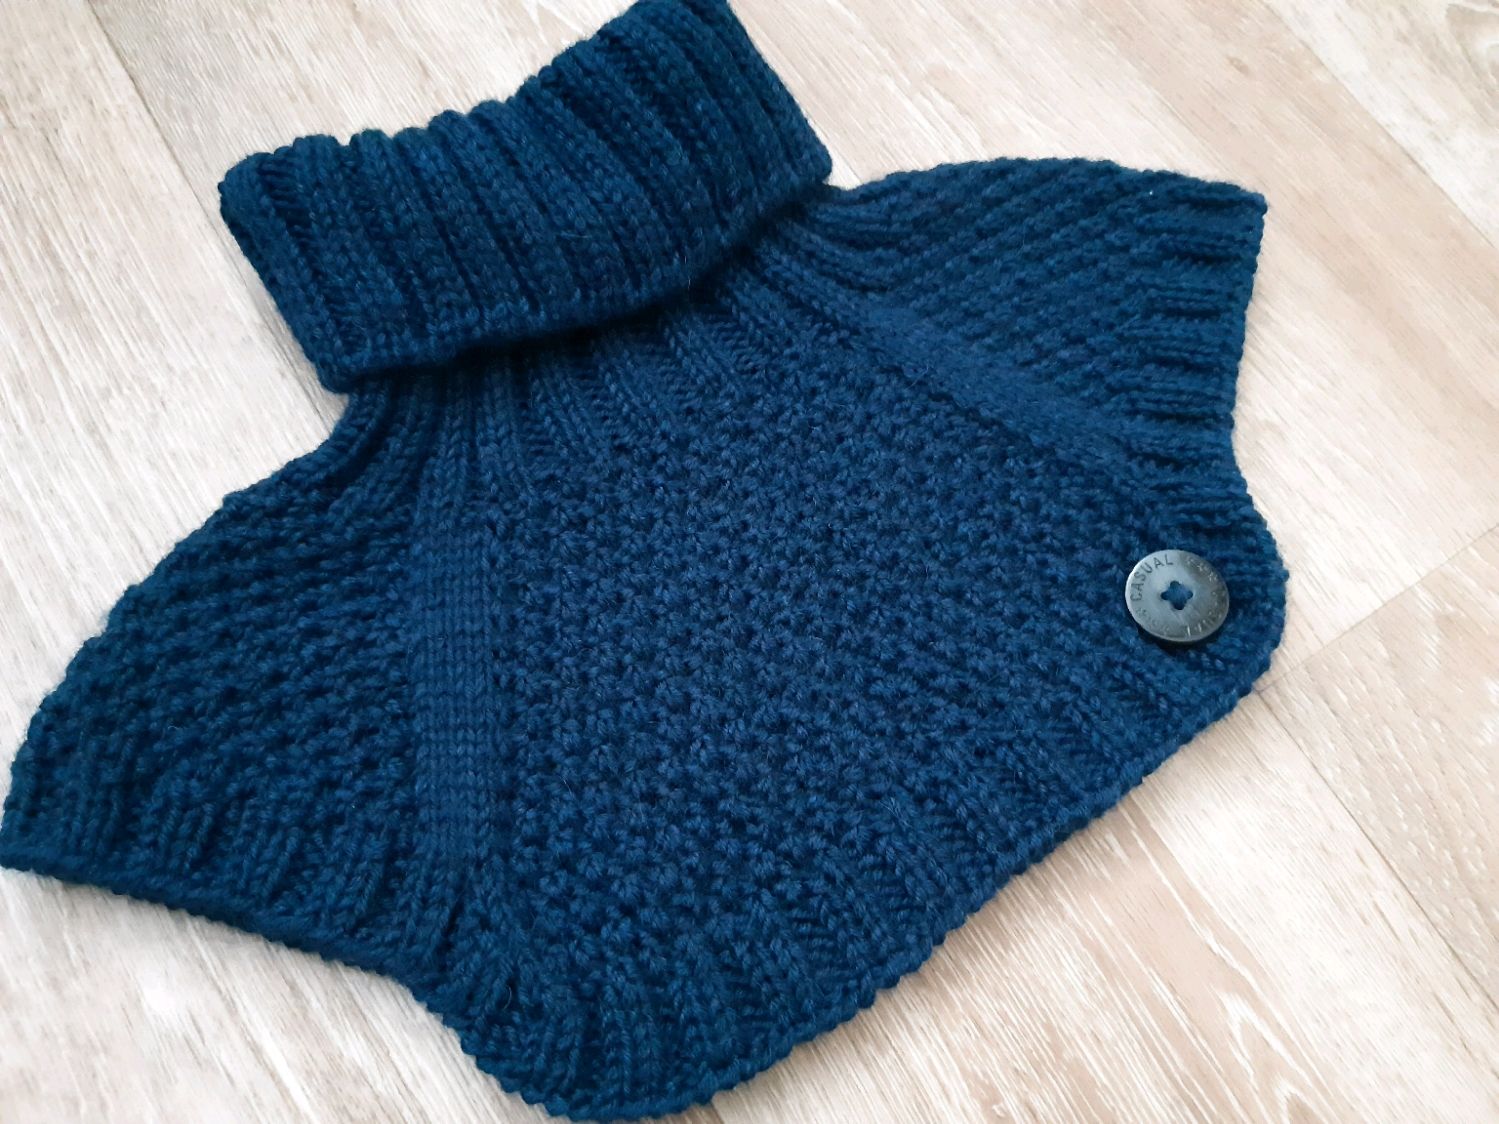
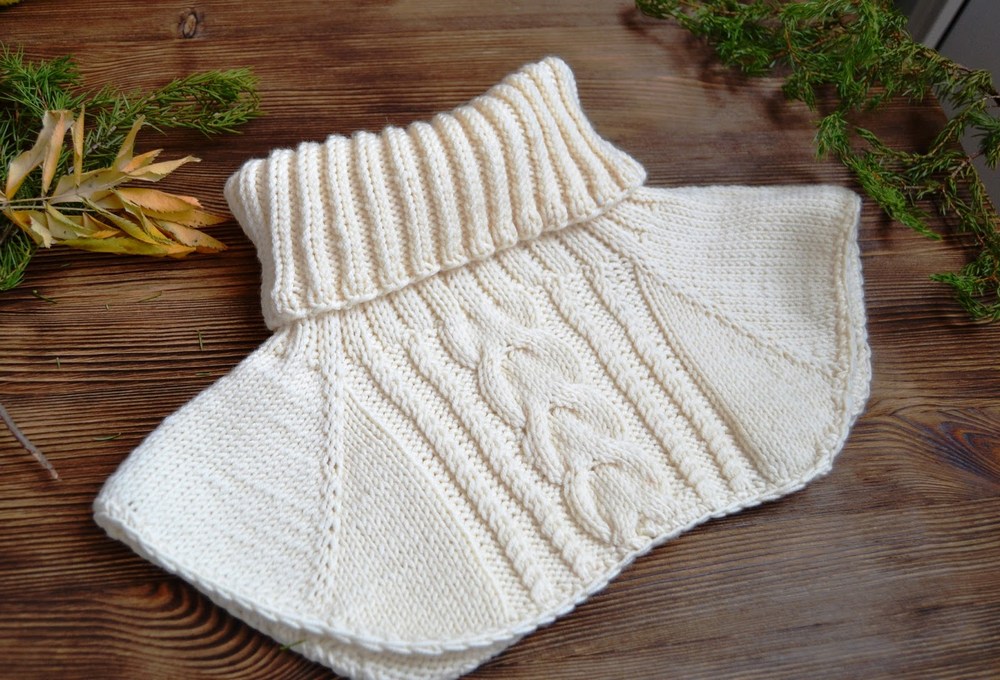
With a button
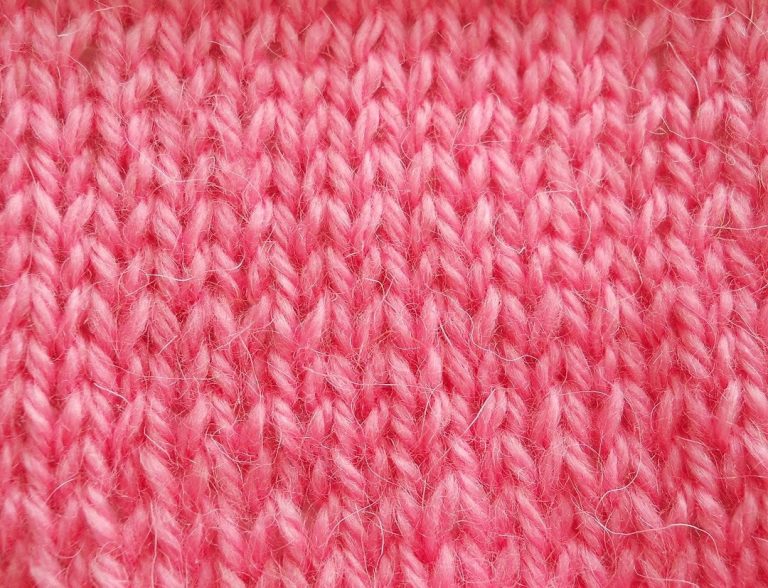
The collar-bib consists of two knitted elements. To create the item, use circular knitting needles, the work is done with garter stitch: first, make a row of face loops, and then - purl. Step-by-step instructions for making the item:
- The first thing you need to do is cast on 62 stitches and knit a row of purl stitches.
- In the next row, knit 6 loops on each side with garter stitch and work the rest with a “rib”: 2 LP, 2 IP.
- In this way, you should knit 4 cm with an elastic band. Then you need to close the garter stitches along the edges, and secure the remaining 5 loops with a pin or knitting needle.
- The second knitted part is made in a similar way. After that, using circular knitting needles, you should cast on 6 loops. From the main knitting needles, you need to transfer 100 loops and add 6 more loops to them.
- Next, knit the product with garter stitch to the required length. The 4 cm edge should be made "elastic".
Next, the loops need to be closed and the bib secured with a clasp. After that, all that remains is to sew on the fittings, and the product can be used for its intended purpose. The bib with buttons will become a convenient and stylish addition to the image, ideally performing the function of a scarf.


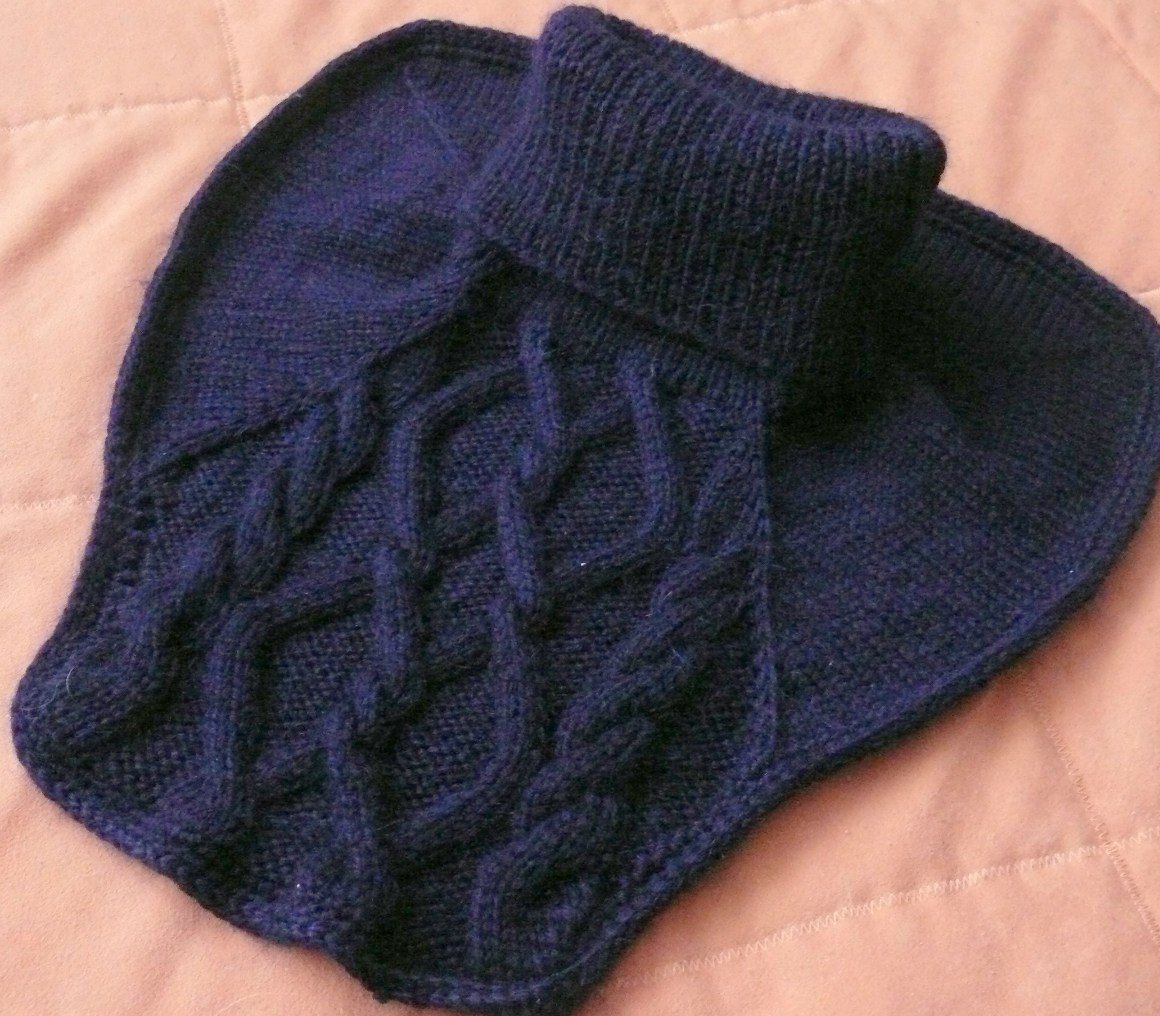
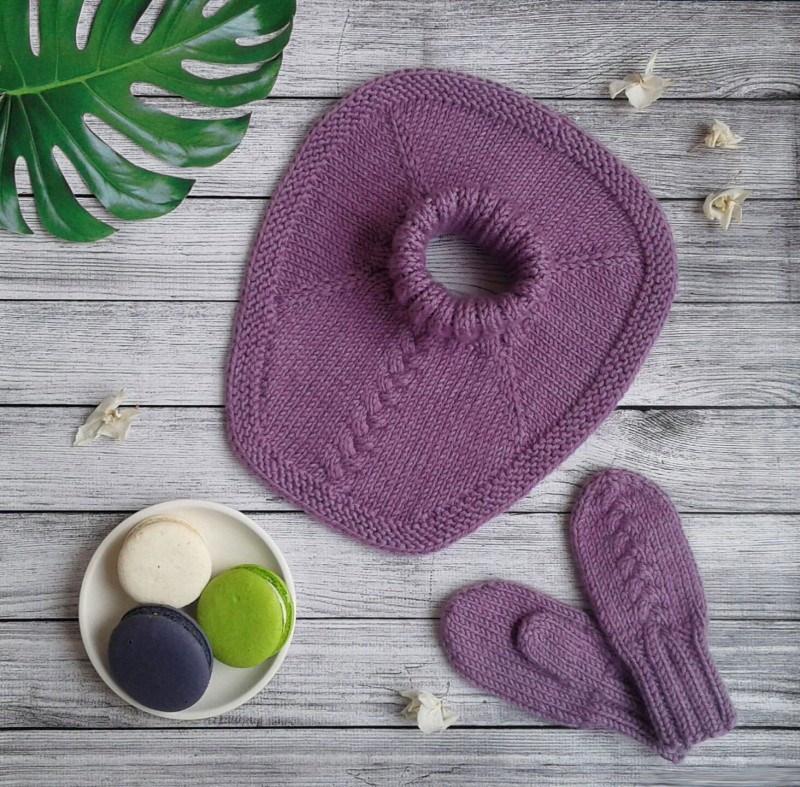
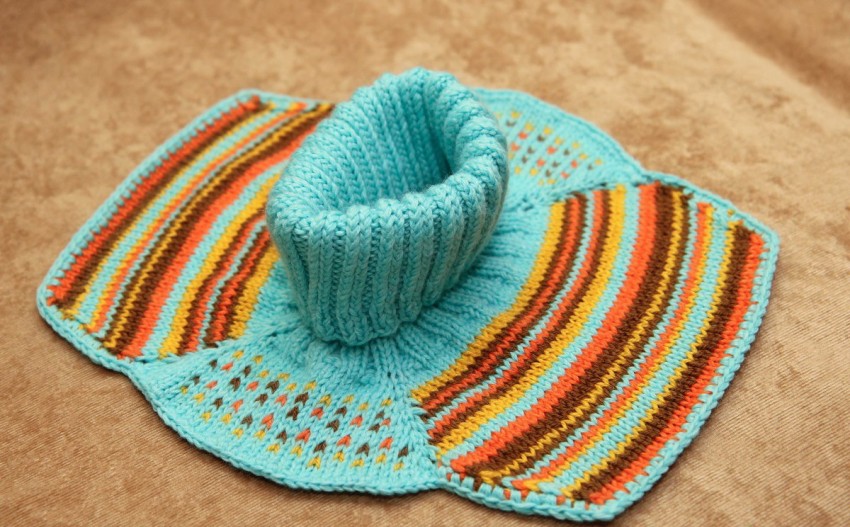
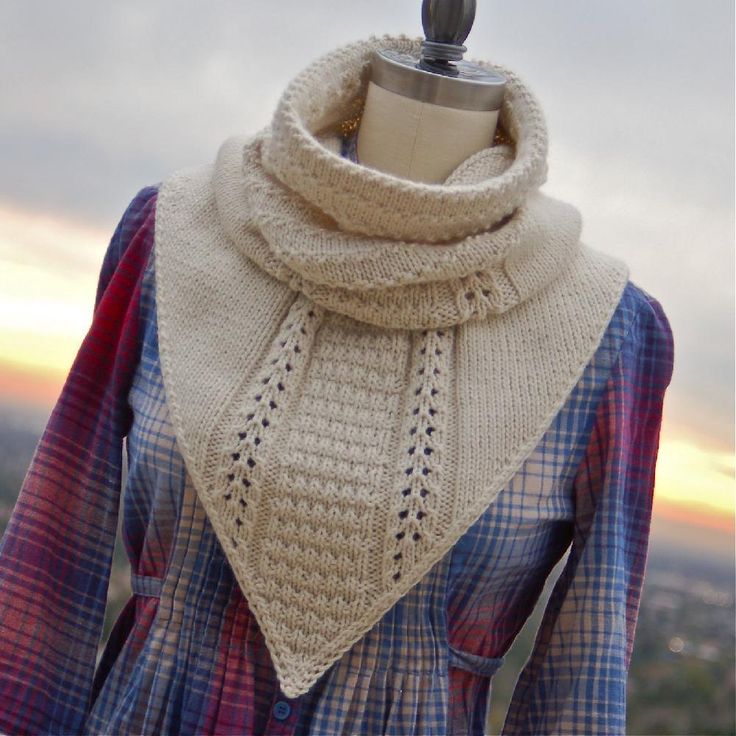
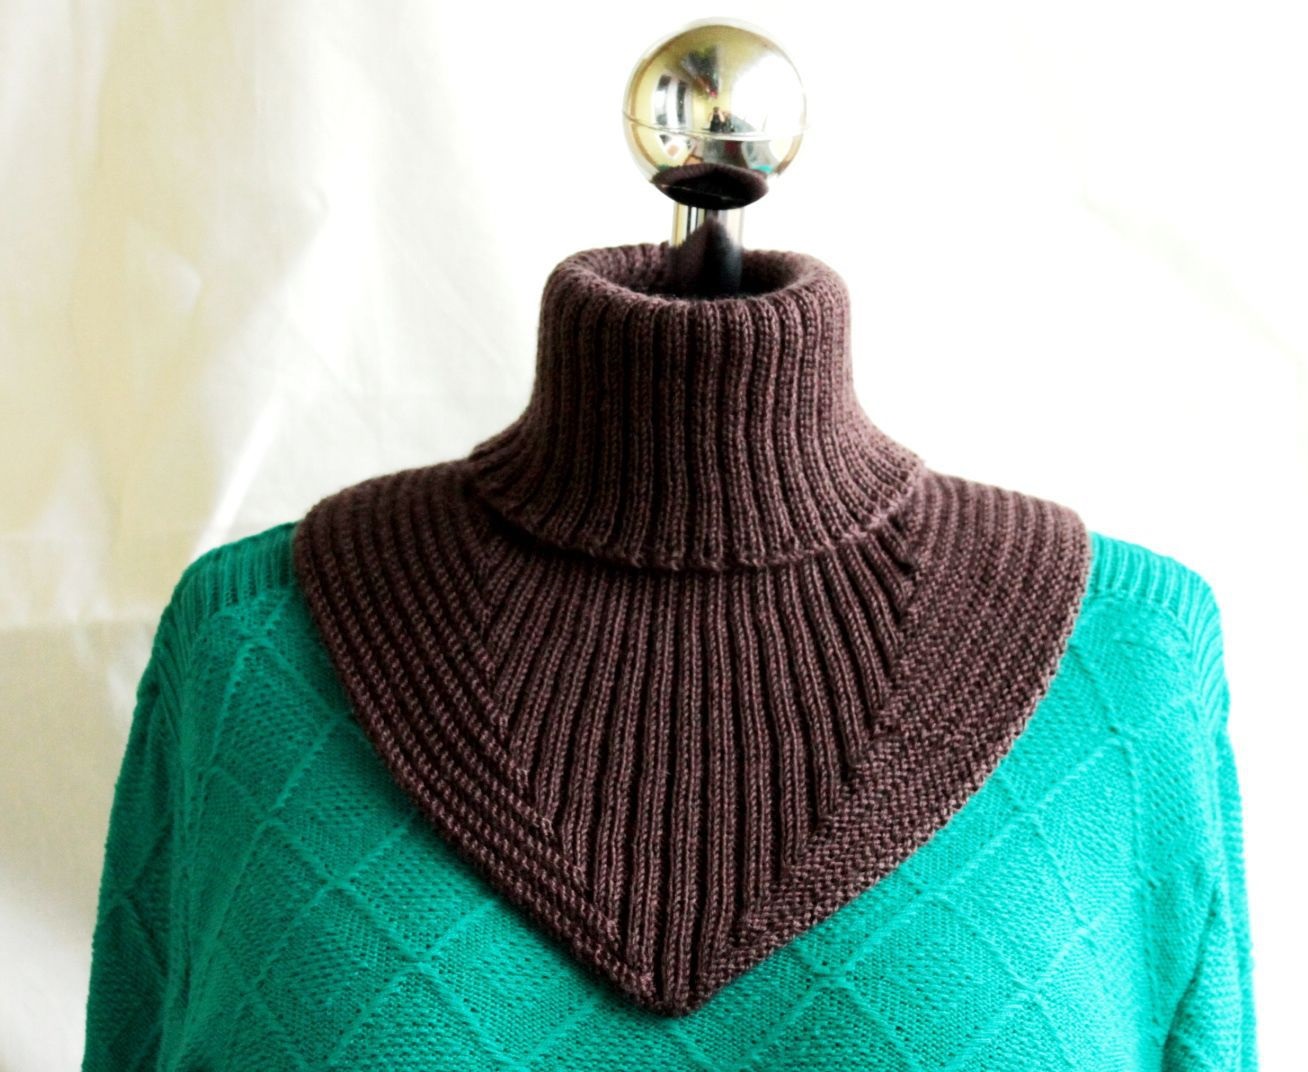
Scarf-bib
There is also a very original model of this product - a scarf-collar. To knit this thing, use a double-ply thread. It is done with garter stitch on two knitting needles. Each row is knitted with face loops.
Master class on making:
- First, determine the number of stitches needed to make the scarf. Then use garter stitch to create a 62 cm piece.
- The loops are closed.
- Then you can sew the bib. This is done slightly diagonally, and you should step back about 11 cm from the edge.
The nature of the connection of this model of the bib varies as desired. It can be either a straight seam or a slightly or strongly shifted one.
Before knitting a collar with knitting needles, you will need to take measurements and choose a suitable model. You also need to prepare the yarn and tool in advance. Knitting this product with knitting needles is a simple process, but to achieve a successful result, it is important to carefully follow the instructions of the master classes.

Video
Photo