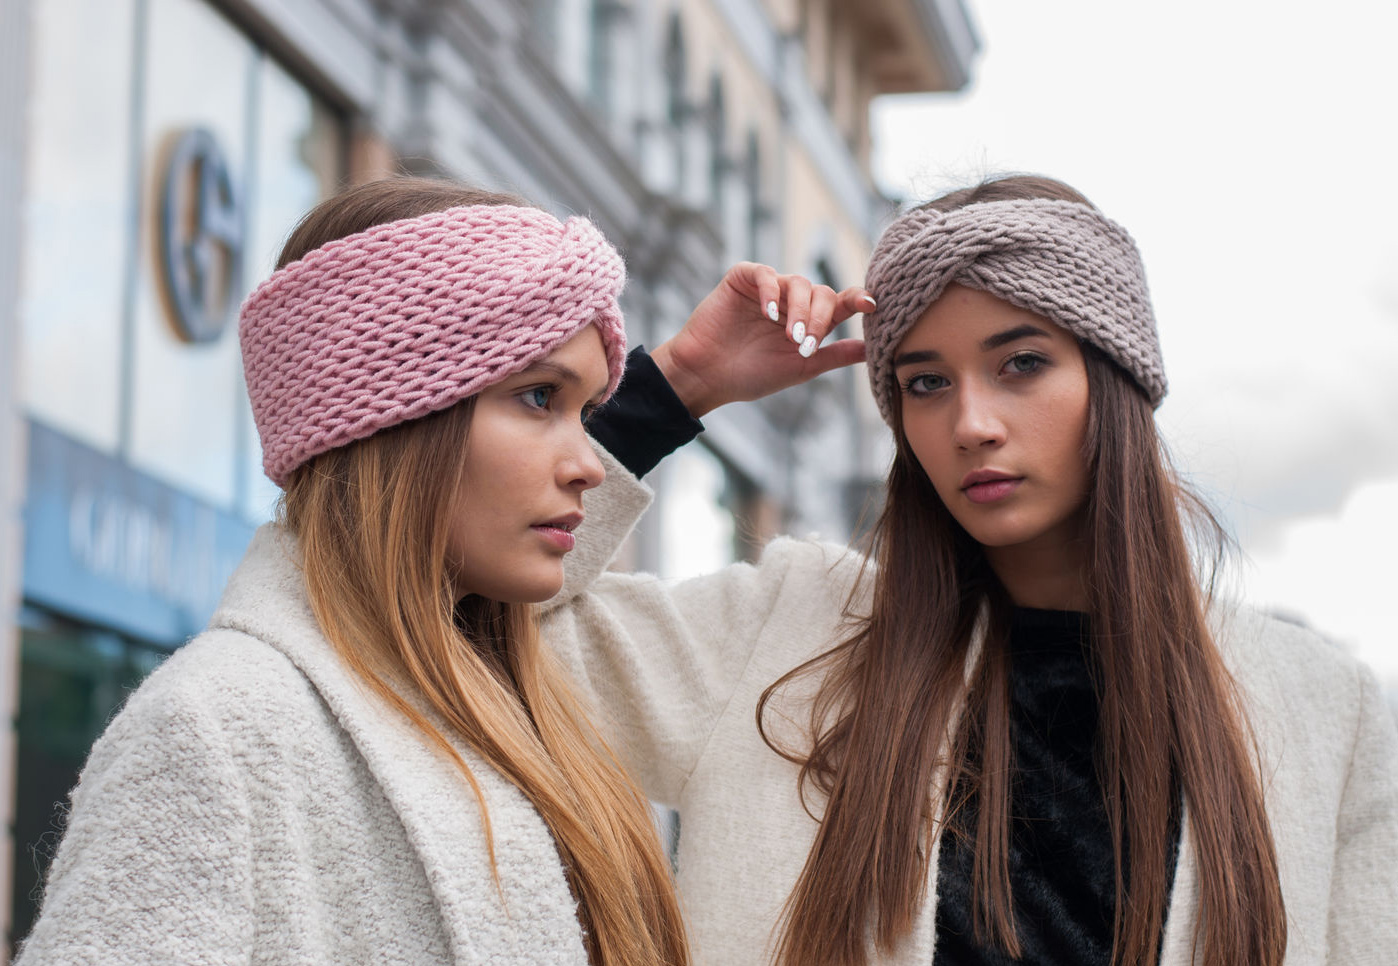
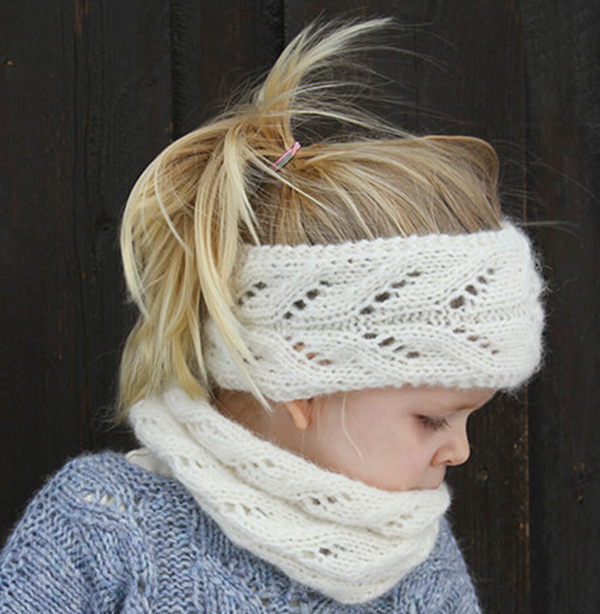
To protect your ears from the wind, keep your hair away from your face or simply emphasize your style, you don’t have to wear a hat or tie a scarf. An openwork or warm headband knitted with knitting needles is an easy-to-make, but modern and fashionable accessory. It doesn’t take much time to make. And a large selection of yarn allows you to choose the color and pattern you like.
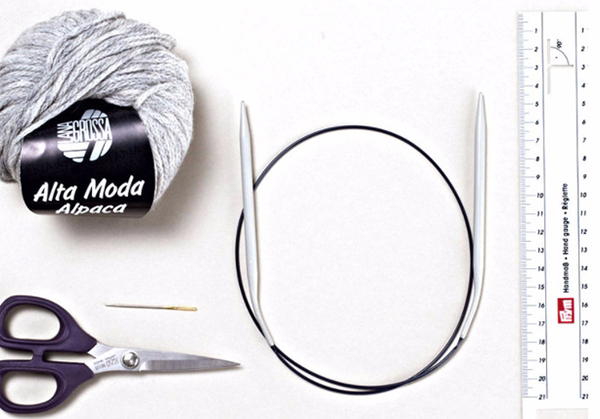
Selecting yarn and tools
The choice of yarn directly depends on the season for which the accessory is intended. In autumn and spring, a knitted headband replaces a hat, protects ears from the wind, warms, so warm, thick threads are used. For summer, you can choose thin and light yarn, since the accessory will perform more of a decorative function, replace a headband, and keep hair away from the face.
Yarn is selected according to certain criteria:
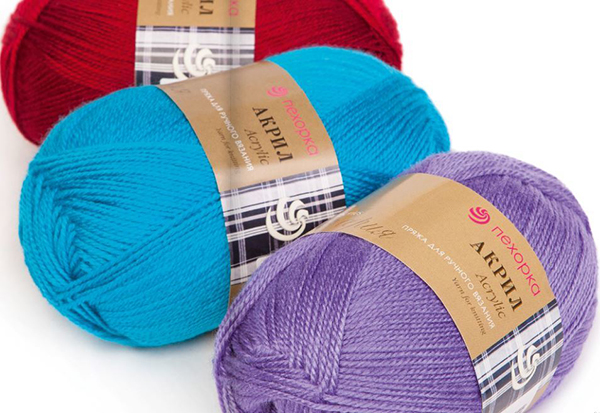
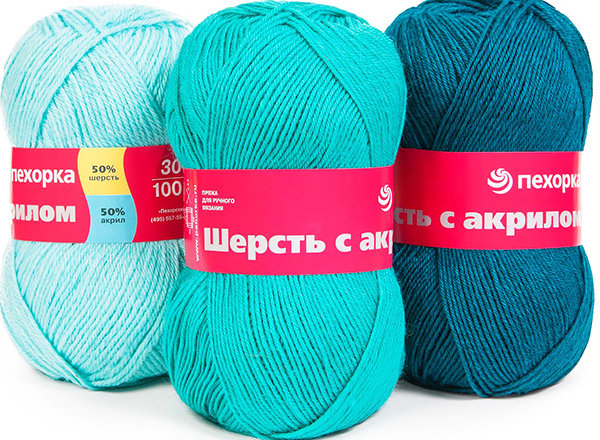
- Pure wool or with acrylic, cotton. From such yarn you will get a warm knitted accessory with overlaps, braids, in the form of a turban from regular and French elastic.
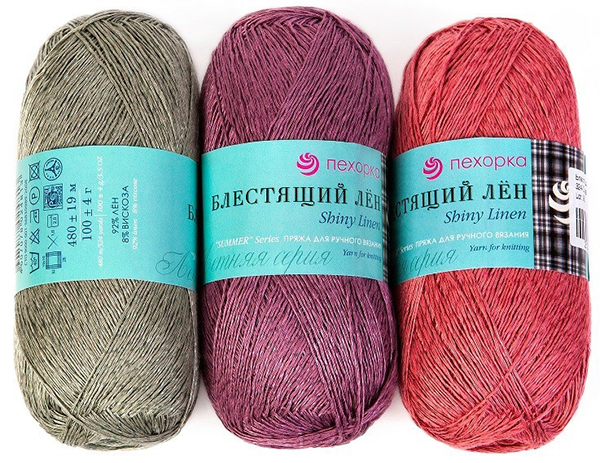
- Cotton, linen. Suitable for openwork patterns, summer accessories.
- Acrylic, microfiber. Demi-season option for any patterns and people with sensitive skin.
- Cotton with acrylic. This yarn does not always hold elastic bands, but it is good for openwork knitting, suitable for accessories for warm spring and cool summer.
Today, simple garter stitch knitting, tangle stitch, and braids are also popular. All this is best knitted from thick yarn with a yardage of at least 280 m per 100 g.
It is good if the thread is natural or semi-natural. As for the manufacturer, for knitting a headband with knitting needles you can take Turkish, Russian, Italian yarn, it all depends on personal preferences and possibilities.
The number of knitting needles depends on the thickness of the thread. To determine this, you can look at the manufacturer's recommendations, they are on the packaging. Usually, a range is indicated, for example, 3-4.5. If the accessory is for autumn or cold spring, then it is worth using a smaller number to get a dense fabric. The length of the knitting needles depends on the method used. If you need to knit headbands with knitting needles in length, and then sew them, then short knitting needles are enough, stocking or any circular ones will do. If the headband is knitted in a circle - according to the diameter of the head without seams (like a hat), then you should take knitting needles with a fishing line and a total length of at least 40 cm.


Popular patterns
Knitting gives a huge scope for creativity, as you can choose a variety of patterns. It is important to remember that if the headband is knitted with thick threads, it will look different than if it is knitted with thin yarn.
The most popular patterns are:
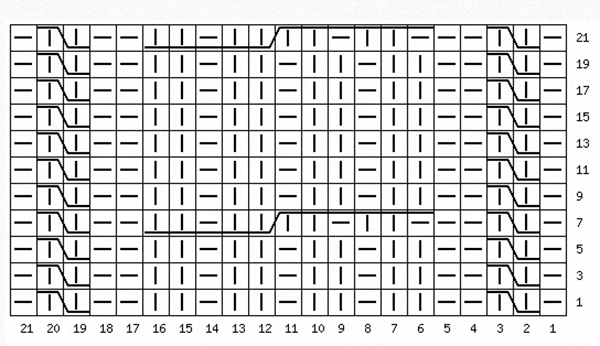
- Elastic band. A simple and elastic pattern of front and back loops. You can alternate 1:1, 2:2, 1:2, 1:3 and any other ways.
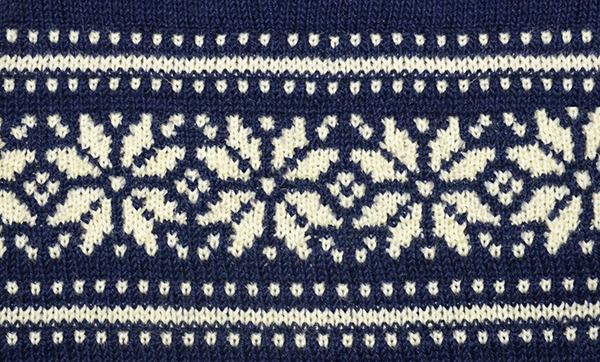
- Jacquard pattern. Knitted according to the pattern from several threads at the same time, it allows to obtain drawings on the canvas. The basis is usually the front surface, the spectacular look is achieved by combining different shades.
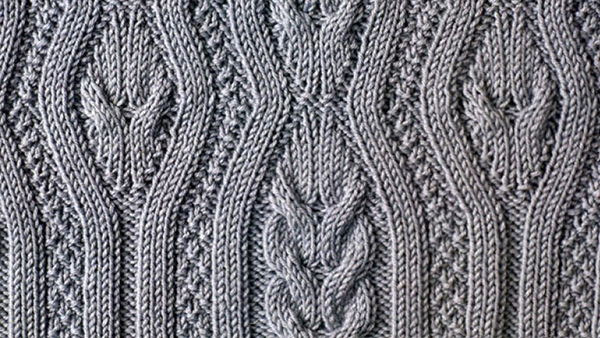
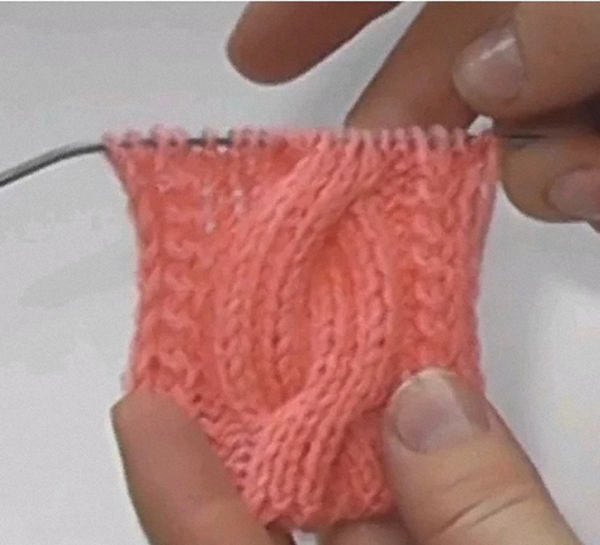
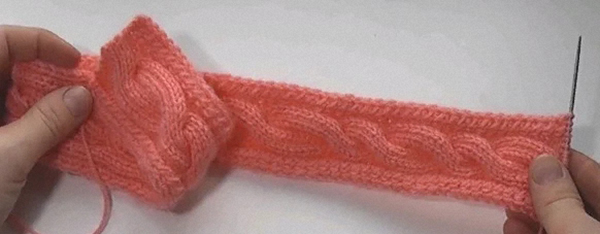
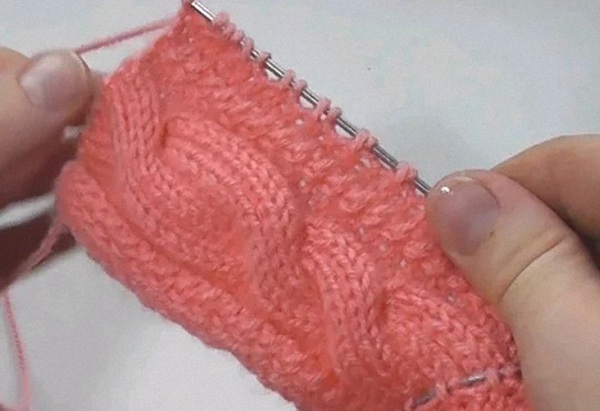
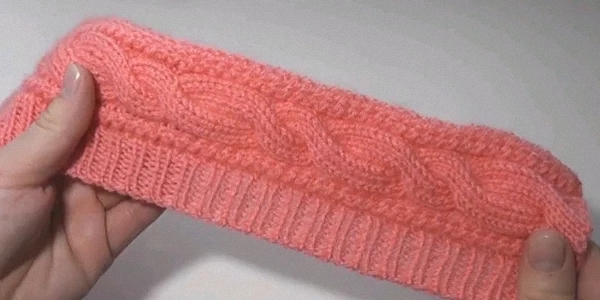
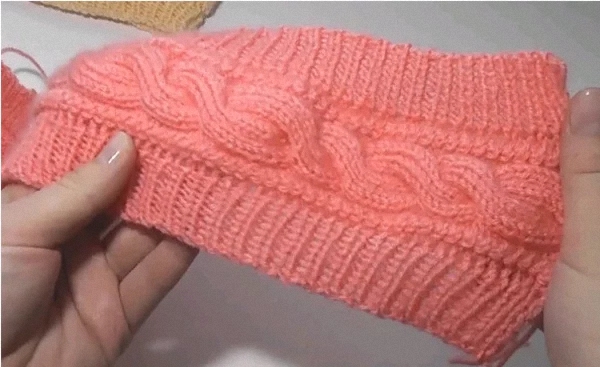
- Braids. This also includes arans and plaits. Convex patterns look impressive and are often combined with garter stitch and stocking stitch.
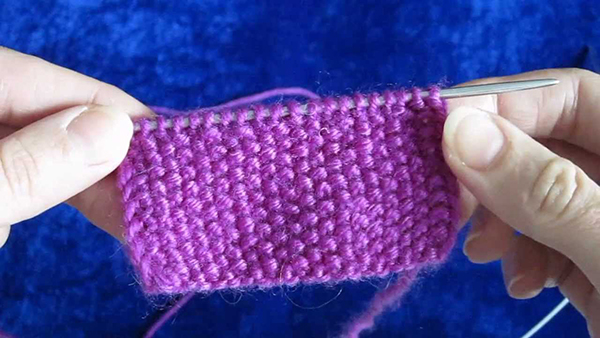
- Confusion or pearl pattern. Even a beginner can make such a knitted headband. The pattern involves alternating 1 front and 1 back loop with an offset in every second row.
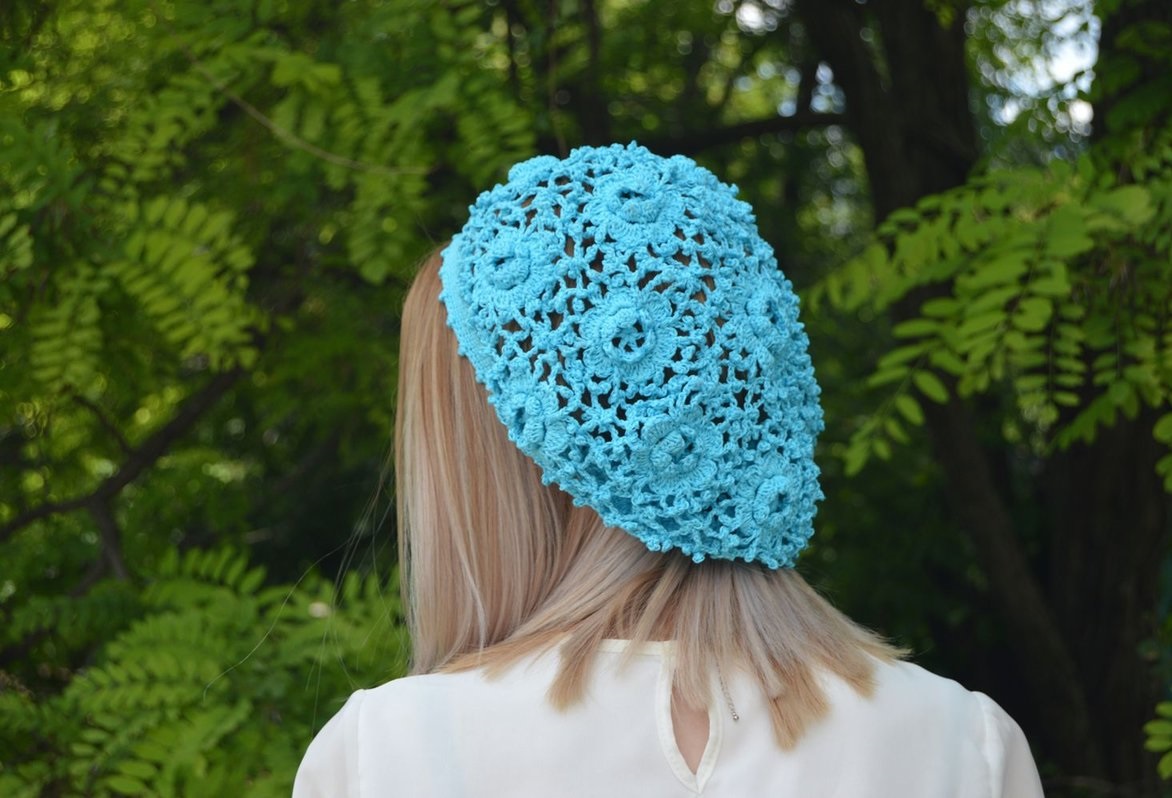
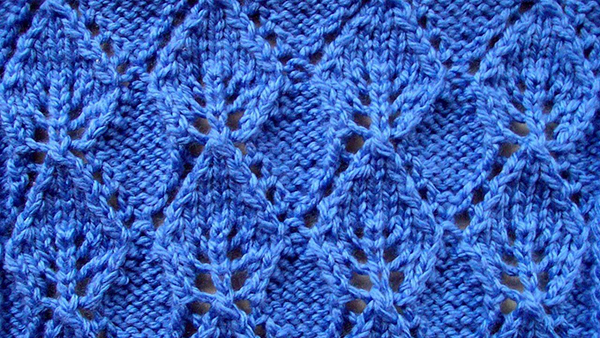
- Openwork patterns. They are light and airy, have holes, are knitted with yarns, and require following the pattern.
Some patterns are beautiful on both sides, and in the process of knitting you can determine where the front and back will be. But there are options (braids, plaits) that have one front side. In this case, when knitting, you need to immediately remove the knots to the back side, it is also important to consider the row when changing colors so that the contrasting thread lies neatly, without dotted paths.
Necessary measurements
It is very important to correctly determine the size of the product before knitting a headband. You can take your head circumference as a basis, but in no case make exactly this headband. This accessory is elastic, it should stretch a little, fit tightly around the head. During wearing, the knitted fabric weakens a little, stretches. Not every yarn springs well.
When taking measurements, it is worth considering the following nuances:
- The head is measured with a measuring tape in the way the headband will be worn. Not across, not in height, like a kokoshnik.
- From the obtained value, you need to subtract 8-10% so that the strip fits tightly on your head. If the yarn stretches, you can subtract 13-15%.
- The width can be made arbitrary, but the options for the cold season should completely cover the ears. This is a minimum of 12 cm.
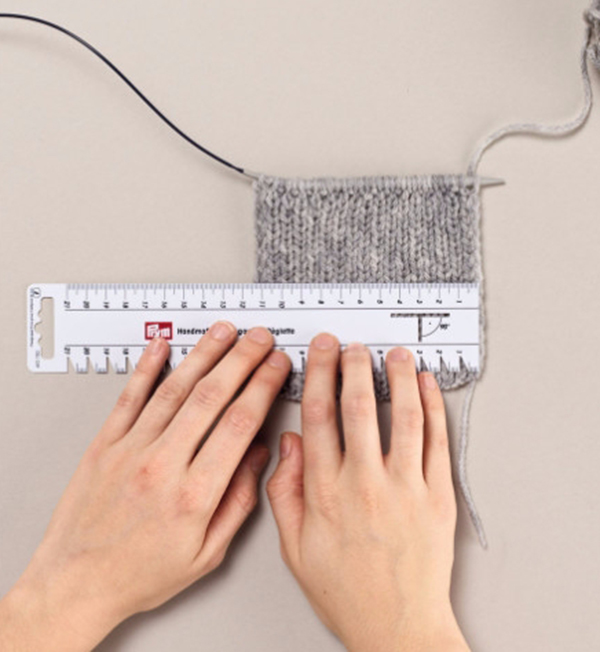
In order not to make a mistake with the size, having dialed the required number of loops, it is necessary to make a sample. It is not enough to just knit it, you must wash and dry it. This will help to find out whether the thread thickness and pattern are suitable, and also whether the yarn does not fade.
Often accessories are made from leftover yarn, so the number of loops can be roughly determined from another knitted item made from the same yarn.

Knitting stages depending on the type of accessory
When choosing a model, you need to focus on the season and yarn. If only cotton or acrylic is available, then the accessory will be for summer, warm spring, autumn. From wool - for cold months. Separately, it is worth paying attention to knitting a headband for little girls. Many children do not tolerate wool, have very sensitive skin, in which case it is wiser to use cotton, synthetic materials or sew a knitted lining underneath.
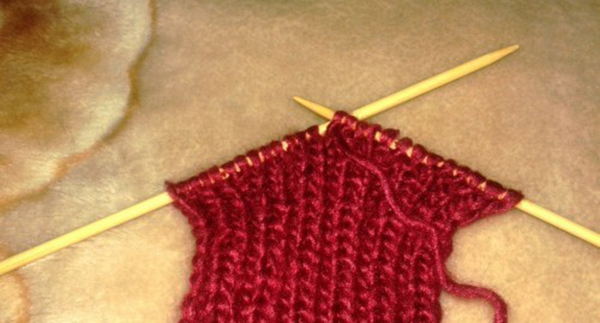
If the headband is knitted in a circle, it is very important to carefully cast on and close the stitches, as the edge will attract attention and outline the face. If the strip is knitted lengthwise, then in this case we pay attention to the edge loops, constantly tighten the thread so that the edge does not turn out too loose, nothing should stick out from it. If necessary, you can crochet the finished headband in a circle, but in this case, elasticity will be lost, the accessory will stretch less, and fit the head worse.
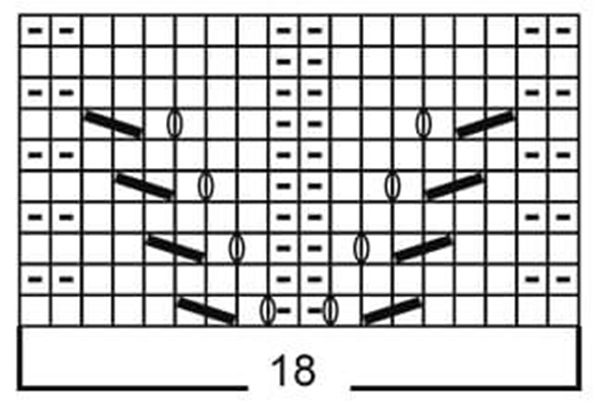
Summer openwork
A very simple to make, but delicate and beautiful headband with knitting needles can please a little princess. This children's model is designed for a head size of 46 cm, but you can always increase it. Knitting is done in a circle. You can take stocking needles or on a fishing line (40 cm), use No. 3. Yarn - cotton with acrylic, you will need about 30 g.
The process consists of the following steps:
- Cast on 100 stitches, close into a circle.
- Knit the first row - 3 front loops, 1 yarn over, 3 loops in 1 front loop, 1 yarn over. Repeat the pattern to the end of the row.
- The second row is knit stitches. If you plan to knit not in a circle, then all even rows are done with purl stitches.
- Third row – 1 yarn over, 3 stitches in one front loop, 1 yarn over, 3 front loops. Repeat to the end.
- Fourth row – knit stitches.
- Next, repeat from the first to the fourth rows until the desired height is reached.
- The headband for the baby is ready. You can decorate it with a decorative flower or a bow, thread a satin ribbon.
Since cotton is not elastic, you can thread a thin elastic band into the accessory to match the color of the yarn. Then the headband will definitely not stretch and will stay tightly on your head.
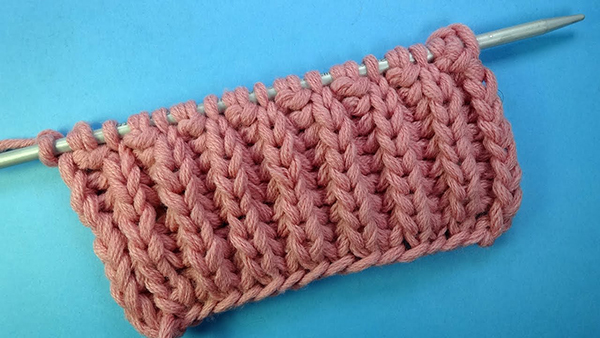
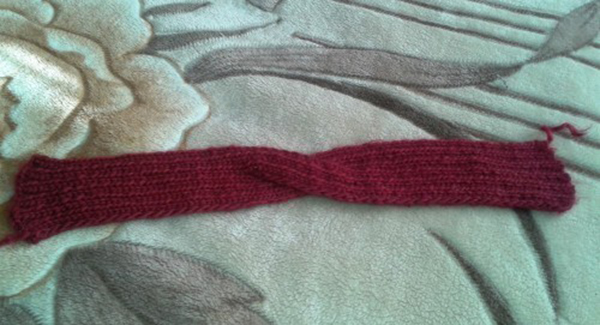
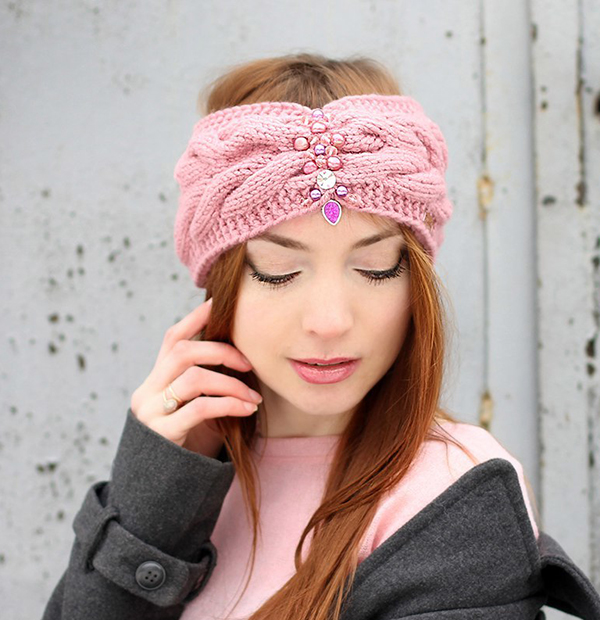
Overlapping headband
A very popular version of a headband, which is knitted by women of different ages. Due to the overlap, the accessory resembles a turban. If desired, you can pin a brooch or a large bead to the center, but the overlap itself looks beautiful. For knitting, you will need yarn with a footage of 100 m per 100 g, knitting needles No. 6-7. A pearl pattern is used.
Step by step the process looks like this:
- Cast on 16 stitches, remove the edge stitch, knit 1 stitch, 1 stitch purl, alternate to the end.
- In the second row, shift the pattern, knit purl stitches over the front loops, repeat.
- Knit 20 cm, then divide the loops into two knitting needles, 8 pieces each, knit separately strips 9 cm long.
- We overlap the strips, return them to one knitting needle, and continue until we get a piece of fabric of the desired length.
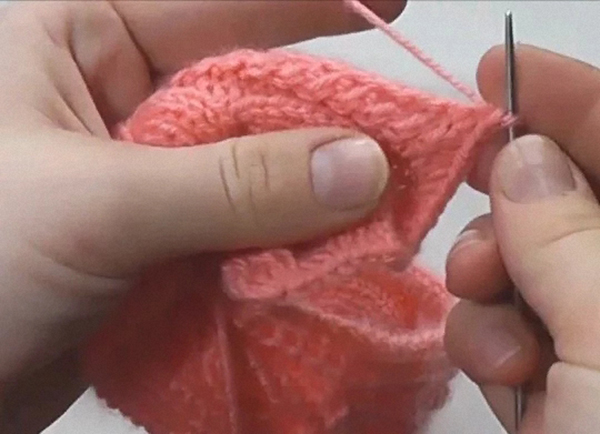
- All that remains is to sew the headband into a circle. You can do this with a needle or a crochet hook.
- The finished headband with overlaps needs to be tried on. If desired, decorate or crochet in a circle.
Crochet binding can reduce the size and will help if the headband has stretched over time.

Stylish oversize
The voluminous headband looks big, airy, creates an oversized effect. For work you will need semi-woolen yarn with a footage of 240-280 m per 100 g, knitting needles No. 4 and 2. The thicker the yarn, the more voluminous the accessory will look on the head.
- Cast on 26 stitches using thin number 2 knitting needles and knit two rows with garter stitch.
- Switch to thick needles number 4, knit the third row with one yarn over after each front loop. This will result in 50 loops.
- Knit up to row 14 using the front surface.
- In row 15, we reduce the loops by knitting 2 together on a thin knitting needle, returning to the initial 26 loops.
- Knit 5 rows with knit stitches, then switch back to a thick knitting needle and add stitches using yarn overs, getting 50 stitches on the knitting needle.
- Next, we knit 14 rows of stockinette stitch on thick needles, then decrease again, knit 5 rows of garter stitch and increase again.
- We finish with two front rows as soon as the length is satisfactory. All that remains is to knit the headband into a rim.
You can decrease or increase the bandage not only by the number of sections, but also by reducing the number of rows of the front surface.
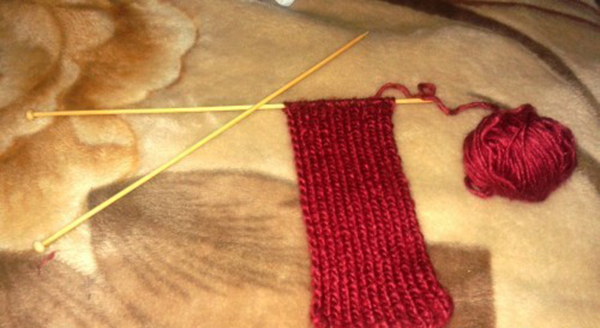
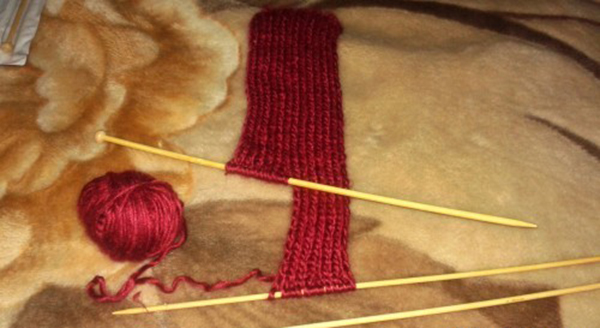
Easy strip for beginners
An option for beginner knitters. Despite its simplicity, it turns out to be a worthy accessory for girls of any age. You will need any threads with a footage of 200-240 m per 100 g, as well as knitting needles No. 3.5. For stitching - a needle or a crochet hook. You can choose any pattern at your discretion: rice, tangle, elastic, front or back satin stitch.
- Cast on 18–25 stitches on two knitting needles, depending on the desired width.
- Remove one knitting needle, knit the first row with knit stitches, turn.
- Next, we also knit the headband with face loops until we get the desired length. In the process, we try it on our head, slightly pull it. You can use any other pattern or put a braid in the center.
- Close the loops, sew the strip with a needle. You can connect it with a crochet hook.
You can use the same thread for stitching that you used for knitting, but divide it in half so that the seam is not thick.

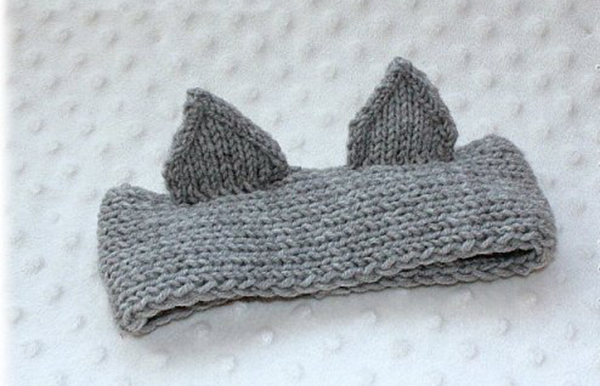
Baby Headband with Ears
A very cute knitted accessory for a girl. As a base, you can use a headband of any not very textured pattern. The whole charm is that this option has charming ears. They can be made in the same color as the base yarn or play on the contrast.
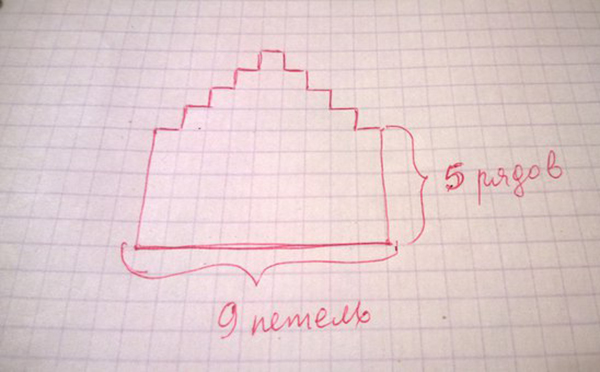
Step-by-step production of a headband with ears includes the following steps:
- Knit any simple headband with a stockinette stitch or elastic band of a suitable size. Sew into a headband, be sure to try it on the girl.
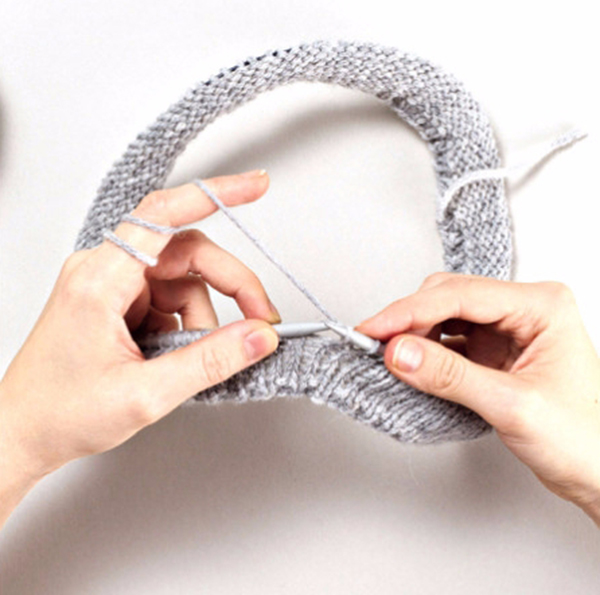
- Take a hook and tie two eyes (size and shape are chosen at the discretion of the master).
- If desired, tie the ears around with a contrasting thread.
- Sew the elements to the bandage. They can be placed on the sides or on top.
Ears on headbands for younger girls can be decorated with bows, flowers, plastic berries, or a ladybug can be “seated” on them.
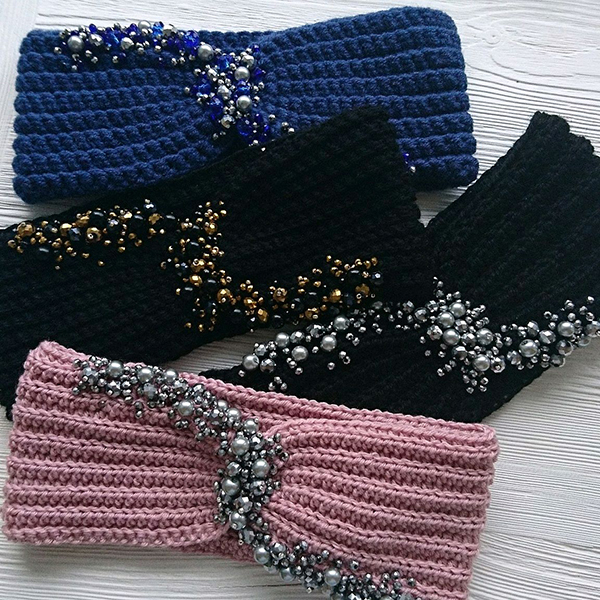
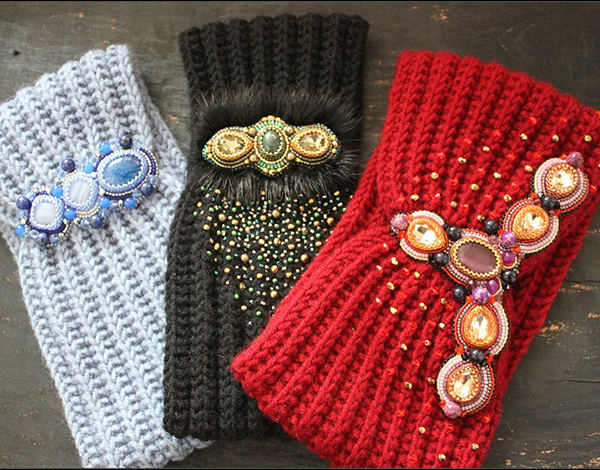
Decor options
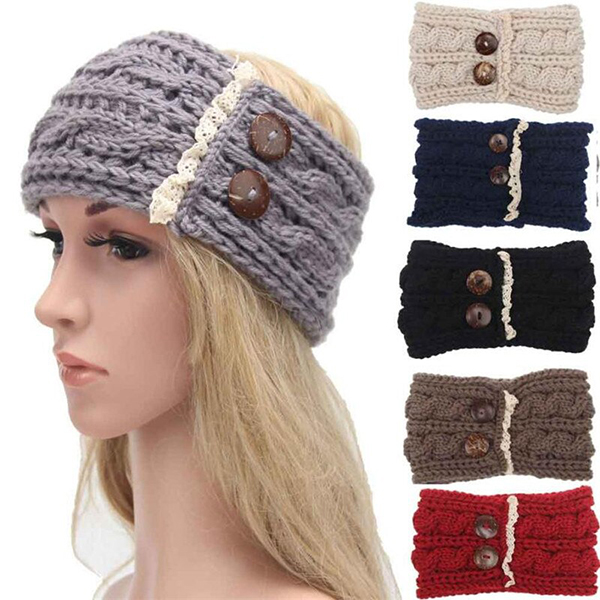
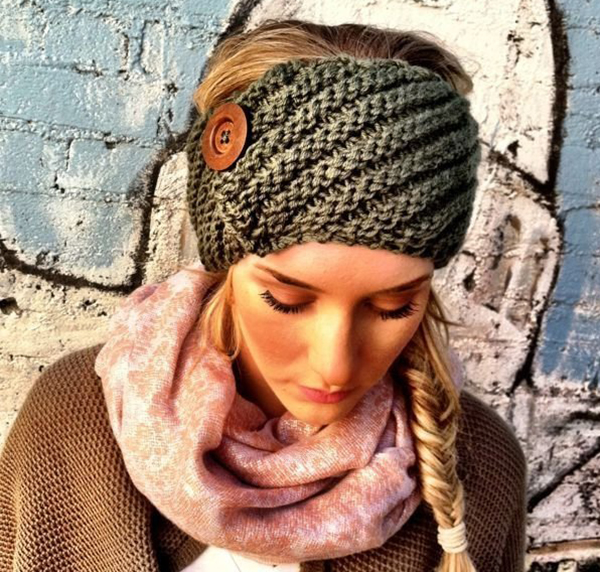
Even the simplest knitted headbands can easily be turned into an interesting and stylish accessory. To do this, they need to be decorated. In any home, especially in a needlewoman's, you can find something interesting. Sometimes the model itself suggests using a brooch or a button. It is important not to overdo it. If a rich pattern with braids or arans, cones, openwork is used for an accessory, then any decor may become superfluous.
There are a variety of options for decorating a headband:
- beads, rhinestones;
- brooches;
- satin ribbons, bows;
- tags;
- beads, buttons;
- embroidery.
All this can be sewn not only on new headbands, but also used for an old headband that is already boring, not used, asks for a twist or does not match the rest of the clothes in the wardrobe. If it is difficult to decide on a decor option, you can always go to a handicraft store, attach the beads, brooches, buttons you like, and choose jewelry.
Video