Modern berets are practically no different from the models that were popular several decades ago. They have the same style and outline. The only difference is that fashion designers use more varied fabrics and complex decor for production. If you know how to sew a beret, then in a couple of hours you can make a stylish and unique headdress. In order for the product to fit well, you need to choose the right material and take measurements in advance.
Model selection
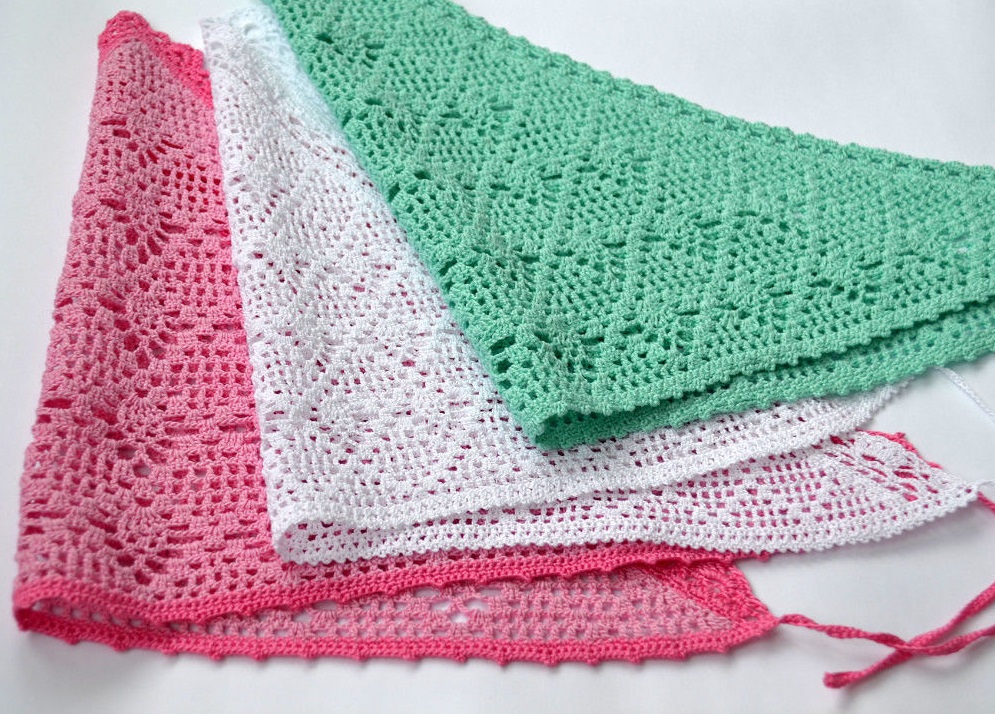
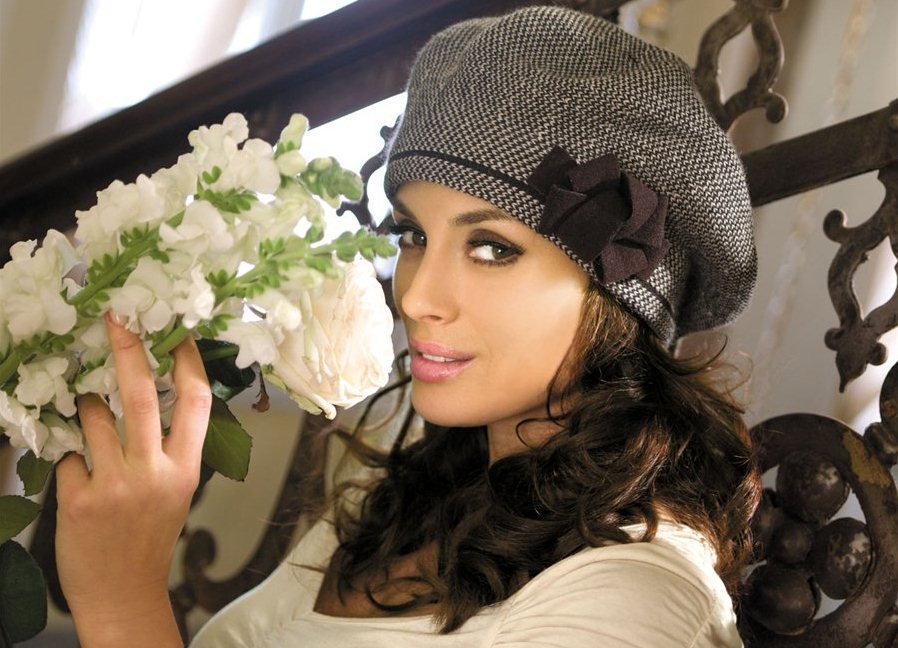
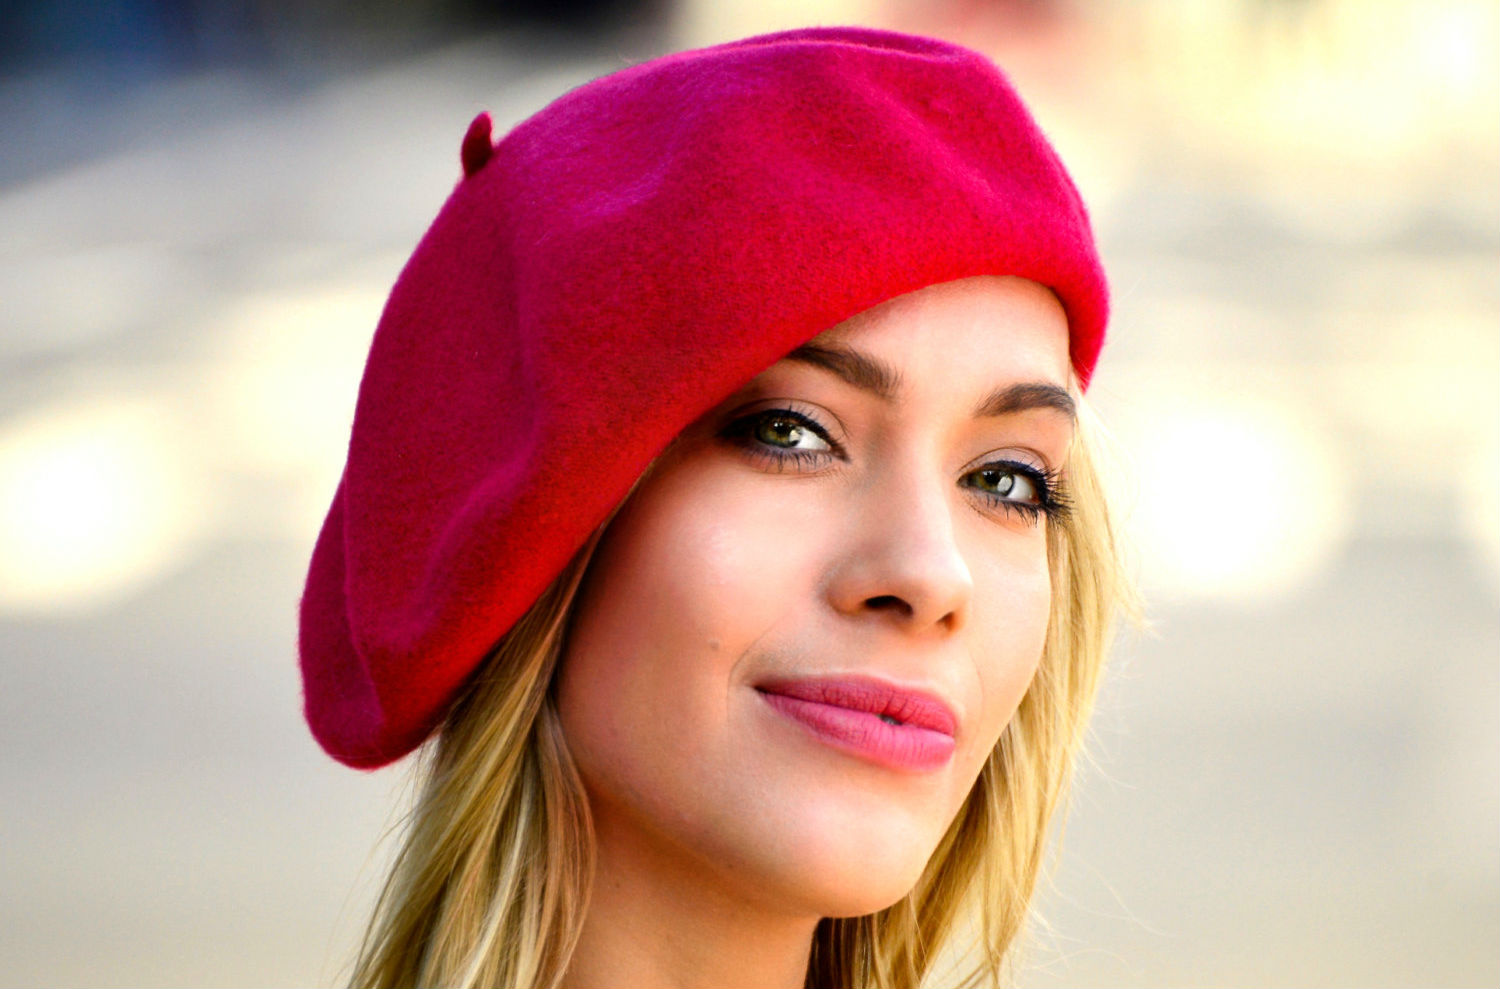
Sewing a beret begins with choosing the style. The difference between such headwear lies in the materials used, knitting method, cut, and decoration. A classic women's beret is made of felt, wool, cotton. Velvet and suede models decorated with beads and sequins are suitable for evening walks and going out. Accessories embroidered with lace look interesting. Yarn is used to create winter, spring, autumn models. The threads can be thin or voluminous. The pattern is chosen individually.
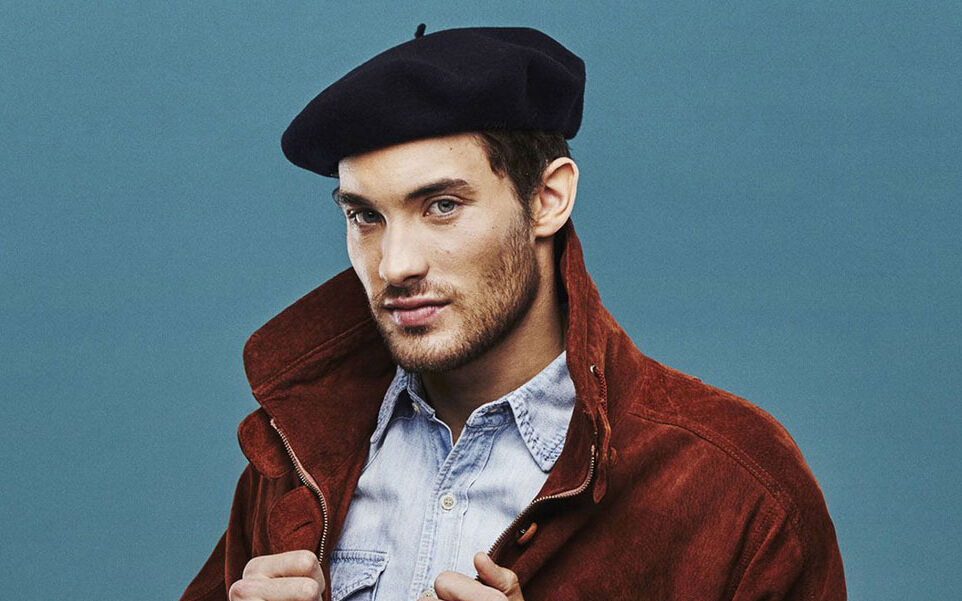
A man's beret is a popular headdress. The product is usually made of felt, wool or genuine leather. Decor is rarely used. A separate category includes a military beret, which indicates belonging to a certain type of troops. Accessories for children are made according to the same pattern as berets for adults. Their main difference is specific decorations and size.

Materials and tools
When choosing a fabric for a beret, you need to consider when exactly the product will be worn. Summer and spring models are best cut from thin, breathable fabrics such as linen, cotton, and cambric. Such fabrics will not interfere with ventilation and will simultaneously protect your head from the sun. For late autumn, you will need denser materials that will protect from the wind. The best option is angora, velor, and thick knitwear. Winter models are often sewn from drape. Berets made from artificial and natural fur, woolen fabric with a small pile look interesting. For sewing a women's beret, you can take polar, fleece, these fabrics are optimal for everyday use.
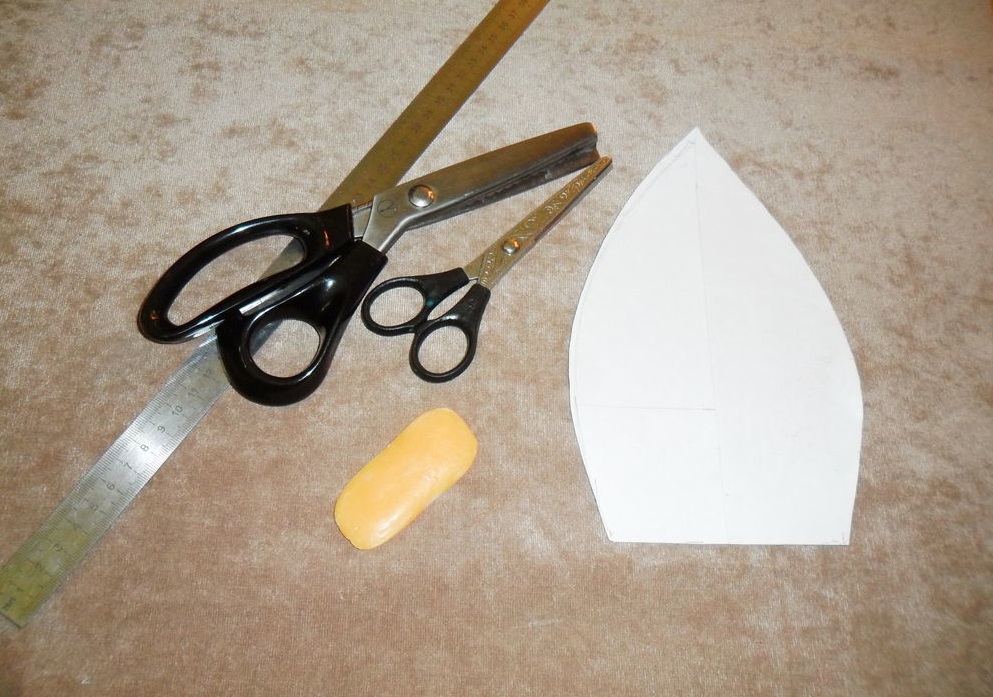
As a basis for creating a paratrooper's beret with your own hands, it is recommended to use thick knitwear, thick fleece or coat fabric. Sewing a border beret can be done from any thick green fabric. In addition to the material, you will need the following tools for the job:
- measuring tape;
- threads with needles;
- bias tape for finishing seams.
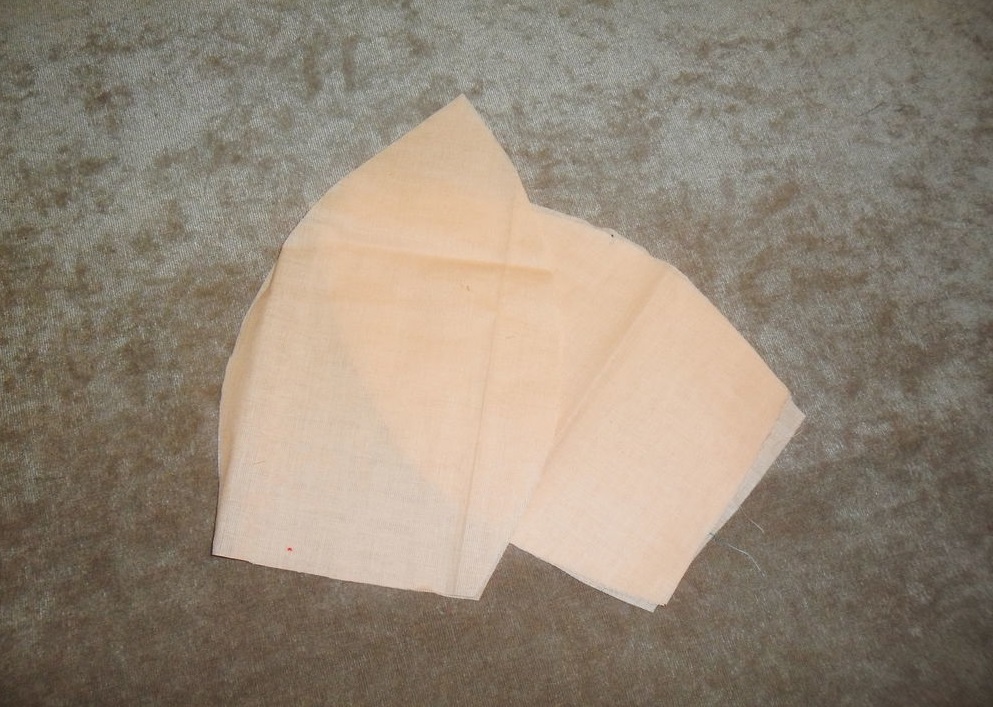
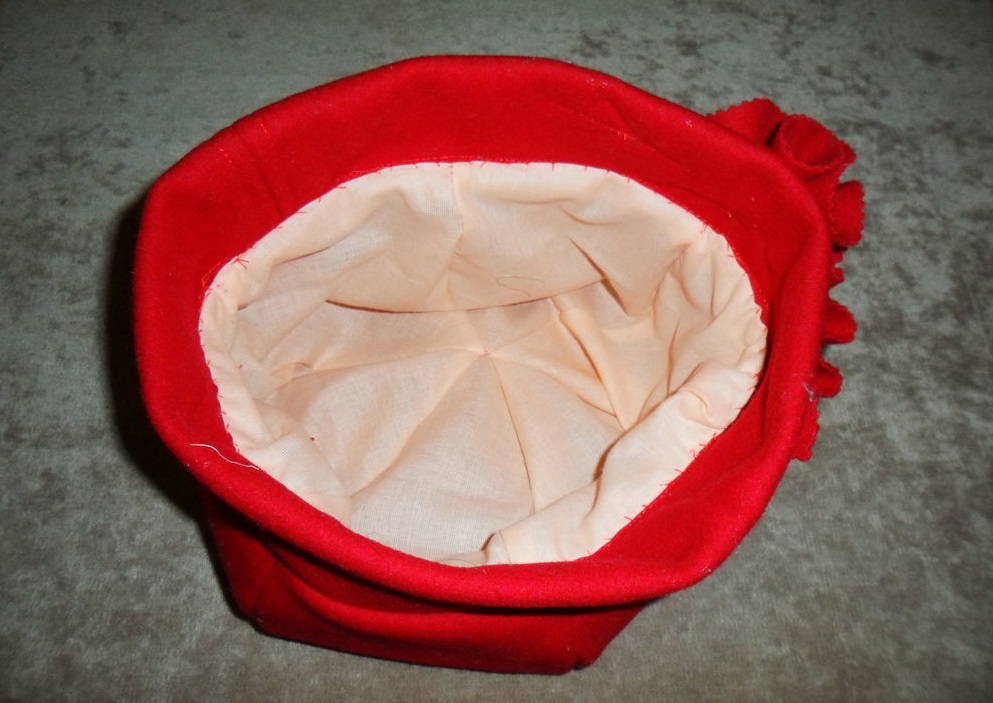
If desired, you can sew a lining inside, thanks to which the product will hold its shape better. The most important stage in sewing a product is a correctly selected pattern. It must be printed in the original size.
Measurements and pattern
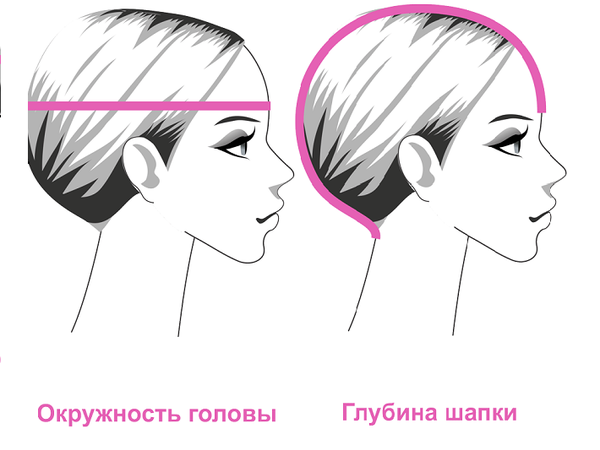
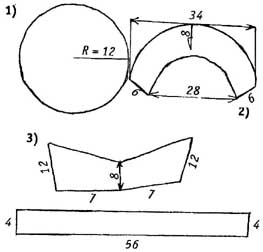
Before sewing a beret, you need to decide on the size. Only 2 parameters are needed:
- head circumference (to find out, you need to draw a measuring tape around your head along the line of your eyebrows and the back of your head);
- the distance from the crown of the head to the edge of the headdress (usually a centimeter is swallowed up to the middle of the forehead).
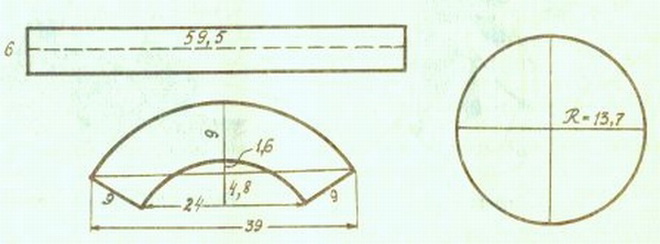
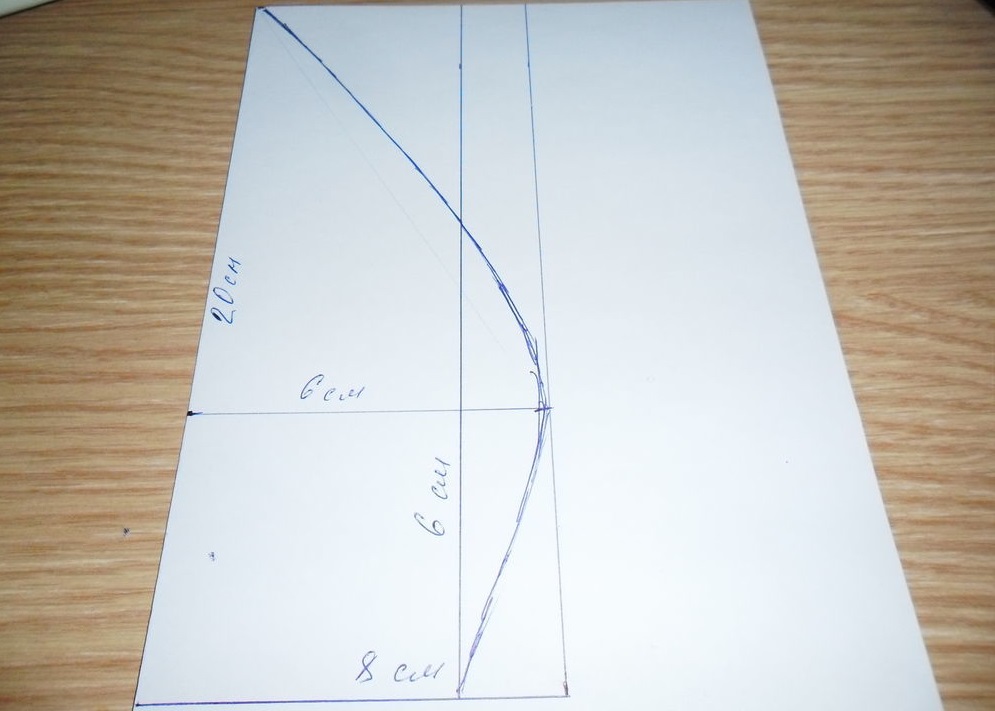
Now you need to adapt the beret pattern to your parameters. All that is required is to increase or decrease the parts suggested in the diagram by a few centimeters so that they match the obtained values. Since simple children's and adult berets are cut from 2-5 parts, their redrawing will not cause difficulties even without experience.
When taking measurements, do not pull the tape too tight, otherwise the product will be too small and will be tight.
Sewing stages taking into account the model
A detailed master class on making a headdress from fabric will make the task as easy as possible. If you follow all the rules and the algorithm of actions, even a beginner can handle the job. If you have no experience, it is better to start sewing simple models.
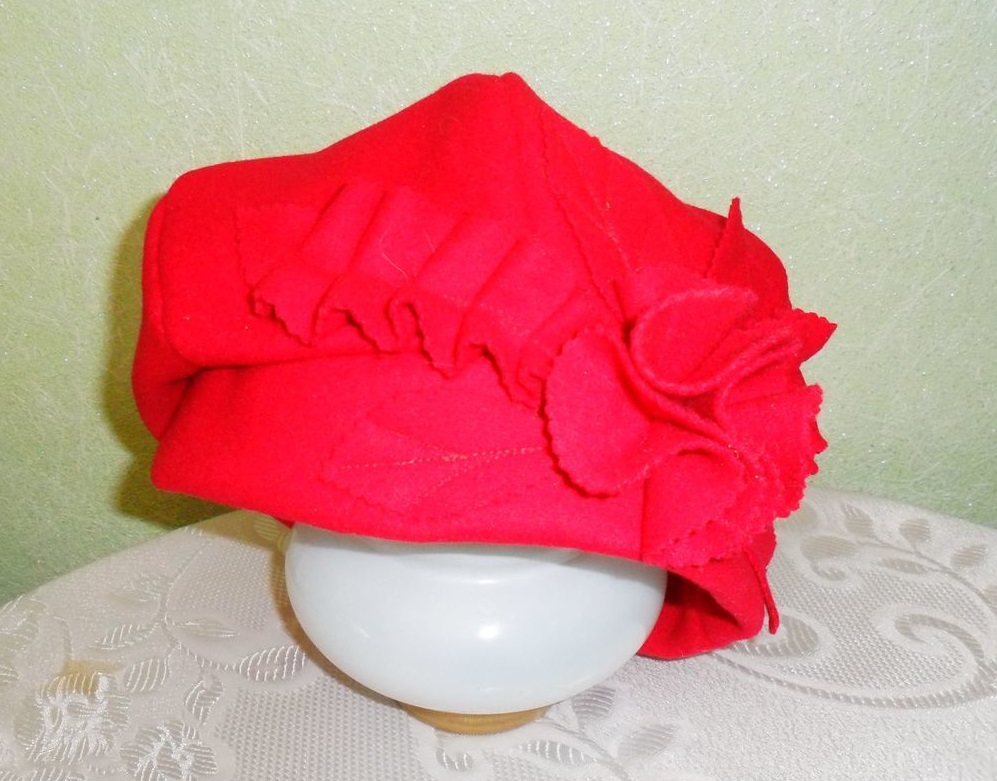
Female
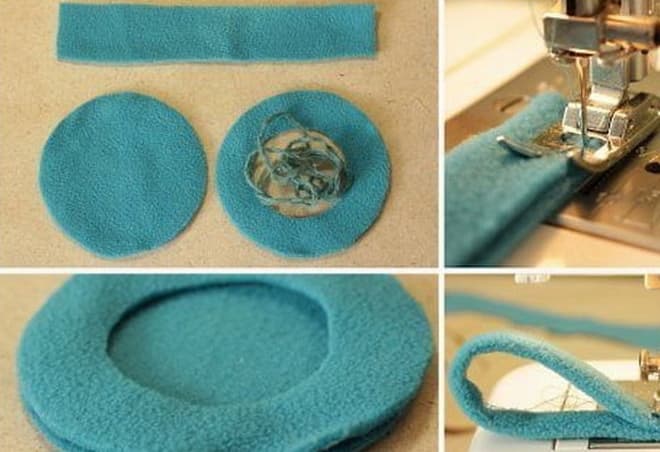
This beret can be sewn from knitwear. Since the material tends to stretch and does not hold its shape well, it is necessary to make a lining. It is made in the same way as the base. In order for the accessory to be beautiful and fit well, you need to follow the algorithm, and also iron the product after each seam, checking whether everything corresponds to the measurements.
Main stages:
- The first thing you need to do is connect the parts of the side so that it is integral.
- Next, iron the seam.
- The bottom is fixed to the side and the base is formed.
- The seams are smoothed out again.
- Now you need to sew the pre-made lining to the base.
- Finally, sew on the band, checking that it fits on the head.
It is recommended to steam the cap, after which the product is ready for use. To make the accessory more unusual, it is recommended to decorate it. It is better to use beads or small beads as decoration. Massive elements are not suitable, as they can stretch the knitwear.
Male
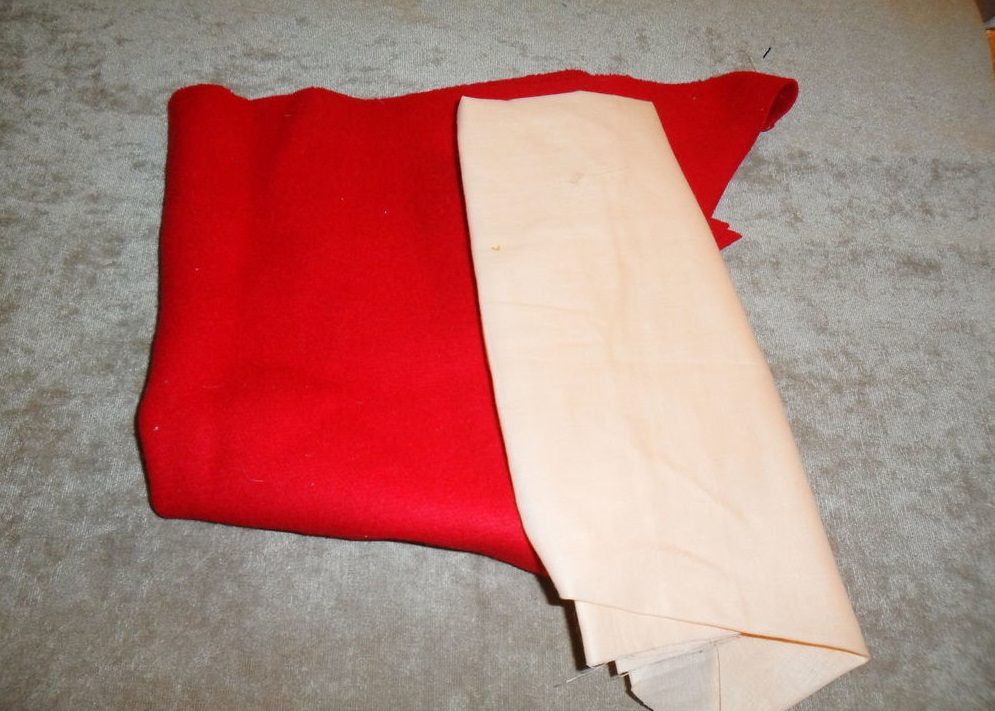
The beret pattern for men consists of the same templates as women's models. The only difference is in the materials. It is recommended to use drape or thick felt of a dark color as the main fabric, the band is sewn from leather. Cotton can be chosen for the lining.
Algorithm of actions:
- First, you need to sew the bottom and sides from the main fabric. Do the same with the lining.
- After this, iron the seams on the base, stitch on both sides with decorative stitches at a distance of 3 mm.
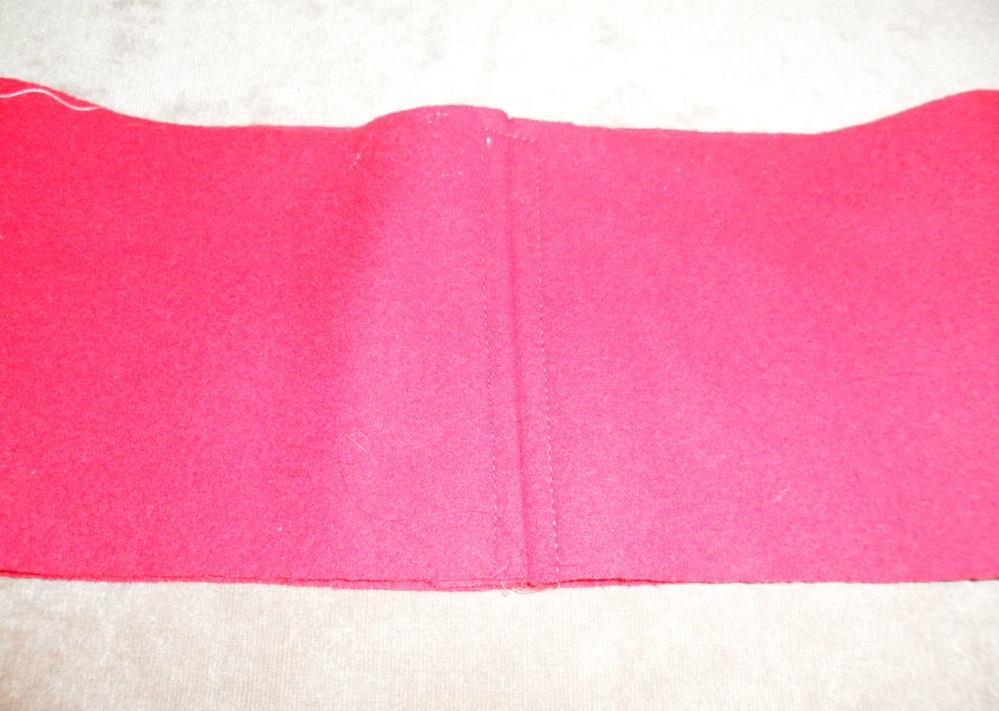
- Now glue the band with interlining, which will prevent subsequent deformation. It must be folded in half, sew the short sides so that a circle is formed.
- Next, the band is sewn to the finished base of the accessory, placing the front side to the back of the top. The band needs to be turned to the front side and stitched so that it covers the resulting seam.
All that remains is to insert the lining into the beret with the wrong side out, baste it and hem it along the inner edge of the band. Such an accessory looks stylish and fashionable, any man will like it. It will look especially impressive if the band is made of genuine leather.
Military
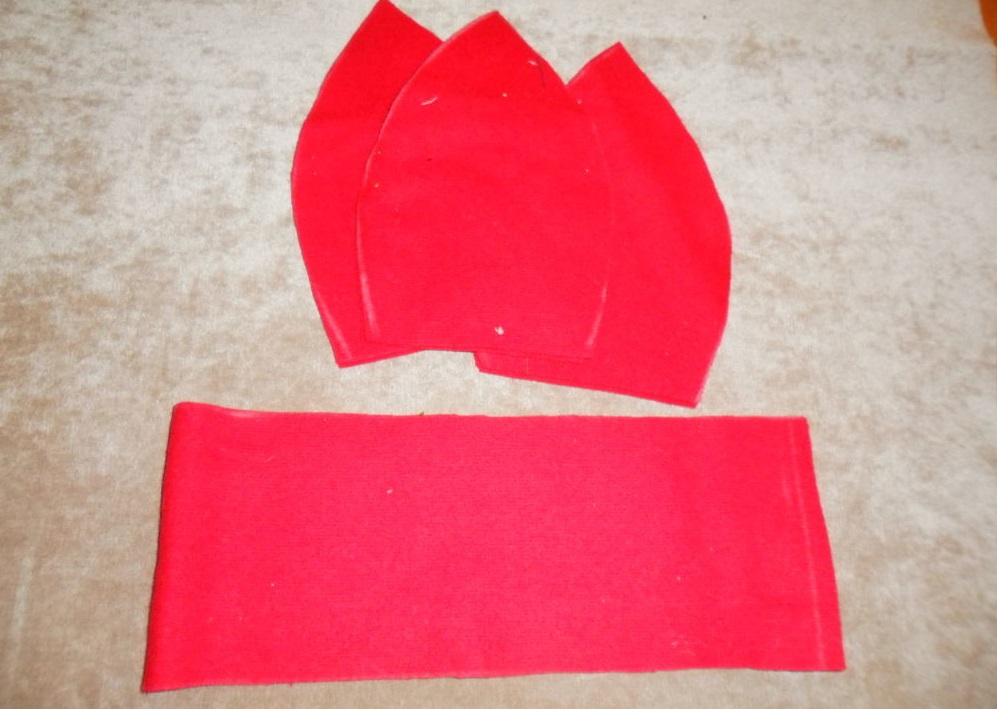
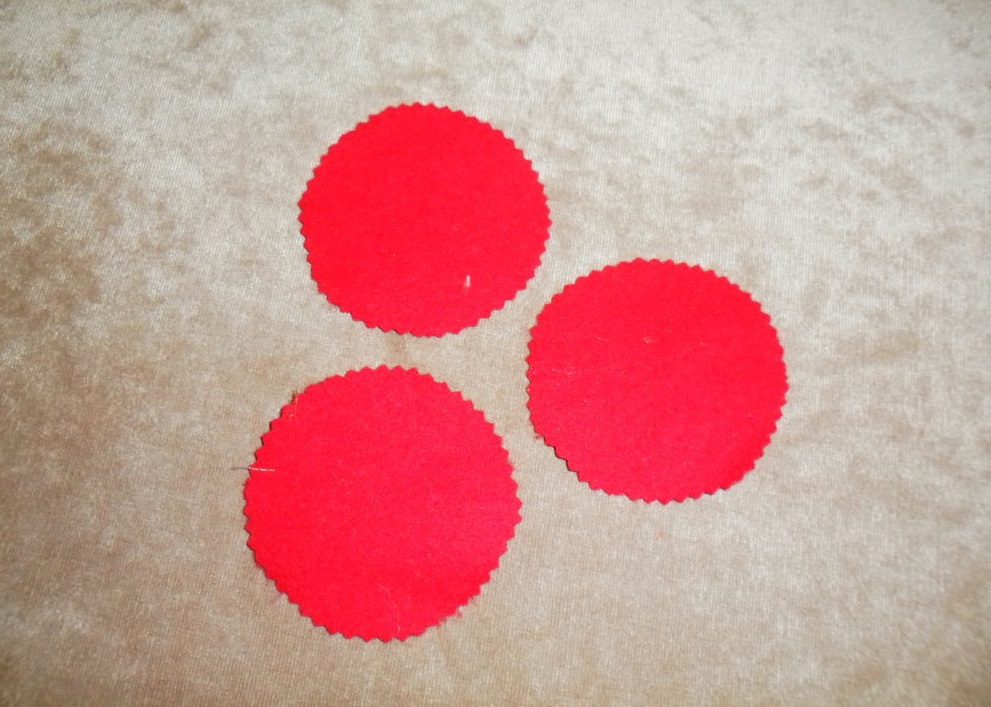
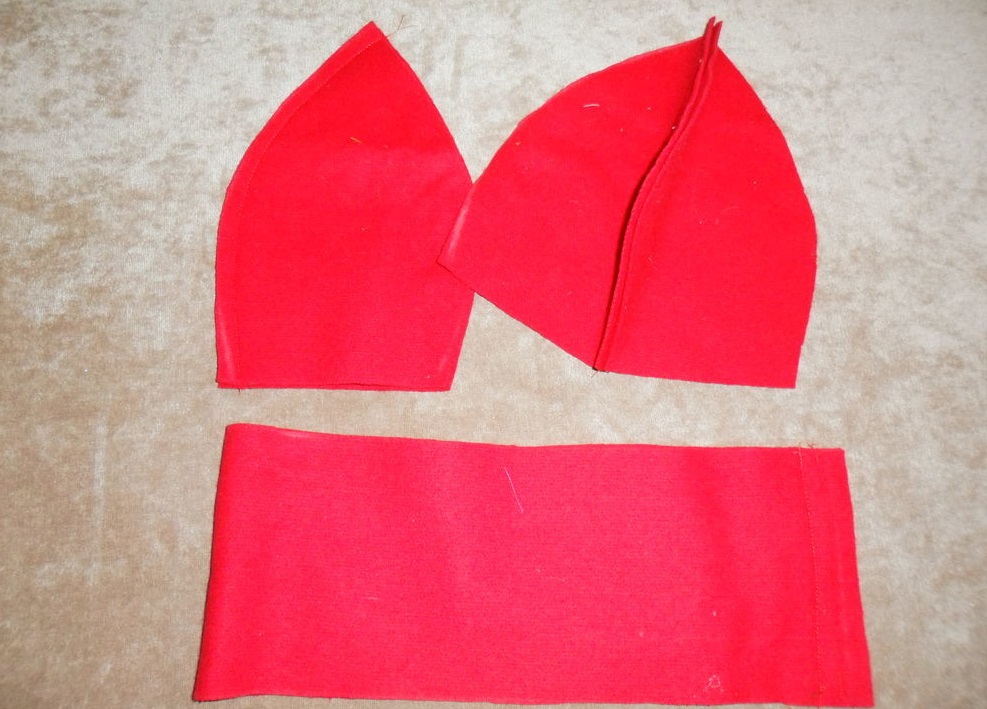
This pattern of a military beret like the Airborne Forces assumes the manufacture of an accessory from thick felt or wool. The headdress is sewn from only 3 parts, so its manufacture will take a couple of hours.
The army beret is made according to the following algorithm:
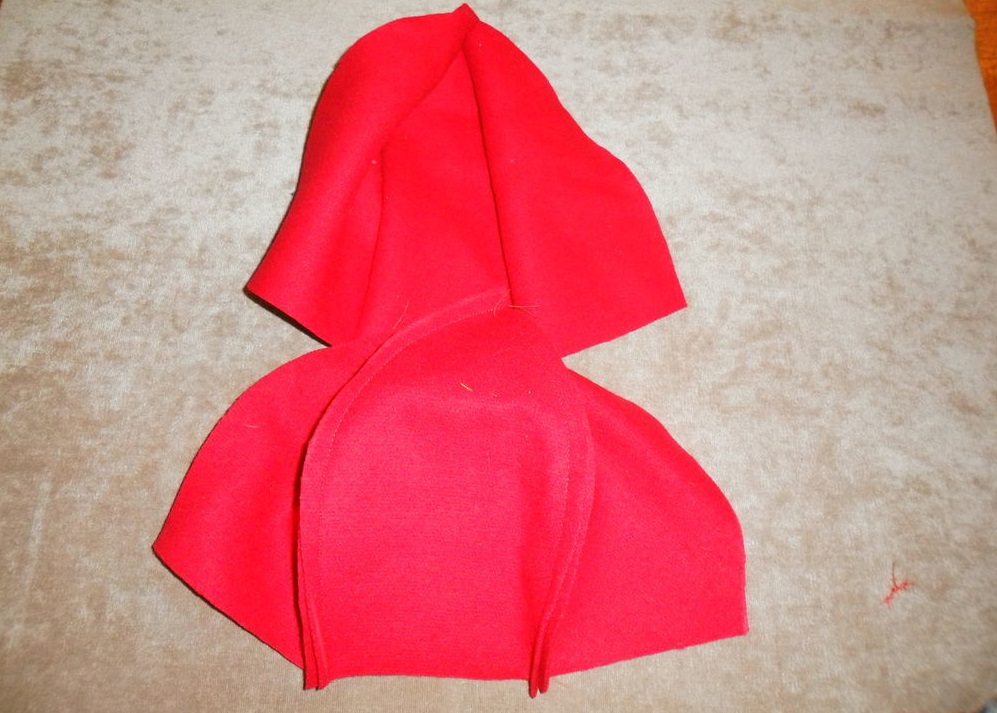
- First, you need to connect the side part with the facing. Then turn the facing inside out and stitch along the edge.
- The bottom and the side piece are connected in a circle on both sides (the edges should already be processed).
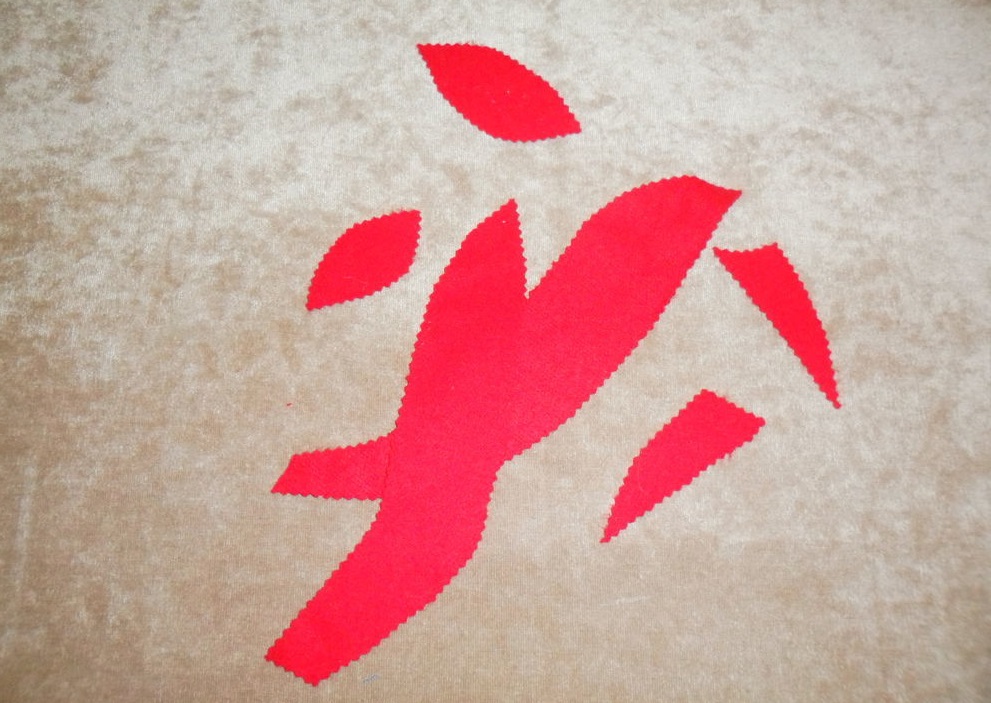
- Now you need to stitch the edge of the beret. The edging can be done manually, but it is better to use a zigzag stitch on an overlock. This way the seam will look neater.
- Finally, the product needs to be turned inside out and ironed.
All that remains is to decorate the accessory with stars. You can make them yourself from plastic and fabric or use ready-made stars (the second option looks more impressive). A beret made according to this pattern is considered universal and practical. It suits both adults and children.
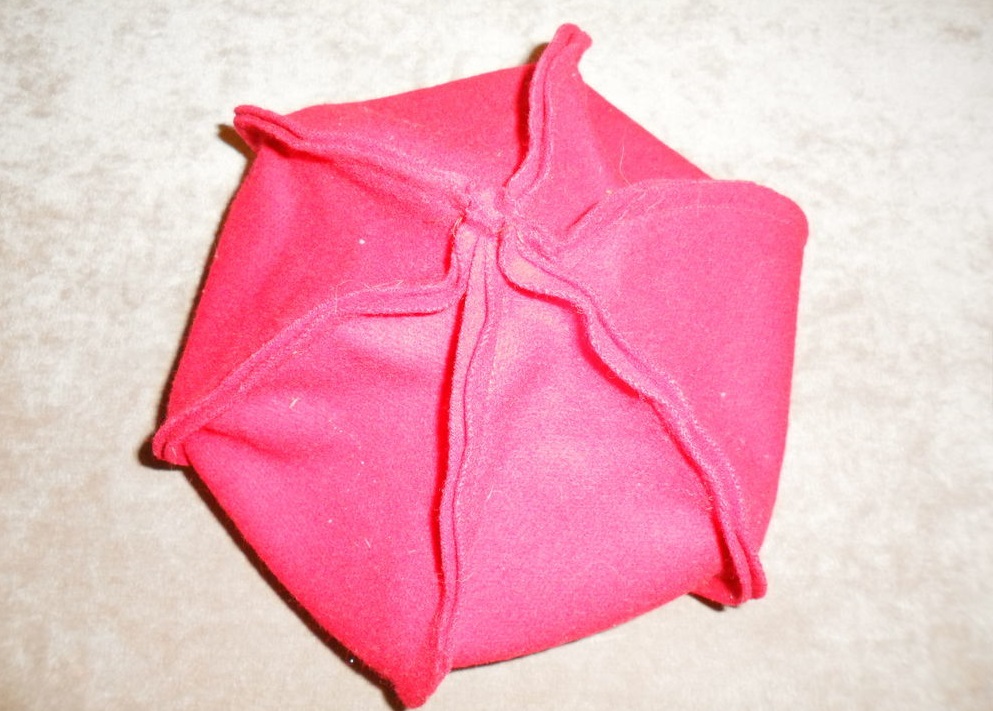
Children's
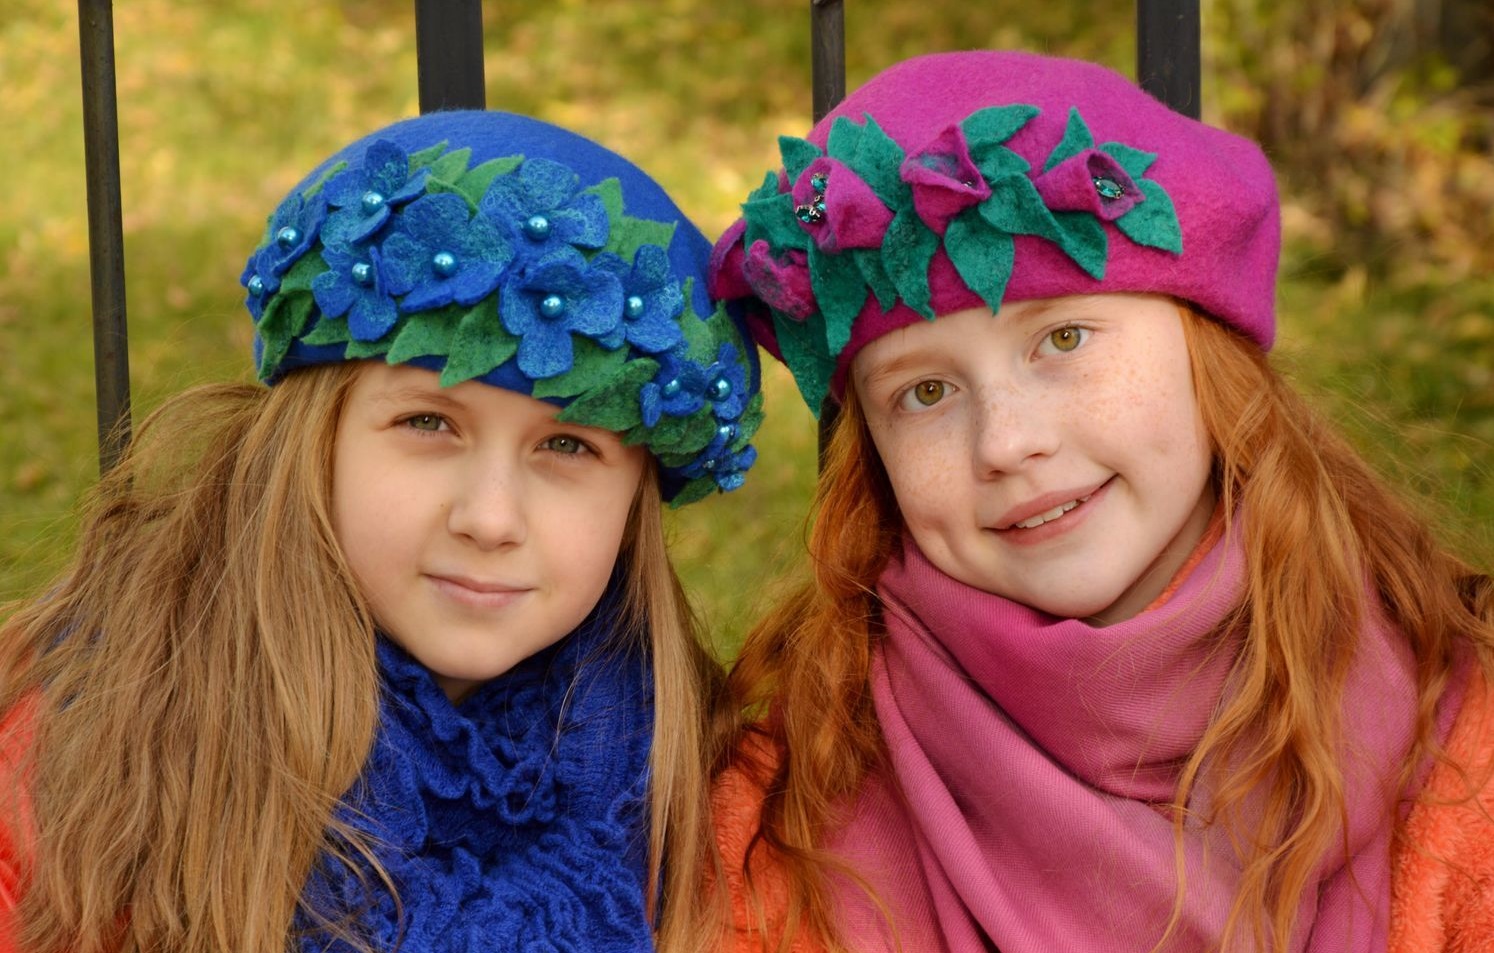
A simple classic beret can be sewn for a girl or a boy. But a headdress made of wedges will look much more interesting. It is recommended to use thick knitwear or felt for its sewing. To make the accessory look unusual, it can be stitched with contrasting threads. To work, you will need to cut out 8 wedges and immediately overcast them, which will prevent subsequent crumbling of the fabric. You also need to cut out the headband.
Algorithm of actions:
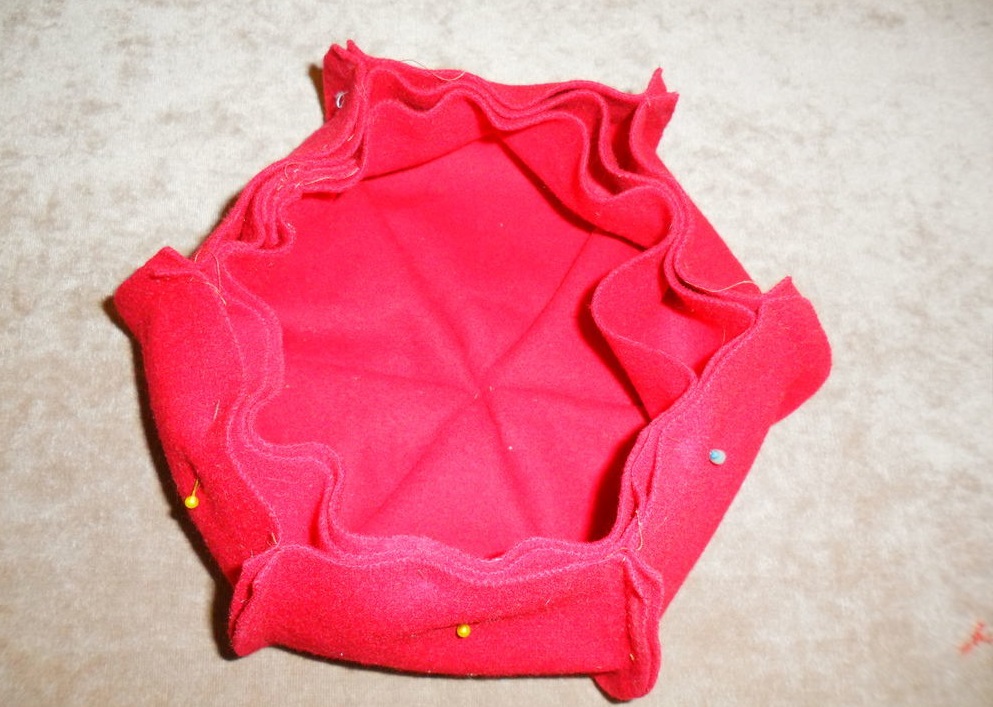
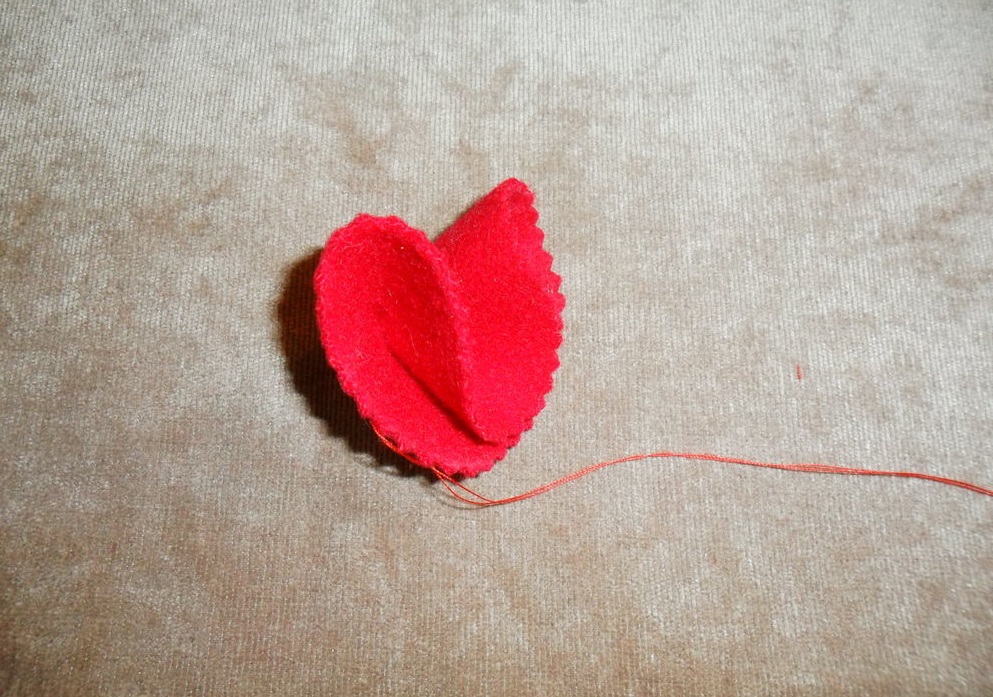
- the wedges need to be sewn in pairs, then the 4 resulting parts need to be fixed and ironed;
- then sew the headband along the narrow edges to form a circle, smooth out the seam;
- the headband needs to be folded in half, swept, and ironed;
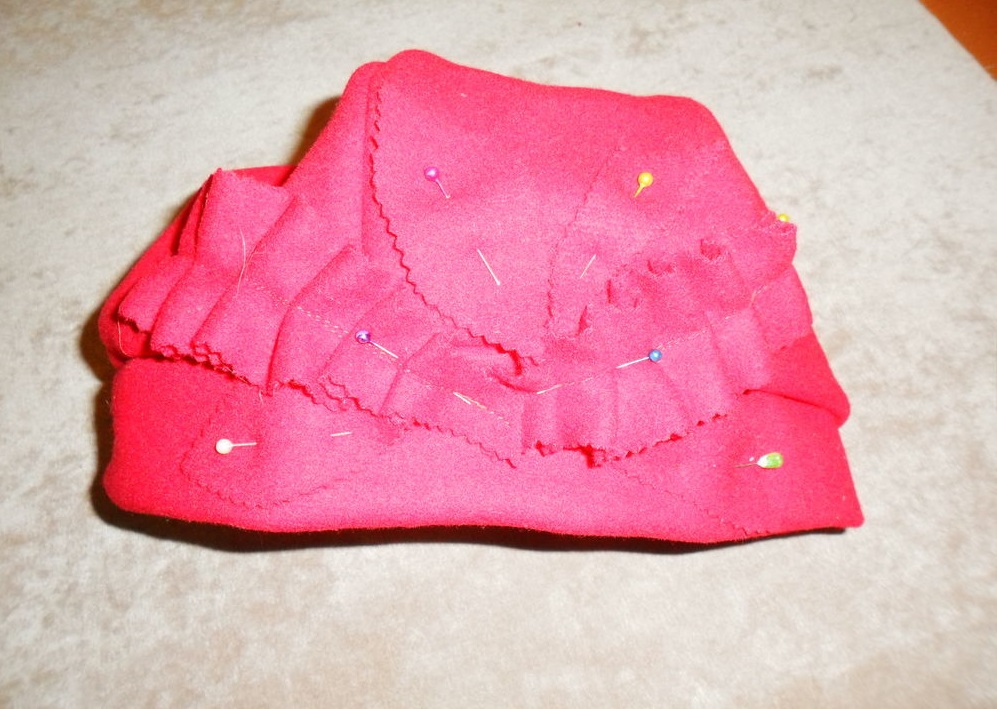
- now attach the finished piece to the beret, lowering it by about 1.5 cm;
- All elements are sewn by hand or by machine.
Finally, you should sew the lining. A children's beret made according to this scheme will turn out voluminous and unusual. To make the accessory more non-standard, it can be cut from wedges of different colors.


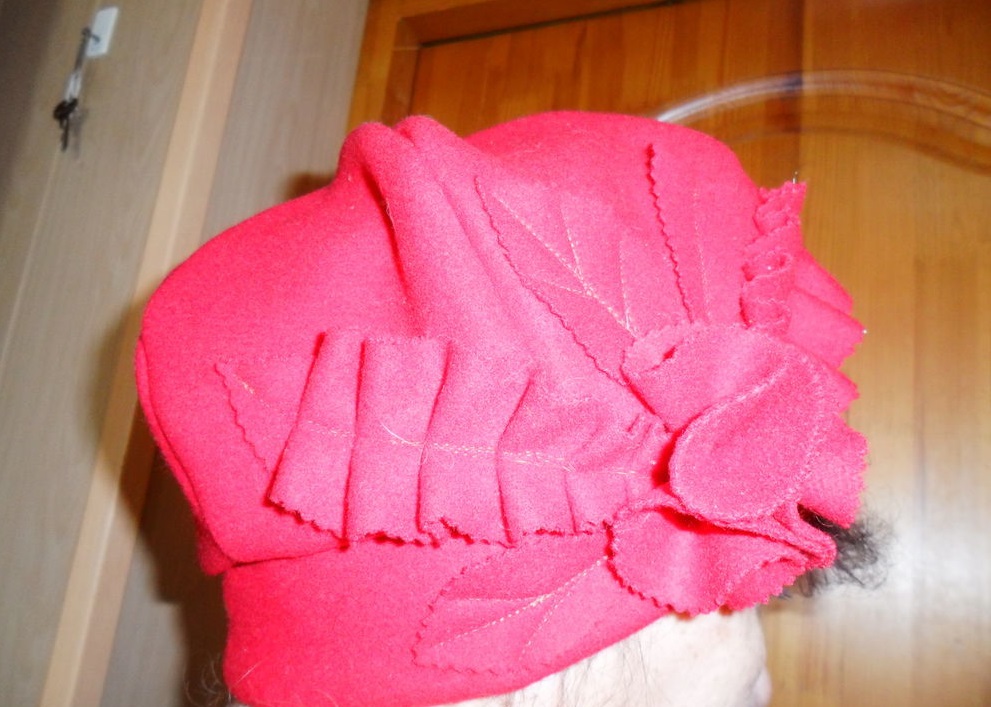
How to decorate
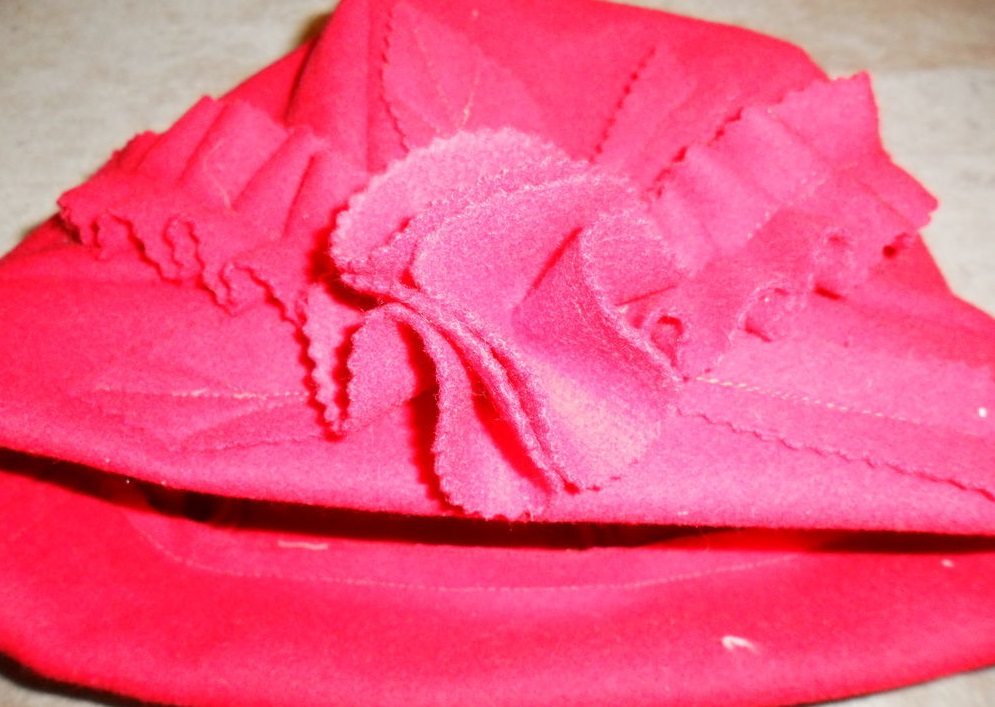
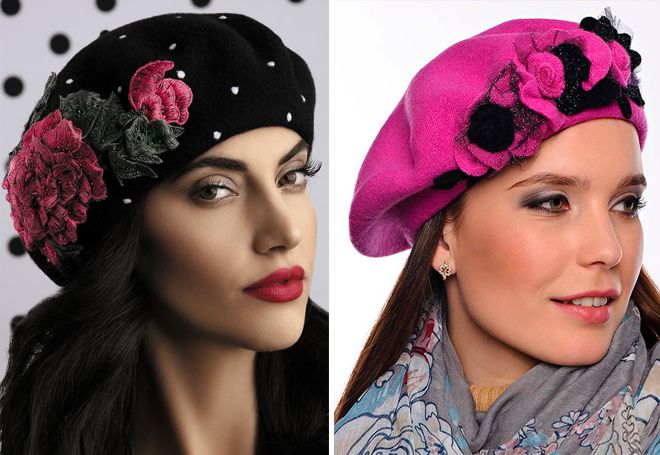
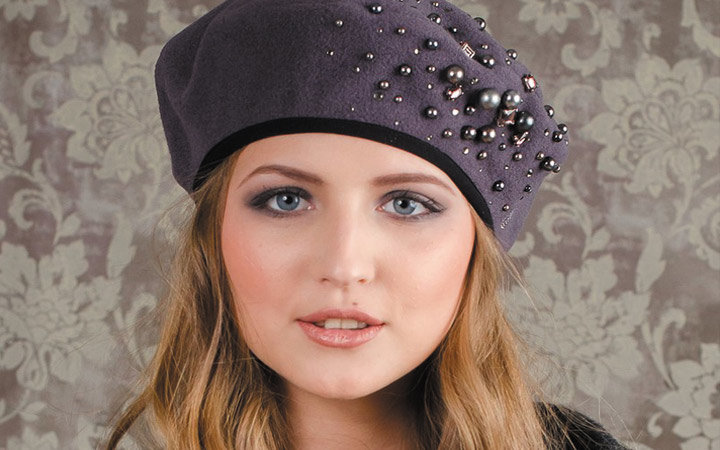
How to decorate a beret depends on its style and the color it is made in. Classic autumn and winter headdresses can be decorated with rhinestones, beads, sequins. The front part of the product can be complemented with an applique made of natural fur. It can be sewn on in pieces or made into small pompoms.
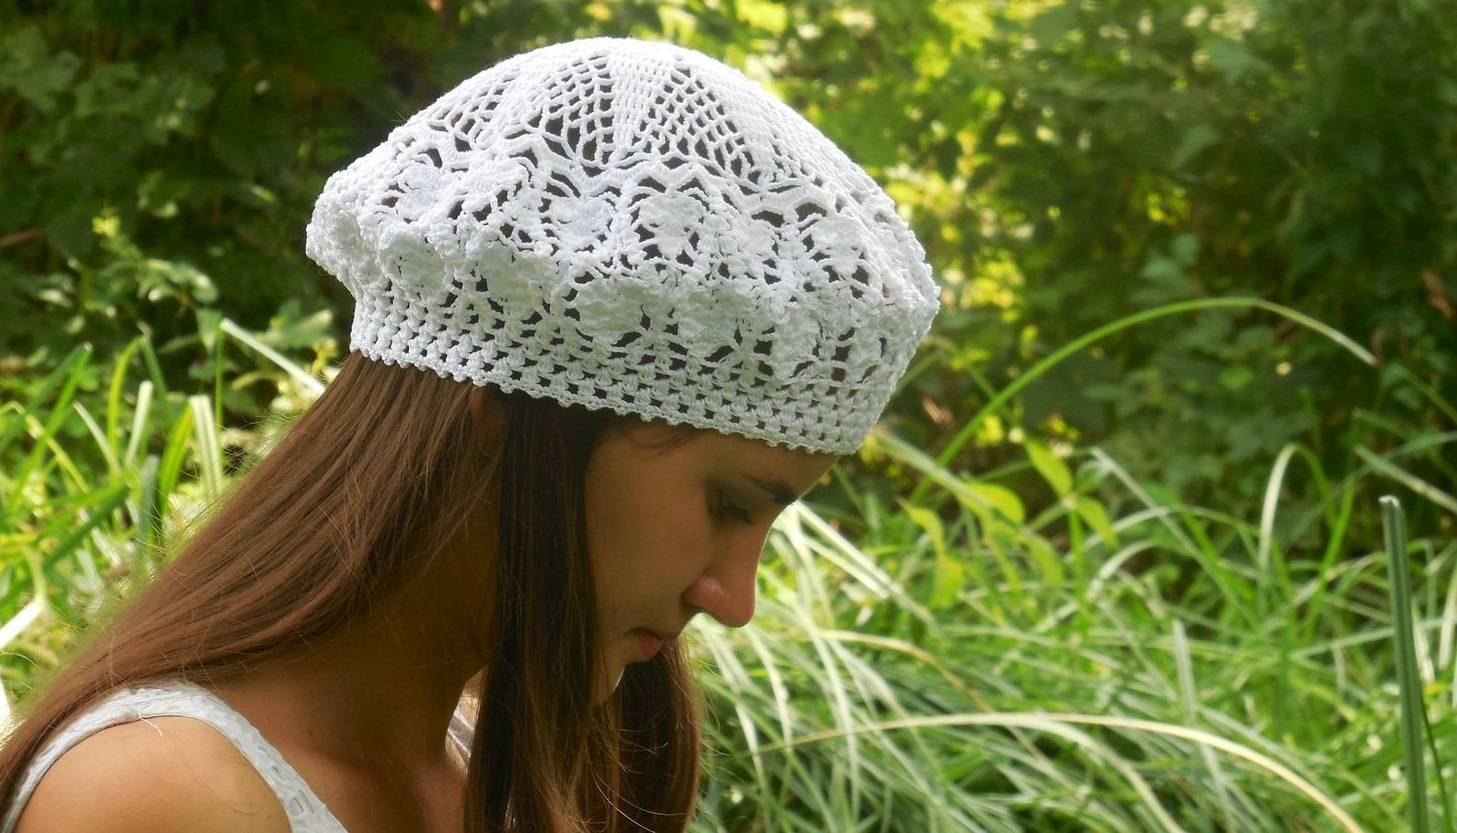
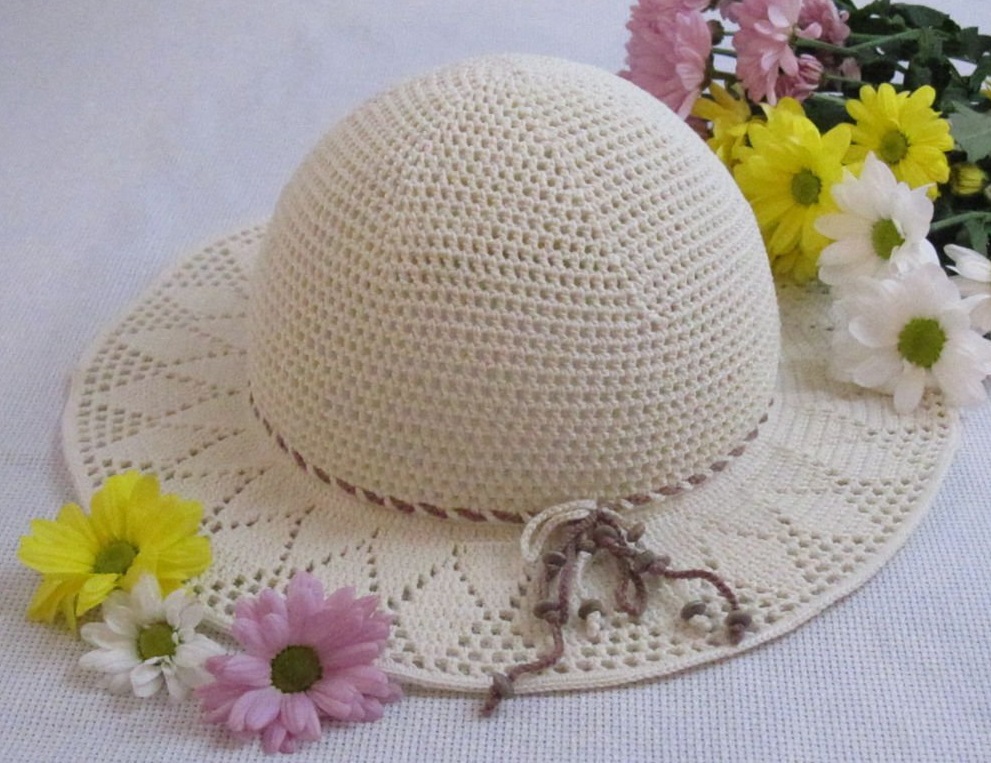
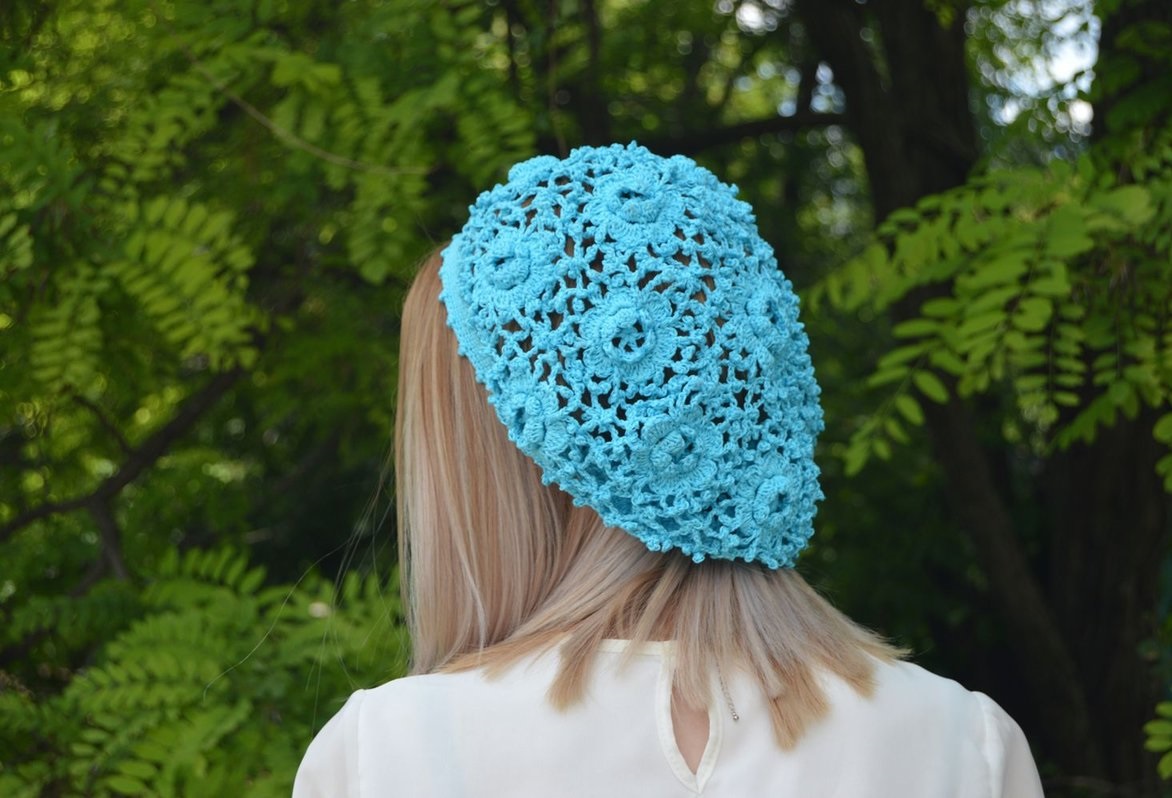
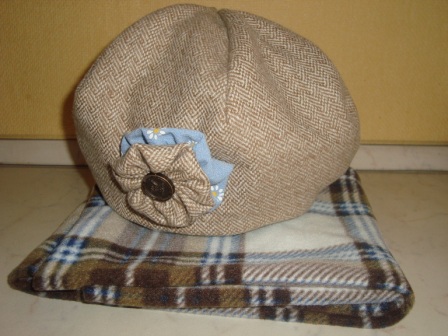
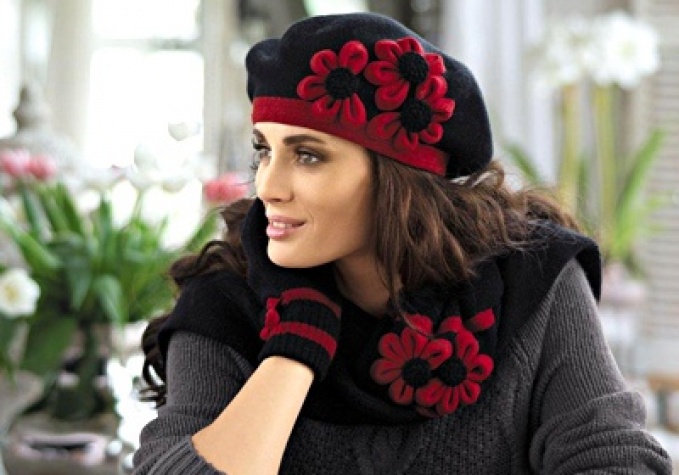
It is recommended to decorate summer and spring knitted models with voluminous figures made from yarn. These can be butterflies, flowers, stars. You can sew beads of a similar color along their edge. The Scottish beret is decorated with a small pompom made of artificial fur, located in the center.
It is better to decorate children's hats with embroidery or appliques. You can make them yourself or buy ready-made options. Patches that are fixed with glue also look stylish and modern. With this type of fastening, it is recommended to give preference to small decorative elements.
Video