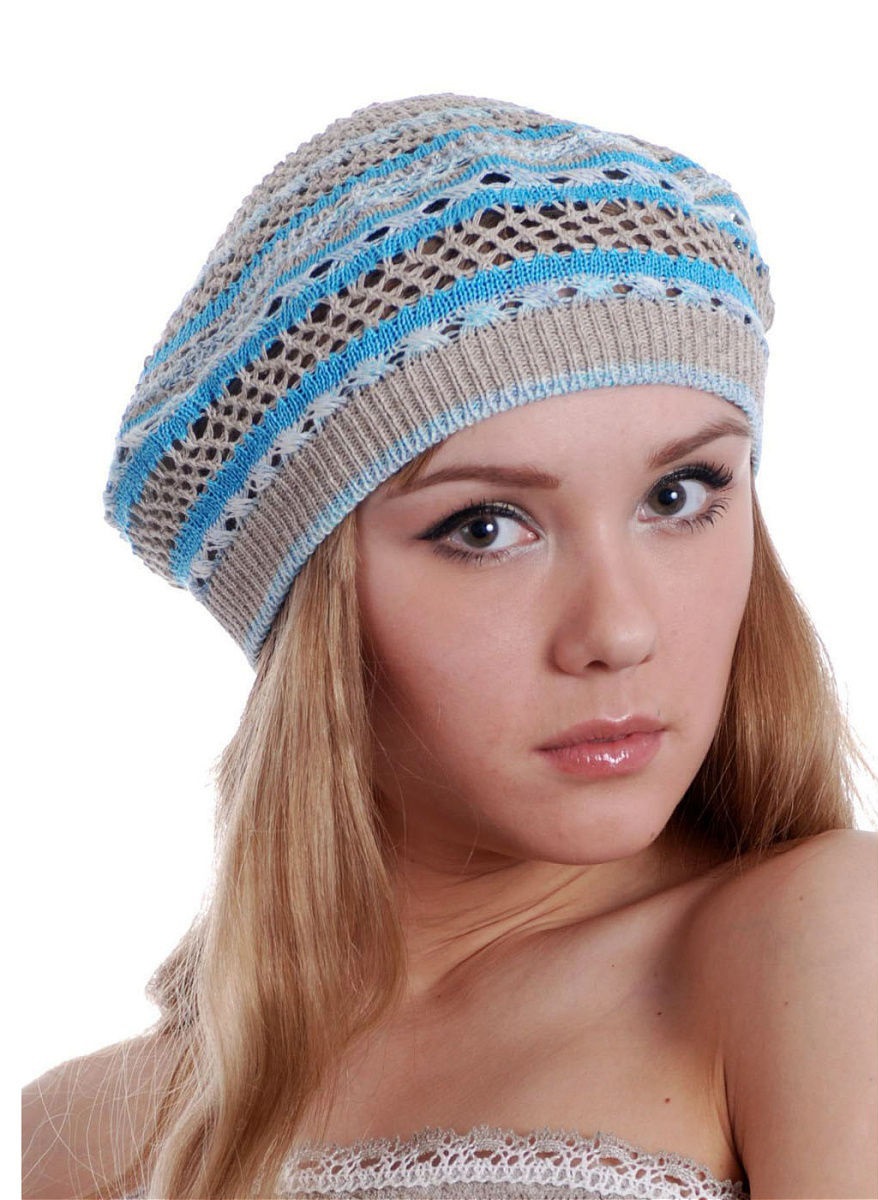
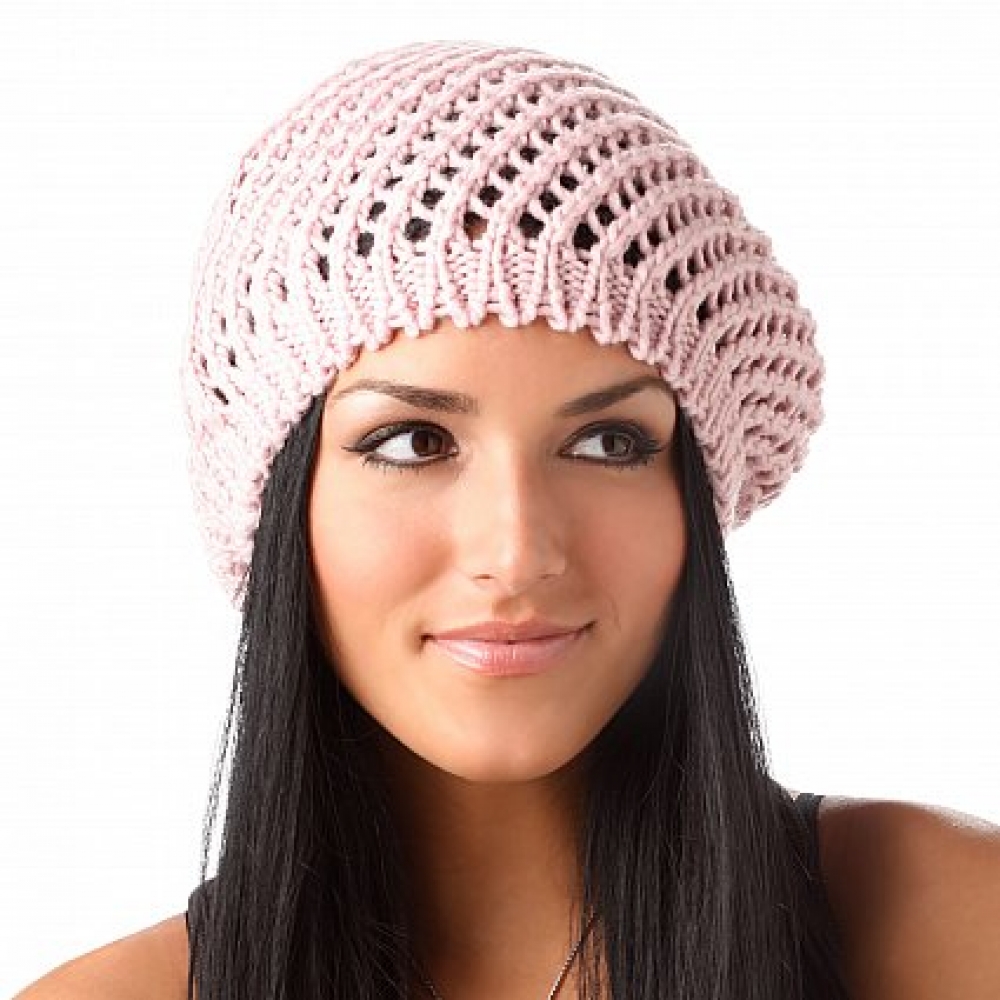
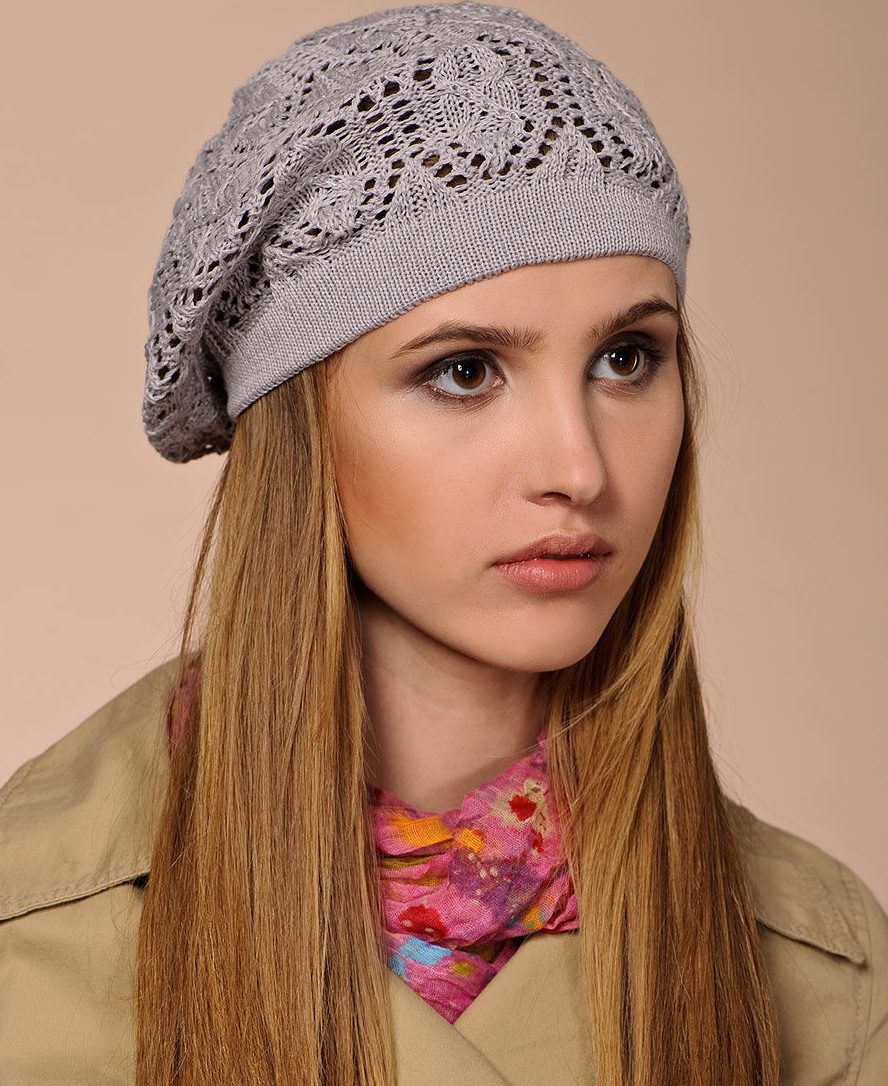
Light, almost weightless headwear has always been in demand among girls. Among such items are berets, which are always present in fashion designer shows year after year. This season they are back in trend, and along with brand new items, hand made models are no less popular. Even inexperienced needlewomen can crochet a stylish beret. The main thing is to choose a simple model with an accessible pattern and step-by-step description, and then the finished result will be perfect. A hand-made headwear will please you not only with its beauty and practicality, but also with its low cost.
Model selection
A crocheted beret can be for adults and children, colored and plain, thin and thick, winter and summer - the variety of options is truly impressive.
When choosing a suitable style, it is important to take into account the season, knitting density, and the style that the girl adheres to.
To choose the right headwear model, it would be useful to pay attention to the advice of stylists:
- If your face is oblong, a voluminous beret, slightly shifted back, will suit you.
- If a girl has a prominent chin, it is better to choose a model that can be worn to the side to balance the proportions of the face.
- For a round shape, a small classic beret is recommended.
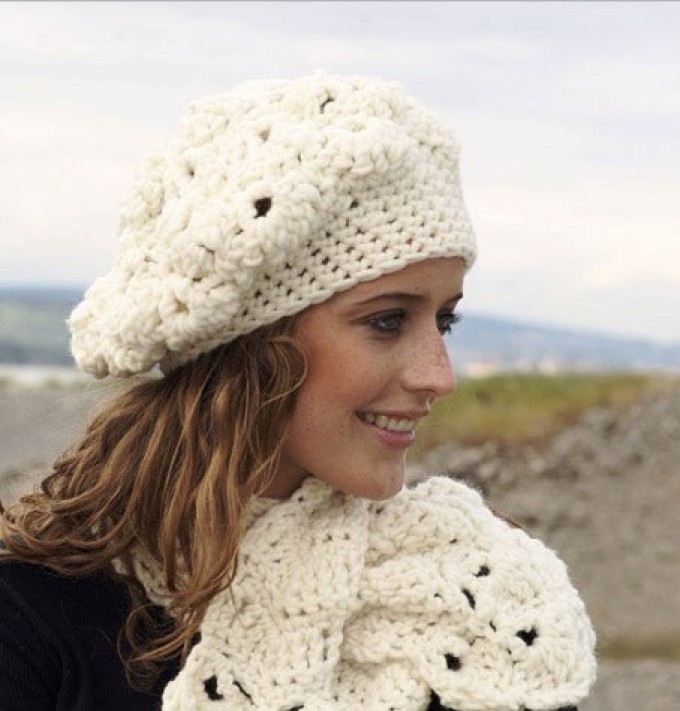
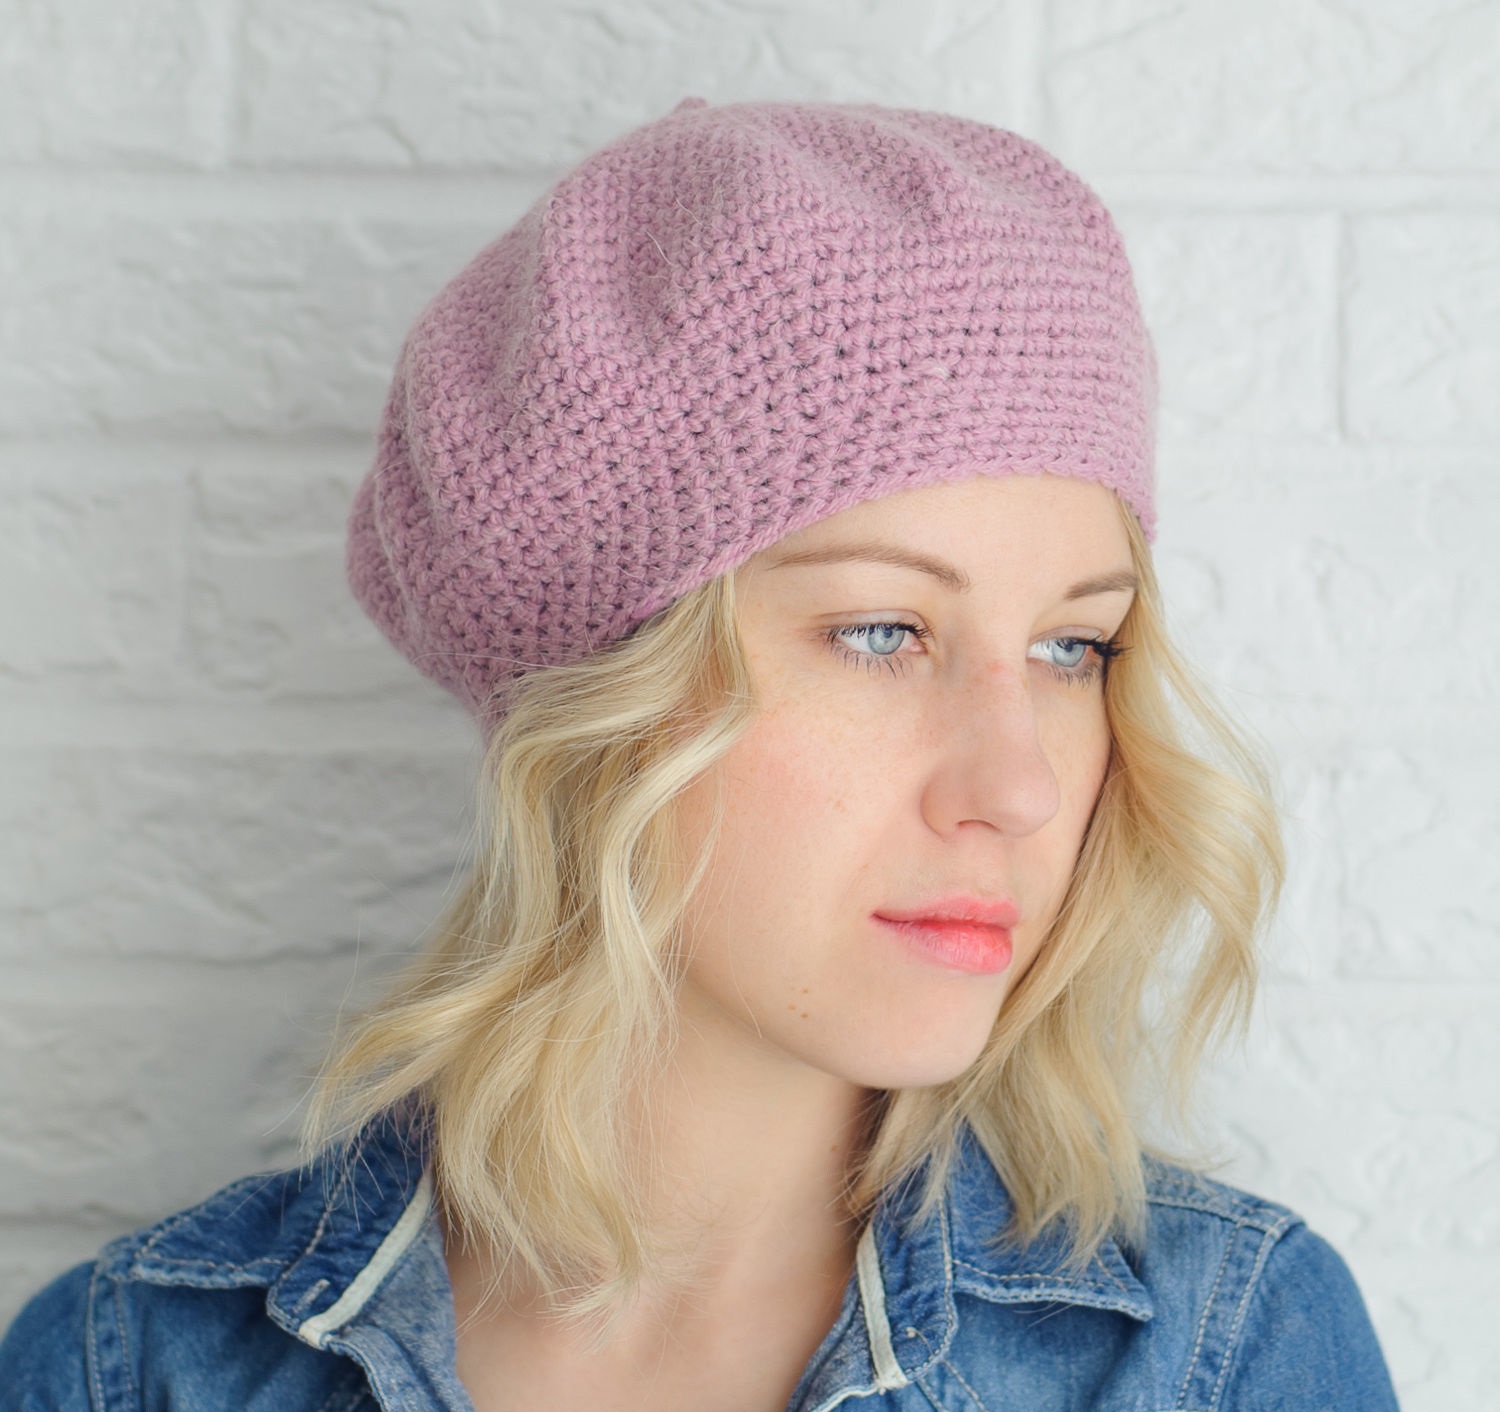
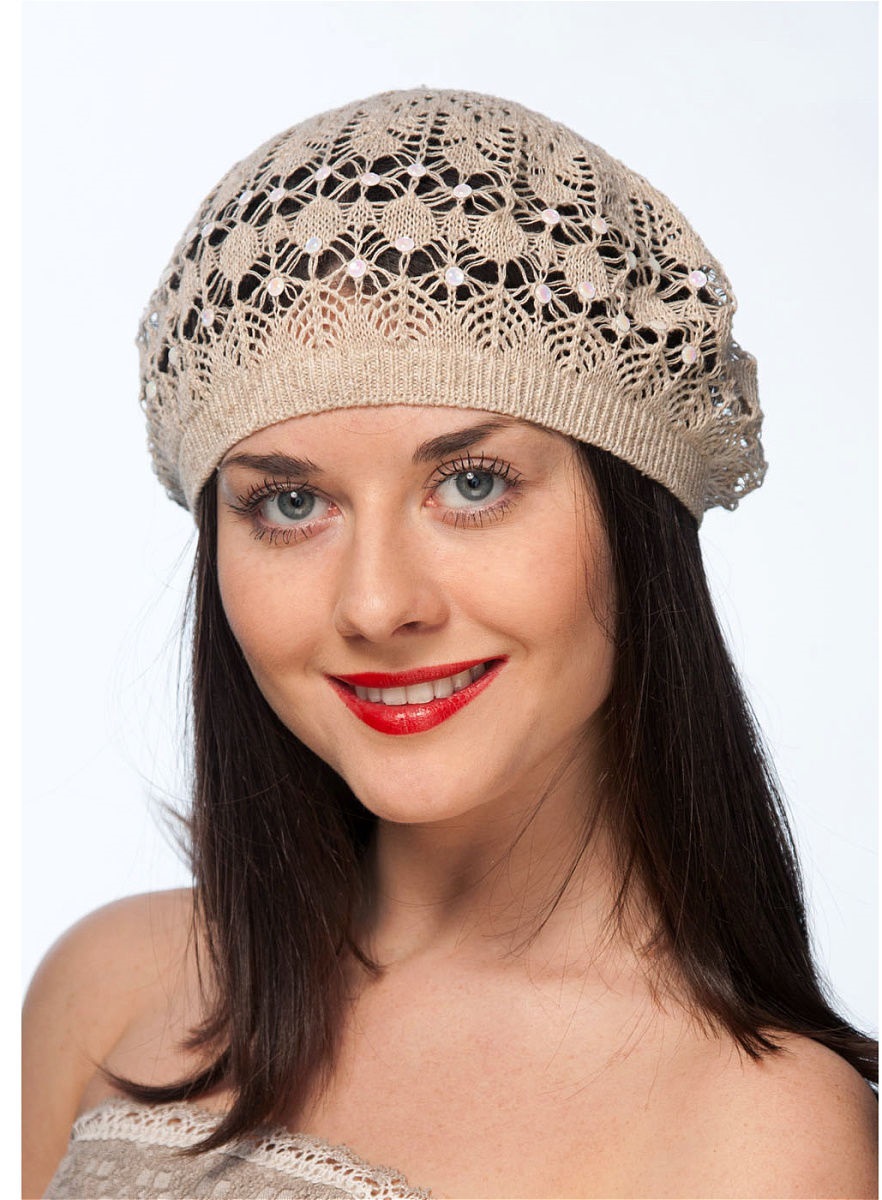
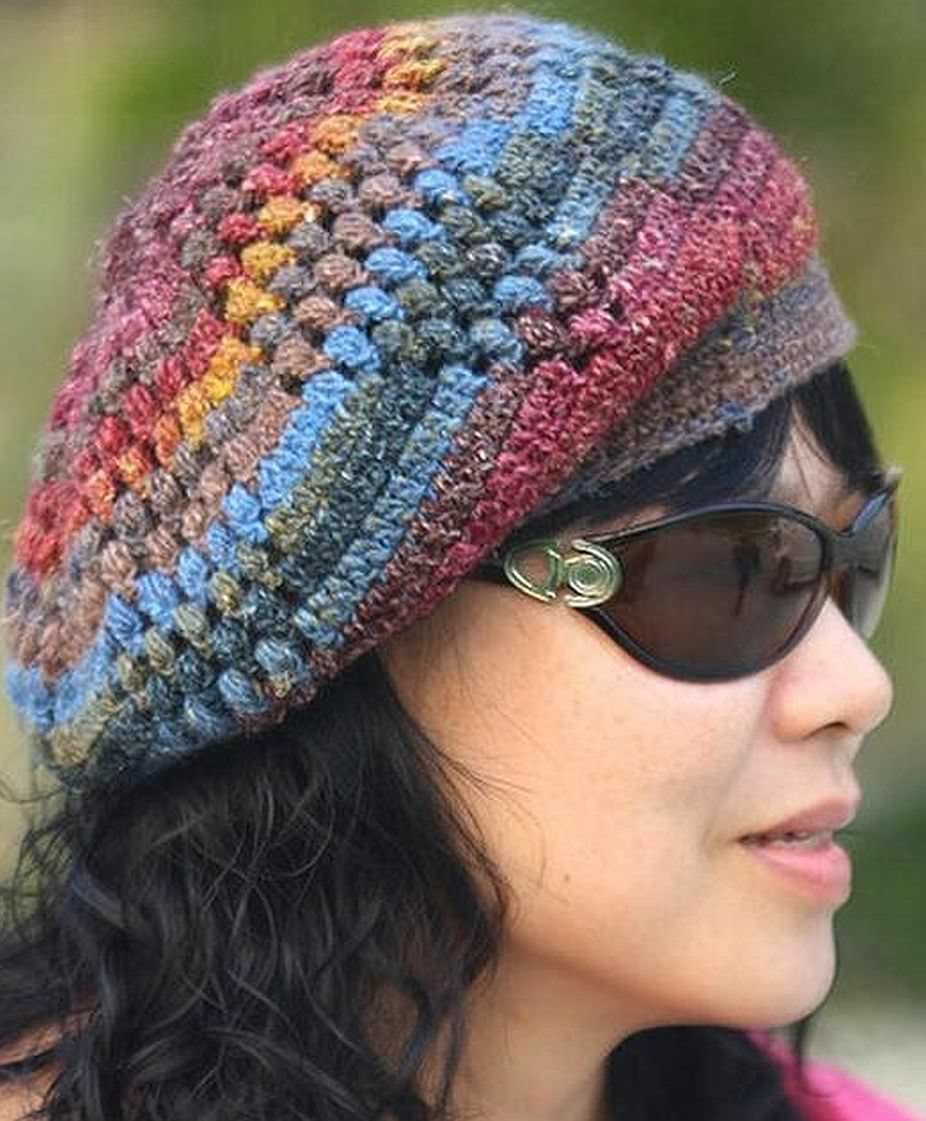
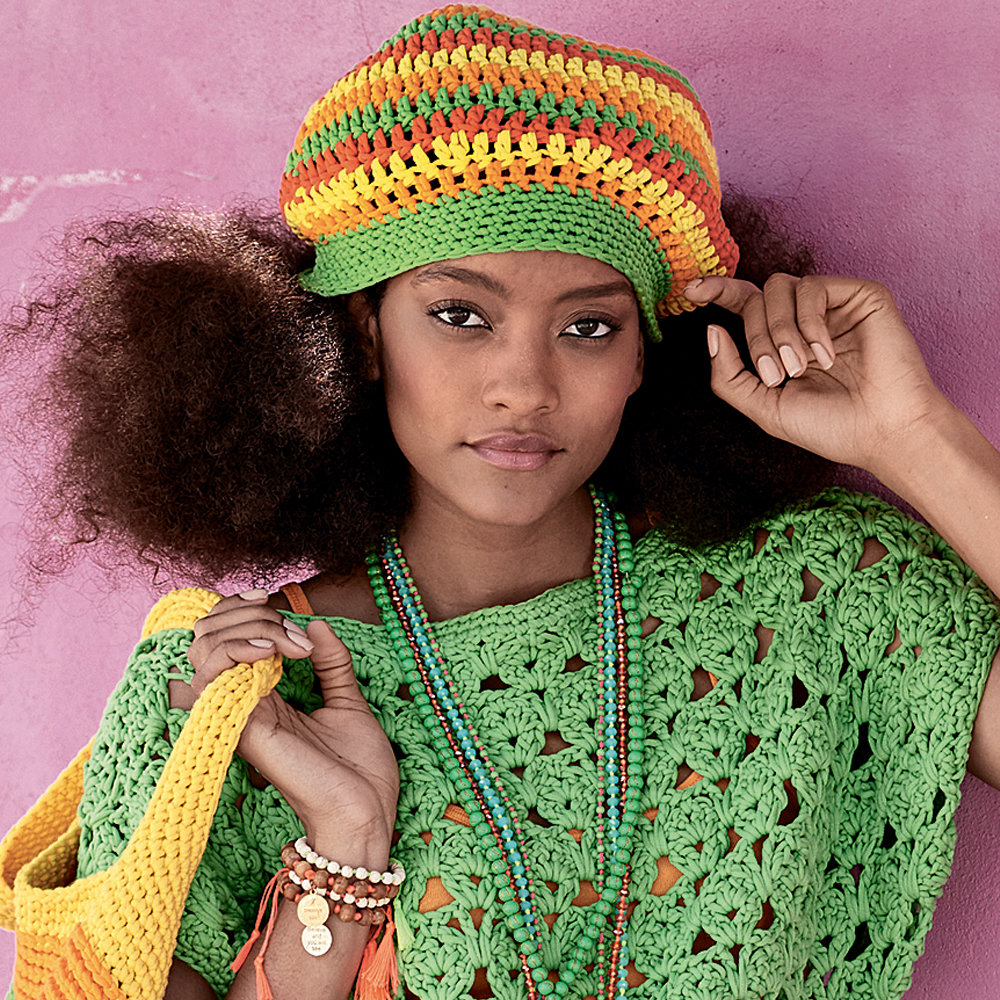
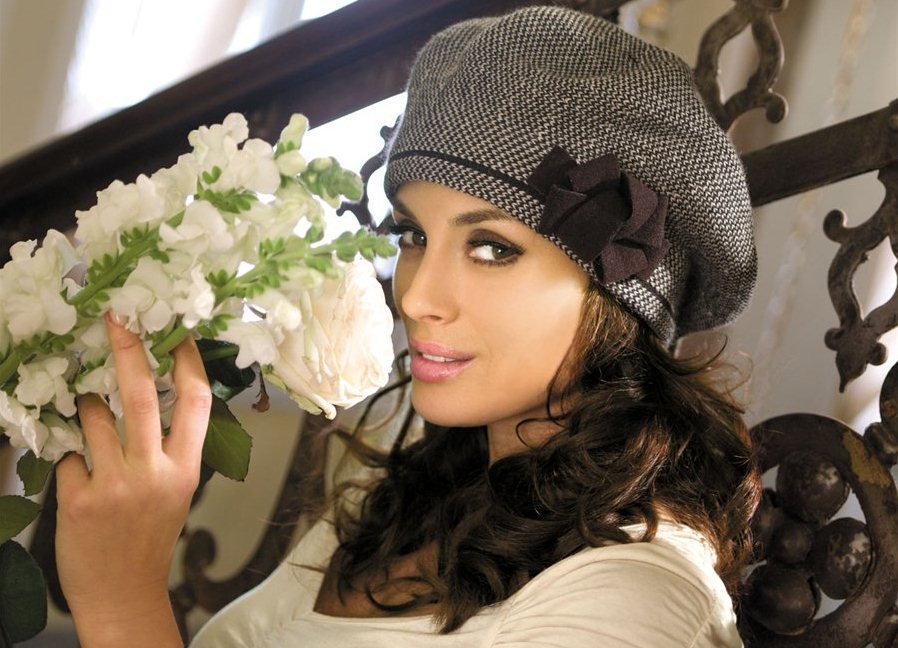
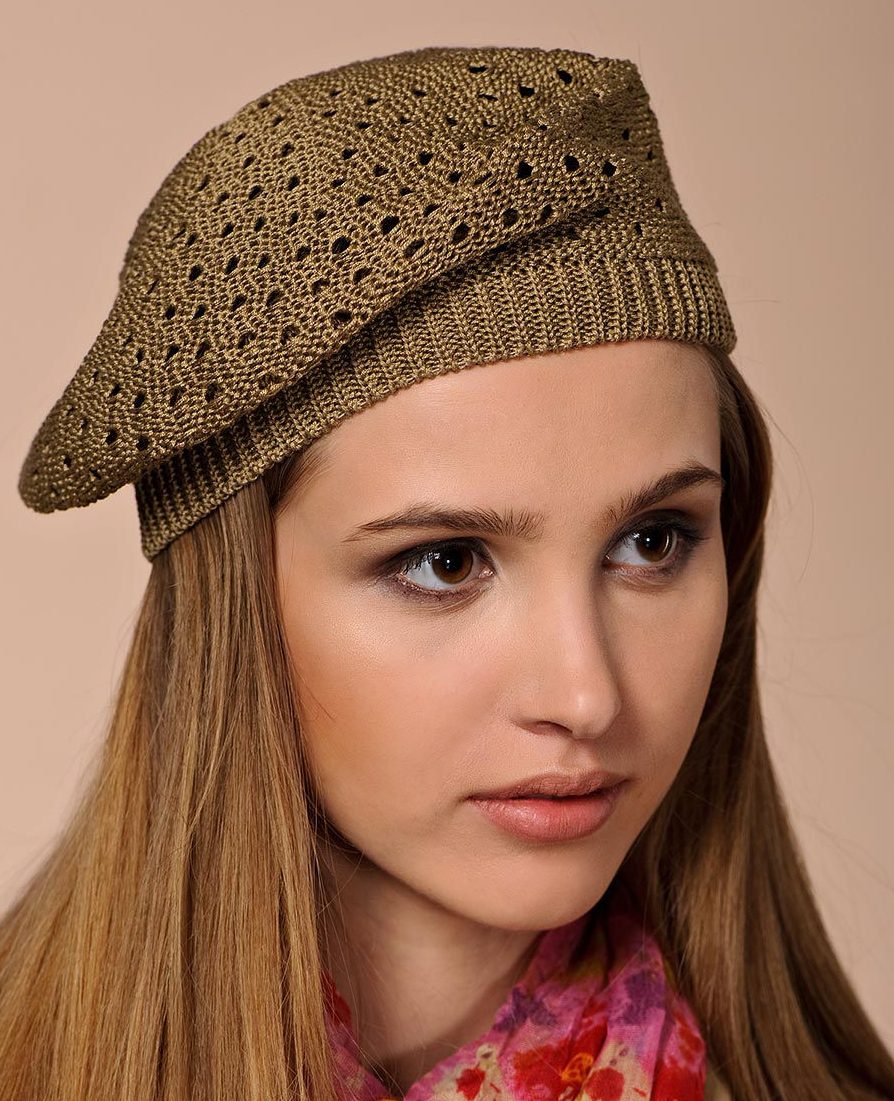
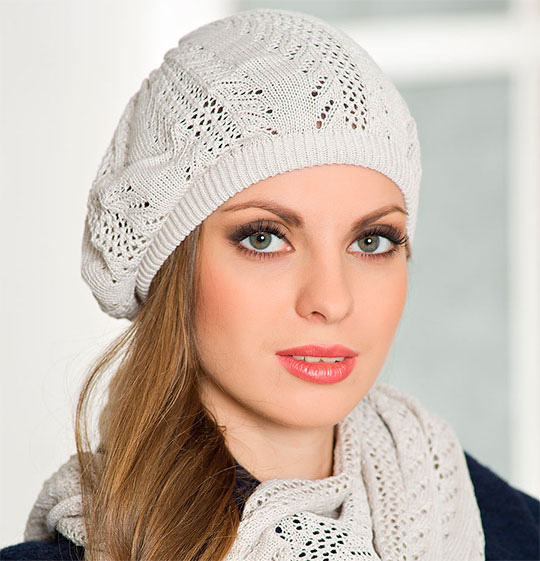
Modern headwear comes in a variety of styles. Classic models are distinguished by simple, elegant forms and small size. Casual style always implies a laconic silhouette and practicality. Ideal color scheme: shades of ivory, sand, pale pink, khaki and light blue. Elegant, sophisticated and feminine retro-style berets are reminiscent of the fashion of the 30s, 60s and 80s. Regardless of the chosen model and style, the quality of execution is a priority.
Materials and tools
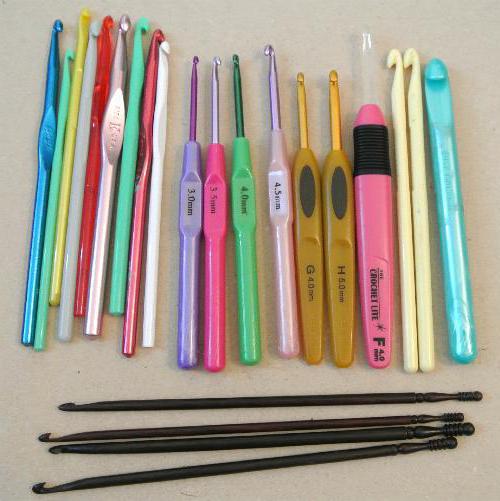
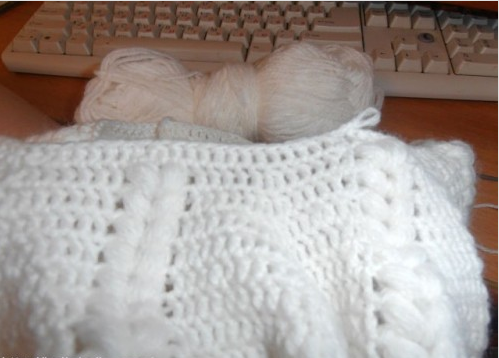
To crochet a beret, you will need a certain amount of yarn and the tool itself: short (up to 16 cm) or long (up to 40 cm). Inexperienced knitters are advised to use a beginner's hook, which is made entirely of one material. In this case, the needlewoman will feel with her hand how tight the thread is during work.
A crochet hook for knitting a beret can be:
- metal - practical and durable;
- aluminum - inexpensive, does not electrify yarn, but stains light-colored items;
- plastic - cheap and easy to use, but electrifies the yarn;
- combined - convenient, but not always reliable, its rod often falls out of the handle.
When choosing, you need to pay attention to the degree of flexibility of the hook: if the tool is easy to bend, it will be inconvenient to work with.
Small size aluminum hooks are characterized by increased flexibility.
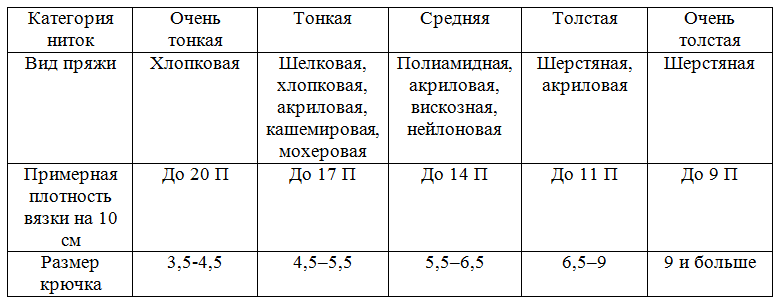
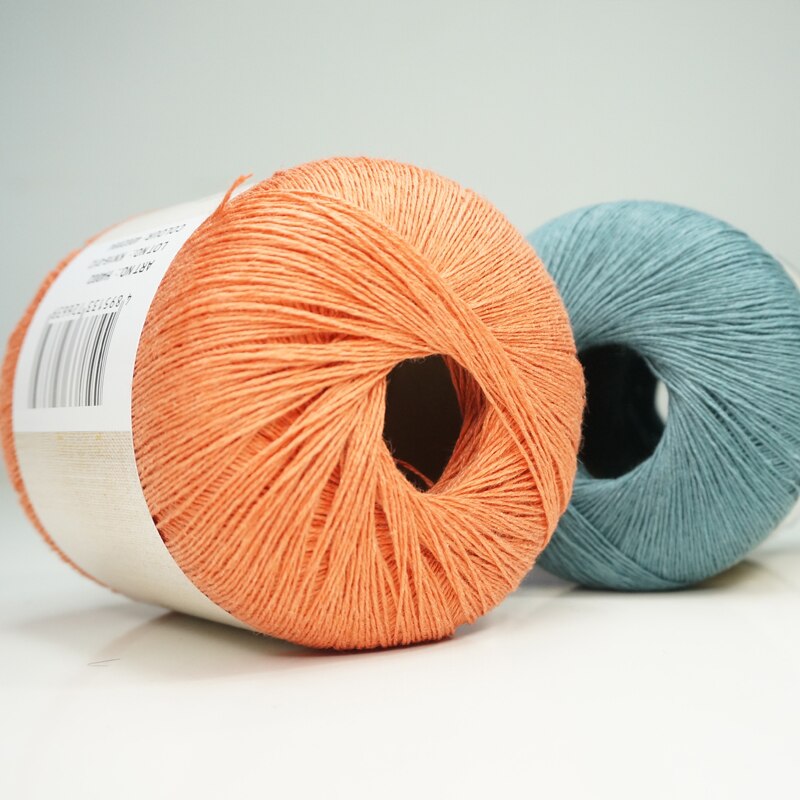
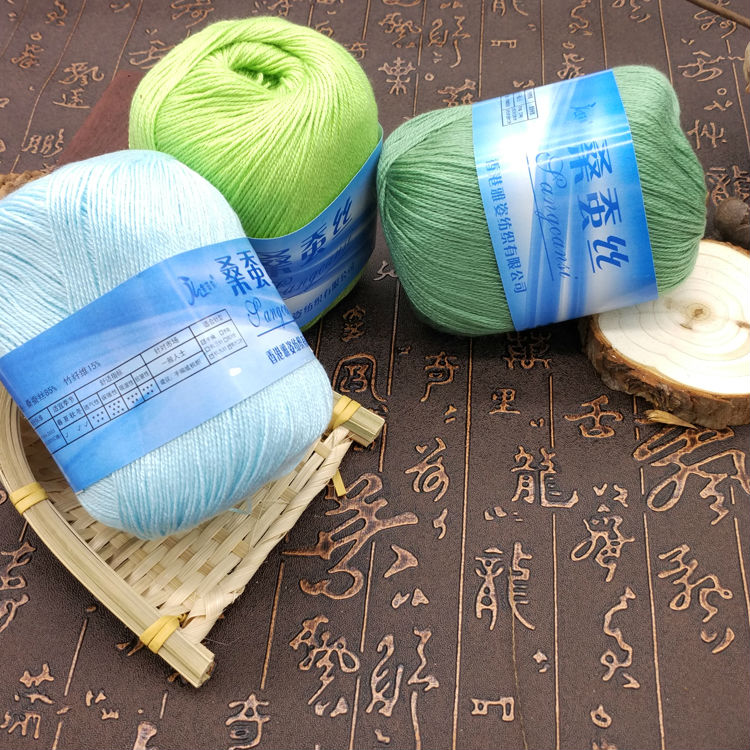
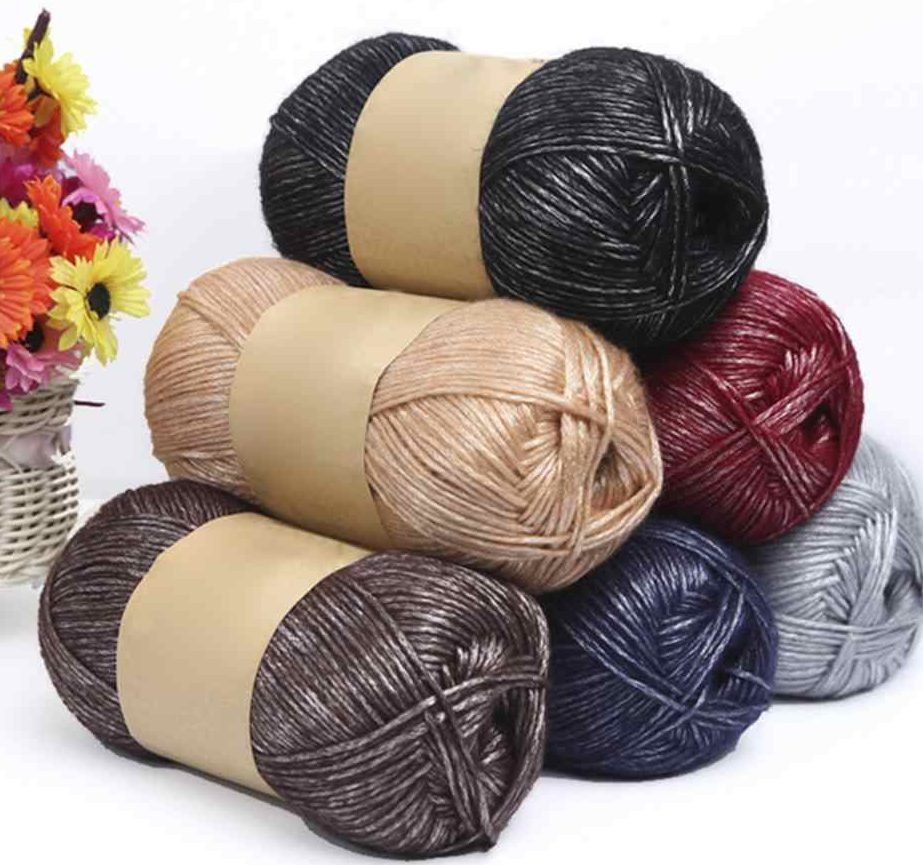
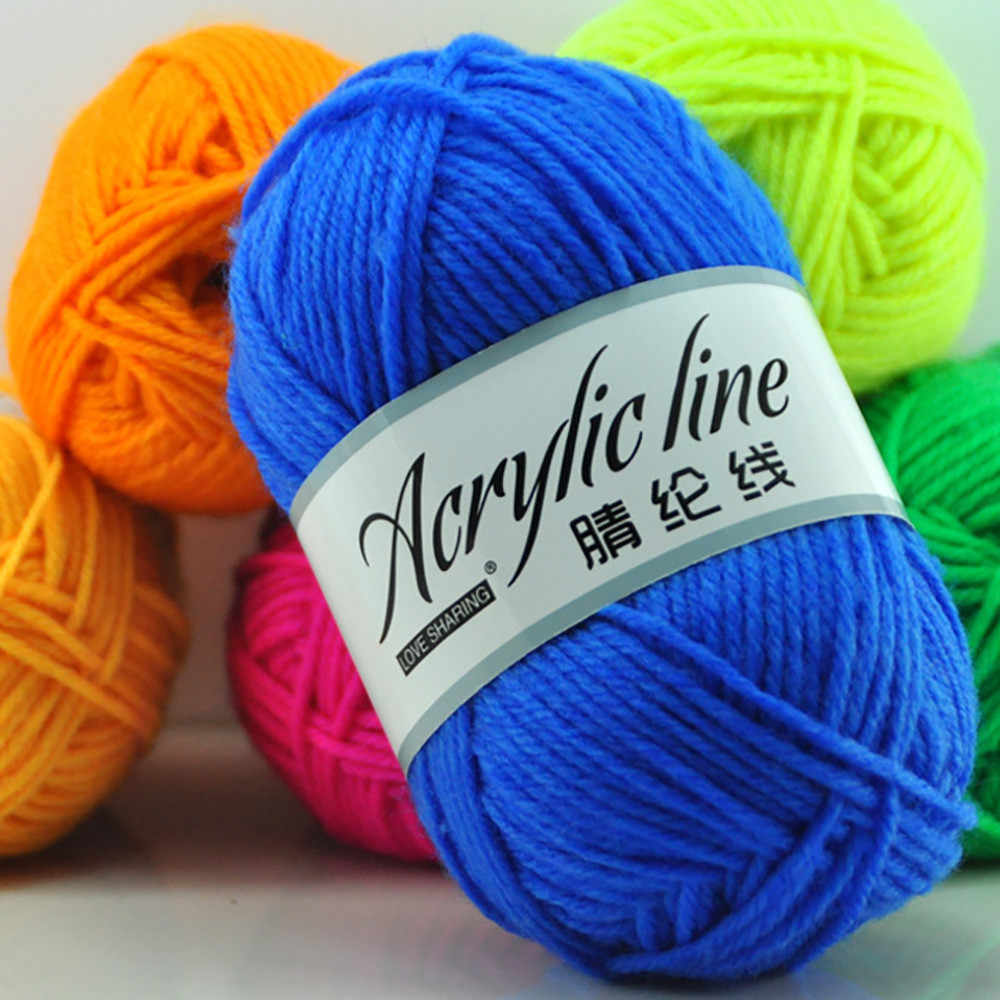
The best yarn for crocheting a beret:
- linen - perfectly absorbs moisture and dries quickly;
- silk - looks elegant;
- cotton - suitable for headwear for spring or summer;
- wool - elastic and light, retains heat well, the best option for autumn and winter;
- made of artificial materials (acrylic, viscose) - practical, does not cause allergic reactions.
A warm beret can also be made from mixed, melange yarn, which combines synthetic and natural types of thread.
The knitting will be denser when working with a smaller hook. For volumetric patterns, a tool of a larger diameter is usually used. To select the number manually, the thread is placed in the hook notch and pulled through. If the head of the tool is not visible, it is thinner than necessary. When working with such a hook, the product will be of increased density, the yarn may delaminate. If the head of the tool is not covered by the thread, its size is too large, and the finished product will be loose. When the thread is completely placed in the head of the hook, the finished product will be “loop to loop”.
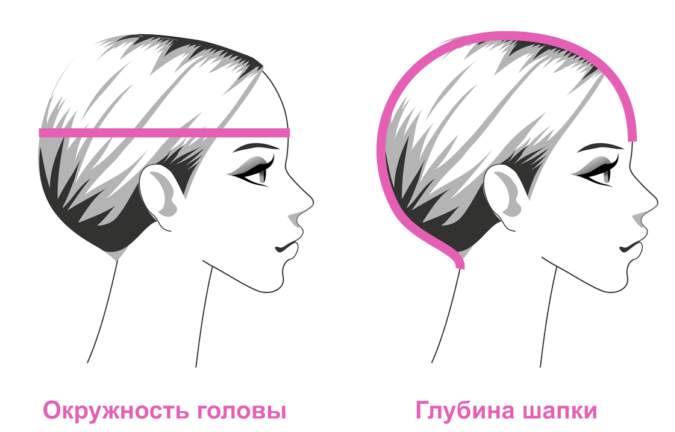
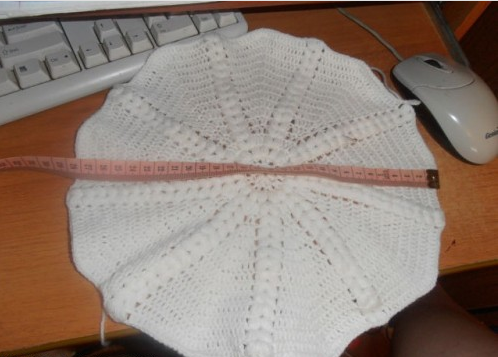
Measurements
Measurements are necessary so that the finished headdress fits the size and is comfortable to wear. To crochet a beret, you will need to take two main measurements with a measuring tape:
- head circumference - the tape runs along the widest part, slightly above the eyebrows and ears, and along the convex part of the back of the head;
- height - it starts from the crown and goes to the intended edge of the future headdress.
The height of the product may increase depending on the style or knitting density. Different patterns can also affect the size of the headdress. When using patterns that tighten the fabric, it is necessary to add a few cm to the existing size.
When making an openwork beret with a crochet hook, no additives are needed.
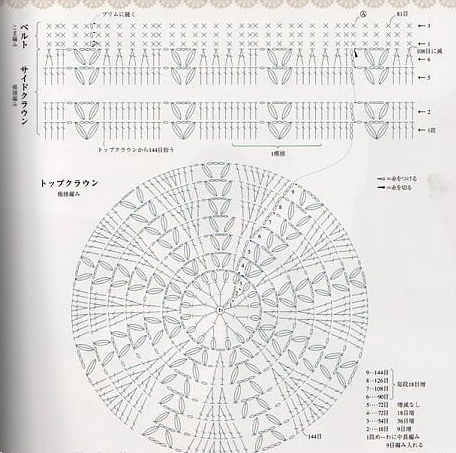
Step by step instructions
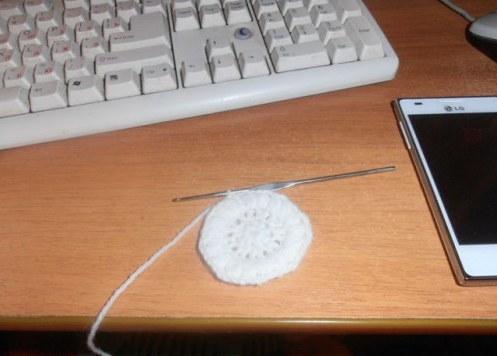
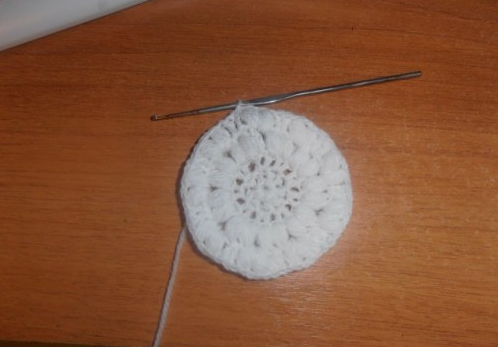
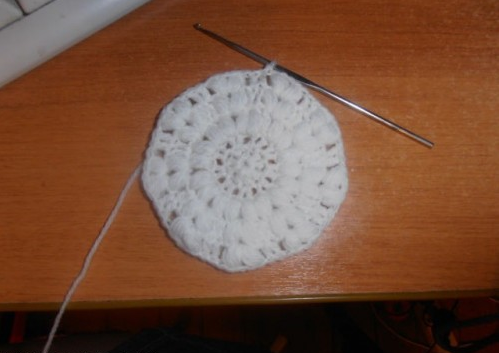
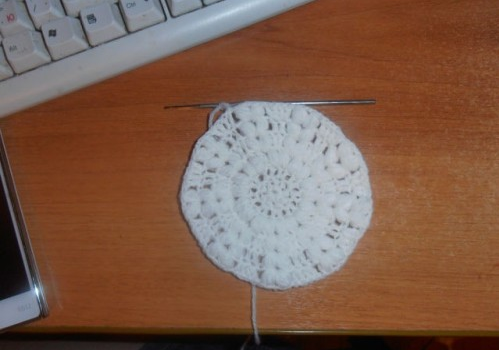
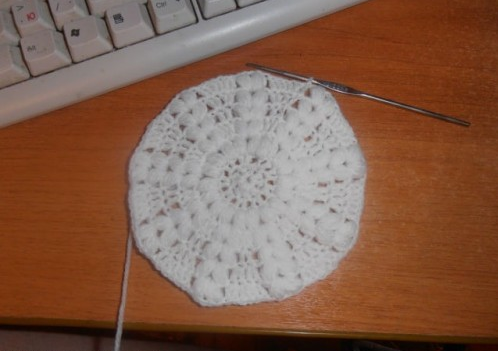
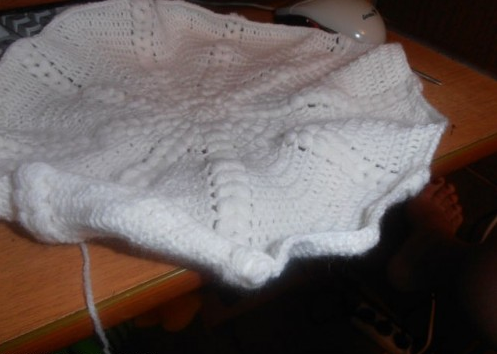
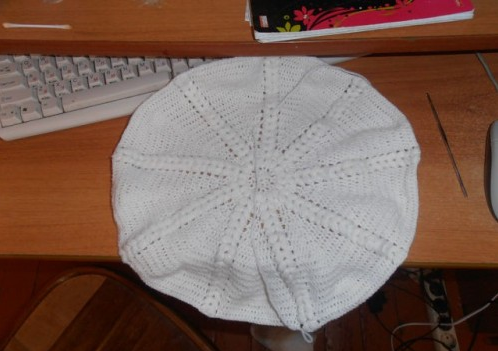
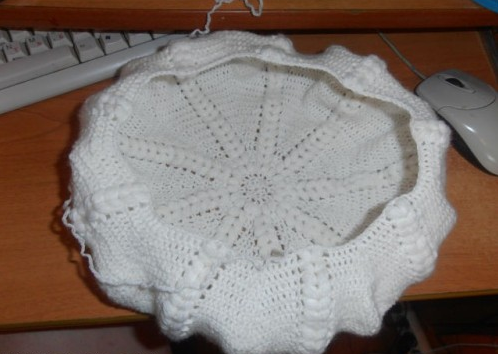
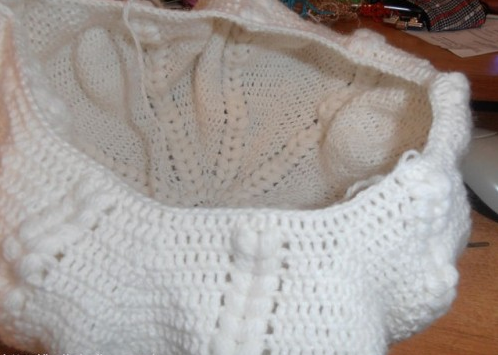
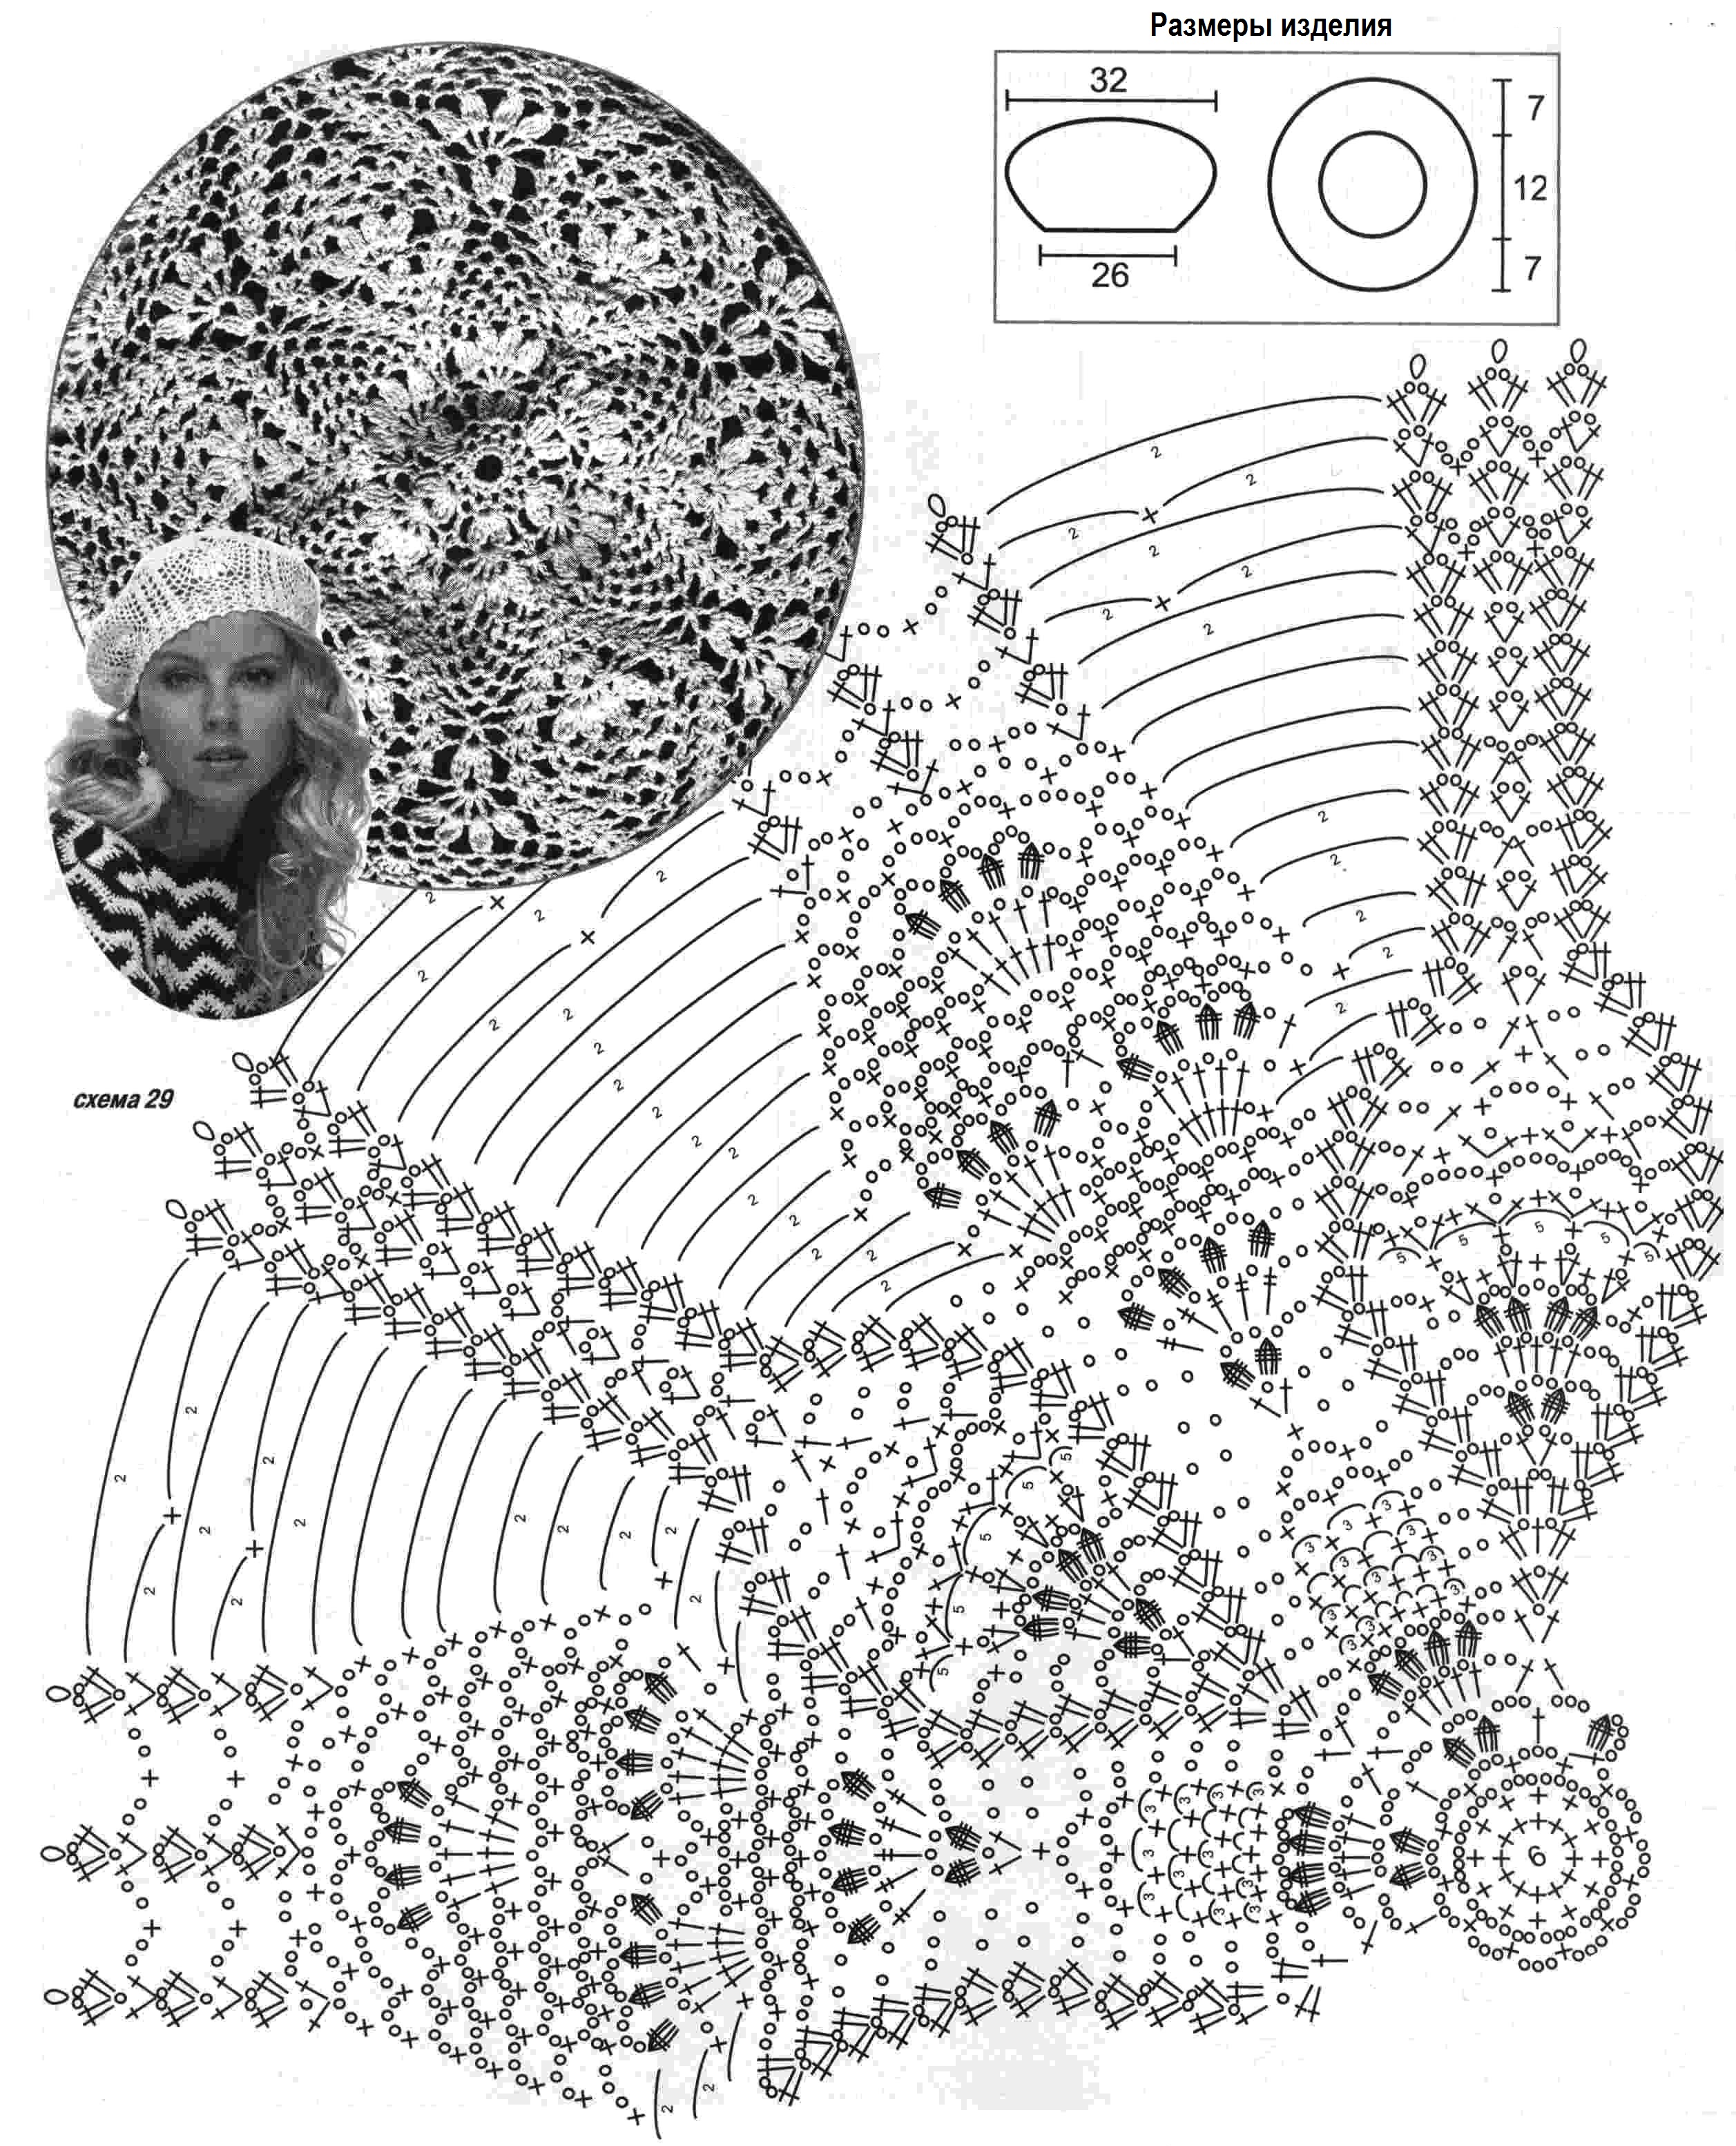
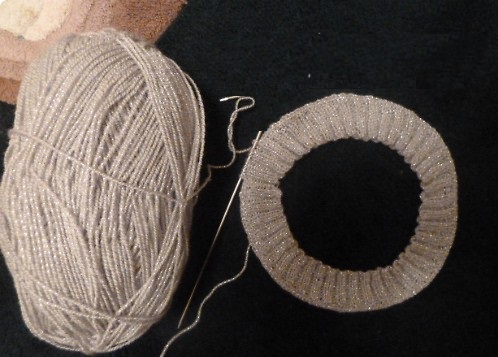
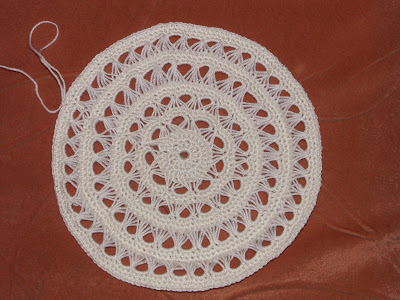
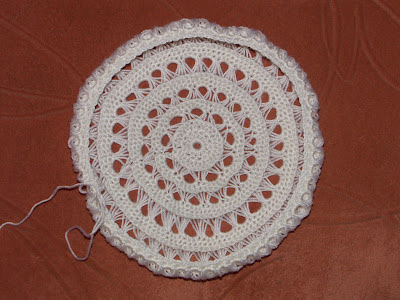
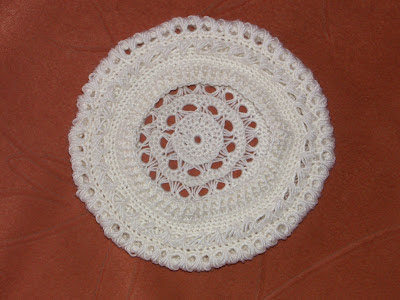
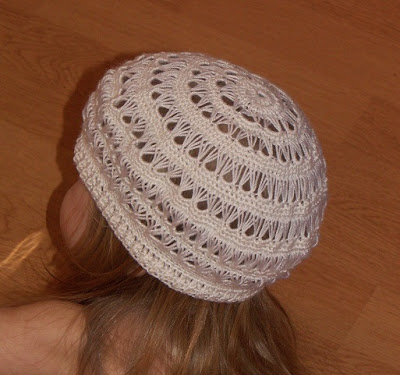
When making any headdress model, you must first learn how to work with diagrams and descriptions. Any berets are crocheted starting from the bottom, which is a circle with a diameter of up to 30 cm. The next step is to make even walls without additions - up to 10 cm high. Then there are decreases - up to 4 cm. And the last element is the band - up to 10 cm.
Easy for beginners
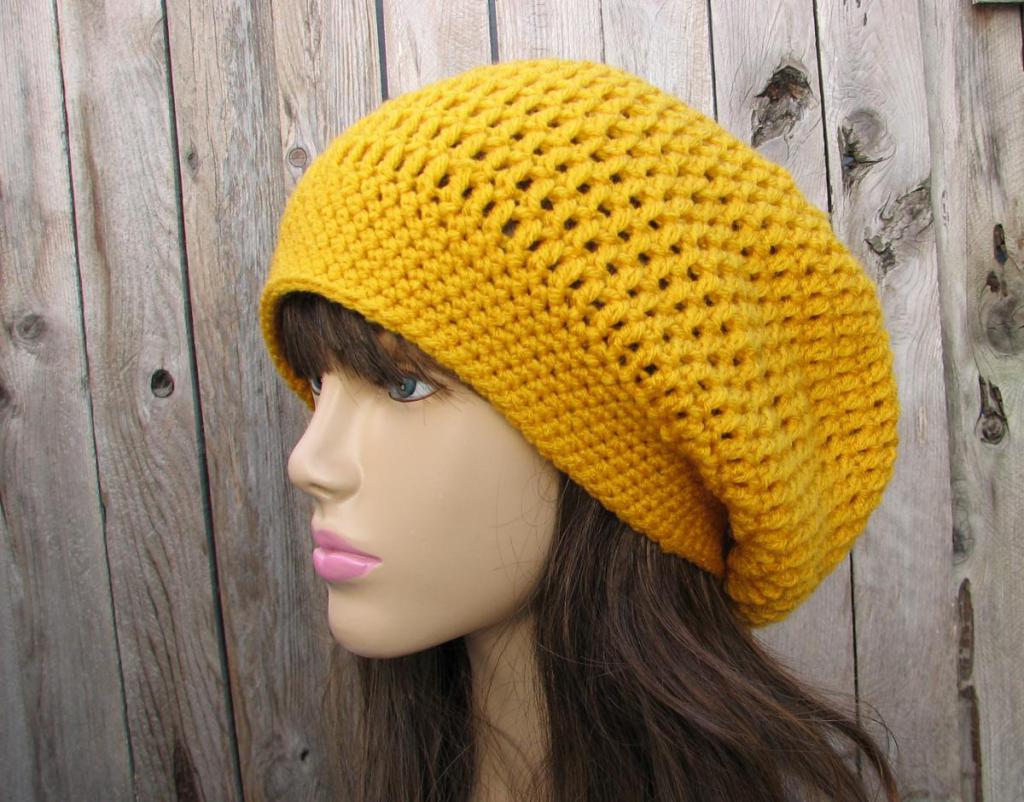
The easiest beret to make is a simple classic beret. It is important for beginning needlewomen to follow the pattern during the process:
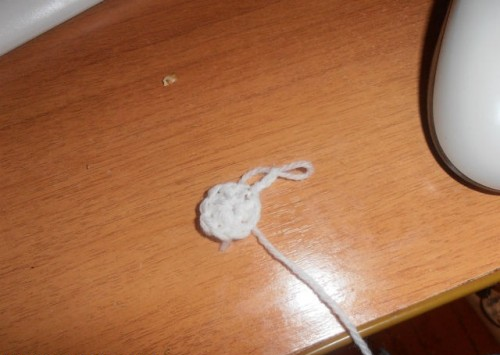
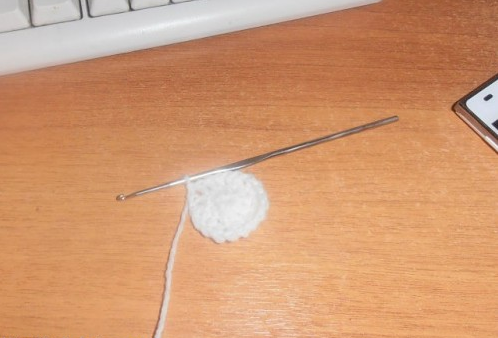
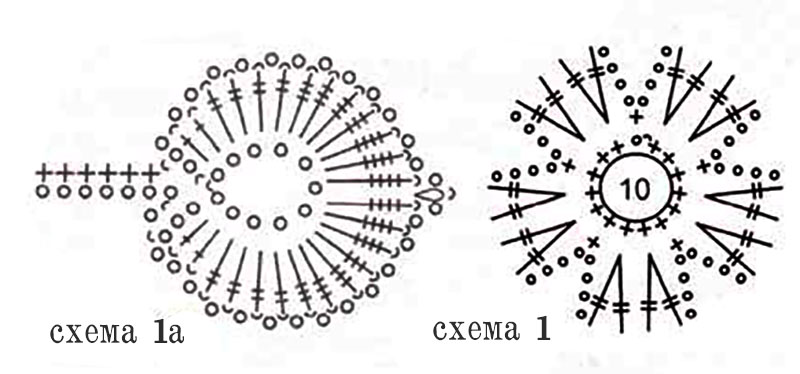
- The center of the bottom is obtained from a ring formed by 4 air loops (in the description it is designated as P).
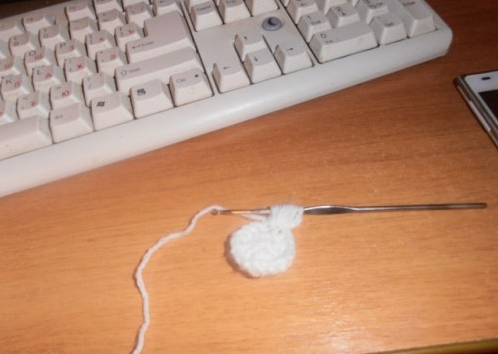
- Row 1 - from each P, a double crochet (hereinafter - DC) is knitted.
- 2 rows - from each DC - 2 DC.
- 3 row - between the double crochets, a lush column is knitted, then a CCH. The entire row is alternated in this way.
- Row 4 and subsequent rows - lush columns under lush columns, from each CCH - two CCH, until you get a circle with a diameter of 27 cm.
- Several rows - single crochet stitches (SC in the text).
Next, you need to knit several rows of SC, decreasing every third until you reach the edge of the circle, which is equal to the circumference of the head. Then the edges are tied with an elastic band of external and internal columns.
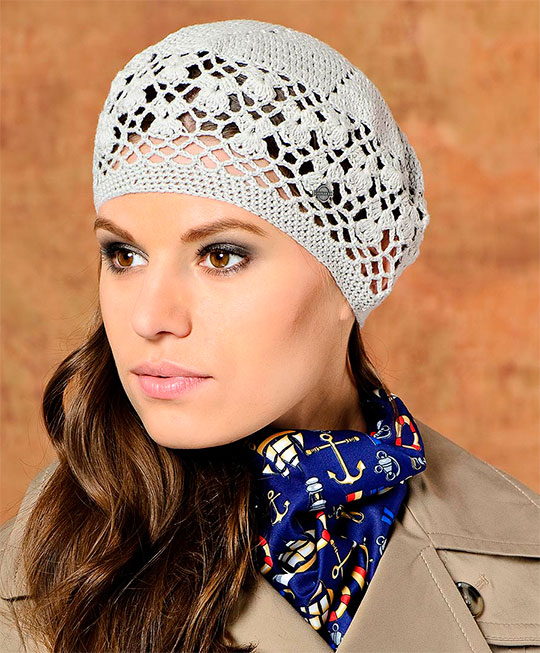
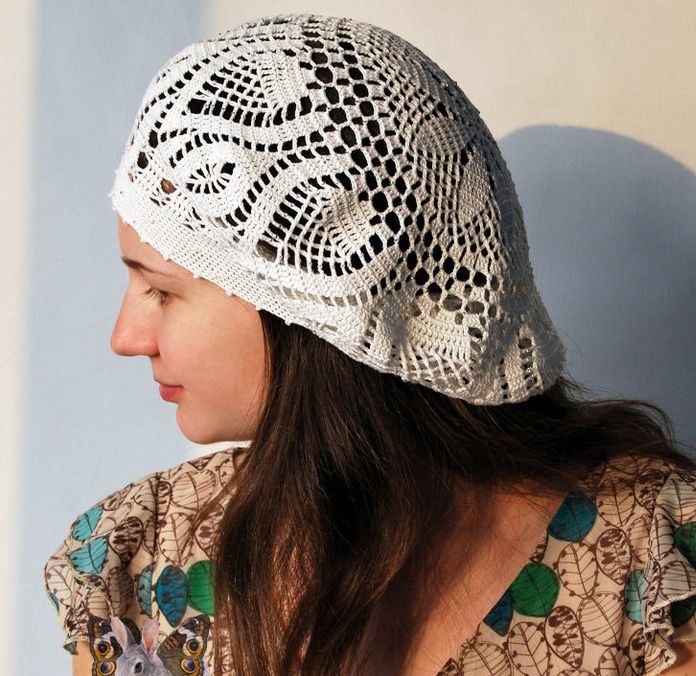
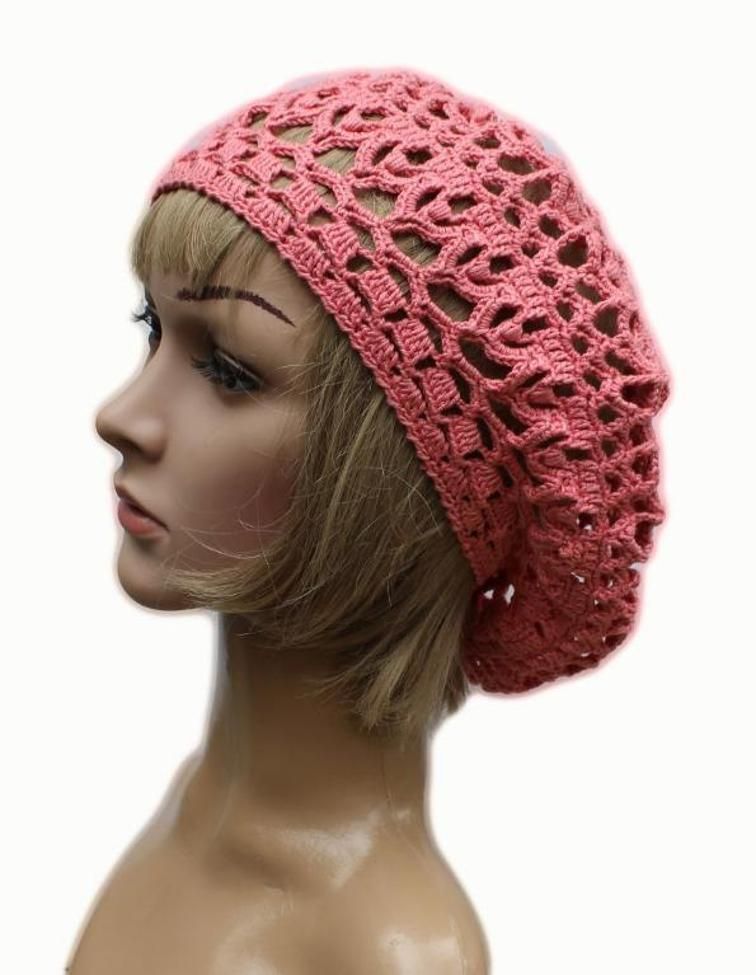
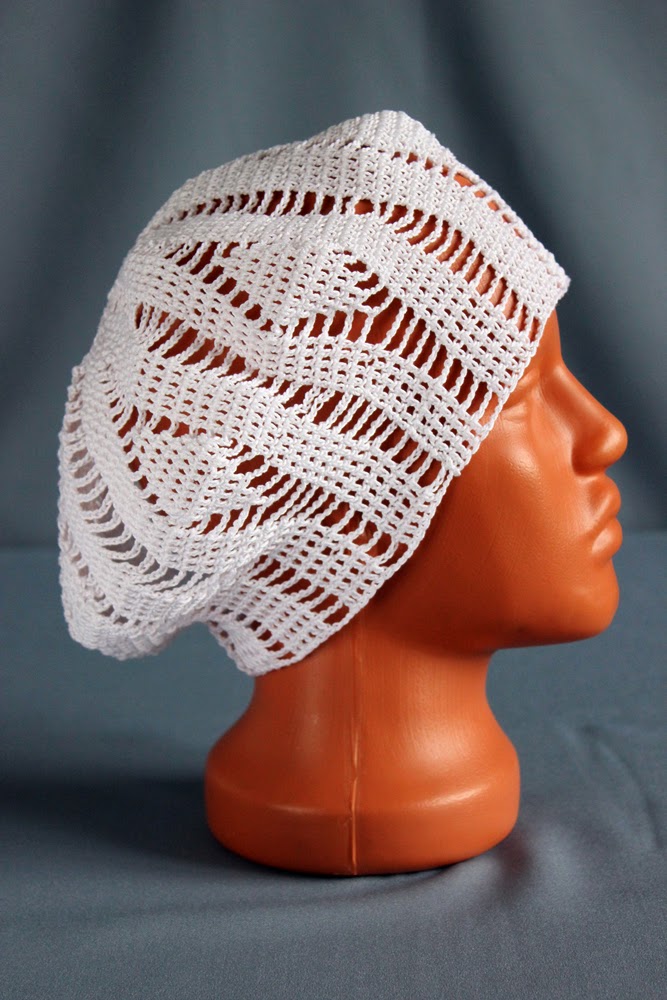
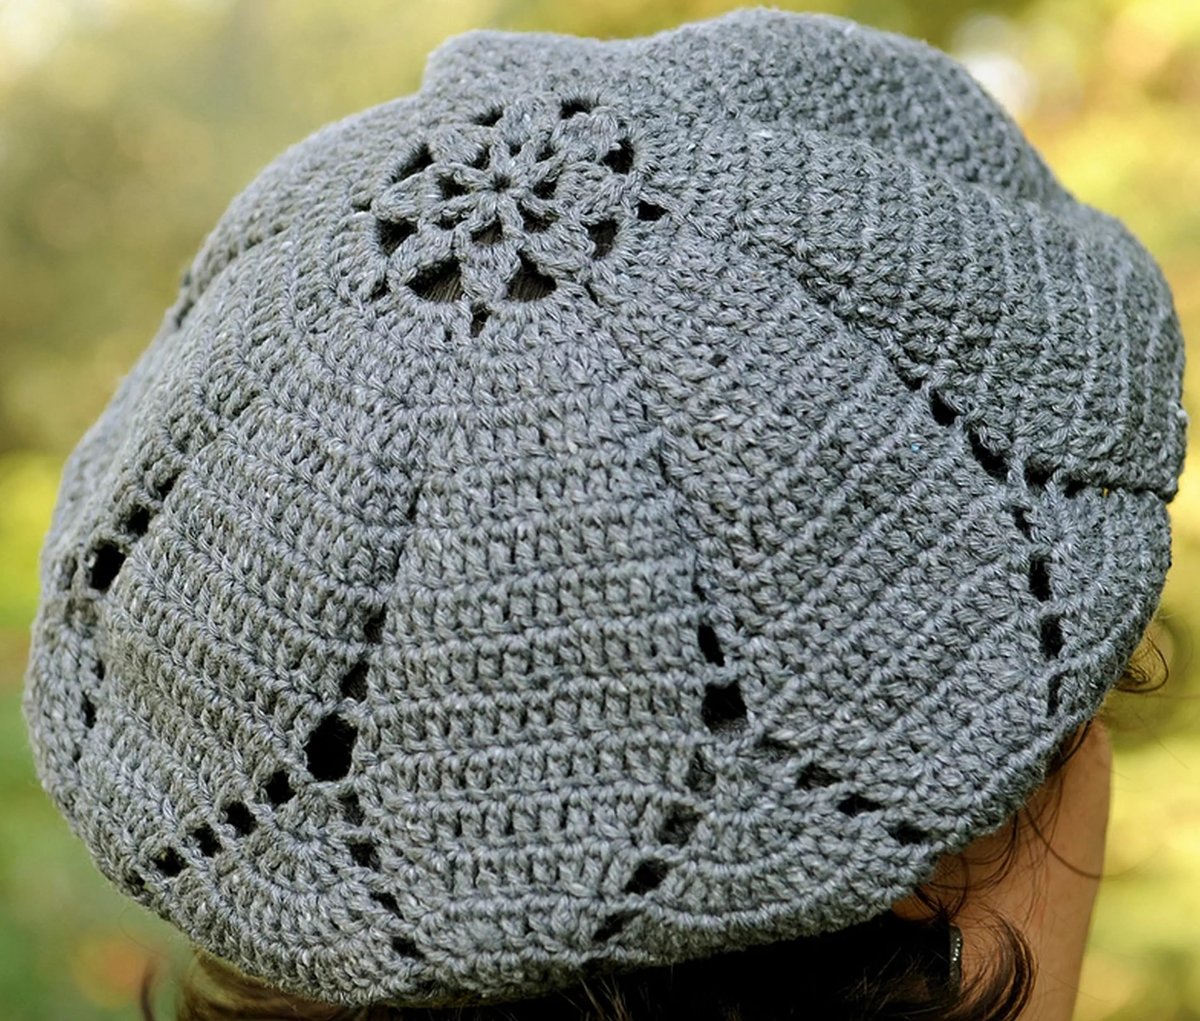
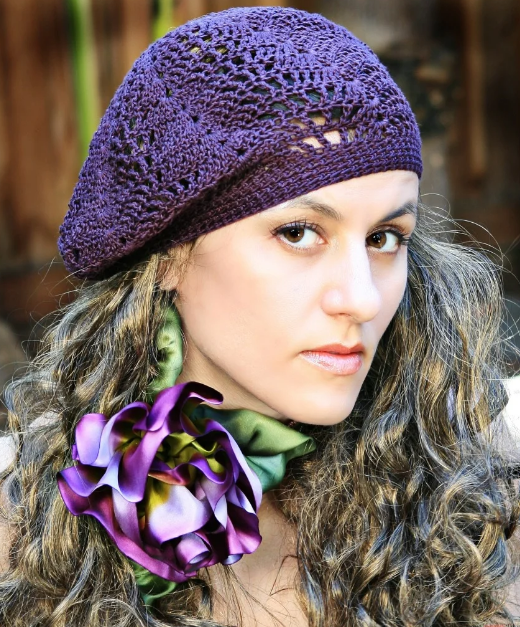
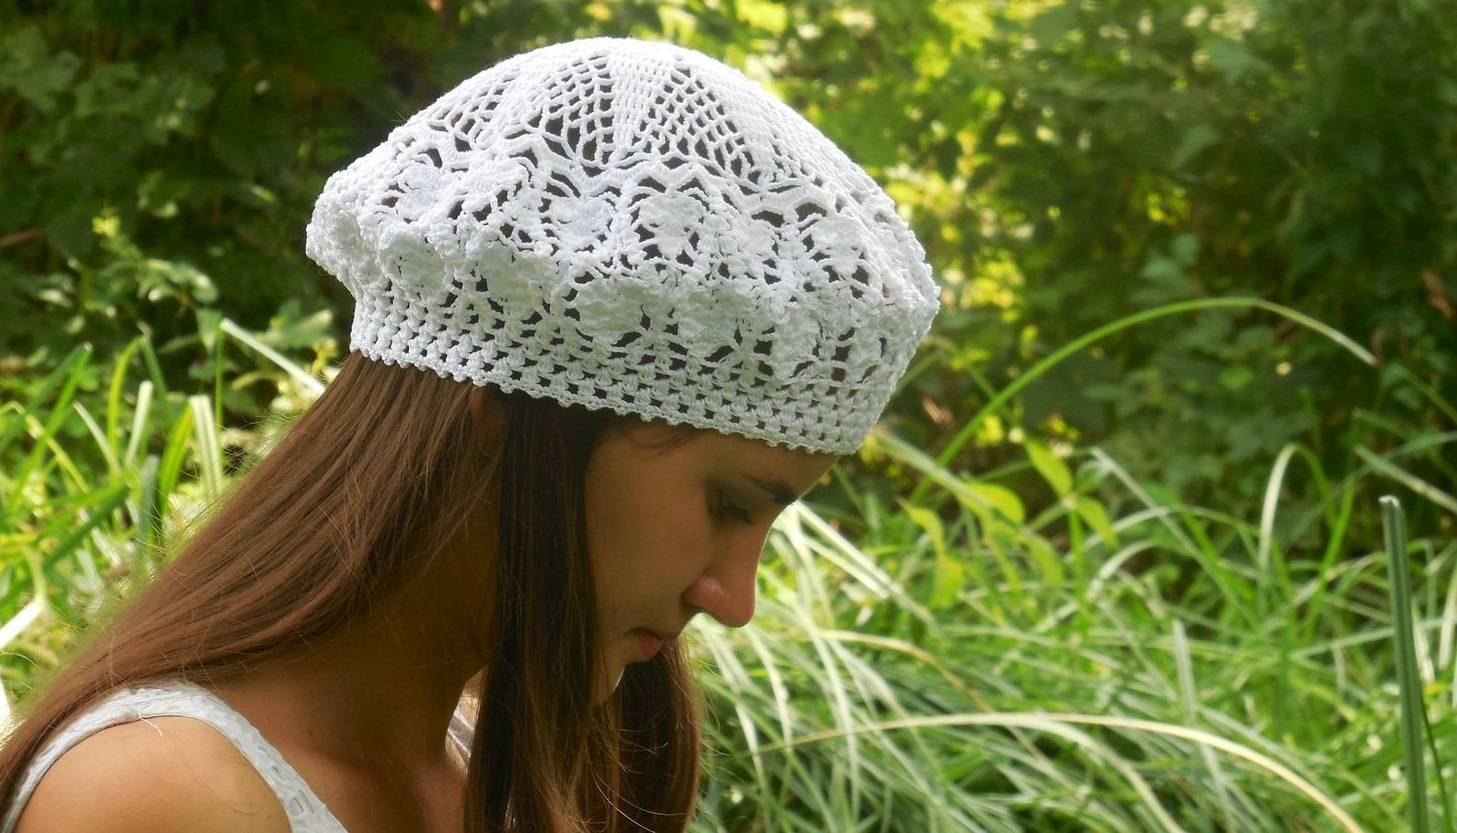
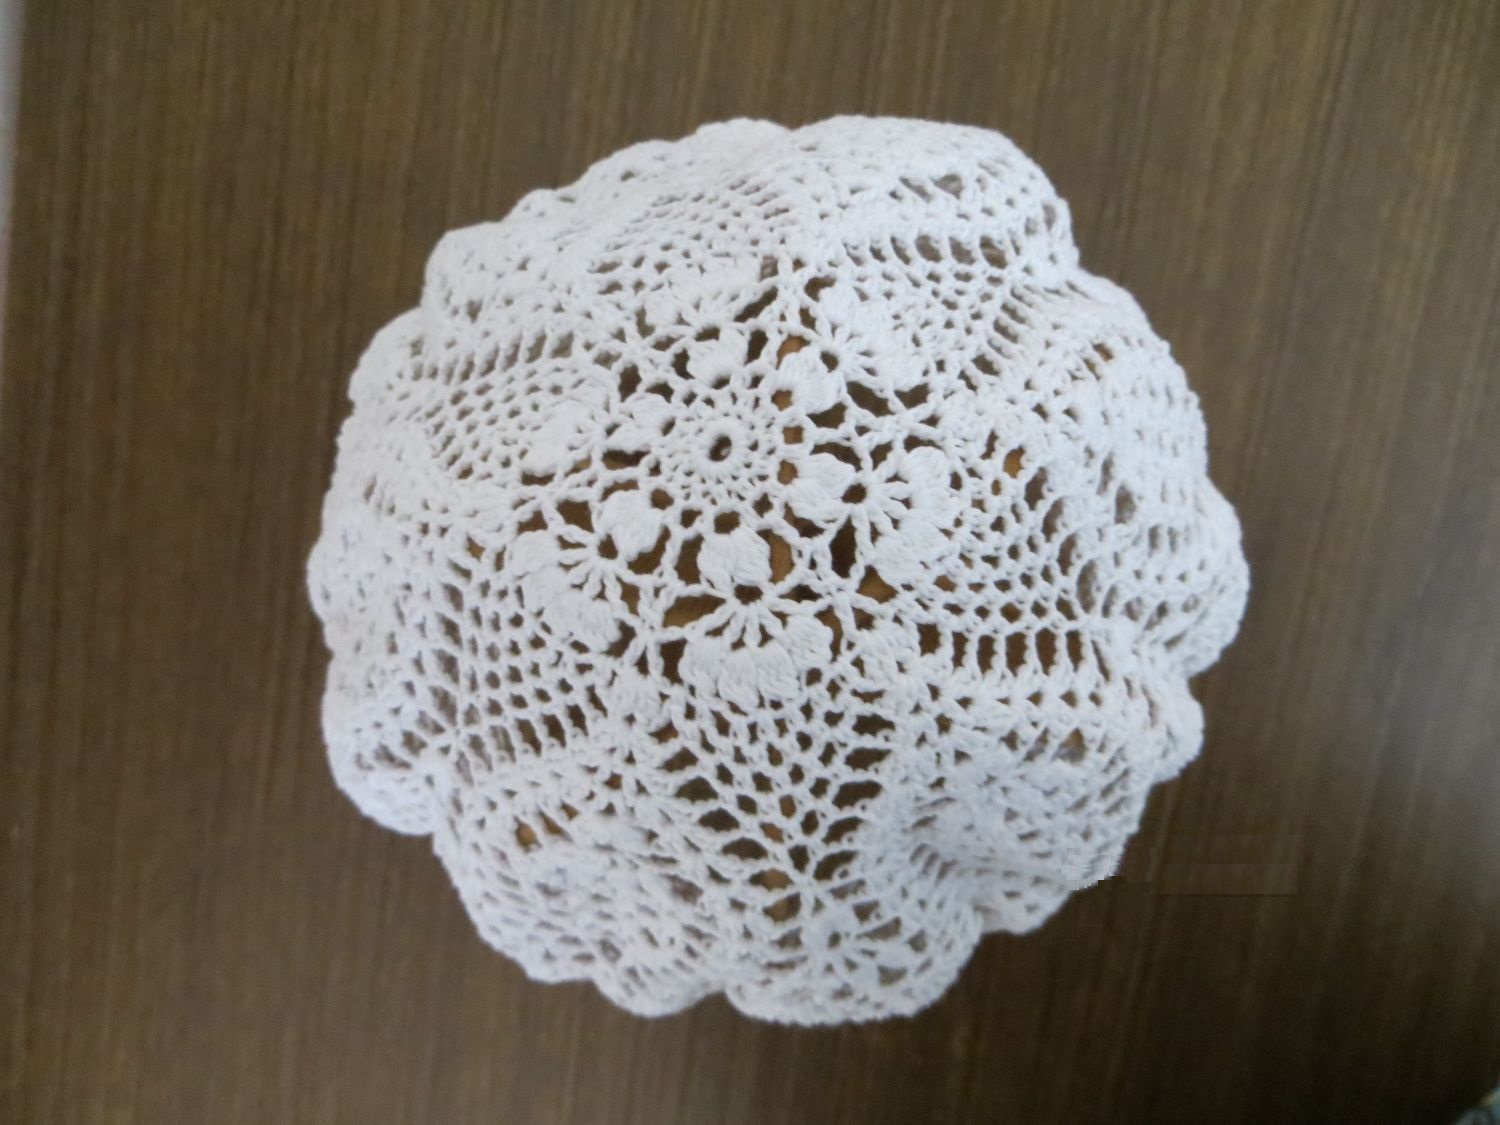
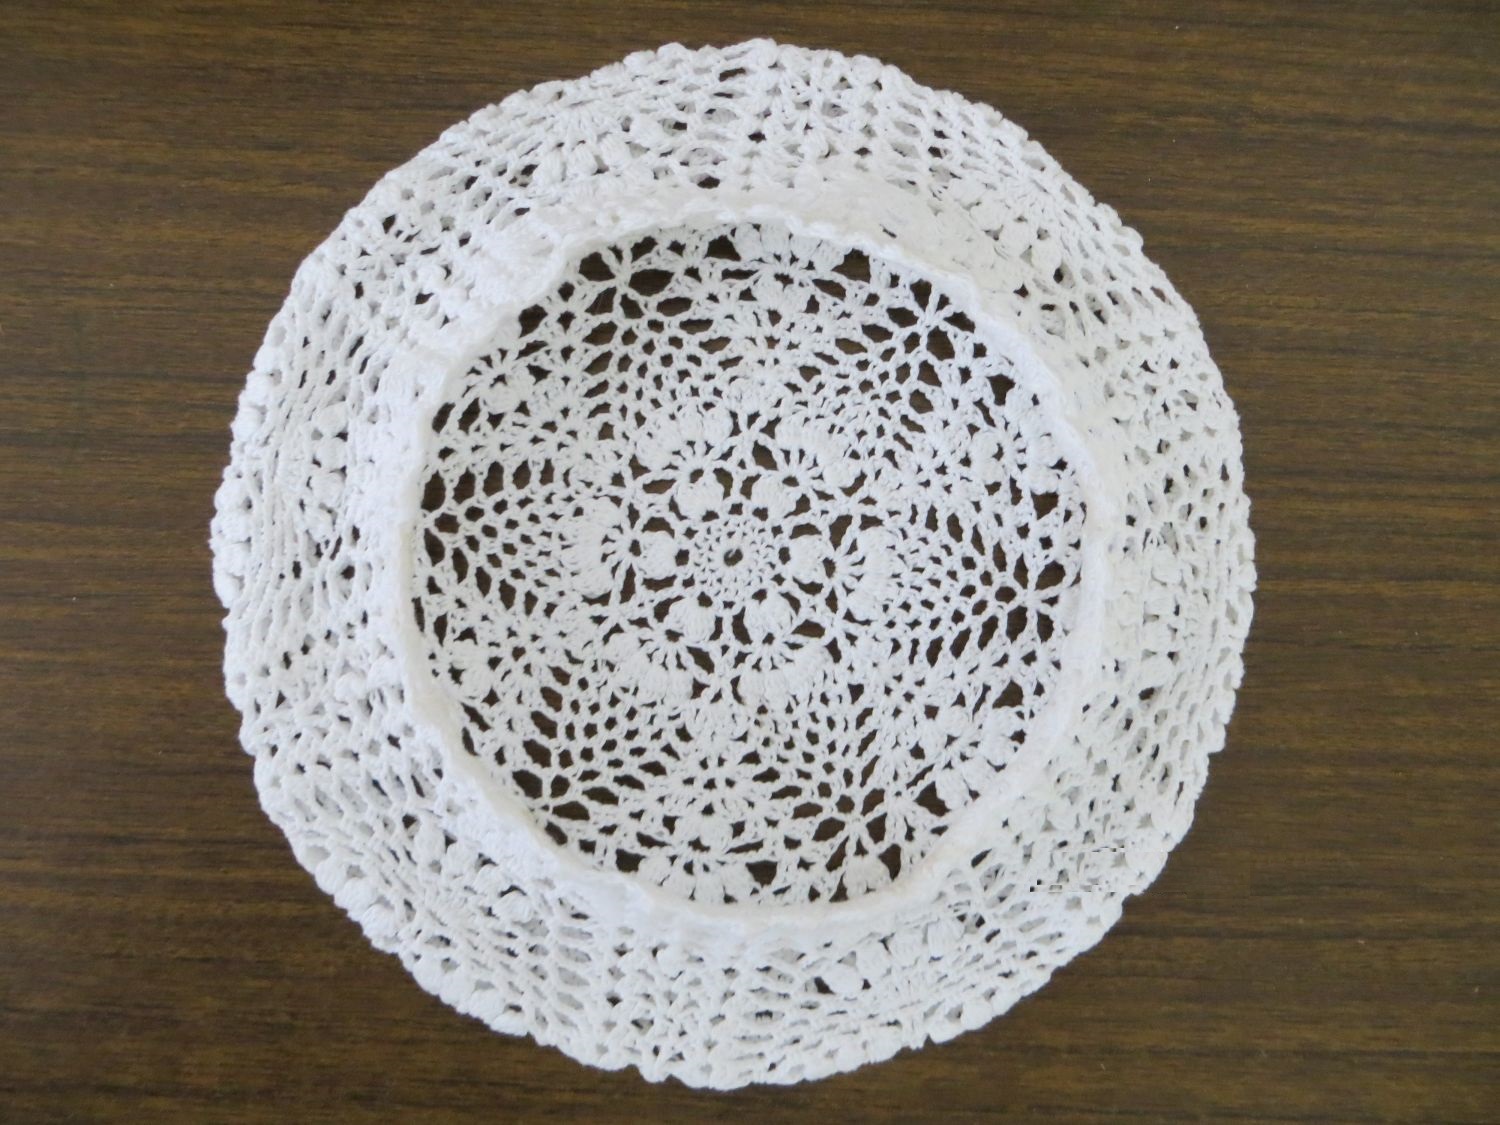
Openwork
The pattern for making this crochet beret model looks a little different:
- 4 air sts in a ring.
- Subsequent rows - according to the pattern diagram until the diameter reaches 27.5 cm.
- Several rows of CCH without adding.
- Several rows of CCH with decreases to a circumference equal to the size of the head.
- Okolyoshek - SC.
- The last row is made with the “Crayfish Step” pattern.
The openwork beret is crocheted with hook No. 1.

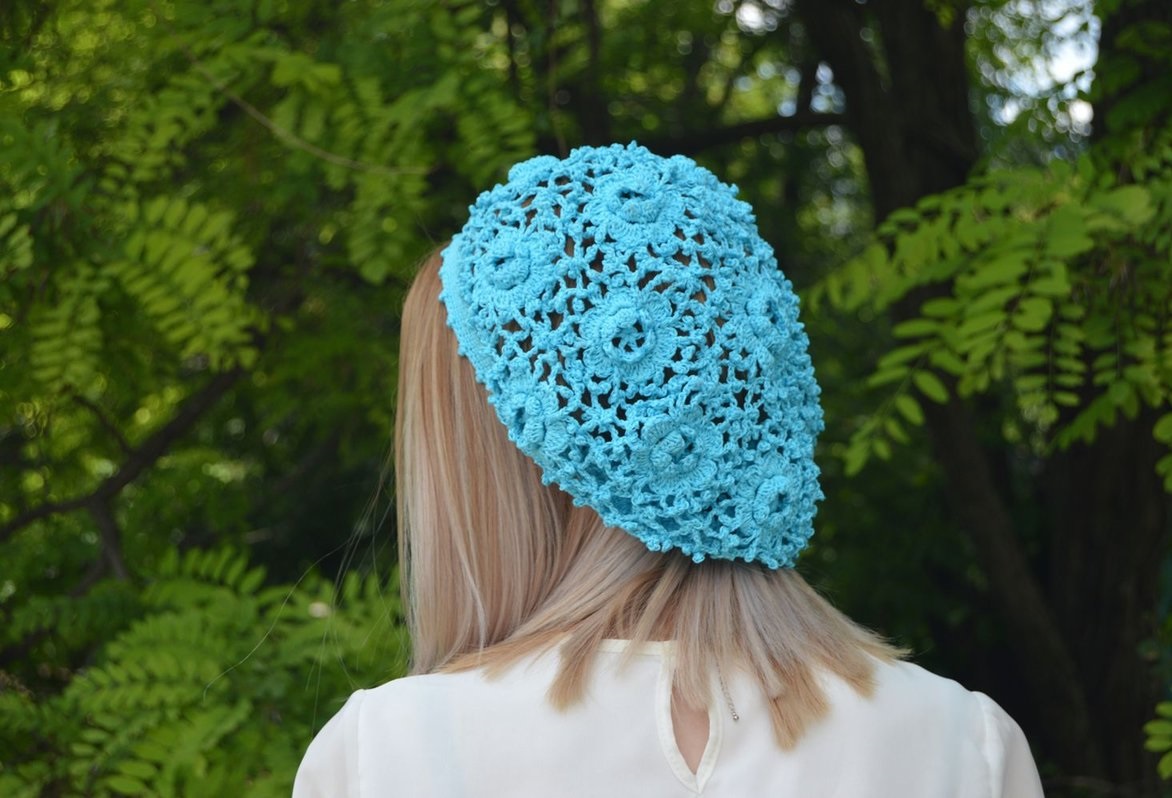
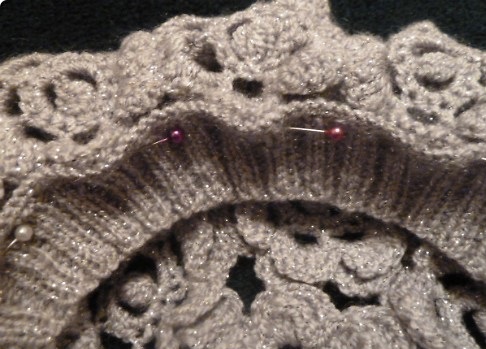
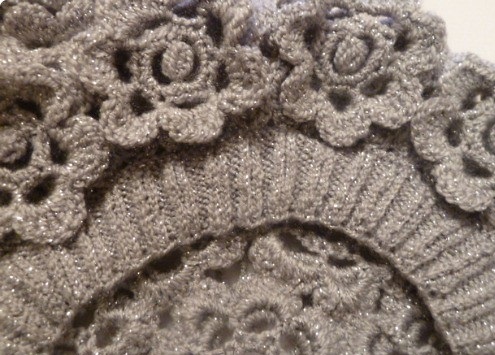
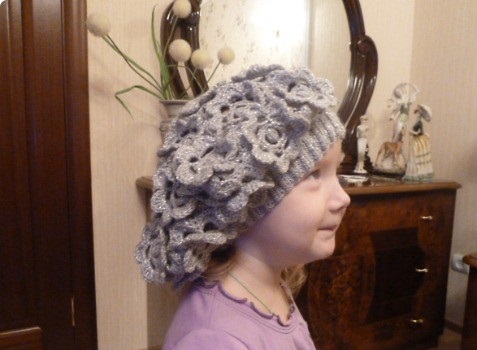
From the motives
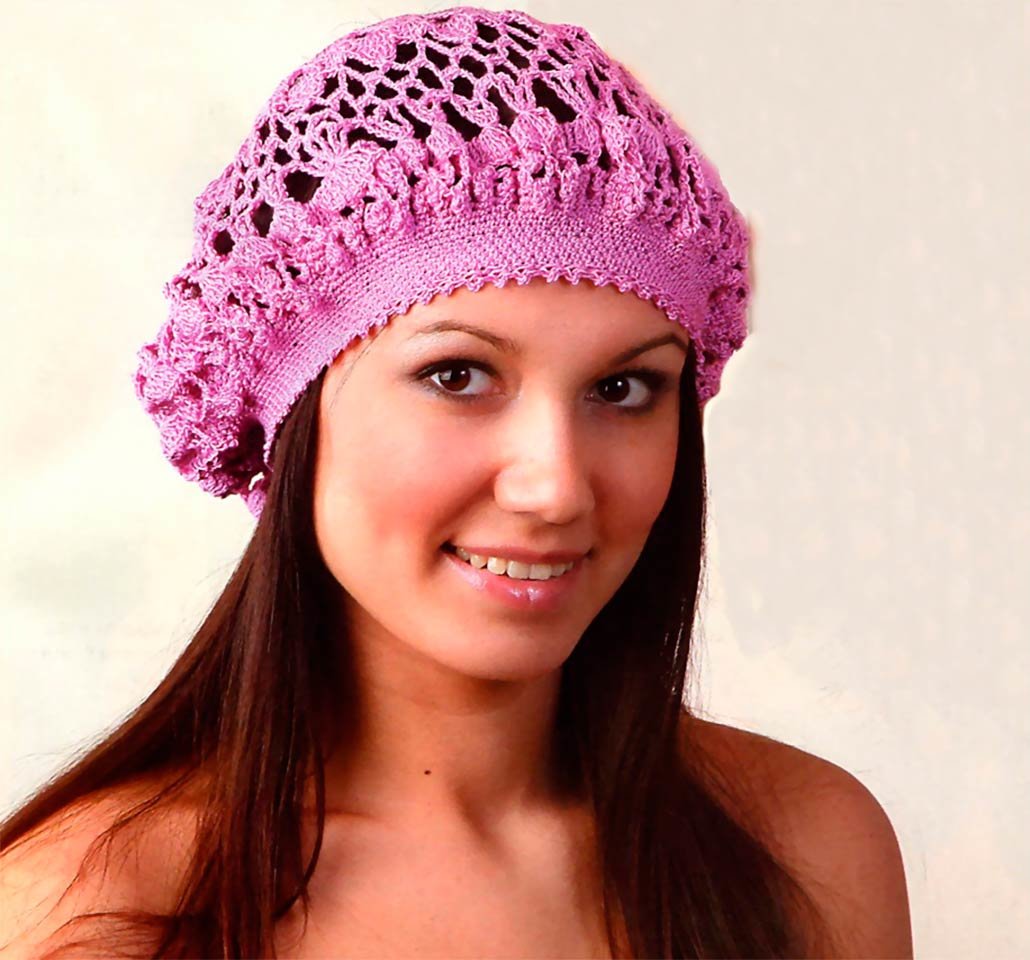
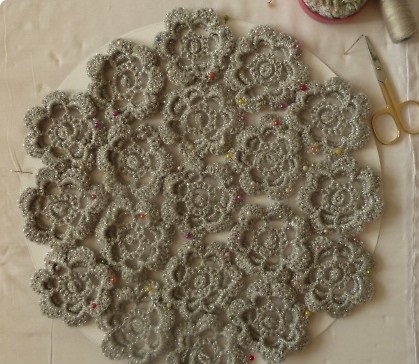
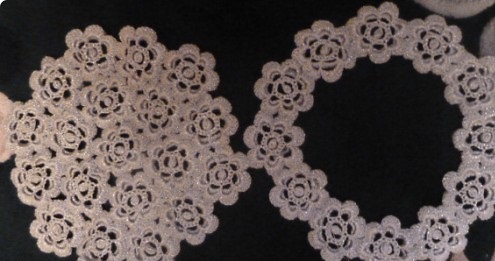
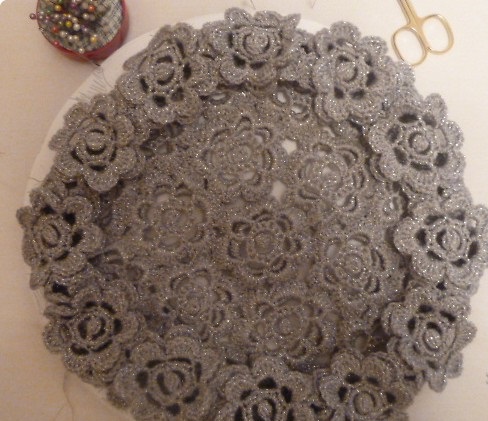
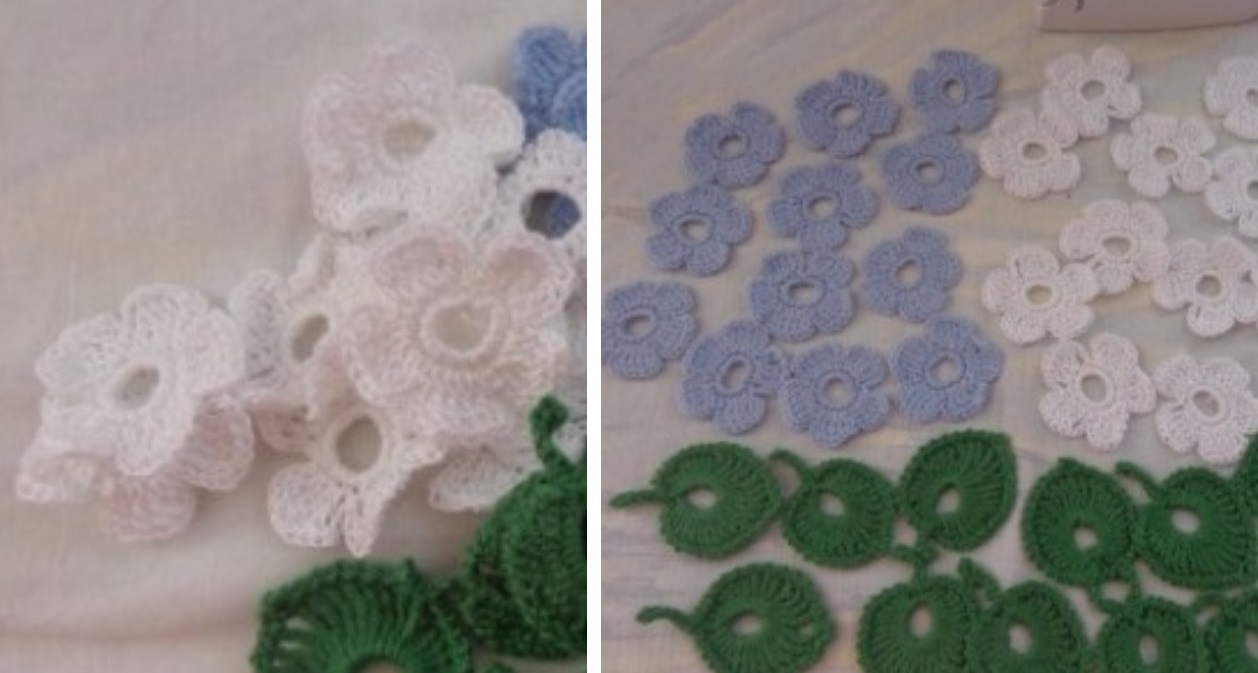
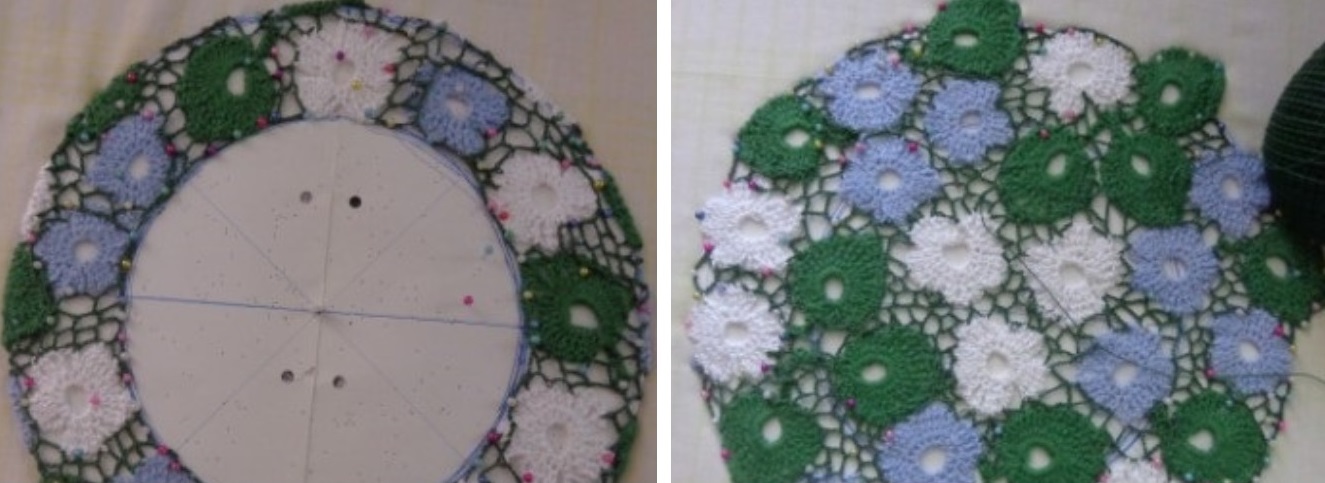
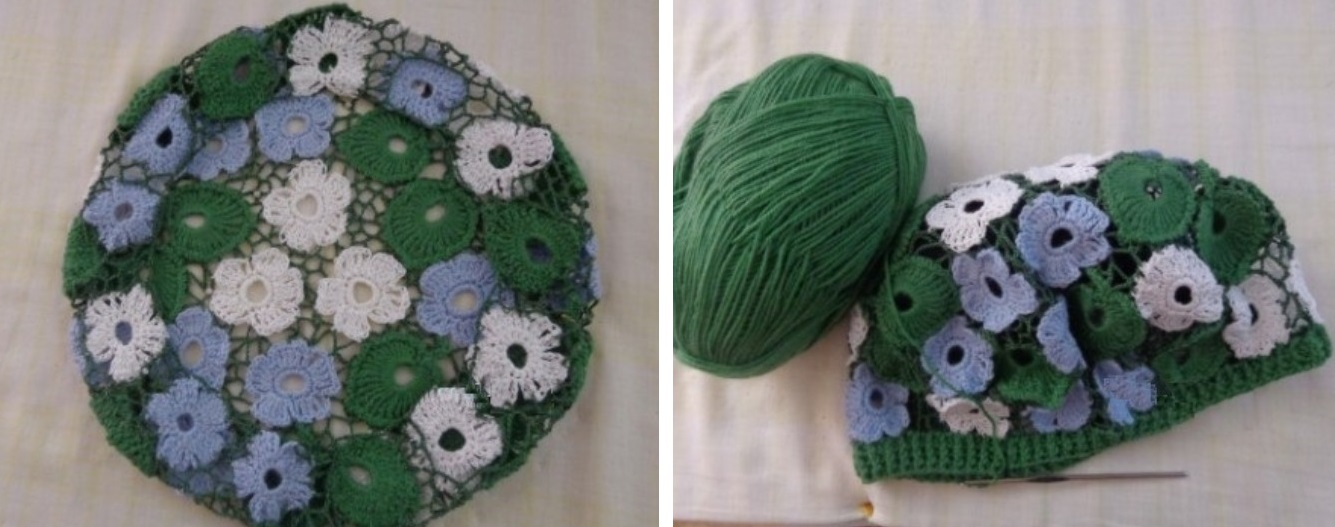
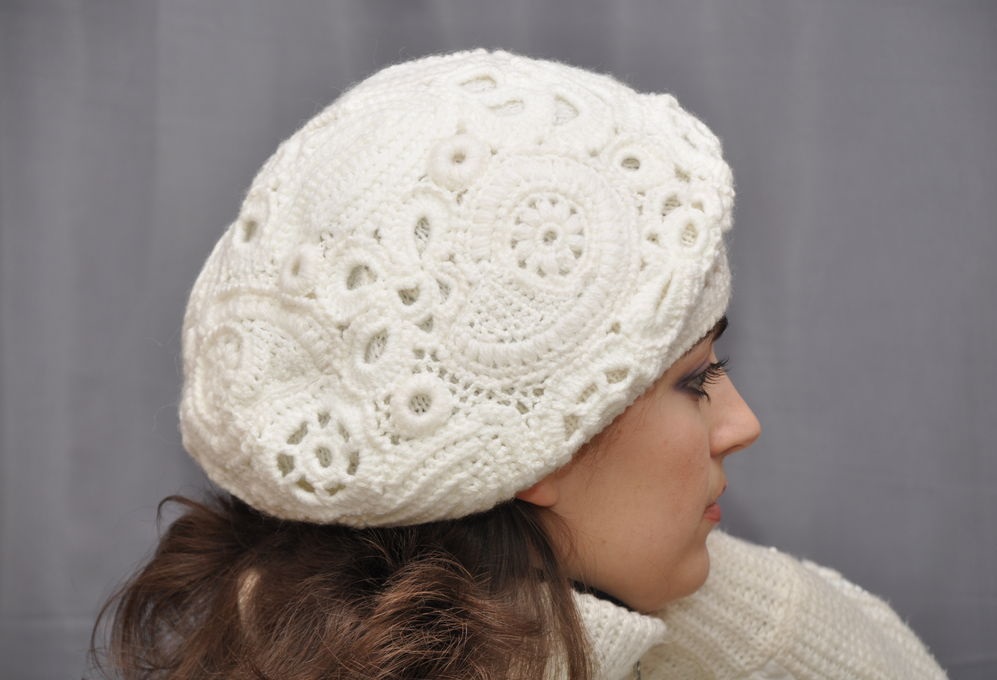
A beret made from individual motifs looks very feminine and stylish; the openwork headdress is also easy to knit:
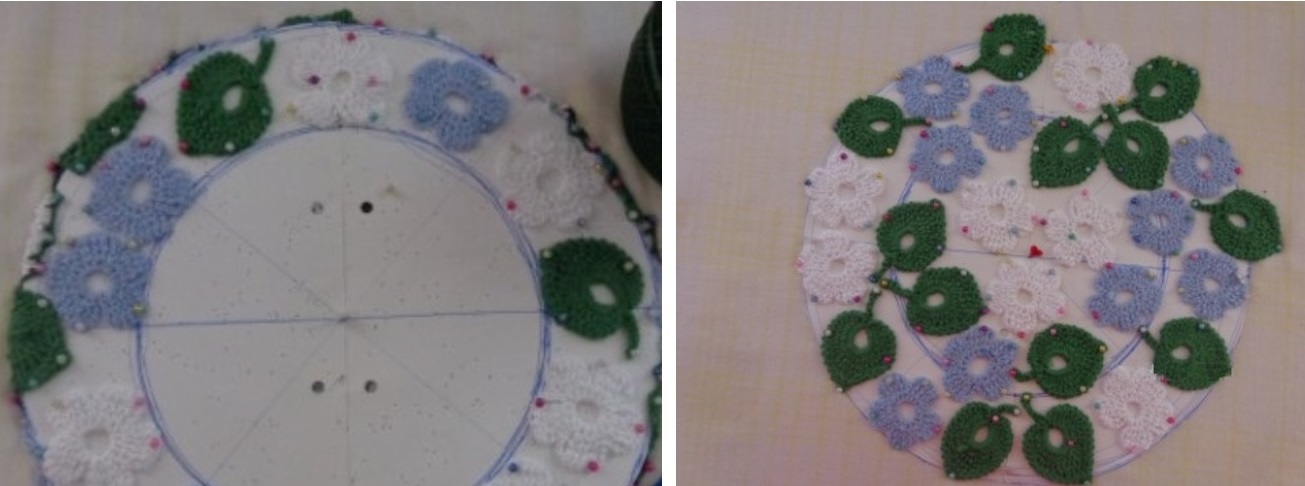
- Separately, motifs are made according to any pattern you like, mainly floral patterns.
- They are connected to each other, forming the wall of the beret, the size of which is equal to the height of the product.
- At the bottom they connect to the center.
- The outer edges of the motifs are woven with the first row of the headband, equal to the circumference of the head. It is knitted with SC, the width should be approximately 3-5 cm.
To make this beret model, it is recommended to take cotton yarn of different colors, hooks No. 2 and 2.5 are suitable for it.
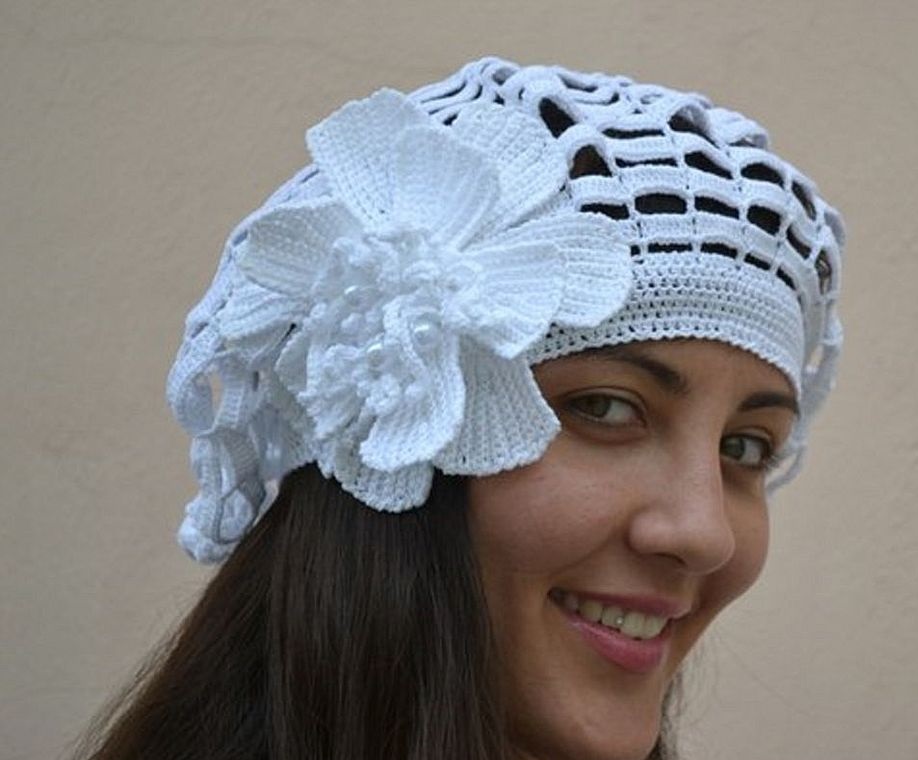
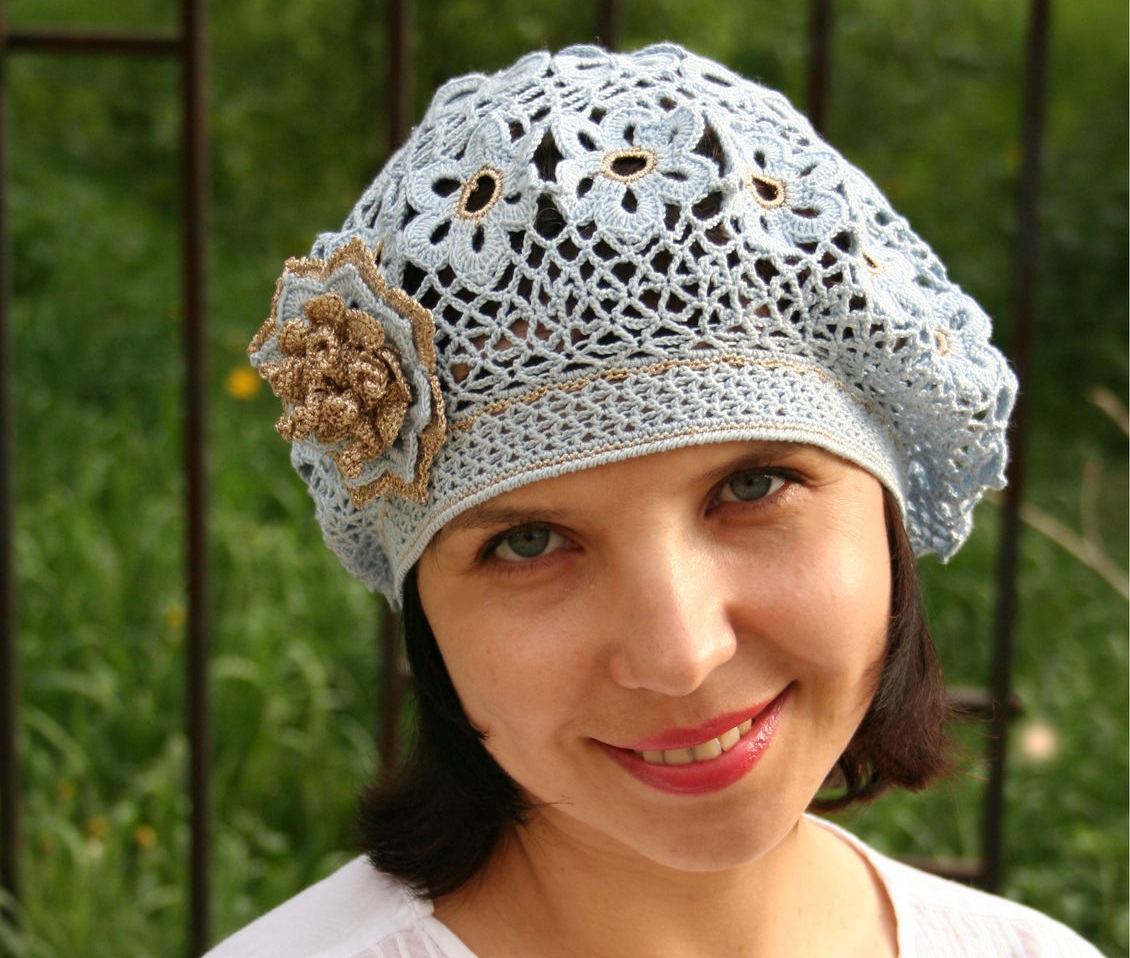
In the style of Irish lace
A crocheted beret similar to Irish lace differs from other similar ones by the mesh that connects the floral elements. Women will appreciate this model in hot weather. To make it, you need an average level of skill and multi-colored "Iris" threads. Using a #1 hook, pins, and pattern material, you will get a bright mesh headdress.
Instructions with a description of how to crochet a beret:
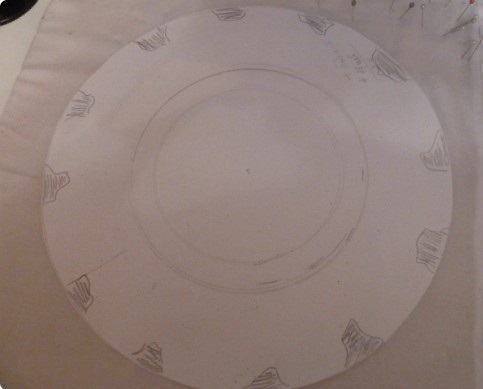
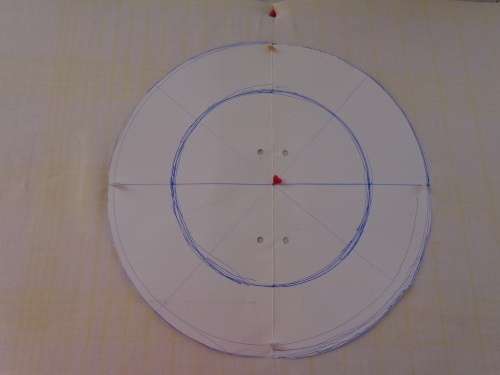
- Make a pattern (the upper full circle is 30 cm in diameter, the lower incomplete one is 17.5 cm).
- Place it on a hard surface and pin the pre-tied lace elements made with threads of different colors on top.
- Tie the decorated composition with a net, form the top circle.
- Repeat the same steps for the bottom circle.
- Knit a headband: knit a chain from air loops equal to the circumference of the head, close it, tie with 7 rows of sc.
- Connect all parts.
In the finished product, the protruding ends of the threads must be carefully hidden inside, and then the beret must be ironed thoroughly using steam.
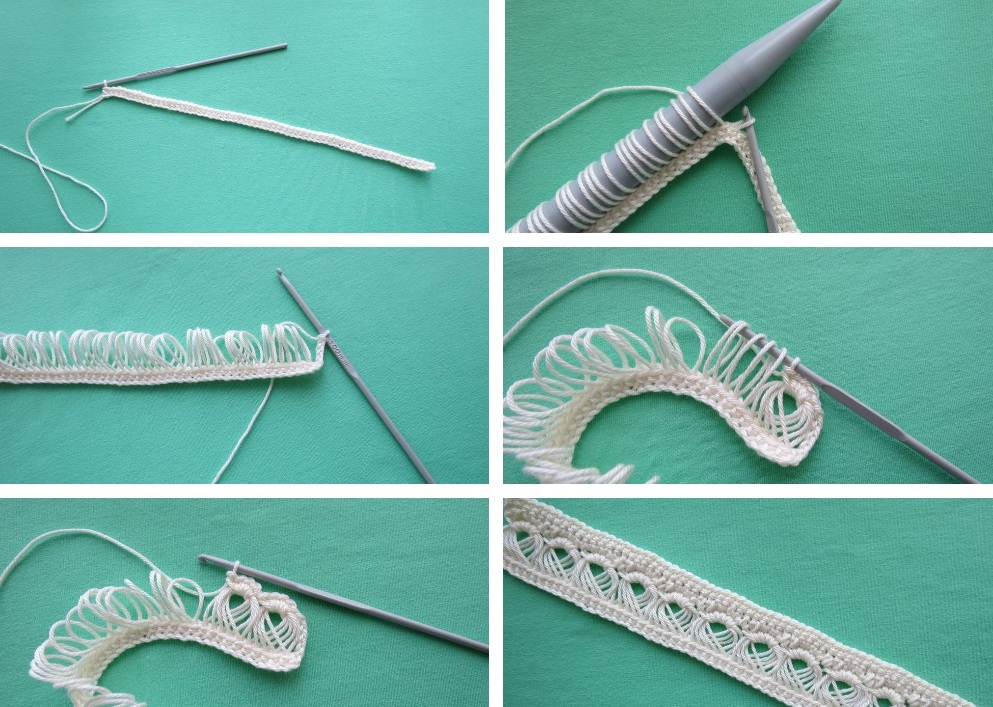
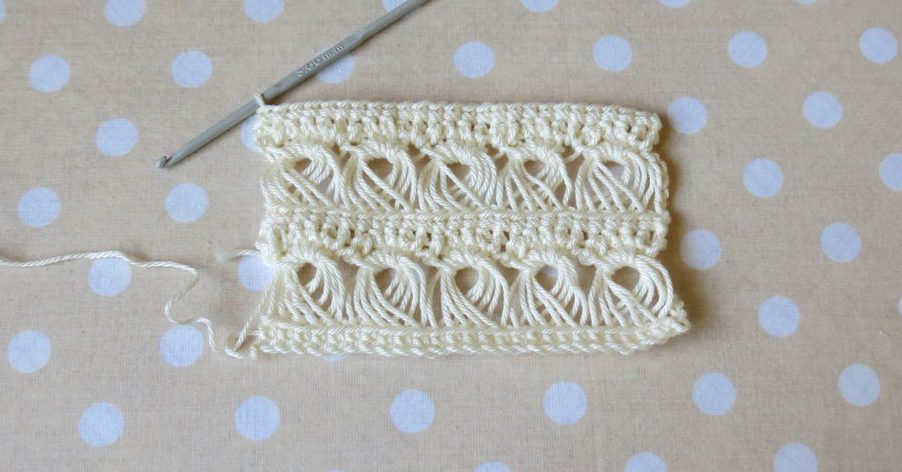
In the Broomstick technique
Many craftswomen make crocheted berets using the Broomstick technique, which is also called Peruvian crochet. For work, in addition to yarn and a tool, you will need a pencil for pulling out loops, it should be 4 cm long, 1 cm in diameter.
The technique is performed on the basis of a row of regular knitting. How to form a broomstick loop (hereinafter referred to as BSL):
- Place 5 loops (L) on the pencil one by one, tighten them and remove 3 at a time, leave two, put on 3 more so that there are 5 L again.
- Next row: cast on 3, 4, 5 sts, knit sc.
- To secure the P, you need to knit several rows of SC.
How to knit the top part of the beret:
- 4 air sts in a ring.
- 1 row - 14 CH.
- Row 2 - 2 dc in each st of the previous row.
- 3 p. - 28 PB.
- Row 4 - grab 3 PB (the last ones - 4 P), knit 6 SC, 9 times in total - 54.
- 5 rows - 54 sc.
- 6 p. - 54 PB.
- 7th row - grab 3 PB, knit 5 SC, 18 times in total - 90.
- 8–9 rows — 90 sc.
- 10th row - grab 3 SB, knit 4 SC, 30 times in total - 120.
- 11–12 rows — 120 sc.
- 13 p. - pull out PB - 120.
- Row 14 - grab 3 SB, knit 4 SC, 40 times in total - 160.
- 15–16 rows — 160 sc.
Next steps:
- 17 p. - pull out PB - 160.
- Row 18 - grab 3 SB, knit 3 SC, 53 times in total - 159.
- Row 19 — SC with decrease: together SC first and last. From the threes of the previous row, the middle SC — 106.
- 20 p. - 106 sc.
- 21 p. - 106 PB.
- Row 22 - grab 3 SB, knit 3 SC, 35 times in total - 105.
- 23–26 rows — 105 sc.
- 27 p. - 105 CH.
- Rows 28–29 – elastic band of convex and concave columns.
For those who want to try to make a more complex model using this technique, it is important to use diagrams and descriptions, which can be easily found on thematic resources or in specialized magazines.
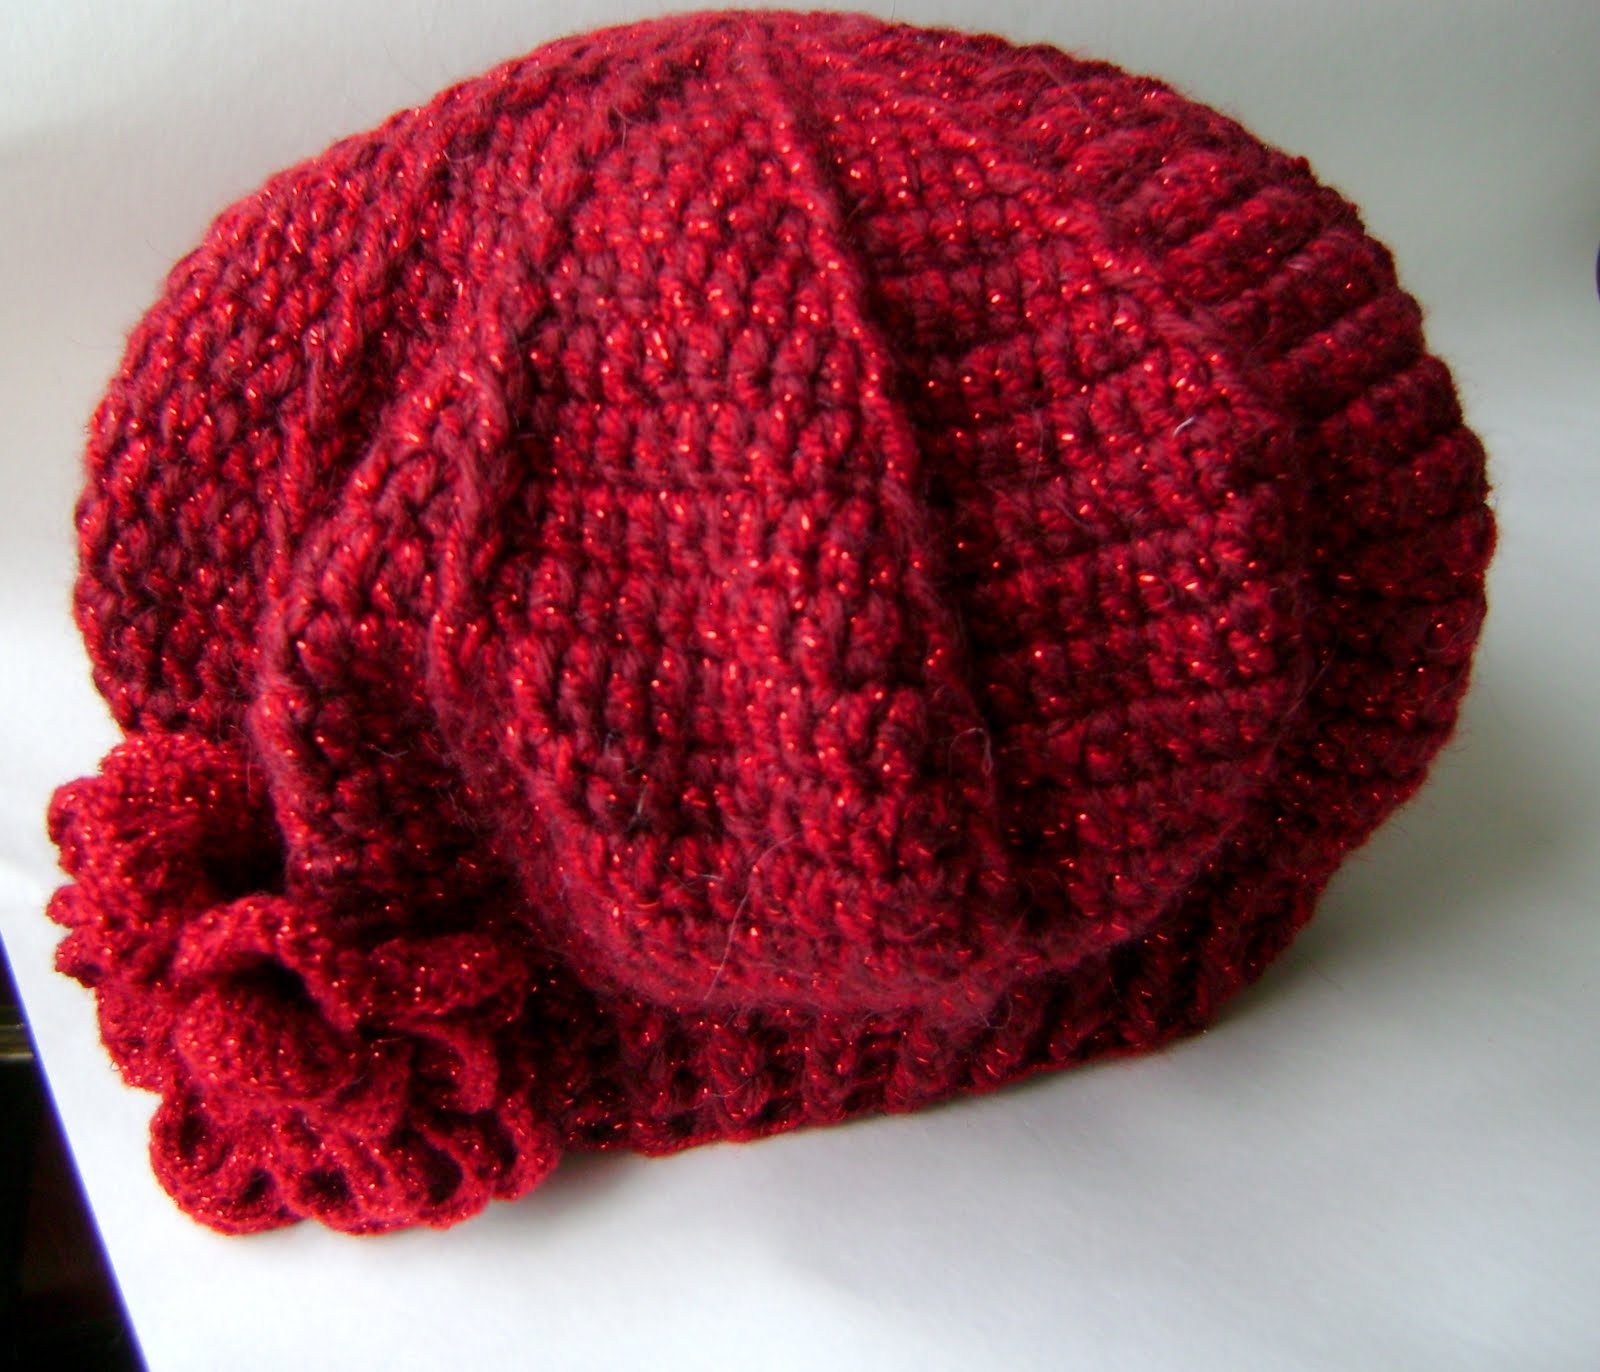
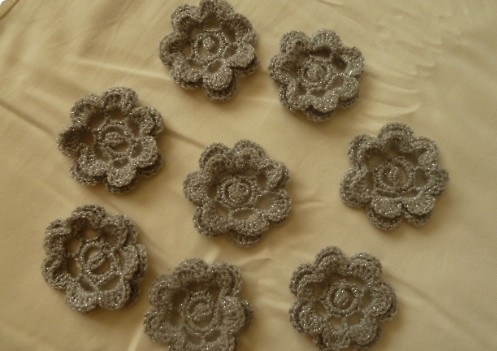
Decor
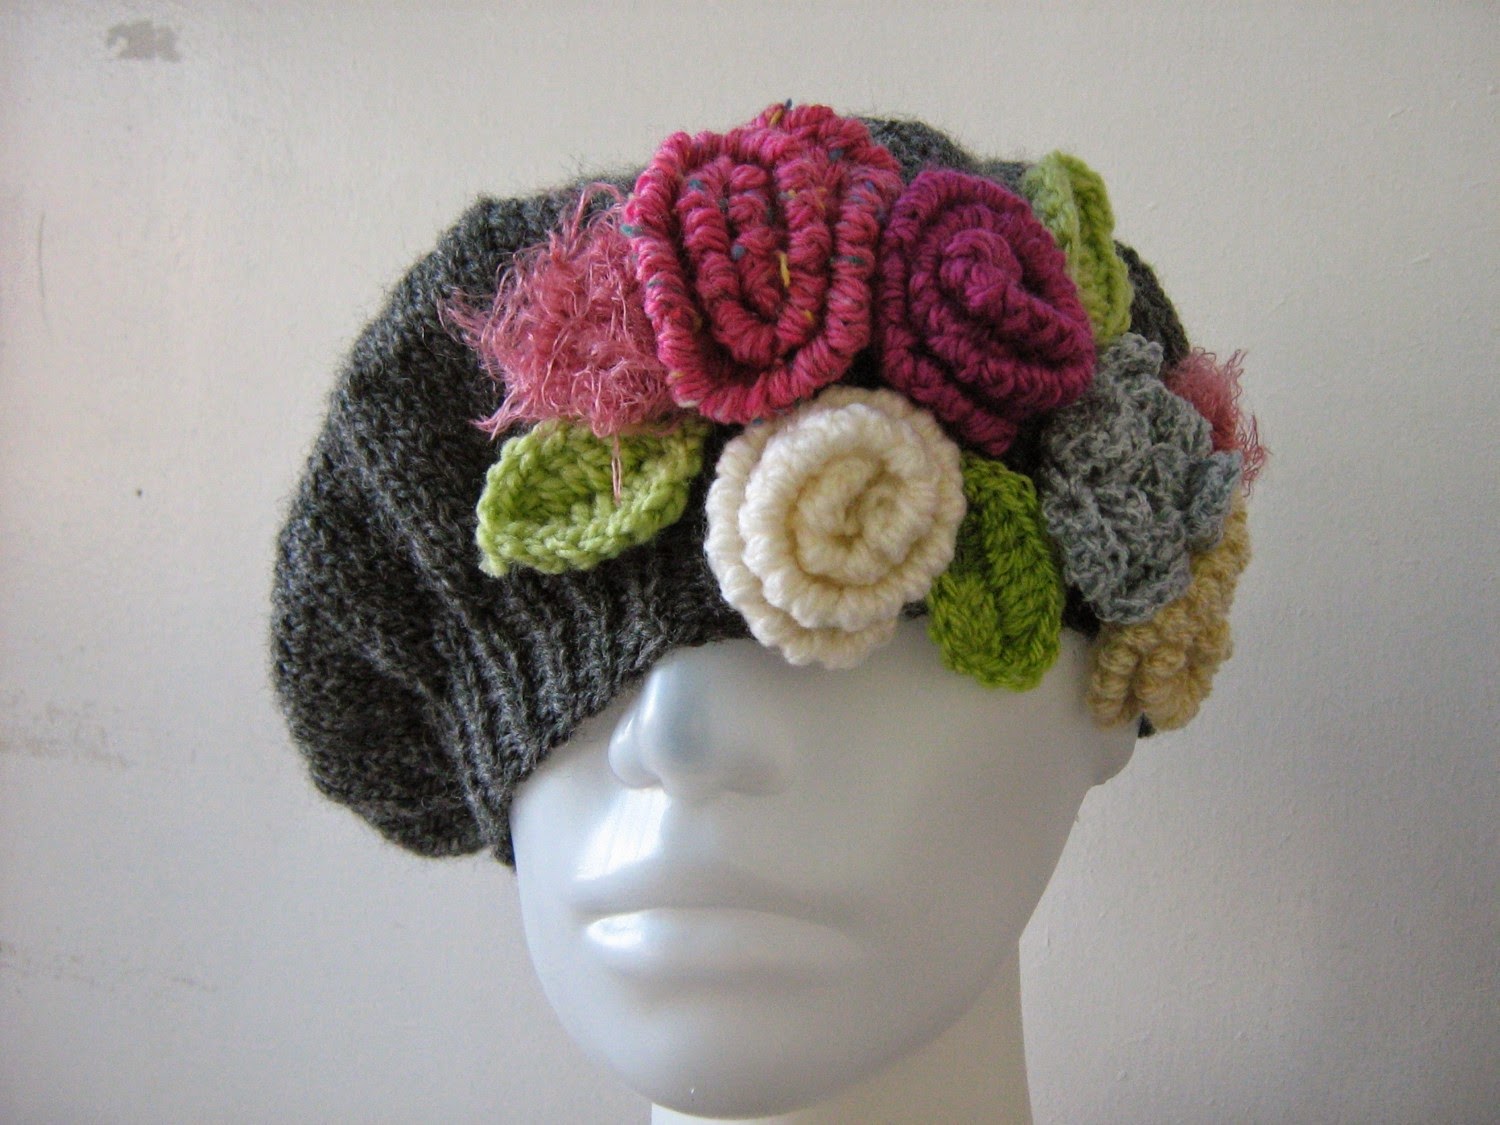
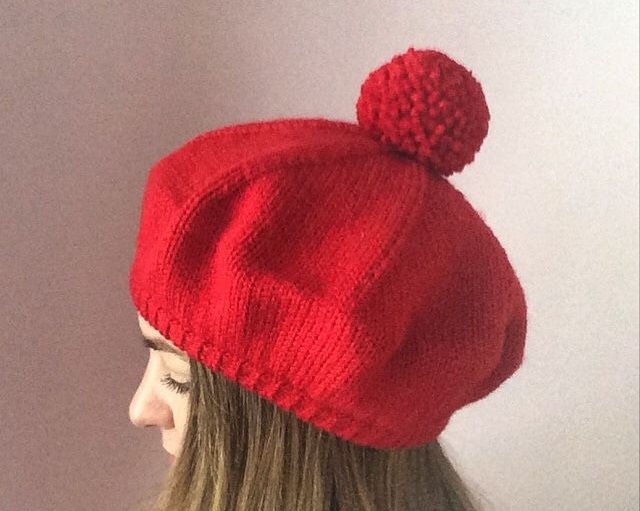
When the product is ready, you can decorate it if you wish. The following will work as a bright accent for the beret:
- Knitted voluminous or flat flowers that are starched and secured from the bottom up.
- Pom-poms that match the style of voluminous items.
- Brooches that match in color and size.
- Lace made from the same yarn suits plain berets.
- Rhinestones, beads, ribbons or seed beads - any women's headwear will become more elegant.
It is important to remember a simple rule: the decor on crocheted berets for women should correspond to the age. Playful bows or voluminous pompoms will look out of place on a lady of respectable years, and an old "grandmother's" brooch will create dissonance in a youthful image. Each element of decoration should be in harmony with the clothes, as well as the rest of the outfit. Excessive decor should be excluded even at the stage of planning the design of the headdress - elegant simplicity is in fashion.
Video
https://youtu.be/4l-C362b4qM
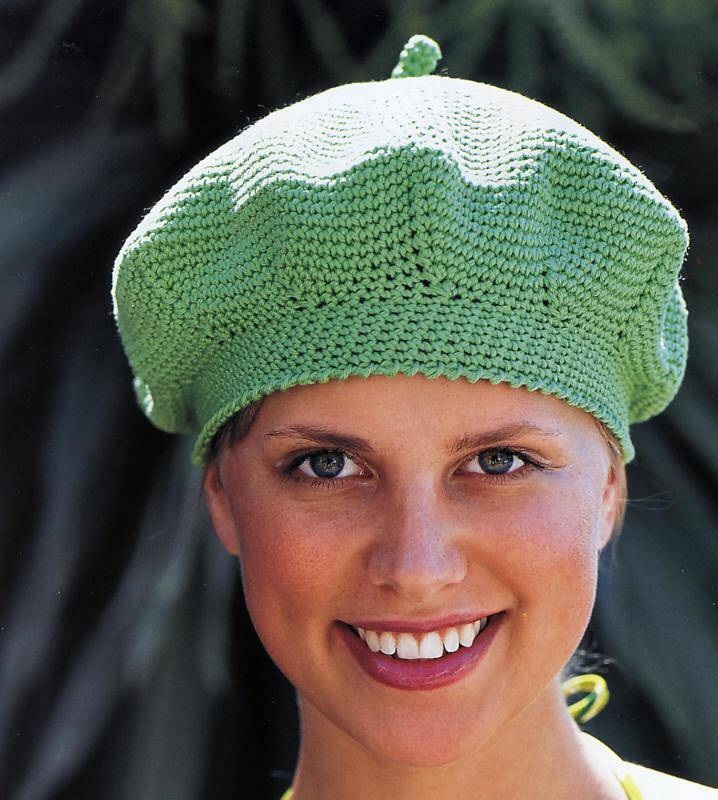
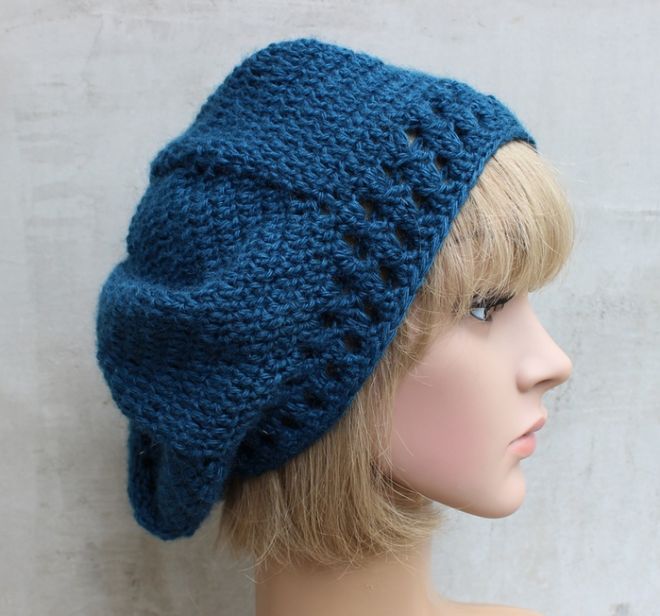
Photo