On the eve of the New Year and other holidays, parents have to come up with outfits for their children, and sometimes for themselves. Recently, the traditional Russian costume has become popular. Its integral part is the kokoshnik. The product, decorated with beads, ribbons, sparkles, successfully complements the festive image. It is not difficult to make a kokoshnik with your own hands. You just need to get the right materials and spend a little time.
What is a headdress?
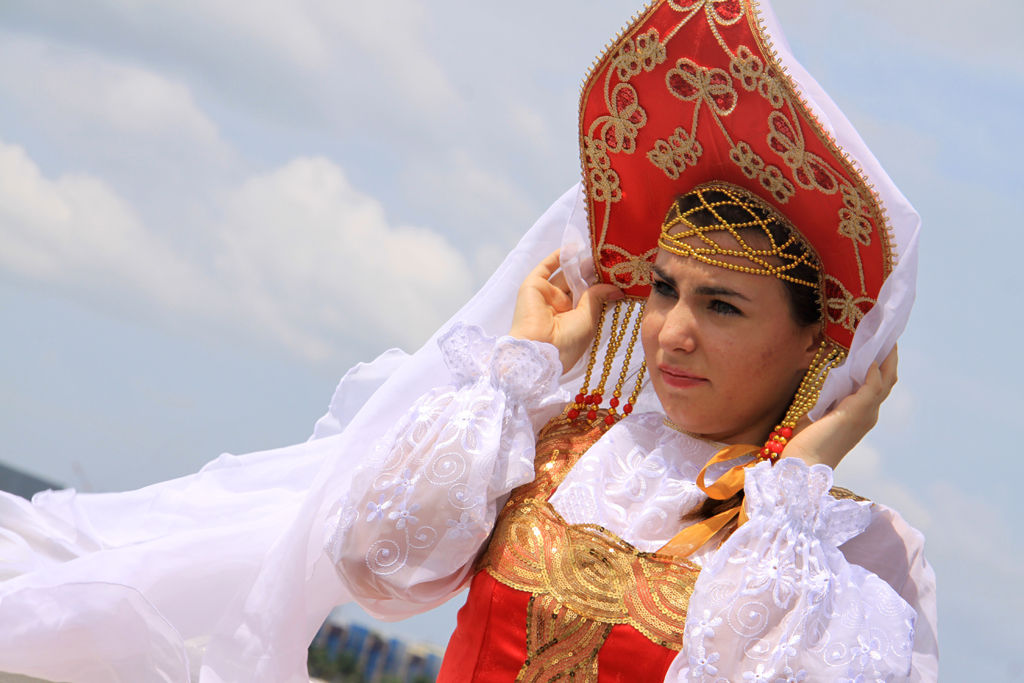
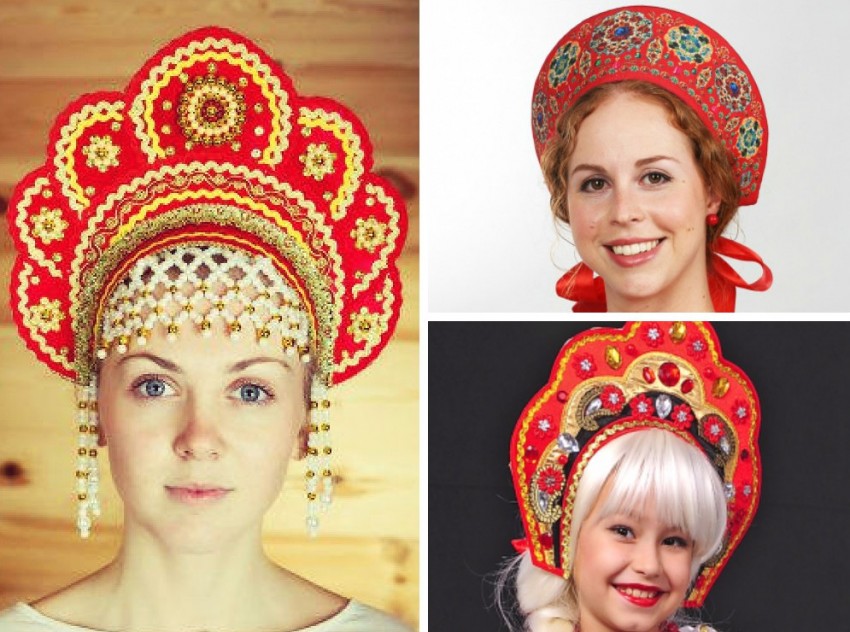
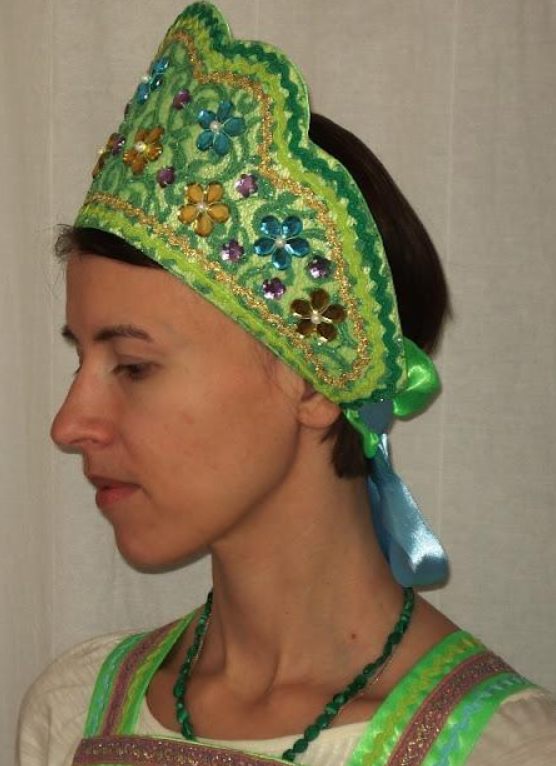
A kokoshnik is an attribute of the Russian national costume. Initially, it was considered a festive accessory, and only noble women wore such a headdress. Peasant women could not afford it. The types of kokoshniks and the ways of decorating them varied depending on the area.
The traditional product had a semicircle shape. They put it on the head, placing the headband from one ear to the other. The kokoshnik was secured with a ribbon tied under the hair. The height of the semicircle could be different, the edge could be pointed, round, wavy, with teeth. At present, this original headdress is used at masquerades, concerts, children's parties, New Year's holidays.
Maidens' and women's kokoshniks had different designs. An unmarried girl wore only a comb, leaving the crown and braid open, while a married girl wore a headdress with a shawl covering her hair.

Materials used
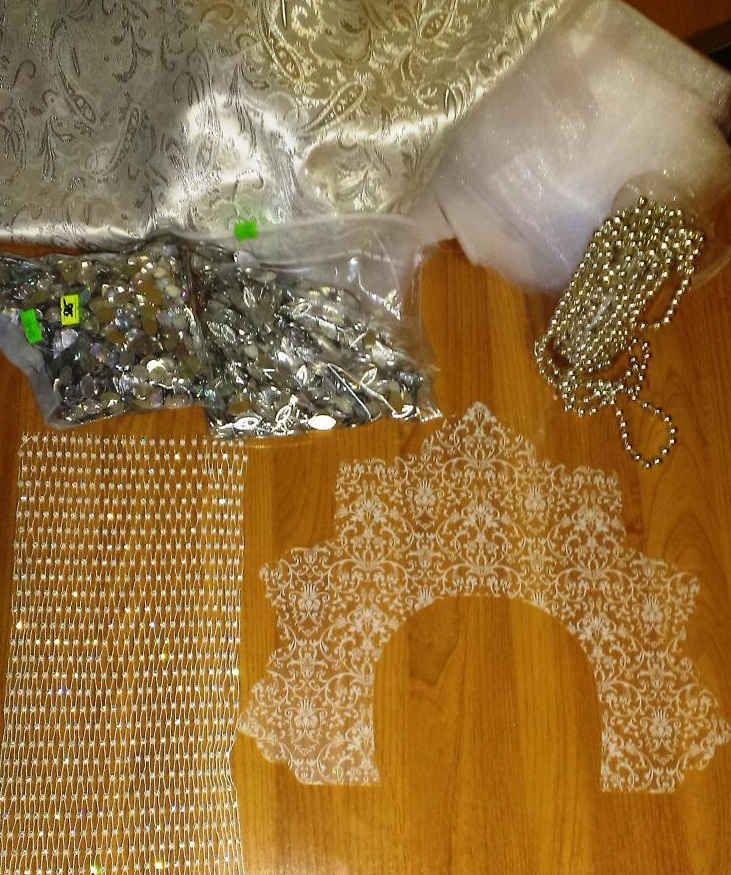
To make a kokoshnik with your own hands, you can use a variety of materials. The base is of primary importance: it must have a dense structure. Currently, the following are used to create the frame:
- cardboard;
- plastic;
- wire.
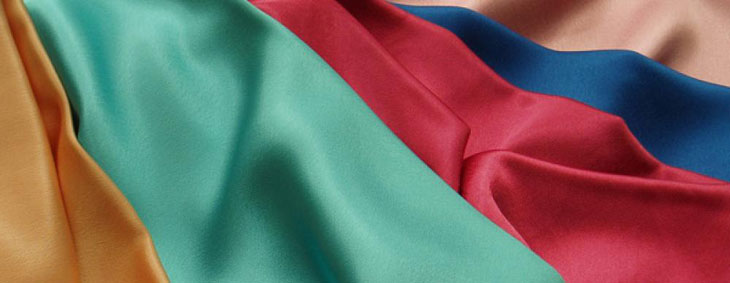
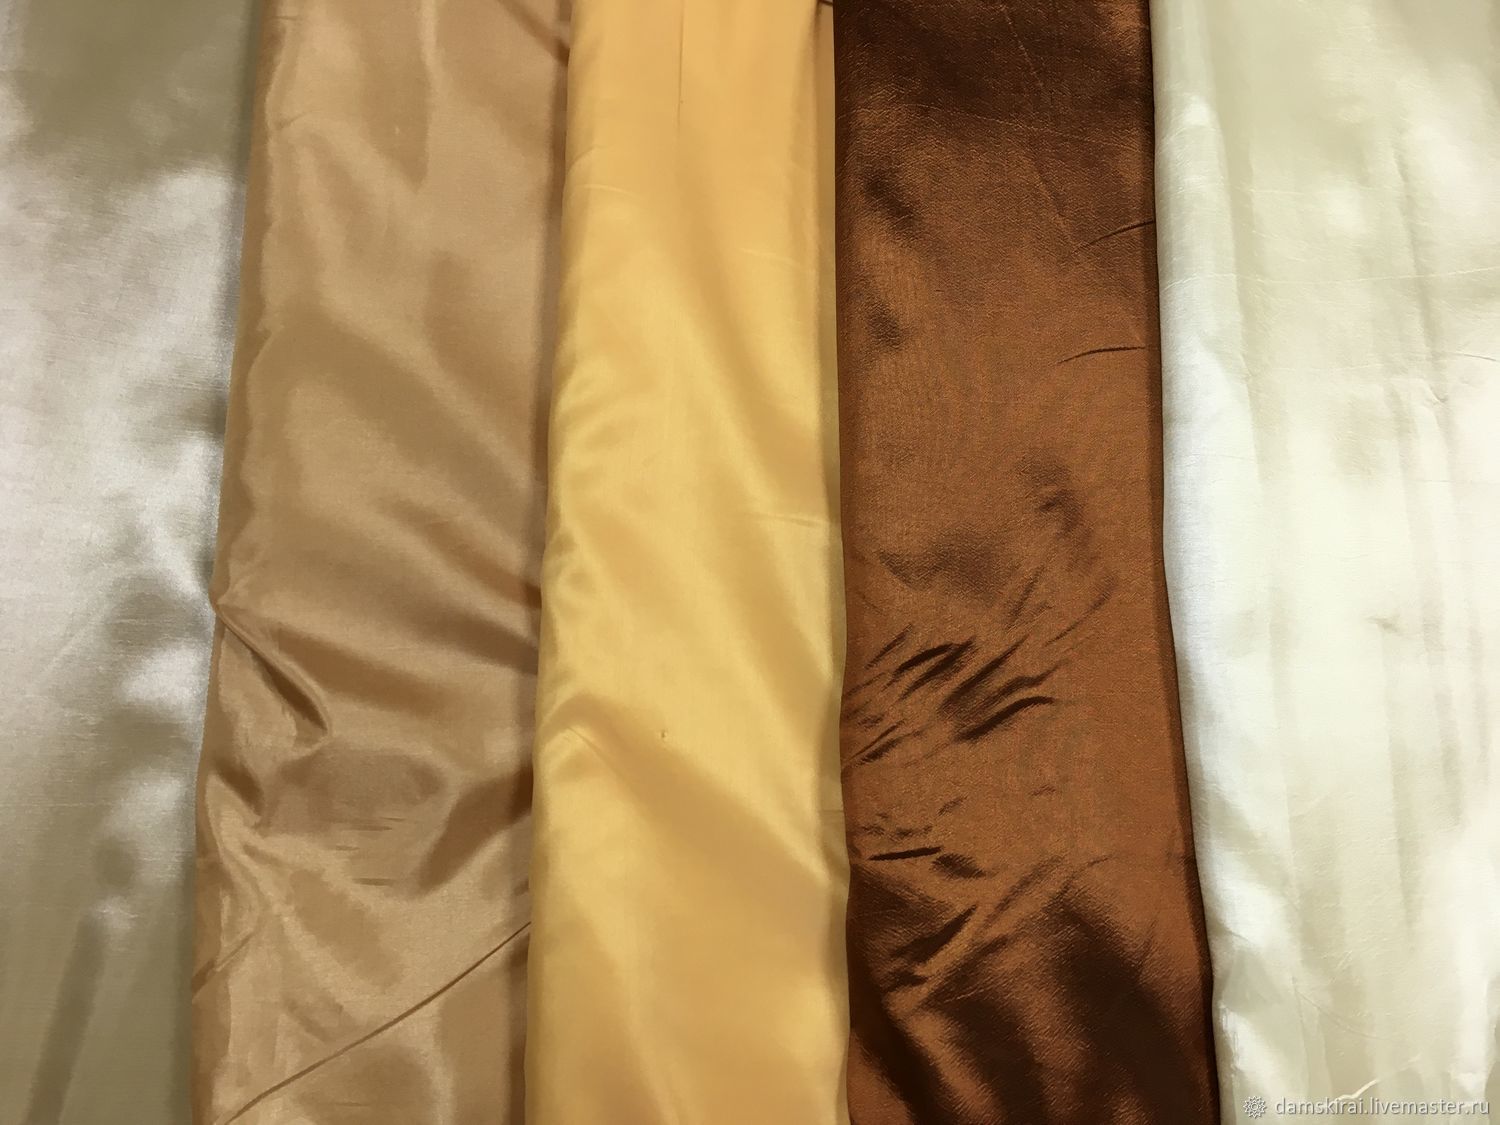
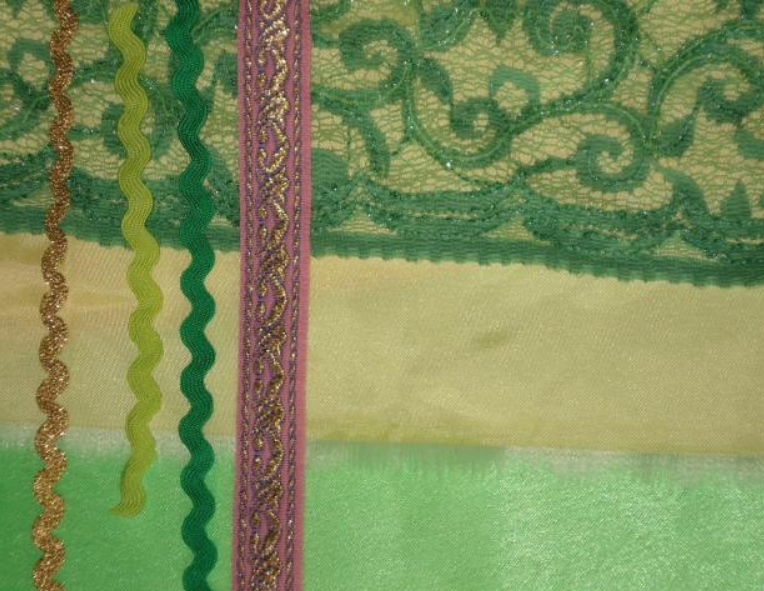
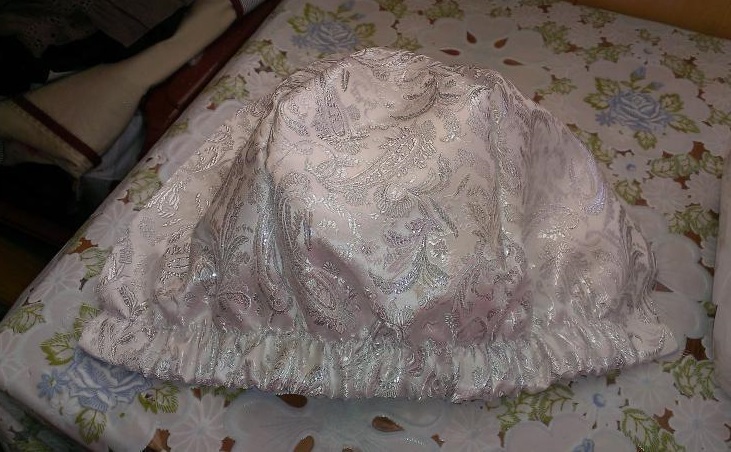
When choosing a material for headwear lining, pay attention to the fact that it stretches well, does not form folds, is dense, and opaque. It can be a fabric with a pattern or a plain one. The most commonly used are:
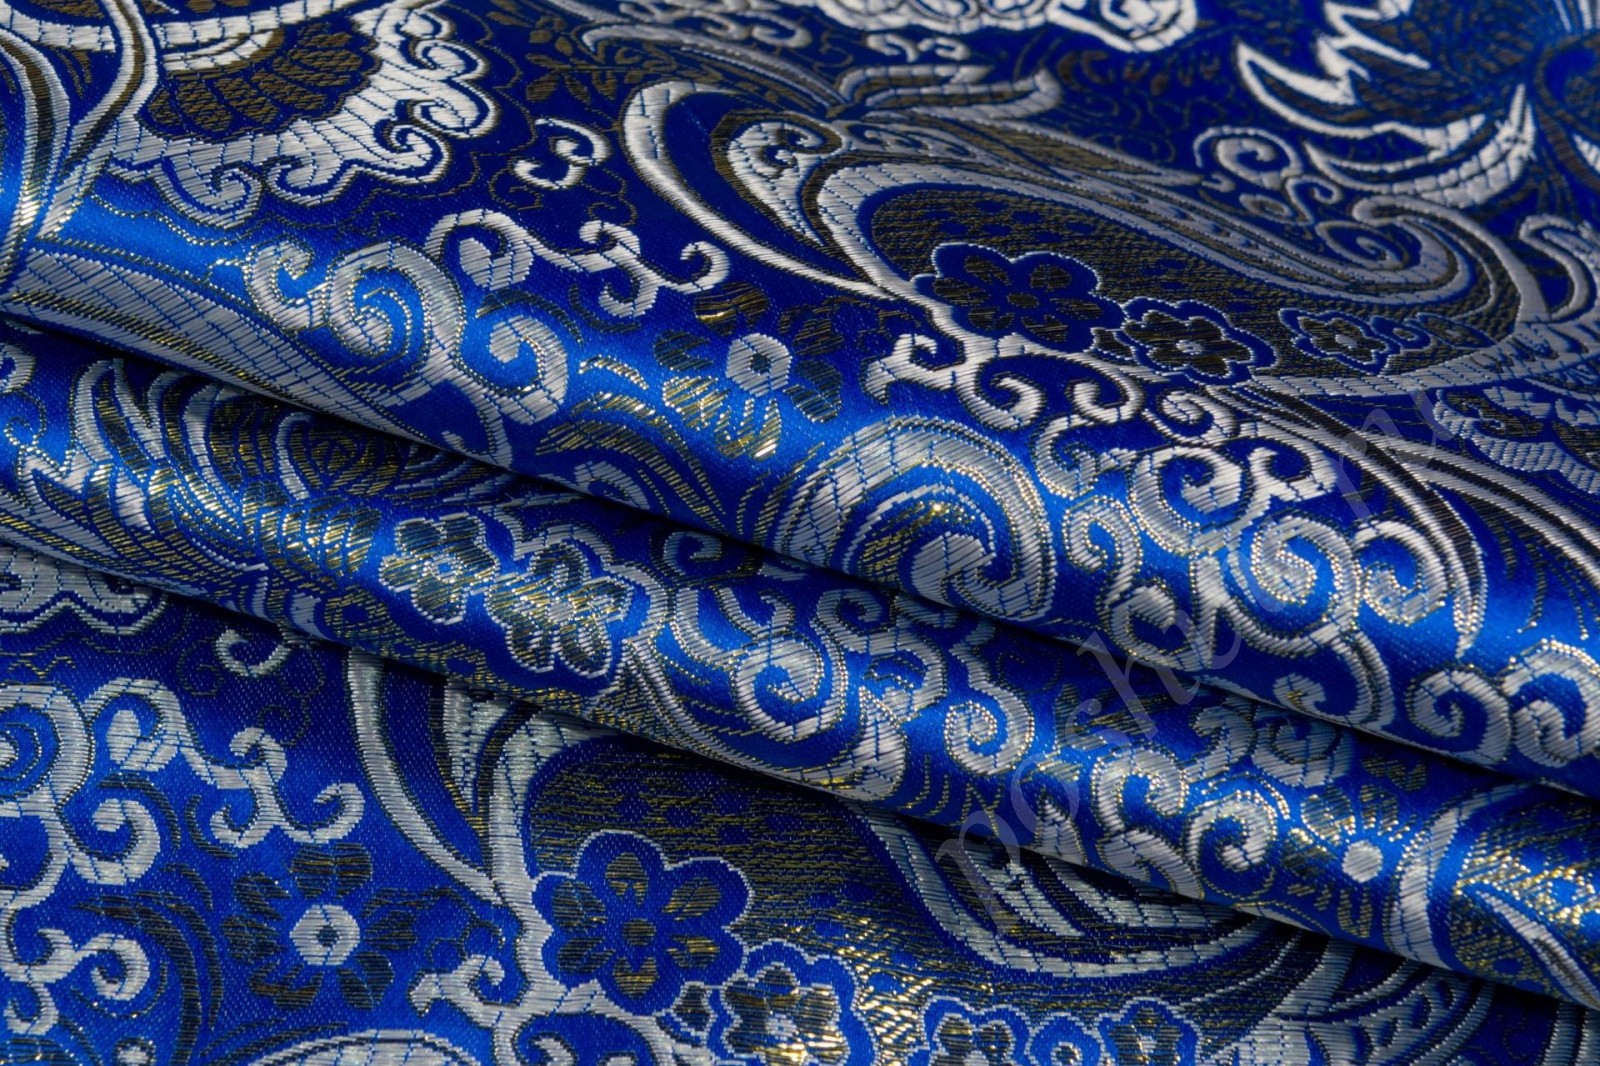
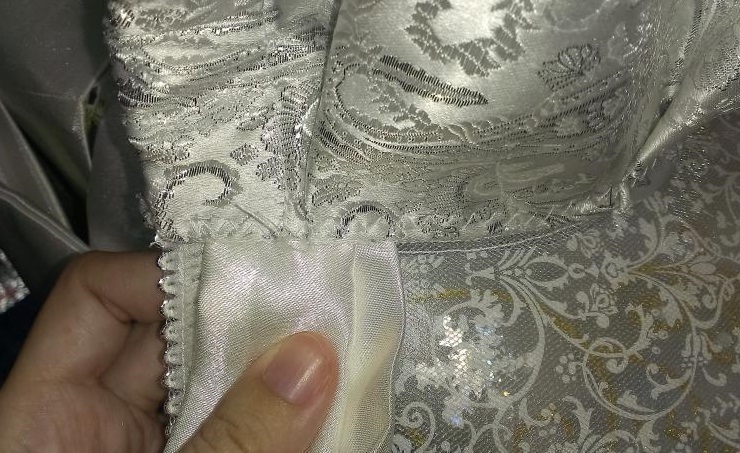
- brocade;
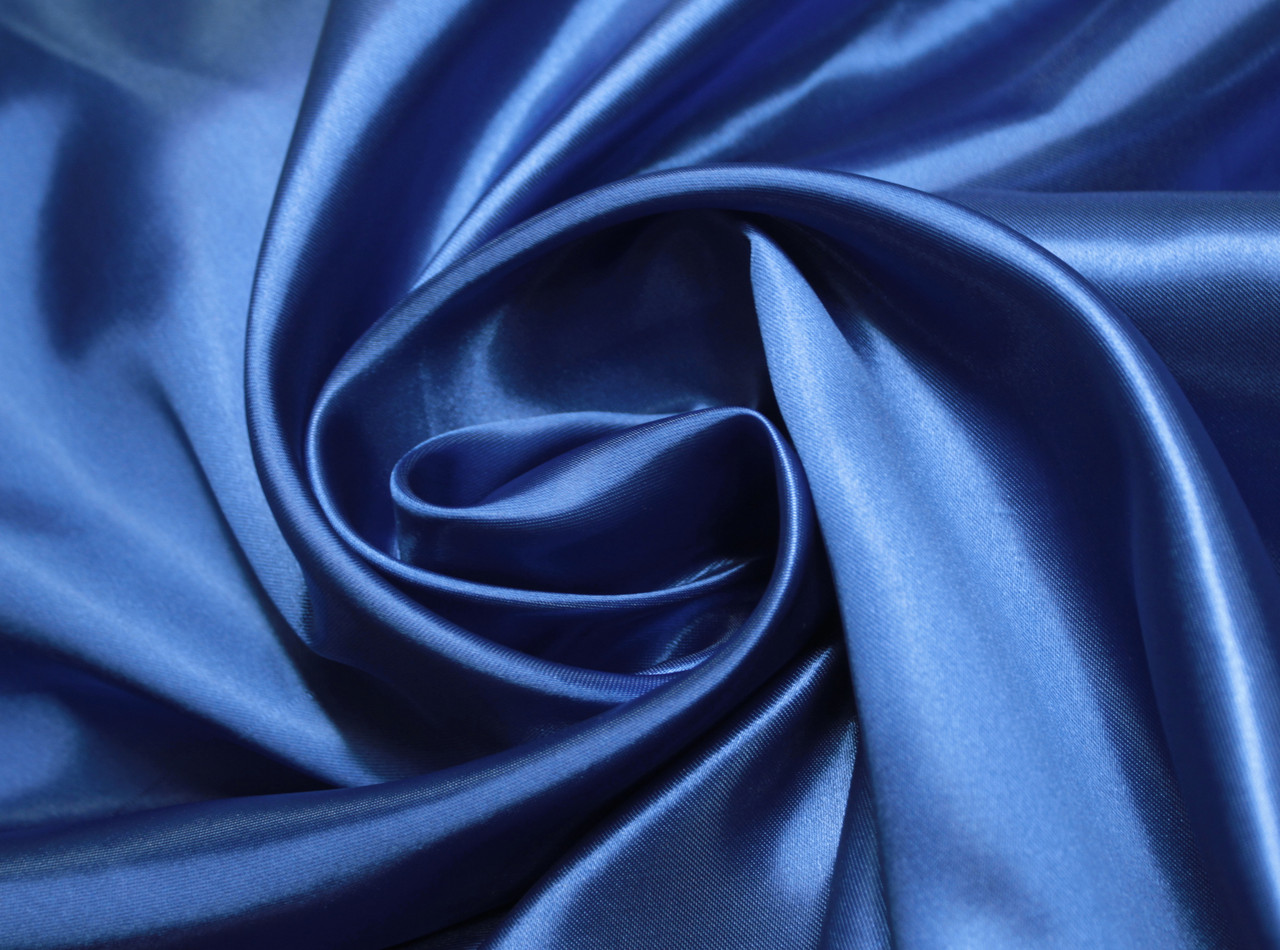
- atlas;
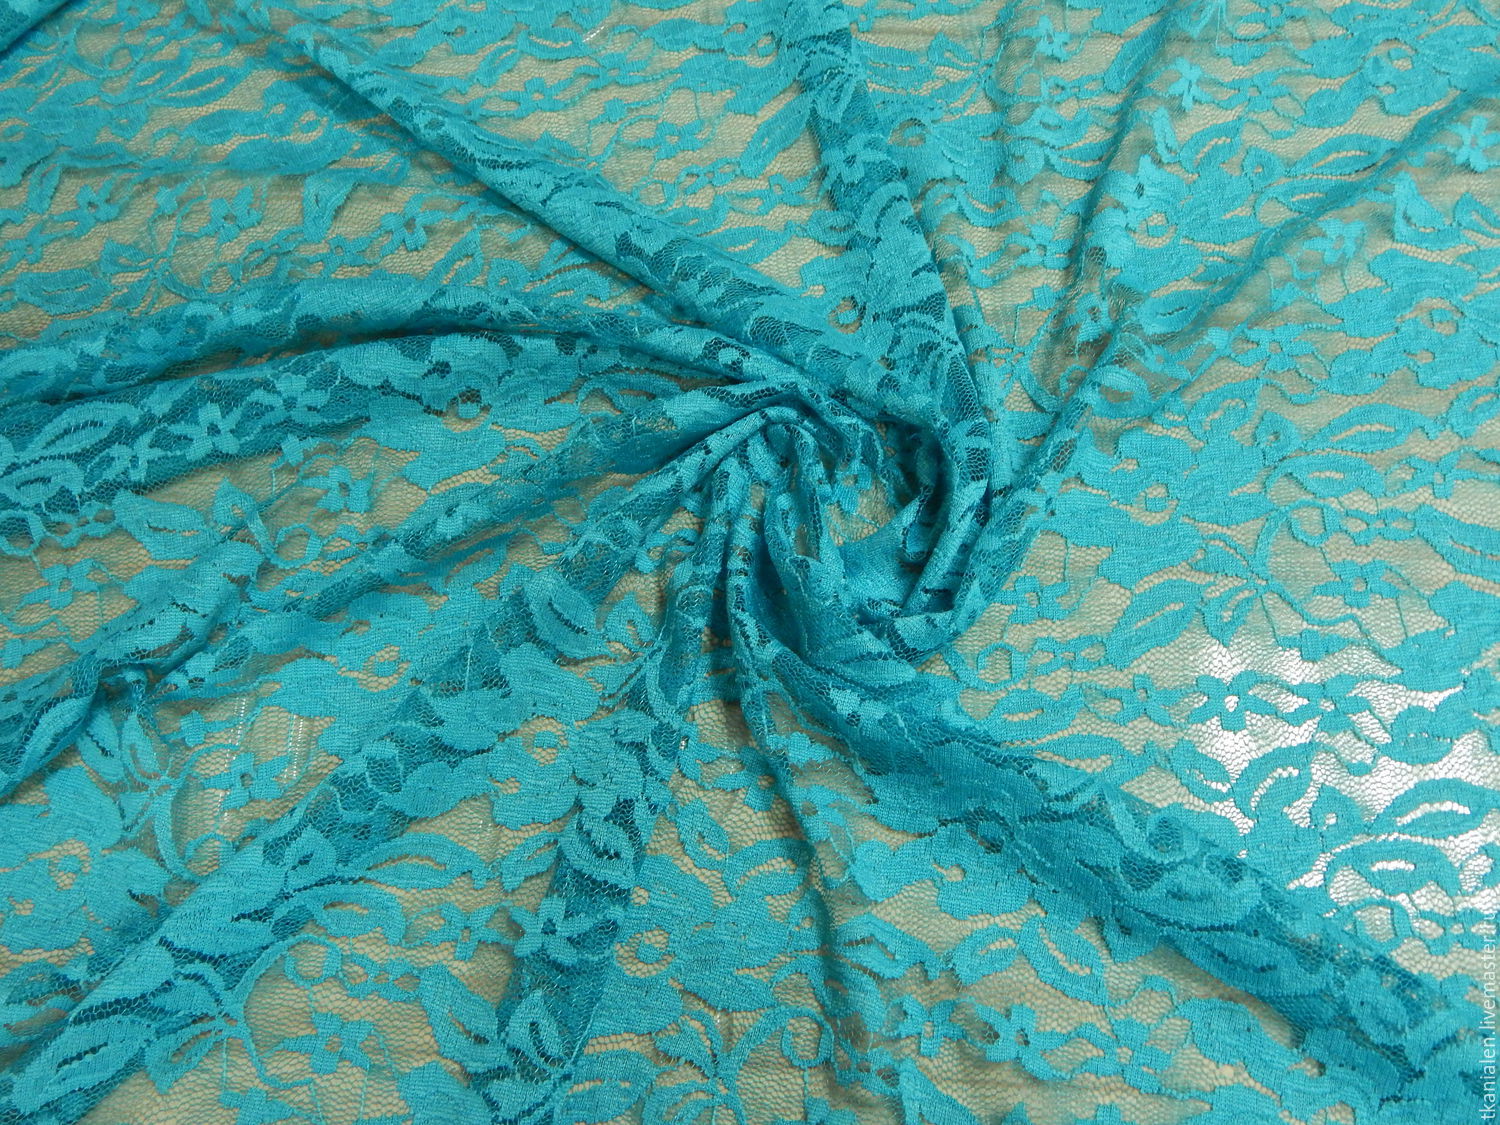
- guipure;
- satin;
- taffeta;
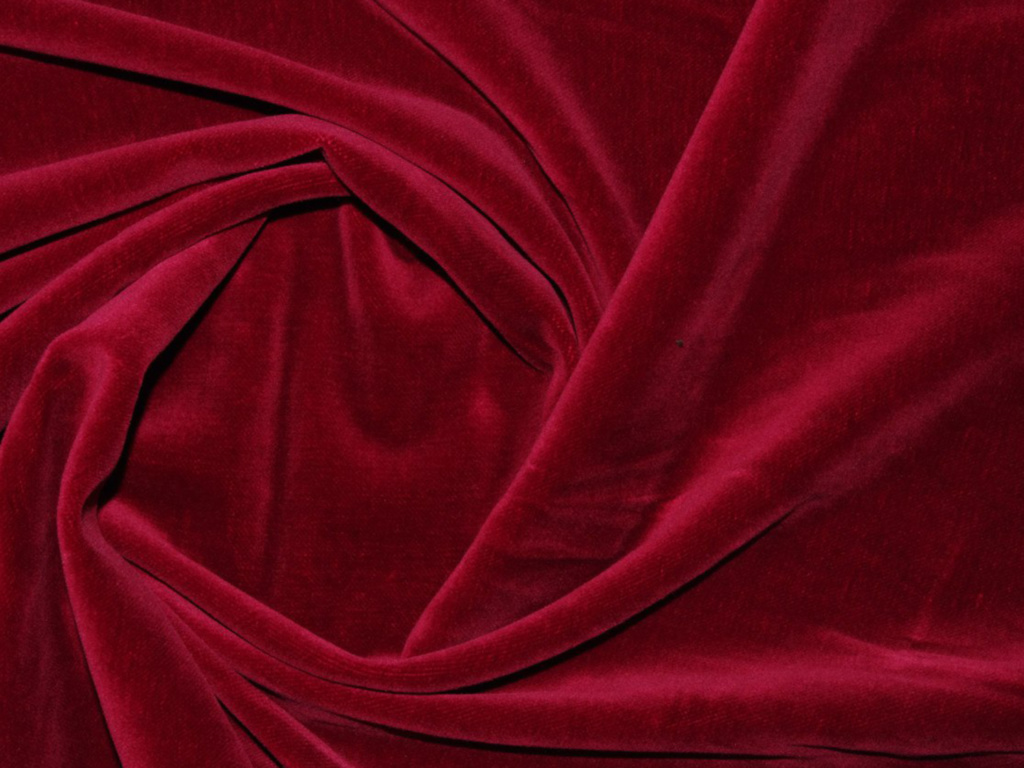
- velvet or velor.
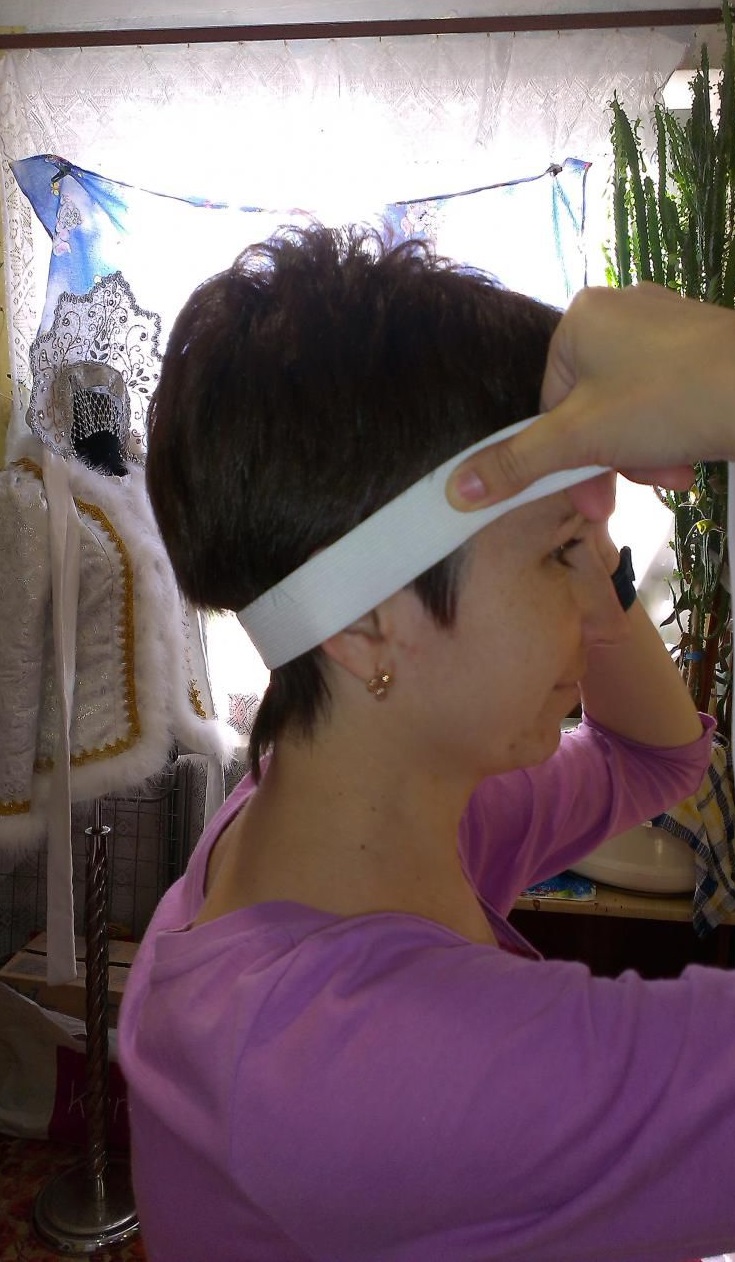
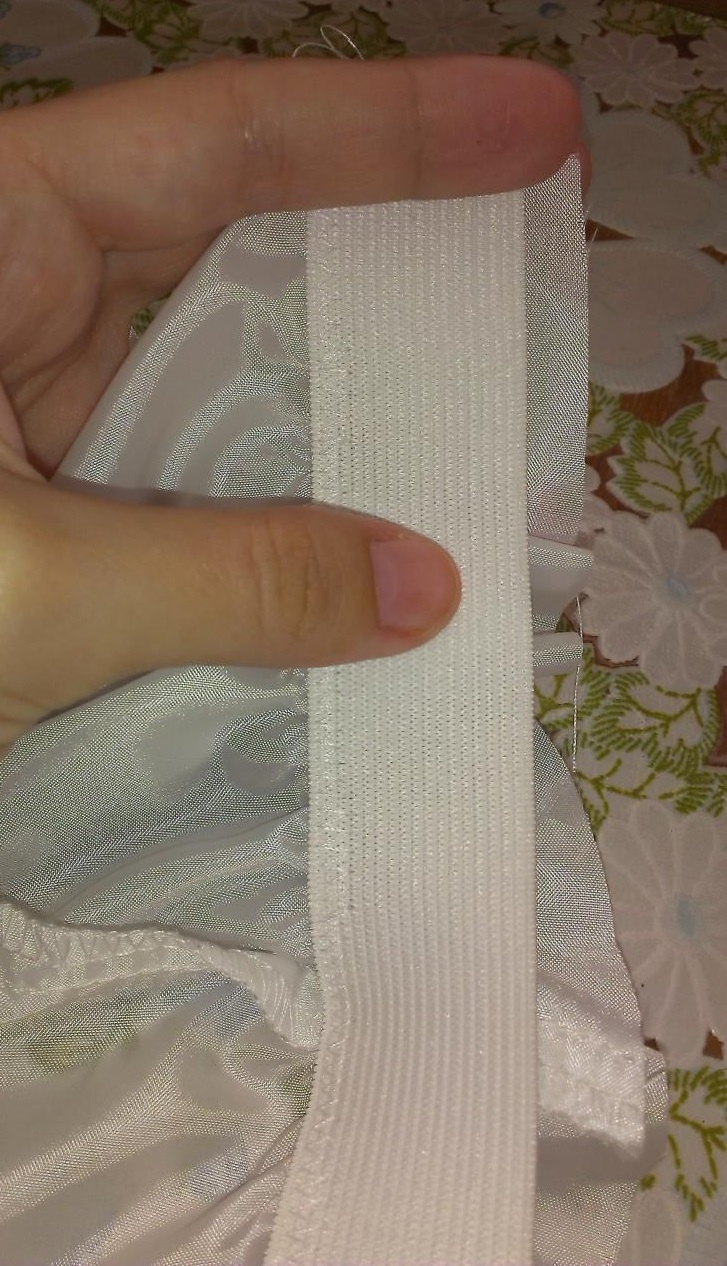
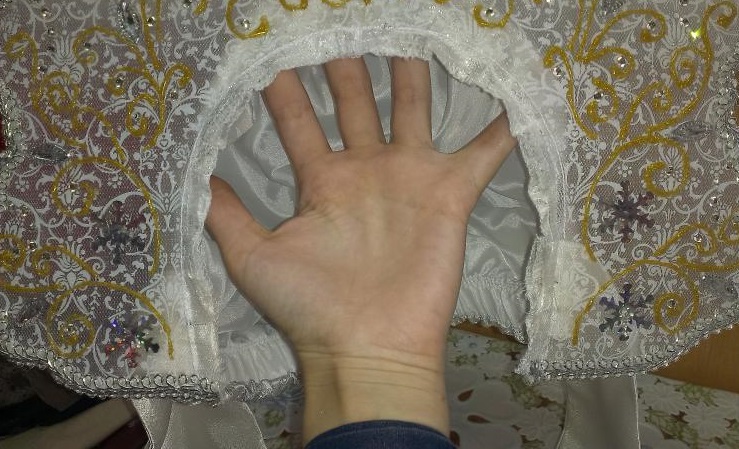
Special attention should be paid to fastening. A thick satin ribbon is sewn to the inner edge of the kokoshnik to secure the headdress well. A correctly made product has a wide headband that fits well to the head.
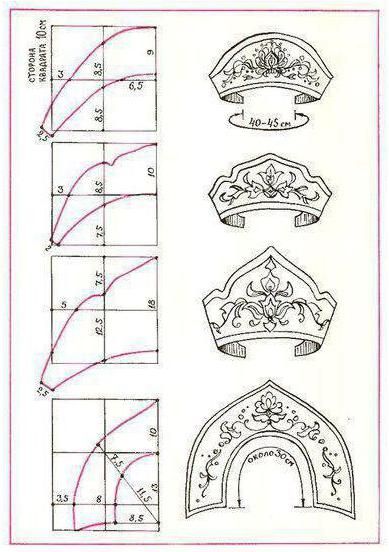
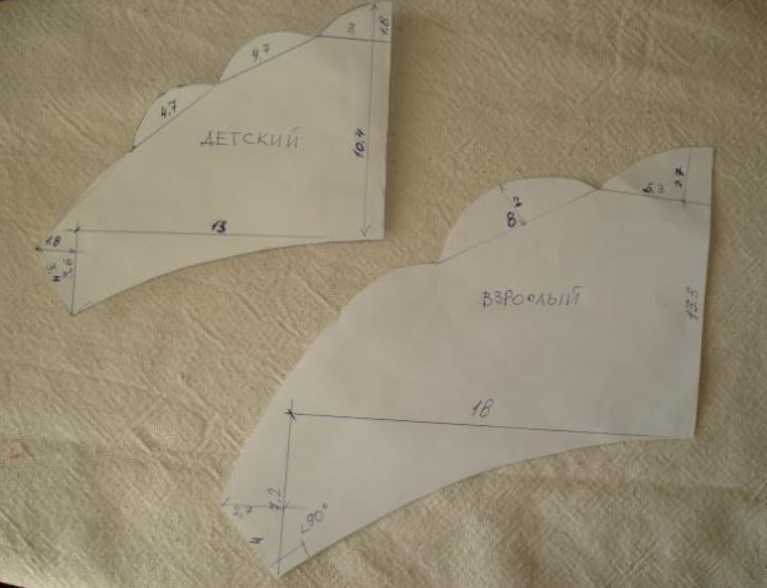
Templates and patterns
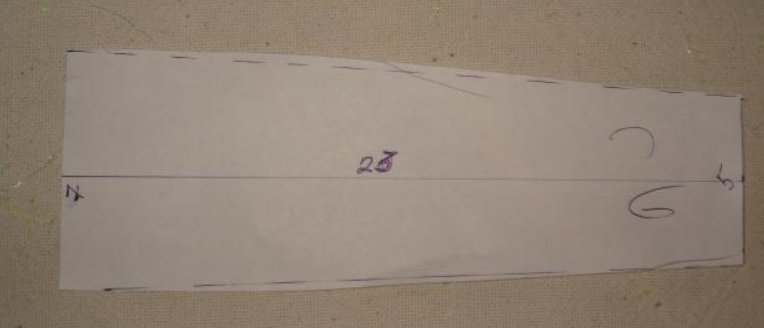
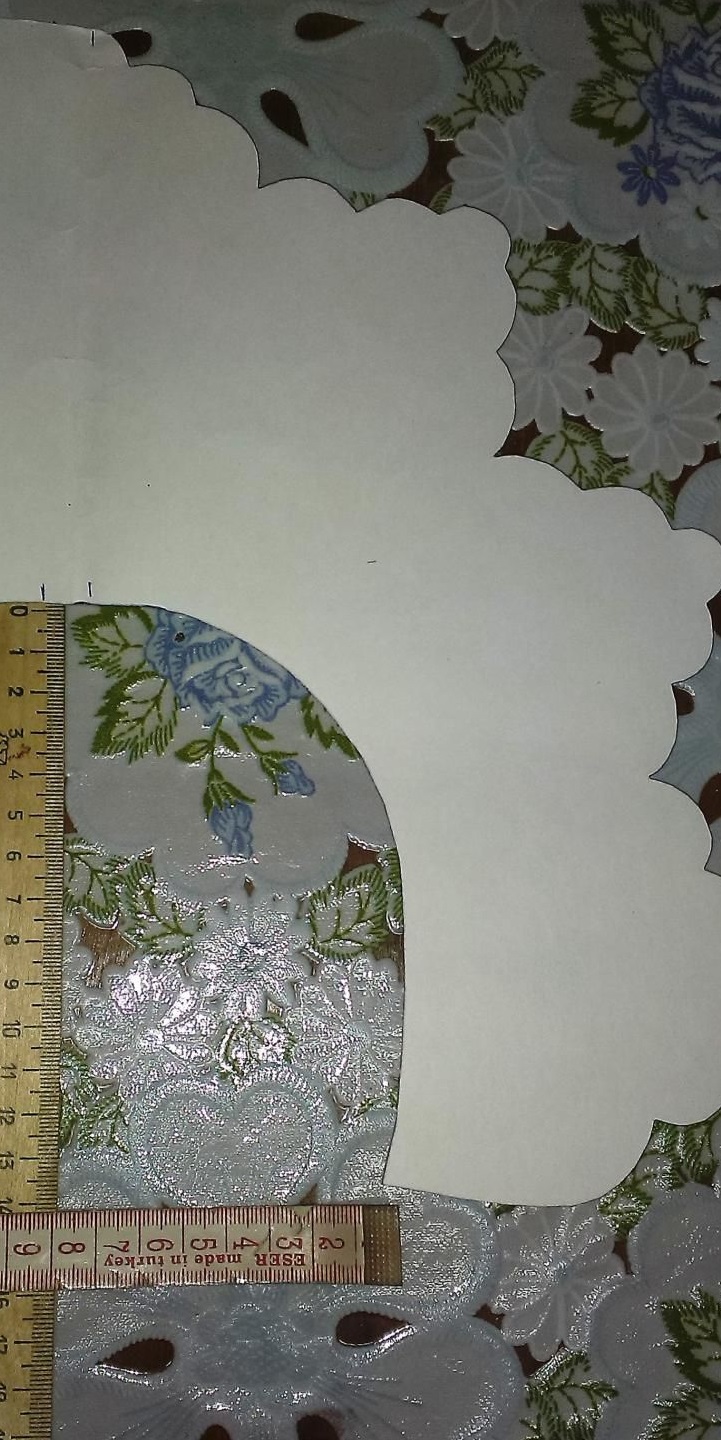
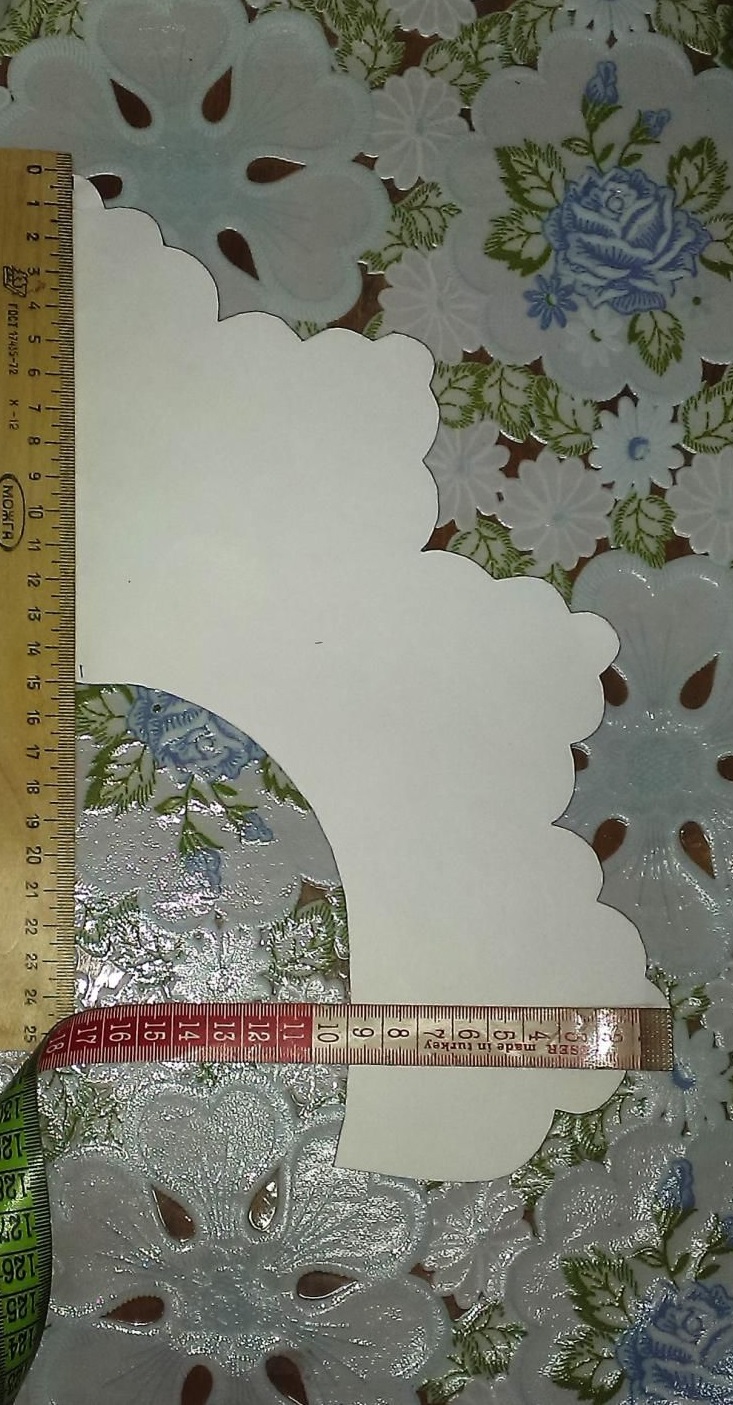
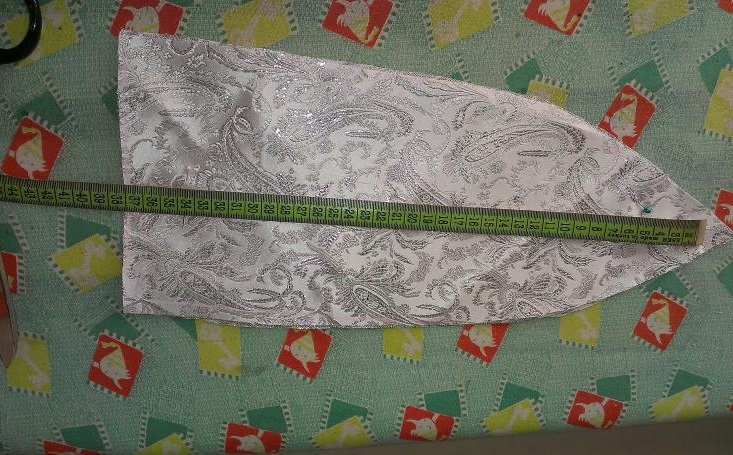
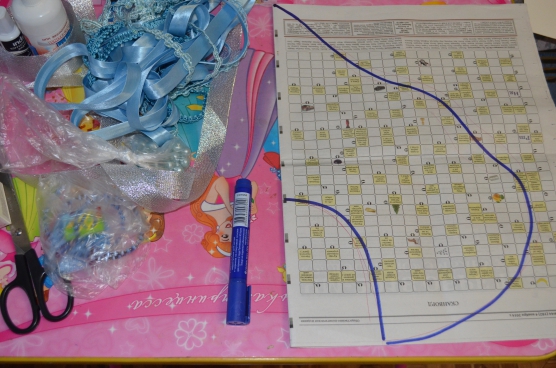
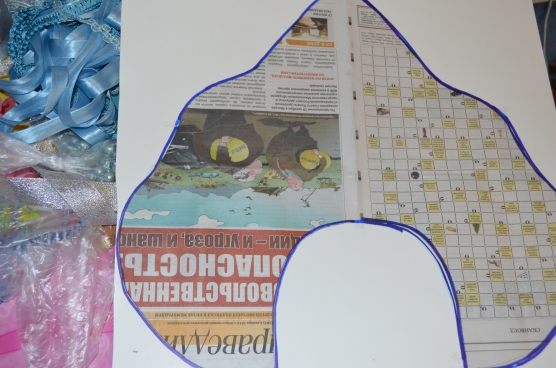
The easiest way is to print out a ready-made kokoshnik pattern. The template is cut out, tried on and adjusted to the size of the head. You can draw the pattern yourself. To do this, measure the distance from the middle of one ear to the middle of the other, laying a centimeter across the crown. This value is the base of the future headdress. The height is made at your discretion. Then the stencil is drawn on thick paper, cut out and be sure to try it on the head. Edit if necessary.
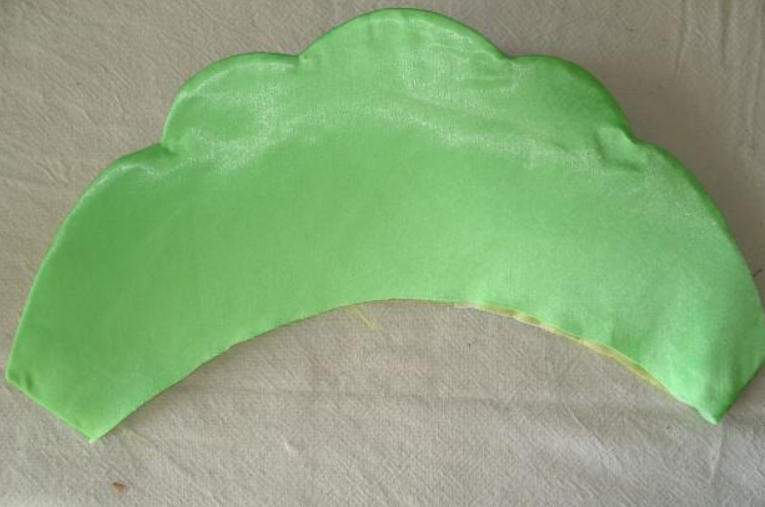
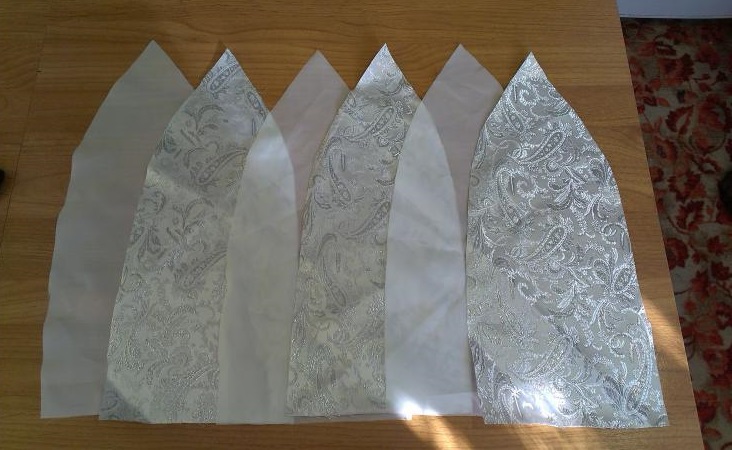
After this, the kokoshnik pattern is transferred to the selected material. The template is applied, outlined with a pencil, and cut out. The upper edge of the headdress can be of any shape. After this, the patterns are transferred to the fabric for lining. A stencil is outlined on the canvas and a reserve of 1.5 cm is made on each edge, cut out with scissors.
Cardboard kokoshniks last less than those made of foam rubber or wire.
You can make a kokoshnik with your own hands from wire. This is the most reliable option, which is able to most accurately repeat the shape of the head. To do this, a piece of wire is applied to the head, where the headdress will be held. Bend in the desired direction. Then make a template for the rim, also fix and connect. When the frame is ready, the kokoshnik is covered with fabric.
The best master classes
A detailed master class will help you cope with the work faster. Below are the nuances of making a children's, Russian folk kokoshnik, a headdress for Snegurochka. Each of them has its own characteristics.
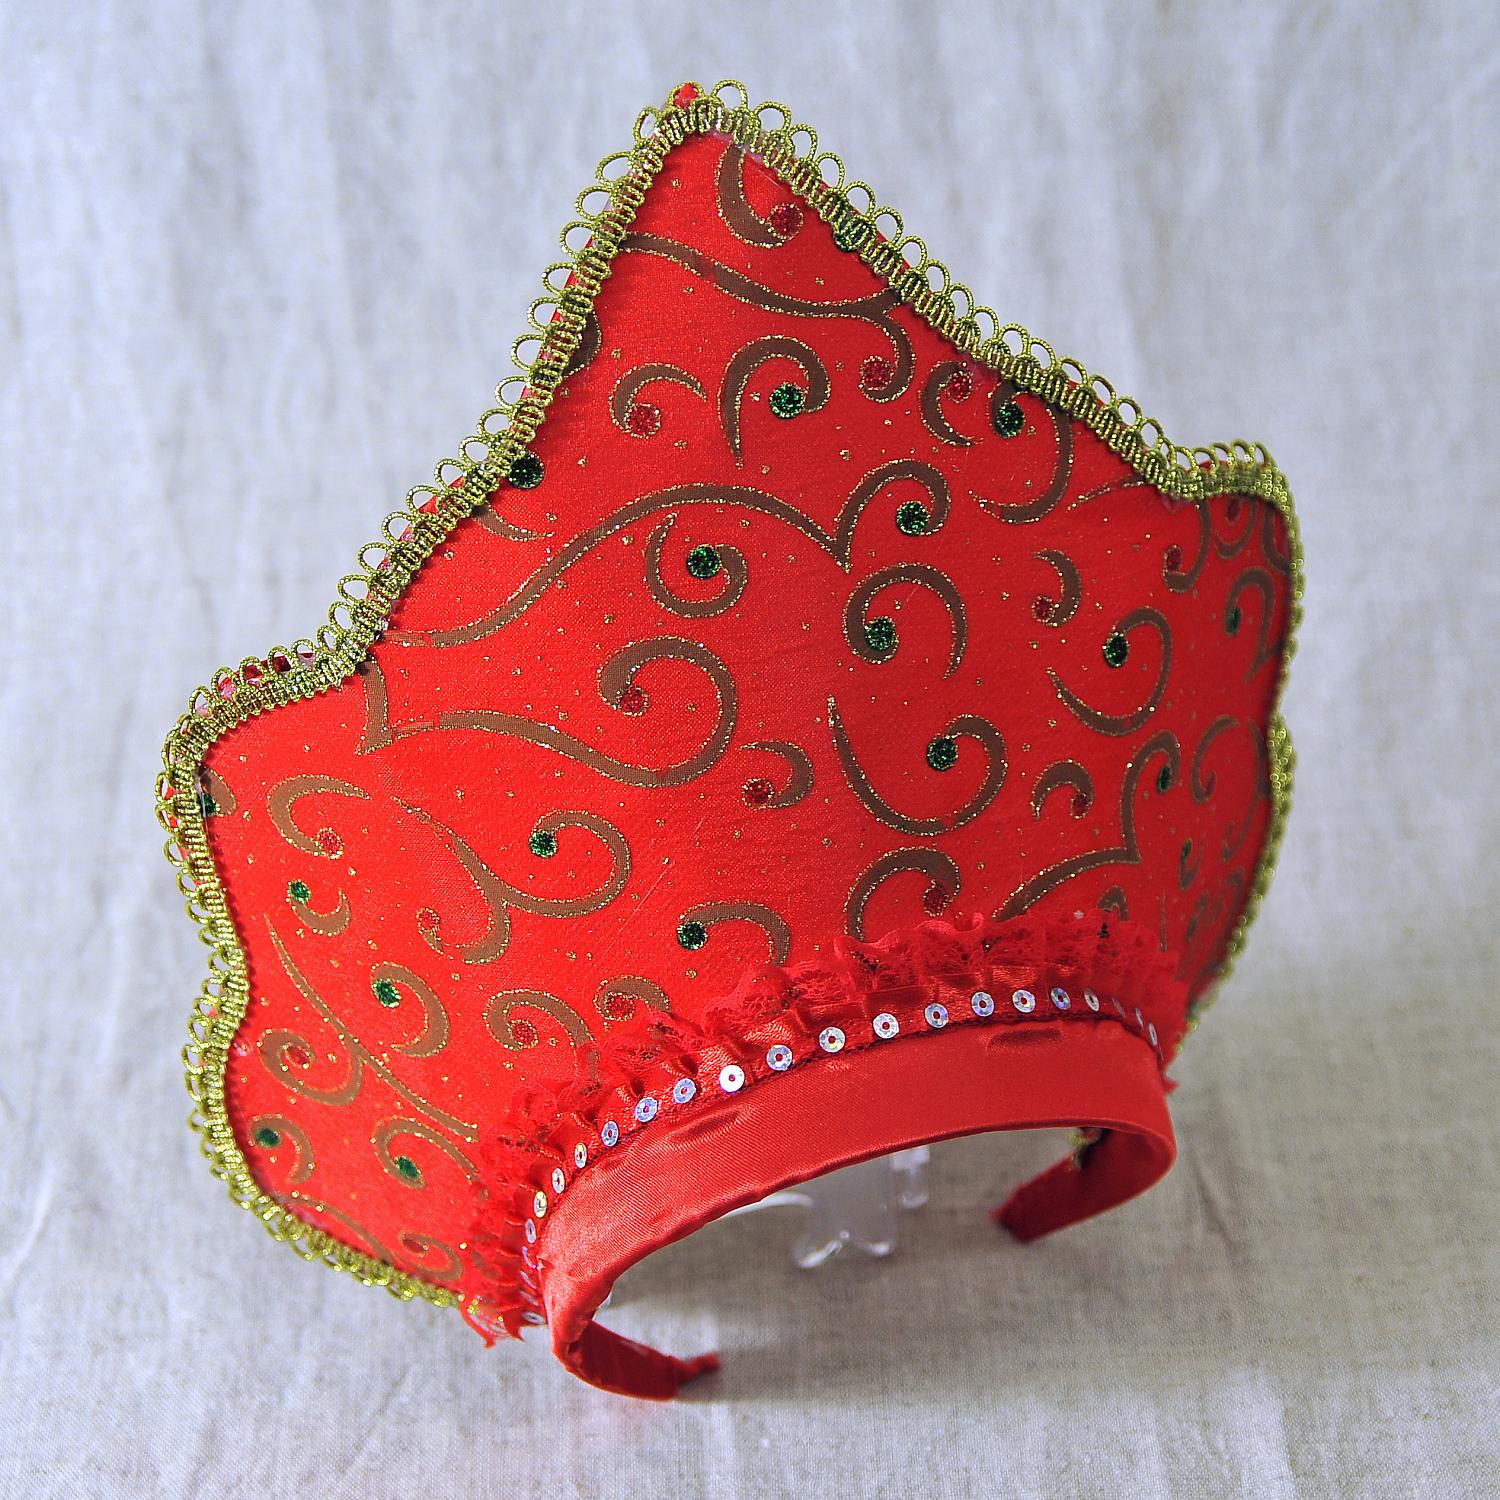
Russian folk kokoshnik
You can make a Russian folk kokoshnik with your own hands from cardboard or wire. Both options are strong and reliable, but a cardboard headdress will last less. You will also need a template, scissors, fabric for lining, satin ribbon, beads or seed beads. The work is carried out in stages:
- The template is tried on and adjusted.
- The base is cut out of cardboard or made from wire.
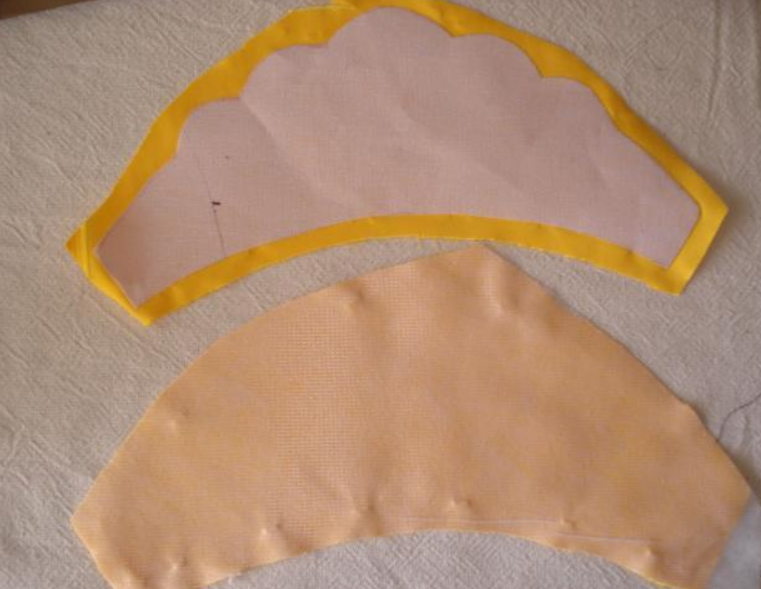
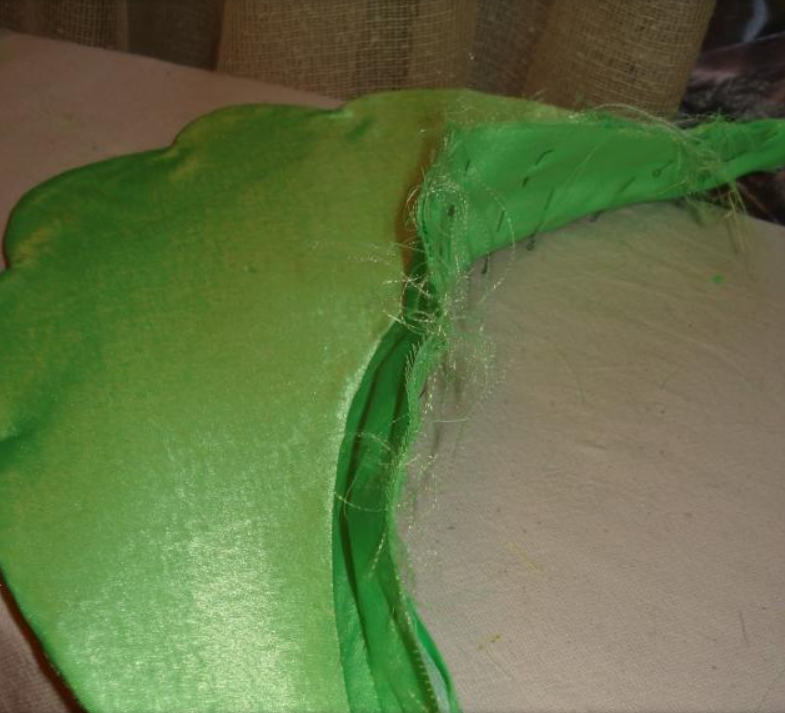
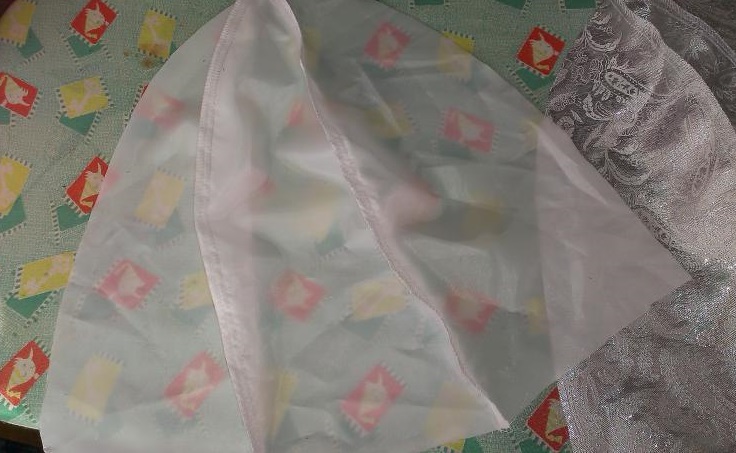
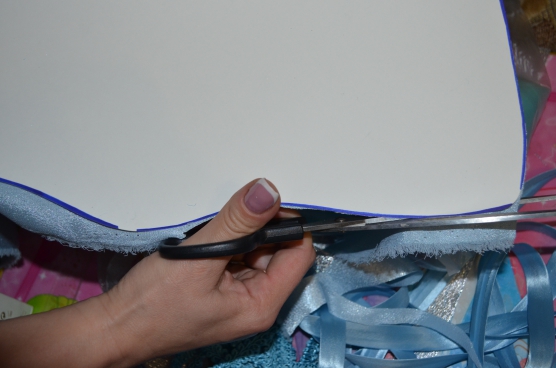
- Using a template, cut out the trim pieces from the fabric, leaving a margin of 1.5–2 cm along the edge.
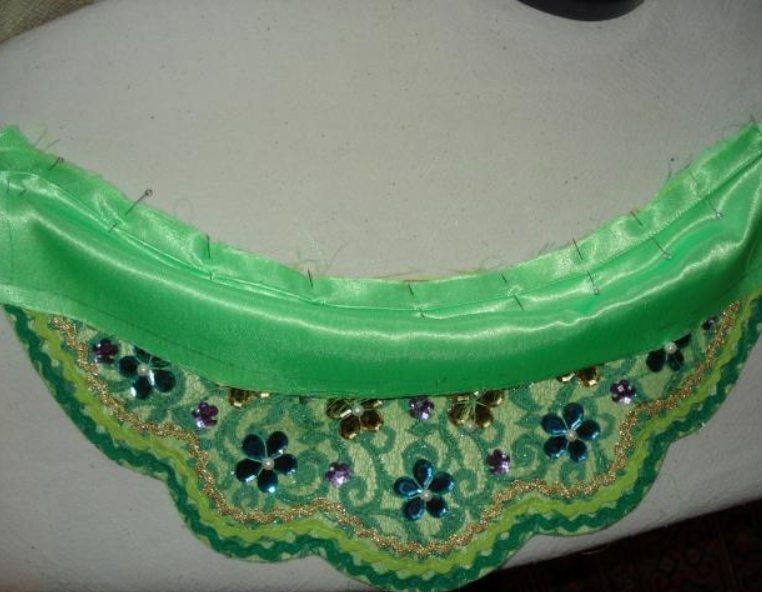
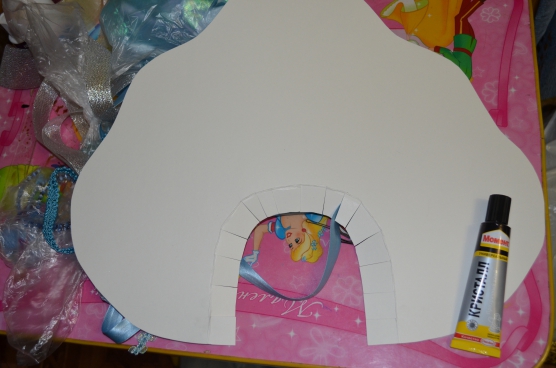
- They trim the rim.
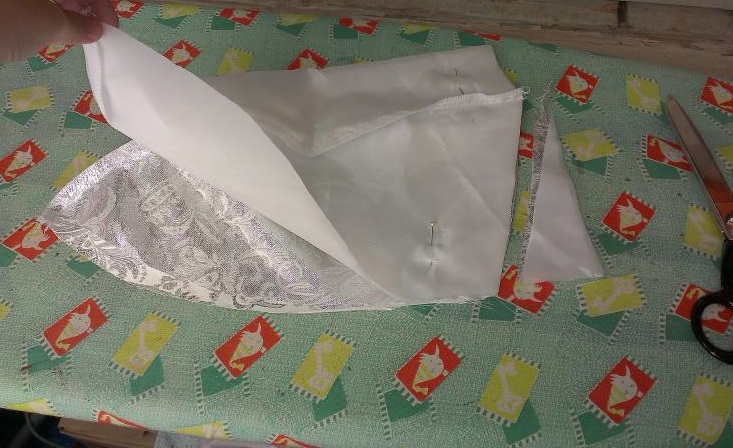
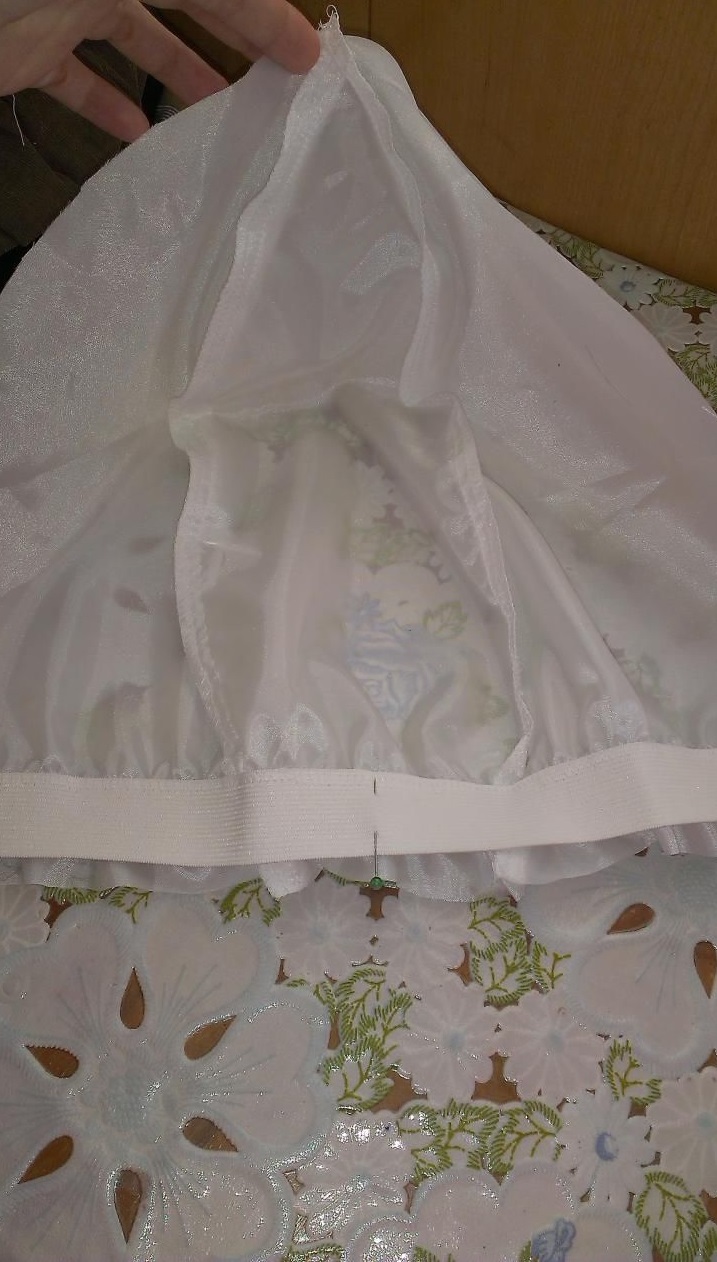
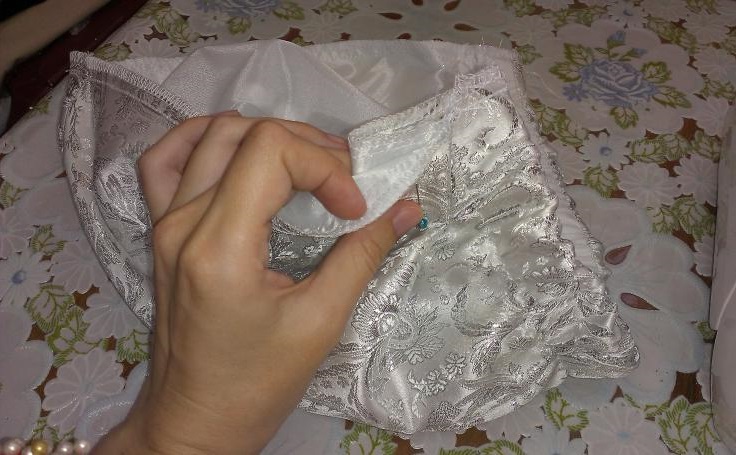
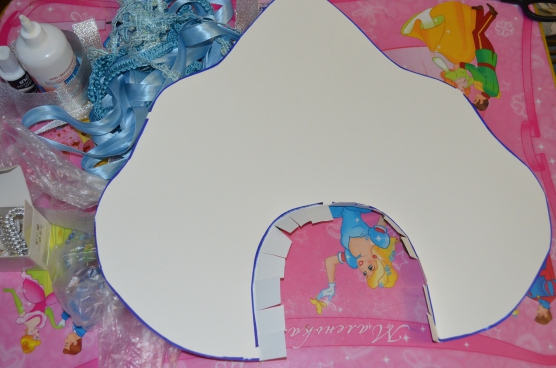
- A rectangle is cut out of fabric for the inner visor, the length is the same as the bottom of the headband.
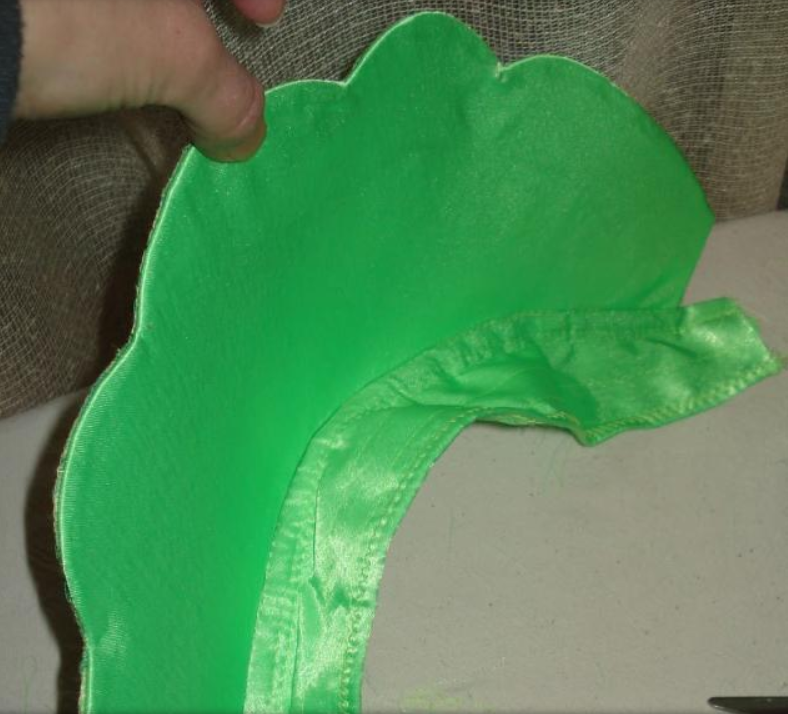
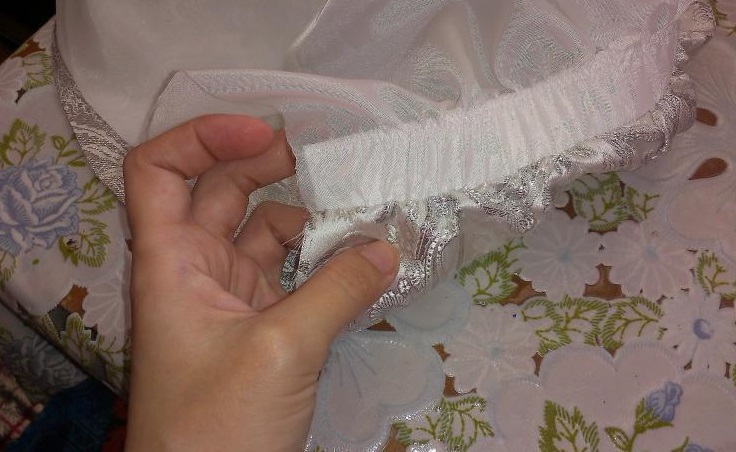
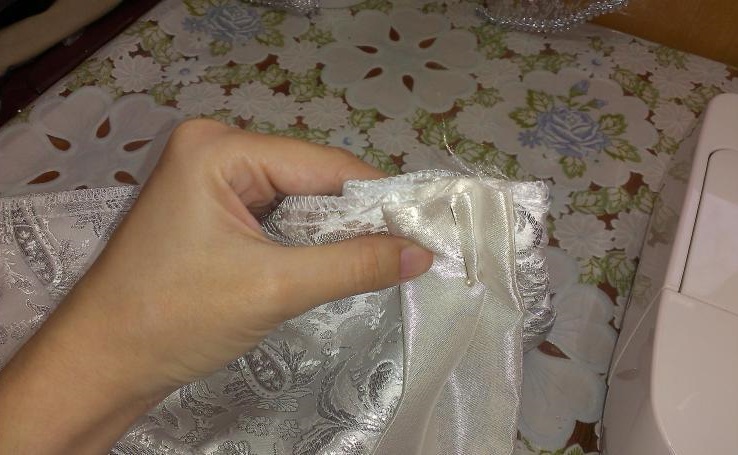
- The edges of the fabric are folded and sewn to the bottom of the kokoshnik so that the visor is folded inward and is not visible from the front.
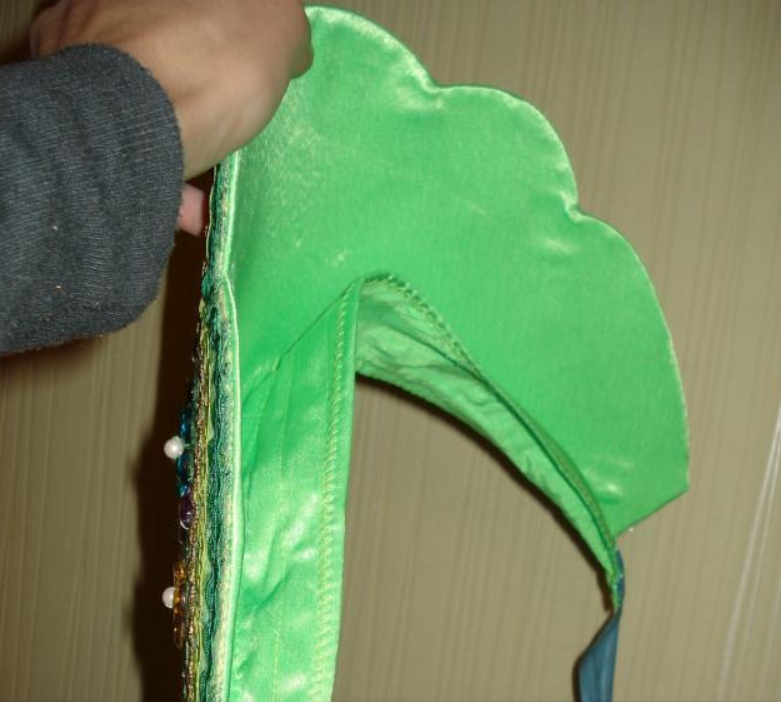
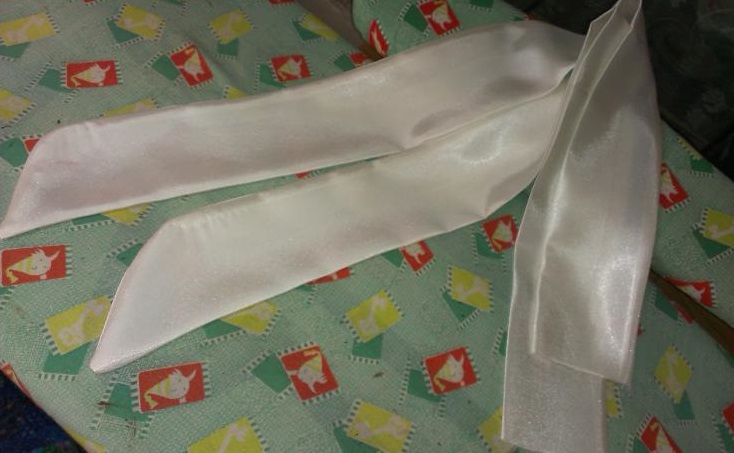
- Ribbons are sewn on the sides for fastening.
- They decorate the product.
The kokoshnik can be made without an internal visor. But with it, the product will fit the head more tightly.

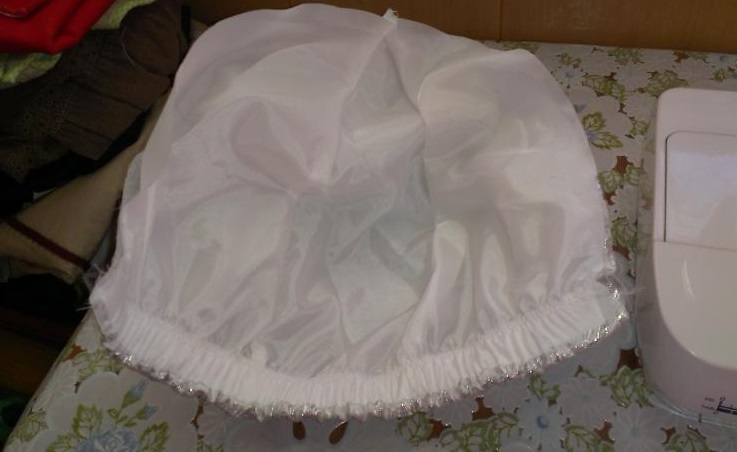
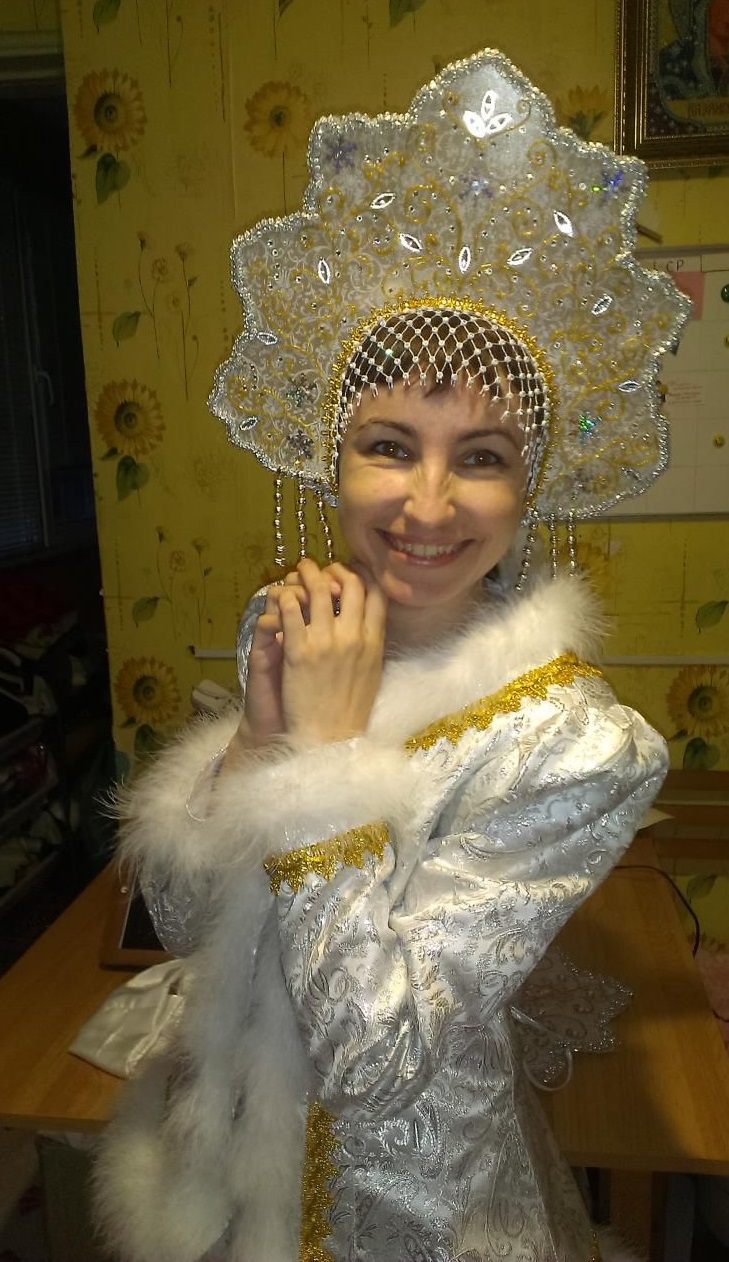
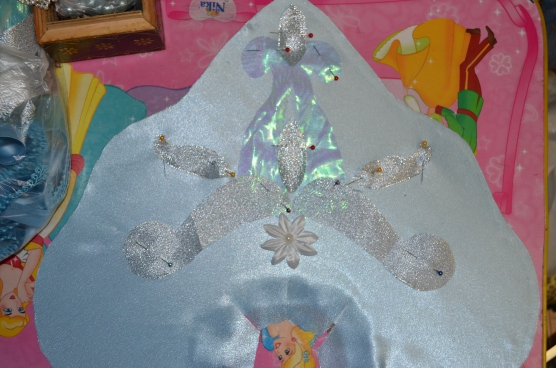
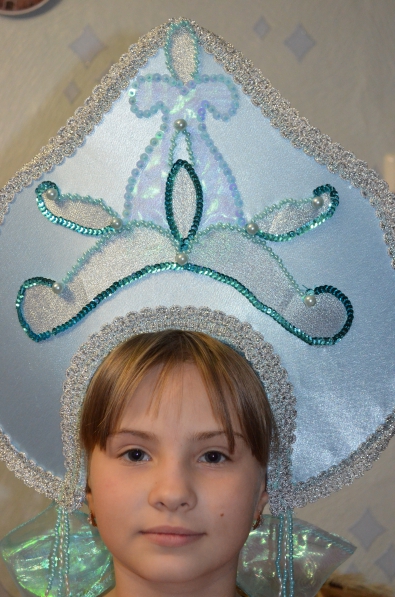
Snow Maiden's headdress
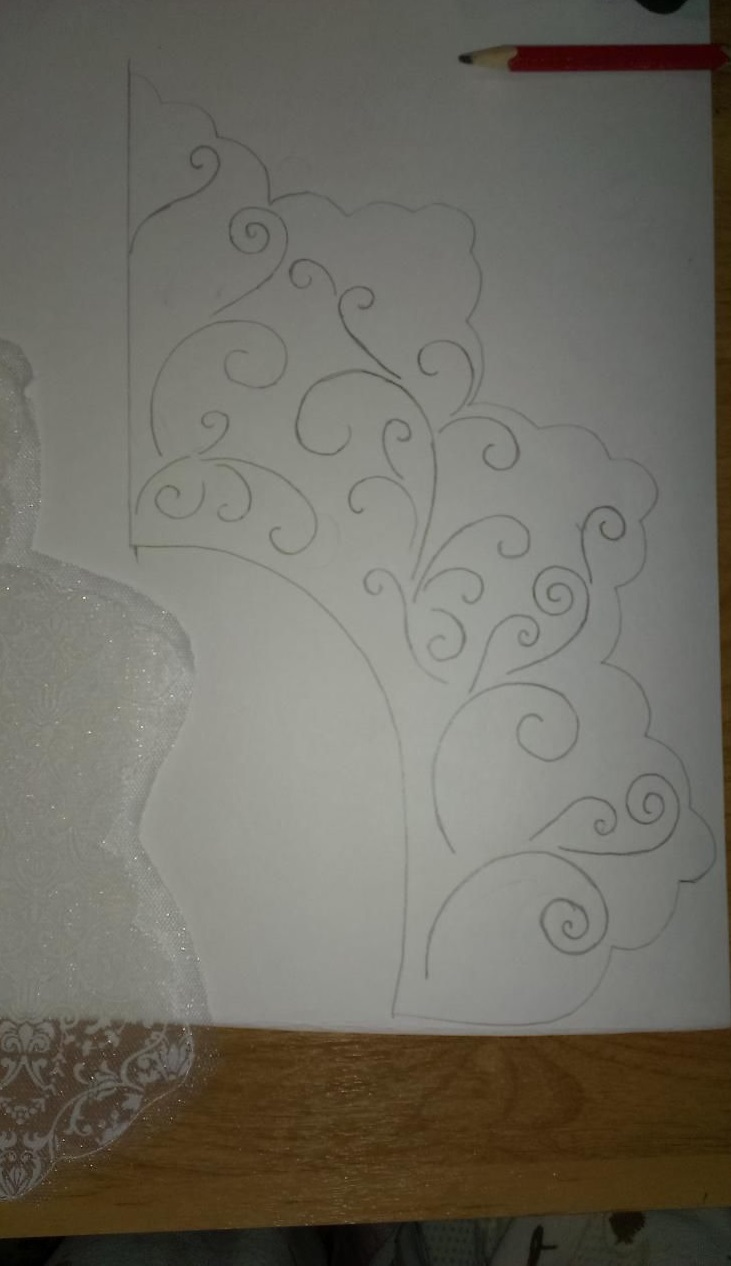
Every New Year tree has a Snow Maiden, who children eagerly await. Her image is complemented by a beautiful headdress decorated with snowflakes and glitter. Before making a kokoshnik for the New Year, you need to draw a template for it. A tall, figured piece will suit the Snow Maiden's outfit.
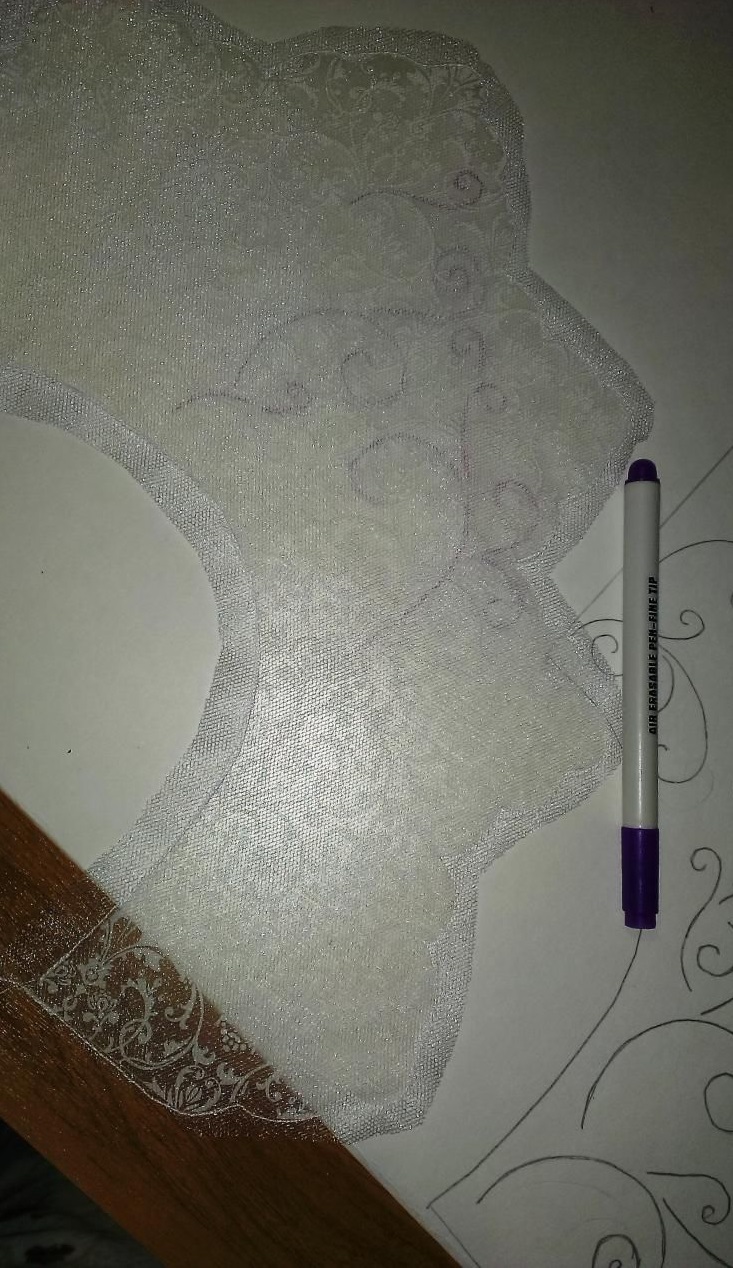
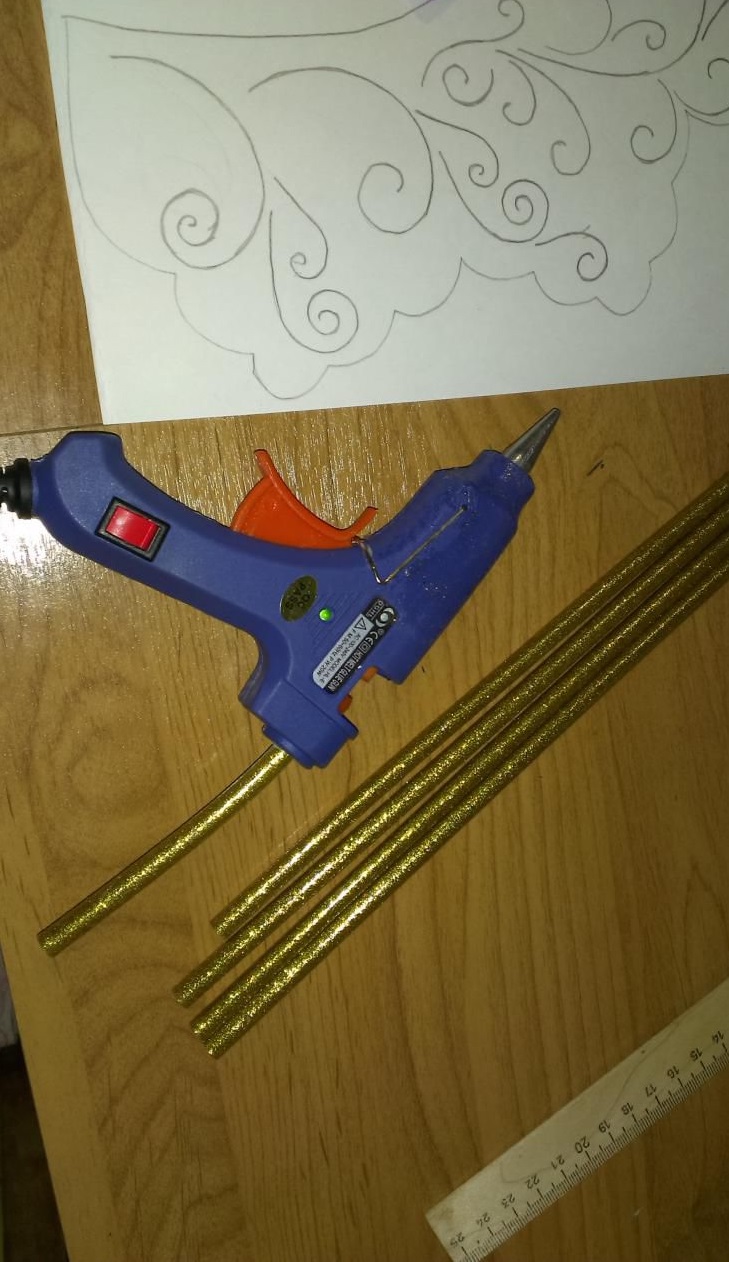
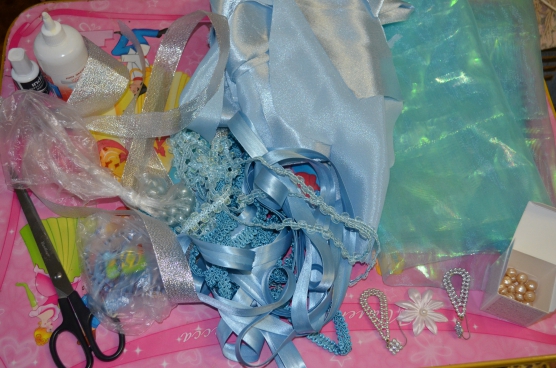
The materials you will need are thick tulle, glue, scissors, satin ribbon and decorations. The pattern for the Snow Maiden's headdress is made on paper. Then it is cut out and transferred to the fabric. If desired, the tulle can be replaced with any other beautiful material.
The headdress is made step by step, following the instructions:
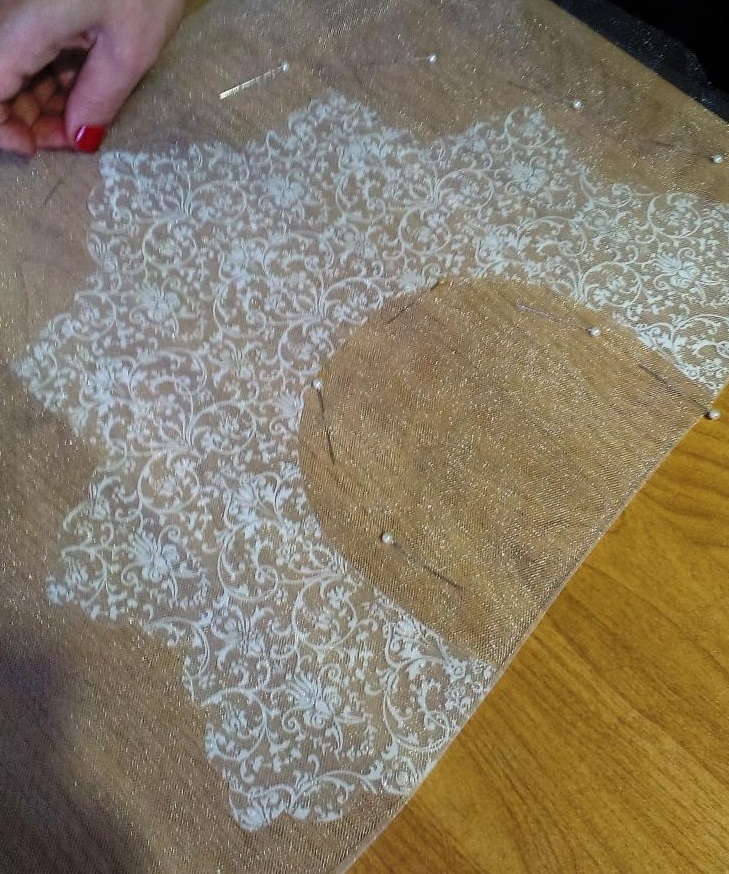
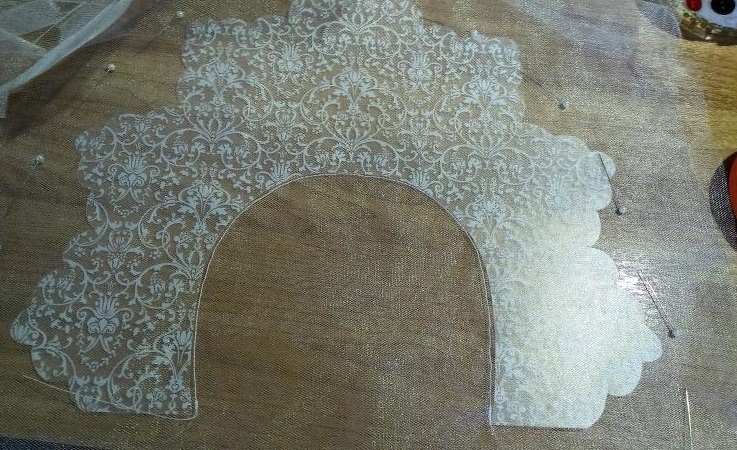
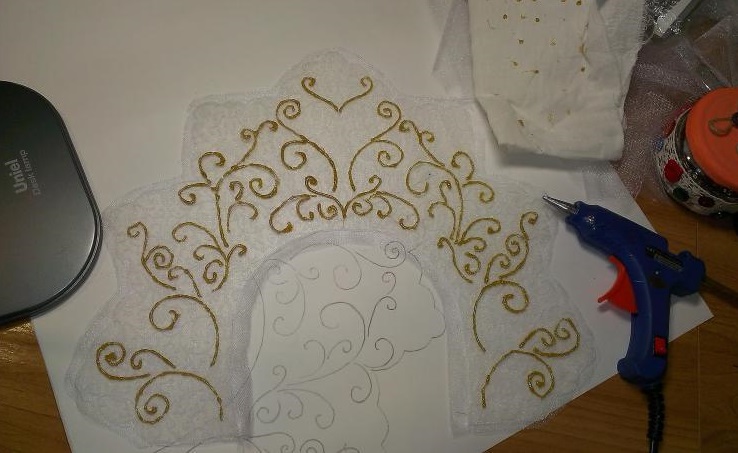
- The stencil is applied to the tulle and outlined.
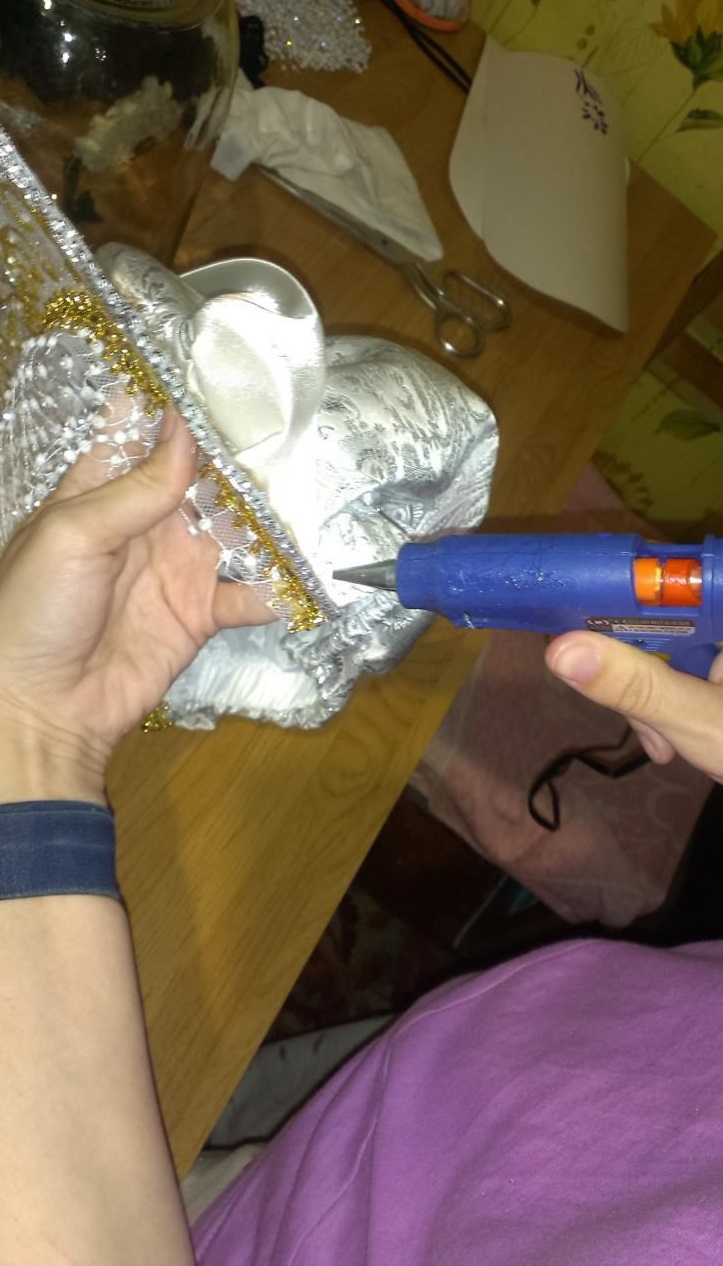
- Cut out three layers of material and glue them together with transparent glue.
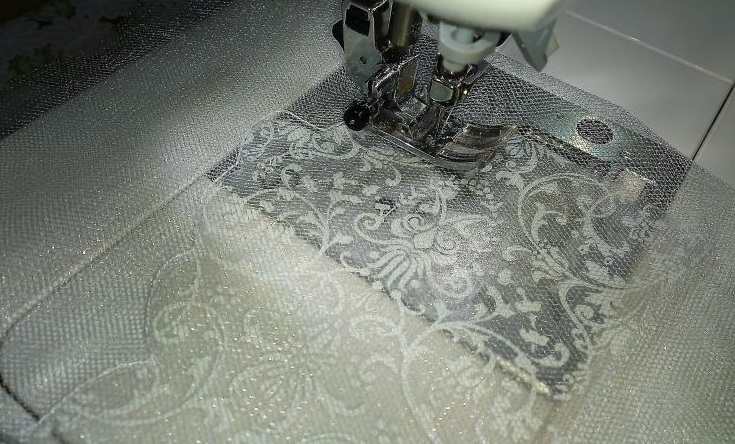
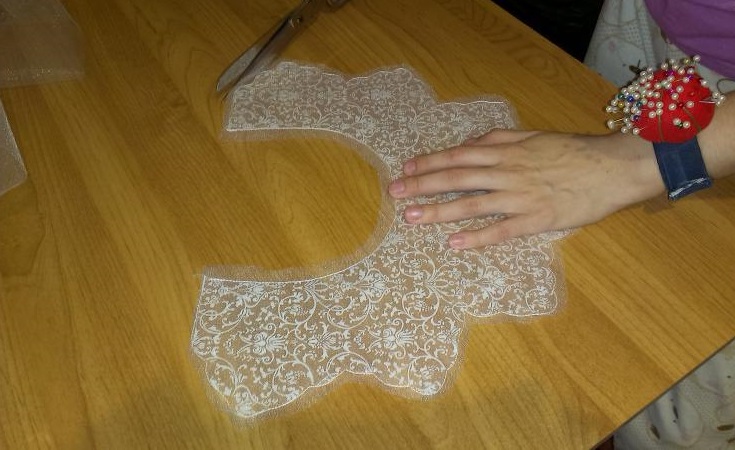
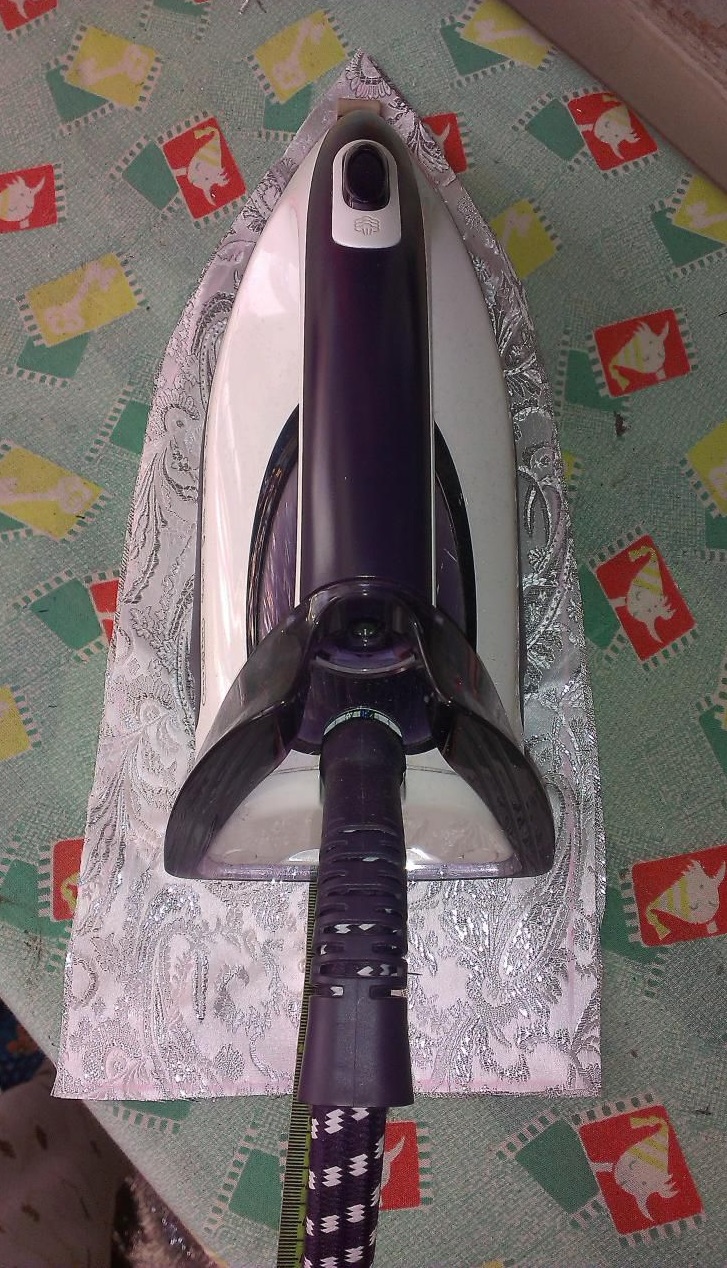
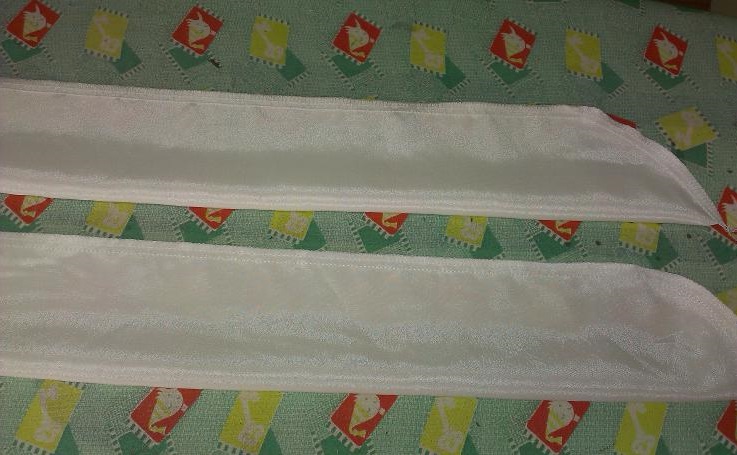
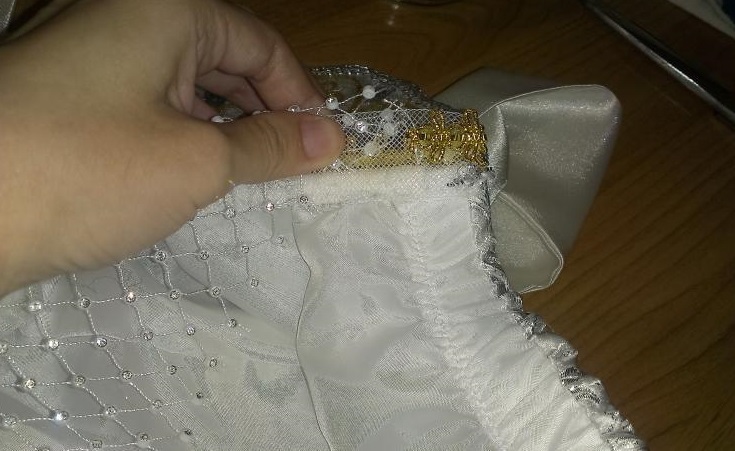
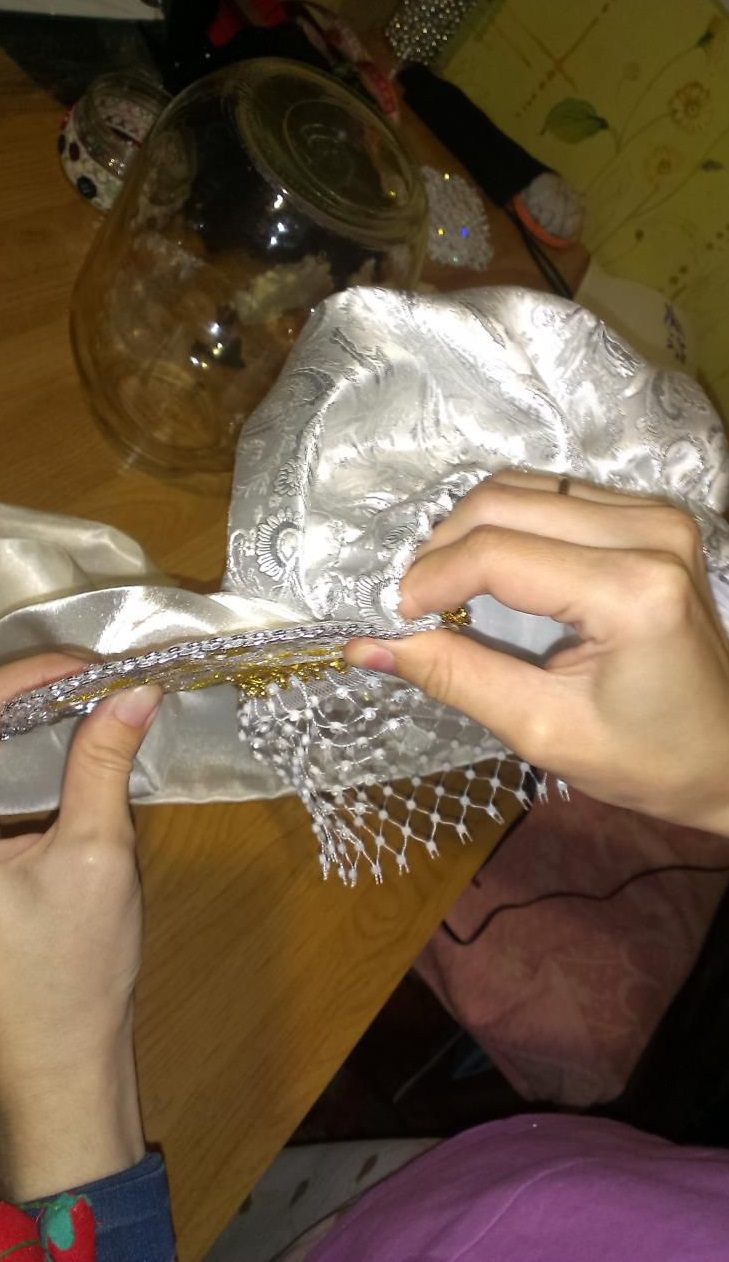
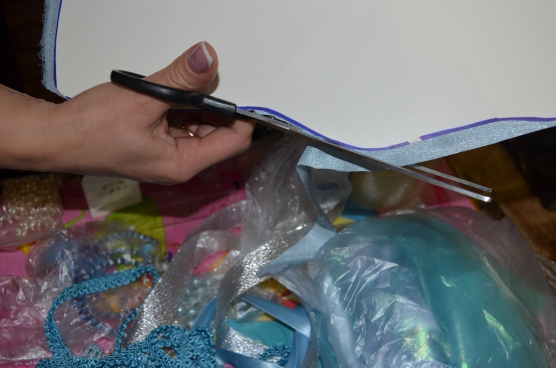
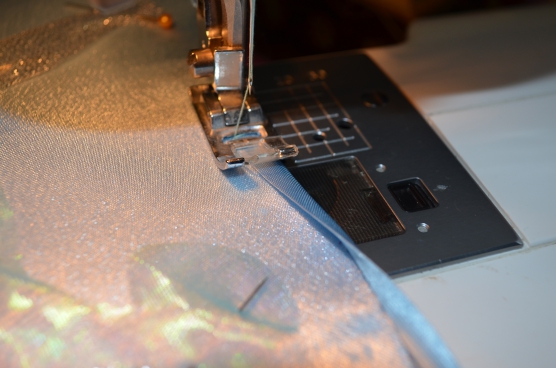
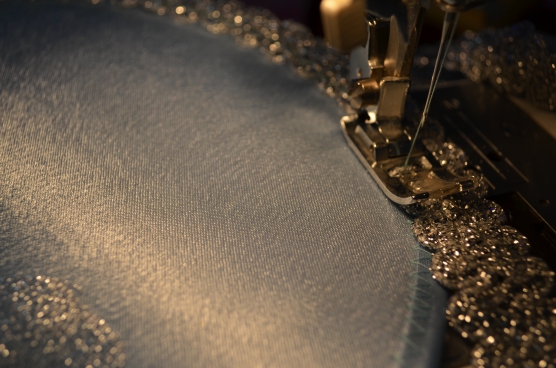
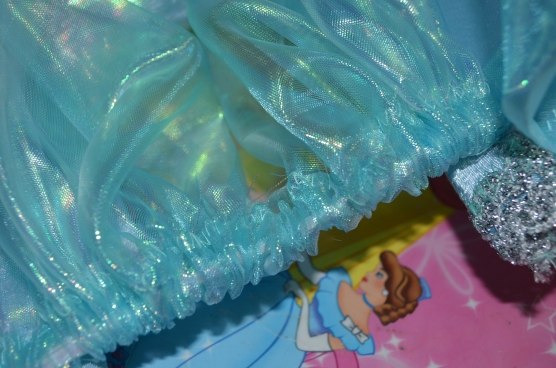
- The lower part is trimmed with satin ribbon so that it fits more tightly to the head.
- Sew on ribbon ties.
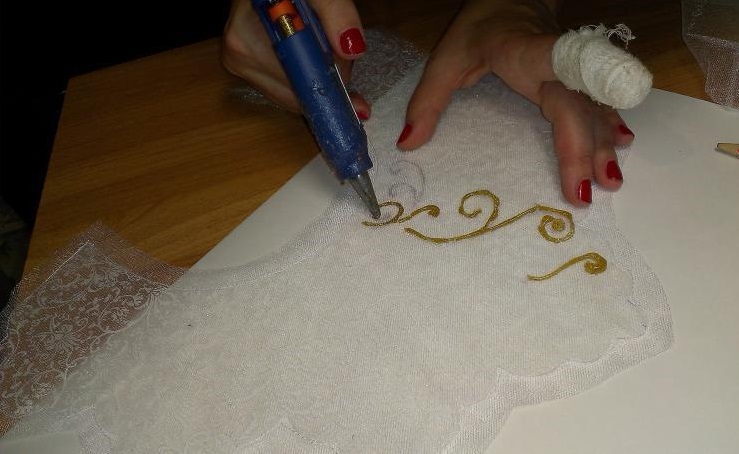
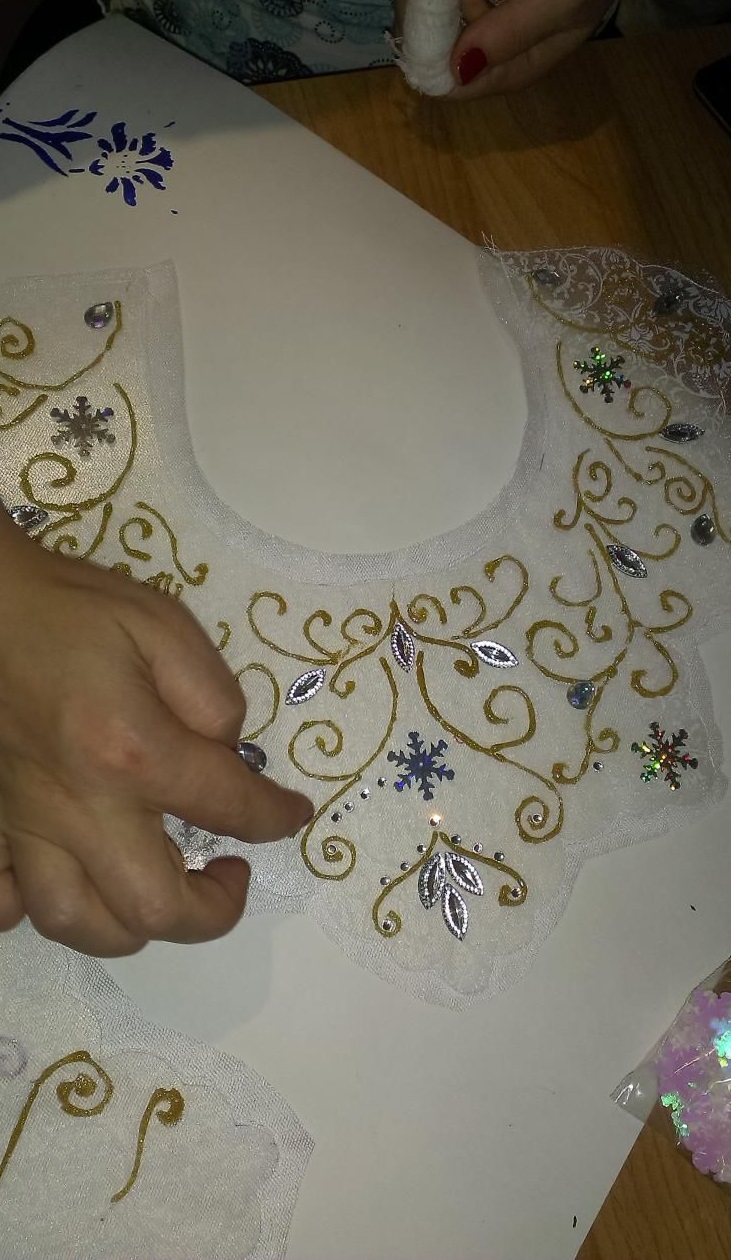
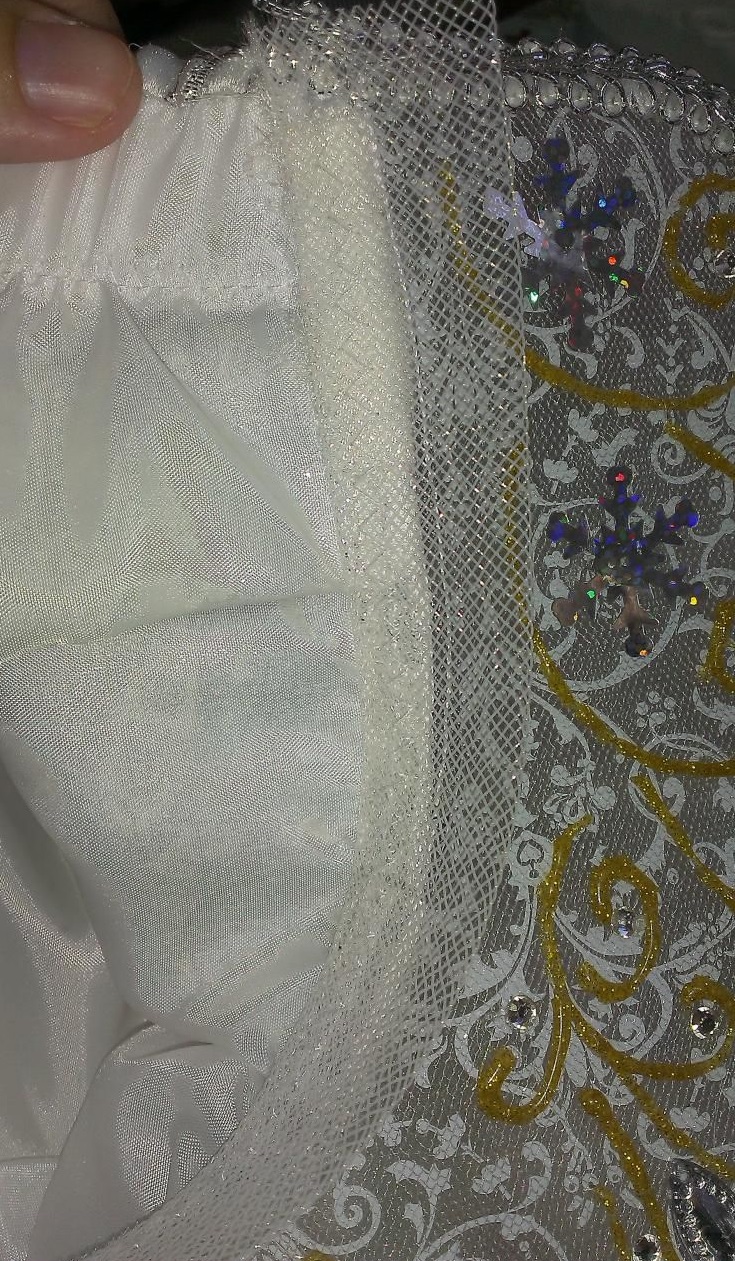
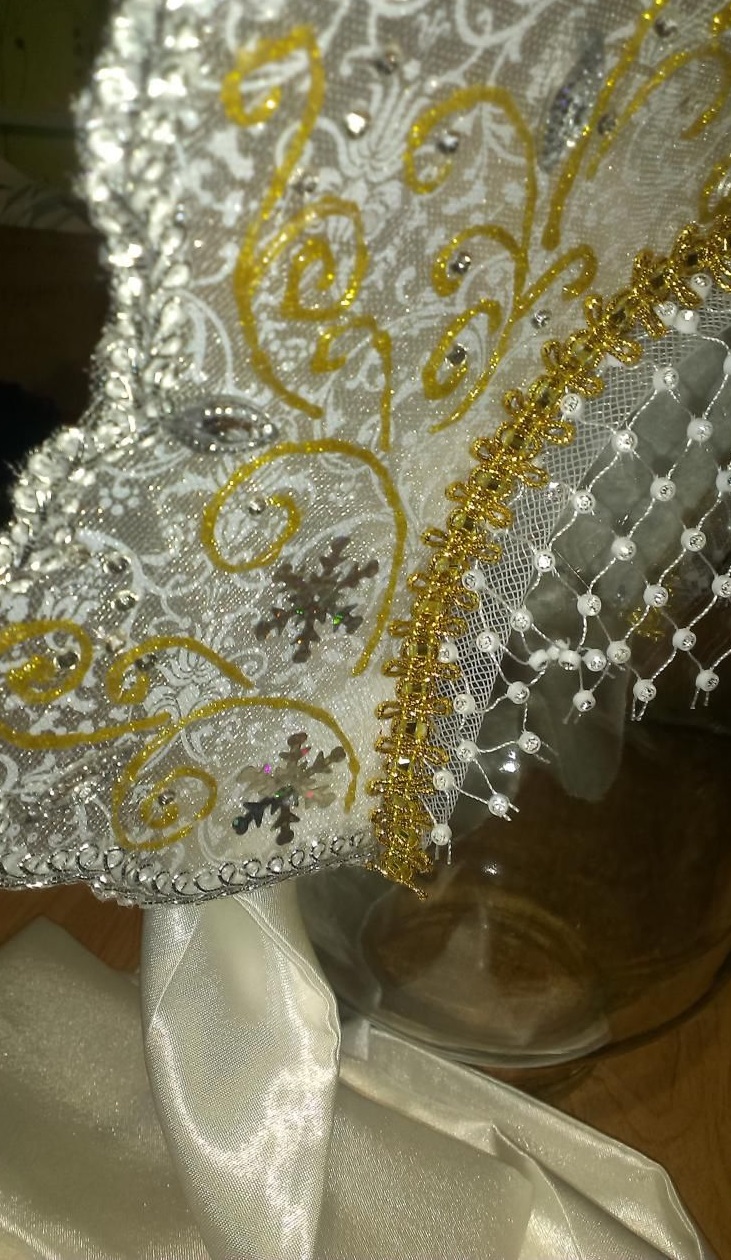
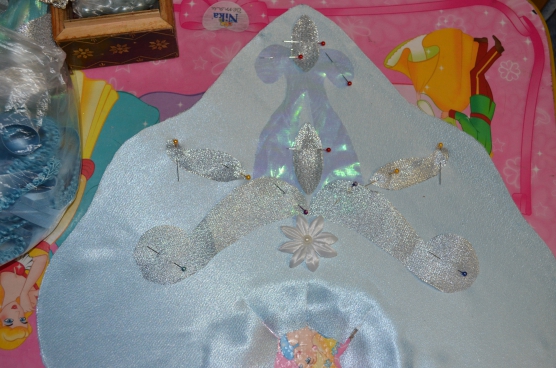
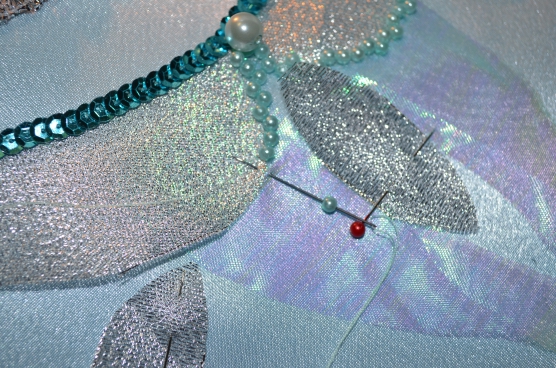
The top edge is decorated with snowflake patterns made of paper or white fabric. You can also use paint for decoration. You will need silver, blue and white colors. The patterns are chosen at your discretion, frost patterns, monograms, stars of different shapes are popular. To add shine, you can embroider the product with sequins or glass beads.
Cardboard Accessories for Children's Parties
A kokoshnik for a girl is made as easily as for adults. The difference is in the stencil. For children, draw your own template. Measure the child's head, make calculations, and sketch. Then cut out the stencil and try it on. You will also need cardboard, fabric, scissors, ribbon, and decorations. The headdress is made in stages:
- Cut out the base from cardboard.
- Using a template, cut out the trim pieces from the fabric, leaving 1.5–2 cm allowances on all sides.
- Sheathe the base.
- Cut out a rectangular strip of fabric equal in length to the bottom of the base.
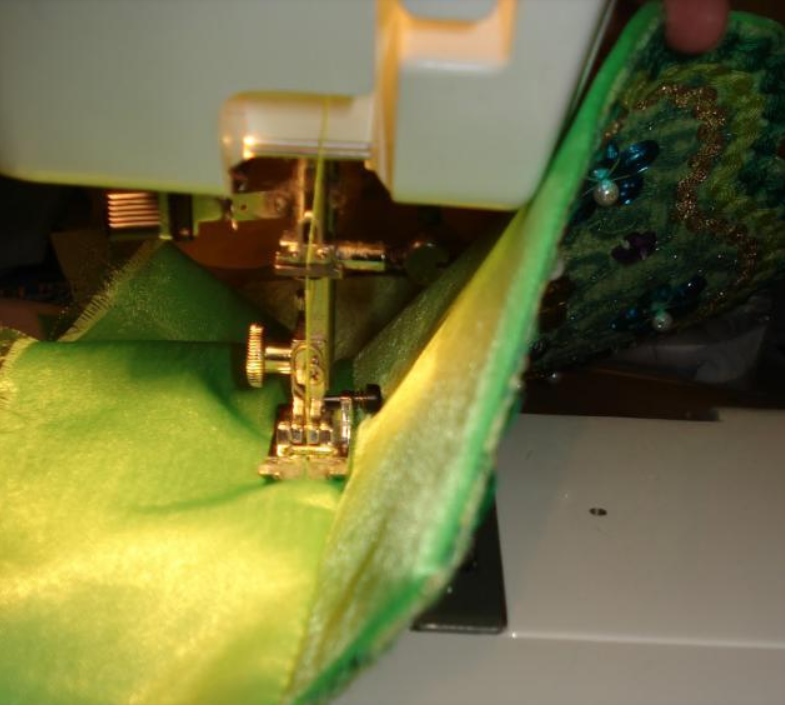
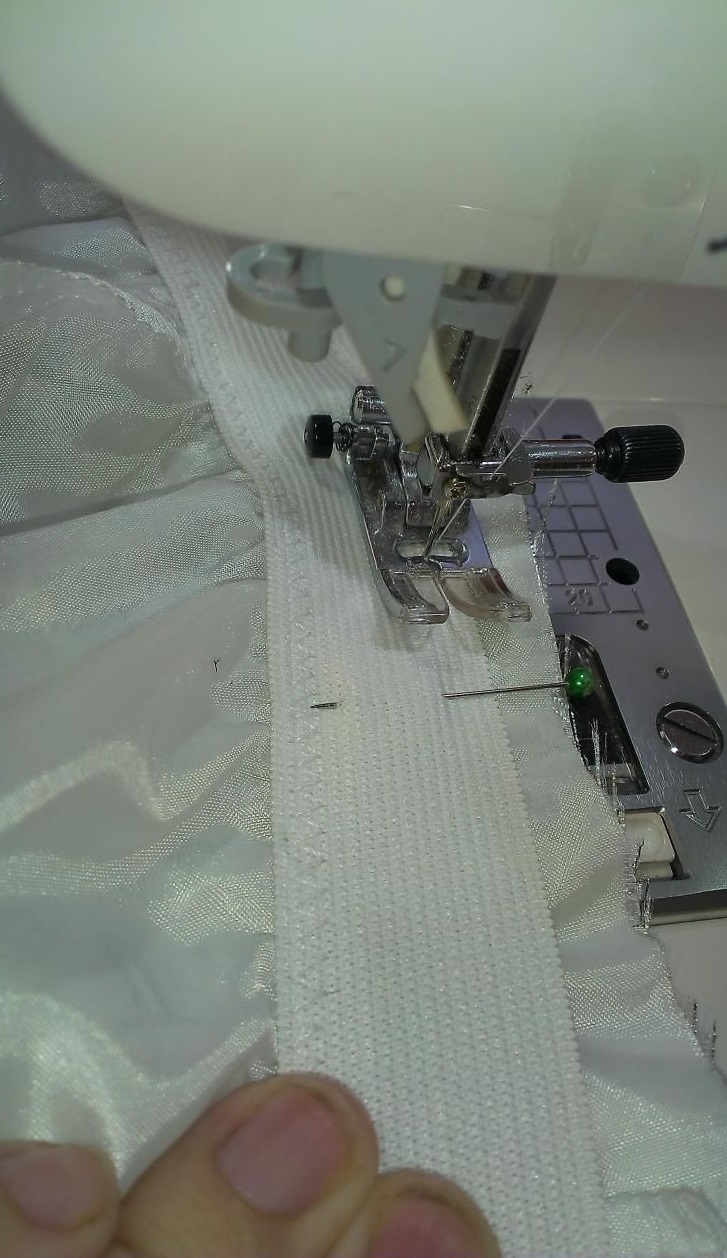
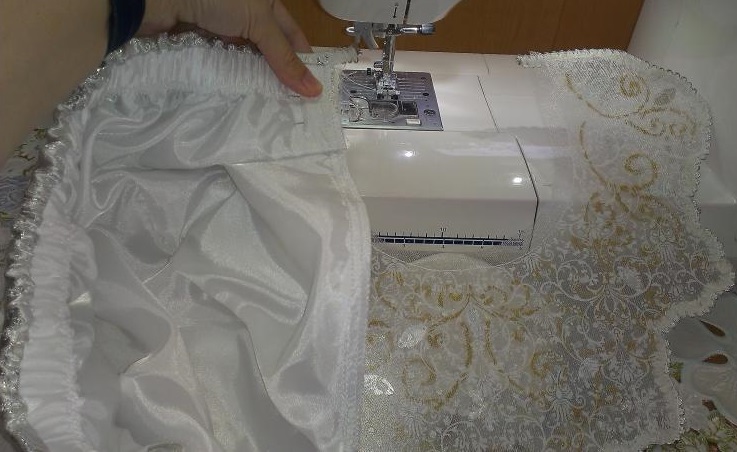
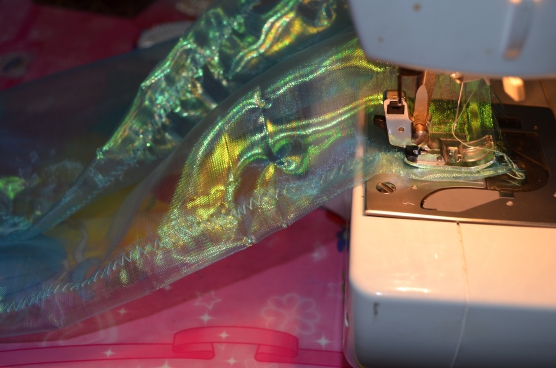
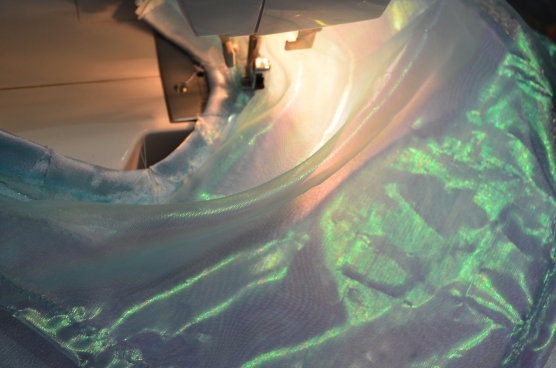
- The edges are folded over and sewn on a machine.
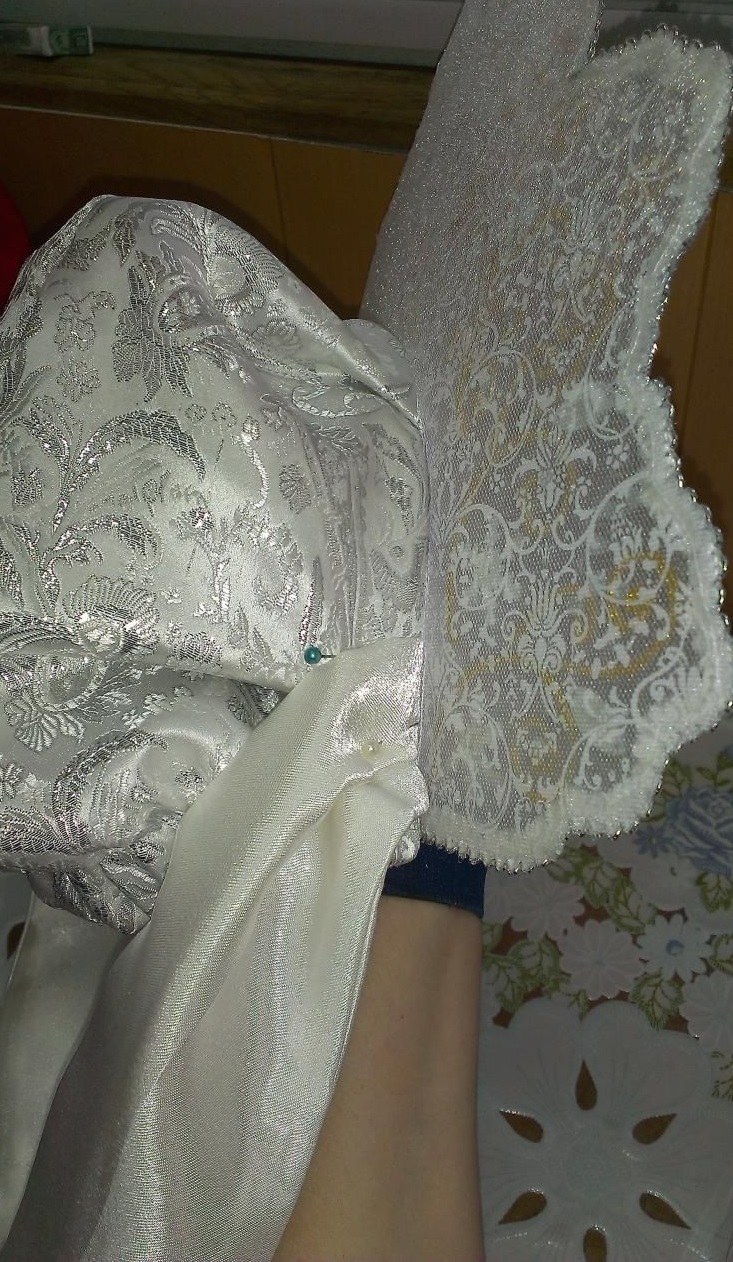
- Sew to the bottom side of the base so that the visor fits snugly against the head.
- A ribbon is sewn into the sides for fastening.
To create a children's kokoshnik, it is better to use natural material to avoid the risk of allergies.
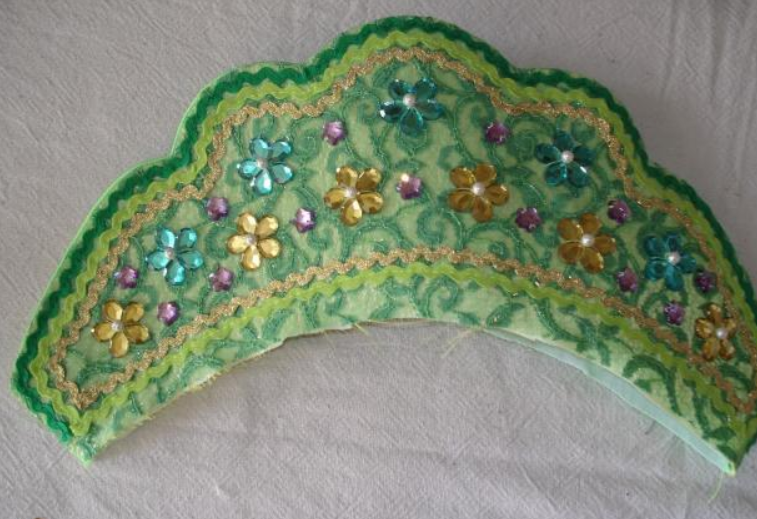
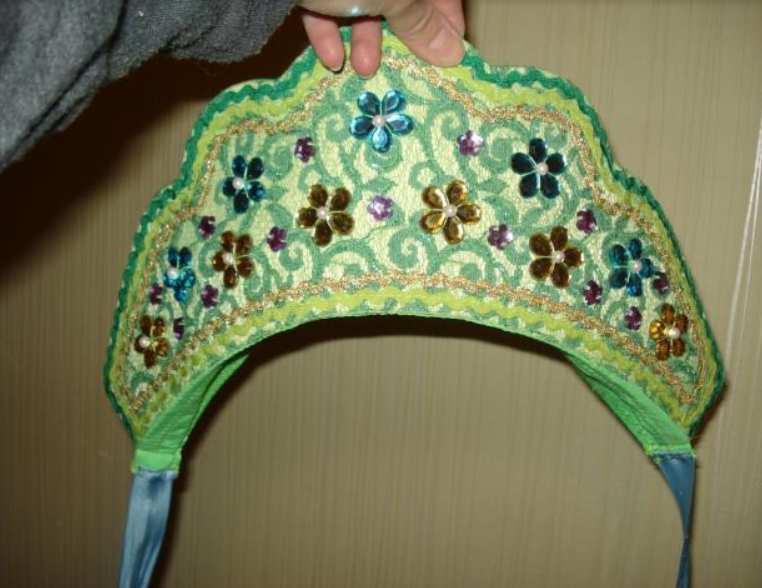
The finished kokoshnik can be decorated as you wish. Beads, embroidery, rhinestones, and appliques are usually used.

Product decoration
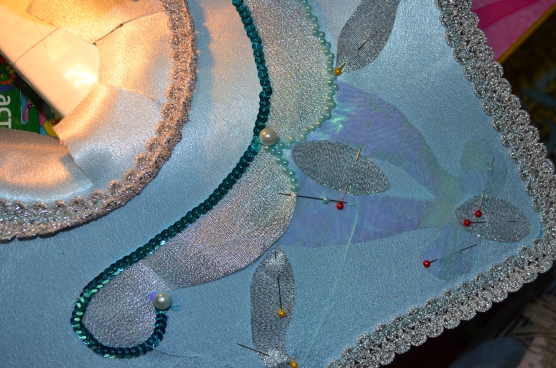
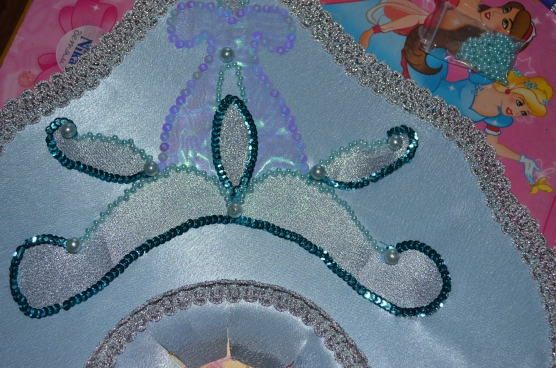
You can decorate the kokoshnik in various ways. The design depends on the festive occasion and the outfit itself. Snowflakes, beads, seed beads, blue or light blue patterns are suitable for Snegurochka. You can use a template to apply patterns with paints.
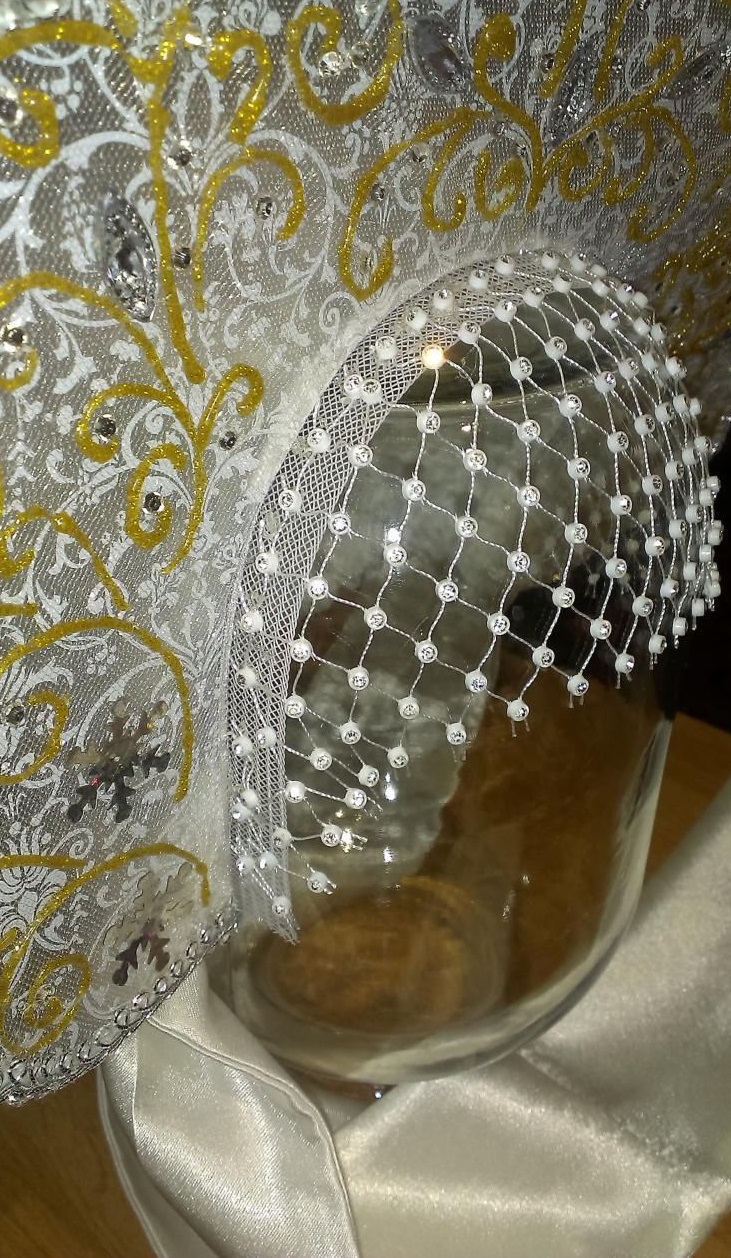
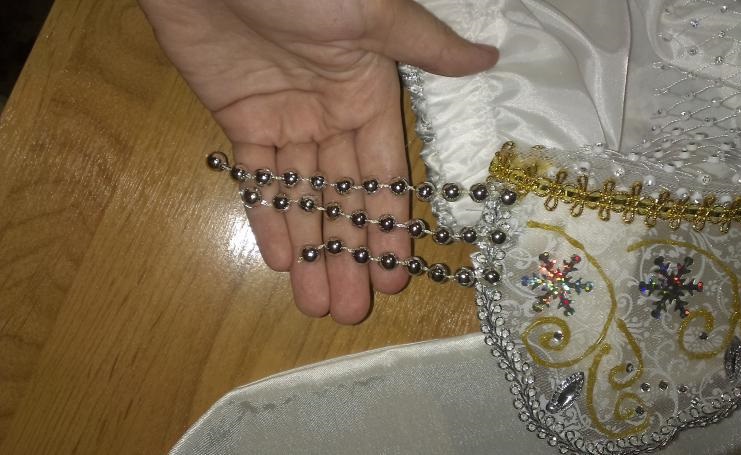
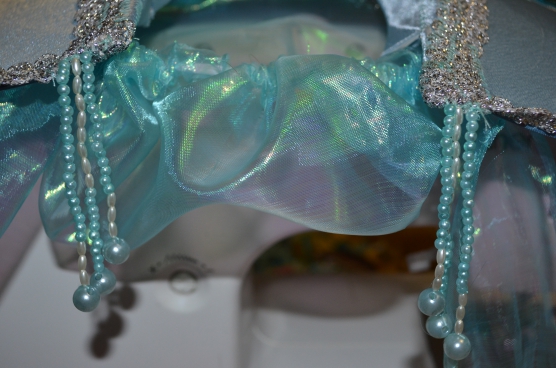
If we are talking about a simple costume party, the design option can be absolutely anything. They use rhinestones, glitter, ribbons, ready-made drawings, fabric or paper appliques. It is popular to decorate the kokoshnik with beads that hang on the forehead or along the edges of the headdress (near the ears). The beads should not be large, you can use seed beads or glass beads.
The kokoshnik was popular in the past and is still in fashion. It is part of the national Russian costume. Such a headdress can be easily made with your own hands. If you spend a little effort and imagination, put your soul into the work, you will get an original product that will surprise others.


Video