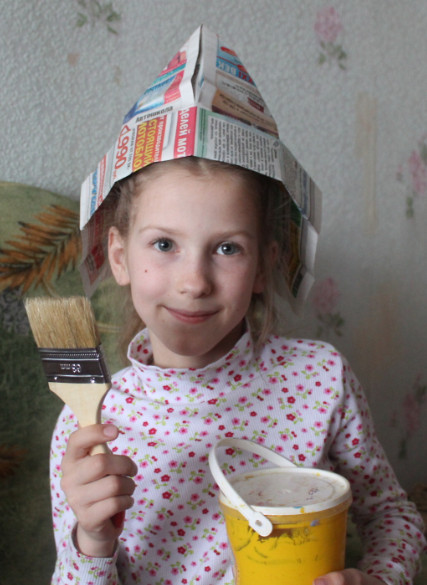
A hat can even be made of paper. There are many model options, but the easiest to make is a cap. The product is used for agricultural work, repairs, and being in the sun. Children will find this accessory useful when participating in theatrical performances. Before making a cap, you need to decide on the model and manufacturing algorithm. This will help save personal time and choose the optimal type of material.
What you will need
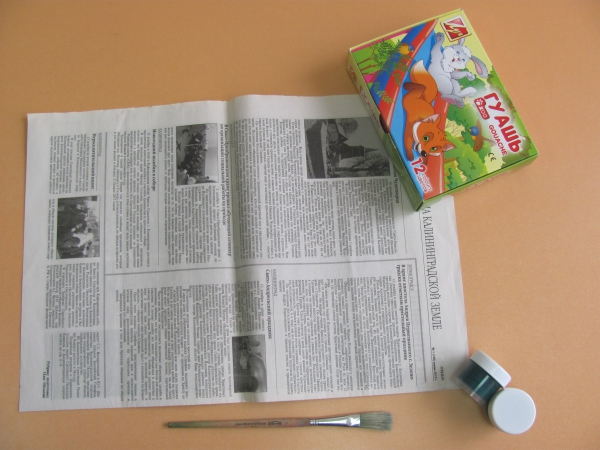
Before you start making, you should select the necessary tools. The advantage of a paper cap is the minimal time investment. This process does not require scissors, glue, or threads. All you need is regular newsprint. To create some models, you will also need:
- paper clips;
- pencil;
- ruler;
- paints;
- brushes.
Before making a cap, you need to study what other materials besides newspapers can be used to make it.
- Made from cardboard, the product will be denser.
- Made from colored paper - this option will be interesting for small children.
- From an album sheet - usually children's headwear is made from this material, due to its size.
To make a paper cap with your own hands, you don't need any special materials. If you want to paint it, it is recommended to prepare gouache and a wide brush in advance.
Select model and size
Before you start working, you should decide on the size of the paper sheet. For children, it is preferable to make a cap from the traditional A4 format. For teenagers, as well as adults, it is more appropriate to use a newspaper spread. It is softer and will be the best option for a homemade cap. In addition, this material is the most accessible. The following types of caps can be made from paper:
- traditional;
- pioneer;
- medical;
- Budenovka;
- chef's hat;
- with a visor.
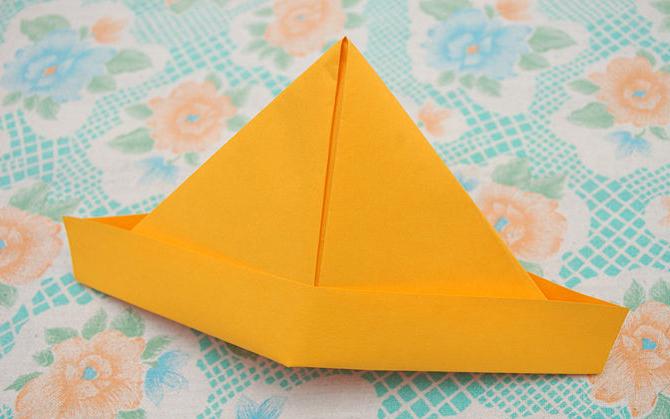
If you use a rectangular sheet of paper, you will get a pointed cap. To make a model with a flat top, it is recommended to prepare a square sheet of paper.
Model-aware folding algorithm
When creating a paper or cardboard cap, it is necessary to carefully bend and smooth all the lines. Then the product will sit well on the head and perfectly hold the given shape. The finished headdress can be used for theatrical performances, games, and sun protection.
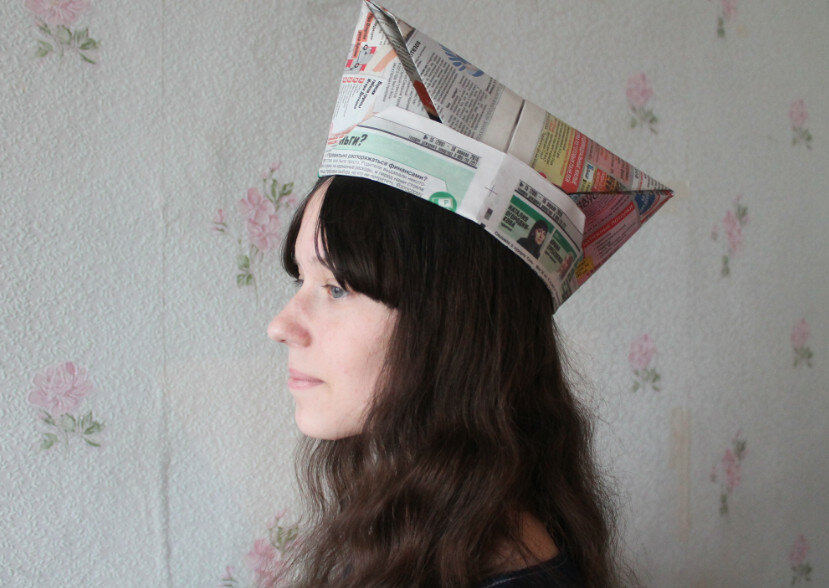
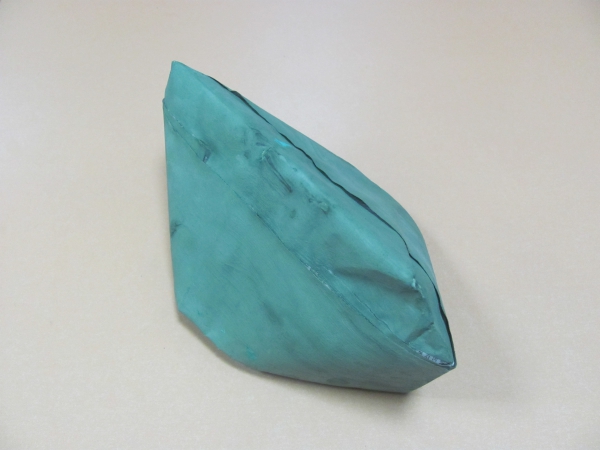
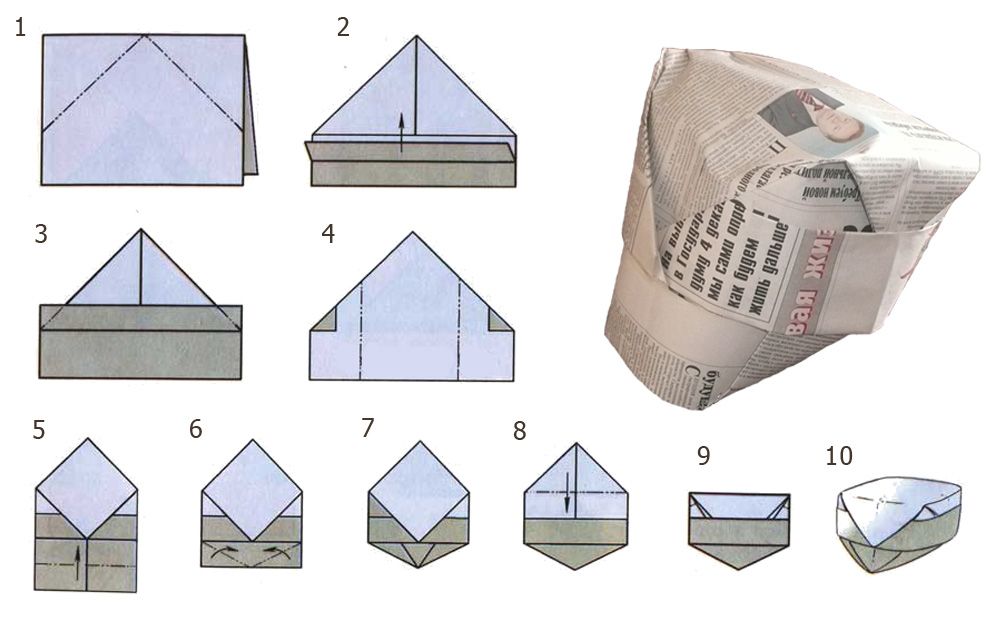
Quick from the newspaper
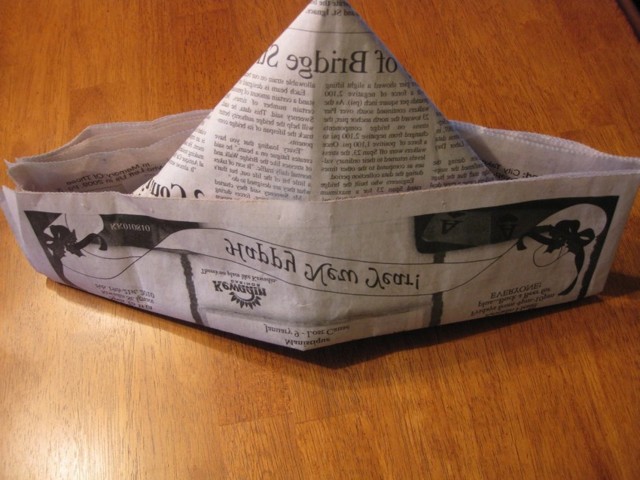
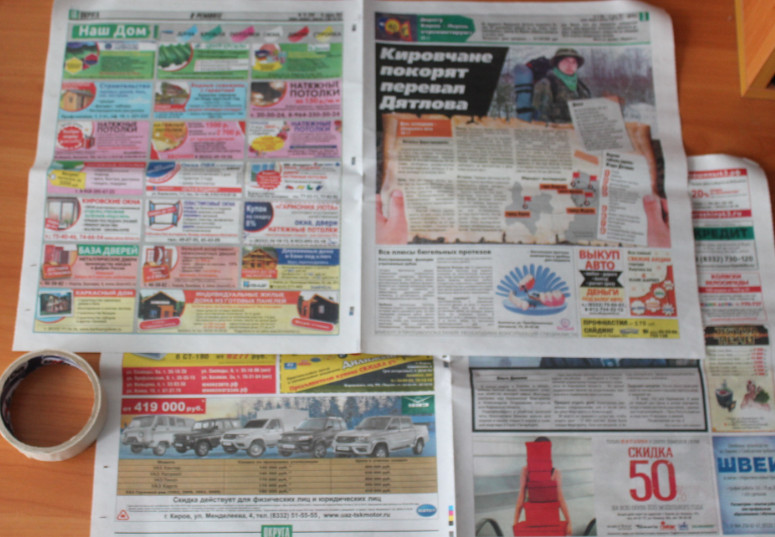
If there is no time to make complex models, you can quickly make a neat cap. A square newspaper will do for these purposes. Its side should be equal to the volume of the head with an allowance of 2 cm. Algorithm of actions:
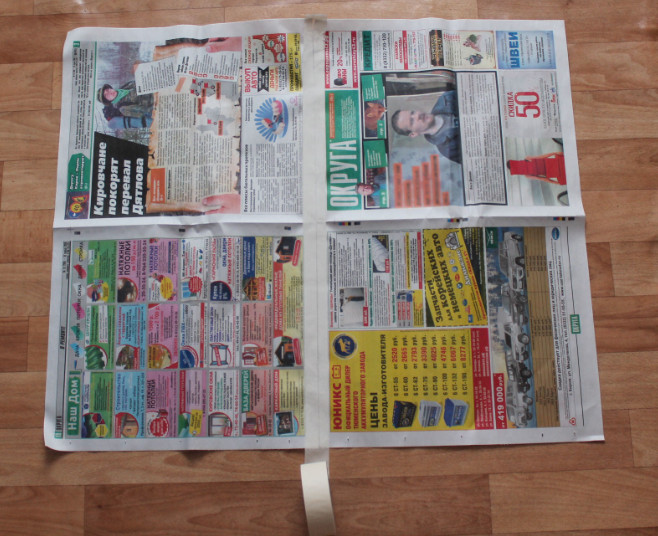
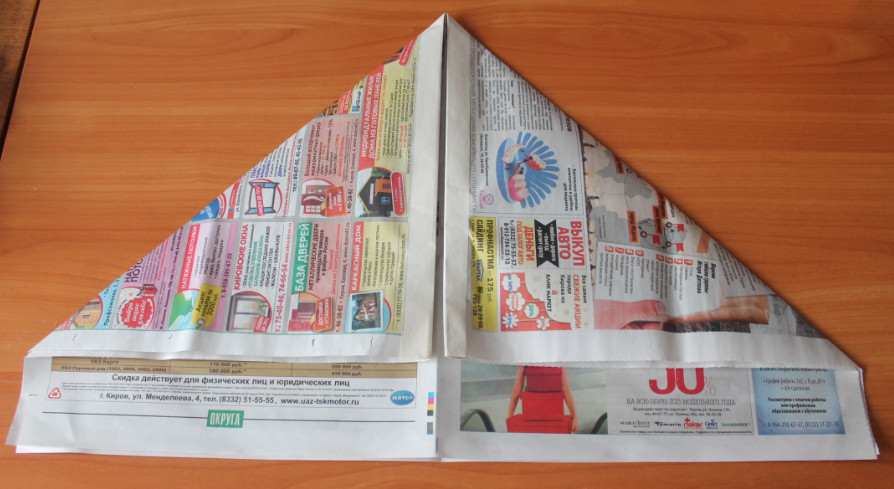
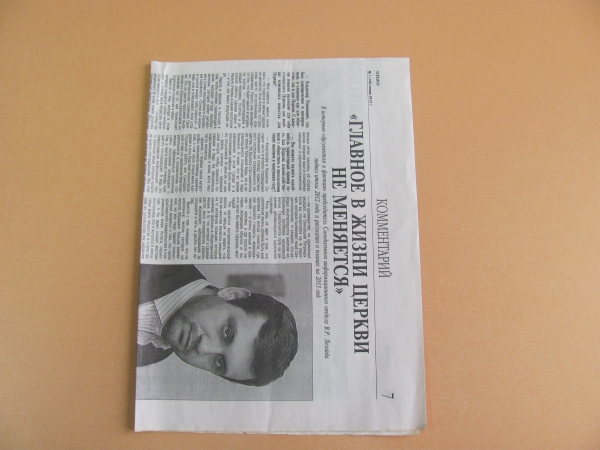
- Fold the newspaper spread in half.
- You will get two rectangles that need to be folded towards the center.
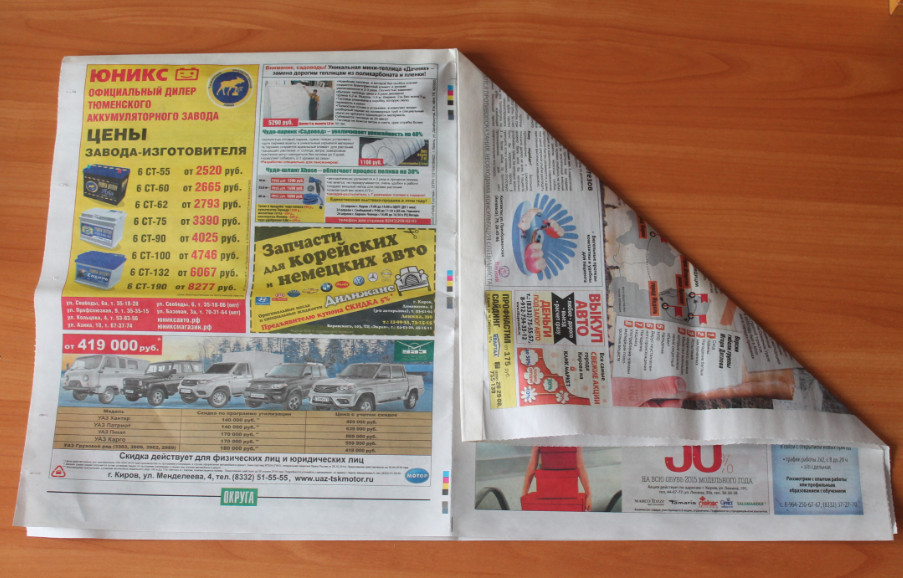
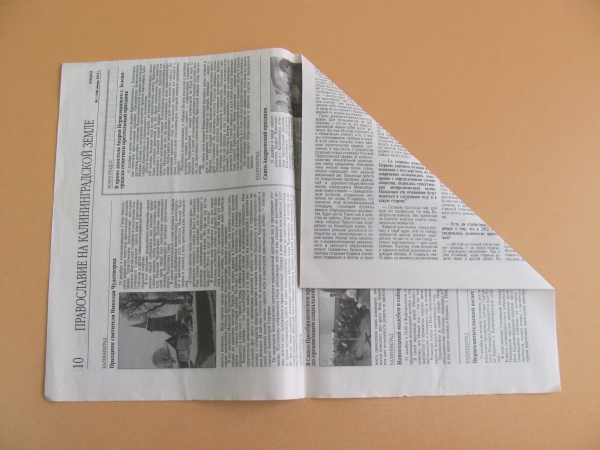
- Fold a piece of paper from the edge to the fold.
- Fold the top corners into a triangle shape towards the center.
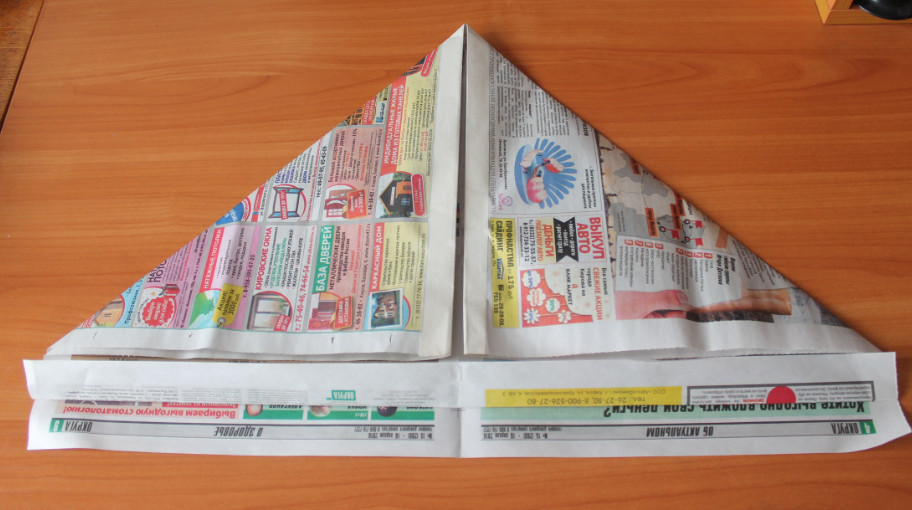
- Lift the folded parts of the newspaper from the edge upwards.
- Turn the model over to the other side.
- Fold the newspaper pieces along the fold line on both sides. You should get a square with folds.
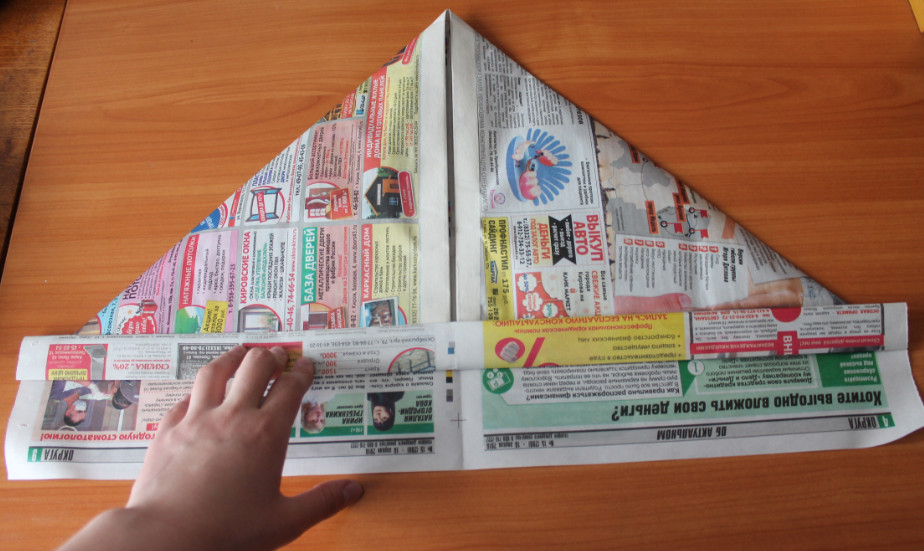
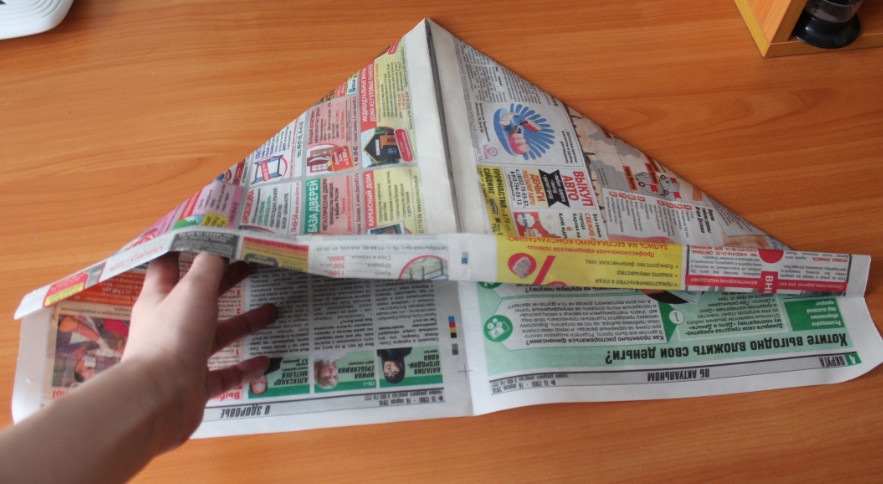
- The lower edge of the product should be folded over the paper folds and straightened.
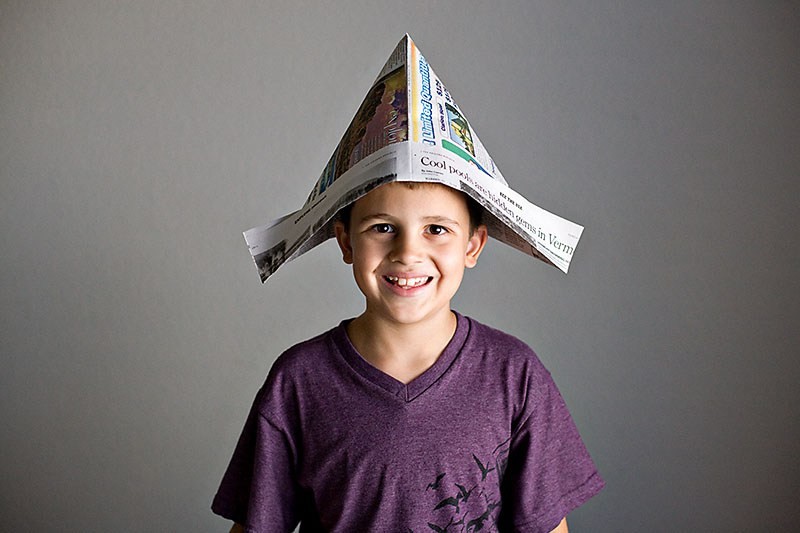
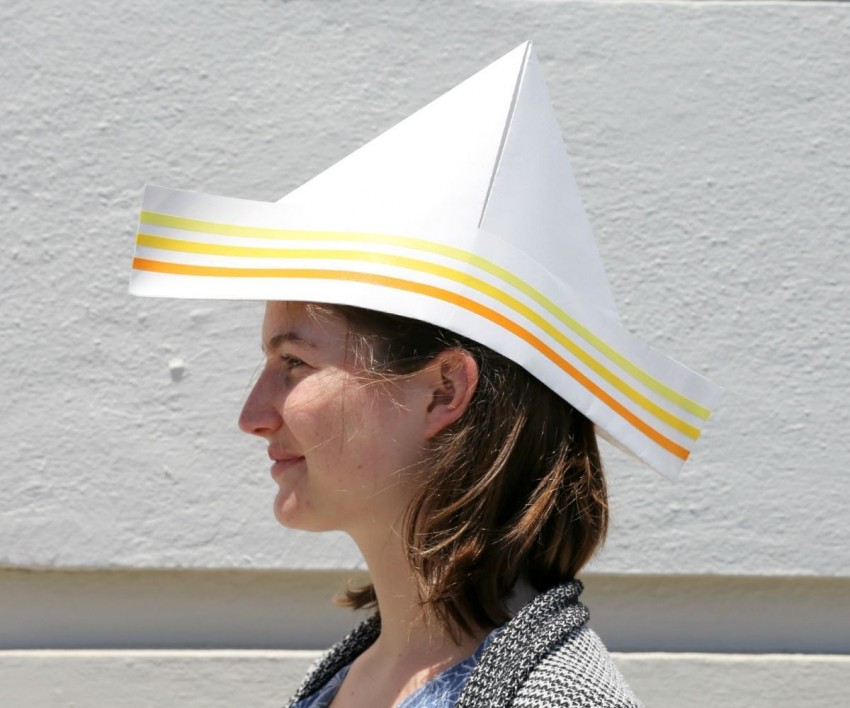
Usually this paper model of a cap is worn slightly shifted to the side. You can decorate the product at your own discretion, for example, paint it with paints or cover it with stickers.
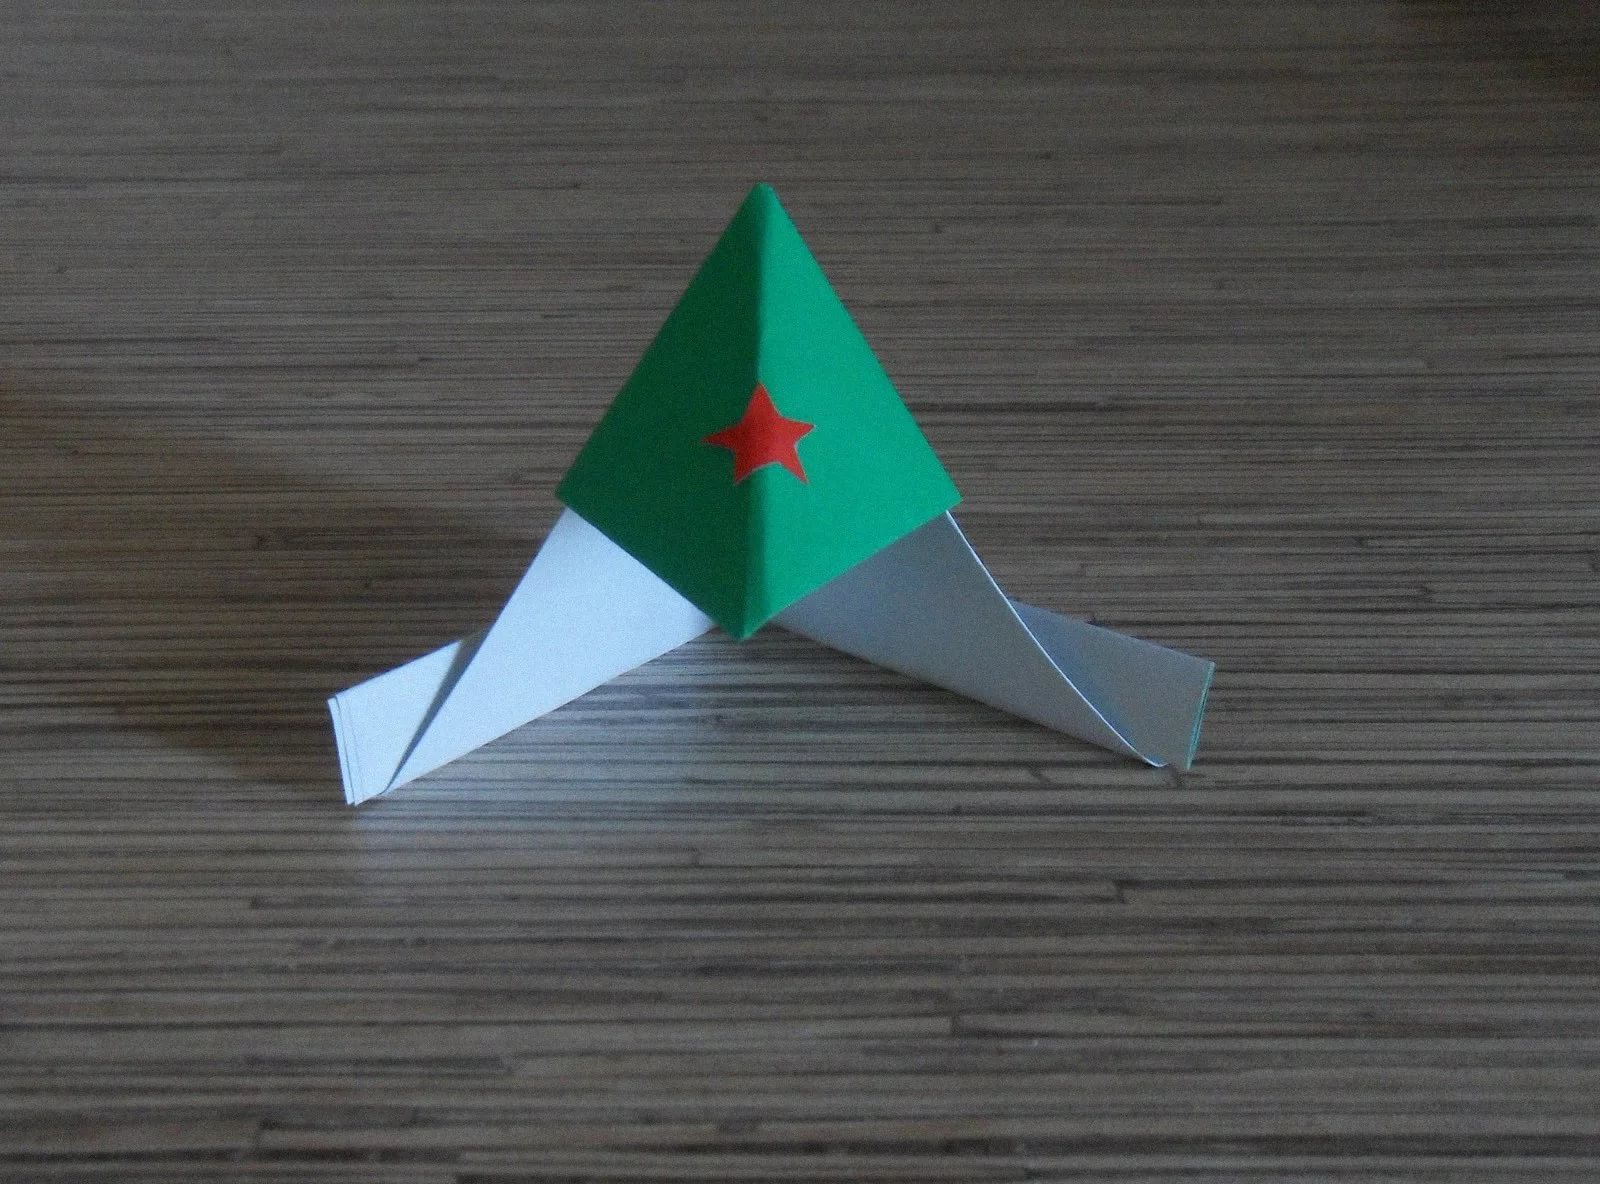
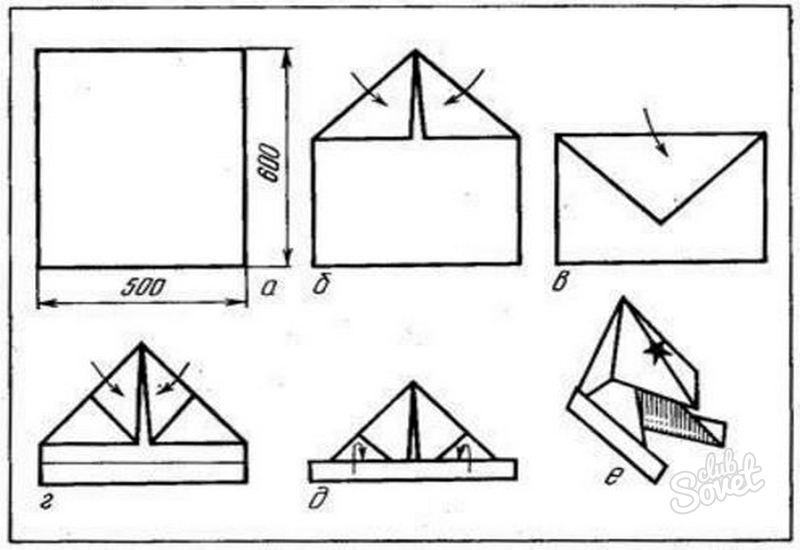
Soldier's for a boy from A4 sheet
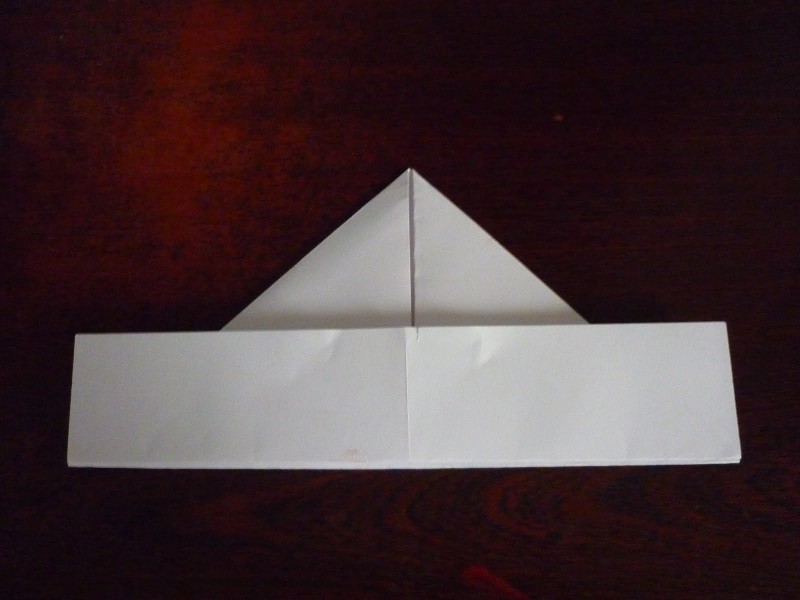
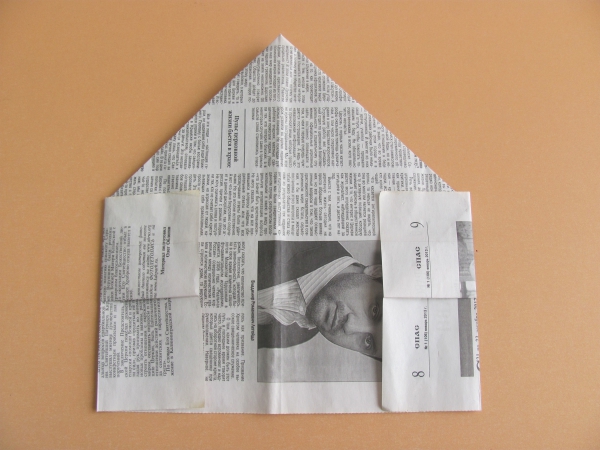
To make a soldier's cap for a boy, you will need an A4 sheet of paper. The newspaper version will be impractical for this purpose. The product can quickly lose its shape during active play by the child. Procedure:
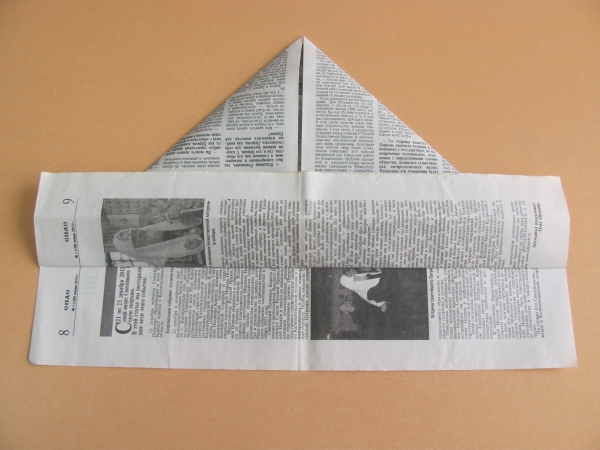
- Before you start working, you should fold the sheet of paper lengthwise.
- Mark the fold line on both sides.
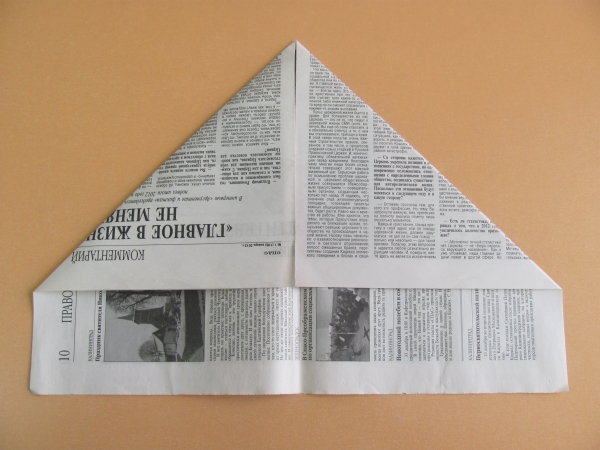
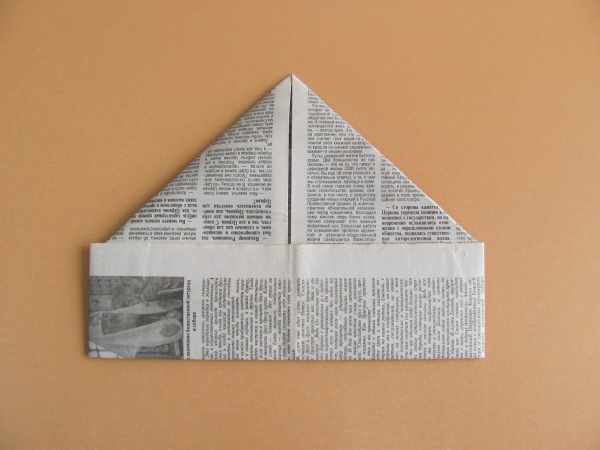
- Fold the product diagonally. You will get an isosceles triangle.
- Next, you need to fold the corners upward along the fold line marked with a pencil. You should get a square.
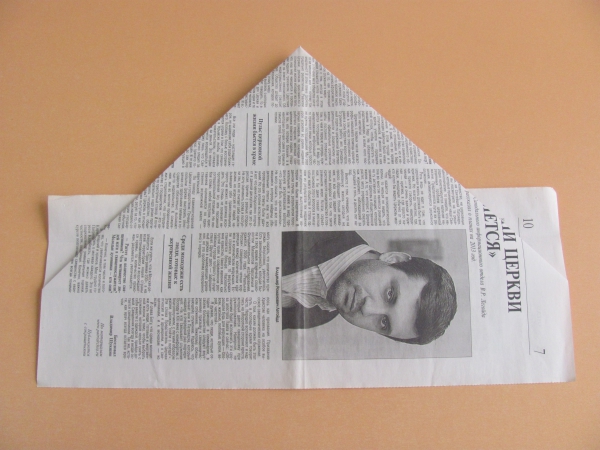
- Then fold the corners in half and mark the fold again.
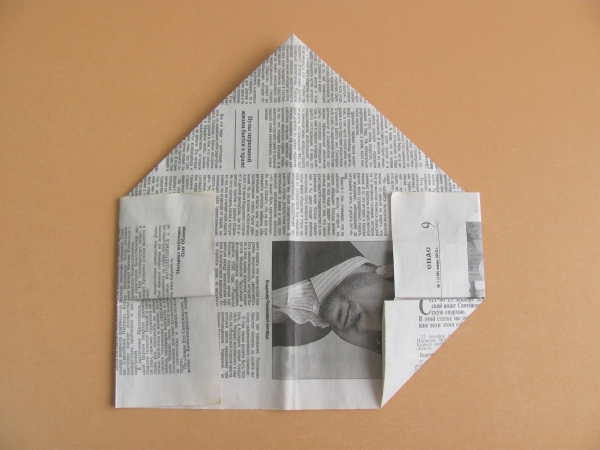
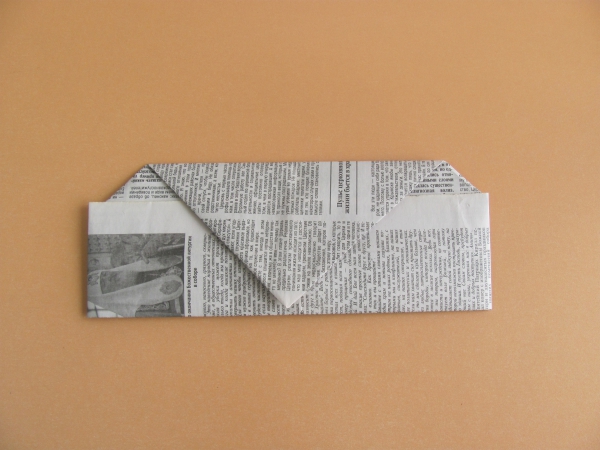
- Fold the corner along the marked line so that the edge of the paper sticks out beyond the edge of the product.
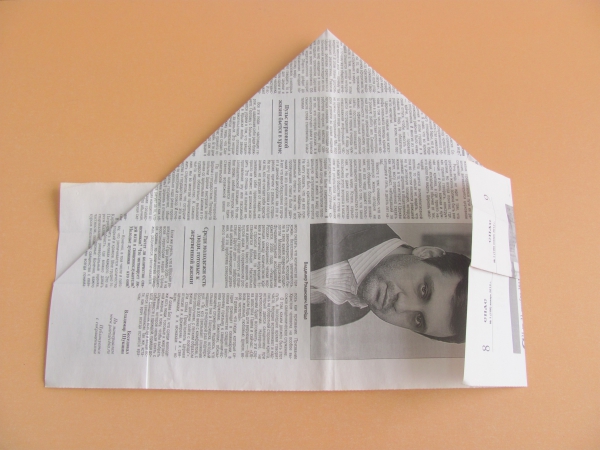
- Perform the same actions on the opposite side.
- The result is a square with paper edges sticking out on both sides.
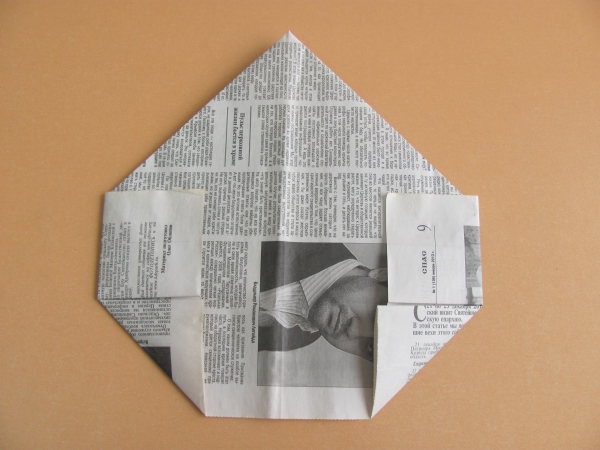
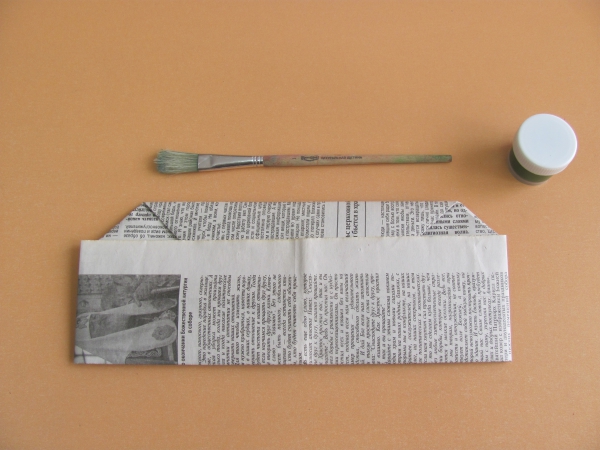
- Fold the opposite corners towards the middle of the product.
- Fold the rim.
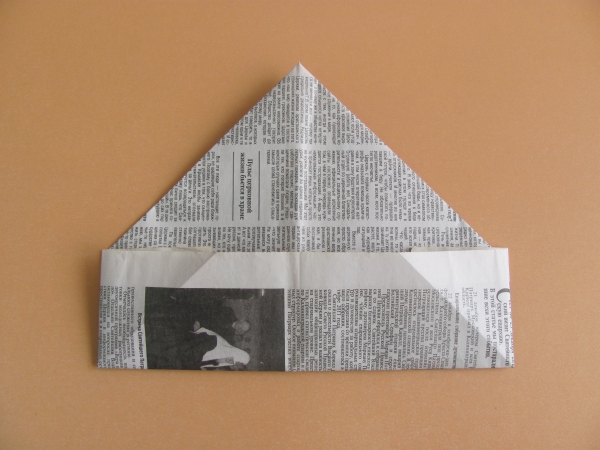
- Next, turn the product over to the other side.
- Fold the corner in half towards the corner.
- Unfold the product and hide the bottom corner inside.
To fold a neat soldier's cap, it is better to draw the fold lines along the marks that were previously made with a pencil.
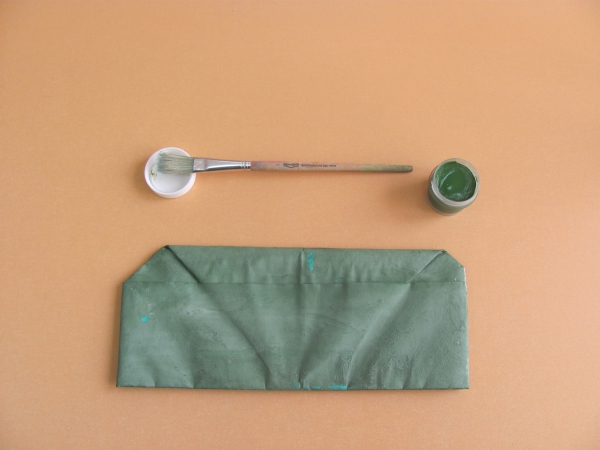
The finished product can be painted with gouache, khaki or spotted camouflage will do. The headdress should be thoroughly dried before wearing.

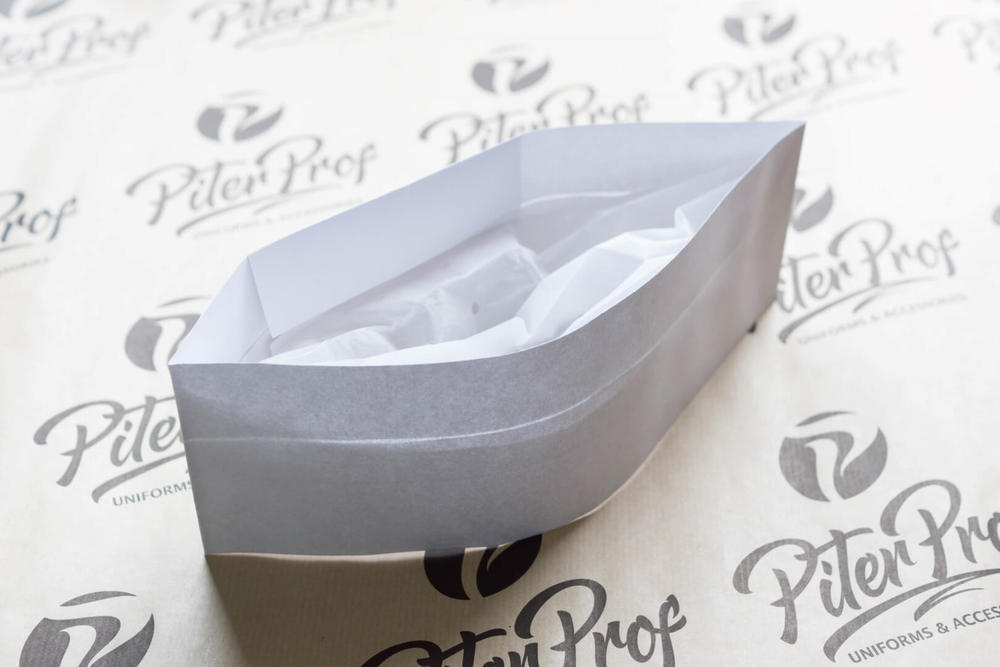
Budenovka cap
This model of a cap is made from a newspaper spread. The product perfectly protects from the sun. To make a paper budenovka, you will need to perform a number of actions:
- fold the paper in half;
- mark the fold line;
- unfold the corners on both sides, bend them;
- bend the rim from below;
- turn the product over to the opposite side;
- bend the rim;
- fold the lower corners to the other side, you should get an isosceles triangle;
- unfold the model along the fold line;
- bend the corners towards the center of the product.
A stronger cap can be made from a spread of a glossy magazine, but it will be more difficult to fold such a sheet than a newspaper one.
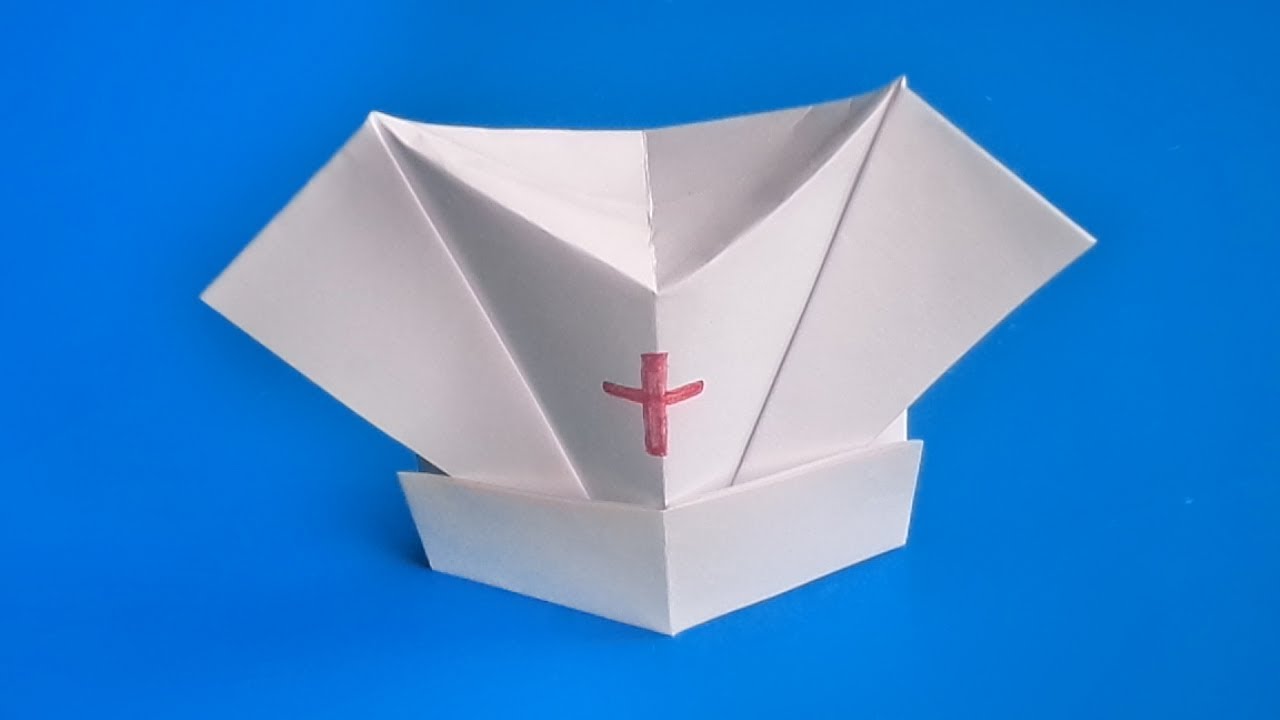
Medical
The pattern of the medical cap allows you to make a headdress for a masquerade or a theme party. You will need a rectangular sheet of paper. Procedure:
- you should take a sheet of paper and fold it in half;
- fold the strip of paper lengthwise from the bottom, leaving 1.5 cm from the edge;
- fold both halves towards the fold line to form a triangle;
- turn the product over to the other side;
- turn back the top edge of the model;
- fold the bottom edge lengthwise;
- Pressing from above, open the product, folding three folds upward.
The finished medical cap should be painted white, and a red cross should be drawn in the center of the product. It is more rational to use a sheet without printing. This will help save time on painting.
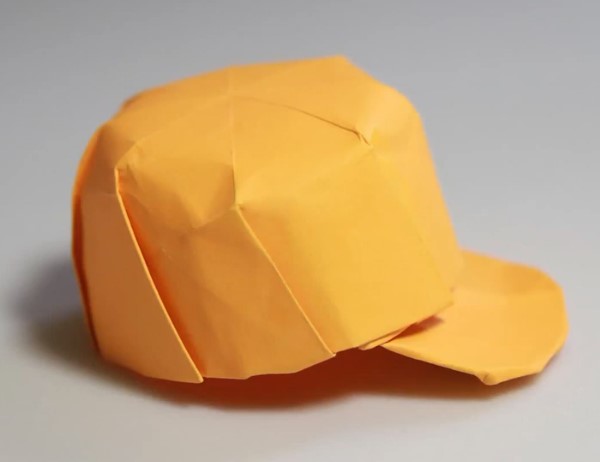
With a visor
A cap with a visor is often used as a means of protection from the sun. In addition, it is convenient to put on during painting work. The visor will protect against paint drops. Manufacturing method:
- fold a sheet of newspaper in half;
- first fold one side in half, then the other side to mark the fold;
- along this line, turn the corners on both sides;
- the rim should be bent at the bottom of the product;
- turn the cap over to the other side;
- tuck in the corners of the rim;
- fold the product on both sides to the fold line;
- fold the bottom part of the paper towards the central part of the product and tuck it under the rim;
- expand the model;
- bend the corners of the product at the top, then hide them under the paper.
If a cap with a visor is made from cardboard, it will be able to protect from rain for a short time.
How to decorate
Paper hats made of Whatman paper or cardboard are subject to decoration, namely painting. This material does not become wavy after contact with water. For this purpose, it is better to use gouache or acrylic paints. It is possible to paint the paper not only after making the hat, but also before work.
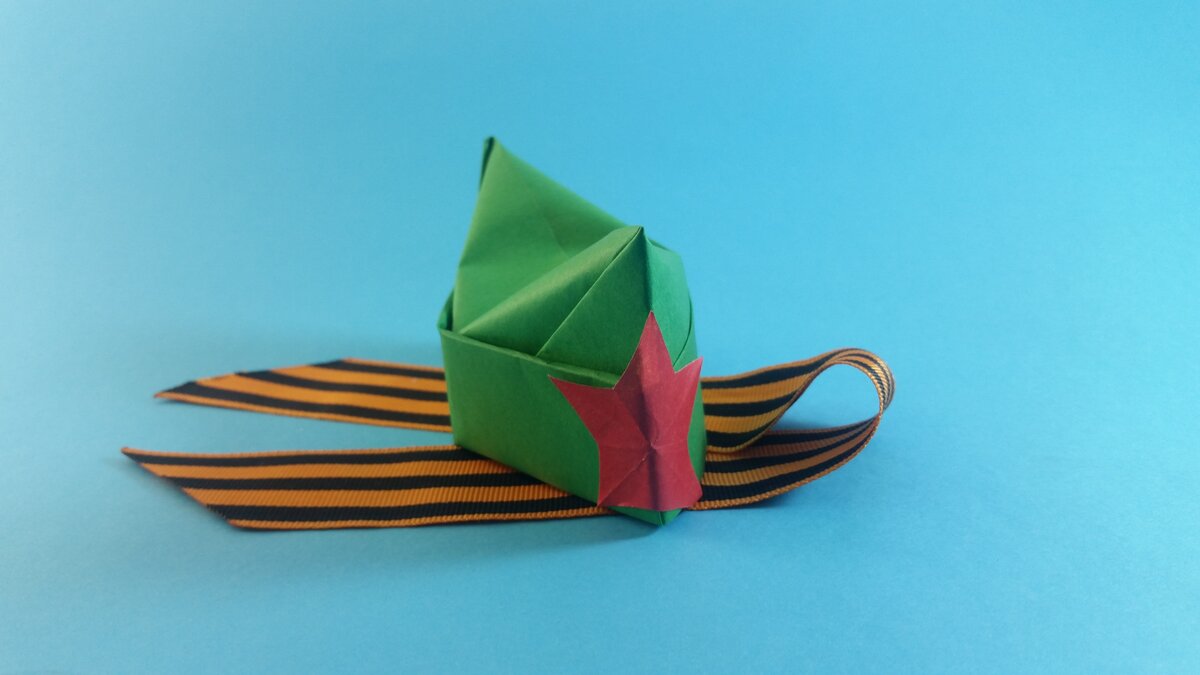
To decorate military caps, they often use a red star made from colored paper and glued to the product. You can decorate your headdress with a flag. The St. George ribbon is often used as a decoration for a cap on Victory Day.
Thematic paper headdresses are decorated in accordance with the costume. For these purposes, you can use the following additional details:
- glitter;
- buttons;
- ribbons;
- with beads.
You can glue an applique in the form of a red cross made of colored paper onto the medical cap. You can also draw it, for this you can use felt-tip pens, paints or gel pens.

Video