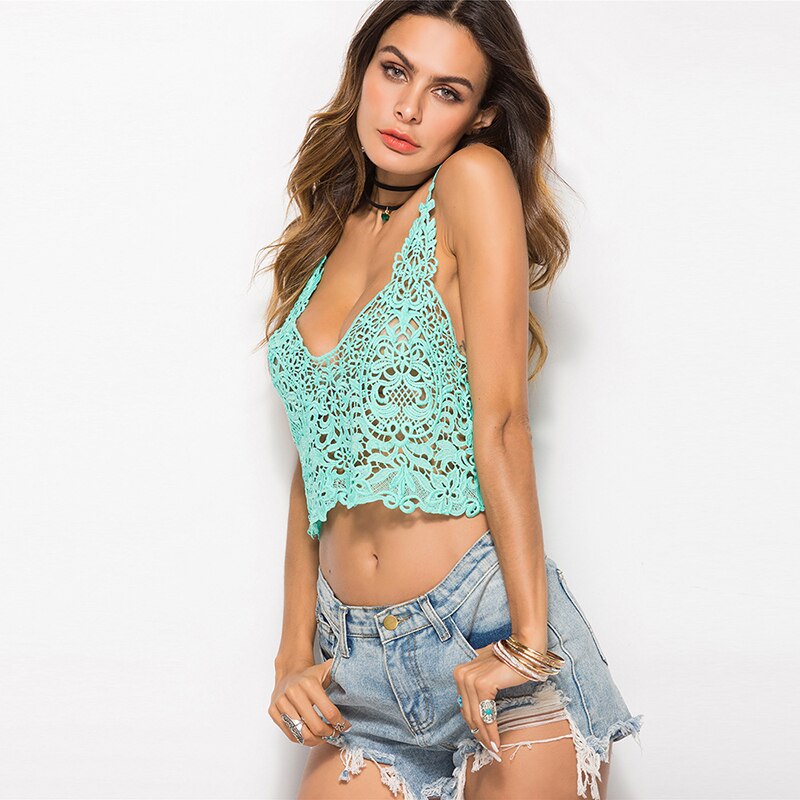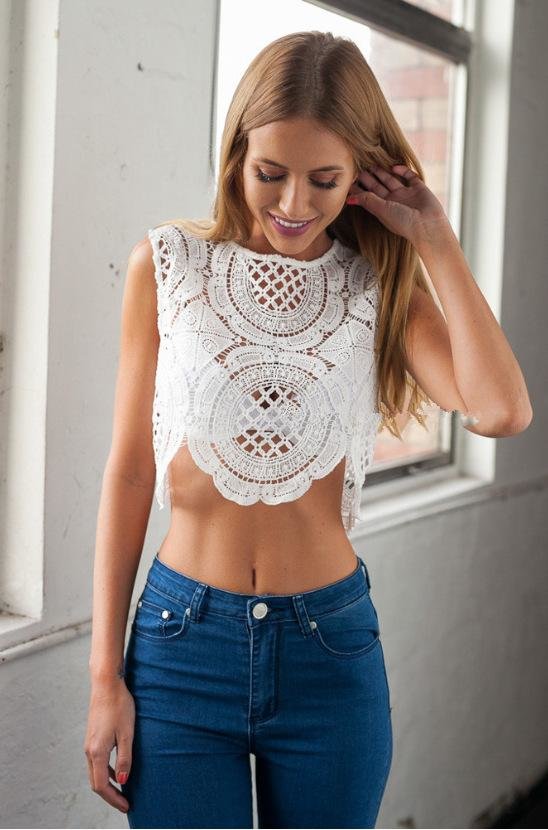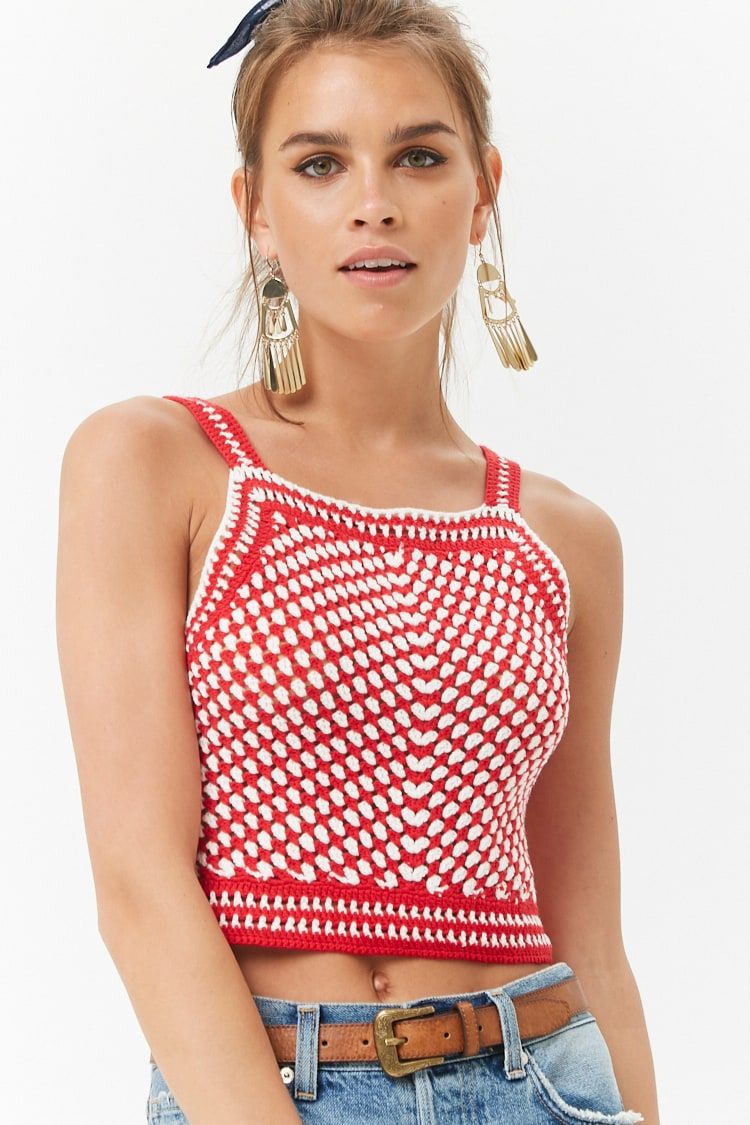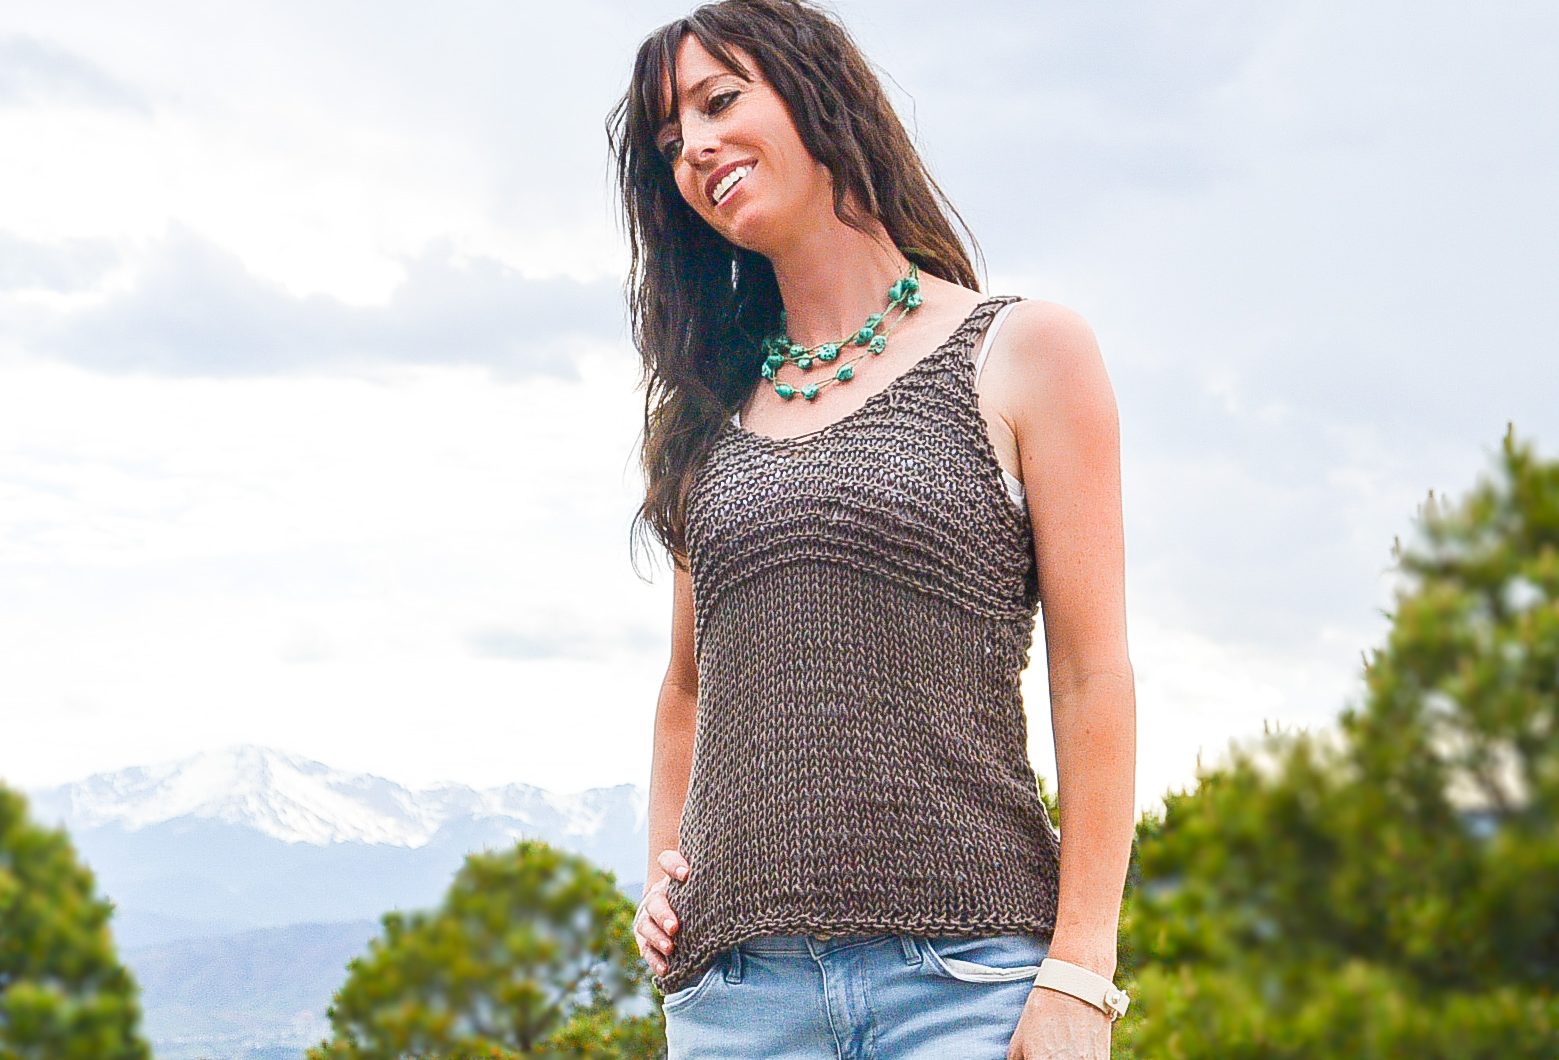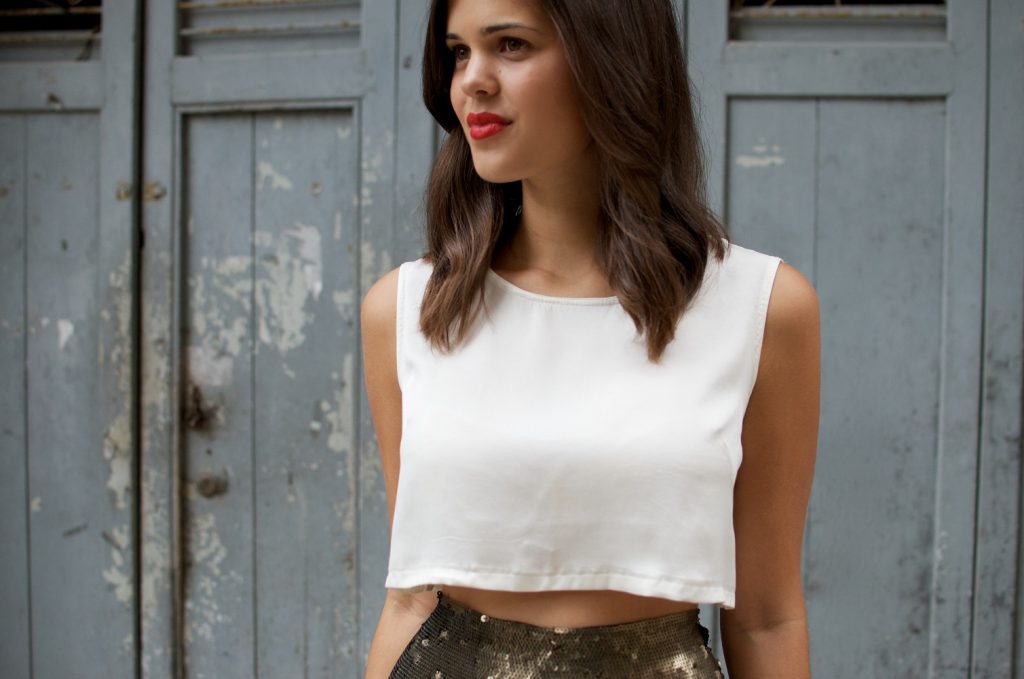
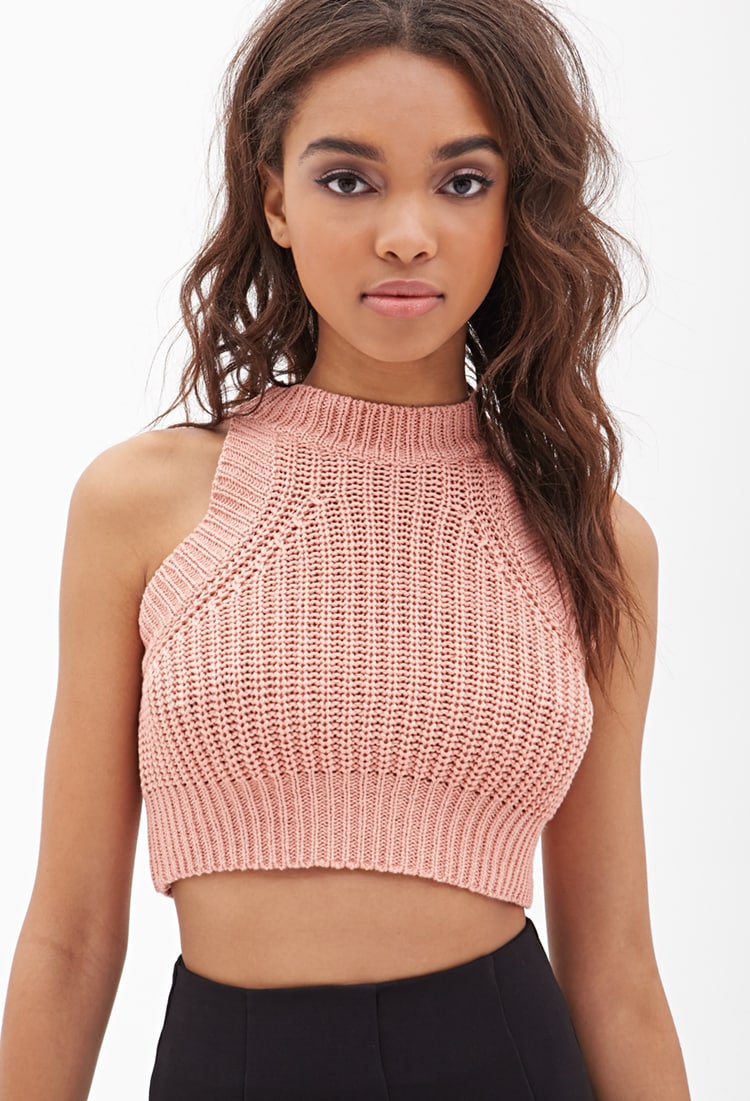
The crop top is a trend that has been on and off the catwalks since the 70s. This season, it has returned to the shows of famous designers. Crocheting a crop top yourself is not difficult - it is an interesting process that will result in an original, stylish product. At the same time, the variety of possible styles will allow any girl to choose the right model.
Selection of materials and tools
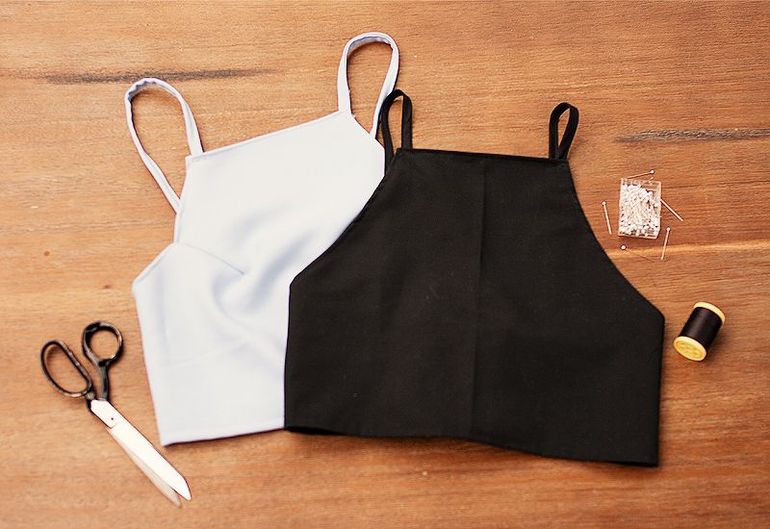
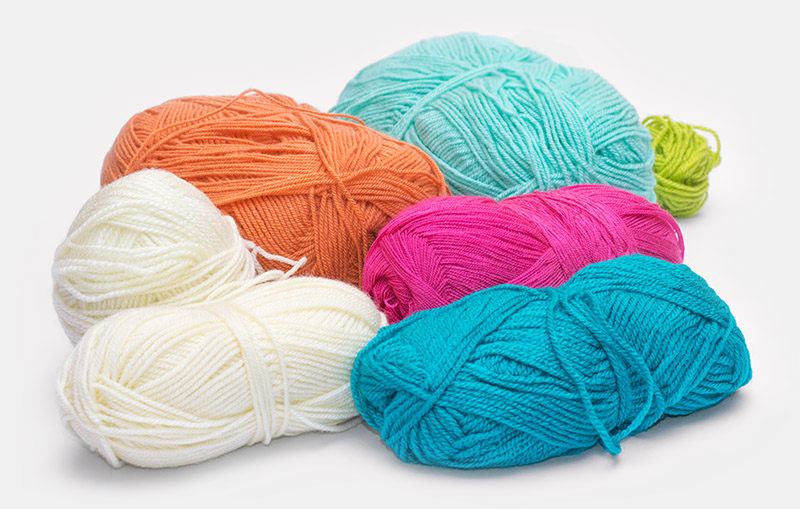
You can knit a crop top with knitting needles or a crochet hook. The choice of tool depends on the model of the product. It is easier to knit a dense, even fabric with knitting needles, and it is more convenient to knit complex openwork patterns with a crochet hook. Since a crop top is primarily a summer wardrobe item, first of all, you need to choose the right yarn so that the product is comfortable to wear in hot weather.
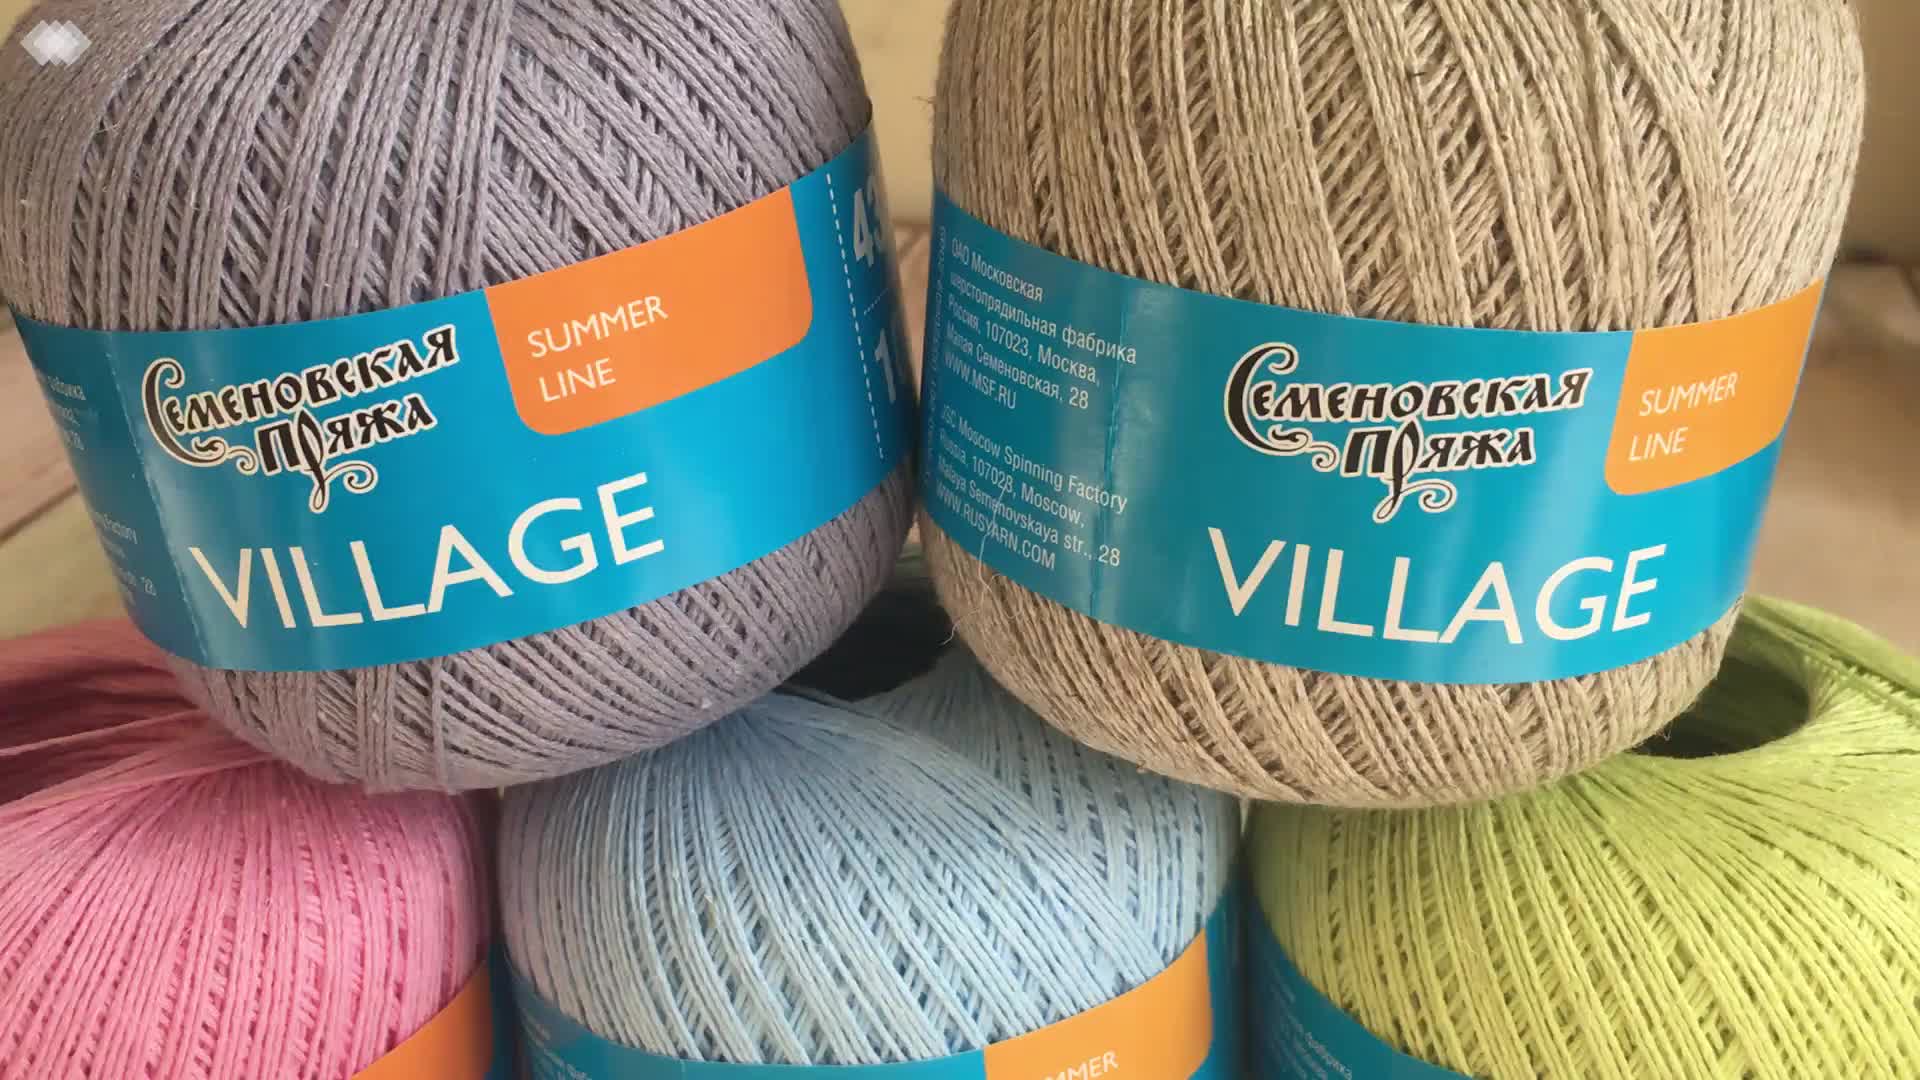
The knitting material should be soft enough, as this item will fit tightly to the body. The threads should have good hygroscopic and heat-conducting properties. The main yarn compositions suitable for a knitted top:
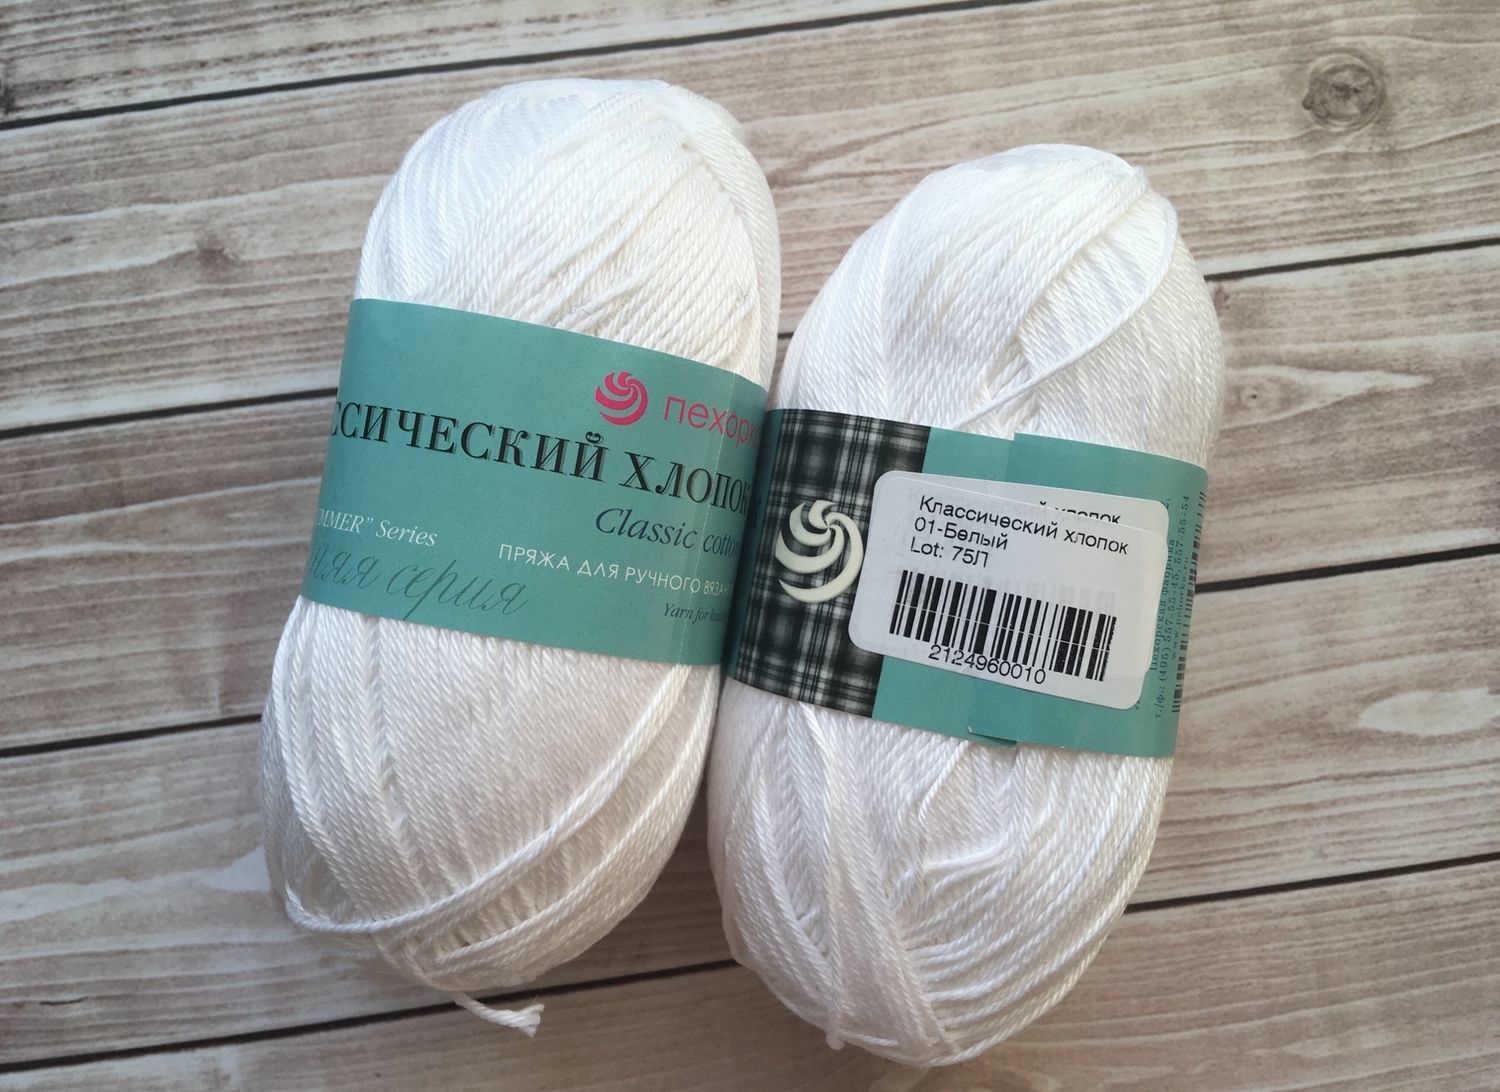
- Natural cotton is a popular material that is suitable for knitting children's clothes. It does not cause allergies, is breathable, absorbs moisture, but tends to wear out quickly and lose its appearance. Processed or mercerized cotton, which does not have these disadvantages, will cost a little more. It retains its qualities longer, and the product made from it will be softer.
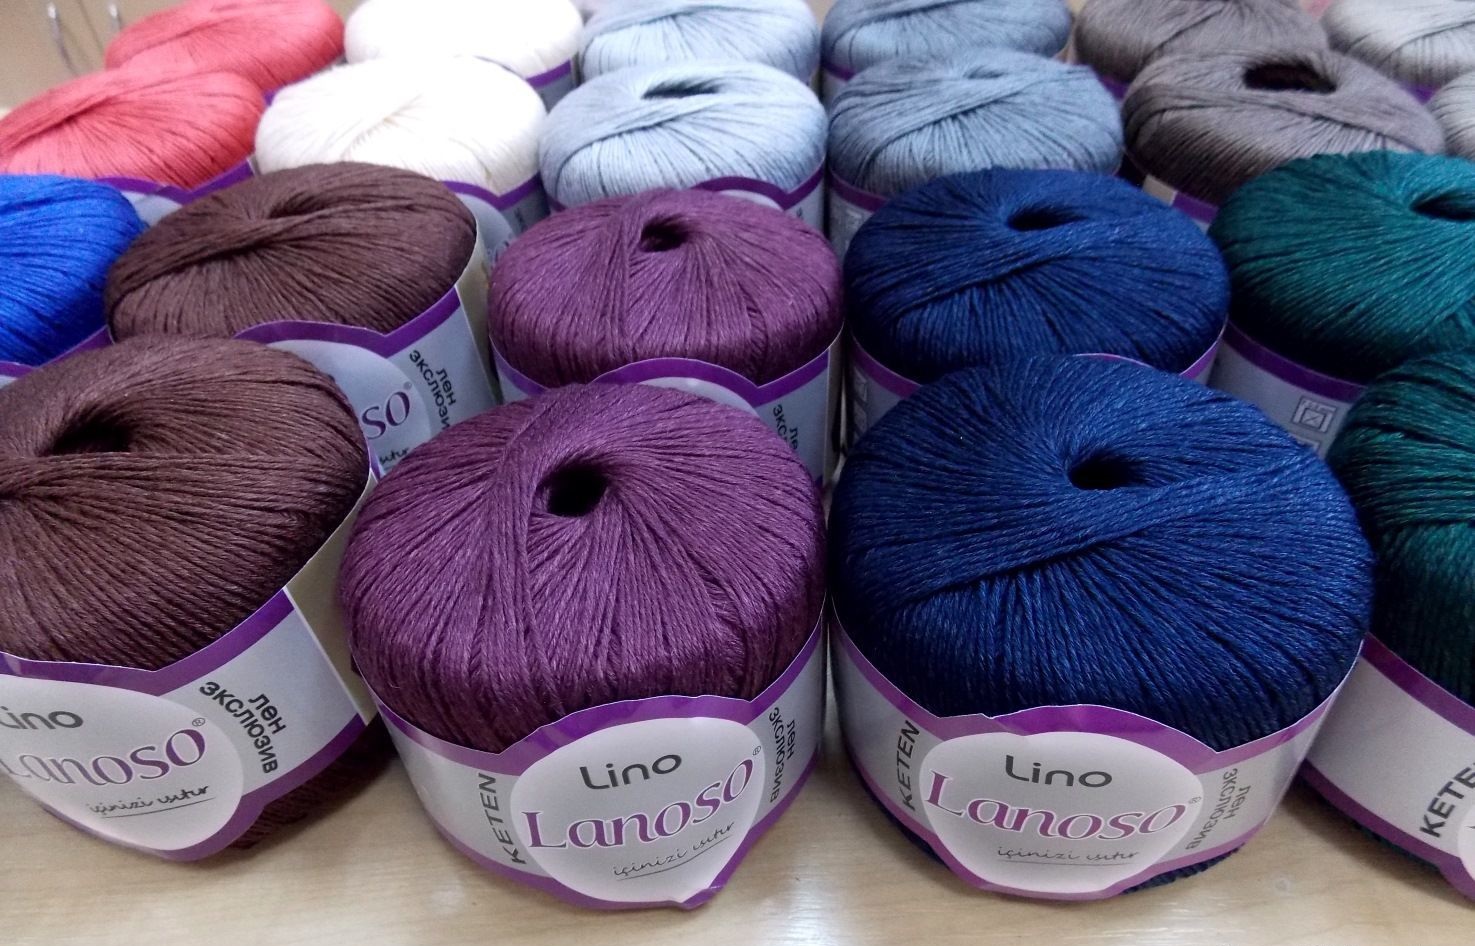
- Linen. An ideal option for a summer top. Linen clothes are not hot, they hold their shape well. The main drawback is that the material wrinkles quickly, but this is not so important when making a crop top, this style has almost no folds.
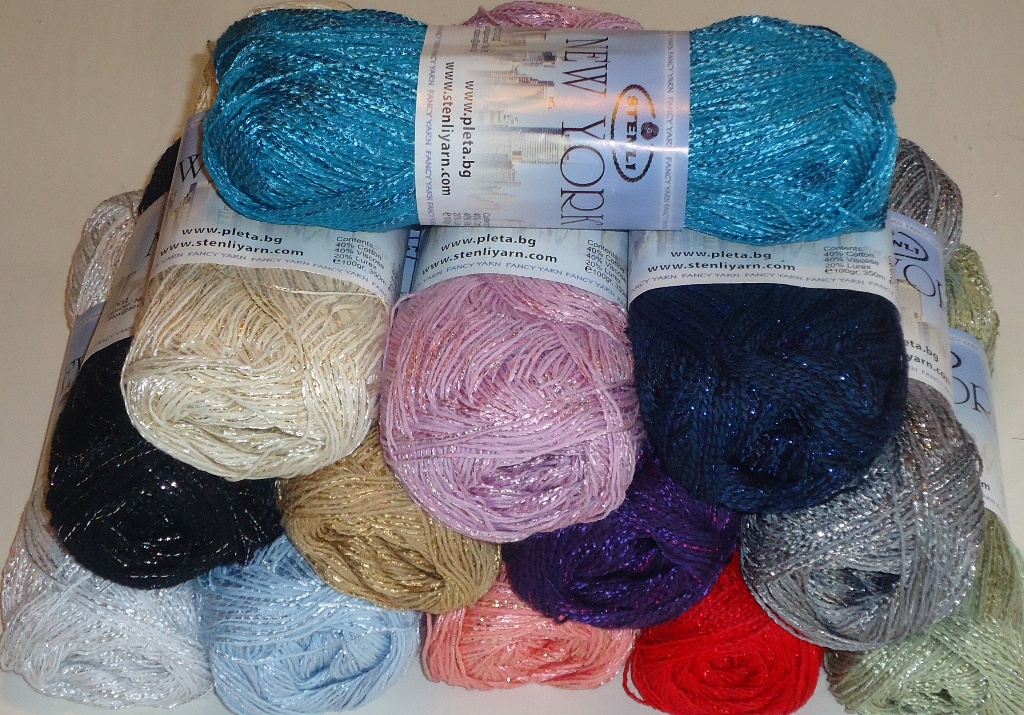
- Viscose, acrylic and blends. A knitted item made of mixed yarn combines the advantages of natural materials and high performance properties. Viscose will add strength and elasticity to the product, and acrylic will make it soft. The optimal ratio of artificial and natural fibers is 50/50.
To get a light and soft top, you need to choose thin yarn. The thickness of the thread should be about 1.5 mm.
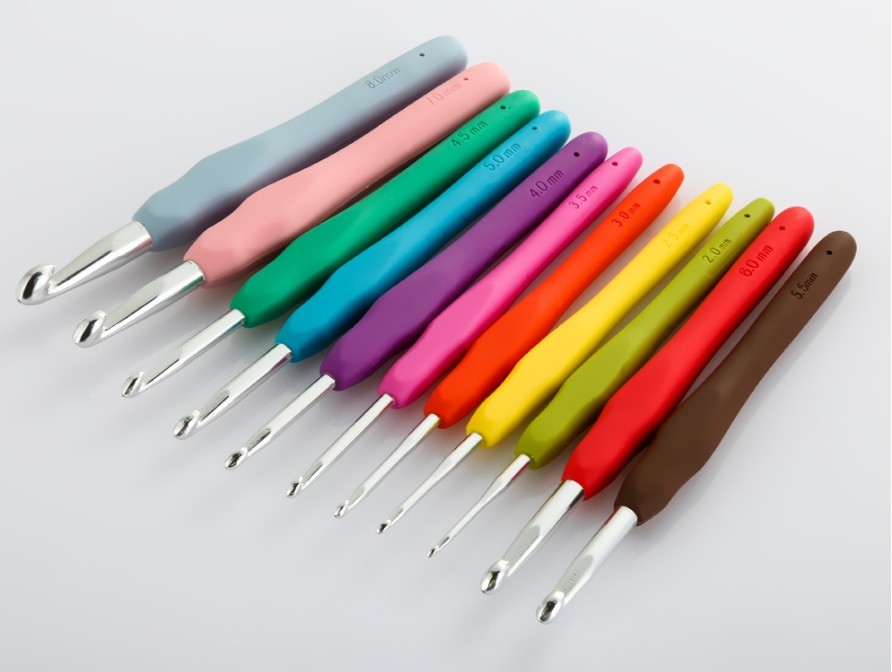
The hook is selected after the yarn has been chosen. Most often, the appropriate number is indicated on the skein label. But if it is not there, you can select the tool manually. For Russian-made hooks, the number matches the head diameter, which should be twice the thickness of the thread. To be sure, you need to insert the thread into the hook and pull it tight - it should completely fill the cavity, but the tip of the barb should be visible.
Measurements and calculations
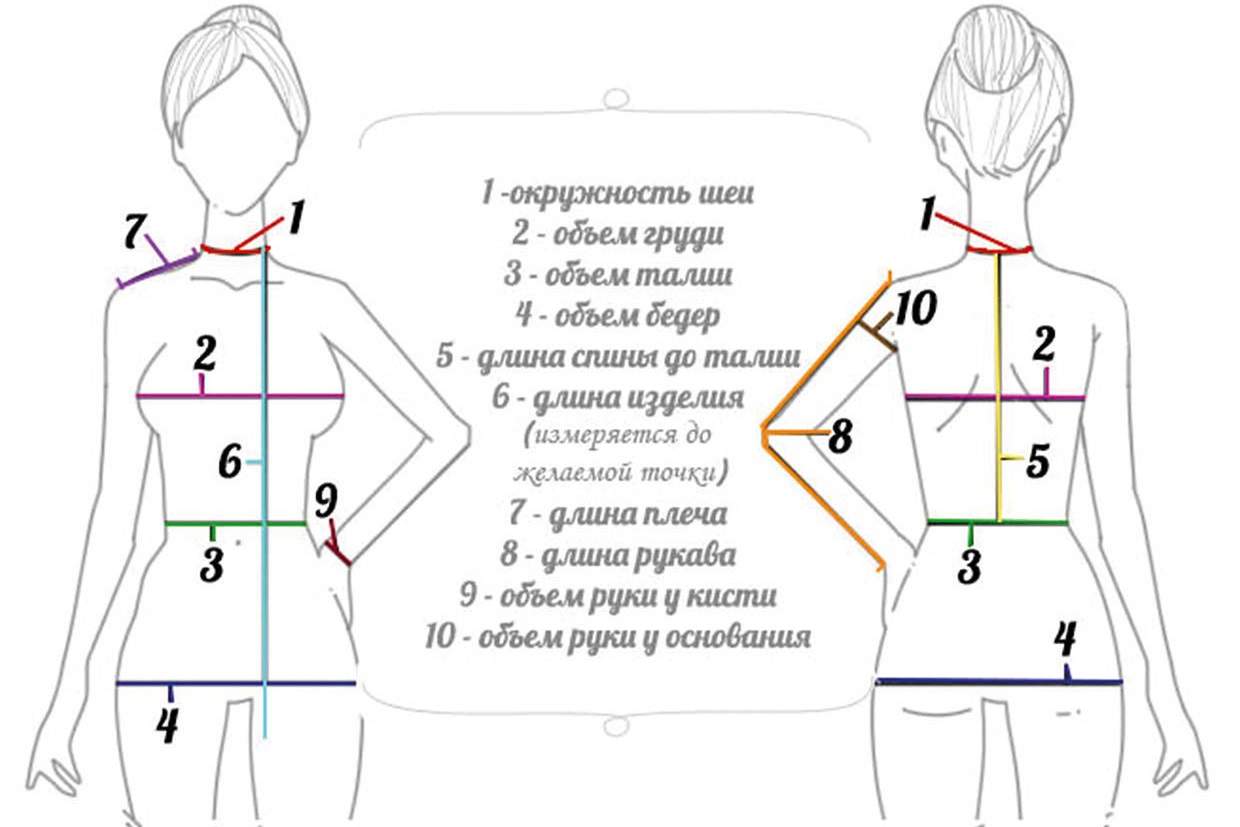
To avoid running out of yarn during knitting and to ensure that the knitted top fits your size, it is important to make careful calculations. To knit a crop top in your own original style, you need to know the required amount of material. To do this, you need to take measurements and make a pattern. The following measurements will be required:
- chest, waist circumference;
- planned top height;
- length of straps.
After the pattern is drawn up, a trial sample is knitted with the main pattern - a 10 x 10 cm square. The pattern is ruled into such squares, their number is counted. Those that do not fit completely are counted as whole. Then the yarn is counted: the volume spent on the trial sample is multiplied by the number of squares.
Many people are interested in how to crochet a crop top without having experience in cutting out or drawing up patterns. You can use step-by-step instructions with already completed calculations. Using one of them, you need to make adjustments for your figure parameters and get to work.
Step-by-step knitting algorithm taking into account the model
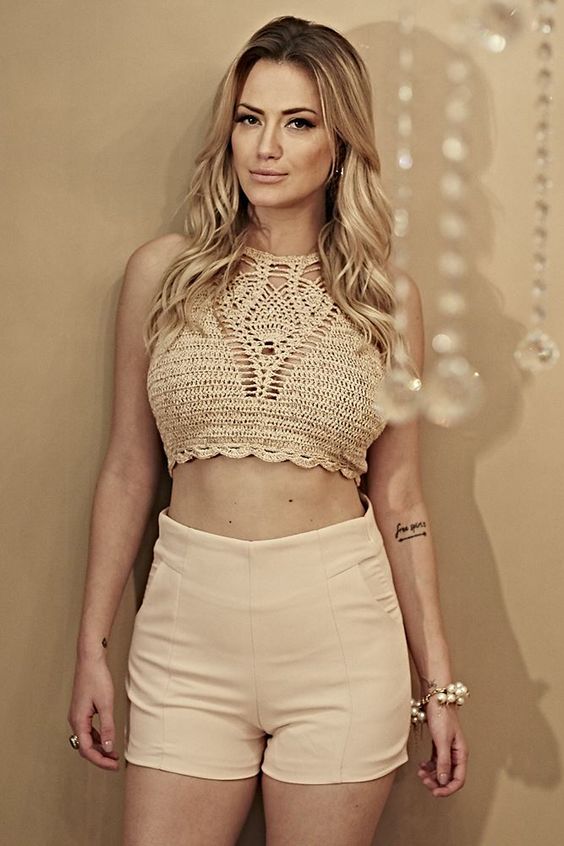
The process consists of three main stages: knitting the bodice, tying the straps, and decorating the finished product. Any pattern can be used as the basis for the bodice. This can be a simple canvas of columns, repeating motifs, openwork and relief patterns.
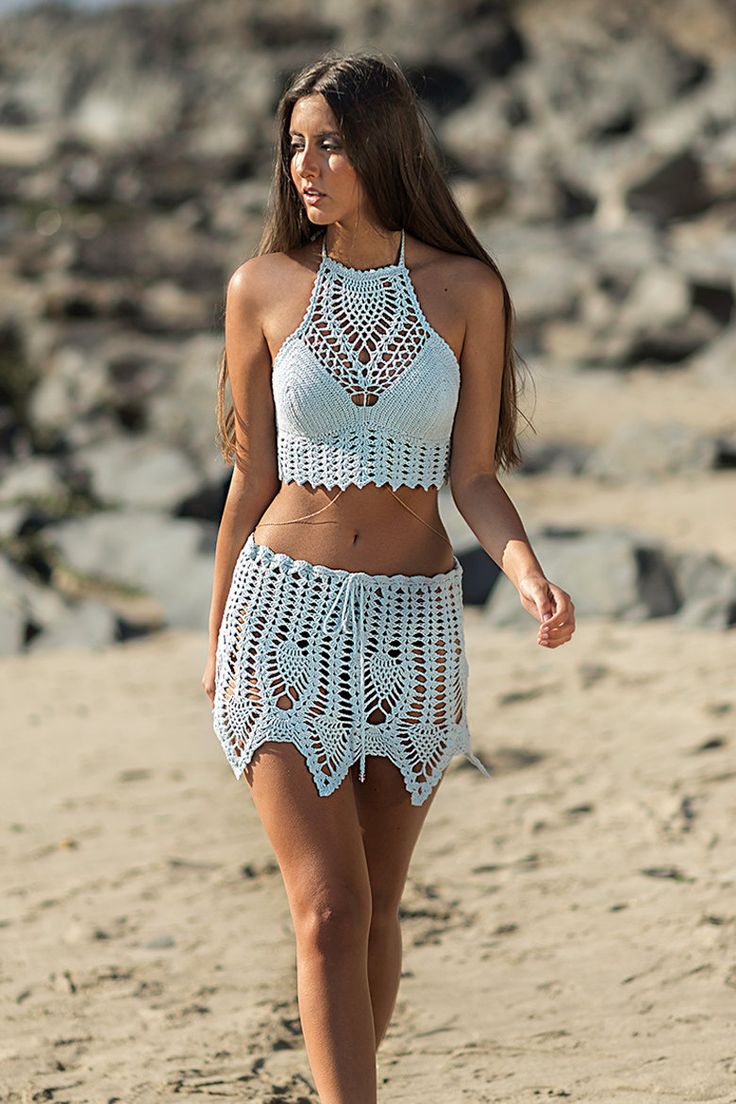
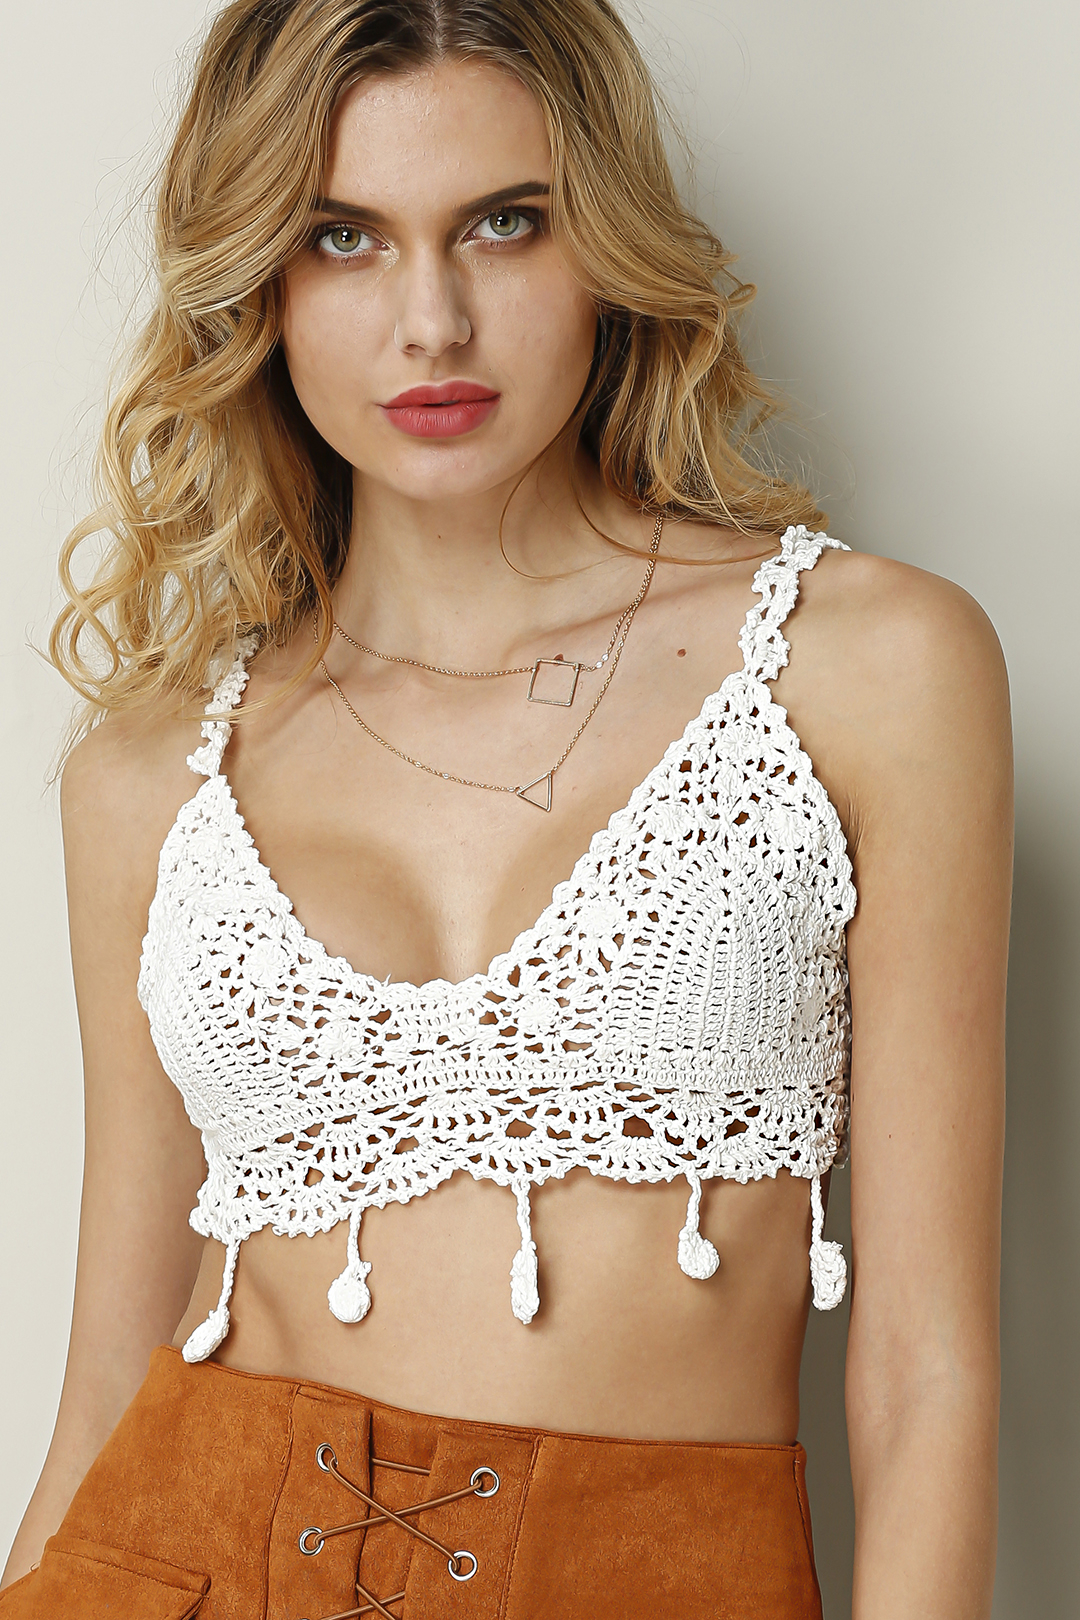
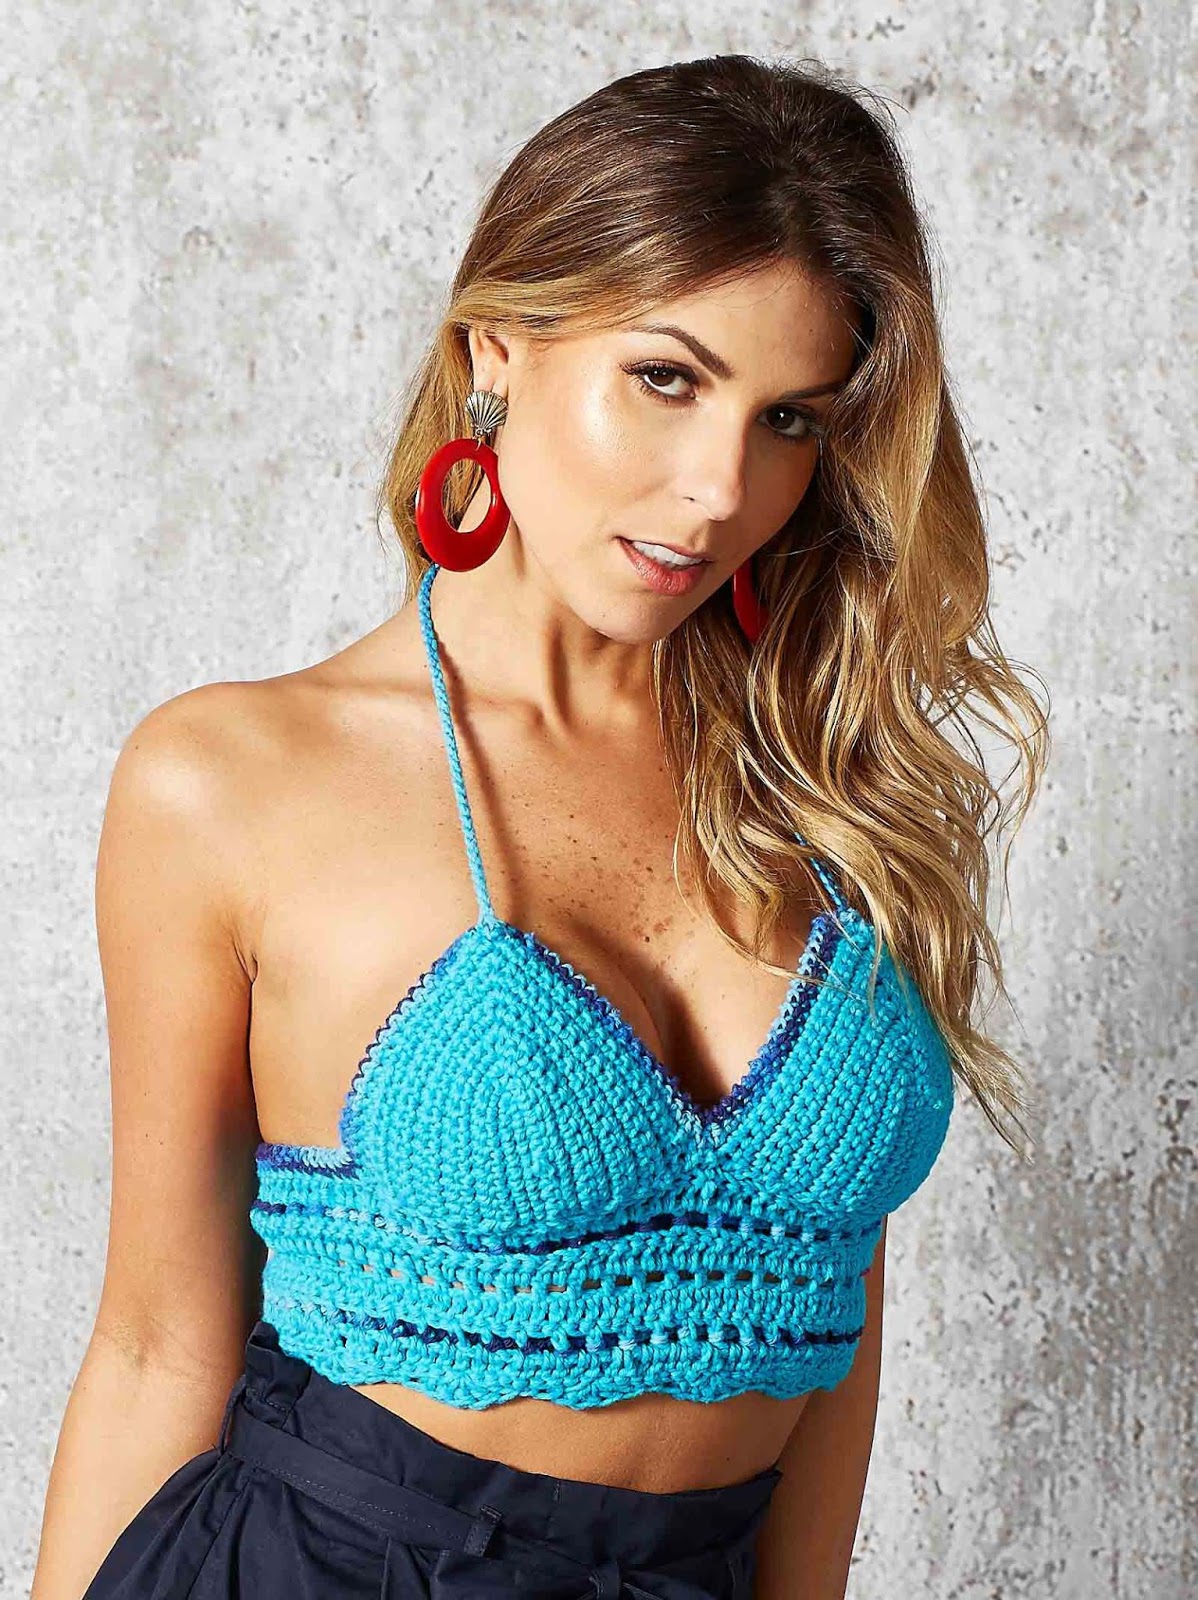
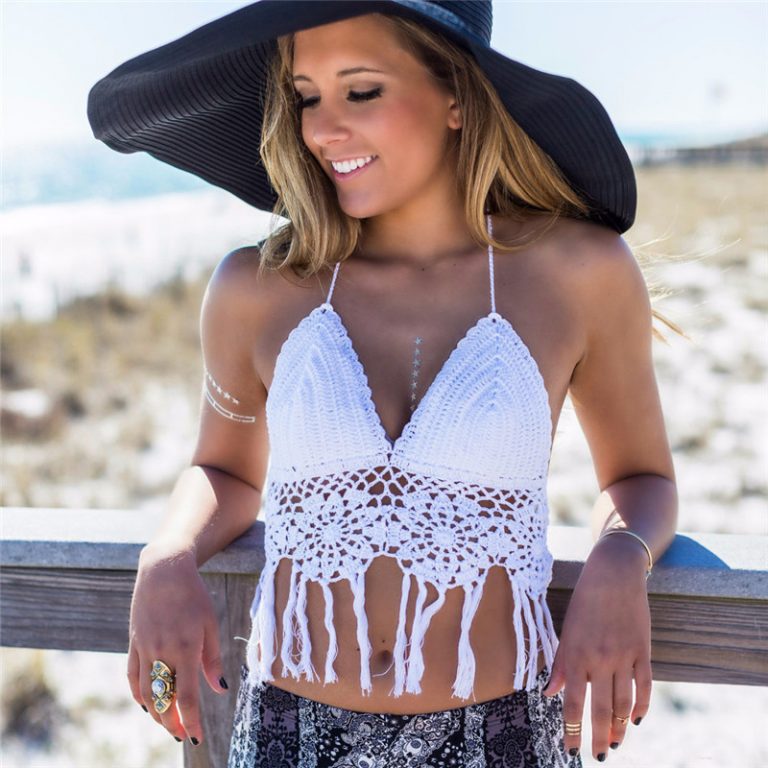
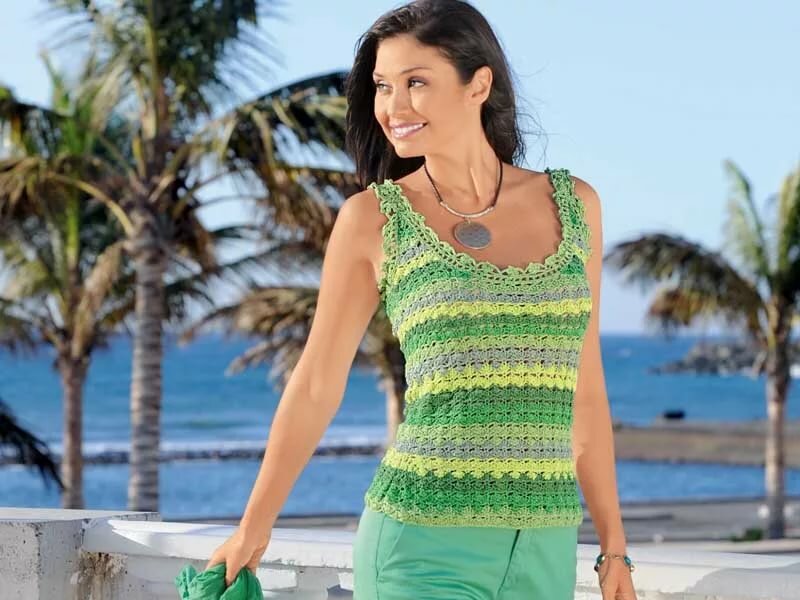
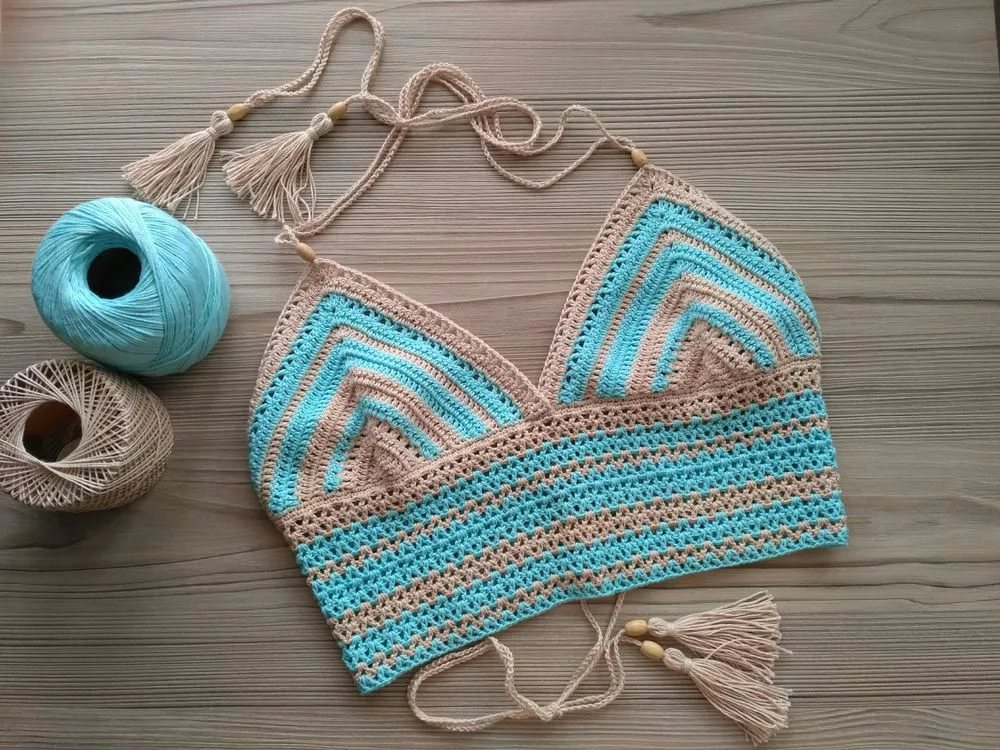
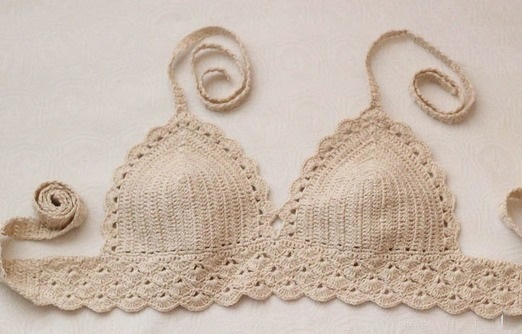
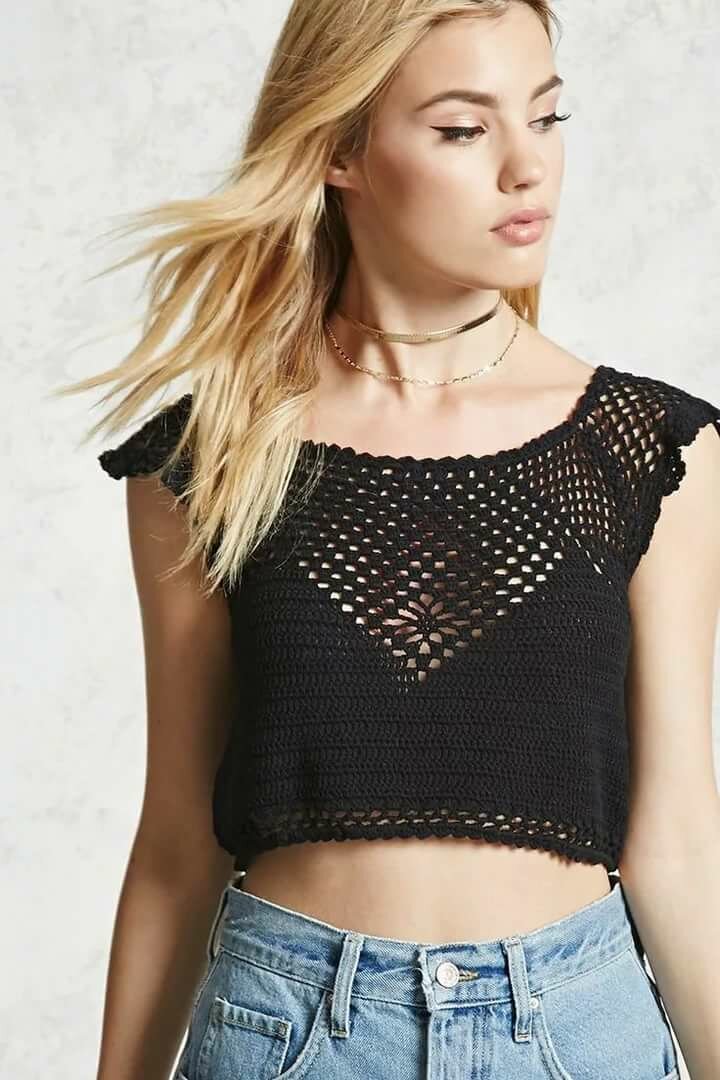
Lace with straps
To make an openwork crop top with straps you will need:
- thin yarn (cotton, viscose 75/25) 250–280 m;
- hook No. 1.5.
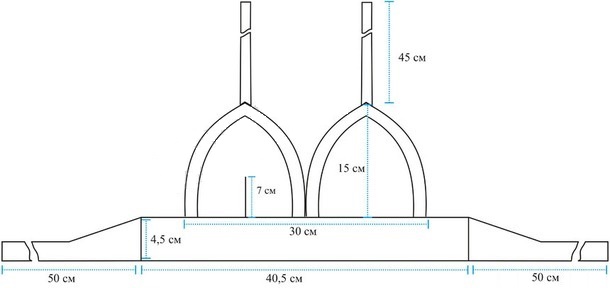
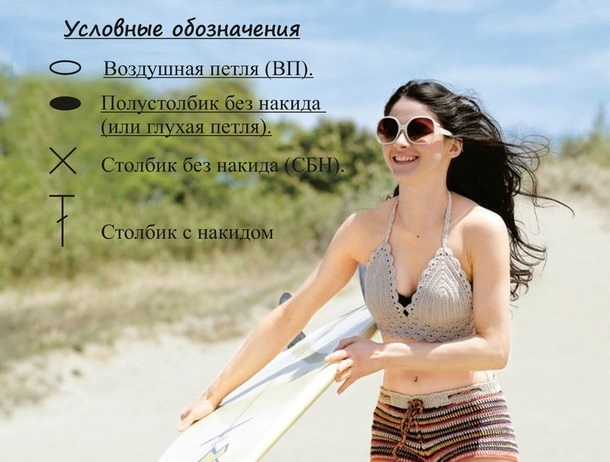
Using the patterns, you can get a beautiful, stylish knitted top:
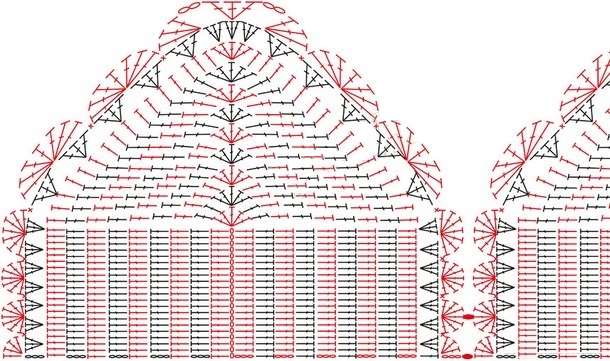
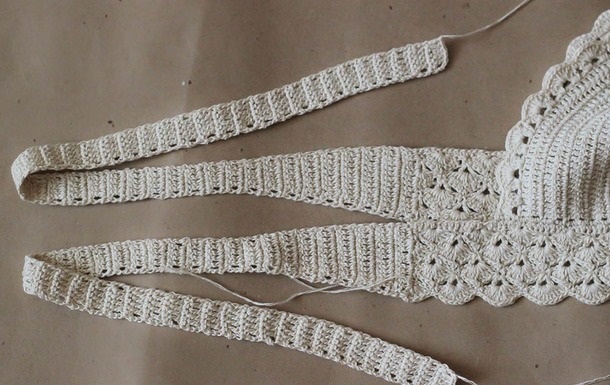
- The first stage is knitting the cups of the top. To do this, a chain of 24 air loops is collected. The last three are counted - they will be lifting, in the fourth one a column with one yarn is knitted. Then the chain is tied with solid columns with a yarn.
- In the last loop of the chain, an increase of 7 columns with one yarn over is made. Then the product is turned, the chain is tied with the same columns from the back side.
- Returning to the beginning of the previously knitted chain, you should knit three lifting loops and proceed to the next row. To do this, the product is turned again, a double crochet is knitted into each loop.
- The columns must be knitted up to the central loop of the increase, which was made in the previous row - in it you need to make the same increase of seven loops, and after it continue to knit in each loop a column with one yarn over.
- So you need to knit about 10 rows from the central chain. The top of the triangular cup will be an increase, which is also knitted into the central loop of each row.
- The eleventh row of the cup is knitted with a different pattern. It also begins with three air loops of lifting, after which one loop is skipped, in the next one three double crochets are knitted at once. Then a skip of two loops, and in the third again three double crochets.
- So the row is knitted to the end, alternating two skip loops and three double crochets in one loop. At the top of the cup, you need to find three central increase loops, knit three double crochets in each of them.
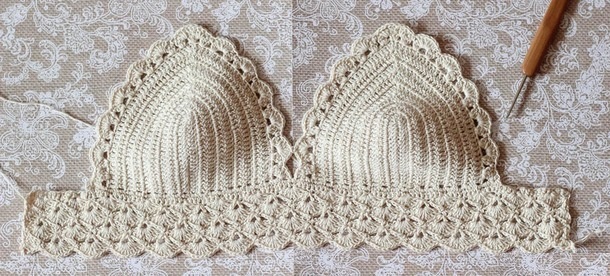
- The last row of the cup is tied with a "fan" pattern. To do this, after the lifting loops, three double crochets are knitted into the first arch, one single crochet into the second arch, and a bunch of seven double crochets into the third arch.
- Alternating a bunch of seven double crochets and one single crochet, the cup is tied fully, except for the bottom edge.
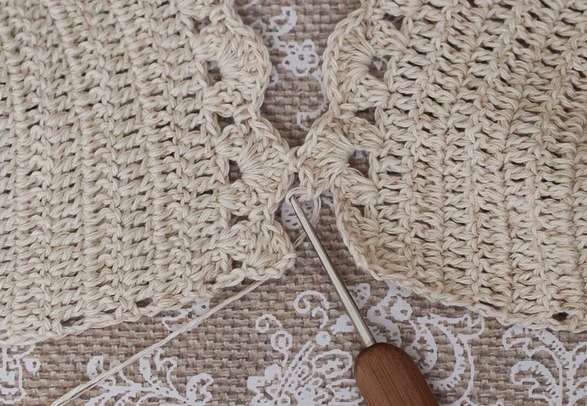
- The second cup of the bodice is knitted in the same way. When it is ready, it is necessary to connect the cups together. To do this, knitting the two lower patterns in a fan, they are attached to the second cup with half-columns.
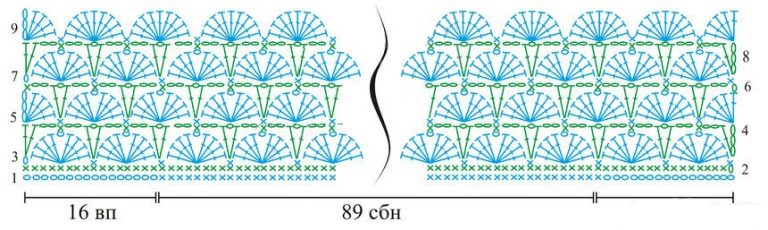
- To start the bottom part of the top, knit a 10-12 cm long chain stitch, attach it to the edge of the cups with a slip stitch. The row under the bodice is knitted with single crochet stitches, ending with the same chain stitch.
- The bottom is also done with a fan pattern, but the bundle will consist of 8 columns. You need to knit 9-10 rows with this pattern.
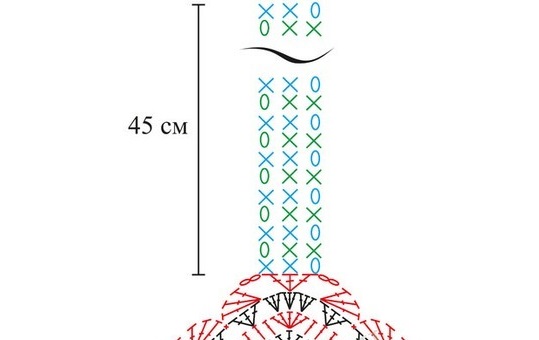
At this stage, the top is almost ready - it remains to knit and attach the back straps, the upper ties: the thread is attached to the corner of the lower part with a connecting post, an air chain is knitted to the desired length and returned with single crochets. The thread is secured and cut off, the end can be hidden by passing it through the edge loops. The upper straps of the bodice are knitted and secured in the same way.

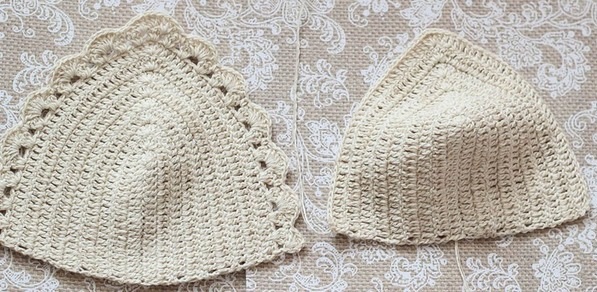

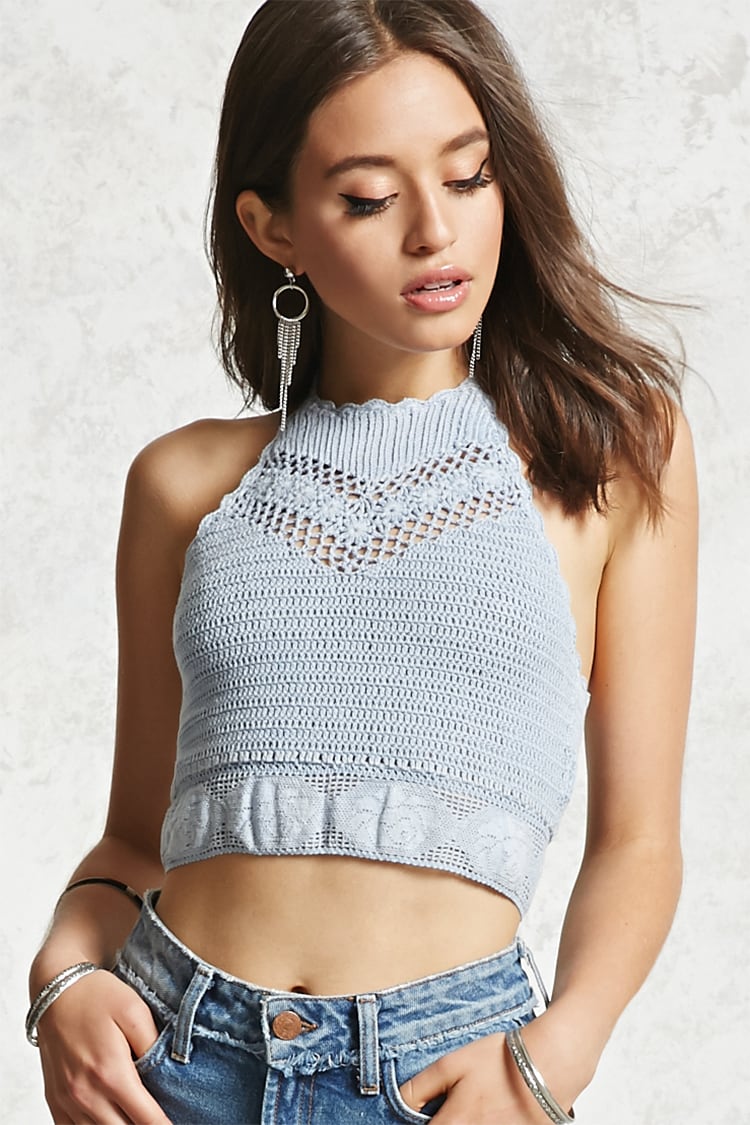
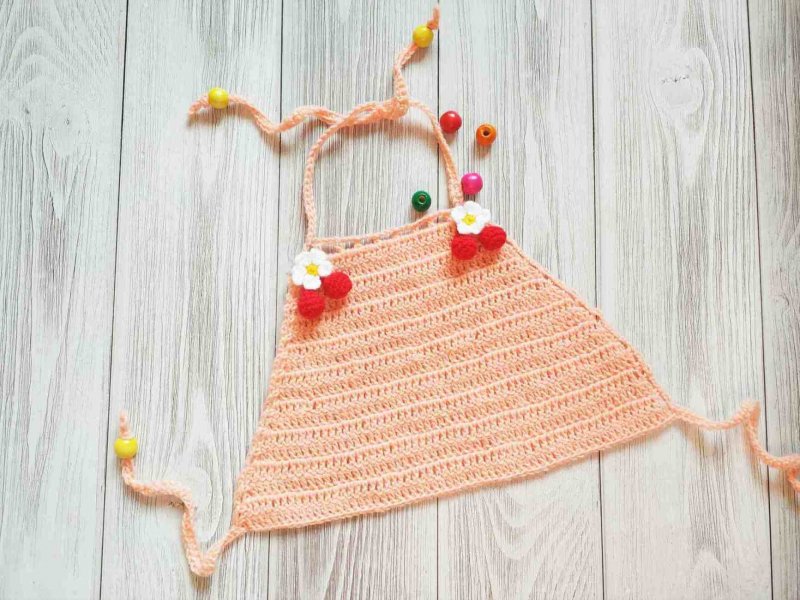
Children's with ties on the neck
To make a baby top with ties at the neck, you will need the following materials:
- thin yarn (100% cotton) 200 m;
- hook no. 1.5
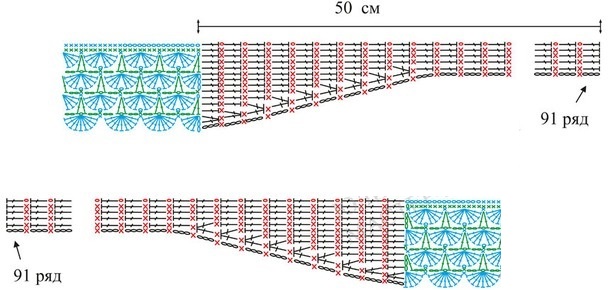
To make a topic you will need diagrams and a step-by-step description of the process:
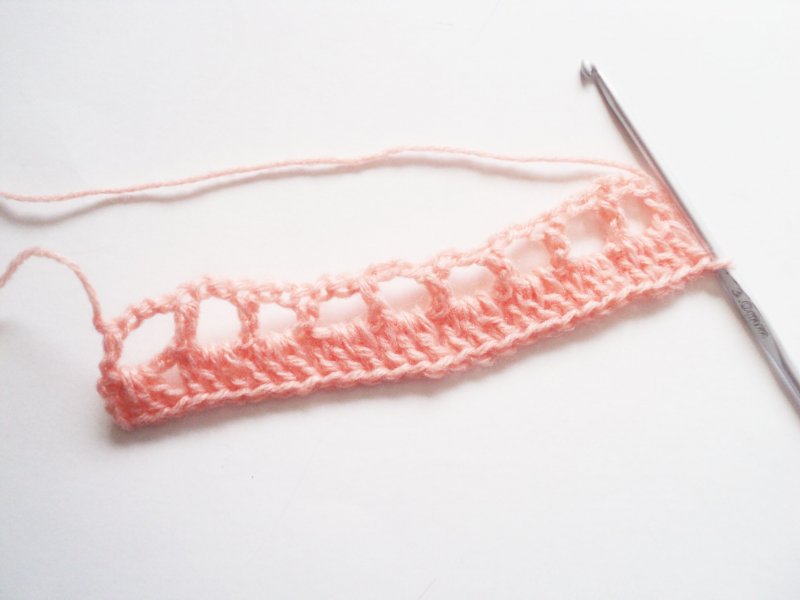
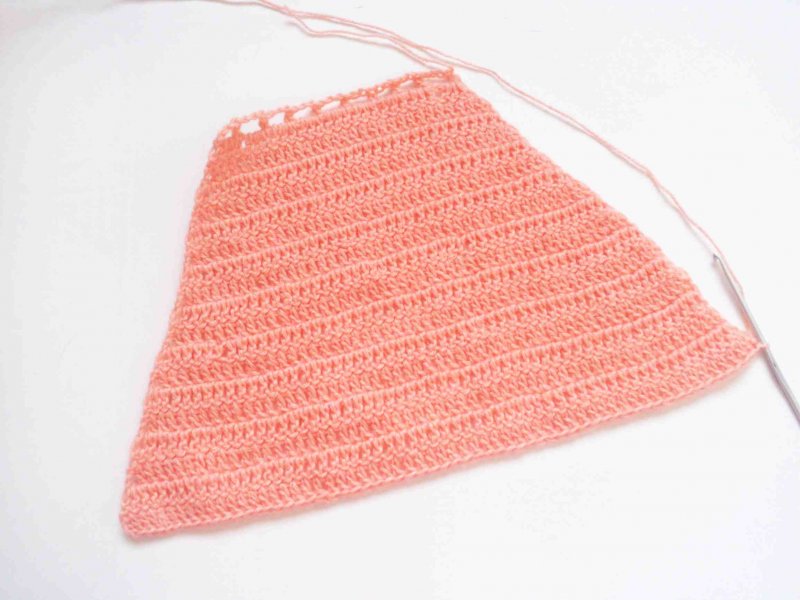
- A chain of 27 loops is knitted, 2 lifting loops are added.
- The row begins again with two chain stitches, which will serve as an arch. Four loops are counted on the chain and a single crochet is knitted into the fifth. The row is finished with the following sequence: an arch of three chain stitches, a single crochet, an arch.
- The knitting is turned around, the rise to the next row is carried out using three air loops, two double crochets are knitted into the arch.
- Then the pattern is knitted as follows: two double crochets in each arch and one double crochet in the column of the previous row.
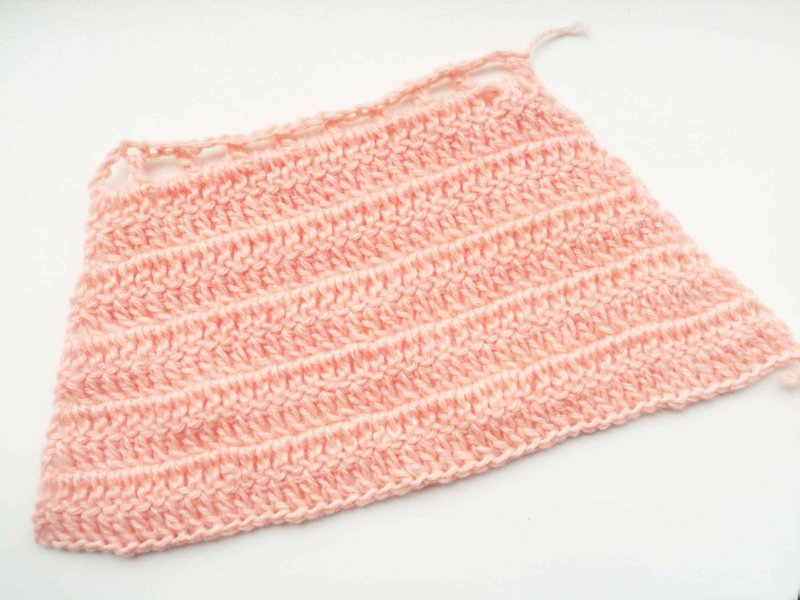
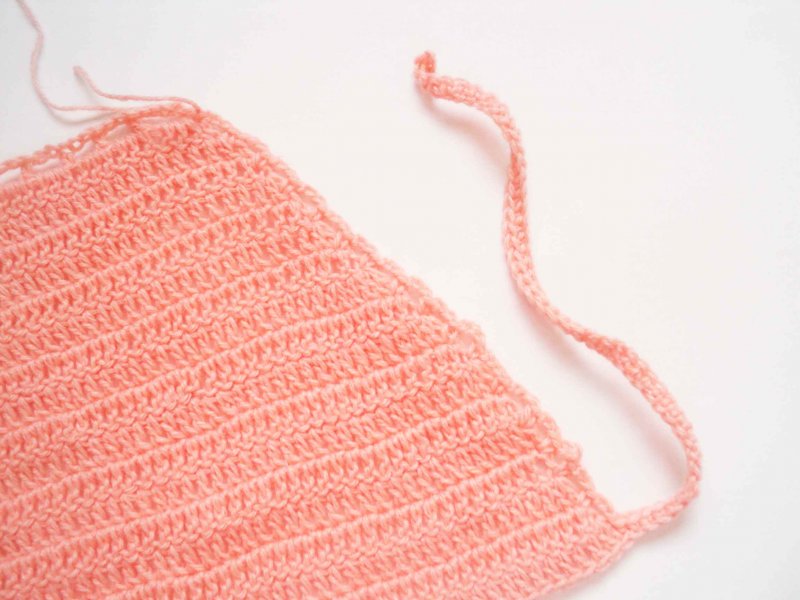
- From the next row, the product is knitted in turning rows with continuous double crochets. At the beginning and end of each row, an increase is made - two double crochets in one loop. The row is also raised with three air loops. As many rows as necessary for the desired length are performed.
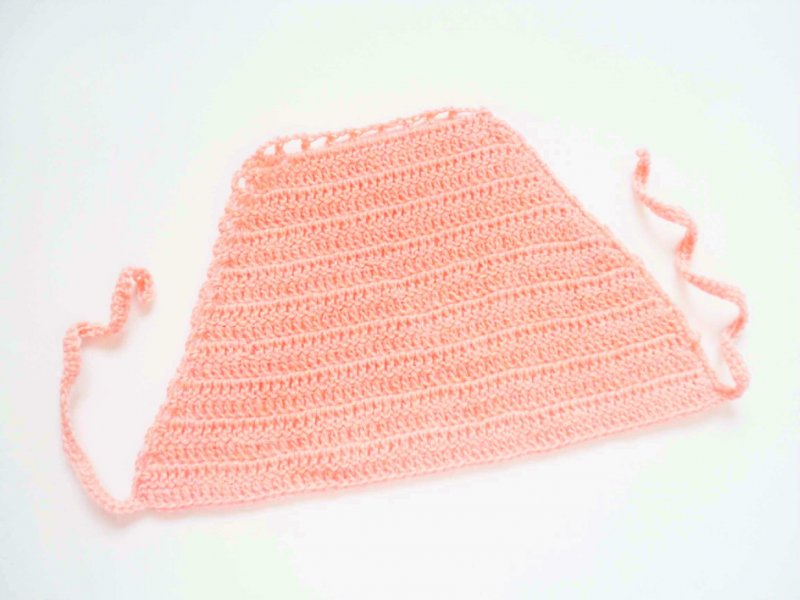
When the trapezoid fabric is knitted, the thread is not cut, but continues with a chain of air loops for the tie. After that, it is tied with half-columns. The thread is secured on the other side with a connecting column and the same is done for the second tie. In the same way, two ties for the neck are knitted at the top of the top.

Decorating the product
The finished top can be decorated with various decor. This is a fascinating activity that allows you to show your imagination and make the item unique. For decoration, you can use both purchased decorations and those made with your own hands:
- Beads, beads or sequins - this decor is suitable for decorating evening models, knitted crochet, for example, a crop top.
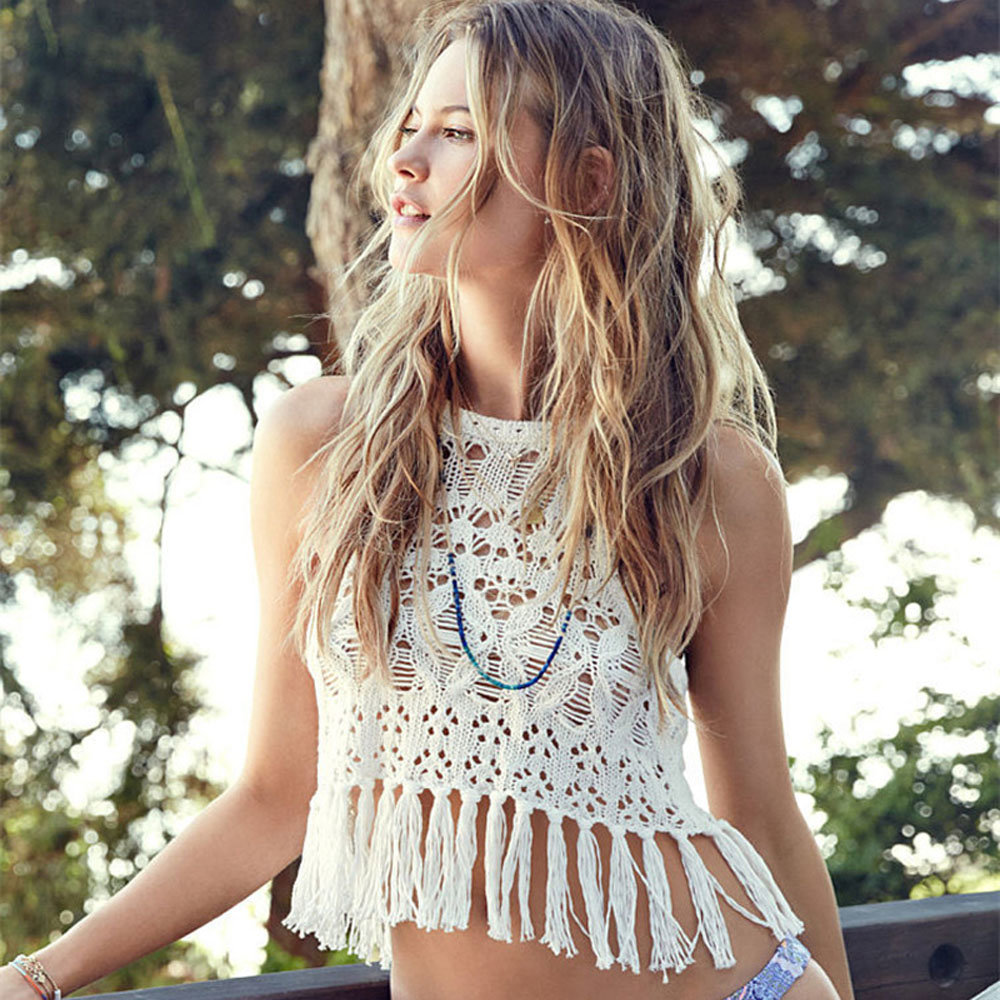
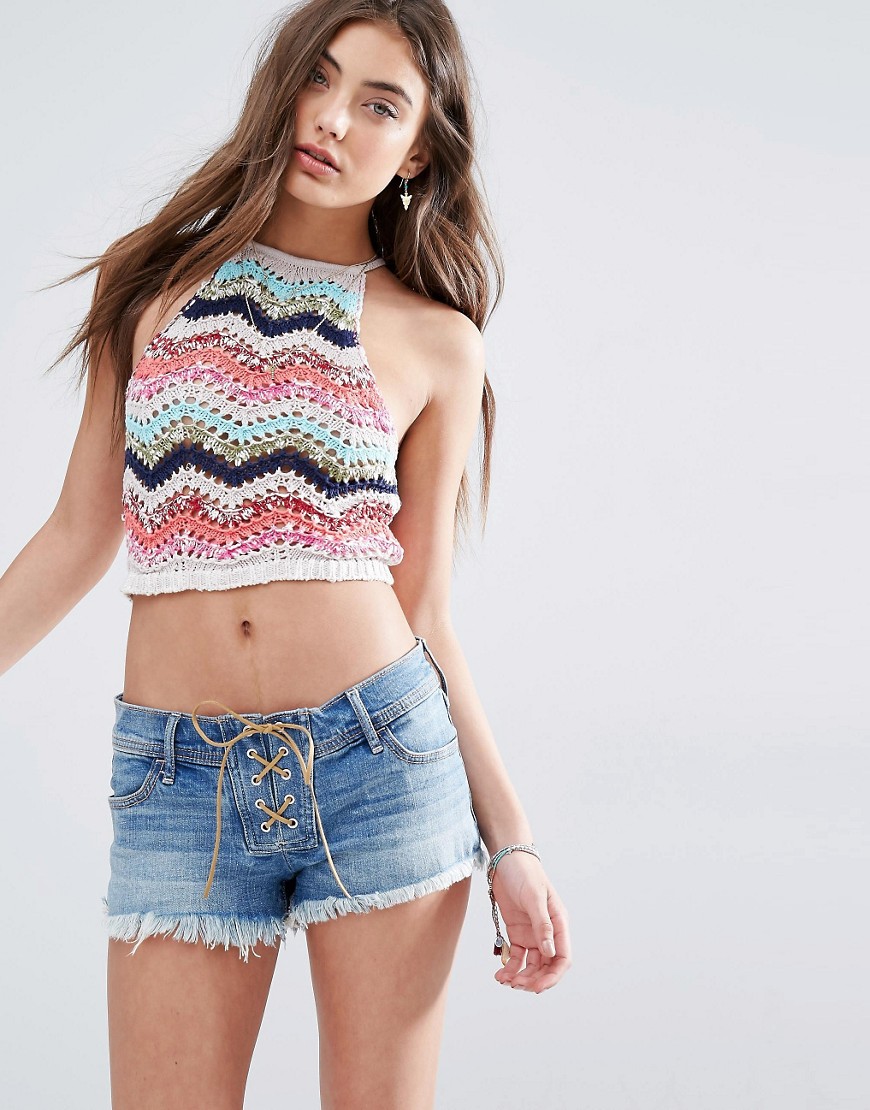
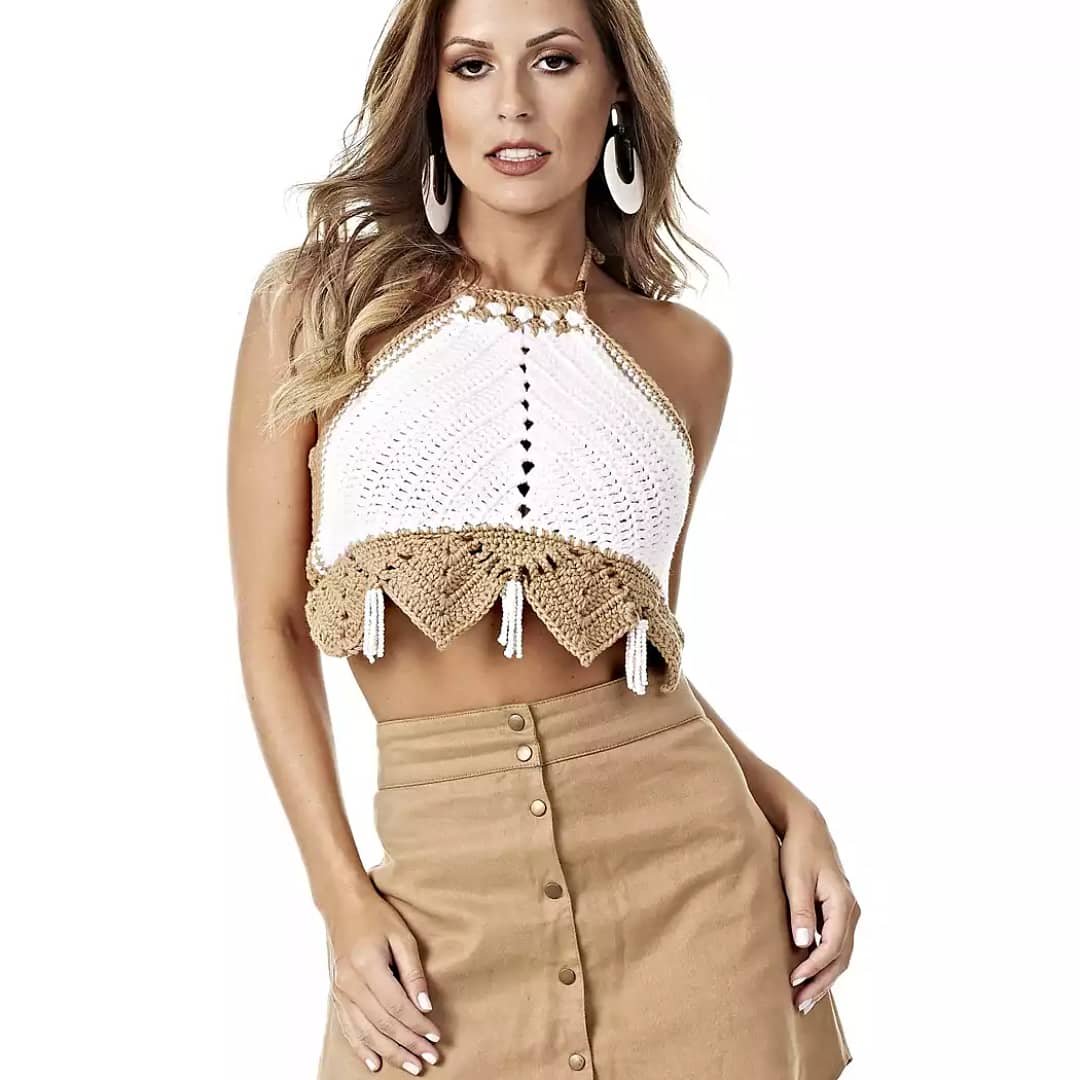
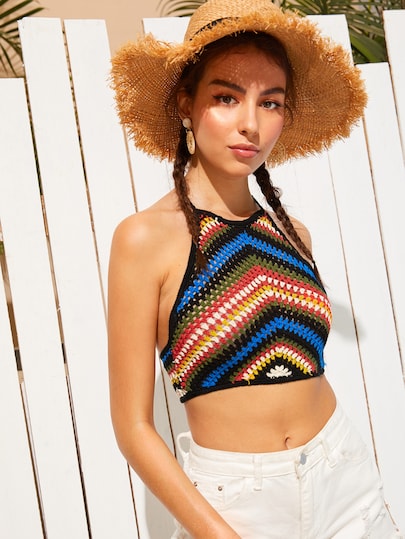
- For lovers of boho and ethnic styles, you can decorate the product with fringe along the bottom edge or tassels on the ties.
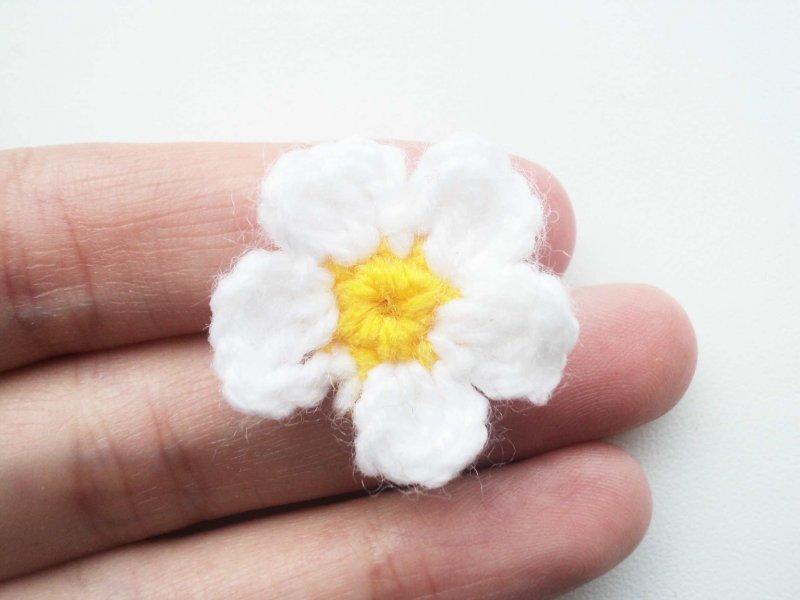
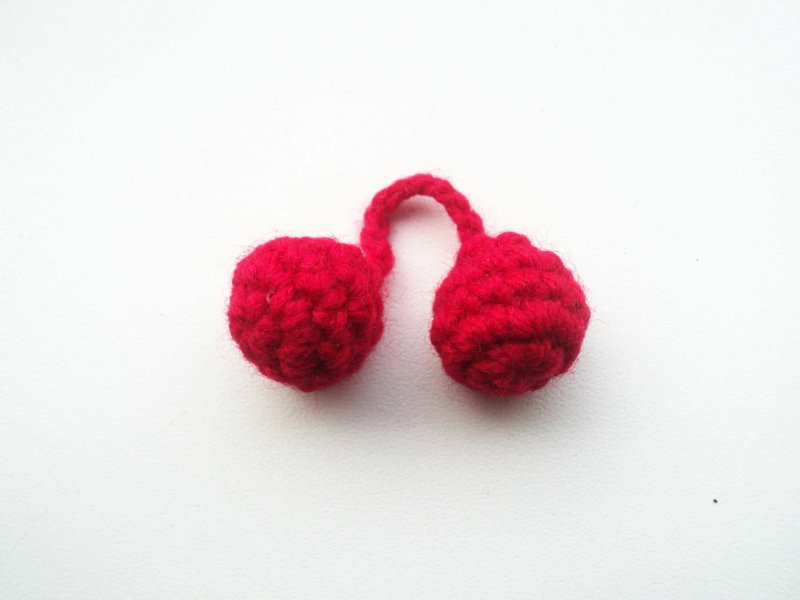
- A baby girl's top can be interestingly diversified with the help of knitted flowers and berries.
- Experienced needlewomen can include Irish lace in a knitted product - such decoration will make the crop top an accent element of any look.
After knitting is completed, the finished top needs to be steamed. It is better to wash the product by hand, at a temperature not exceeding 30 degrees. If you follow the care recommendations, the item will last longer and retain a pleasant appearance.

Video
Photo