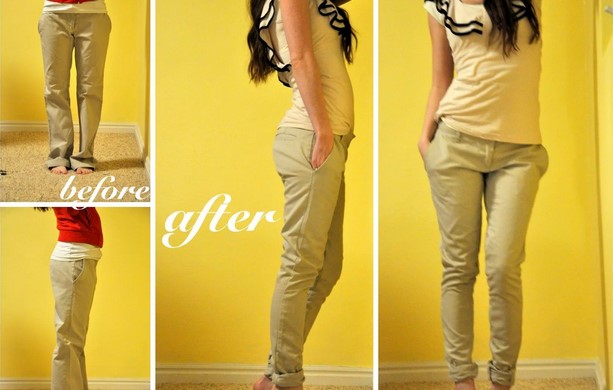
Trousers are a basic element of a woman's wardrobe. Today, there are many interesting models related to one style or another. But it is not always possible to find a suitable option, especially for those with a non-standard figure. In such cases, the question arises of how to sew trousers so that they fit perfectly. The key to success is a correctly created pattern and strict adherence to all instructions.
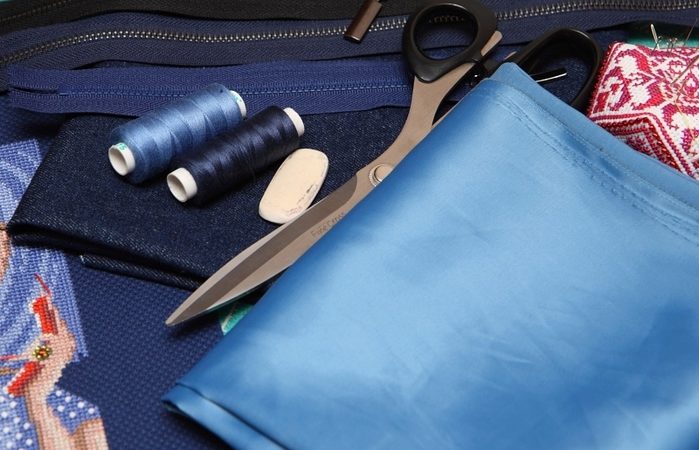
Materials and tools
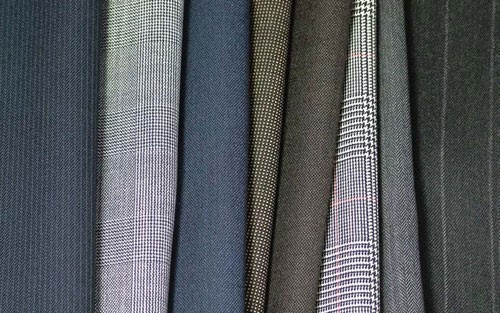
The material for women's trousers should be beautiful and durable. It is important that it matches other elements of the wardrobe. Conventionally, fabrics can be divided into two types:
- Spring-summer. In the warm season, craftsmen recommend avoiding synthetic materials, as they do not allow air to pass through well. It is better to give preference to natural fabrics - linen, silk, cotton, they are well ventilated, prevent overheating of the body, and retain their shape as much as possible during wear.
- Autumn-winter. For the cold period, it is recommended to sew trousers from woolen or semi-woolen fabrics, such as crepe, jersey, gabardine. They retain heat well, drape and retain their shape.
Velour and knitwear are used to make sports suits, and for special occasions, classic noble natural materials are used – tweed, cashmere, angora. They are comfortable, breathable and wrinkle-free.
When choosing a fabric, you need to take into account all its features. It can shrink or stretch. To avoid making a mistake, you need to add 30-35 cm to the length of the trousers for processing.
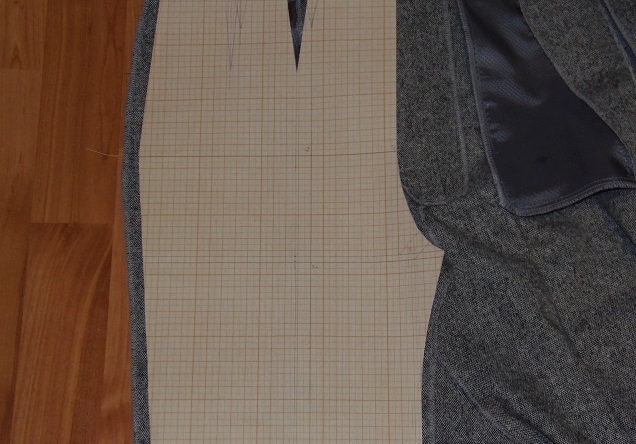
In addition to fabric, you will need threads (No. 40, 60), a cutter's ruler, paper tape, needles for hand and machine work, crayons or pencils, a measuring tape, scissors. You cannot do without a sewing machine; an overlock will make the work easier. It is better to make a pattern on graph paper.
Taking measurements
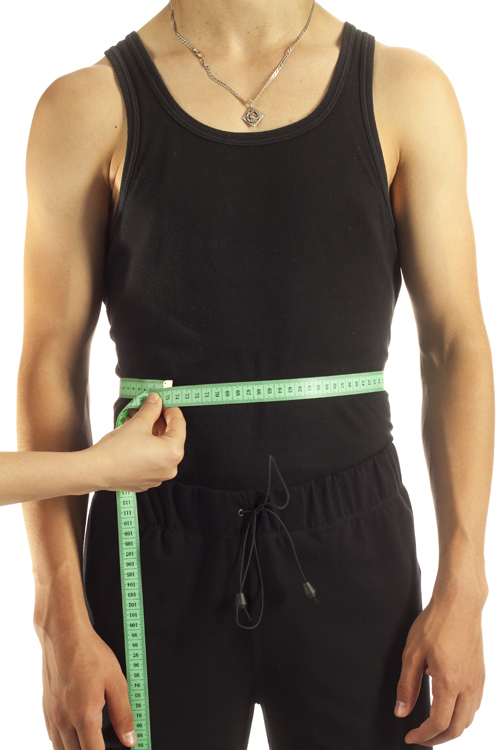
To construct a pattern for classic women's trousers, you need to take measurements. This should be done in light clothing. First, mark the waist with an elastic band, since the correctness of the measurement depends on this control point.
The following measurements are required for work:
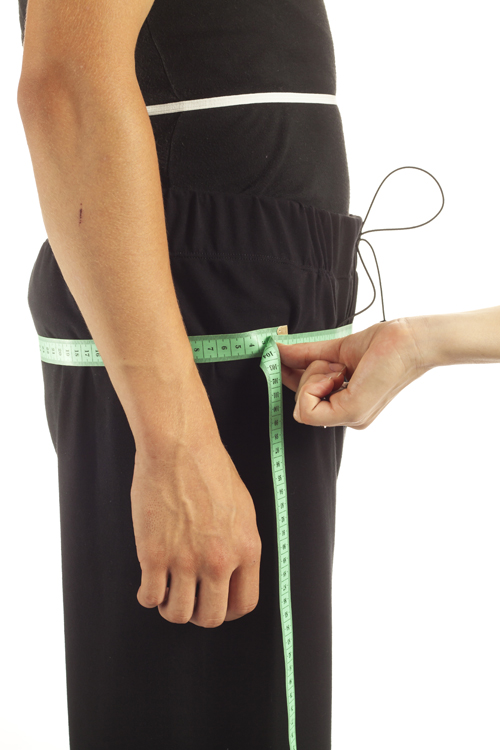
- Half waist circumference – measure the full waist circumference and divide by two.
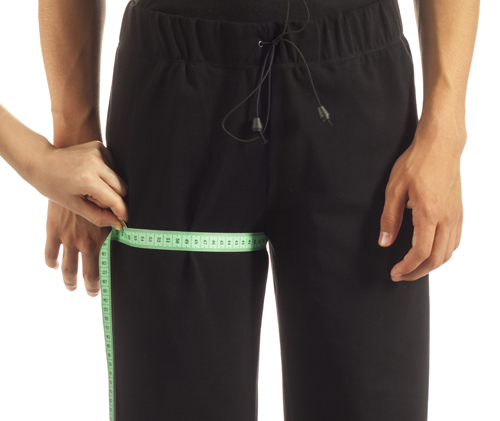
- Half hip circumference - the tape runs parallel to the waist line at a distance of 15-18 cm along the convex areas of the buttocks.
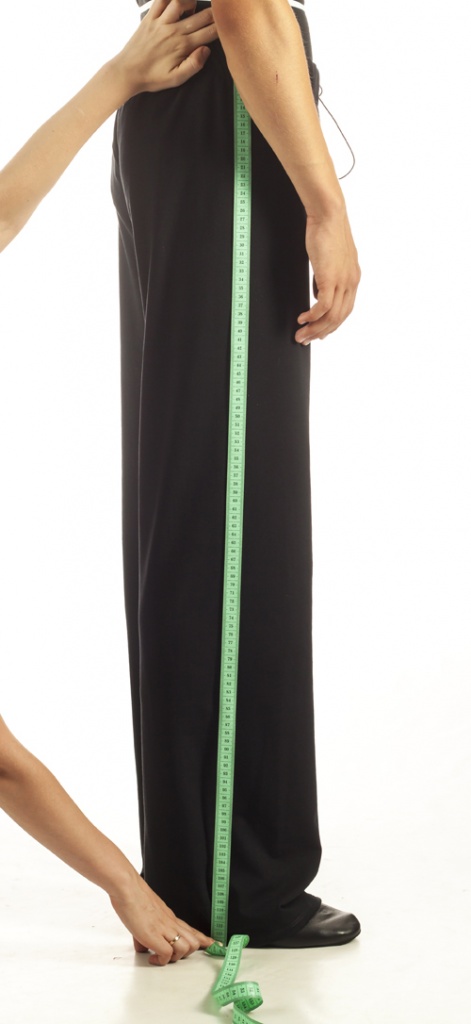
- The length of the trousers is determined individually based on the right side of the figure.
- Seat height – you need to sit on a chair. Measure the segment from the waist line to its surface.
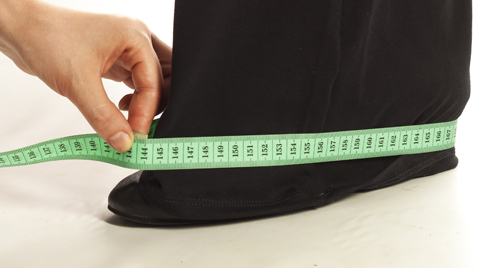
- Half ankle circumference – the measurement is taken horizontally at the bottom around the leg.
- The length of the product from the inside is measured from the inside of the leg to the bottom.
- The width at the bottom of the product is the volume around the leg.
- Length from waist to knee – measurement is taken along the right side of the figure.
- Width at the middle of the knee - the measurement depends on the fashion trend or the desire of the craftswoman.
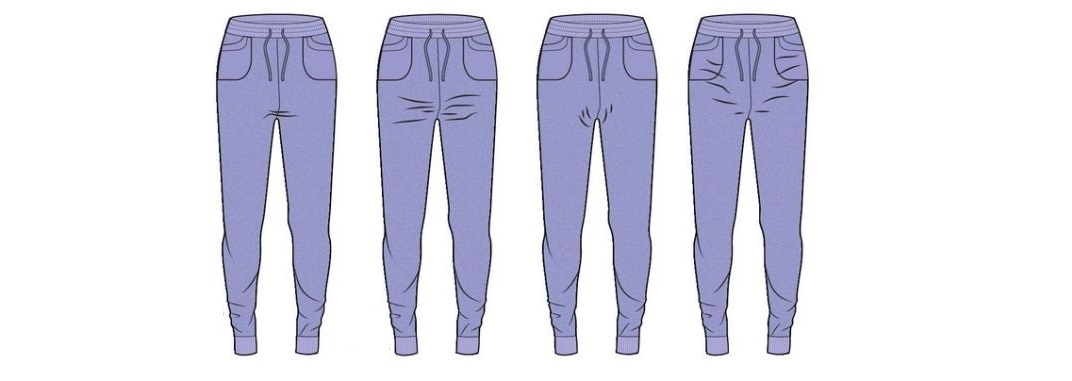
This set of measurements is for a basic women's pants pattern. You can model and get straight, tapered, high-waisted and wide-leg pants.

Building a Basic Pattern
Using the main grid, you can model trousers to obtain a product of various styles. The proposed pattern will fit all sizes, you just need to adjust it to your parameters.
The pattern is based on an example of a figure with the following dimensions:
| Designation | Size (cm) |
| SG (half waist) | 40 |
| SB (half hip circumference) | 52 |
| DSB (length of trousers) | 106 |
| HS (seat height) | 29 |
| WT (length from waist to knee) | 60 |
| OB (hip circumference) | 61 |
| ШН (leg width) | 22 |
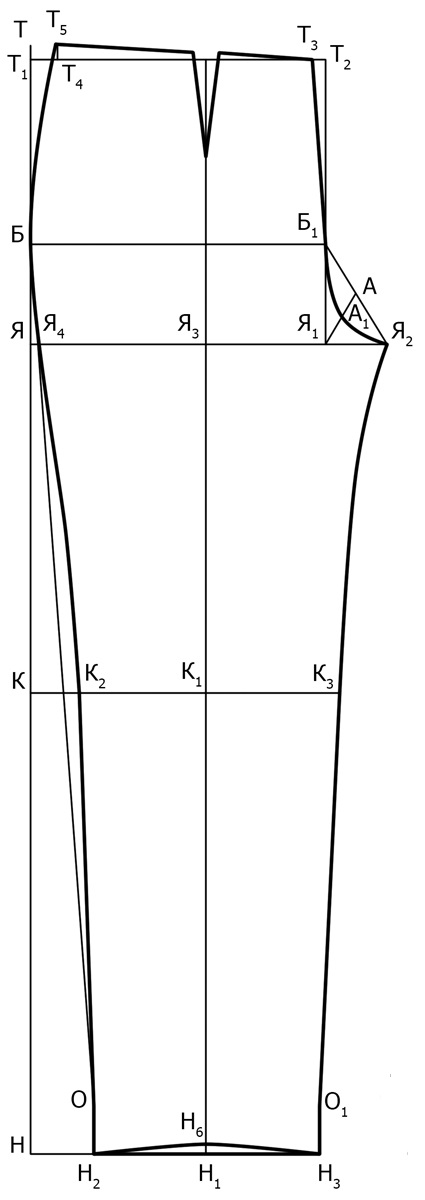
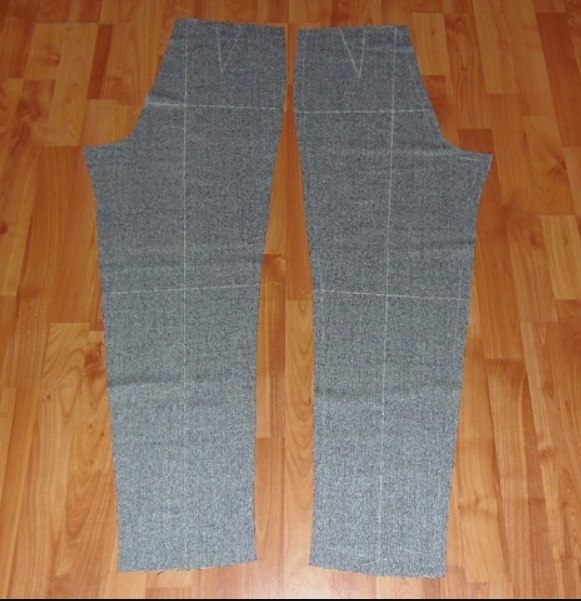
The pattern of women's trousers, namely the front part, is constructed using the following technology (all data is measured in cm):
- Draw a vertical line with the top at point T. Mark TT1 = 1 – 1.5, TYa = BC = 29, and also the distance to the middle of the knee TK = DTK = 60. Product length: TN = DSB = 106. Calculate the segment along the hip line using the formula: YaB = 1/3 x TYa = 1/3 x 29 = 9.6. From each point T1, B, Ya, K, H, set aside even segments to the right.
- Calculate the width of the front of the product: BB1 = ½ (SB + CO) – 1 = 25.5.
- On the vertical line of point B1 mark points T2, Ya1.
- Step width: Я1Я2 = 1:10 (SB + SO) = 1:10 (52 + 1) = 5.3.
- Determine the location of the vertical arrow on the trouser leg - ЯЯ2 : 2 = Я3. On the line, mark K1, H1.
- Deepen the waist line from T2 to the left side by 1 – 1.5.
- Construction of the bow line. Connect points B1 and Ya2. B1Ya2 : 2 = A. Connect points Ya1 and A. Ya1A : 2 = A1. Get a smooth segment passing through points T3, B1, A1, Ya2.
- Determine the size of the dart solution. This is the difference between the SB and the CT. (SB + CT) – (CT + CT) – bevel = (52 + 1) – (40 + 1) = 12. 12: 2 = 6. The length of the dart in the front of the trousers is 5–7 cm, the solution is 2 cm (1/3 x 6), and in the back it is 4 cm (2/3 x 6).
- Width of the front half along the waist line T3T4 = ½ (ST + CO) + 2 cm (dart) = ½ (40 + 1) + 2 cm = 22.5.
- Extend the side cut. T4T5 = T1T = 1 – 1.5 cm.
- Bottom of trousers: H1H2 = H1H3 = ½ ШН – 1 cm = ½ x 22 – 1 = 10. To make the hem at the bottom look aesthetically pleasing, mark 4–8 cm upwards from H2 and H3 (points O and O1).
- Draw a segment from B to O. On the knee line, set aside 1 cm to the right. Mark K2, K2K1 = K1K3.
- Connect T5, B, Y4, K2, O.
- The line of the inner seam runs through Я2, К3, О1.
- H1H6 = 0.5 cm. Connect H2, H6, H3.
- The front dart should not exceed 1.6–1.8 cm.
Excess fabric can be stitched or folded. Soft material is suitable for such styles. The width of the bottom of the pants depends on the desired model of trousers.
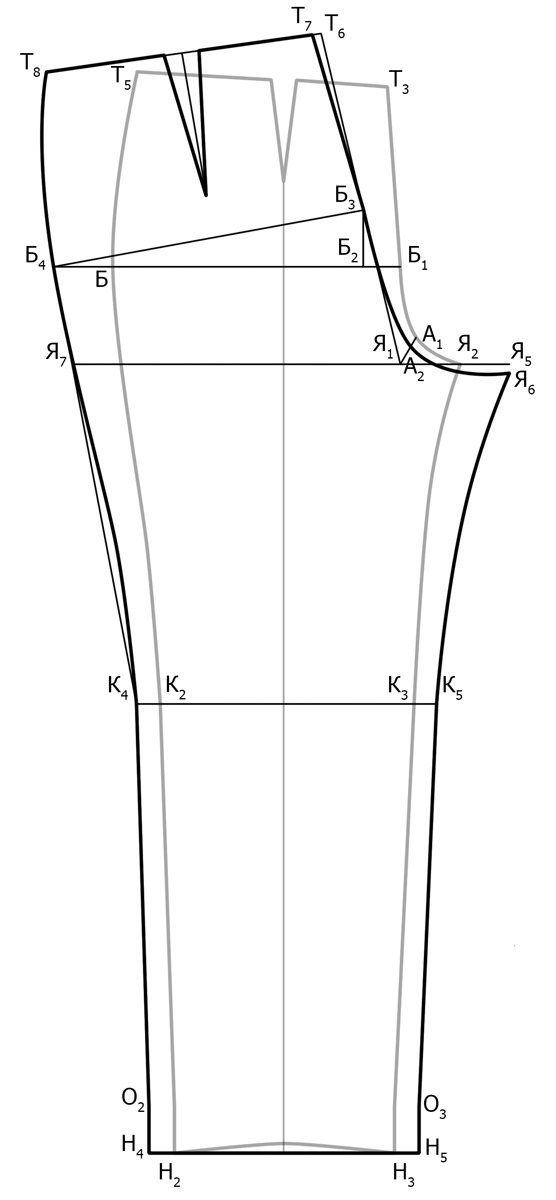
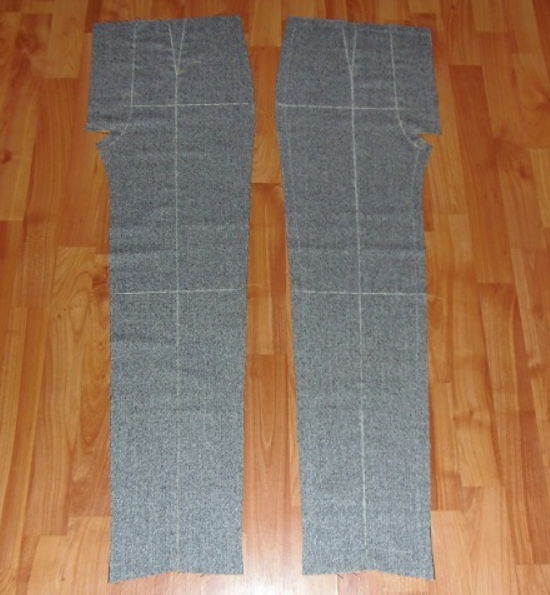
Next comes the construction of the pattern for the back half of the trousers. The width of the lower part will be 2 cm wider than the front. Algorithm of actions (all designations in cm):
- Determine the depth of the seat line. B1B2 = 3, B2B3 = 1:10 (SB – 1) = 1:10 x 51 = 5.1.
- On section Я1Б3 mark Б1Т3 = Б3Т6. Deviate Т6Т7 by 1 cm.
- Я2Я5 = Я1Я2.
- Additional marks: A1A2 = Я5Я6 = 1.
- Line T7, B3, A2, Ya6 will show how the seat line will run.
- On the hip line, mark a mark measuring 27.5 cm, which is calculated using the formula B3B4 = (SB + CO) – BB1 = (52 + 1) – 25.5 = 27.5.
- Waist mark T8 is located at the intersection of notches from point B4 = BT5 and T7 = ½ (40 + 1) + 3 = 23.5. Connect T7 with T8.
- On the segment B4 and K4, mark Я7.
- The side seam runs from points T8, B4, Ya7, K4, O2 to point H4.
- Inner thigh - Я6, К5, О3, Н5.
- The length of the dart at the back of the product is 12–14 cm, you need to sew in at least 3 cm of excess fabric. Mark the bottom of the pants as H4H5.
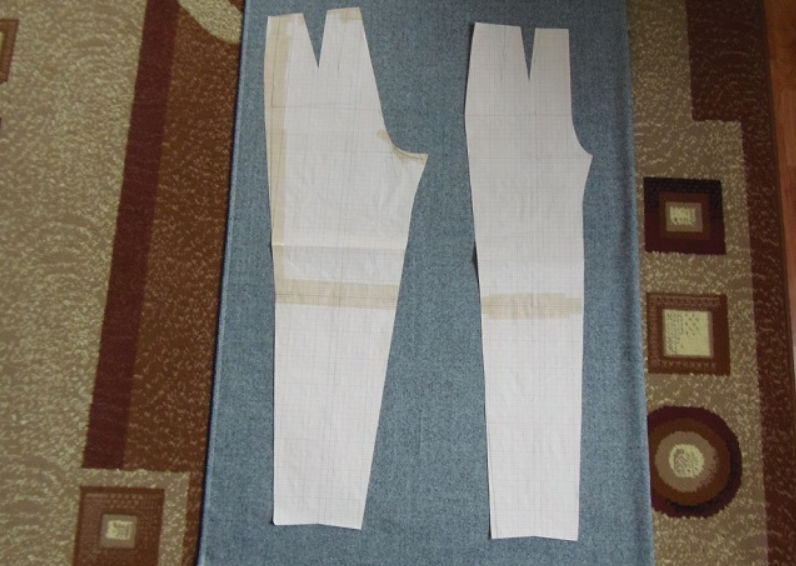
Step-by-step construction will allow you to get two parts at once on one sheet. Then you need to transfer each one separately to tracing paper. The finished basic pattern is adapted to the desired size. The inter-size interval up to size 52 along the waist line is 2 cm, and over 2.5 cm. Along the hip line up to size 54 it is 4 cm, from size 56 - 6 cm. Craftsmen advise changing the cut by 1-2 size steps.
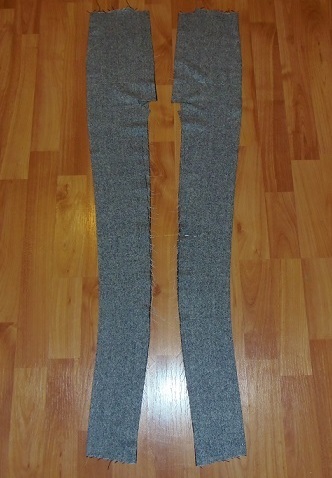
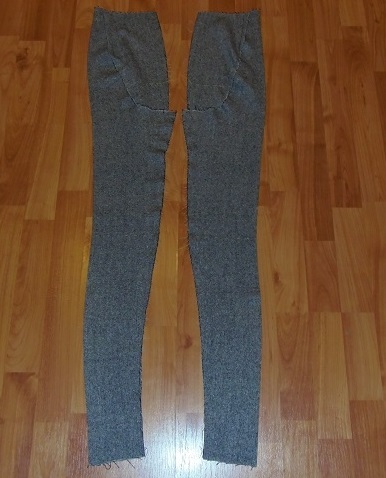
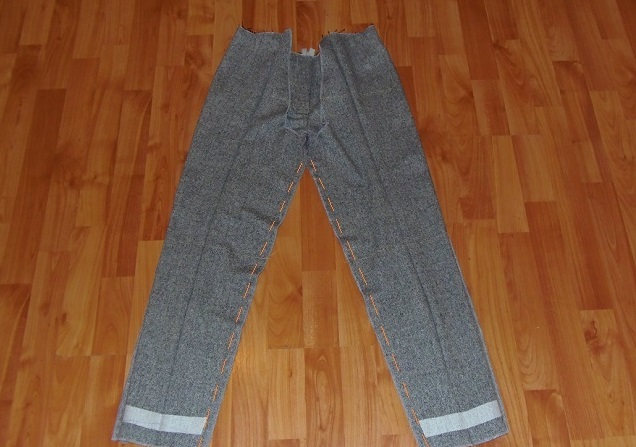
You can also sew trousers without a pattern. This algorithm is suitable for beginners. To do this, you need to use old trousers. They are ripped, ironed and the necessary details are obtained. A pattern for wide or tapered trousers can be made based on a basic pattern. In such models, the expansion or narrowing of the legs begins from the step line.
Stages of work
To sew trousers with your own hands, you need to divide the process into several stages: cutting the material, stitching the elements, final processing of the product. Only by following the algorithm, you can correctly sew trousers that will fit your figure perfectly.
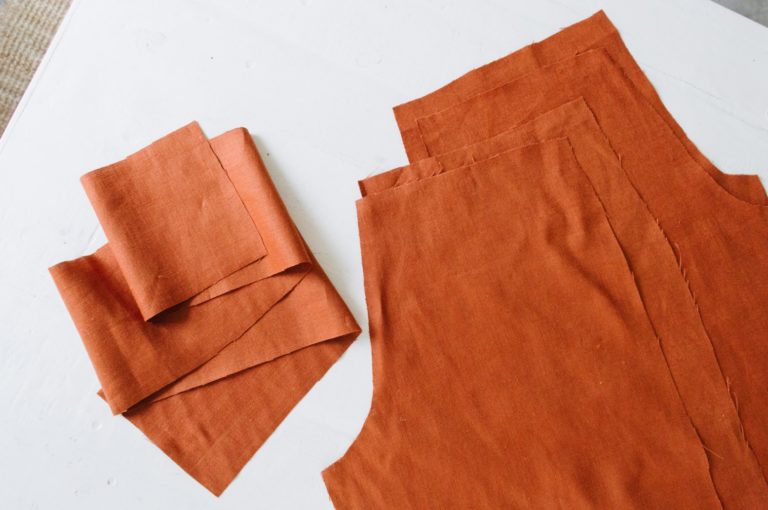
Cutting out the fabric
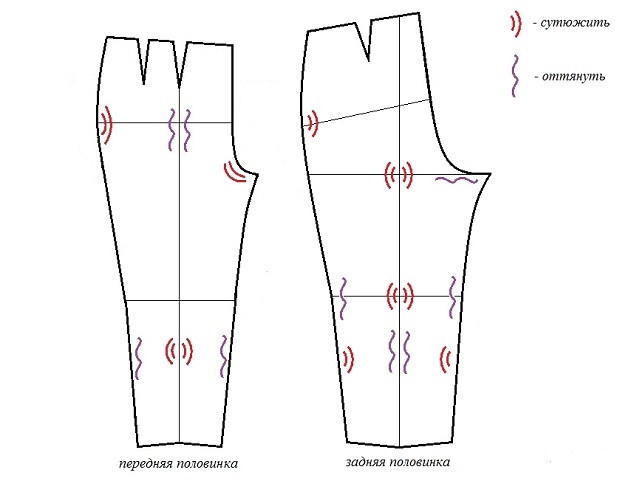
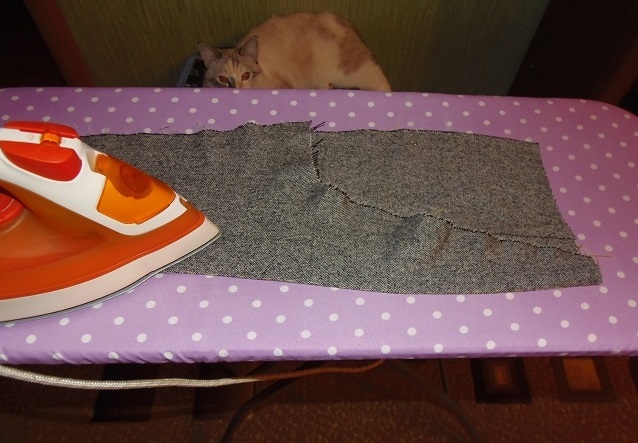
Before work, the material must be decatized. Each fabric is processed in its own way and has different shrinkage. It is advisable to wet cotton fabrics, dry them and iron them. Iron woolen and semi-woolen fabrics through a damp cloth and give them time to cool.
Cutting algorithm:
- Lay out the patterns along the grain line. To save material, lay out the patterns jack-side up, if the texture of the fabric allows. When cutting out napped material, lay out the patterns nap-side down.
- Between the main parts you can place small elements - flaps, belt loops, facings, belt, pockets.
- Pin the patterns with tailor's pins and trace with chalk or soap.
- For a loose fit, set aside 0.5–1.0 cm at the waist, 2.0–2.5 cm at the side and crotch seams, and 4–6 cm for the hem.
- Cut out the pieces along the lines to fit loosely.
If the fabric width is 150-160 cm, all additional elements can be placed between the halves of the trousers. On the prepared parts, you need to mark the lining stitches or notches. If the pattern of the trousers provides for creases, then they should be ironed immediately.
Stitching the parts together
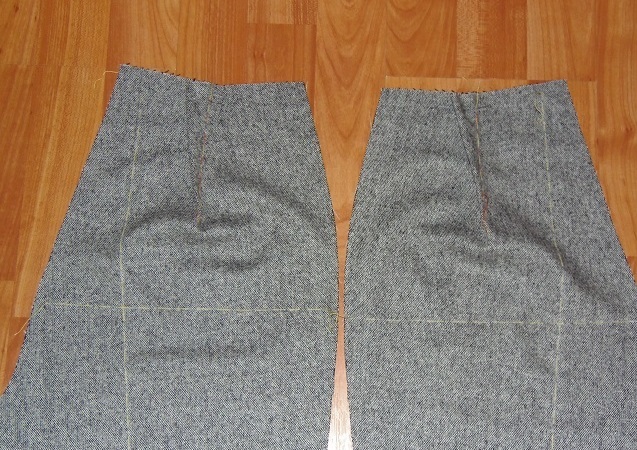
The stage of stitching the parts begins after wet-heat treatment. You need to start with the pockets (if they are provided in the model). Then do the following:
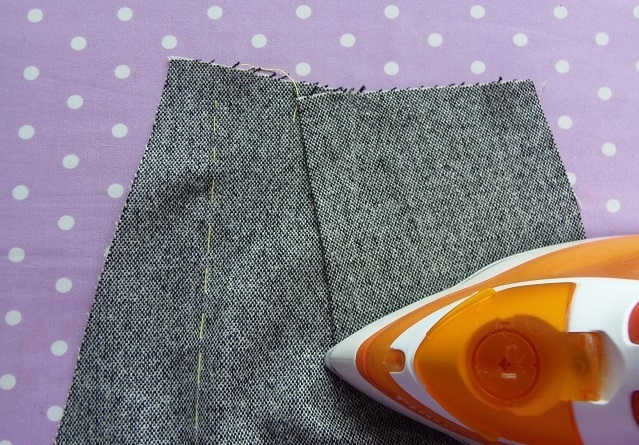
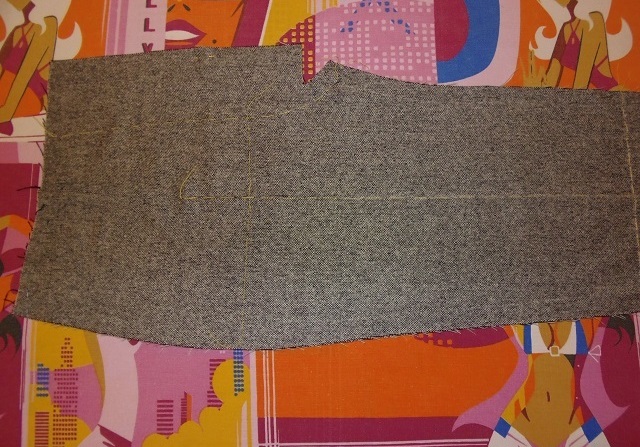
- Connect the two parts of the product with each of the legs. Combine the snares, control marks on the hip line, knee, step.
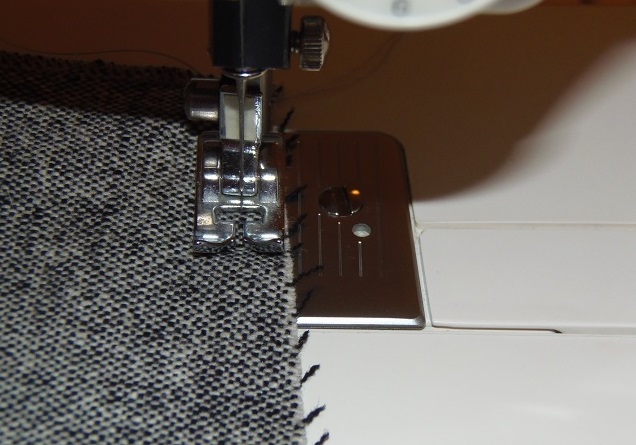
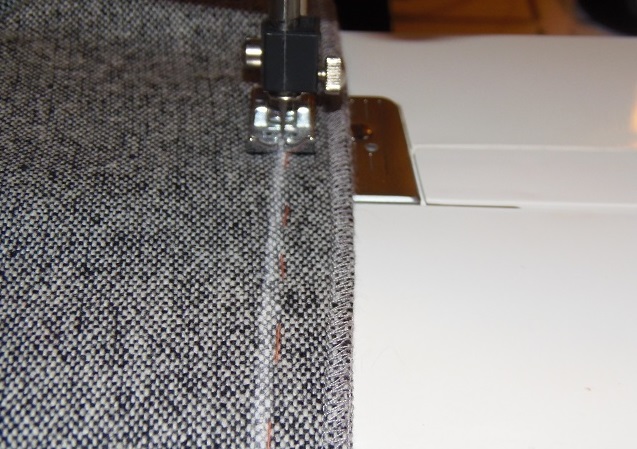
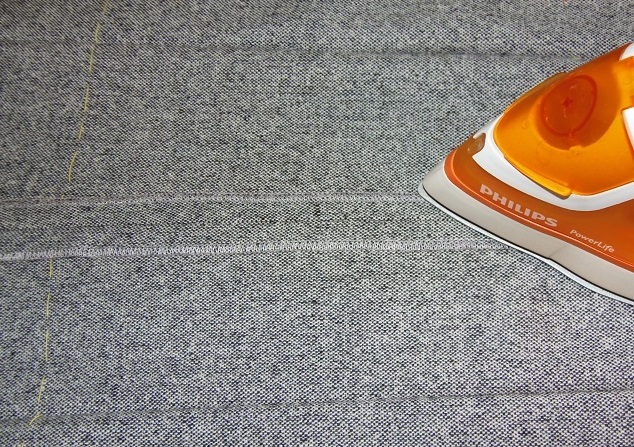
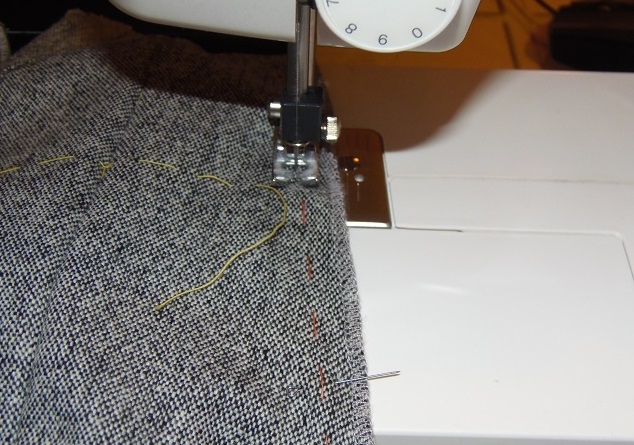
- To prevent the stitching from pulling the garment, baste and stitch from the knee line up and down. Remove the basting stitches and iron the seam.
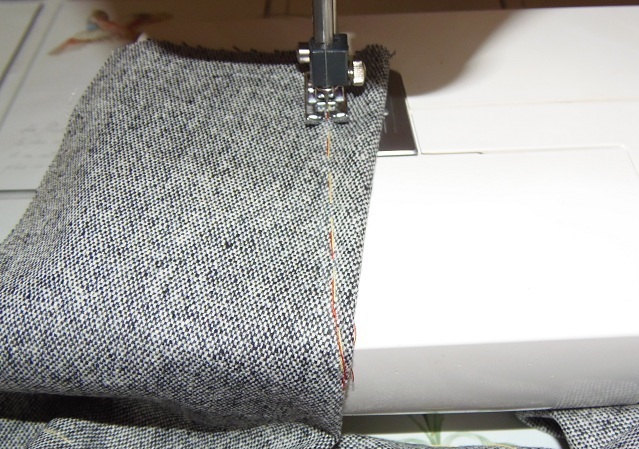
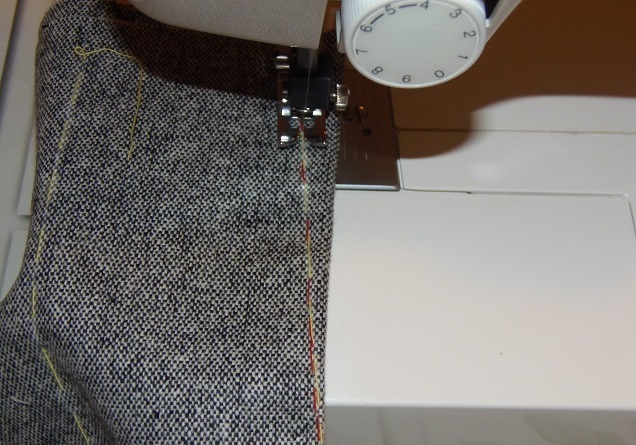
- To get a beautiful stitch, you need to draw a straight line.
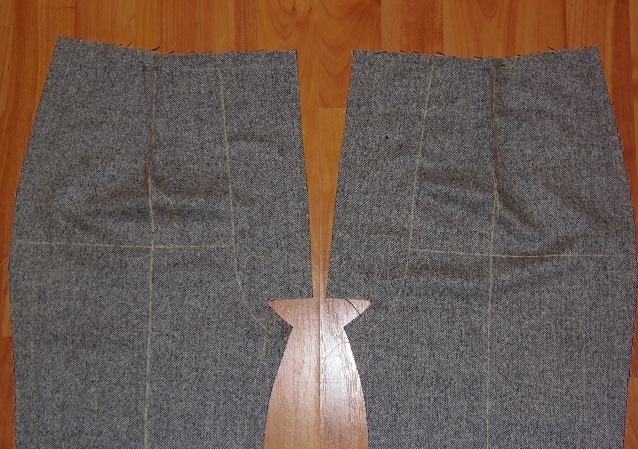
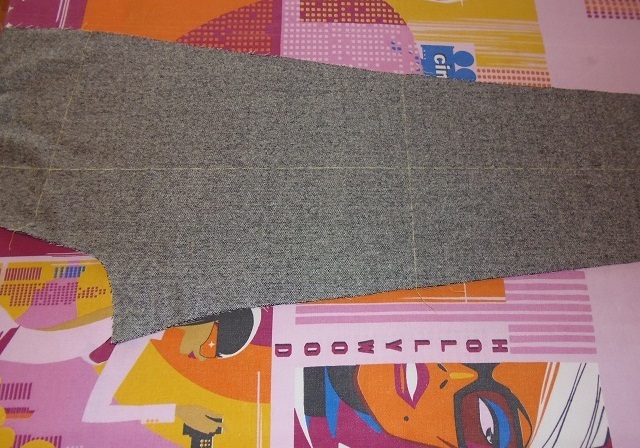
- Fold both parts of the product, match the marks on the knee line and lay basting stitches. Stitch the side cut along the soap line. Iron the seam from the knee down and up. If necessary, pull the fabric well.
- Place both halves of the trousers with the right sides facing inward. Lay basting stitches from the band line down. Sew, remove the basting and press the seam well.
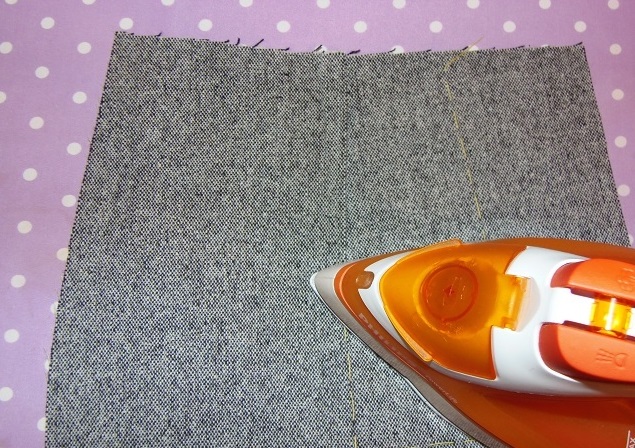
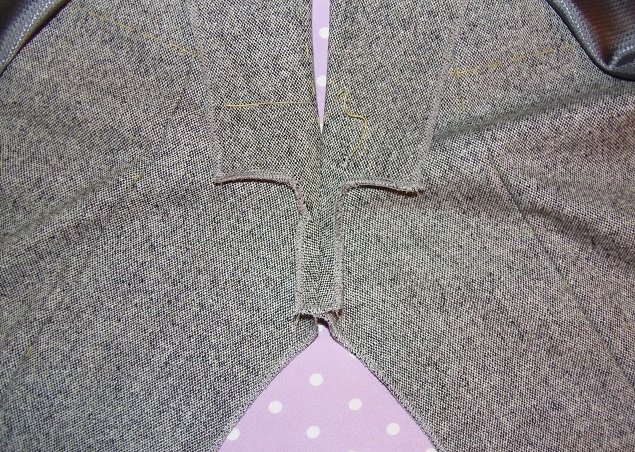
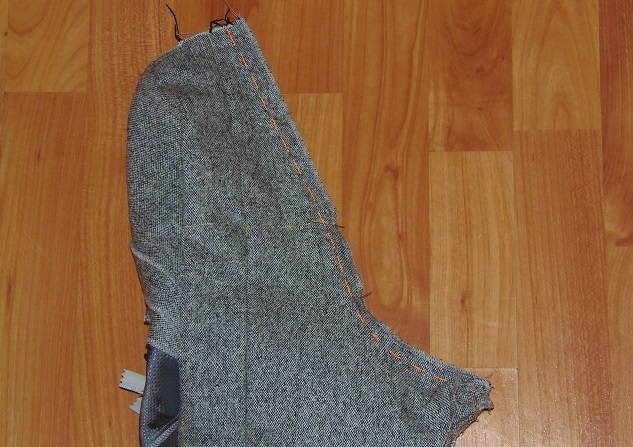
- The two prepared trouser legs are folded at the seat seam. They are basted and stitched to the bow line.
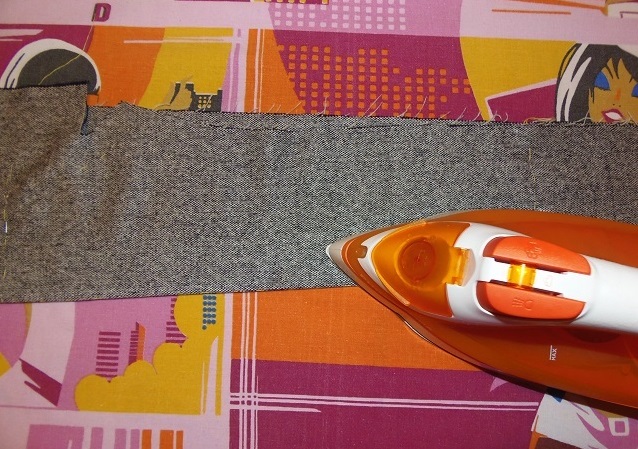
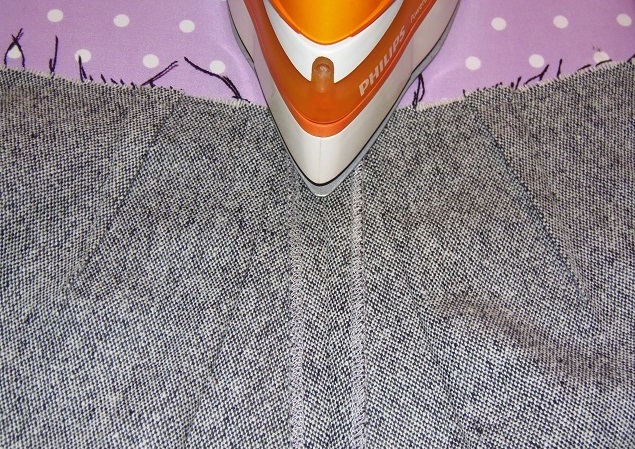
- The seat line is processed with bias binding or overlock. The seam is ironed with a slight stretch of the stitching.
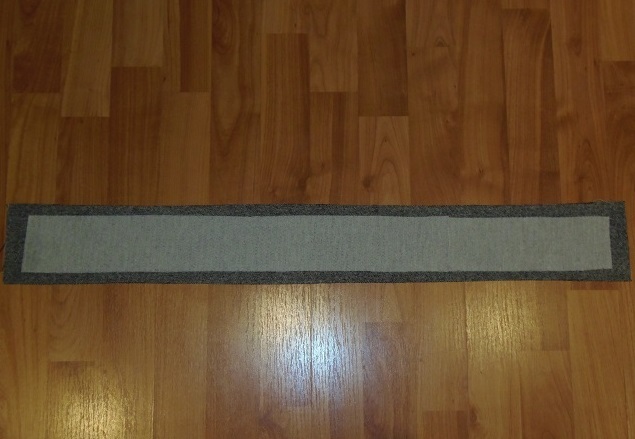
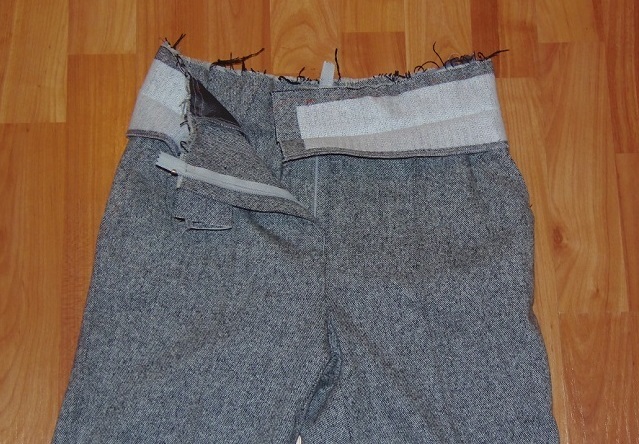
If the belt is made of two parts, they are attached separately to the waist edge of each part before sewing the seat seam. The belt made of one part is sewn on at the end of the work. You can sew belt loops to it and sew it from the main fabric.
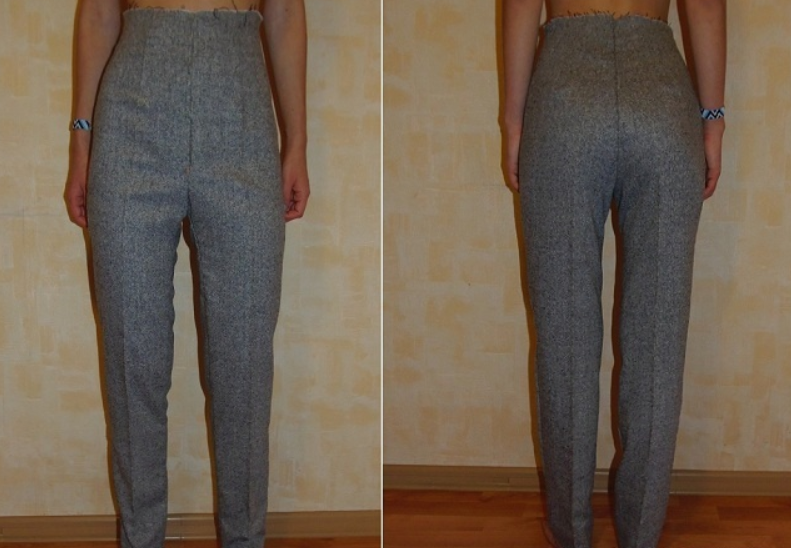
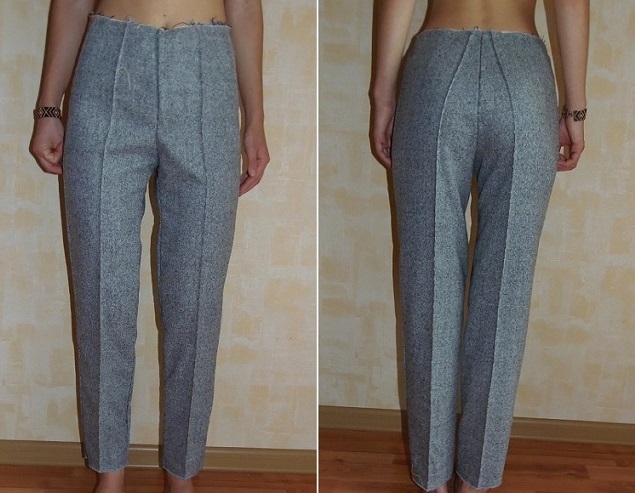
Fitting the product
At this stage, you need to try on the trousers and, if necessary, adjust their fit. Put on the prepared product, connect the fastening point at the waist with pins, inspect the width of the trousers along the waist, hips, knees, and bottom. Adjust the length, check the height of the seat, the location of the darts and their depth. If something is not right, you need to baste new seams, try on the product again, check how comfortable it is to move and sit. Only then can you stitch a new seam on the machine.

Final assembly of parts
The hardest work is behind us. The last, but no less important stage remains – the final assembly of the parts. Step-by-step instructions:
- The darts are sewn in. They are ironed so that they “look” at the side cuts.
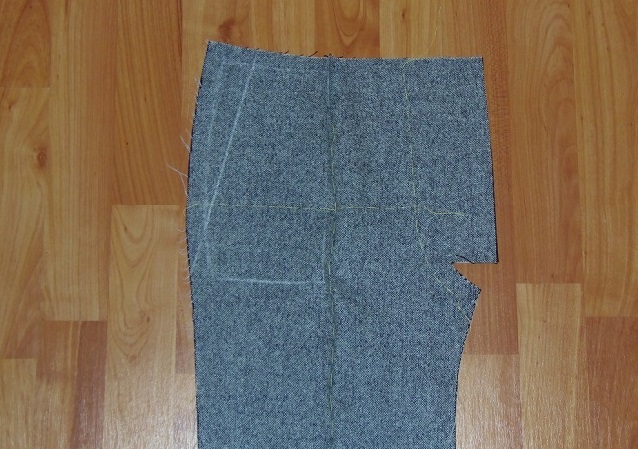
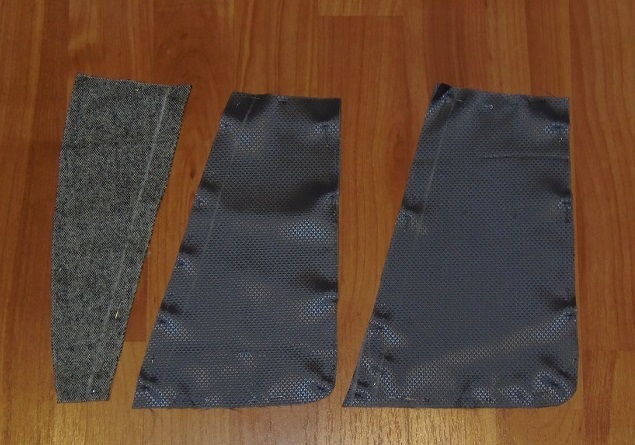
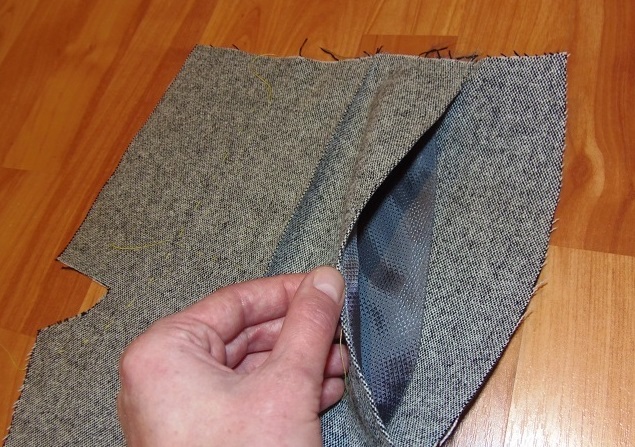
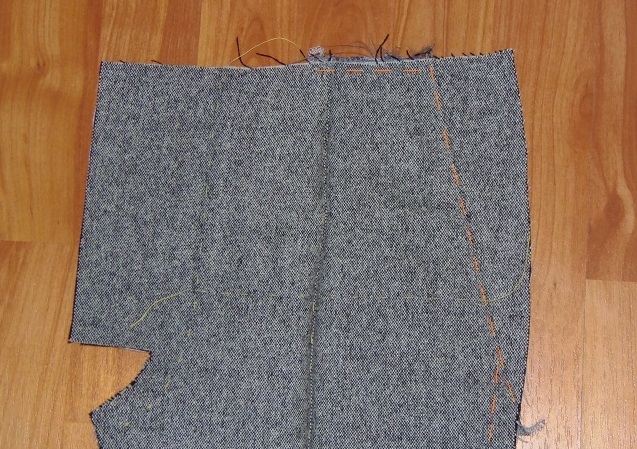
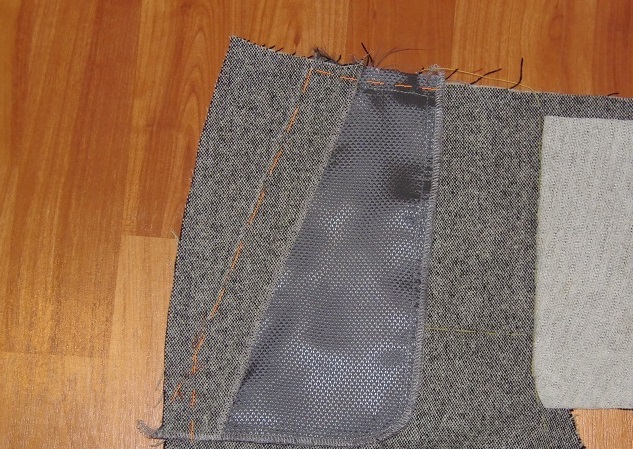
- The pockets are closed. If the classic trousers model has them, they are cut out together with the burlap or lining fabric.
- Sew the burlap onto the front half along the pocket edge from the front side and turn it inside out.
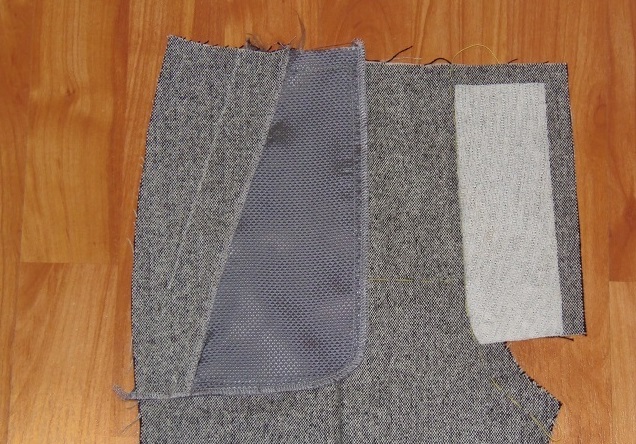
- The prepared pocket piece made from the main fabric is connected to the burlap and stitched. The edge is processed with an overlock.
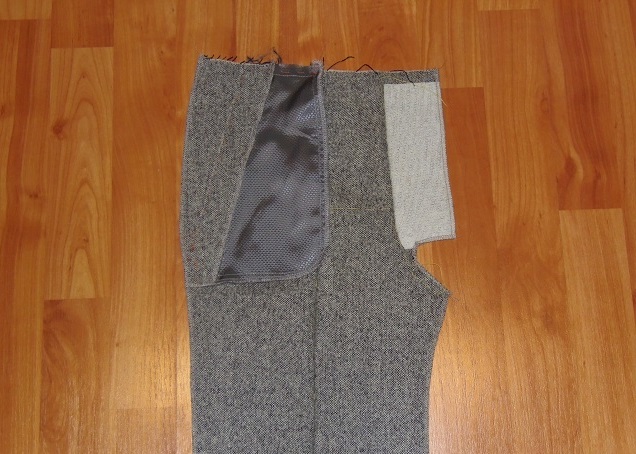
- Sew the side seams and press them apart. Iron the place where the pocket joins the side seam.
- Reinforce the bottom of the pocket with a few stitches.
- Connect the inner (step) and middle seams.
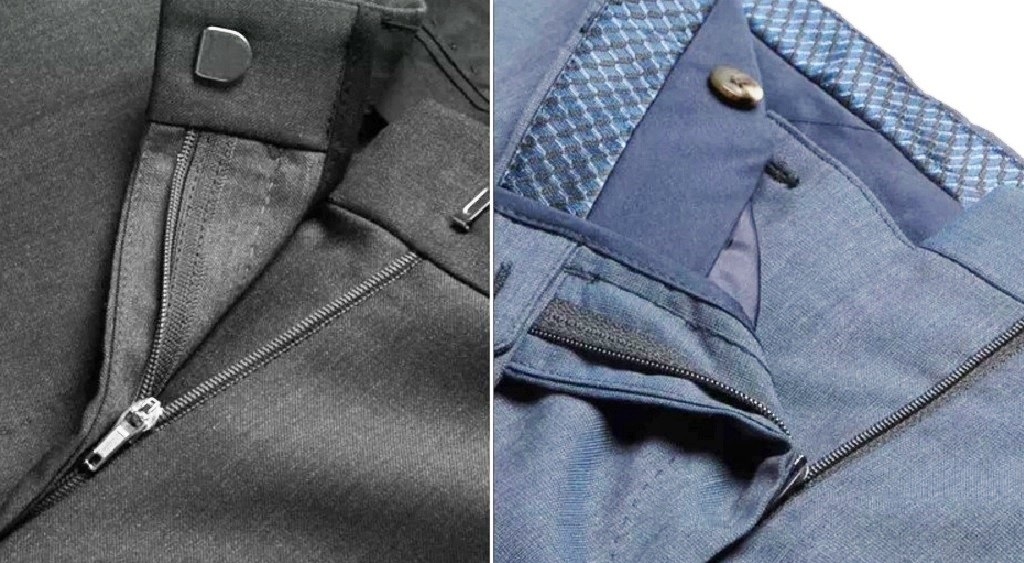
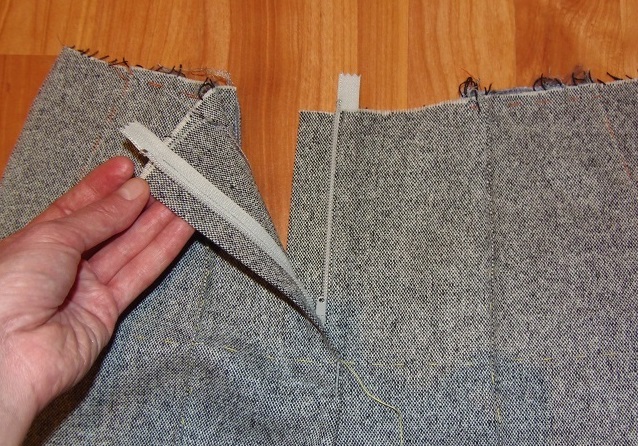
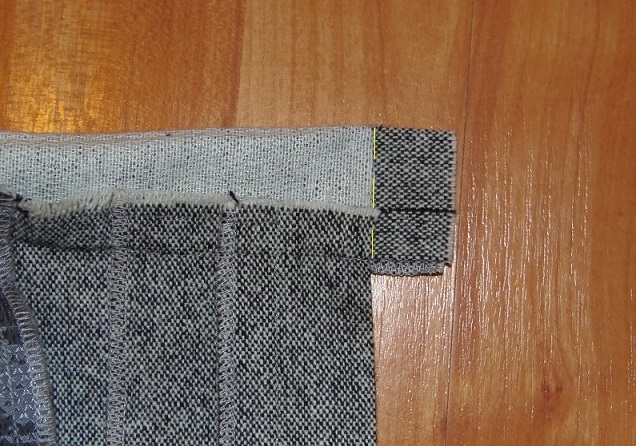
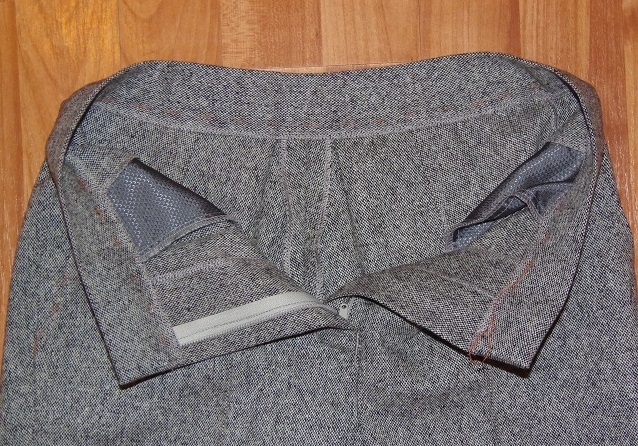
- Sew on a zipper and belt.
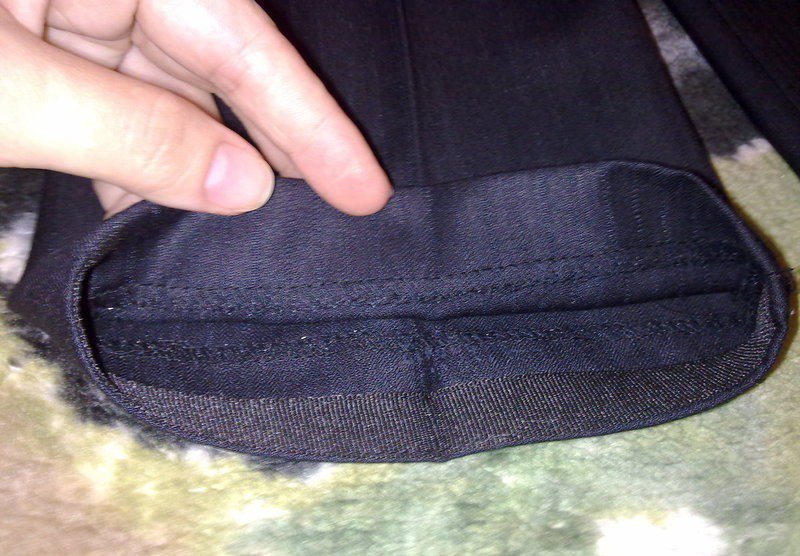
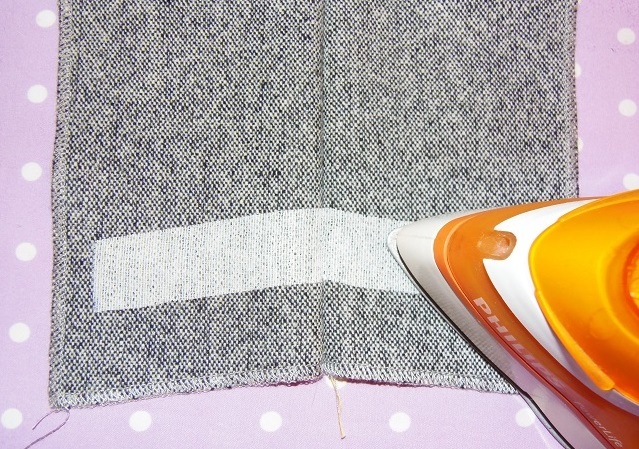
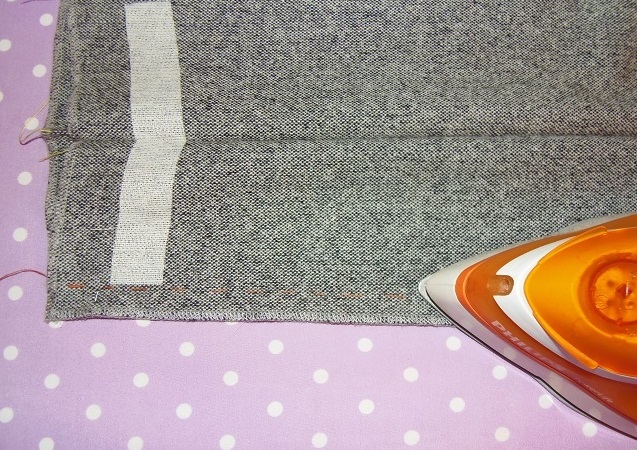
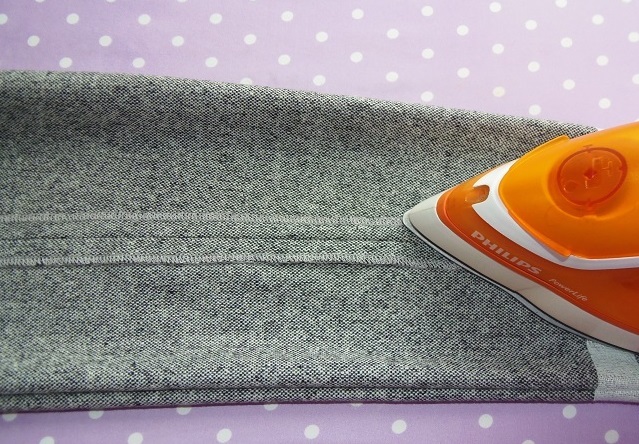
- The lower edges of the product are processed with a zigzag stitch, folded over by 3-4 cm and sewn on.
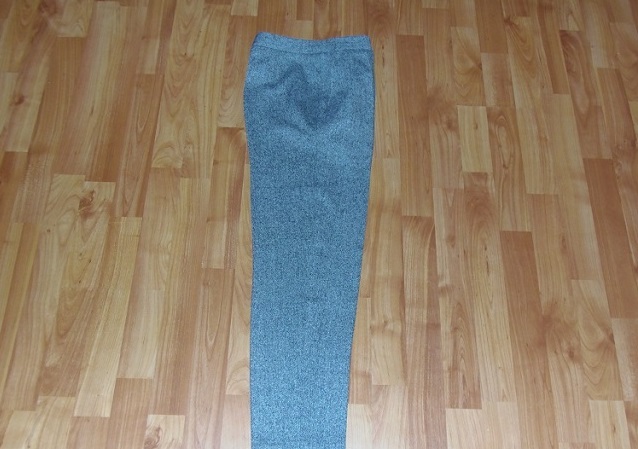
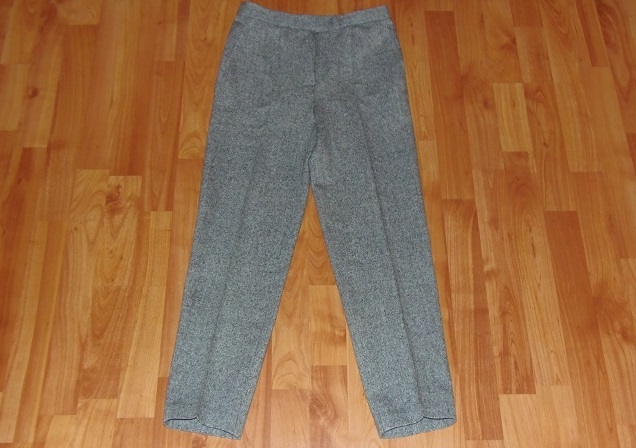
If the product is sewn from a light fabric, the lower edge can be sewn with a hem stitch. For woolen products, it should be processed with an overlock or a "goat" stitch and hemmed by hand. In trousers, the fastening on the waist is made without a protrusion. After finishing work, classic trousers must be carefully ironed, not forgetting to iron the creases.


Video