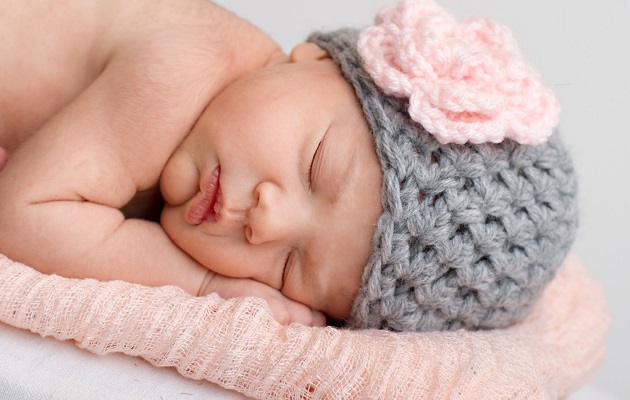
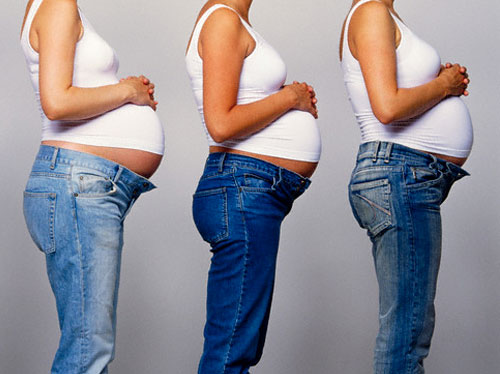
In the last months of expecting a baby, women begin to prepare a "dowry" for him - diapers, undershirts and many other important things. Often, mothers prefer knitted clothes made with their own hands instead of store-bought models. One of the most popular hand-made products is a funny bonnet, which even a novice craftswoman can weave. Such a hat for a newborn is usually knitted with knitting needles, which are selected depending on the type of yarn. The threads must be natural, soft, hypoallergenic, so as not to injure the delicate skin of the baby. What else should be taken into account at the preparatory stage, what are the nuances of making hats of different models - questions that should definitely be studied before starting work.
Product requirements
When deciding to knit a hat for a newborn, it is worth considering several important points:
- seams may chafe - seamless models are preferable;
- the yarn should be soft and natural - it is important that the child's skin can breathe;
- the style is simple and comfortable, so that the baby does not experience discomfort that he cannot yet communicate;
- The headdress must be selected strictly according to size - this is a guarantee of the comfortable condition of the baby and the mother, who will not have to worry that the hat does not reliably enough protect the baby from the negative influence of the environment.
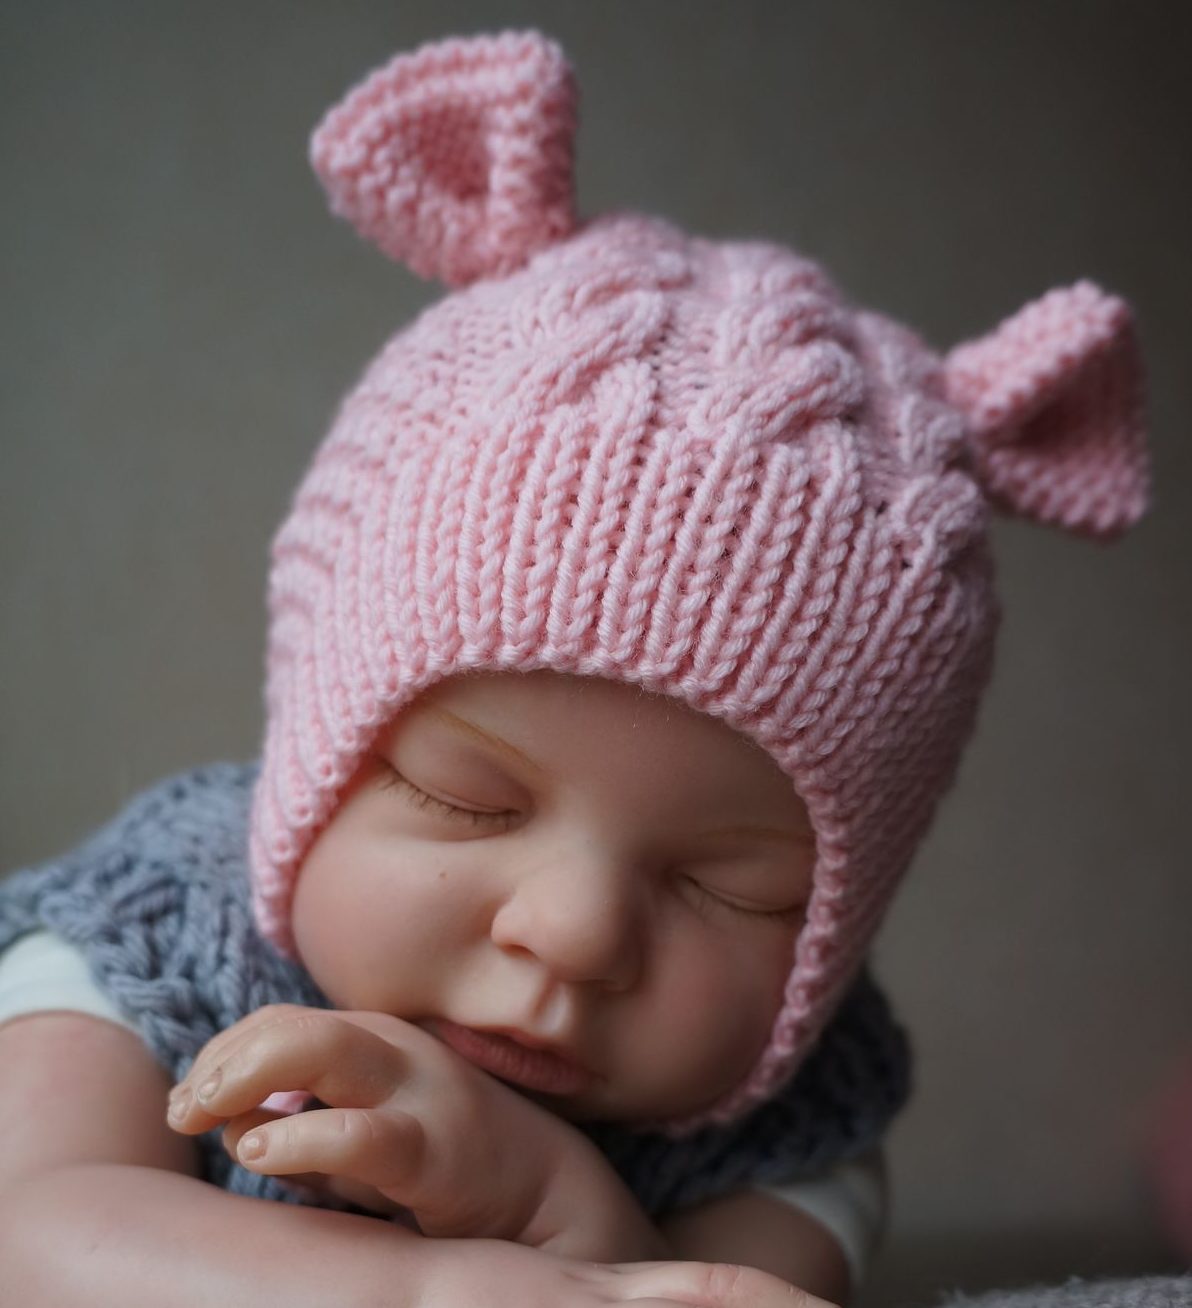
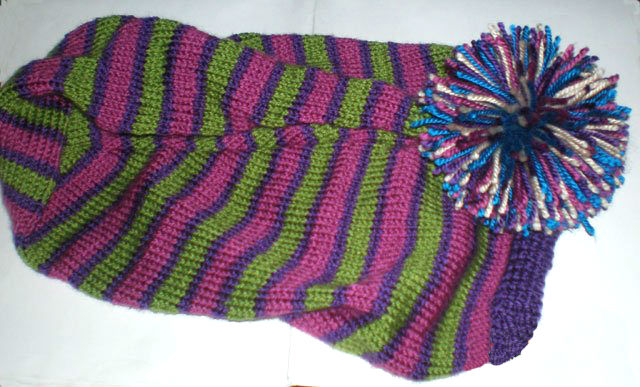
It is also worth considering that a newborn baby sleeps a lot. Therefore, it is undesirable for the headdress to have a lot of voluminous decor on the sides. But a small pompom on the crown will be quite appropriate. Hats without ties have been especially popular lately.
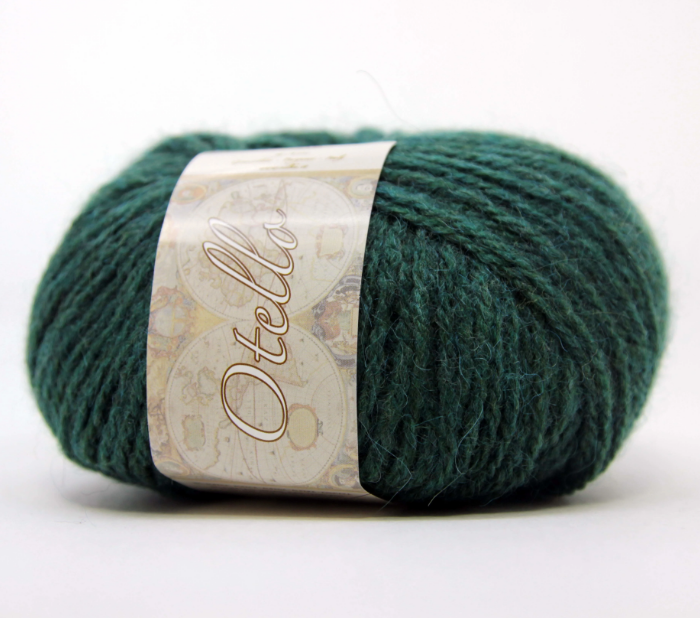
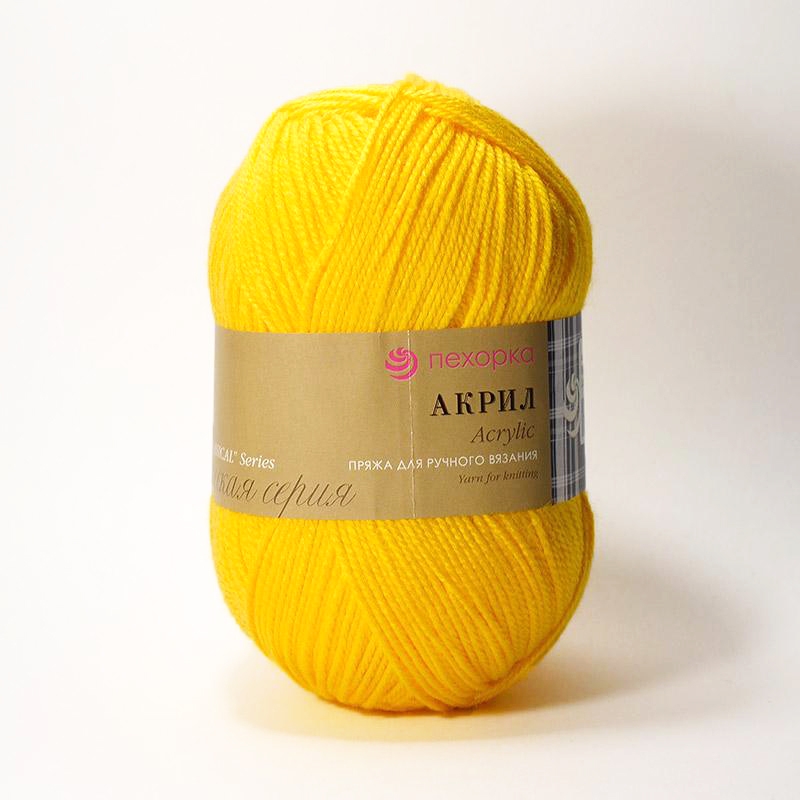
Of course, clothes should be chosen correctly for the season, so when knitting a hat for a newborn with knitting needles, you need to pay close attention to the threads. It is advisable to give preference to natural compositions. Often mothers choose 100% wool or cotton, without thinking that finished products can quickly lose their shape. It is better to choose yarn with the addition of synthetics: such threads are not at all prickly, the cap looks beautiful and withstands numerous washes without changing the structure. Most manufacturers have created Baby lines specifically for children's hats, which offer specially processed natural threads or yarn with a minimum percentage of synthetics.
When choosing a winter bonnet, it is worth paying attention to models with ties, thanks to which the forehead and neck of the newborn will be maximally covered.
Warm hats for spring and autumn are usually knitted from mohair or thick jersey, acrylic or yarn with added wool. Winter caps always have a fleece lining. It is warmer, but children may be allergic to synthetic material, and fleece does not breathe. This option is great for the street, but if you are planning a trip by car or going to a shopping center, you should take off such a cap. Fur is another good option for yarn for a knitted hat for a newborn. The principle of work will not differ much from standard knitting, the main thing is to take into account the features of the material itself. Such a headdress "breathes", and it is more comfortable to wear than many other similar ones.
Materials and tools
When knitting a baby hat for winter or spring-autumn, it is worth buying fabric for the lining - fleece or cotton. For a product for a baby up to a year, 100-200 g of yarn is required, for a newborn and a child up to three months - 50-100 g. The exact amount depends on the model and pattern of the hat.
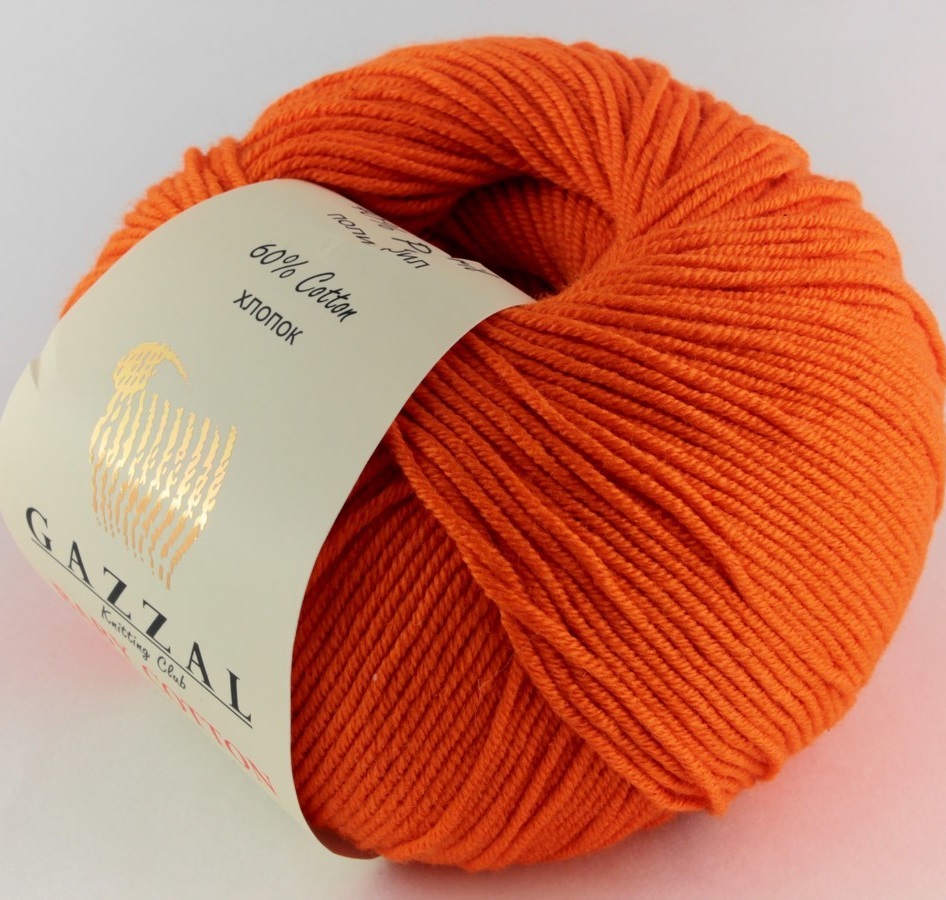
When choosing yarn, pay attention to the thickness of the thread: the fewer grams per meter, the thicker it is. Experienced knitters recommend taking 50 g / 150 m of 100% wool or acrylic (40-50 g / 150 m) for winter hats. Or mixed yarn in the ratio: 40% wool, 20% bamboo, 40% acrylic. To knit a bonnet with ruffles for the warm season, you can take cotton of the same thickness or up to 100 g / 250 m.
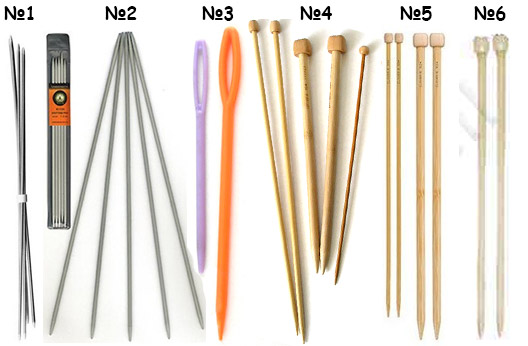
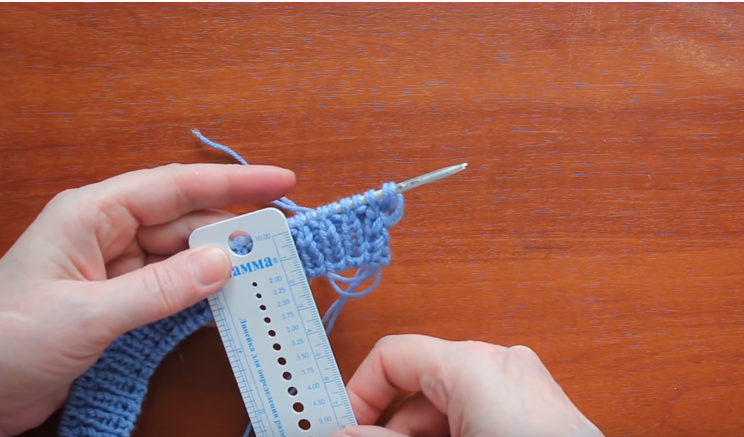
The knitting needles are selected depending on the thickness of the thread. The store can help with this, or you can rely on the correspondence table. If you use a 50 g/150 m skein, you will need knitting needles from 3.5 to 4.5 mm. It is desirable that they are metal and circular. If the package is marked "2" - this is thin yarn, knitting needles from 3.5 to 4 mm are suitable, "3" - light yarn, for which it is optimal to take knitting needles of 4.5 mm.
Sizing
Knitting a hat for a newborn begins with determining the size of the product. The baby's comfort will depend on its correct selection. A cap that is too big will slip off, and a small one will rub. There is a universal size for children under one year old. It is believed that for a child from 0 to 3 months, a knitted hat should have a base of 9 cm and a height of 13 cm. If the baby is older (up to 6 months), the base should already be 10 cm, and the height of the headdress - 14 cm. Taking these parameters into account, you can knit a product for wearing from birth.
Universal sizes from six months to 1.5 years: bottom diameter - 12 cm, cap height - 15.5 cm.
If you don’t have the exact measurements of your child’s head, for example when the hat is knitted in advance during pregnancy, you can use a ready-made age table.
| Age | Height of the cap from the top to the bottom, cm | Bottom radius, cm |
| 0-3 months | 12–13 | 4.5 |
| 3-6 months | 13–14 | 5 |
| 6-18 months | 15–16 | 6 |
| 1.5–3 years | 16–18 | 6.5 |
| 3-6 years | 17–19 | 7 |
| 6-8 years | 18–20 | 7.5 |
| 8-16 years old | 19–21 | 8 |
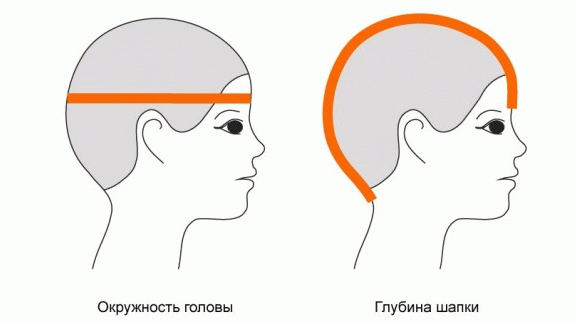
If the baby has already been born, it is better to measure the circumference of his head and knit a bonnet for a newborn with knitting needles according to the dimensions. Usually, a measuring tape is needed to take measurements. If you don’t have one, a paper strip and a ruler will help. It is desirable that the baby does not move during the measurement. It is recommended to take several measurements and take the average value. In this case, the tape should pass exactly where the edge of the cap will be according to the plan, tightly fitting the head, but not be stretched or pressing. If a paper strip is used, after measuring, you need to attach it to the ruler to determine the data in centimeters.
In addition to the head circumference, two more measurements are needed for manufacturing: the transverse and longitudinal arc lines. The latter determines how deep the product should be, and the distance from the brow ridges to the back of the head is measured. The transverse arc runs from one temple to the other through the "top" of the head. It is recommended to subtract at least 3 cm from the results obtained, because no one pulls knitted hats up to their eyebrows.
In thematic blogs you can find information on how to knit a bonnet for a newborn with knitting needles, with ready-made calculations.
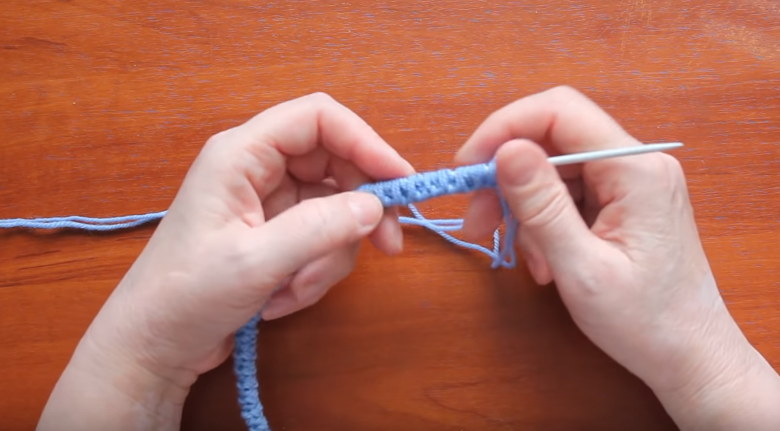
When knitting, it is recommended to make a sample of the elastic of the future product and calculate the required number of loops according to the head circumference. Then, using the data obtained, you can determine what increases are needed for the pattern. It is better to have the corresponding diagrams and description available. The easiest way is to take measurements and calculate the loops using a ruler, while the test fabric should be stretched.
Manufacturing stages
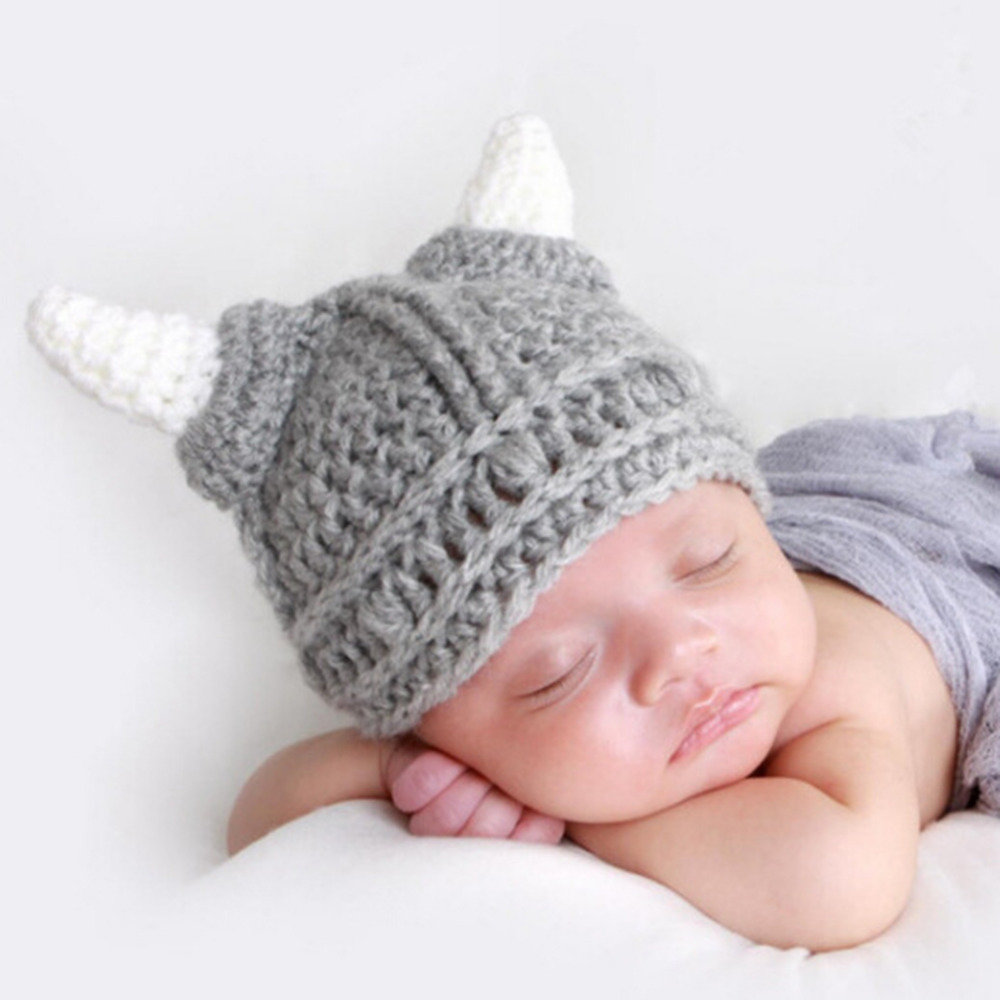
How to knit a bonnet with knitting needles is easiest to understand on the simplest models - a hat with ears, in the form of a cap or helmet. A lace hat is a little more difficult to knit, but at the same time such a model is perhaps the most popular. The principle of its creation is usually identical, but you can choose any lace pattern.
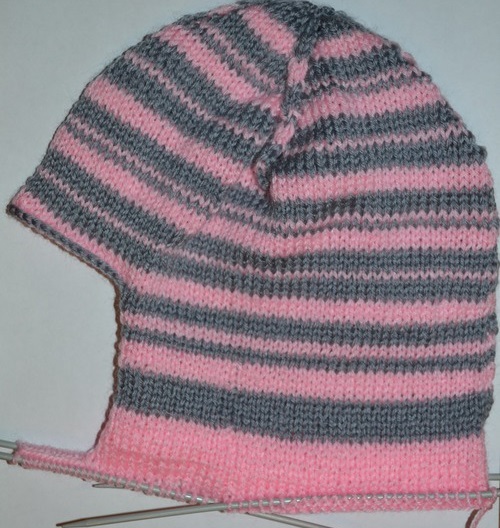
Winter hat-helmet for a boy
You can knit such a model for both a boy and a girl, if you choose bright yarn. The headdress is well suited for winter, as it covers the forehead, ears and neck. This is a double model with a knitted lining, it is often chosen for older children who walk outside on their feet. The model is quite complex, it has raglan loops, so if you have little experience in knitting, you should start with a simpler solution.
For a head circumference of 36 cm with a reserve, take 400 g of yarn, since the product will be double. Sequence of actions:
- Cast on 6 stitches on the knitting needles, knit the first row with the wrong side, then increase to 13 stitches, two of which are edge stitches.
- All purl stitches are knitted purlwise, in addition, it is necessary to mark 5 raglan loops, near which there will be increases.
- On each row, the raglan loops have an increase of two loops - one on each side. This is the base of the hat, it should be 4.5-5 cm.
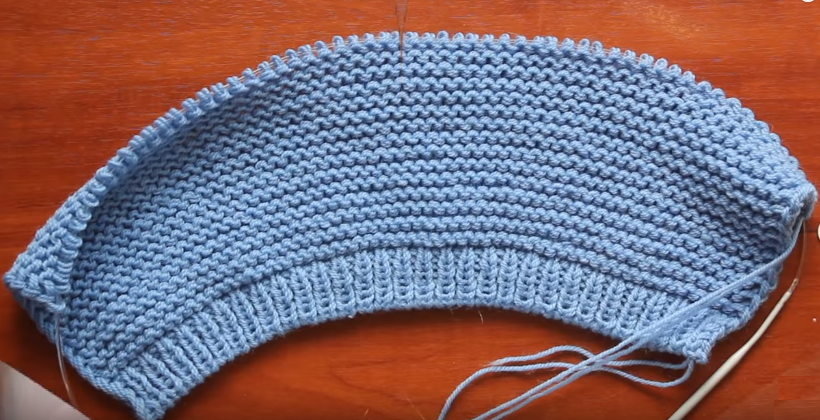
Next, the product is knitted with a regular garter stitch - face loops. For a baby up to three months, the height will be 12 cm. This is approximately 35 rows and 94 loops.
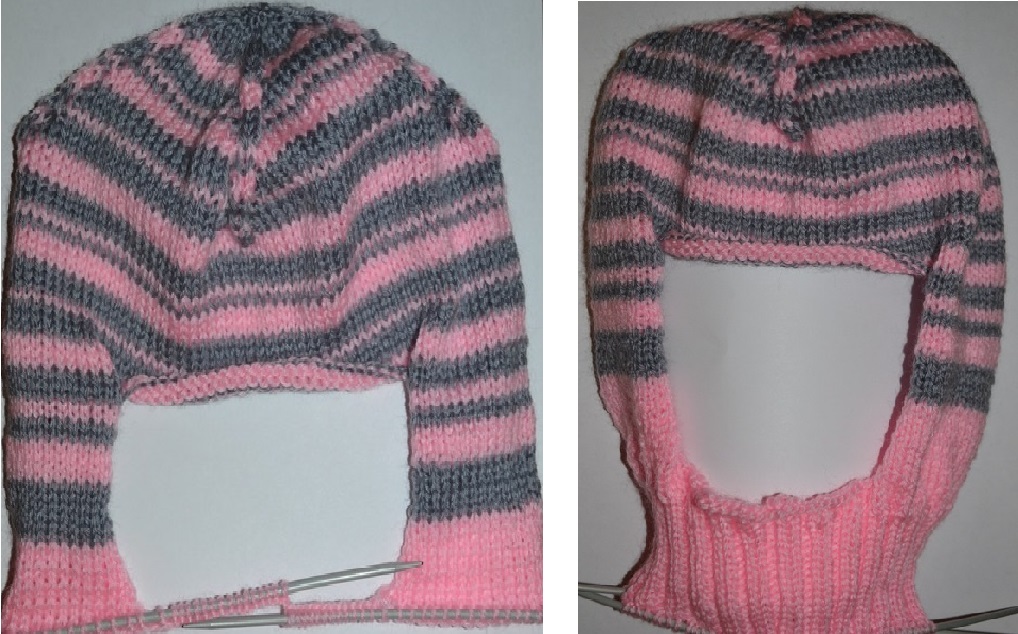
The next step is the back of the helmet and the ears:
- Leave about 40 loops for the forehead, and from the back seam knit 27 loops on each side.
- Next, there are decreases along the back seam by two loops, which affect the fit of the hat. At this stage, it is advisable to try on the product. On average, 4 rows of decreases are enough for babies.
- For the back part and ears you will need about 20 rows, that is, after the decreases you need to knit about 16 more.
Then, from the face side, connect the baby hat in a circle so that it looks like a knight's helmet. For this, it is convenient to use smaller circular knitting needles. You get 40 loops from the forehead, 10 on the sides and 14 on the chin. The first row is knitted with purl loops on the front side. Next, English rib 1 × 1 - 6-7 rows. If you need to leave the helmet single - close the row, if not - leave the knitting needles.
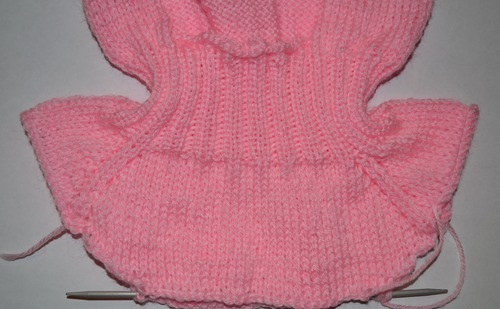
Then comes work on the bib:
- Cast on 14 stitches under the chin and knit 2-3 rows.
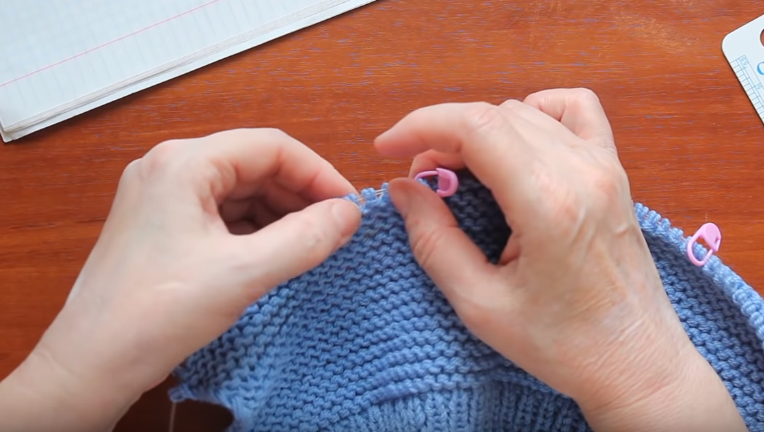
- Mark the raglan loops, leaving 15-16 loops for the forehead and 14 for the back and shoulders. Also 1 loop for the raglan.
- Knit the product to the required length.
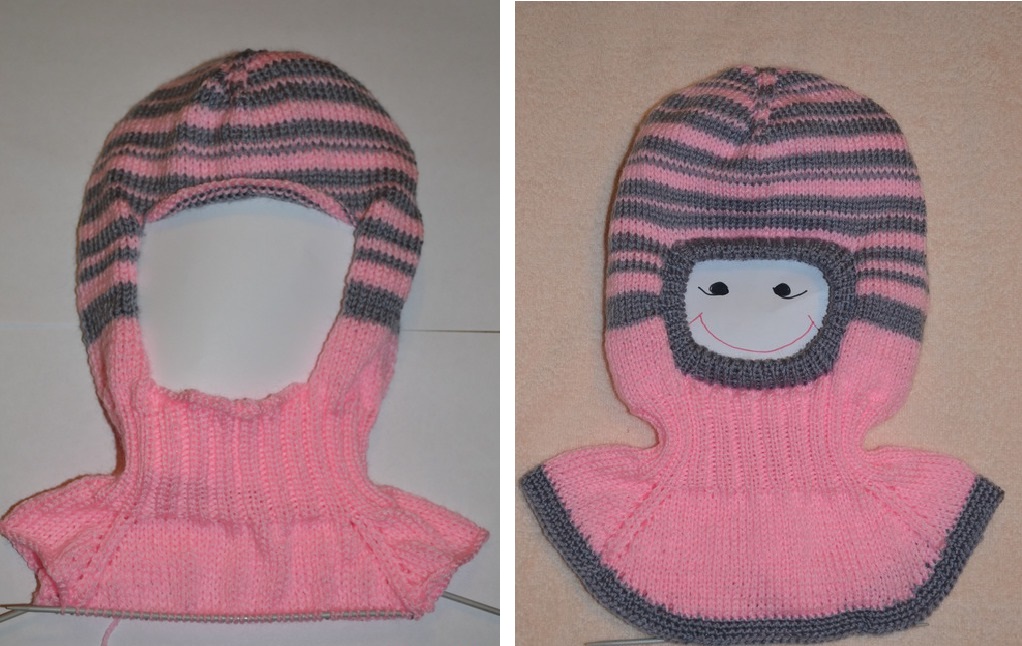
The second baby hat is knitted in the same way. In order to connect the outer side and the lining, the raglan is combined. They are connected with an elastic band, one loop is knitted, the second is removed from the knitting needle. Thus, all the loops go to one knitting needle and they only need to be closed. From the front side, knitting is completed in exactly the same way. The helmet is ready. You can add patterns to the front part using threads of a different color.

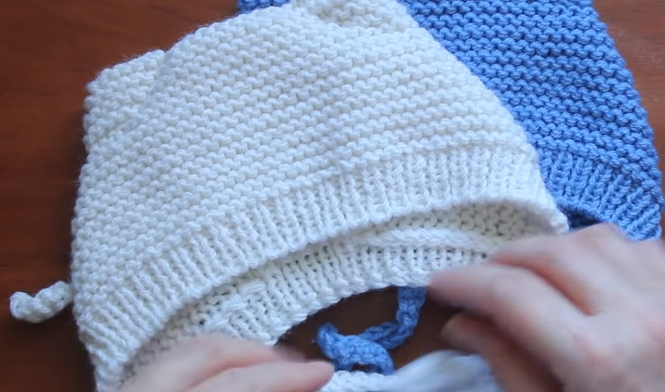
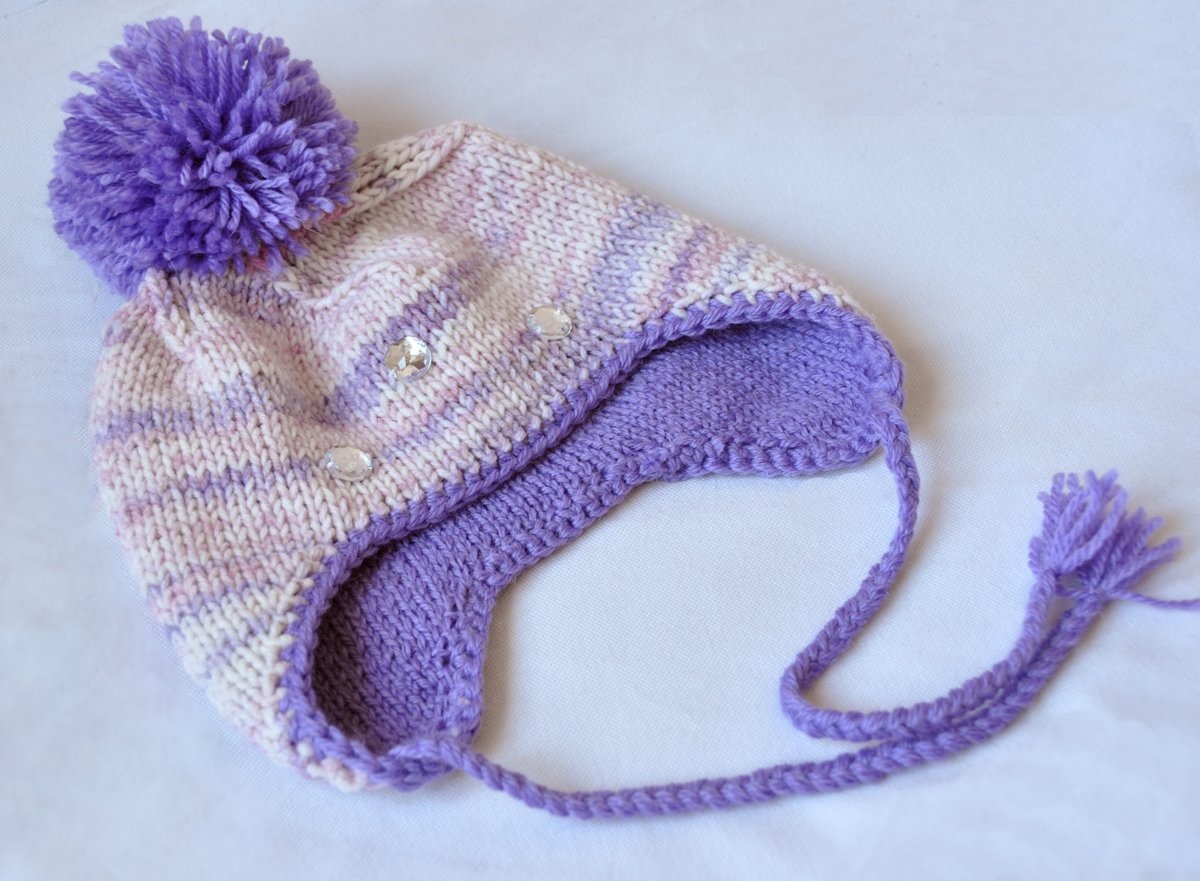
Model with ears
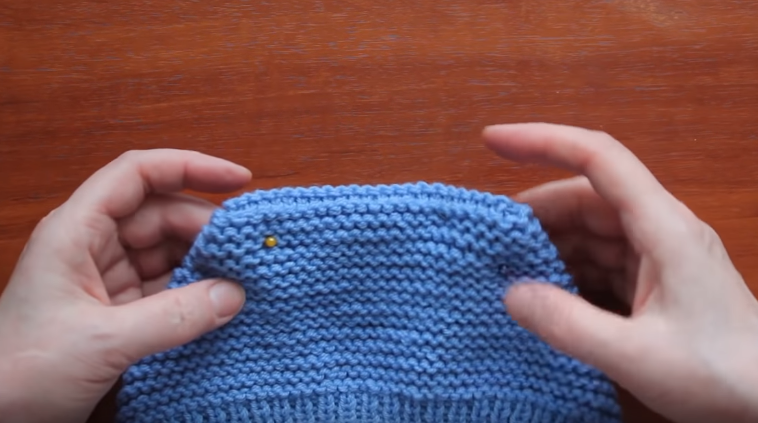
This model is also knitted for both girls and boys. But at the same time it can be called universal, as it will suit a baby of any age. The product will be beautiful and comfortable, as it has no seams.
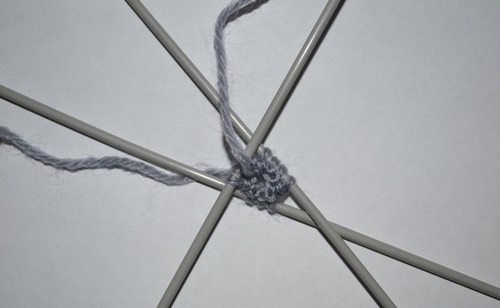
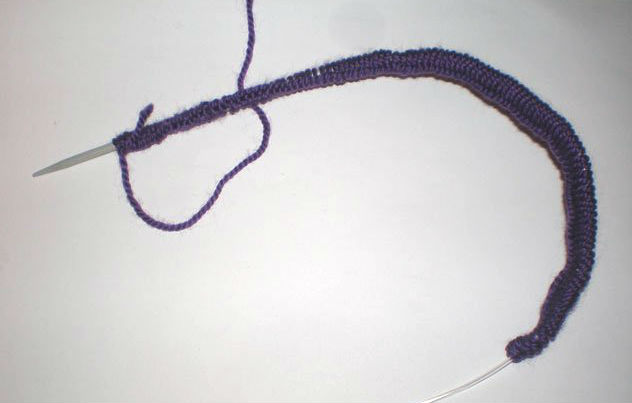
Knitting a hat with ears for newborns begins with 60 loops using the Italian method:
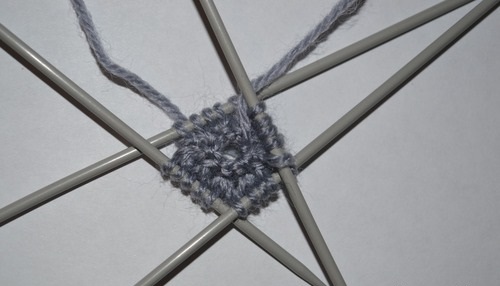
- The first row is knitted with a 1 x 1 elastic band, it should be 2–3 cm.
- For the main fabric, it is advisable to take larger knitting needles, everything is knitted with face loops. In this way, 30 rows are collected.
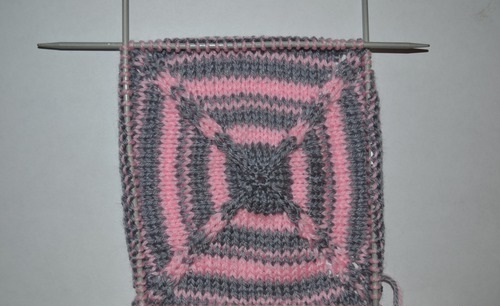
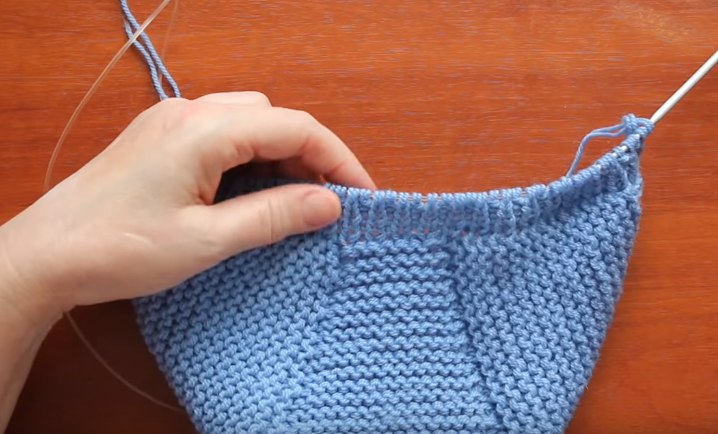
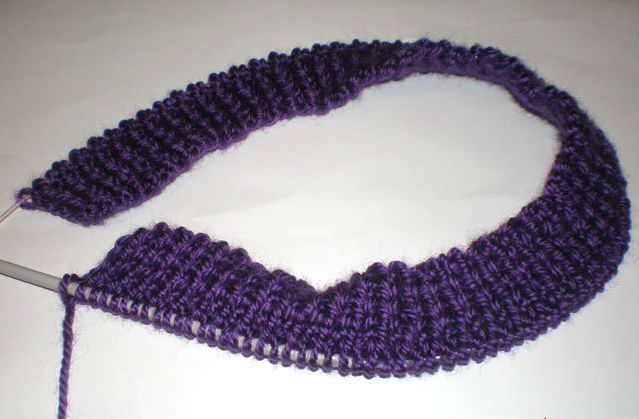
- Leave 28 loops for the central part and 19 for the sides.
- From this point on, the back part should be gradually decreased so that by the end of the work there are 4 cm or 10 loops left in the central part. The principle is the same as when knitting a heel on toes.
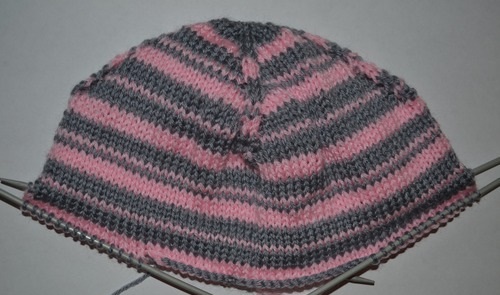
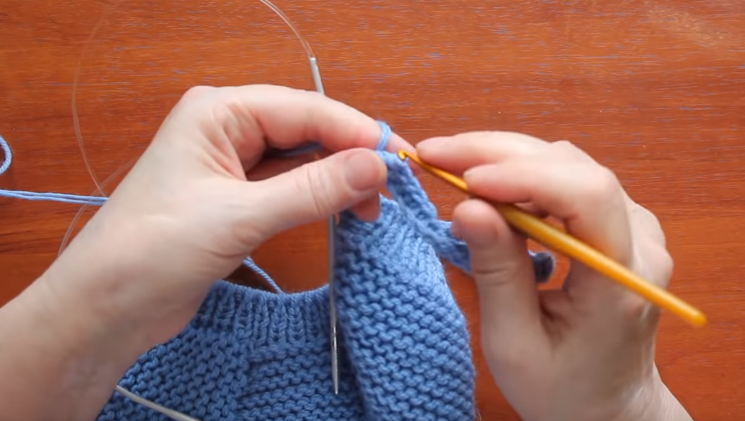
- Once the decreases are done, you need to knit 2 cm of 1 x 1 elastic and make ties.
- The most convenient way to create them is to use a hook. With its help, make 50 air loops, which is about 20 cm.
- Without turning, knit a row of single crochet stitches in the opposite direction.
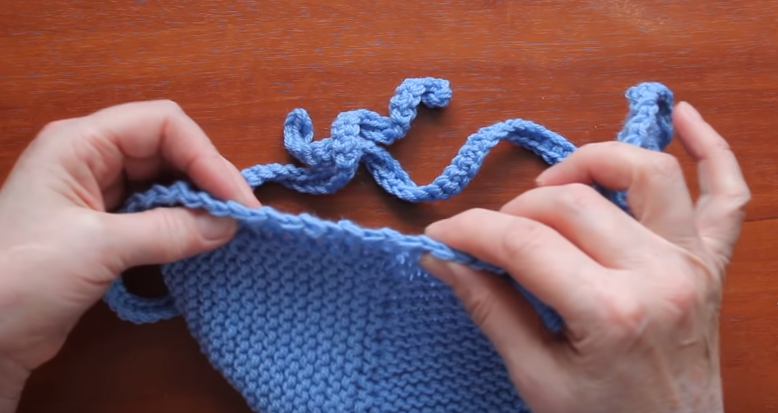
- Then you need to close the knitting to go to the other side of the hat and make a tie there. It is done according to a similar principle.
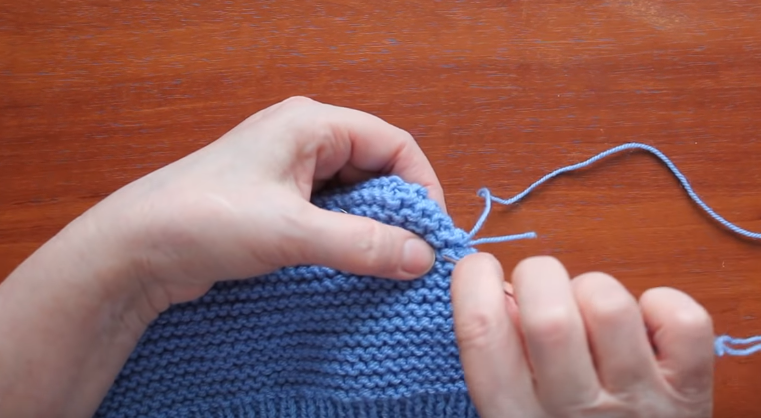
It remains to knit the ears, so you need to fold the hat so that the fold falls on the beginning of the occipital part of the headdress. To do this, you need to count five loops to the side and five down from the corner on each side. Now you only need to sew them up, connecting the extreme points. You will get small "triangles".

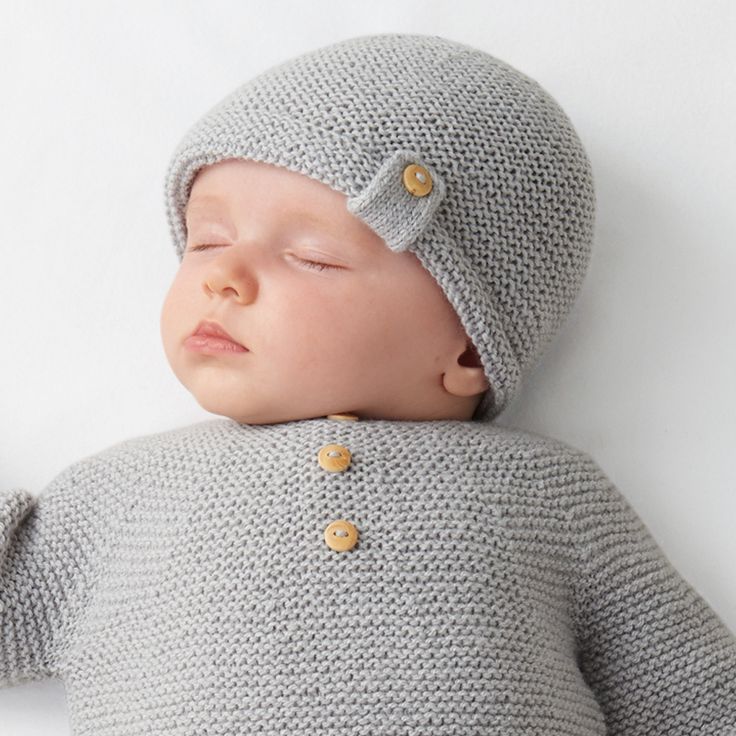
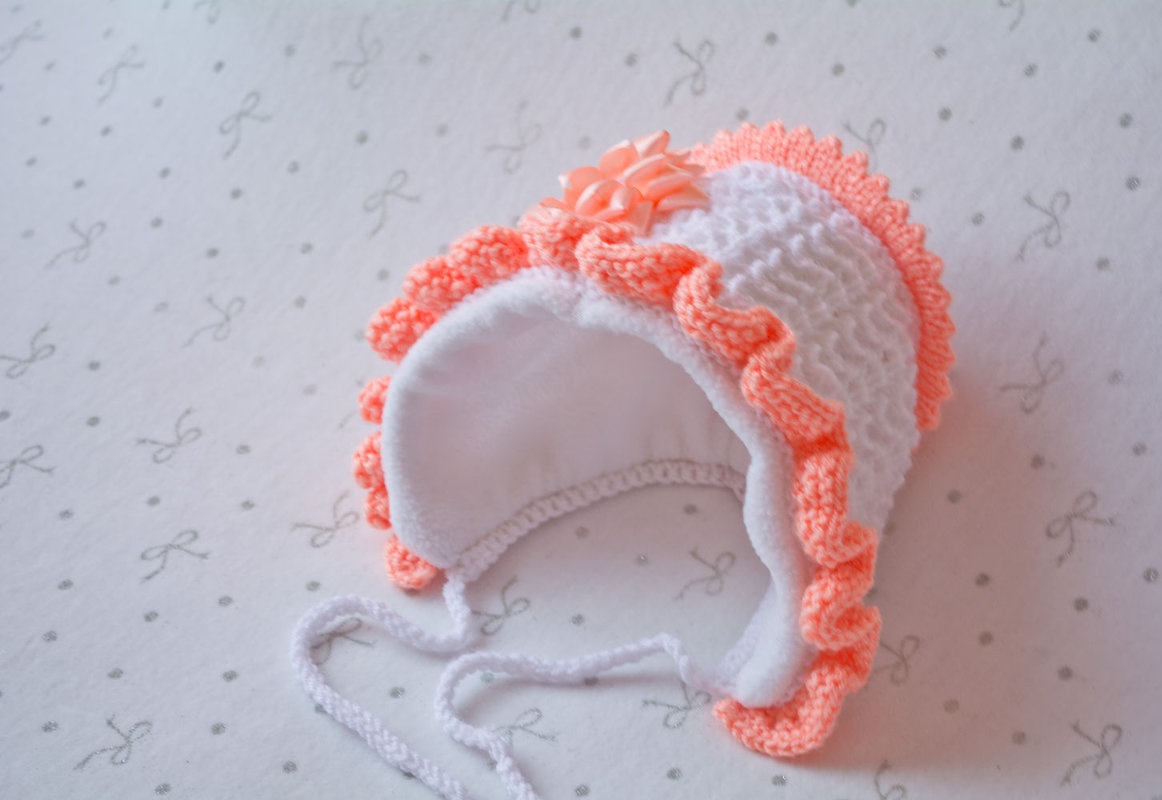
Cap
Another cute model for kids. It is extremely easy to make, even an inexperienced knitter can handle it. Procedure:
- Cast on 45 stitches.
- Knit 27 rows with front loops.
- From row 28, decreases begin, knitting two loops at a time - this will be the corner of the cap.
Such hats for newborn boys and girls are considered universal, and can be knitted in a few hours with experience.

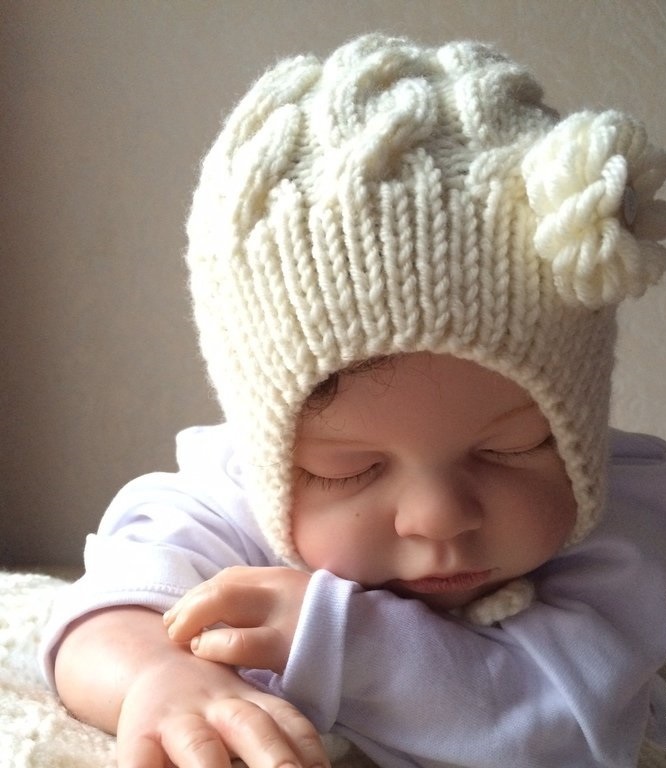
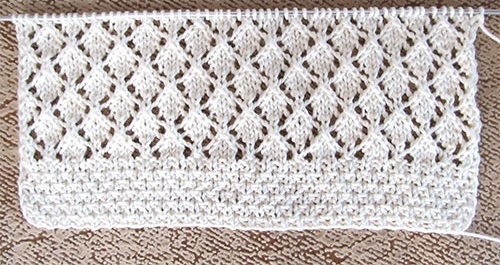
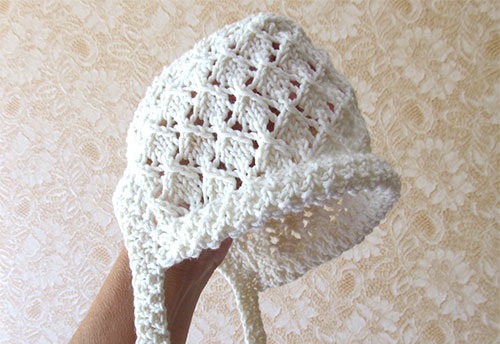
Openwork
To knit an openwork cap, you need certain skills and a little perseverance. Algorithm of actions:
- Cast on 57 stitches.
- Knit the first 12 rows with a boucle pattern - this is the lapel of the product.
- Next, knit 7.5 cm of fabric using the “openwork squares” pattern.
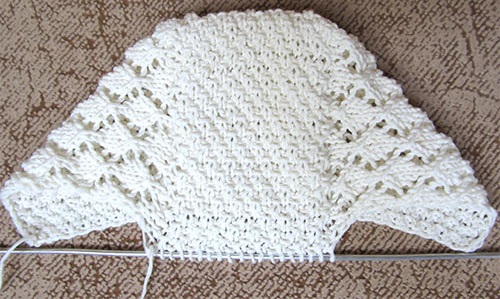
- Now the rounding of the cap begins. The total number of loops must be divided by three - it turns out to be 19, the middle ones remain unchanged, the decrease of loops goes along the outer ones, as when decreasing the loops of the heel of the sock.
- The first 19 of them are "openwork squares".
- The next 18 are "boucle".
- Then 2 together - purl.
- In the next row there are 17 loops, they need to be knitted “boucle”.
Then everything is repeated. This way you get 19 loops in the center together with the edge loops, and the side parts of the cap gradually decrease, as a result there should be 19 loops left on the knitting needles. They need to be knitted with an elastic band 2 together: 2 as one front, 2 in one back. For the lapel, you need to pick up loops and knit them "boucle". It is folded over, the side parts are knitted one loop at a time.
To complete the knitted cap, you can use a crochet hook to make ties like on the model with ears - they will be thin and comfortable. If you want wide ones, you can make them with the same "boucle" on the knitting needles. The pattern is knitted from air loops - the knitted cap is ready.

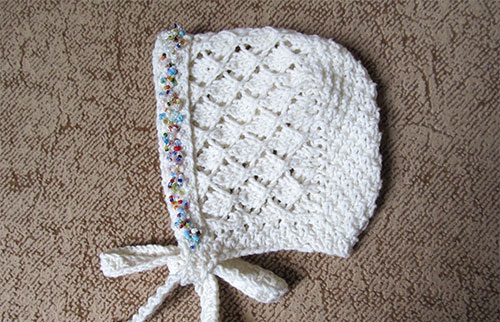
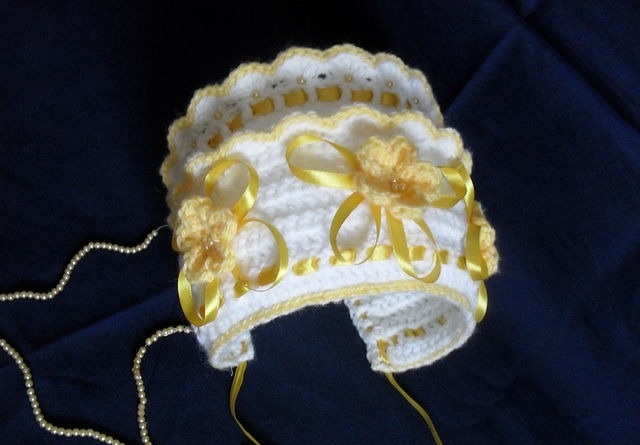
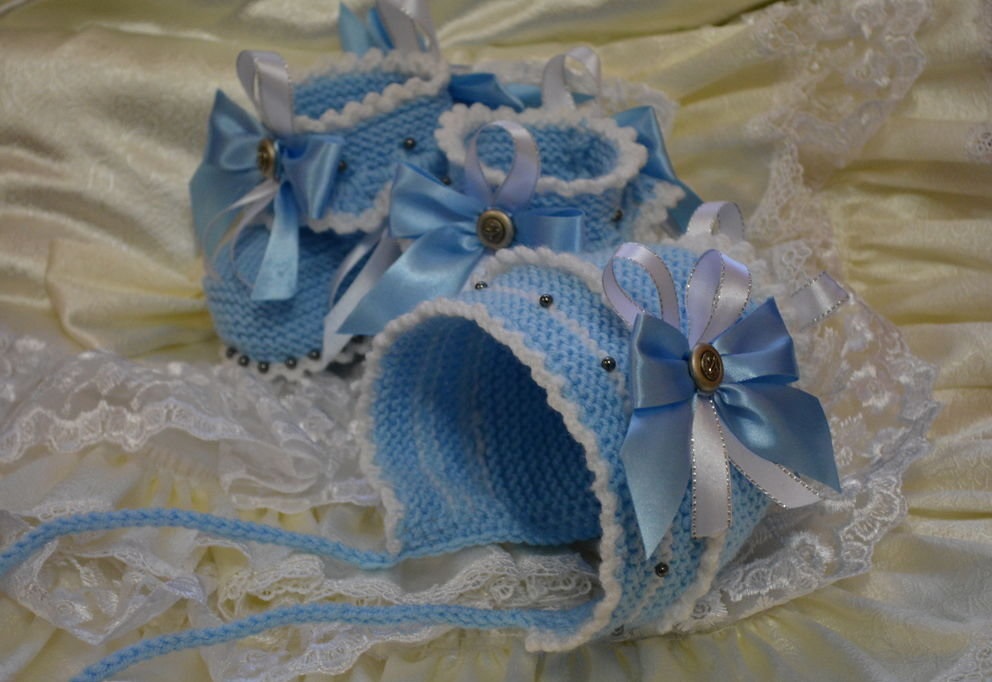
How to decorate
A newborn's cap can be decorated with ribbons, bows, pompoms. Simple models are decorated with patterns and designs during knitting. A knitted cap is sometimes decorated with beads, seed beads or rhinestones, but they are not worn often - usually elegant things are put on only for discharge and christening. Many mothers rightly believe that it is better not to use such small decor at all, since the baby can easily tear it off and choke, or at least scratch or catch it.
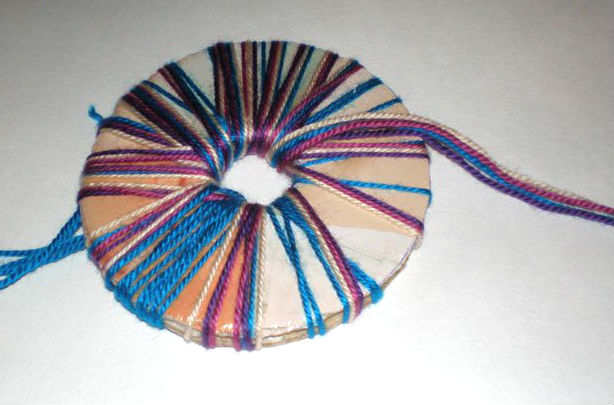
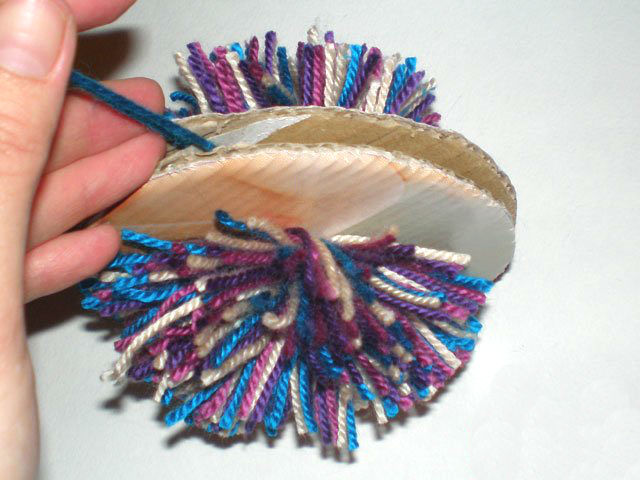
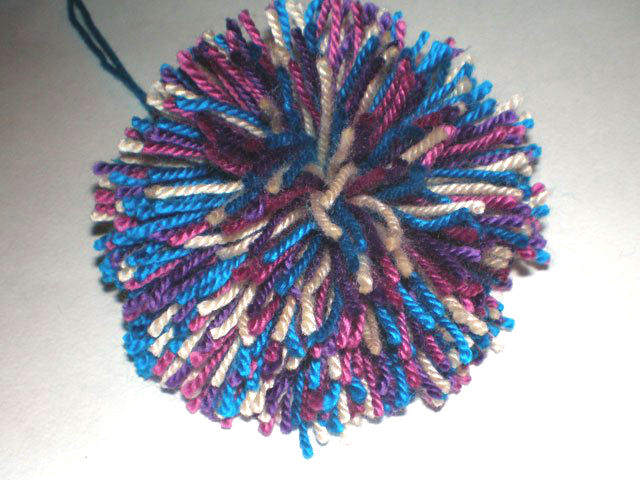
The newborn's cap is decorated with pompoms or a knot at the tip. To create the first, you need to take two circles of cardboard. The diameter should be the same size as the pompom. Cut out the center of the paper circles so that they look like a pretzel, and put them together. Then wrap them tightly with threads of the desired color, then cut the winding along the outside and tie it, pulling it together along the smaller diameter. The pompom is ready.
For some items, flowers are made from ribbons, sometimes they use iron-on appliques - beautiful "stickers" for things. They look like embroidery and can be applied to clothes using an iron - just place them in the right place and iron the pattern well. There are similar "embroideries" that need to be sewn on. The choice depends on the desire and skills of the craftswoman, the main thing is that the decor is safe for the baby.
Video