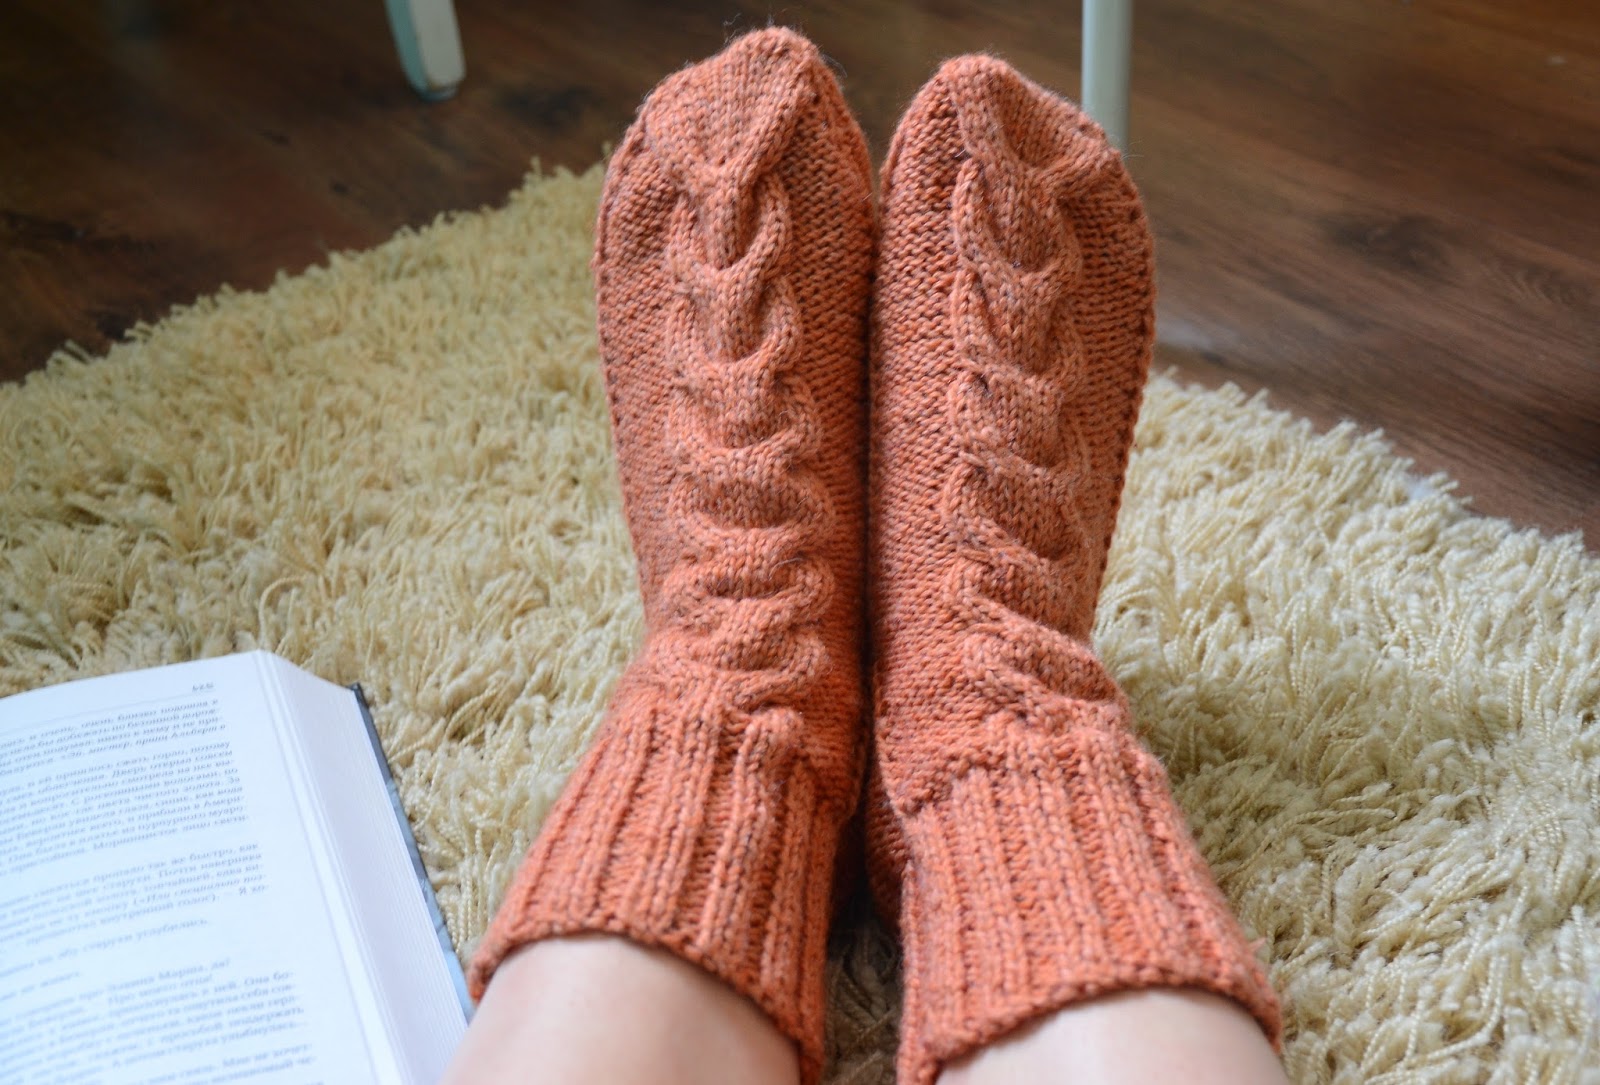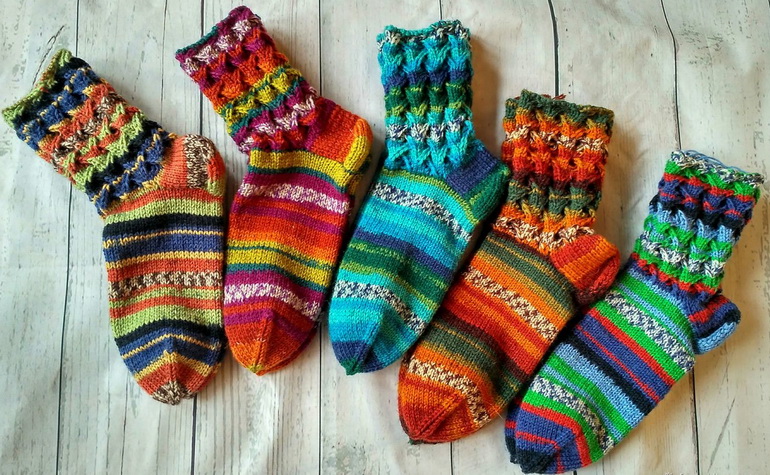
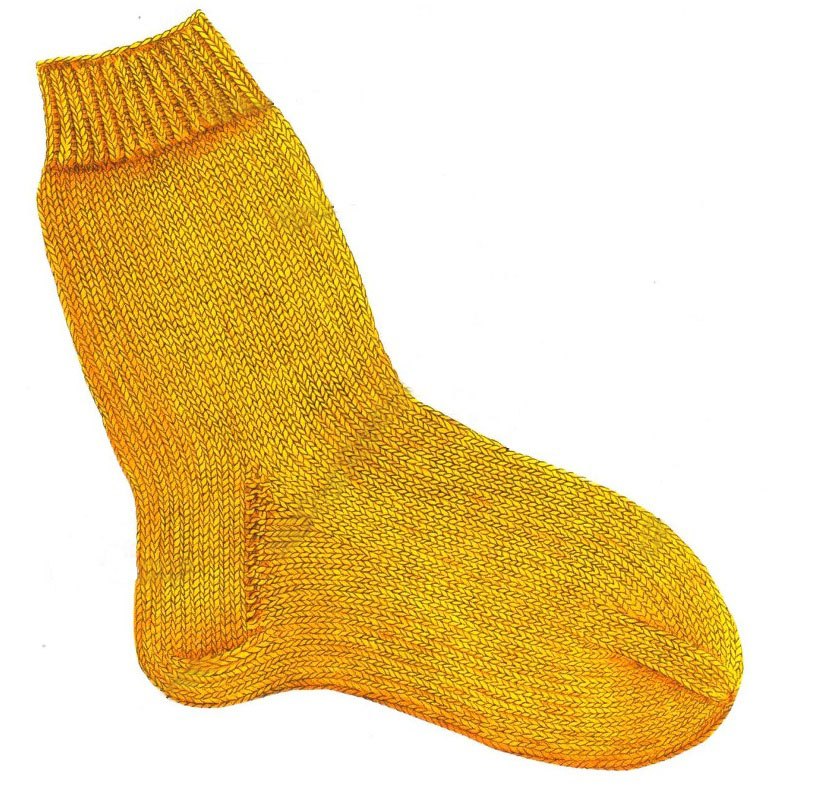
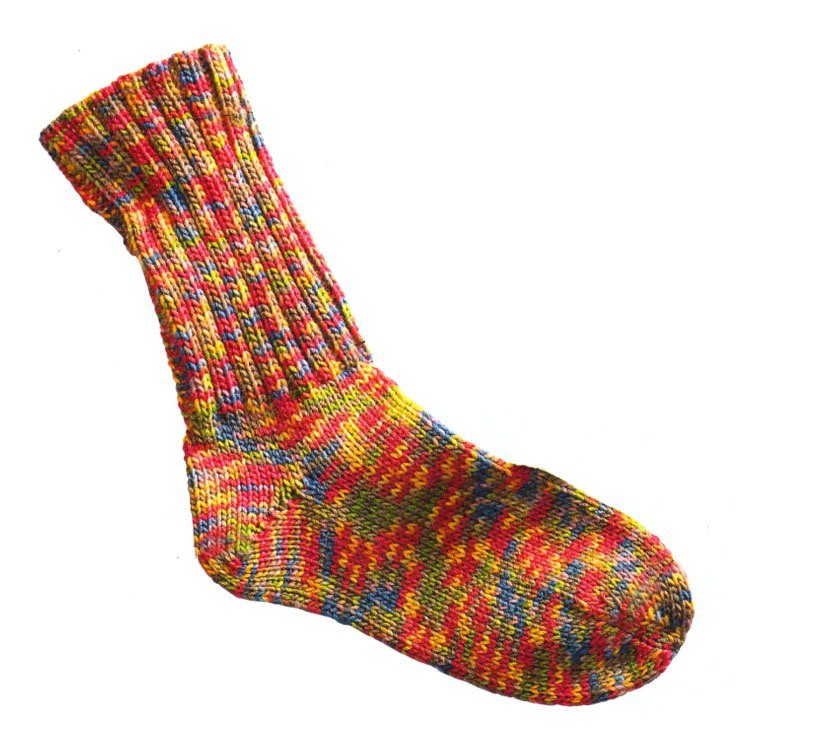
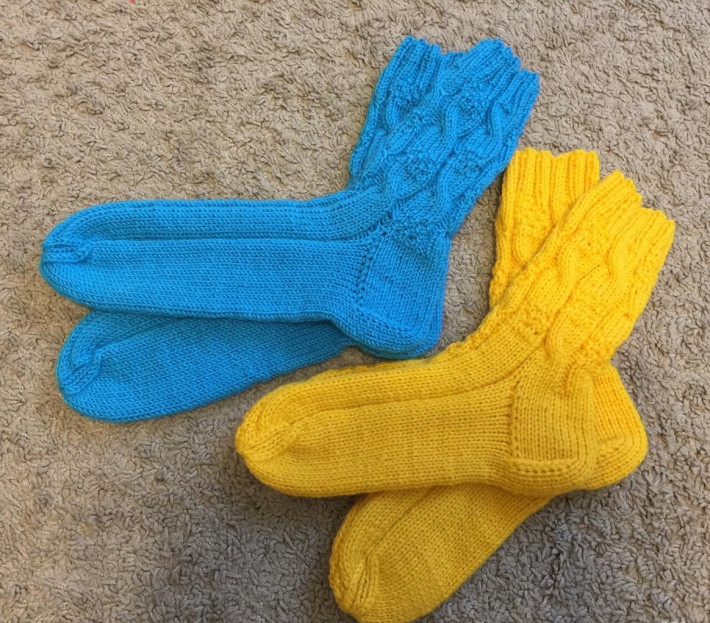
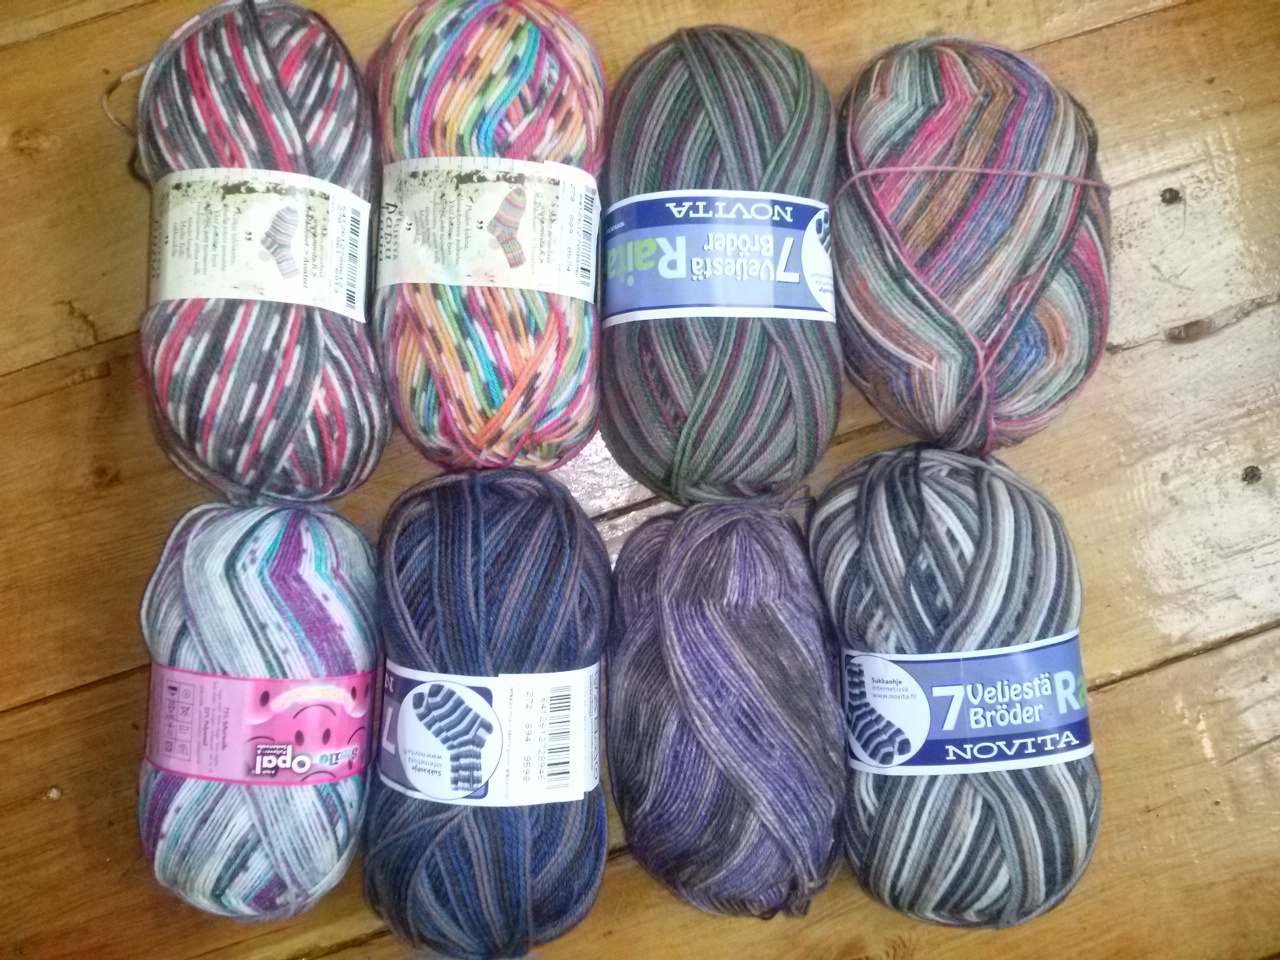
Recently, handmade products have become increasingly popular. They differ from conveyor production in their uniqueness and inimitable execution. However, creating a masterpiece is a responsible matter that requires careful preparation. It is necessary to master not only the creation of a whole product, but also its parts. There are several ways to knit a sock heel on knitting needles, each of which has certain features. You can choose the option you like, then the result will exceed all expectations, the product will be of high quality, cozy and will become the pride of the craftswoman.
Preparatory stage
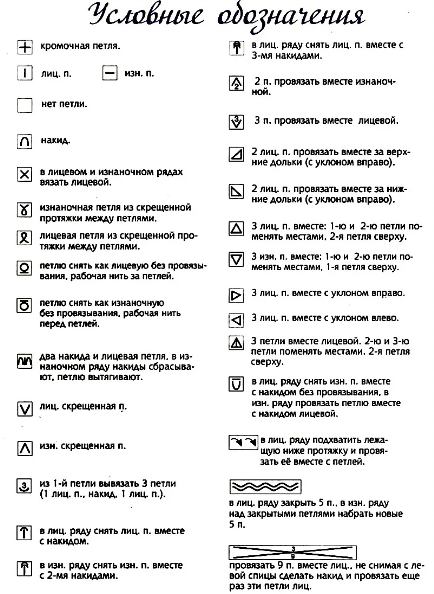
In manuals specializing in knitting (in magazines, on forums) there are many schemes for creating products from yarn in various ways and with all sorts of patterns. However, in order to correctly read the scheme, it is necessary to familiarize yourself with the symbols and decoding. They are usually uniform, but sometimes there are differences. Therefore, before you start knitting, you should study the description of the scheme offered by the author.
In most editions, each square of the pattern is equal to one stitch. The pattern should be read from right to left for the front row, and from left to right for the back row.
The numbering of rows and the knitting sequence starts from the bottom. The front rows are marked on the right side, and the back rows on the left. This is designed for ease of use. Often there is a diagram that shows only the front rows, marked mainly with odd numbers. Then knitting loops on the back is carried out in the standard way according to the pattern. If there are any special features, as a rule, additional instructions are given.
There are clear symbols for knitting various types of loops, so a table with decoding is attached to the diagram. Each symbol serves as a visualization of the loop, in most cases the similarity of the image and the element in the finished product is obvious. Thanks to this, the diagrams are easy to read.
Popular ways to knit the heel of a sock
To knit socks with your own hands, you don’t need to have any special skills. The main thing is to be patient, get good recommendations and follow them step by step. Then the creative process will bring joy.
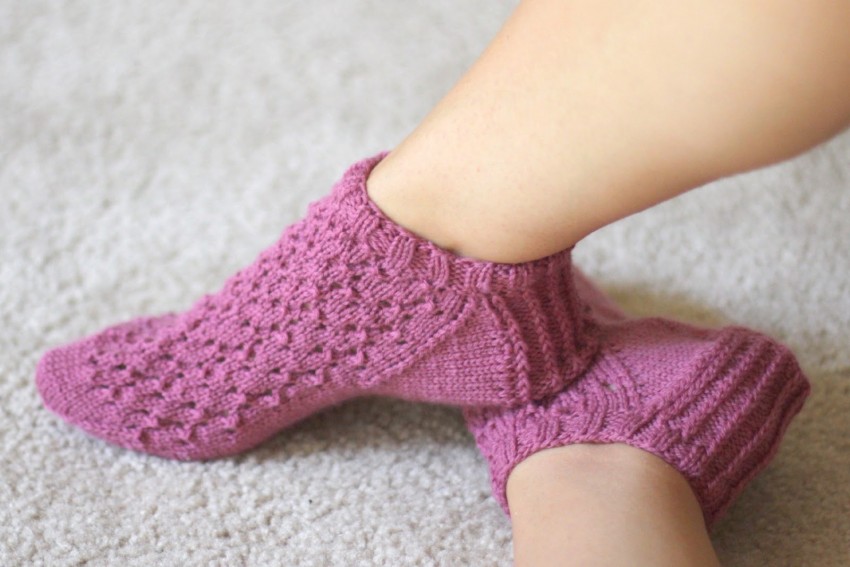
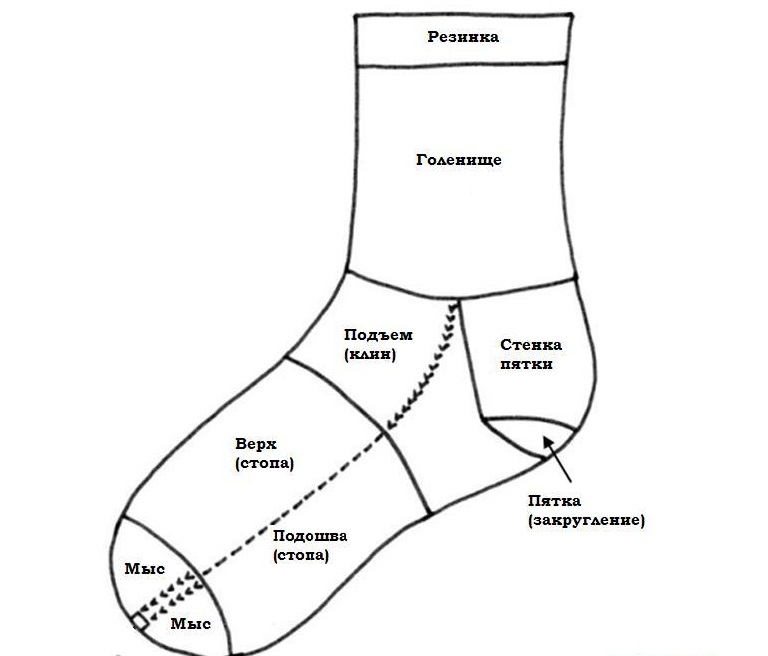
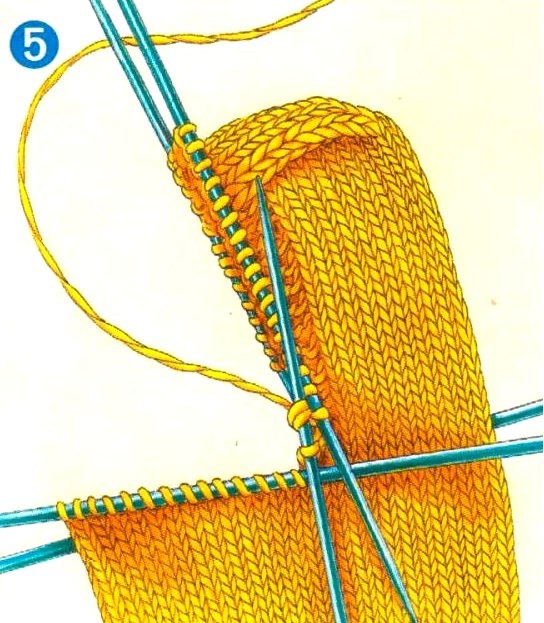
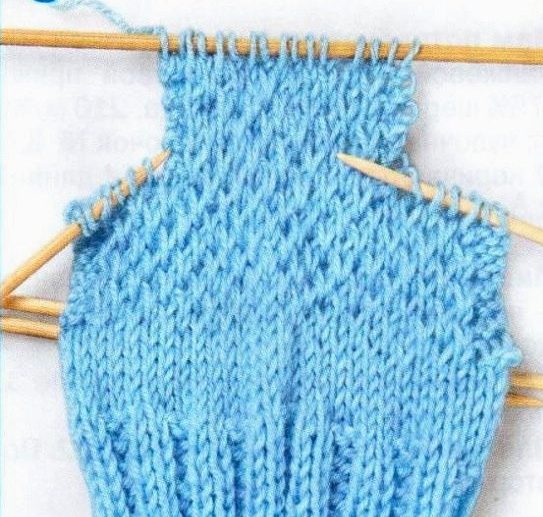
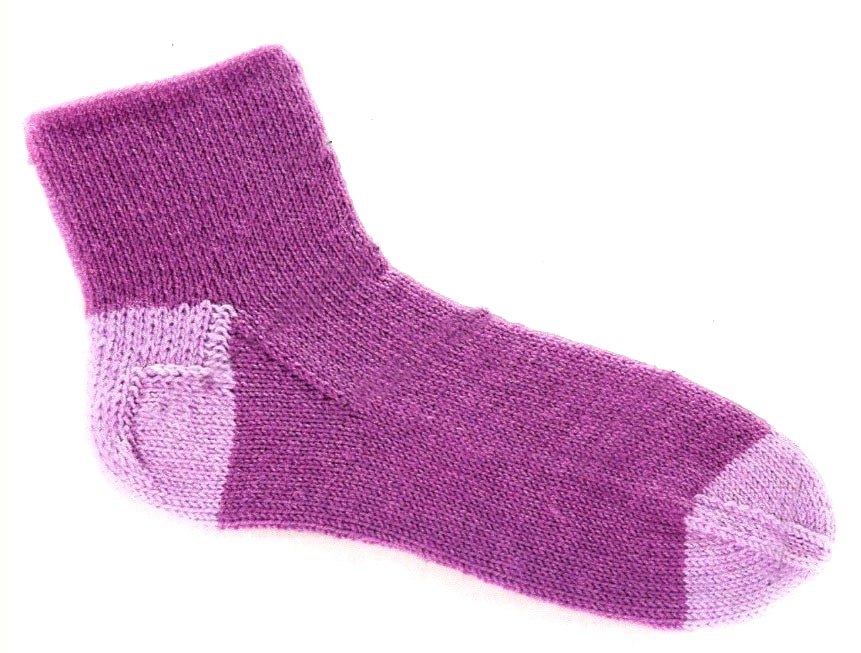
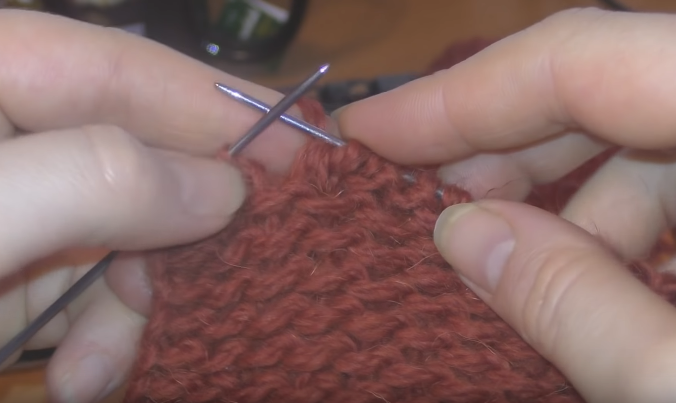
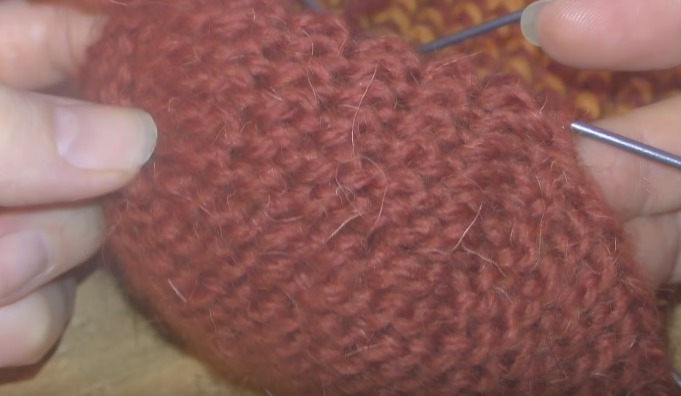
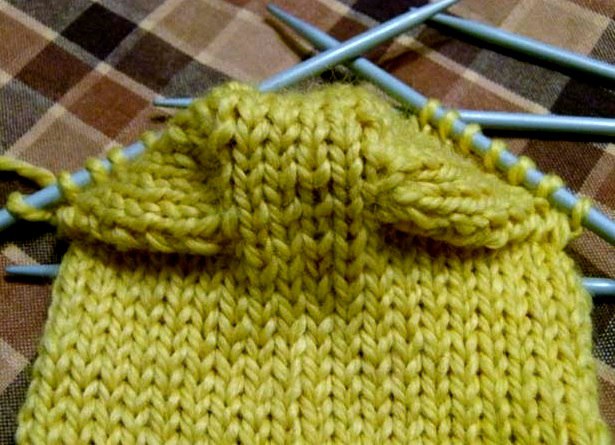
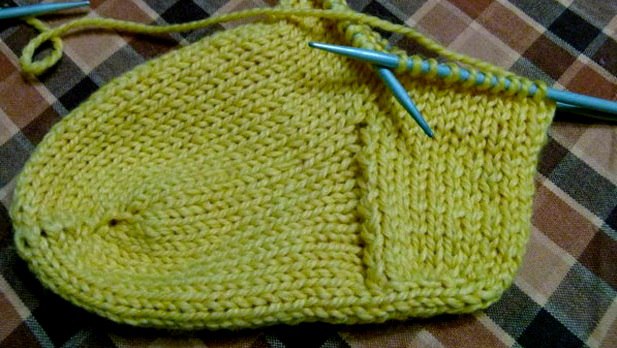
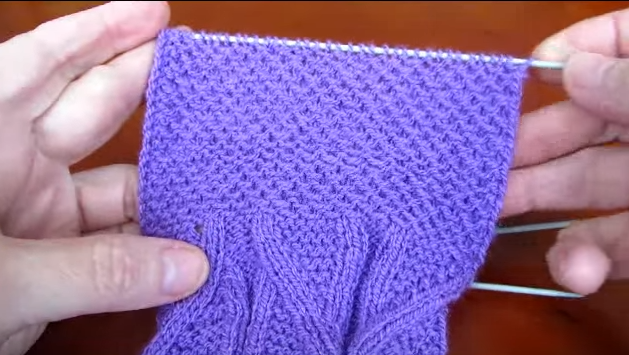
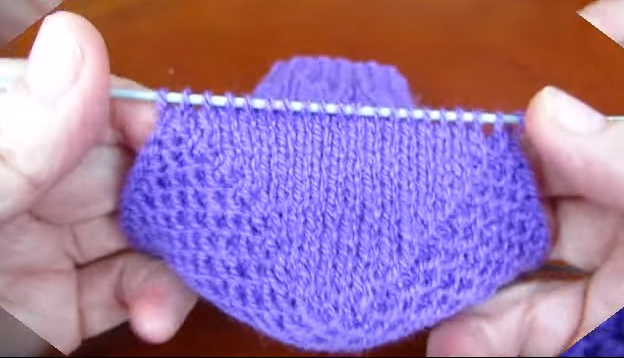
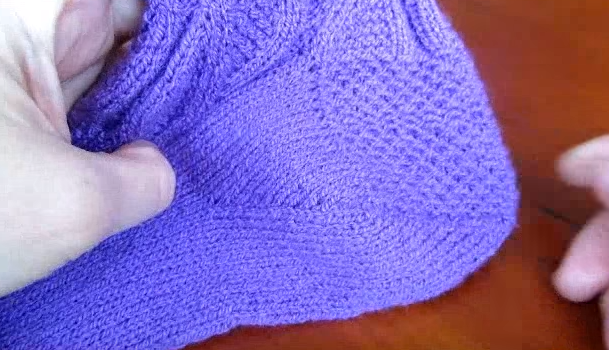
The heel of the sock consists of three parts: the wall, the bottom part and the wedge of the instep. At first glance, this element seems quite difficult to perform. However, with a detailed study of the principle of how to knit the heel of a sock with knitting needles, the picture becomes clearer.
For ease of visualization, imagine that the toe is a kind of pipe. The foot initially enters the open passage, then makes a sharp turn in the heel area and rests against the closed end. It is important to learn how to knit the middle part correctly so that your foot does not get stuck when putting the product on. There are several variations of this element, created on both 4 and 5 needles. The knitting process for each of them is a set of sequential actions.
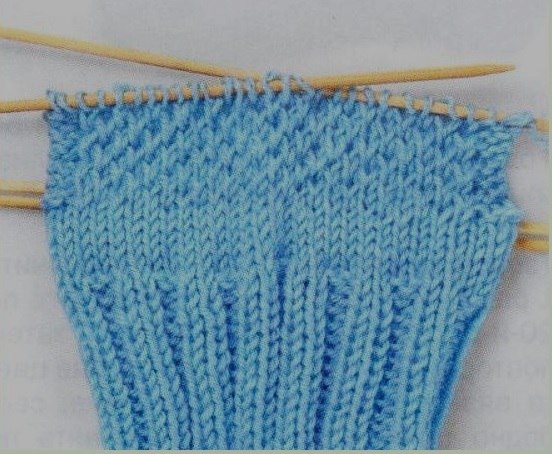
Straight
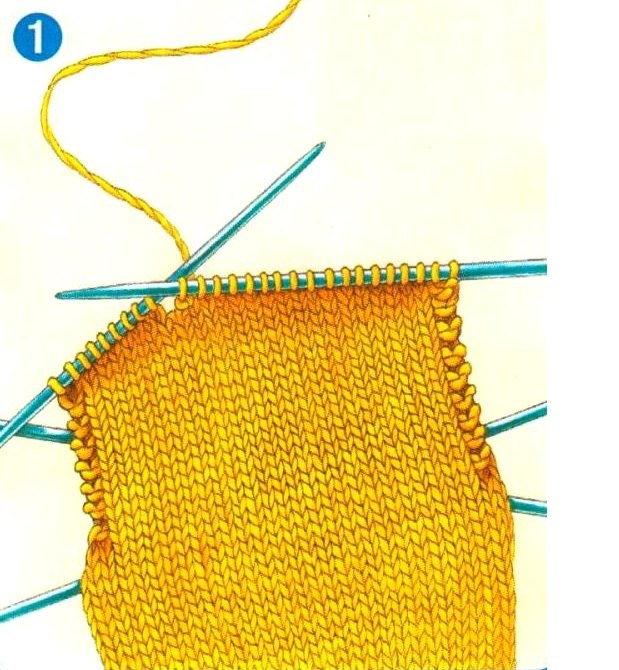
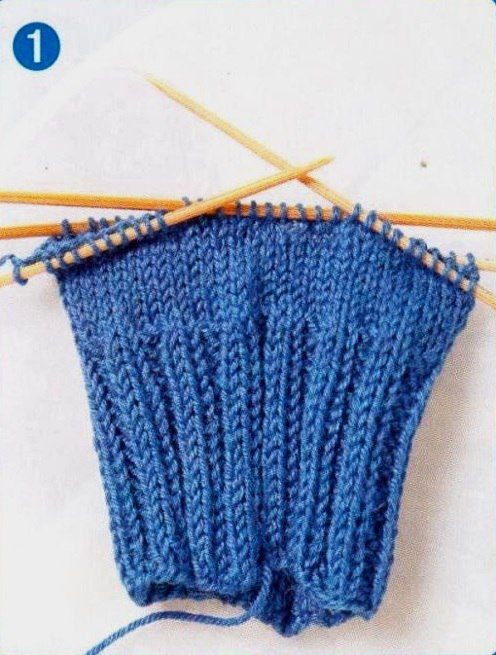
This type of heel is distinguished by the traditional method of production, recommended for beginners. First, you should create a suitable length of the cuff, as well as the bootleg. After that, it is the turn of the heel itself. Step-by-step description of the knitting process:
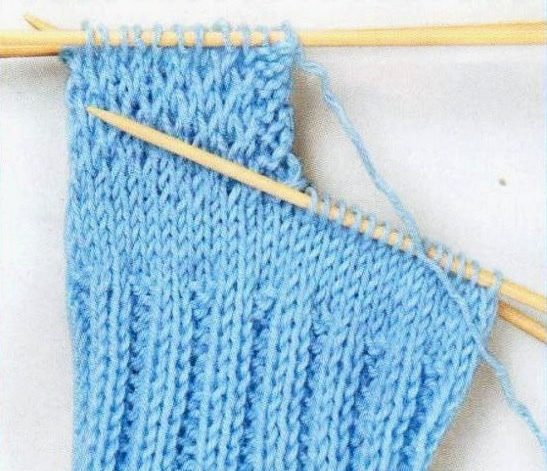
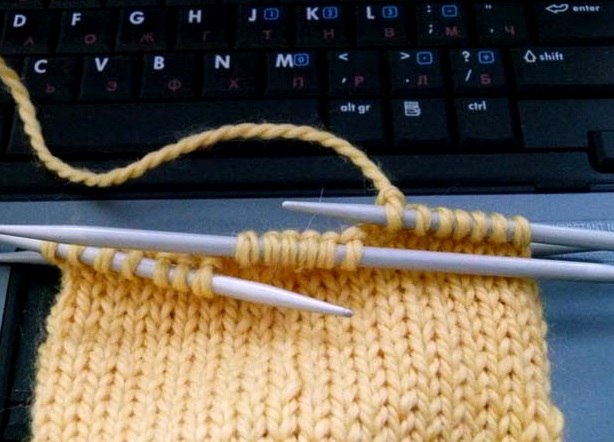
- Half of the loops, previously cast on to the second and third knitting needles, are set aside. The work is done using the first and fourth tools. For convenience, all the loops are transferred to one of them. Using the front surface method, a pre-calculated number of rows are knitted, making up the height of the heel.
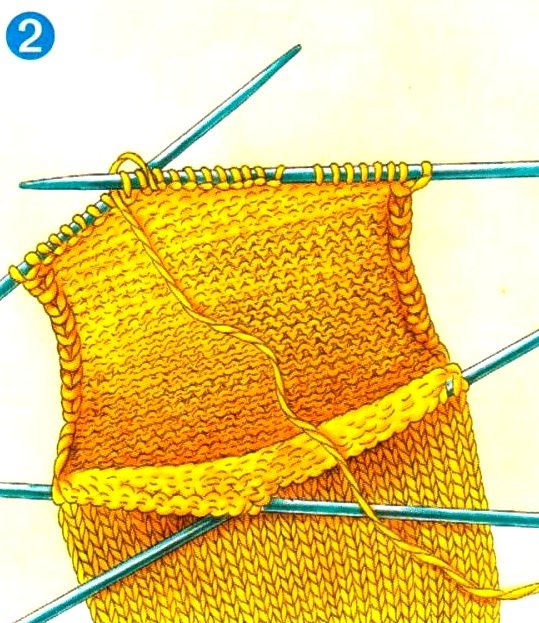
- After this, all the loops should be divided into three equal sections. The central one is knitted evenly. In this case, each final loop of the front row is connected to the first of the outer part by pulling through. This is achieved by removing the first loop, then the front loop is passed through the removed one. The fabric is turned, the first loop is removed with the back side.
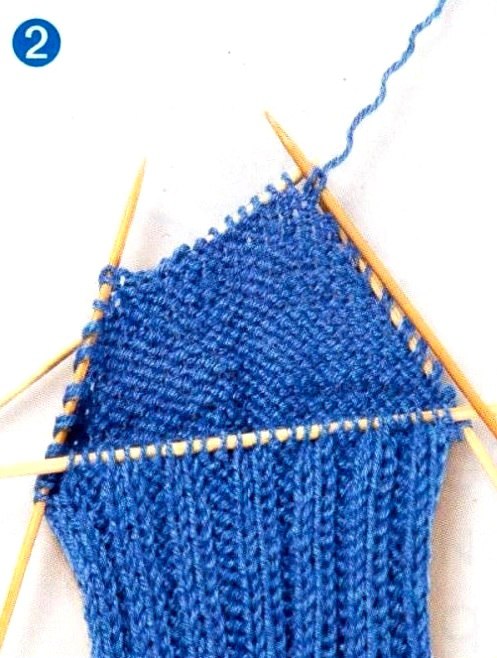
- In the back row, the final loop of the middle part is connected to the first of the outer parts. The fabric is turned. The first loop is removed with the front one. The above actions are repeated until the loops on the outer parts are exhausted.
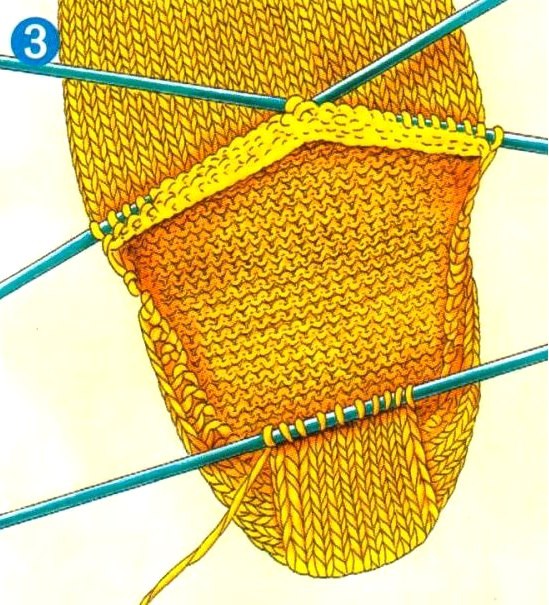
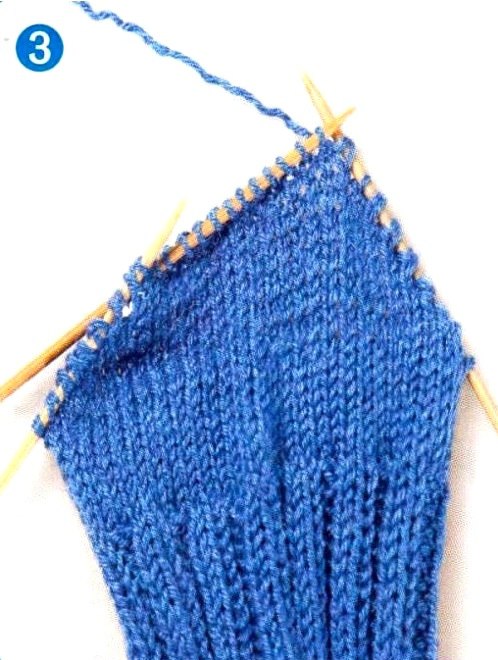
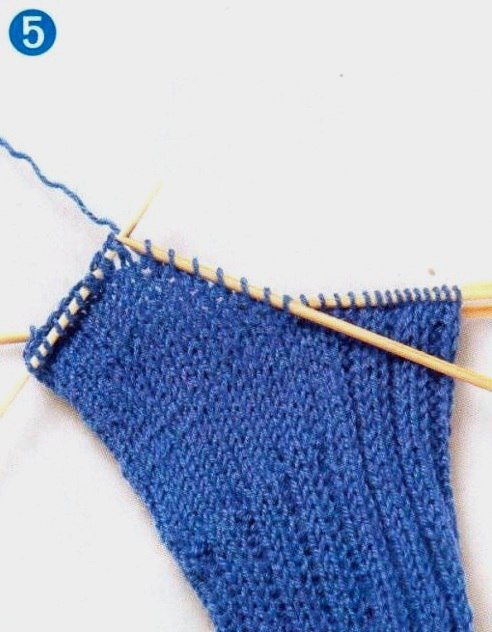
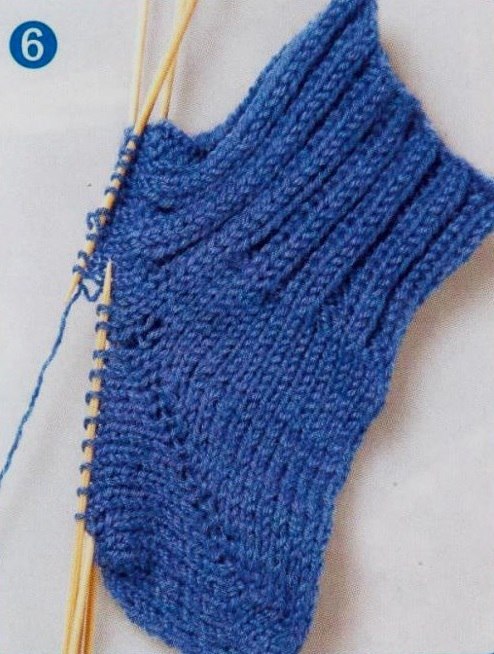
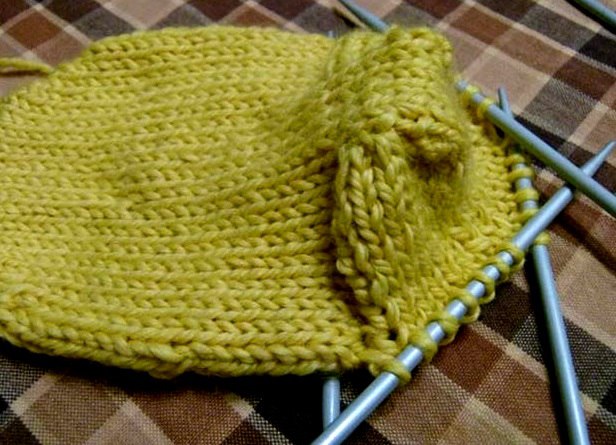
At the end of knitting, the number of loops required for the heel height is collected. They are all distributed along the knitting needle at the same distance. The previously set aside loops on the second and third tools are added to the work. Each 4th row differs from the others in the decrease: on the first knitting needle, the third and second loops from the edge are knitted into the first with the front loop, on the fourth, the second and third are passed through the first with a drawstring. The entire process is repeated until the number of loops on the first and fourth tools reaches the original value. After the heel, you should start creating the foot.
Stepped
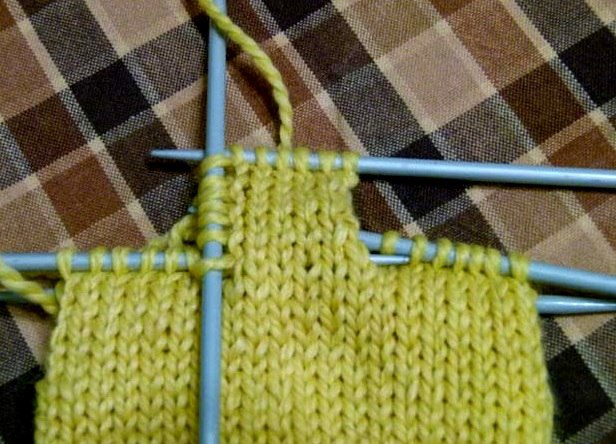
The correct execution of the heel of socks using this knitting method is done in two stages. First, the work is done using the first and fourth knitting needles, then using the second and third. To make the process easier, all the loops are transferred to one tool.
The final two stitches on both sides are knitted using the garter stitch method. This makes it easier to count the rows and ensures even edges. The required number of stitches is knitted according to the preliminary calculations.
In the next row, the last two loops are set aside. The fabric is turned. Again, the last two loops are set aside. Then the second step is created using the front surface. The last two loops are knitted in garter stitch.
In the next row, the title loop is removed with the front one, the required number of elements are knitted. The final knitted and the title set aside are connected together by pulling through. The fabric is turned. The next row begins with removing the first loop with the back one. The entire row is knitted in the same way. To the right of the second step, a predetermined number of loops is lifted. The title set aside and the final knitted are connected together by means of the back one. After this, the fabric is turned. Further knitting is carried out in a similar way until the loops of the first step are exhausted. This is how one half of the piece is created.
Then the second stage begins. All the loops are stretched evenly over four knitting needles. The second half of the heel is created using the first tool. On the left side, the number of loops specified for the lifting wedge is lifted. The loops of the second and third knitting needles, which were not used before, are connected to the process. Using the fourth tool, the number of loops equal to the number on the left is lifted on the right side. This is how the second half of the heel is knitted.
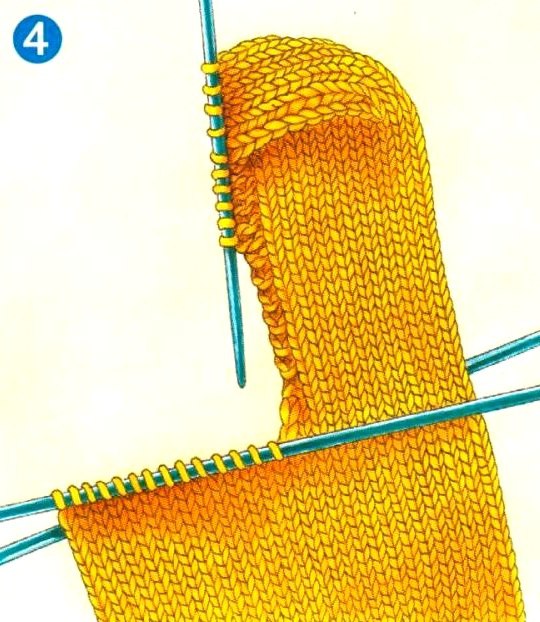
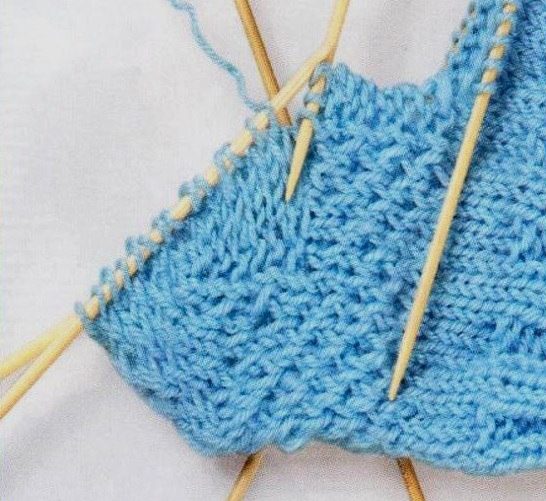
The process of creating the wedge of the instep is carried out in a circular manner. Gradually, the number of loops is reduced by joining the outer second and third loops together, alternating the front surface and the draw-through. When the number of loops on the first and fourth needles is equal to the second and third, the knitting process of the heel is finished. Then you should start creating the foot itself.
Boomerang
Boomerang is an accessible method of knitting the heel of a sock, which does not cause any particular difficulties even for beginner needlewomen. When the upper part of the product is ready, all the parts are divided into two halves. One section is used to create the heel.
All loops are knitted to the final one. The fabric is turned. A yarn is made. Then the process is repeated to the final loop, which is not used. The fabric is turned again. Knitting is carried out to the yarn. The fabric is turned. The entire process is carried out according to this principle until a third of the original number of loops is reached.
Then the final loops are knitted on both sides together with yarns, five doubled in the outer parts, and six in the central part. Then the started row is connected to the second half in a circle. When reaching the rows with yarns, five double loops are knitted together with yarns again.
The central part is knitted back and forth together with yarns. Yarns are made along the edges, the loops are returned. It is this technique that is called "boomerang".
In the rows of the opposite direction, the yarns are connected to the doubled loops of the outer sections. Due to this, the number of loops increases by one. The work continues until half of the loops for the heel part are included in the process. After this, the sock is knitted further.

Double
Knitting of a double heel is done using half of the loops. This element of the sock is reinforced. The second and third knitting needles are used in the process. The required height is knitted by alternating rows using the purl or face surface.
The first row is made through one loop. The thread is passed in front on the unused loops for the purl stitch, and behind for the front stitch. The second row is knitted according to the pattern. After this, all the loops are divided into three components. The skipped elements are connected to the middle part.
Next comes the back side. The process is characterized by the same skipping of loops through one and pulling the thread. The final loop of the middle section is connected with the title edge part into one front loop. The fabric is turned.
Next comes the front row. The middle is knitted in accordance with the above description. The final loop of the central section is connected with the first from the outer row into one purl. The main thing is to remember that two purl stitches are combined into one front stitch, and vice versa.
The decrease joint takes on the shape of the future heel. Knitting continues until all the loops in the outer sections are exhausted. The double heel with increased wear resistance is ready.


French
The knitting process using this method begins with the same as the above options. The distinctive feature is the design of the heel part itself. As an example, the number of loops of the sole, equal to twenty, is taken as a basis. To create the heel, they are divided into three components - seven loops in the outer ones and six in the central section.
Initially, seven rows are knitted upwards. Seven loops are lifted on each of the outer parts. After that, rows running perpendicularly and the central part are knitted. In the process, the heel component is connected directly to the sole itself by capturing loops from the side sections.
After the actions have been performed, the number of knitting needles involved in the work is three. The loops are strung on them. The fourth knitting needle remains free and is connected only to continue knitting further components of the sock. The French heel is ready.

Kerchief
The distinctive feature of the knitting method "kerchief" is the similarity of the edges of the heel part with the feet. The fundamental rule is to divide the existing loops and decrease by a wedge in a specific way. The entire process is carried out using knitting needles No. 1 and 4.
The height is knitted with a personally selected pattern or with a regular stockinette stitch. Only stockinette stitch is used for the edges. In order for the heel part to have greater wear resistance later, it is recommended to use the double knitting method. In this case, the loops are pulled through. Due to this, an additional layer appears, which will ensure a longer use of the sock.
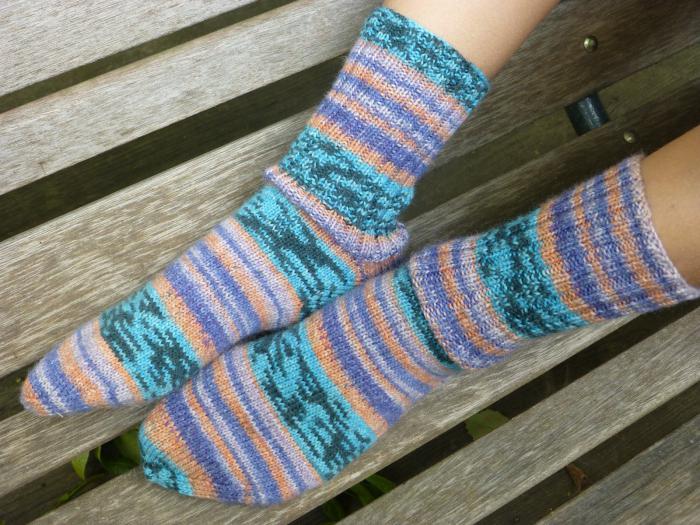
Once all the knitting techniques have been analyzed, it will be easy to create unique items for all occasions. There is nothing more beautiful than things made by hand. And socks knitted with love will warm you up in the cold winter time.
Additional tips
Everyone knows that the part of the sock that is most susceptible to wear is the heel. Darning looks unpresentable. Therefore, it is better to use some techniques directly during knitting to strengthen this element:
- In the process of work, apply double folding of the thread used for the entire sock.
- Use a stronger thread to knit the heel of the sock. Experienced craftswomen recommend nylon, silk or mohair. They are particularly durable. Another option is cord thread, which is used in shoe manufacturing.
- When creating the heel, you can use garter stitch or the "rib" method.
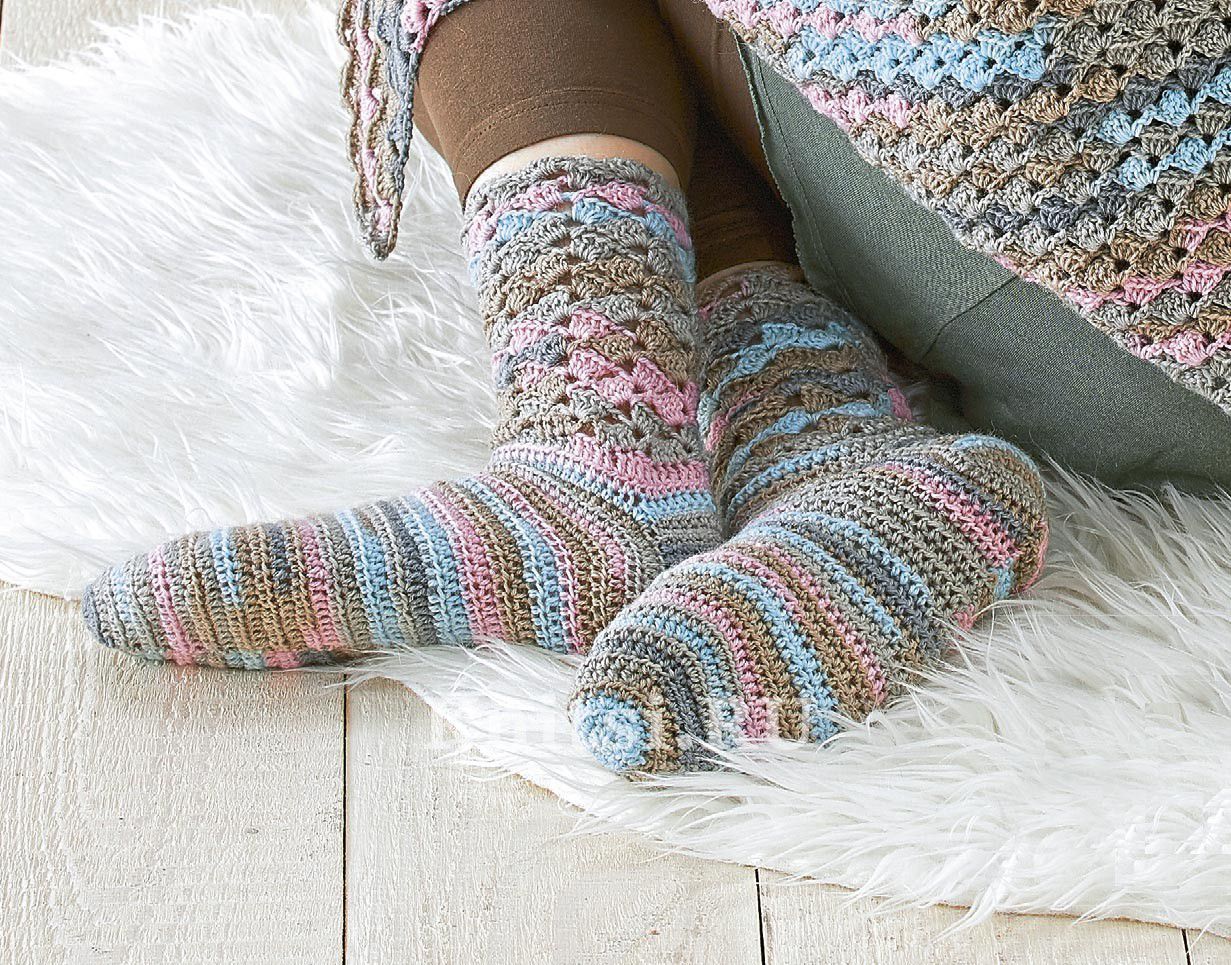
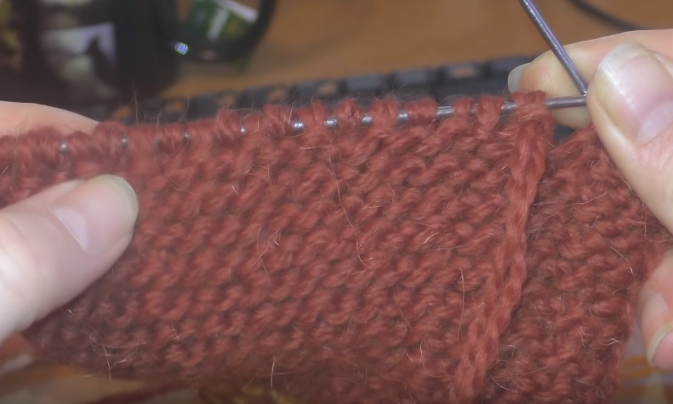
The product will turn out original if you use your imagination and experiment with the color scheme of the heel part. To do this, you should choose contrasting color threads. You can knit the sock separately from the heel and then connect the two components. This method is notable for the fact that at any time you can separate the worn heel and replace it with a new one.
Video