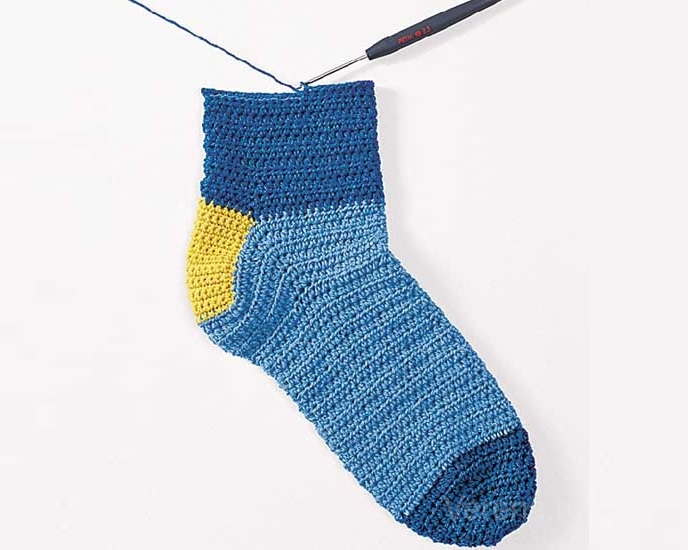
Knitted items look stylish regardless of the tool used to create them. Feet should always be warm, and crochet socks made of natural yarn are perfect for this. It is much easier to work with such a tool than with stocking needles. Even a beginner can handle the process after studying the symbols.
Materials and tools
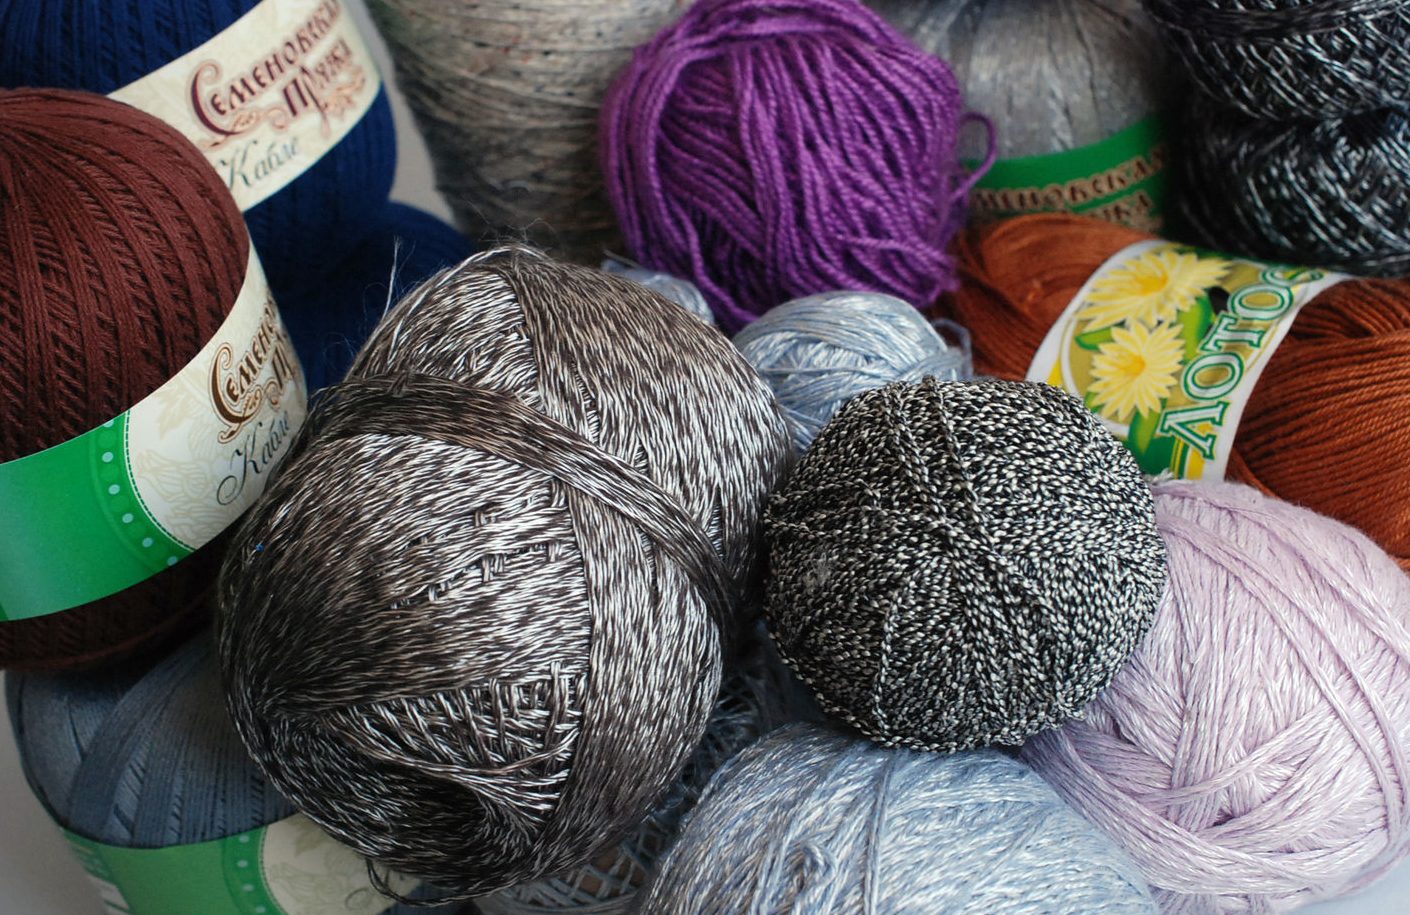
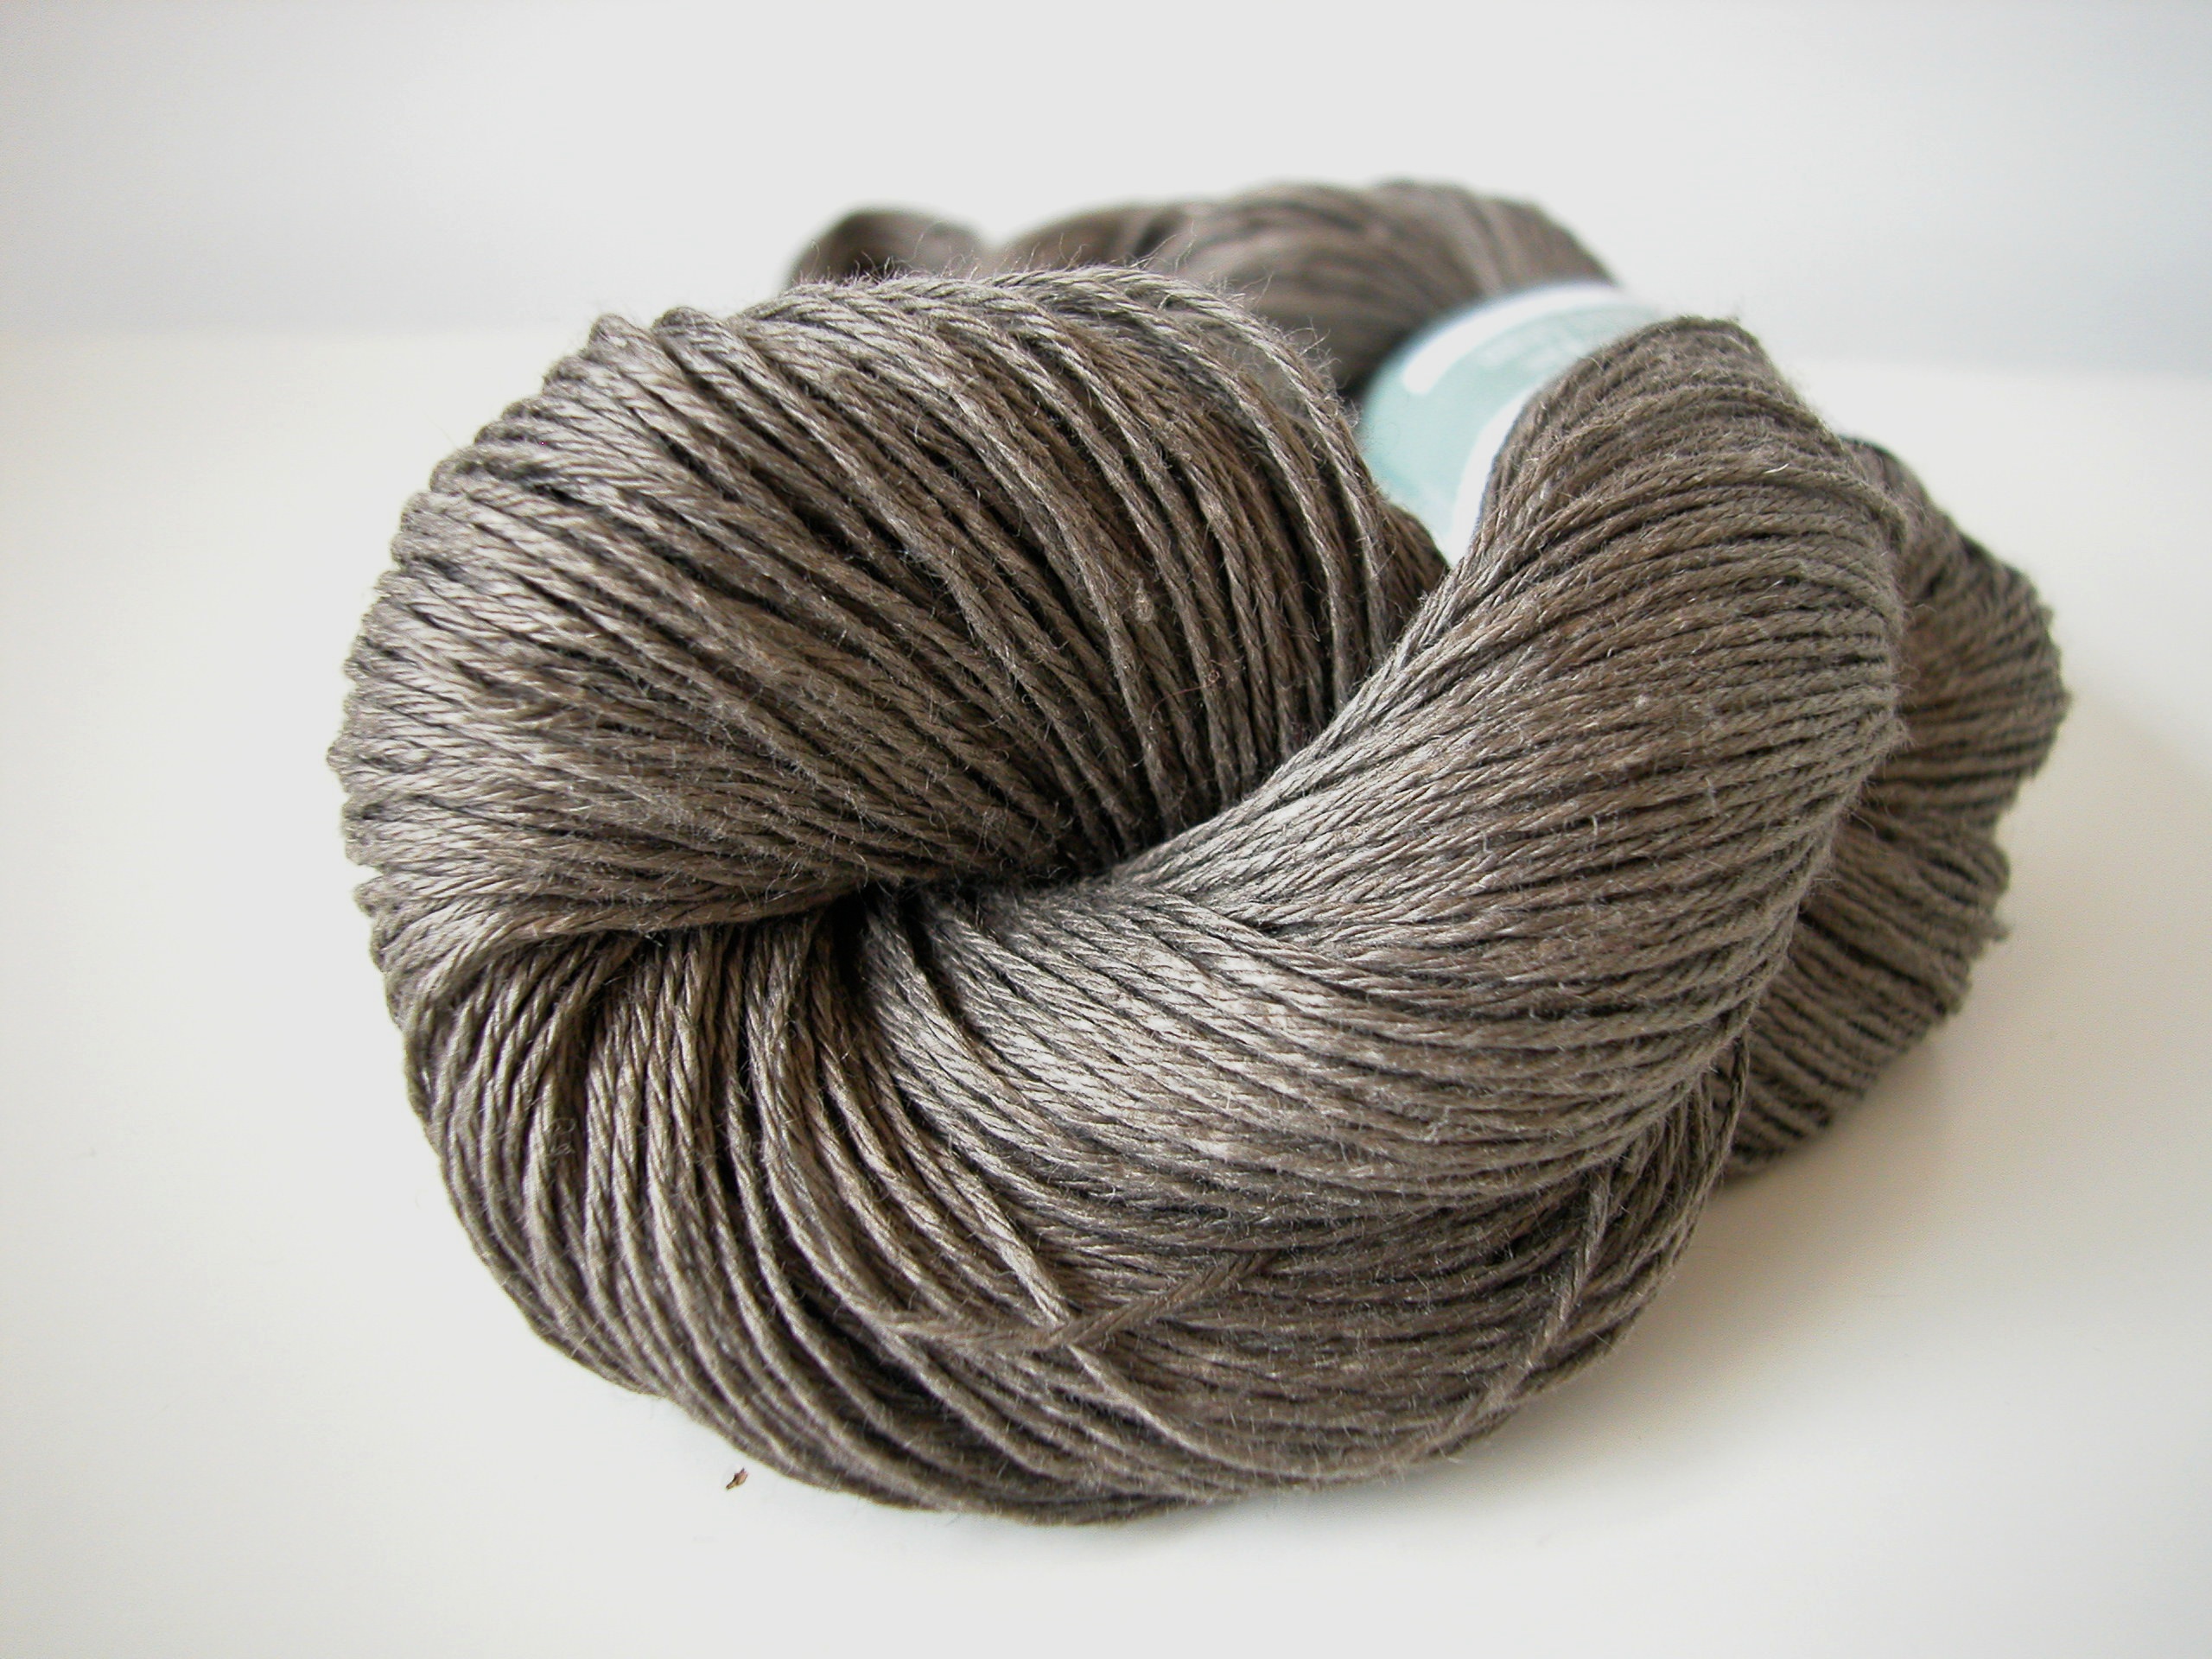
When choosing yarn, you should take into account that it is elastic, warm, and wear-resistant. Previously, natural thread was used for knitting, which quickly wore out. Now most manufacturers have begun to add synthetic threads: polyamide, acrylic, polyester. They soften the yarn and make it more resistant to mechanical impacts.
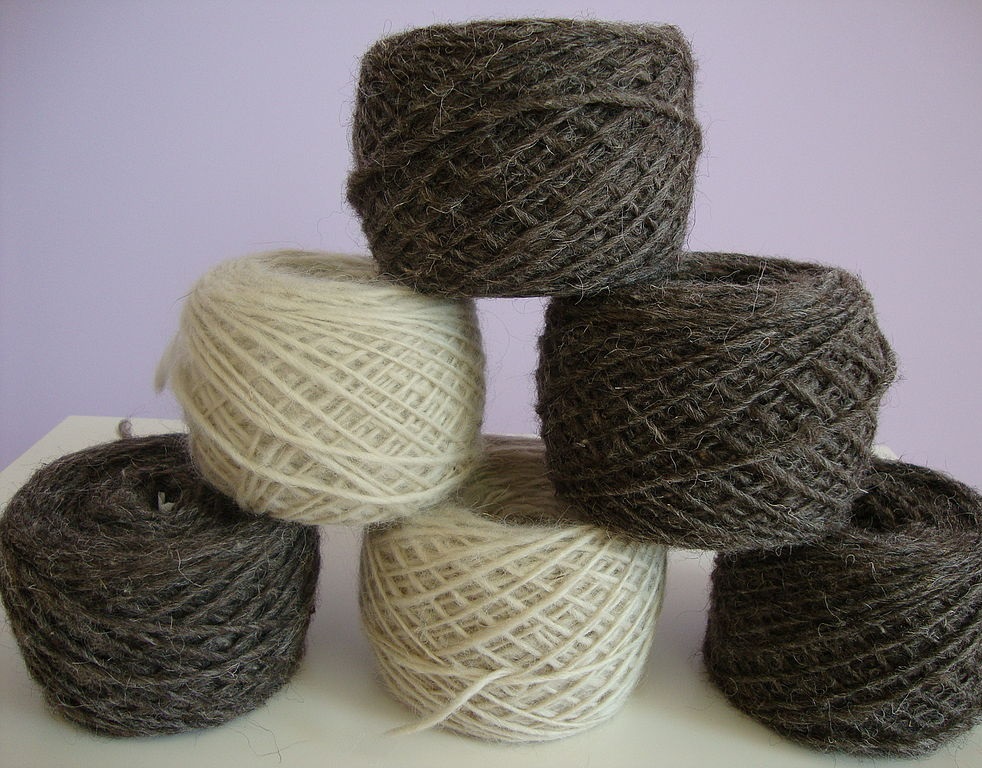
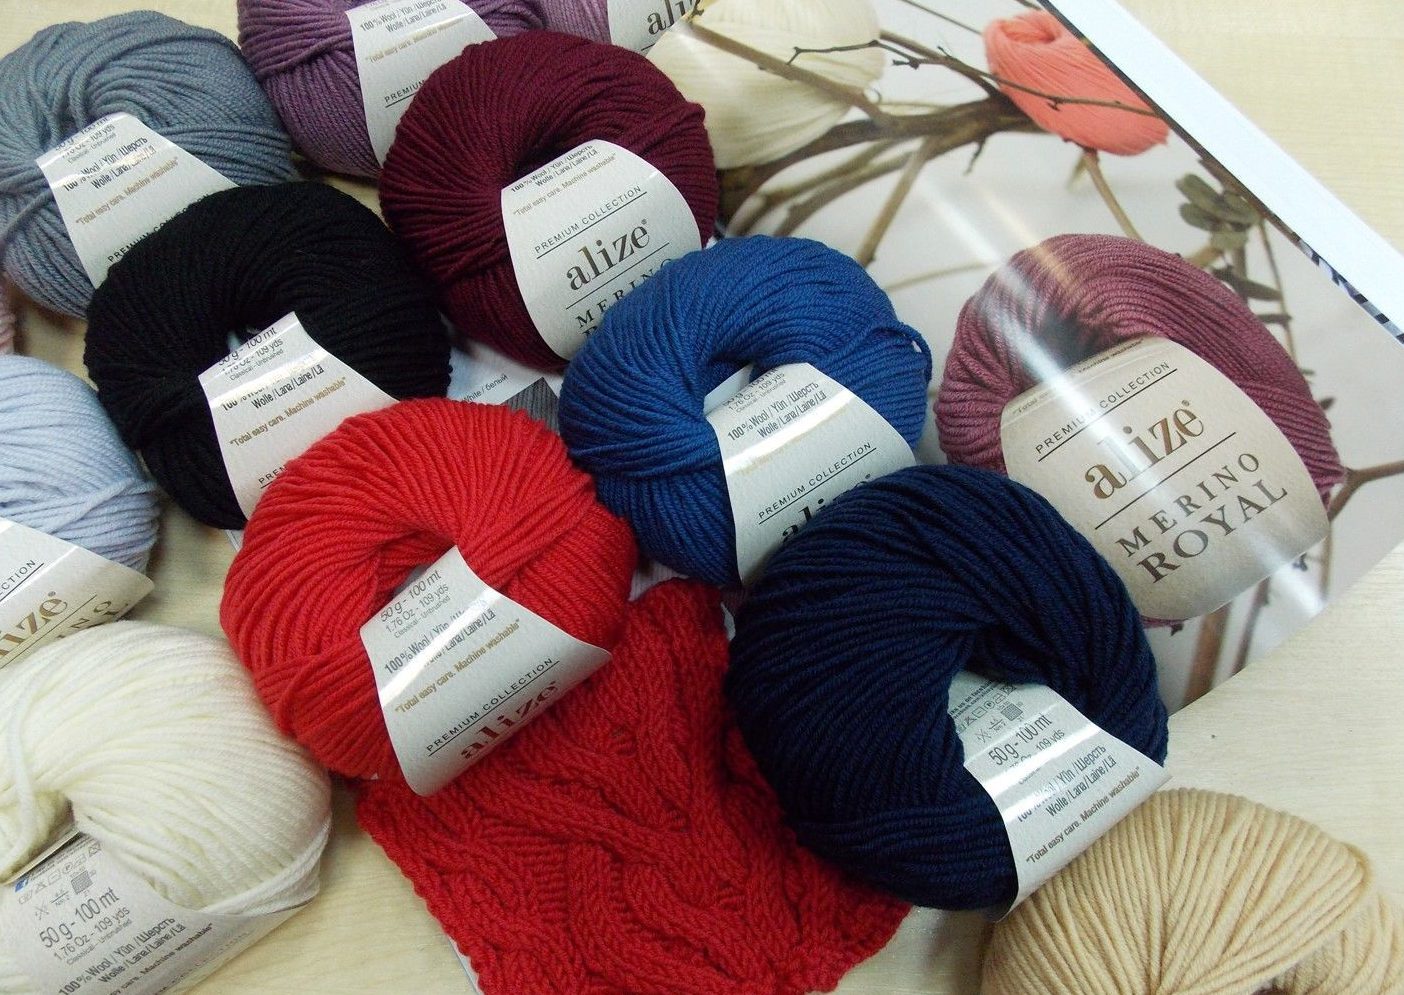
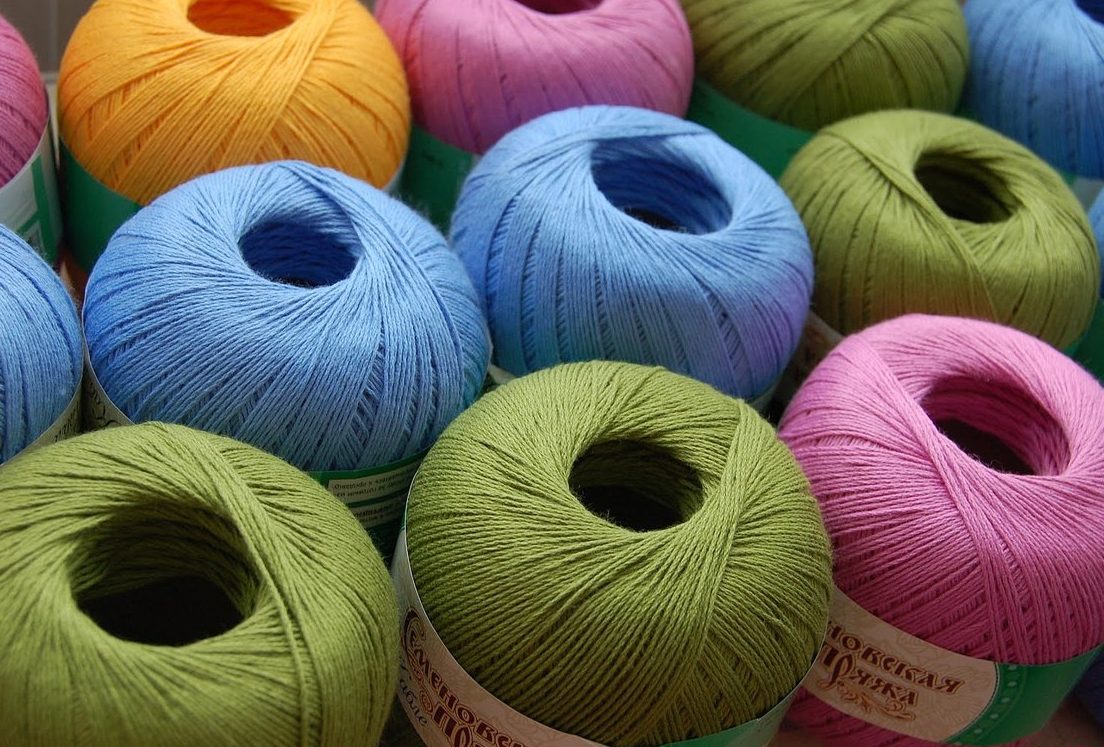
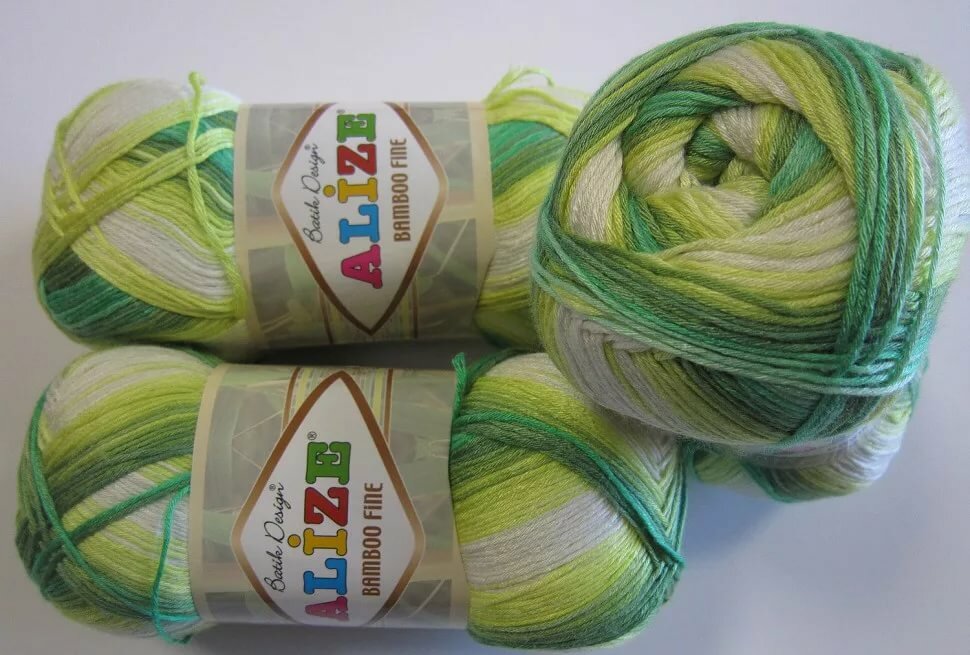
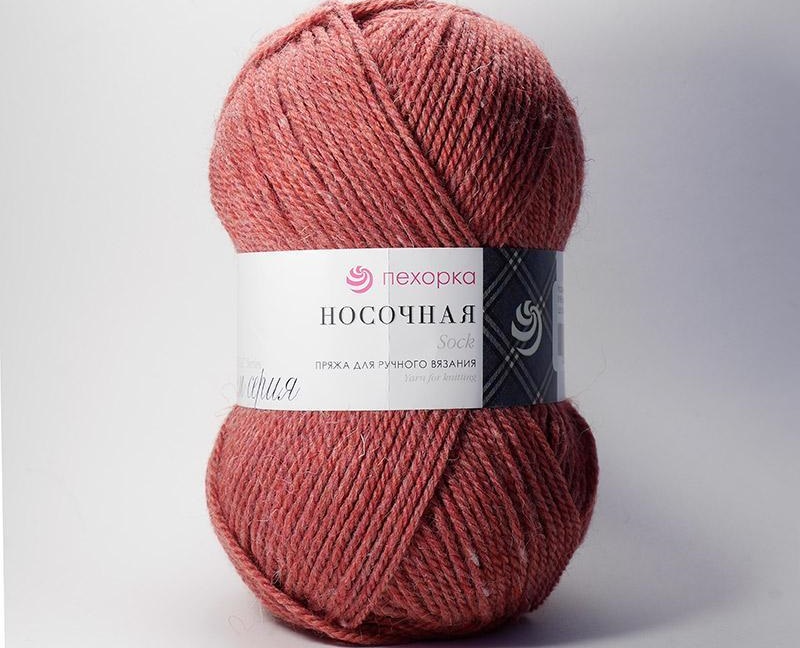
For winter crocheted socks, yarn made of sheep or merino wool with the addition of acrylic, nylon, and polyamide is suitable. Products made from them are not only warm, but also extremely wear-resistant. Summer models are made from cotton, linen, bamboo with the addition of acrylic, polyamide, and capron.
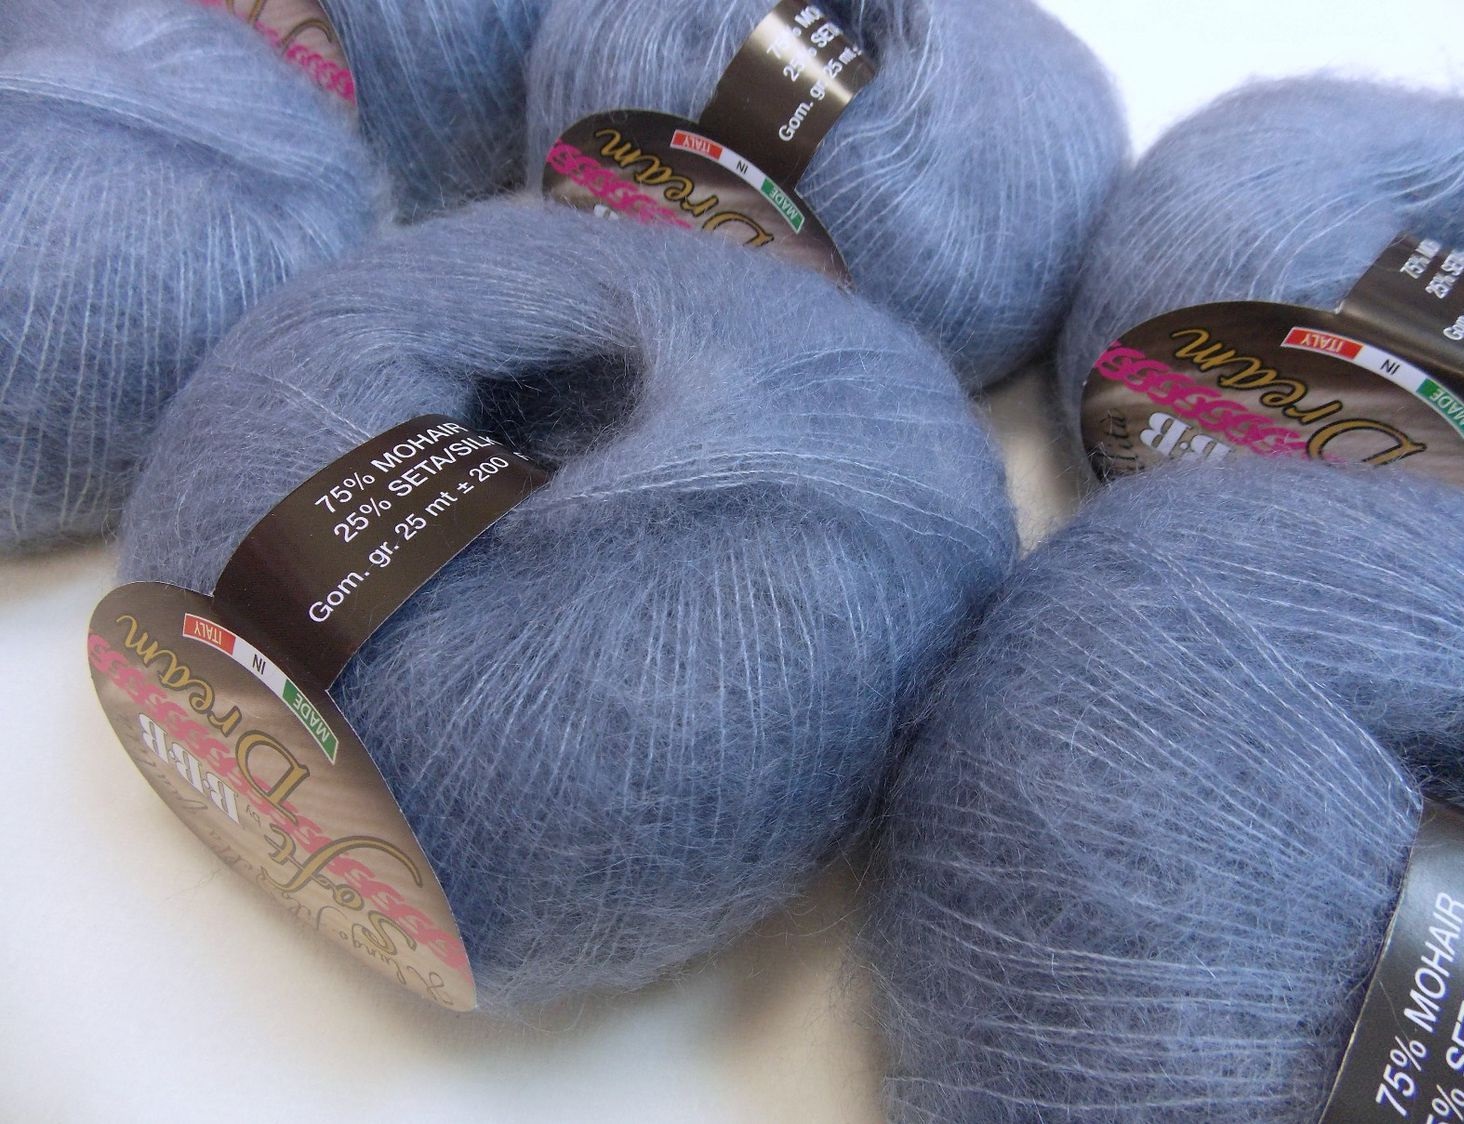
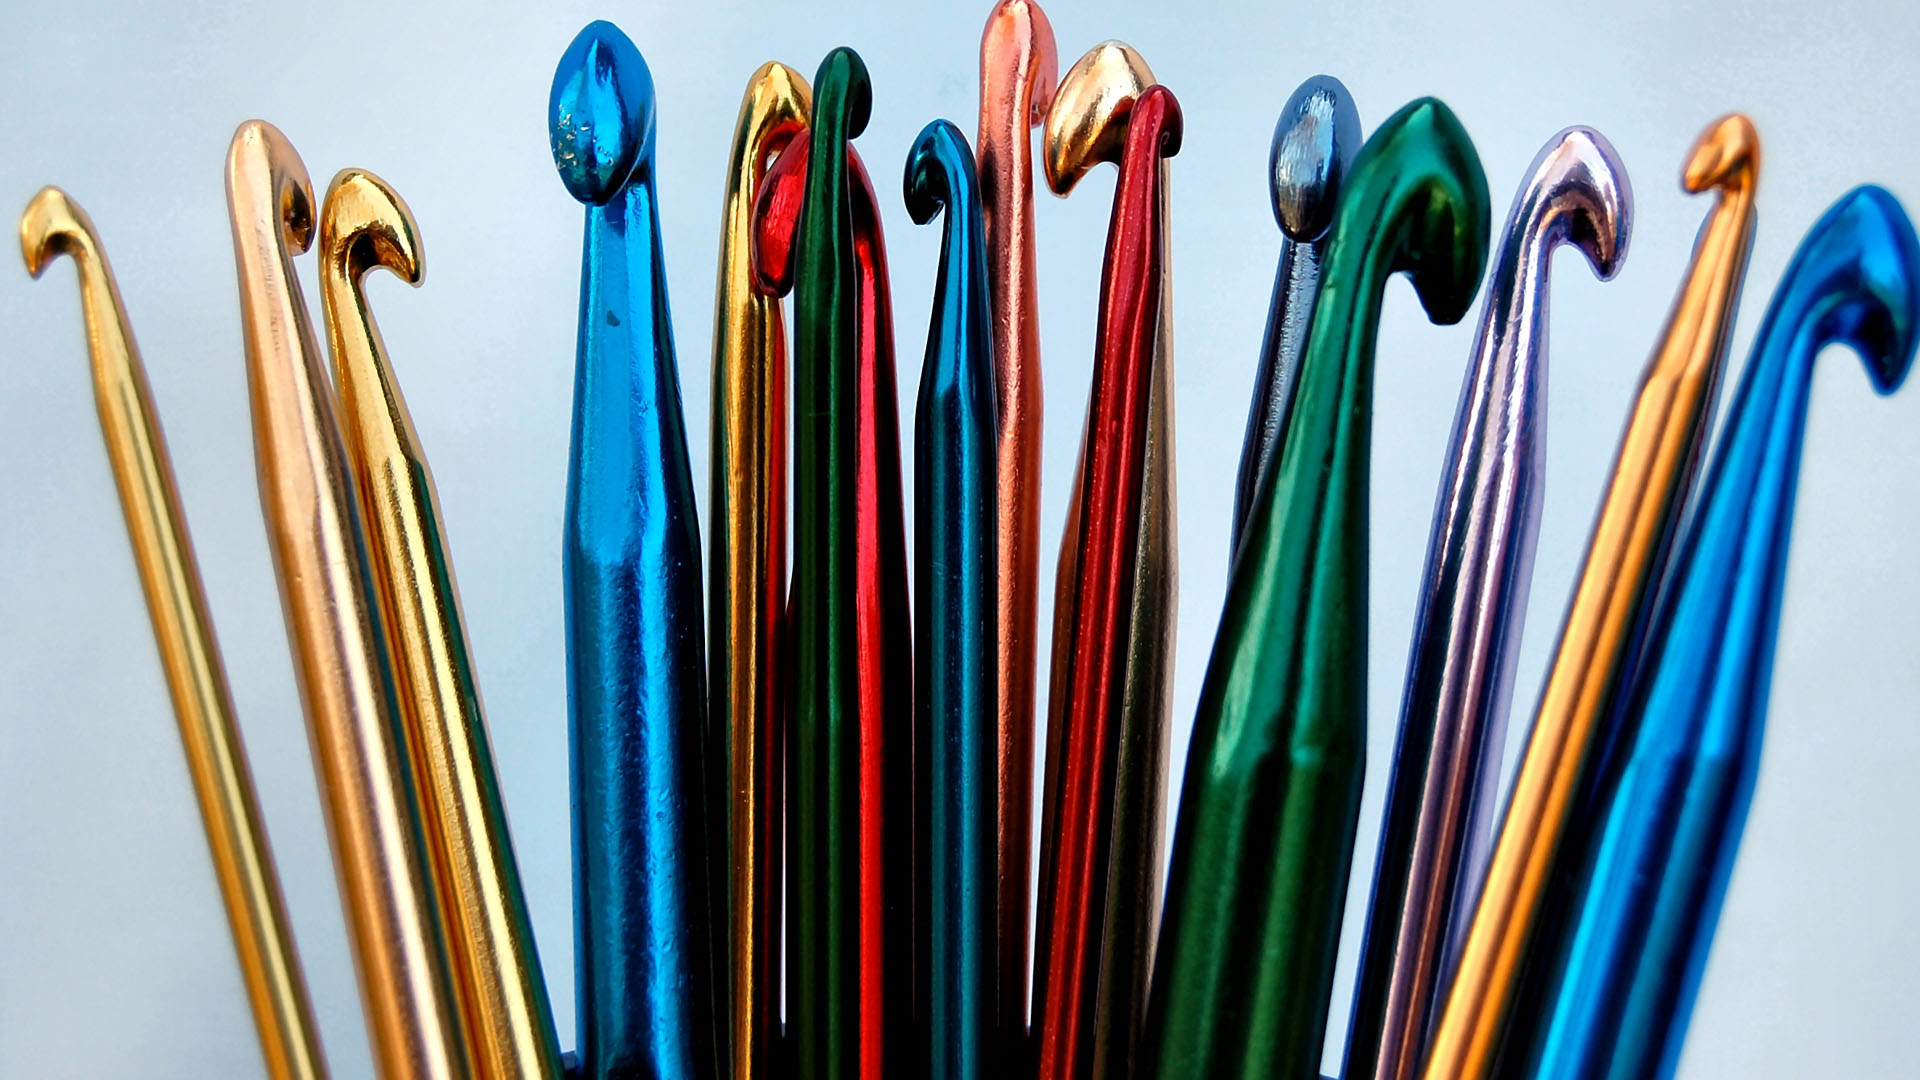
The toe and heel require additional reinforcement. To do this, a thin thread made of mohair, nylon or a special sock additive is added to the main thread. The recommended yarn thickness is 350–500 g/100 m. This is the parameter by which you should select the hook number. Usually, the required diameter of the tool is indicated on the label. In cases where the yarn was purchased in spools or the sticker is lost, there is a tricky way to select a hook:
- Fold the thread in half to form a loop.
- Place the hook head into the loop and pull it tight.
- If the thread goes beyond the edge of the head, you need to take a larger tool, if it falls through, a smaller one. For openwork patterns, it is better to choose a hook a little larger, so the fabric will be airy.
- If the thickness of the thread corresponds to the diameter of the head or is slightly thinner, the tool is selected correctly.
To knit the sock, toe and elastic, take a hook 0.5–1 mm smaller than the main one. This way the product will be denser and neater.
Necessary measurements
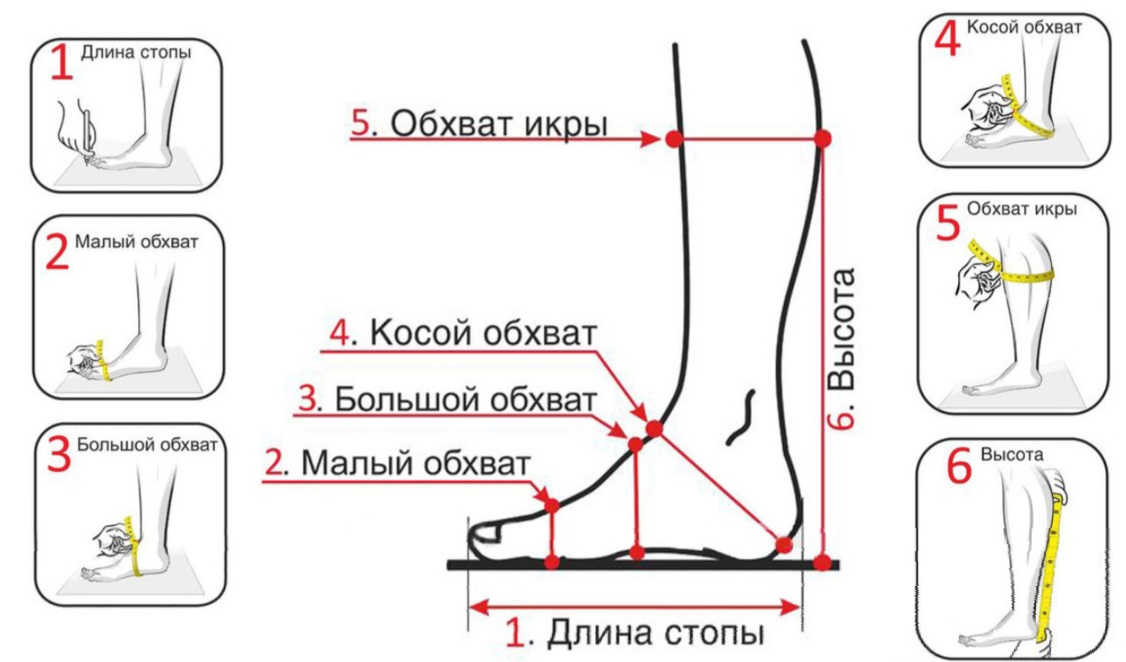
You can choose simple and beautiful patterns for crocheting socks, but before you start working, you need to take mandatory measurements. You will need a measuring tape to measure:
- leg circumference (LC) – just above the ankle;
- instep (OP) – under the heel to the bend along an inclined line;
- foot length (FL) – from the big toe to the end of the heel;
- elastic band height (EBH) – optional;
- heel height (HH) – from the leg circumference line to the end of the heel;
- toe length (TL) – from the base of the toes to the end of the big toe.
The formula for calculating the set row looks like this: (ON + OP): 2. It is simple, but beginners should practice. Example: if ON = 17 cm, OP = 14 cm, you get (17 + 14): 2 = 15.5 cm. Next, you will need to knit a sample of 10-20 columns per 5-10 cm or a full pattern rapport. You should take into account the stretching or settling of the product after washing. To do this, the sample must be washed and dried on a flat surface naturally.
Crochet socks are not as elastic as knitted socks, therefore, they stretch worse. Ideally, 1-2 cm are subtracted from the cast-on row depending on the type of yarn of the sample. But it is not recommended to knit tightly, as the item may shrink after washing. Exceptions are children's crocheted socks. Here it is necessary to make an increase of 1-2 cm to the obtained measurements taking into account the rapid growth of a small foot.
In cases where the socks you like come with an original pattern with individual measurements, yarn and a hook, you can adapt it to suit yourself. To do this, you need to knit 1 pattern repeat as a sample and material for calculation. Then you need to measure the height and width, apply to individual measurements. As a result, the number of repeats can increase or decrease. Extra loops are reduced or brought to the desired value.
Basic rules of knitting
There are basic rules for quality crocheting of socks. Both beginners and experienced knitters should follow them. They will help to do the job correctly, resulting in a neat product. Recommendations for needlewomen:
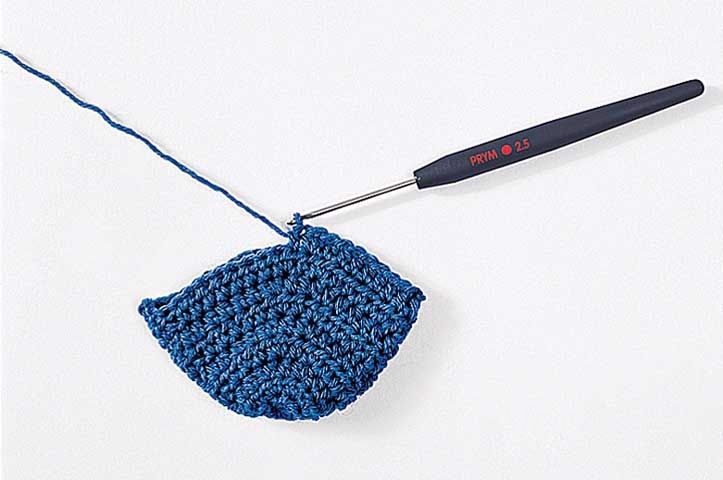
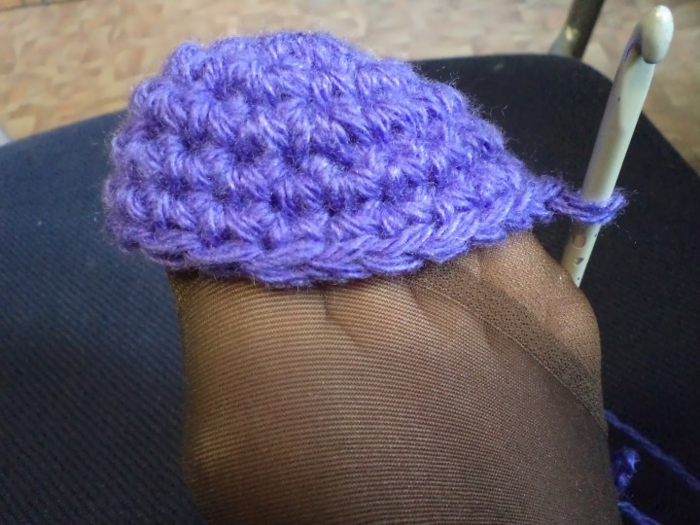
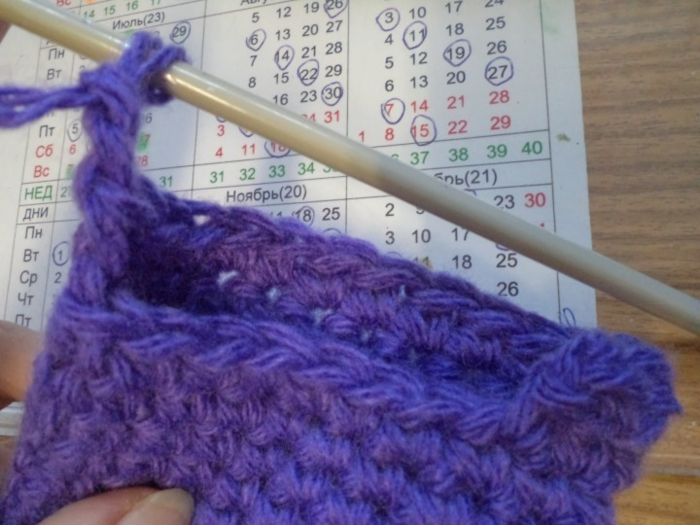
- The work begins with the toe. It is best to use turning rows to create it. The crocheted right and left socks may differ slightly in pattern, ornament, and in order not to make them for one foot, the side is marked with a marker.
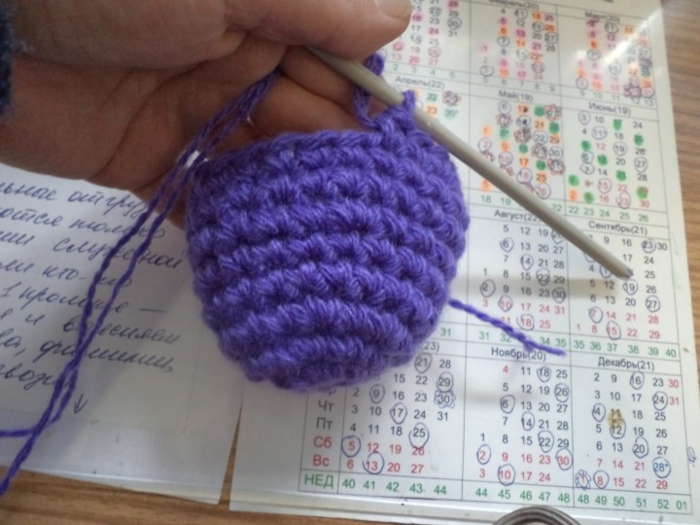
- Once you have reached the volume of your foot, you should stop adding stitches.
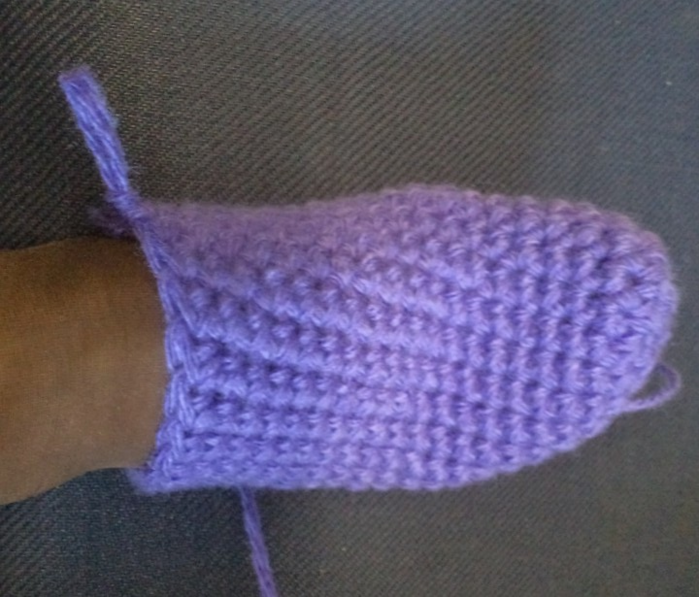
- When knitting a relief "ribbing" decreases are not necessary. It will give the sock its shape. The height depends on your desire or the pattern.
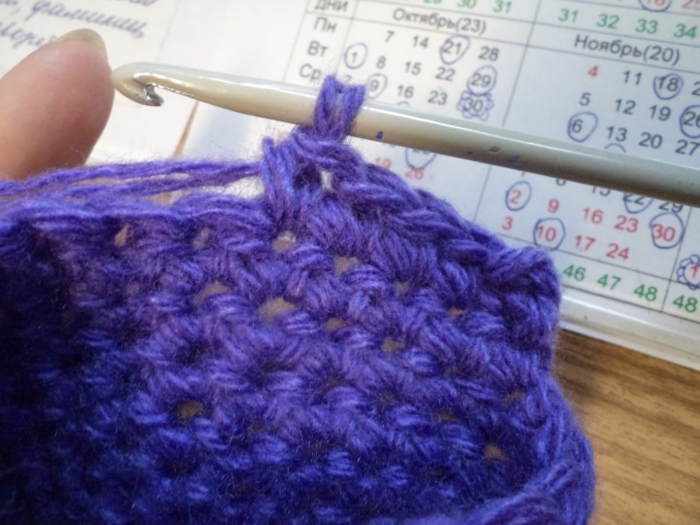
- The sole and the upper are connected by placing the two parts together and knitting half-columns.
Crochet can be started with an elastic band, then the socks are created in reverse order. And the heel is made as when working with stocking needles or according to the booties principle.

Stages of knitting popular models of socks
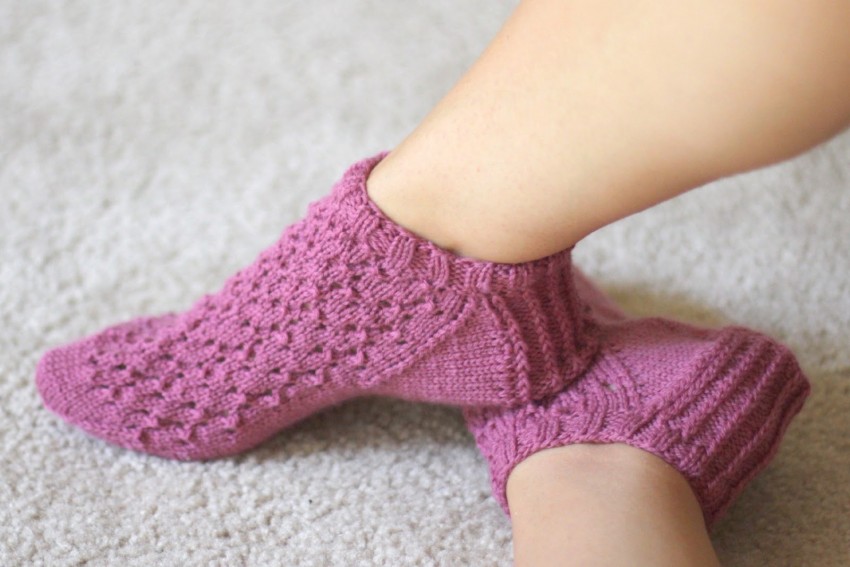
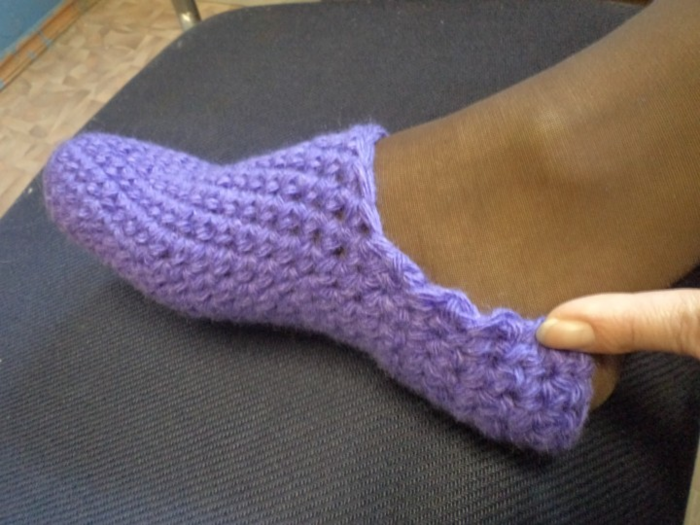
Popular models include footsies, they are suitable for wearing at home, and for children they will replace slippers. Knee-highs and stockings will warm you in cold weather and complete the image. Simple socks are universal. Before knitting, you need to choose a pattern with a step-by-step description and strictly follow it.
Abbreviations:
- SS – slip stitch;
- VP – air loop;
- ССН – double crochet;
- OV – common vertex;
- PP – lifting loop;
- SC – single crochet;
- SP – blind loop;
- СС2Н – double crochet.
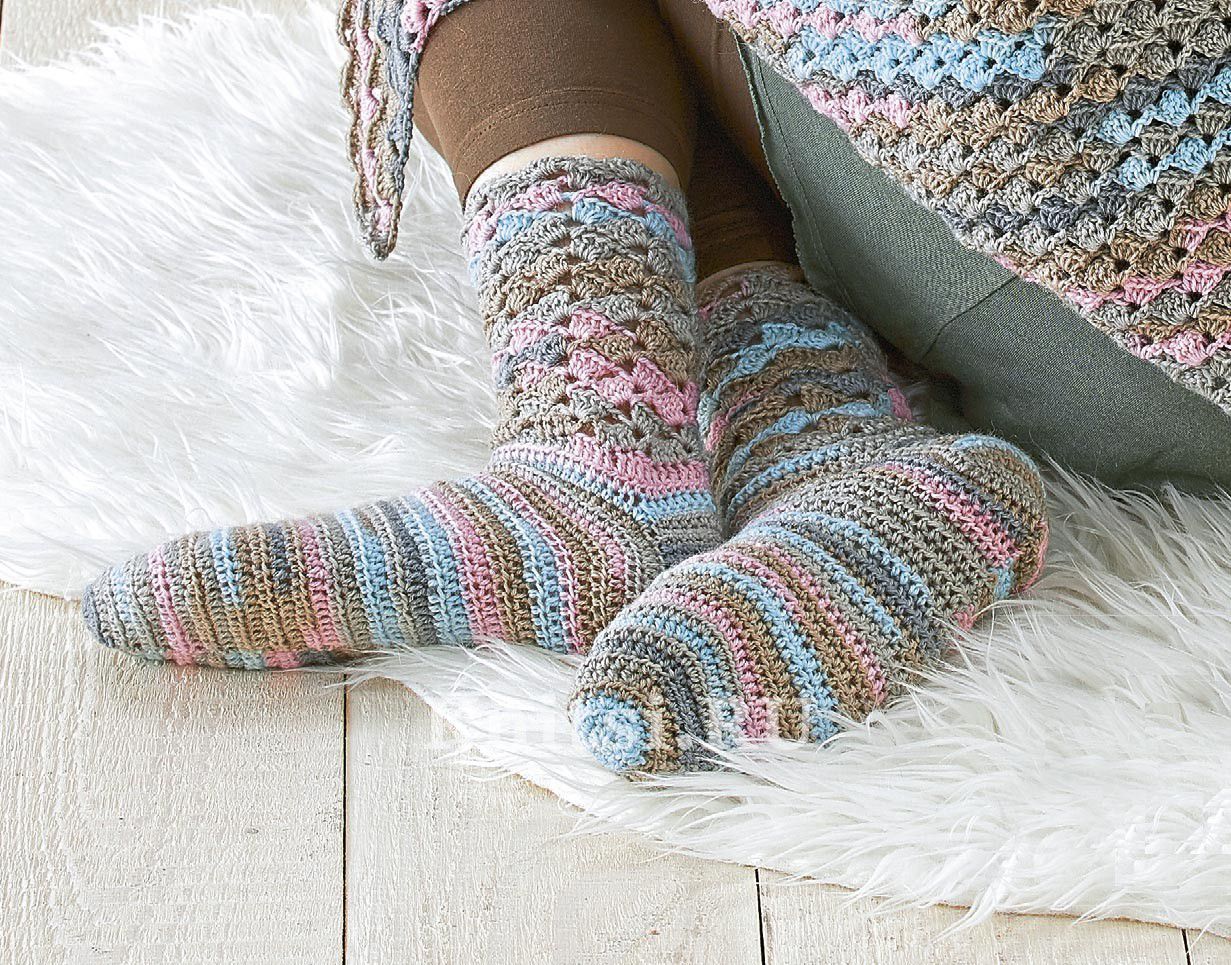
Lace cropped for girls
Crocheted children's socks will decorate your feet at any time. To create lacy footsies for a child, you need to follow the description of the process. Even a novice needlewoman can knit such "slippers". Do not forget about an additional thread to strengthen the toe and heel. Master class:
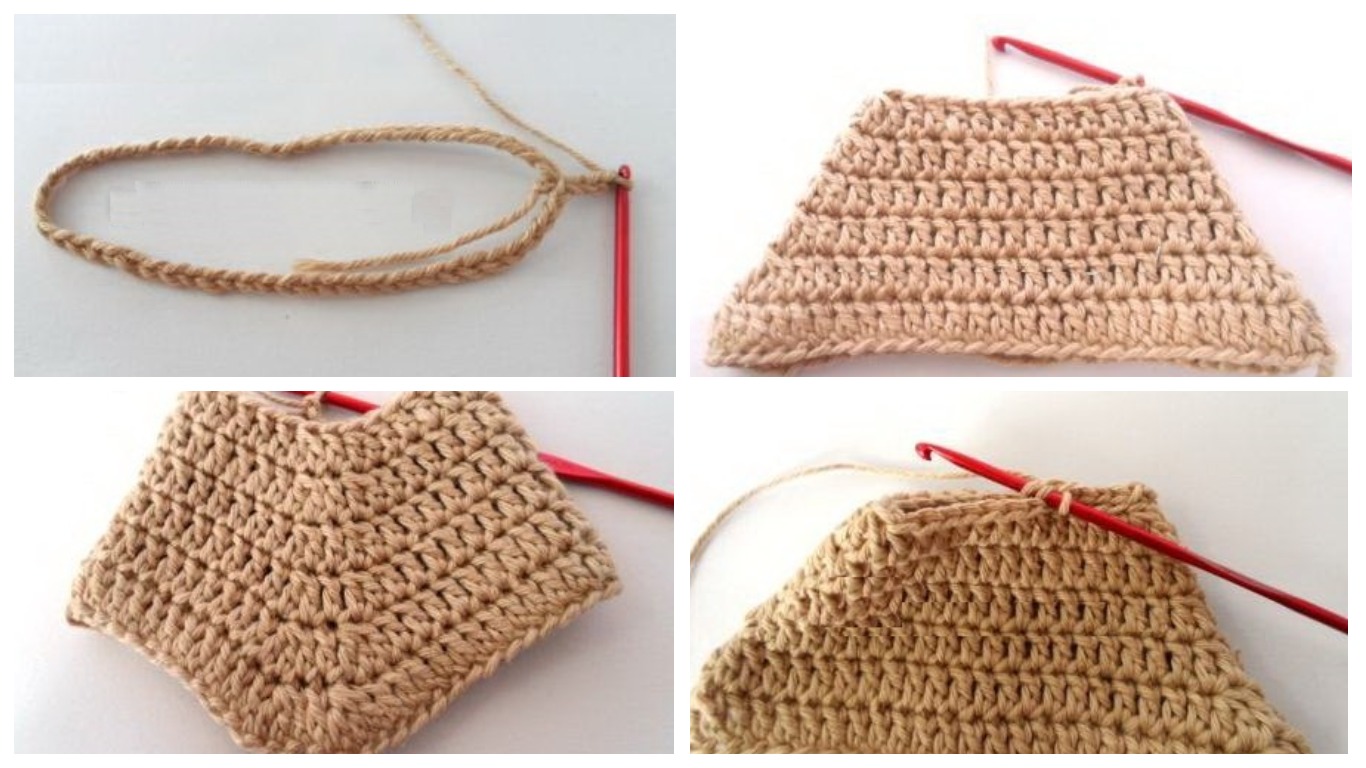
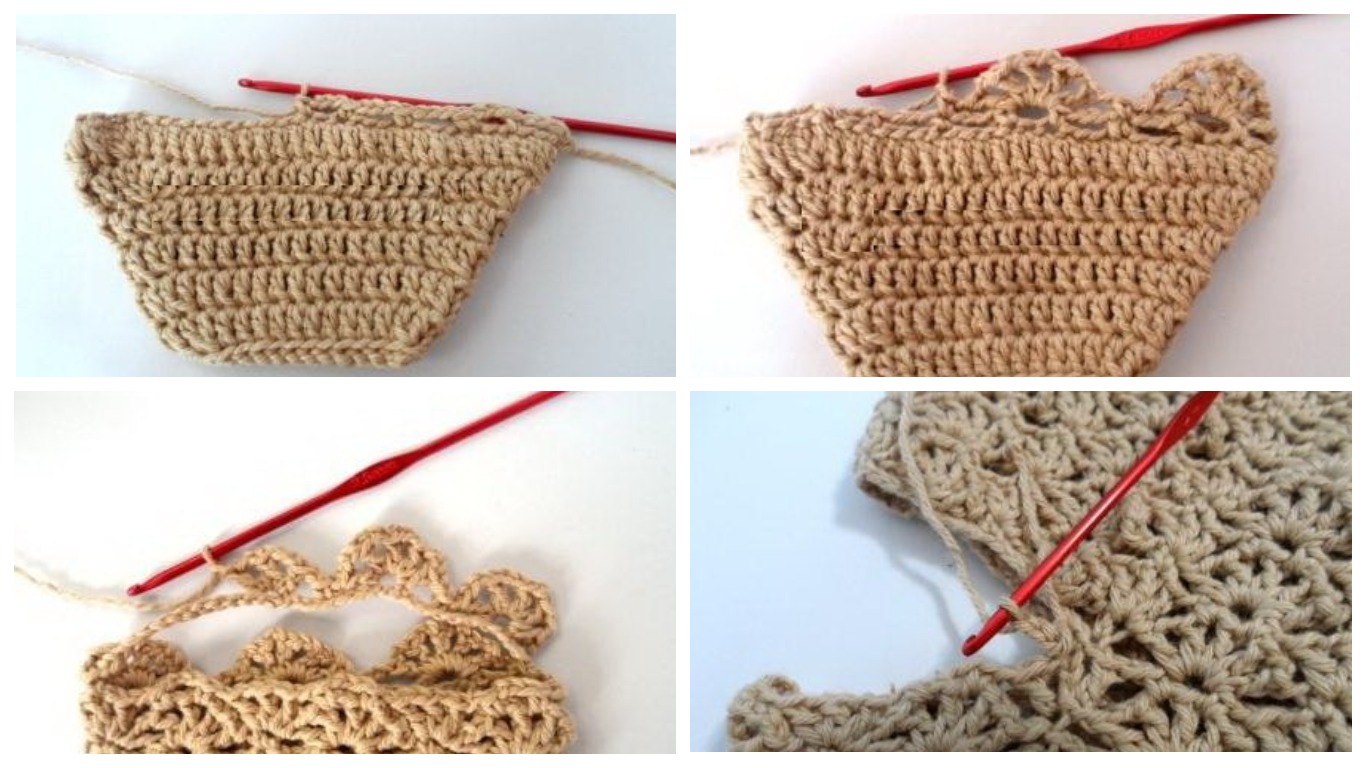
- Like other models, openwork socks are knitted from the toe. For the first row, you need to dial 50 loops, it is equal to the volume of the foot, so everyone should adapt the pattern to themselves. The chain is closed in a ring with a connecting post (SS). It is important to ensure that it does not twist.
- Next – 2 PP, 3 CCH with OB, 18 CCH, 3 CCH with OB, 1 CCH, 3 CCH with OB, 17 CCH, 3 CCH with OB. Finish with a connecting loop in the last PP.
- Then – 3 CCH with OB, 14 CCH, 1 CCH, 3 CCH with OB, 13 CCH, 3 CCH with OB.
- Then in the next row, instead of 3DCN with OB, 2DCN are knitted. Decreases are made according to the pattern. A total of 6 rows. The remaining loops are crocheted or connected with a needle by the loops. It is better to hide the thread immediately.
- The toe is finished, now the thread is attached from the other side where the chain is connected. The rapports can be marked with markers. The foot is knitted with an openwork pattern up to the instep. Of the many simple models, the "Slices" pattern is suitable for beginners.
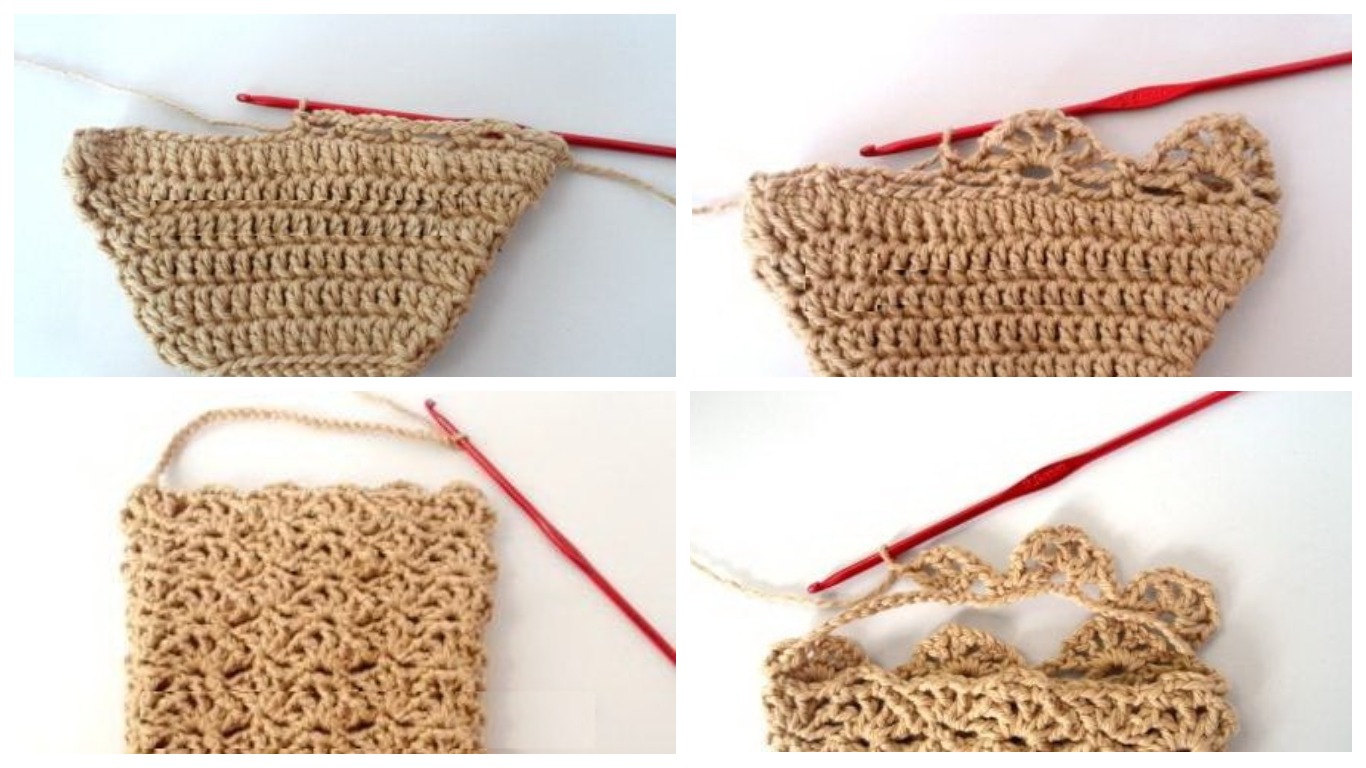
- Knit 1 sc, 3 ch, 1 sc in the 4th loop. Continue like this until the end of the row.
- 1 SC, 1 VP, 1 dc into the second three 2 VP, in the same place 4 more dc are knitted with 2 VP between them. After the last dc, 1 VP and SC are made into the next three VP of the previous row. So to the end.
- In the sc of the previous row 1 dc, 1 ch, 1 dc in ch after the 2nd dc of the previous row 3 ch is made sc in ch after the 3rd dc, 3 dc with 1 ch, between them sc in the previous row. The rapports are repeated to the end.
- A new report starts with 1 sc, 1 ch, 5 dc with 2 ch between them in the 3 ch of the previous row, 1 ch and sc in the 2nd dc in the previous row. Then everything is repeated.
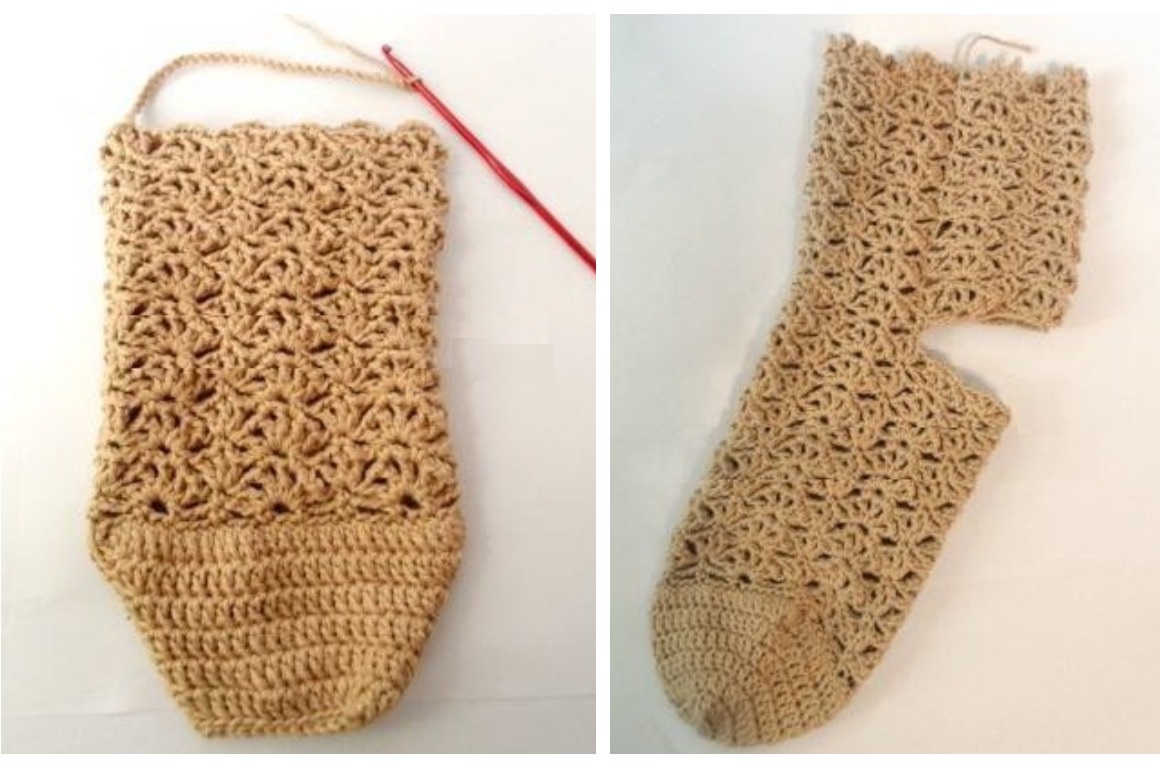
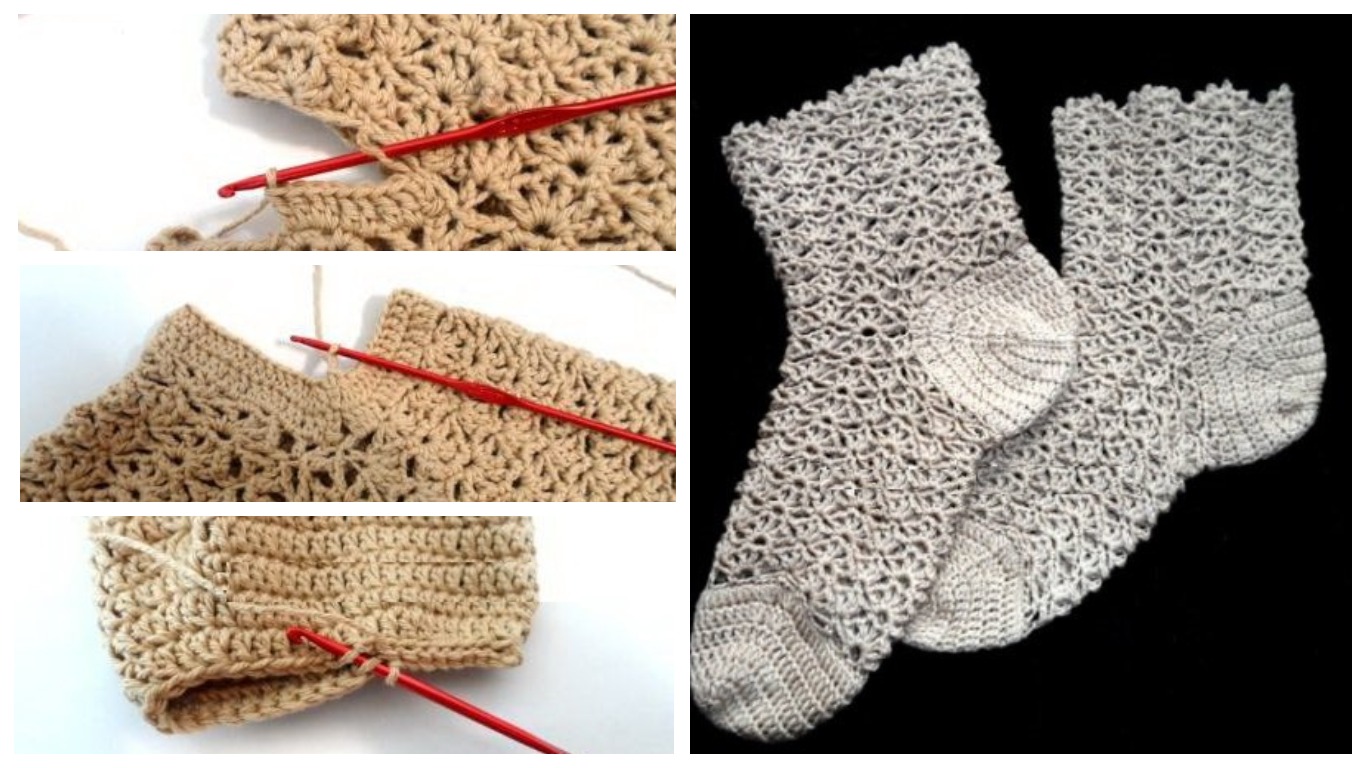
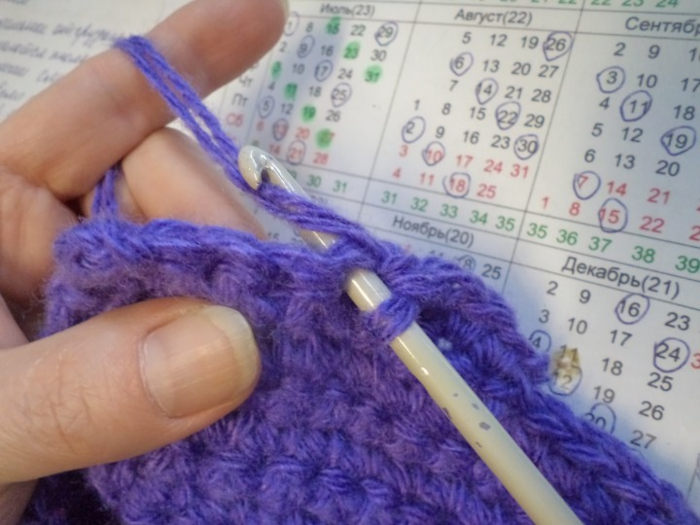
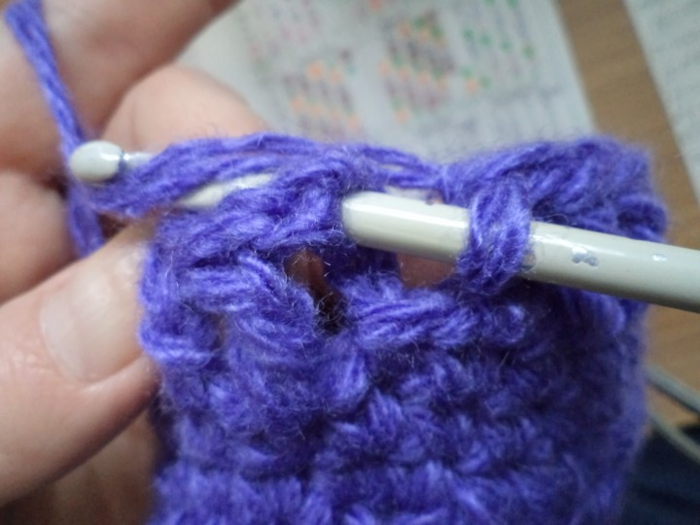
- The sock is divided into the front, heel and sides. From the first part, 29 VP are collected and attached to the opposite side. The bootleg is knitted to the required height. The last row is knitted using the "crayfish step" technique: take a thread, make a VP from the first base loop. Knitting will occur from left to right. Next, insert the hook eye into the next base loop and knit a VP. So to the end of the row.
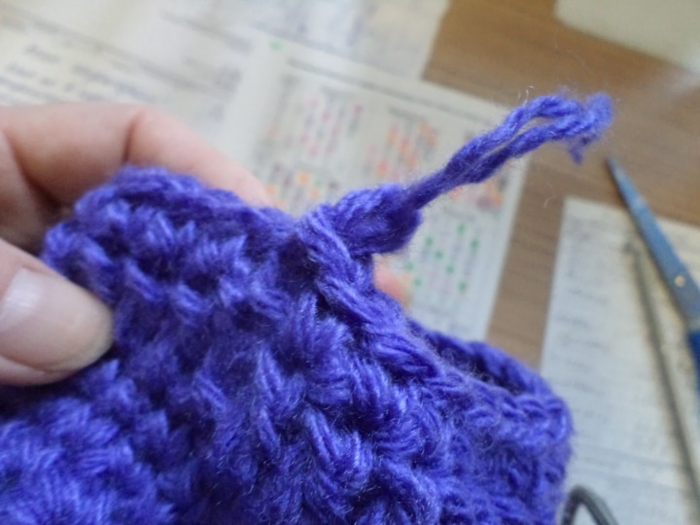
- From the resulting hole, the heel is knitted in the same way as the toe.
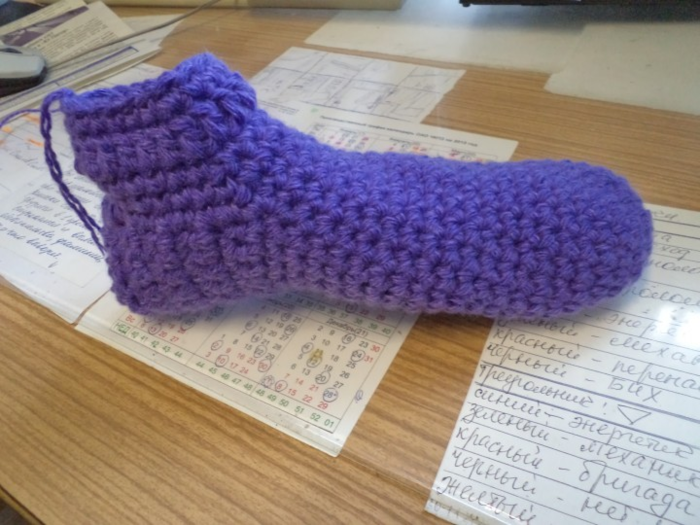
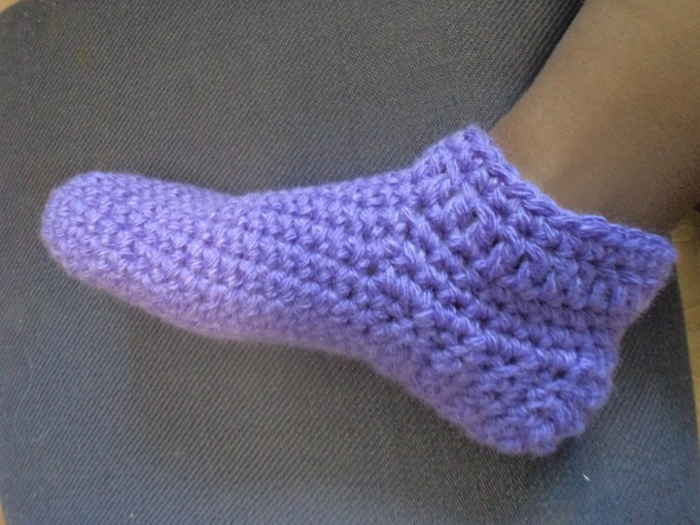
Step-by-step knitting of openwork socks with a crochet hook for beginners is finished. It is better to wash the product and dry it naturally on a flat surface. After the first wash, the item should not be wrung out.
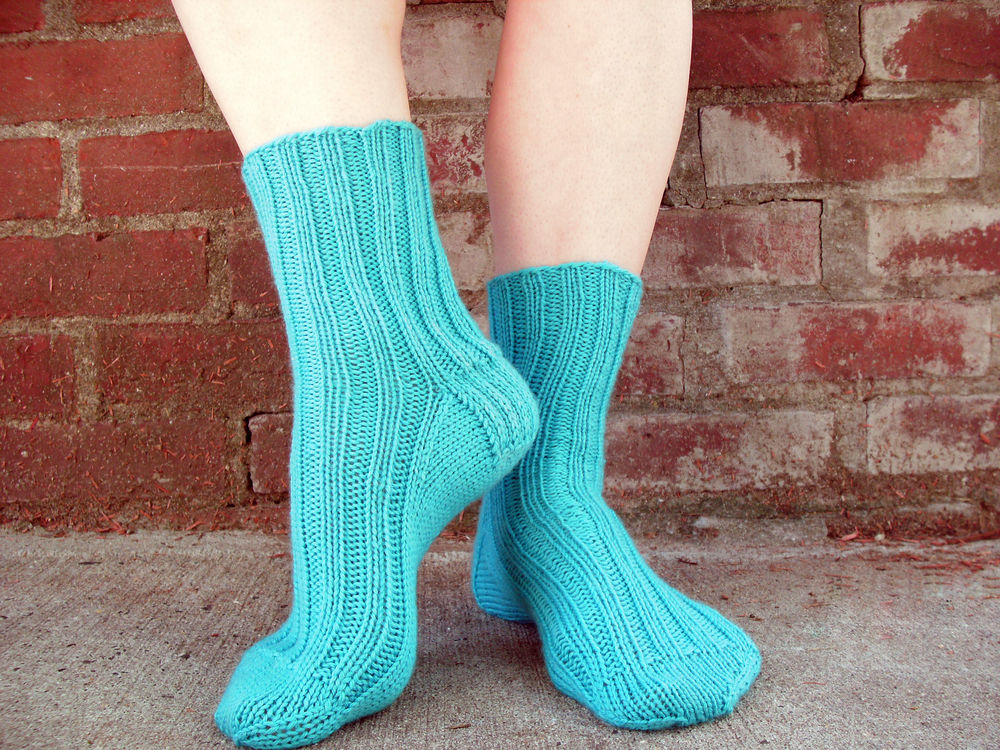
Simple for beginners
Crocheting socks is not a complicated process. For those who have not yet worked with this tool, but want to start, this is the best option. You will need to follow the pattern, which has a clear description of the process. Stages of work:
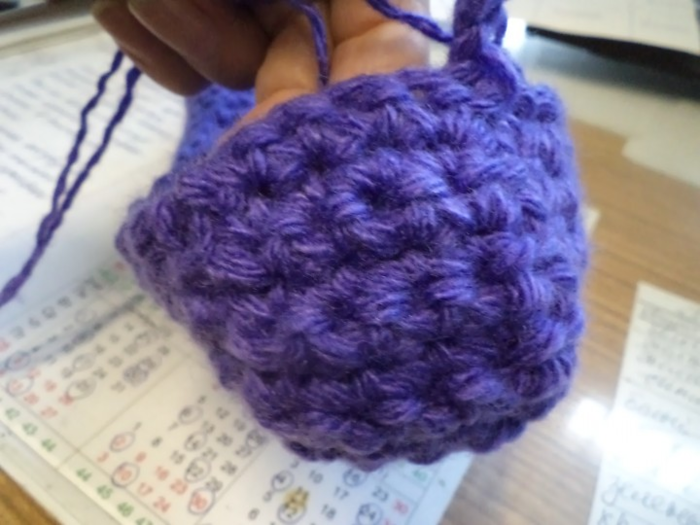
- Create 3 VP, where 2 PP and knit into the 3rd VP, then 8 SC, close the row with SP.
- Then in each sc of the previous row, 2 sc are knitted and 1 in the sp. You should get 17 sc and another sp.
- The next row is created without increases using the same pattern.
- Next, an increase is made through 1 sc, then a row is knitted without increases. Then again with increases, but through 2 sc until the number of columns corresponding to the width of the foot is collected.
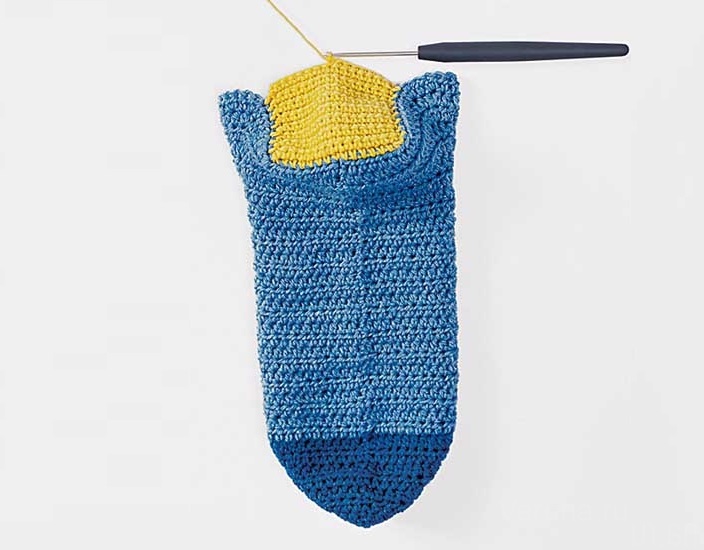
- Having reached the volume of the foot, the additional thread is removed and the part up to the heel is knitted without adding DC.
- The instep wedge and heel are knitted in turning rows with the addition of an additional thread until the boot leg is formed.
- If necessary, a decrease is made in the 1st row of the shin or an “elastic band” is started. To create it, you need to knit relief DCs measuring 1 x 1, 2 x 2 according to the following pattern: 2PP, yarn over, capture the DC from the previous row from the front side and create another DC. The second DC is knitted in the same way. The third is similar, but the capture occurs from the back side, and so on until the required size of the “elastic band”.
- The thread is removed, and to keep the elastic in shape, nylon or elastic thread is added, matched in color to the main thread.
The left piece is knitted in the same way. The difference is that plain socks should have connecting seams directed towards the inside of the feet.


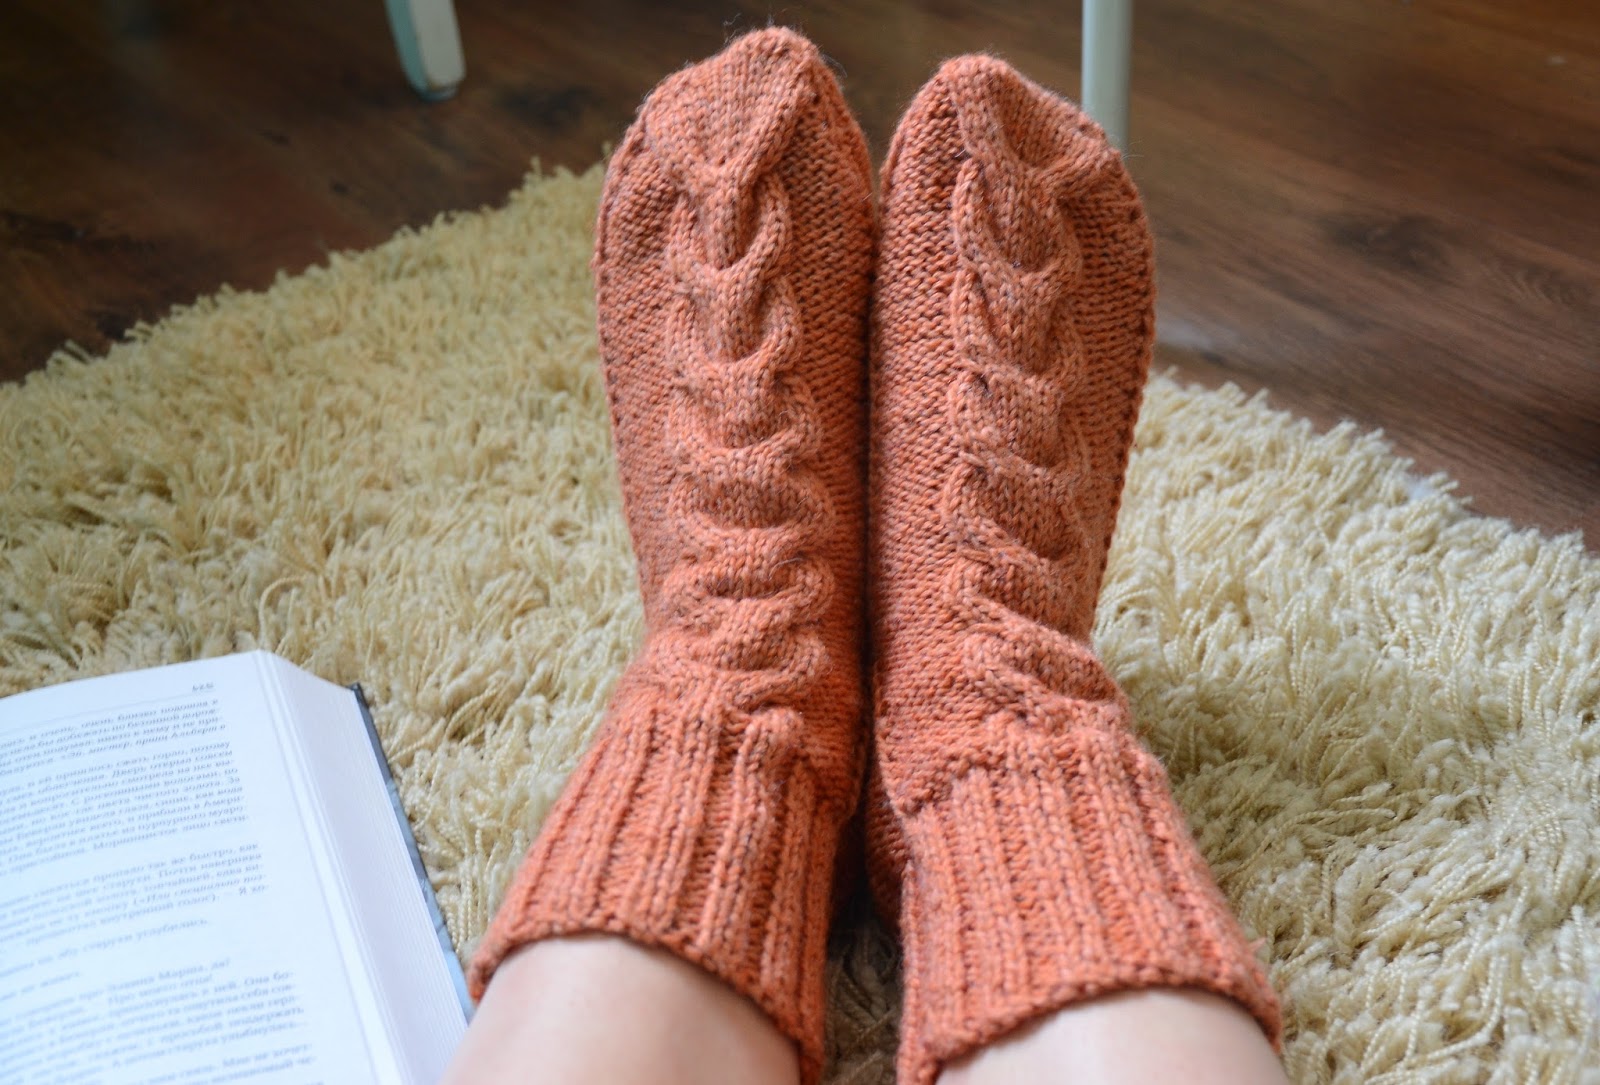
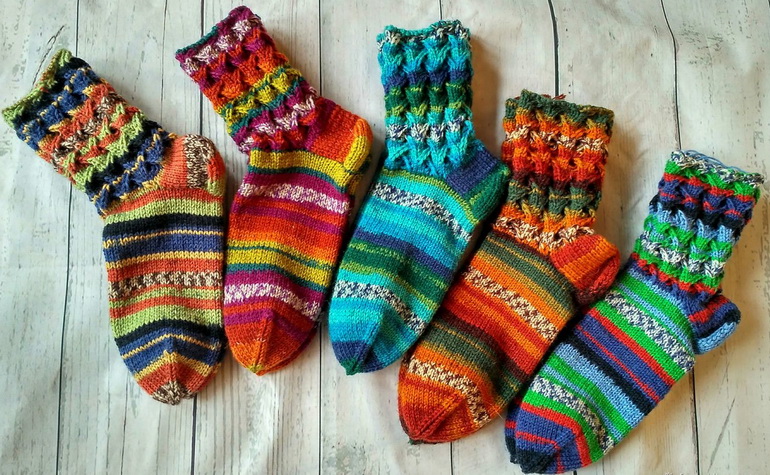
Warm from motives
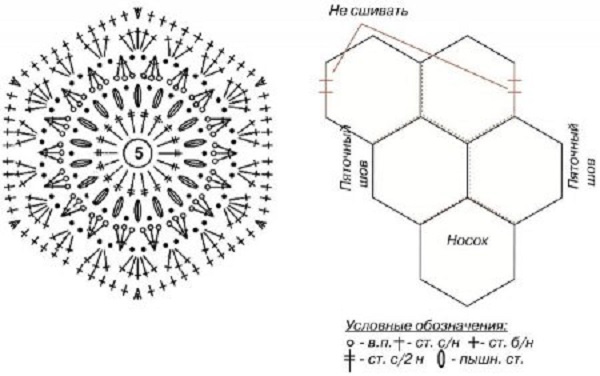
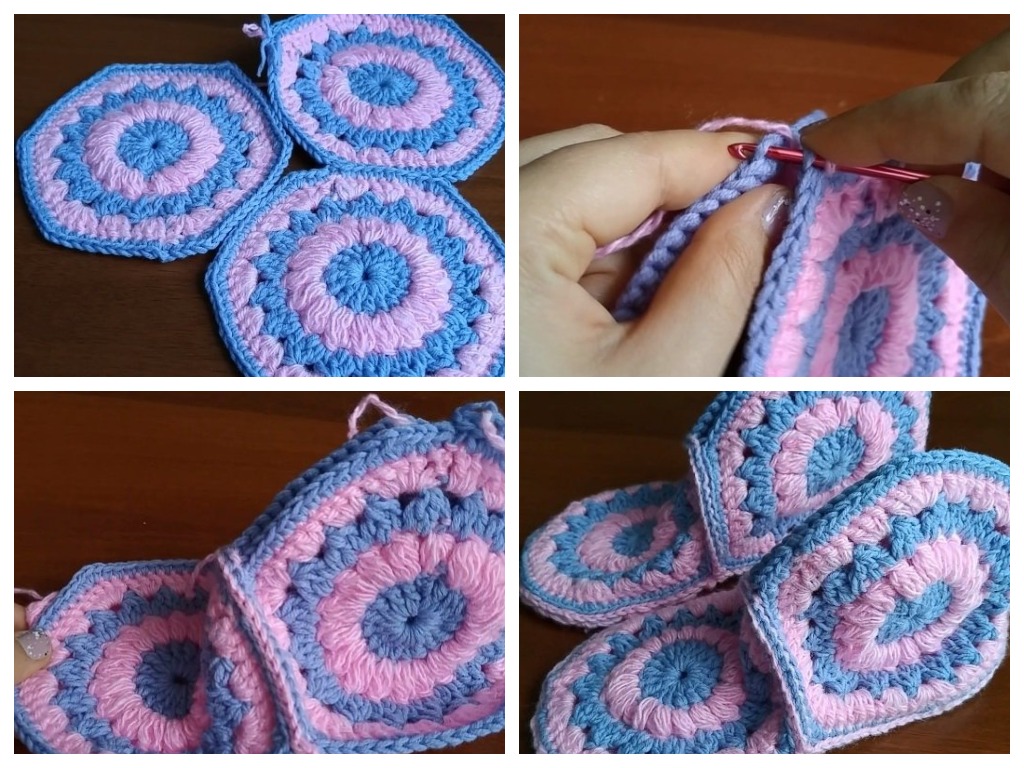
It is not difficult to knit beautiful socks with a crochet hook from motifs step by step. The main thing is to follow the instructions. Hexagonal multi-colored motifs are used in priority. They are knitted according to the following algorithm.
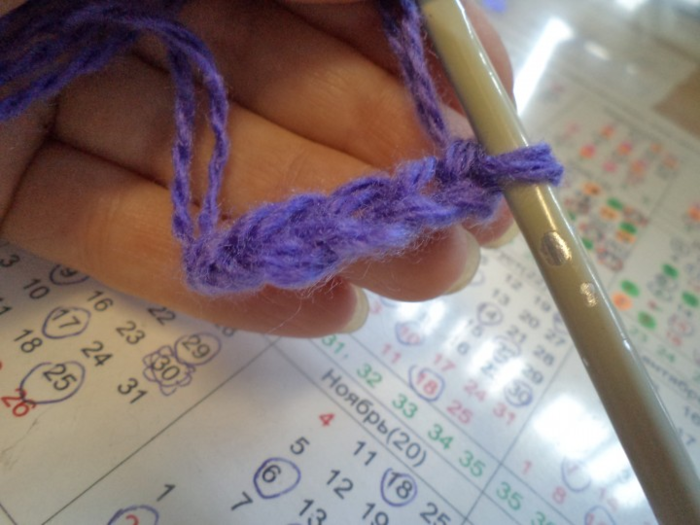
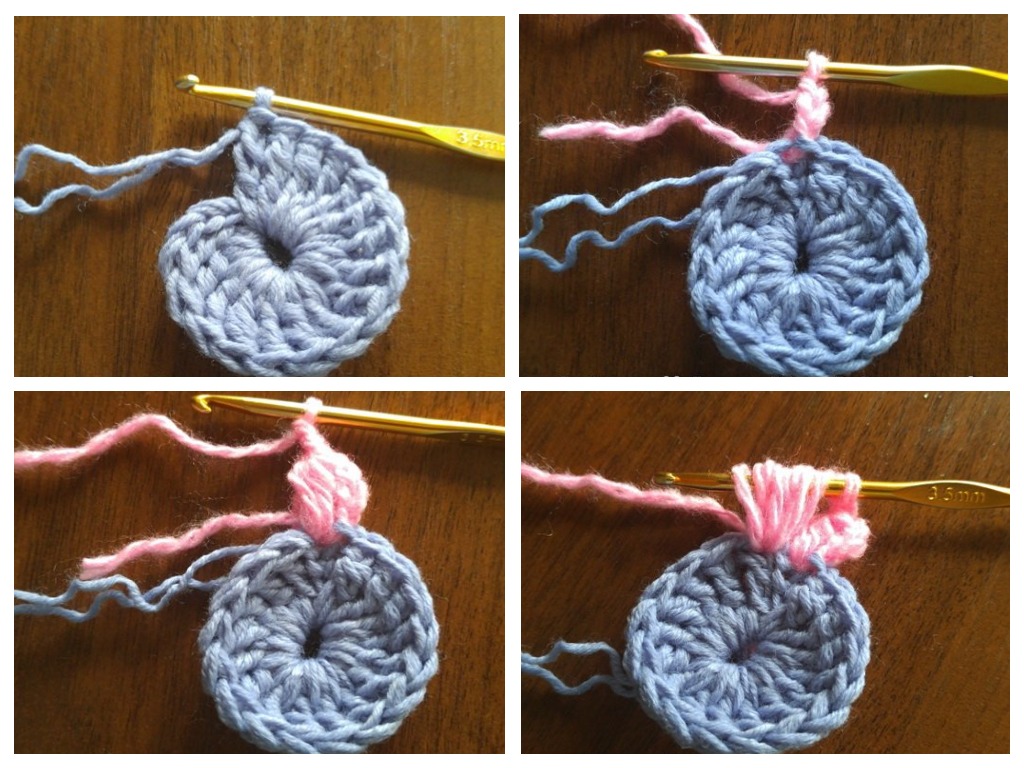
- A chain of 5 VP is collected and connected into a ring.
- 3 VP and in the ring 17 СС2Н.
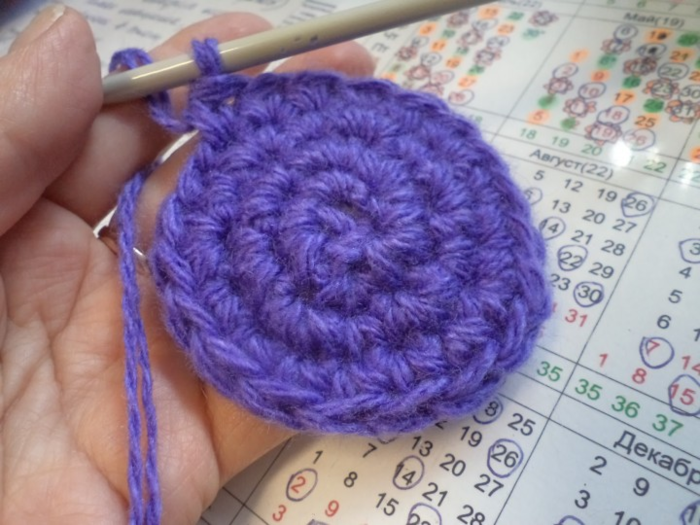
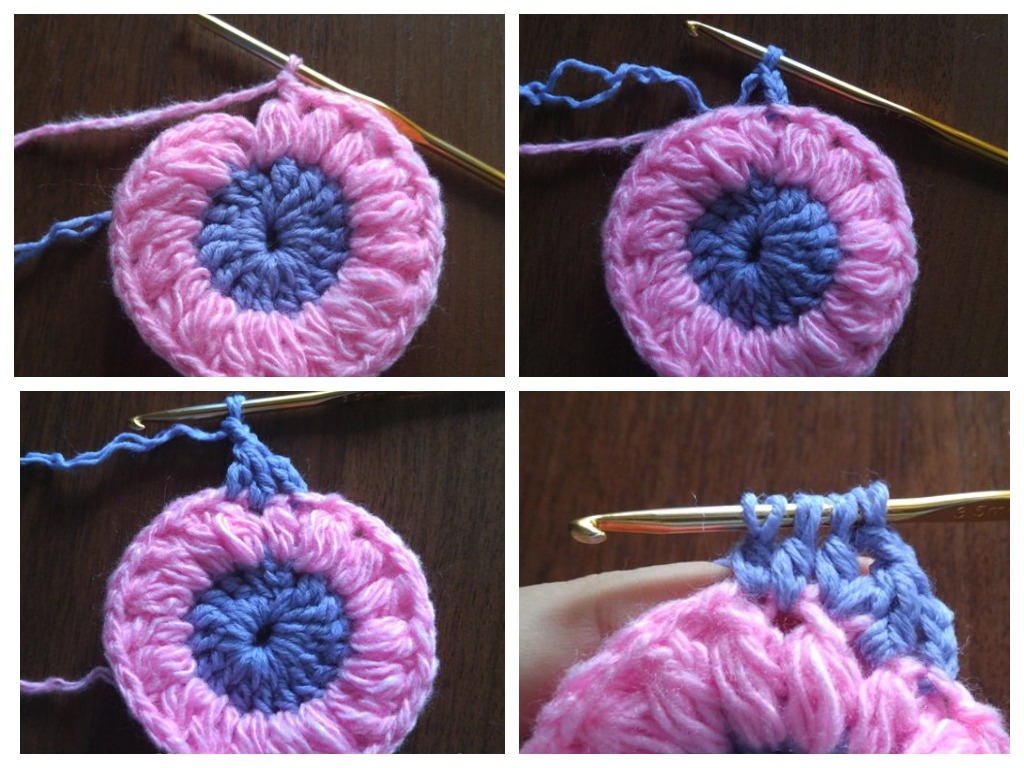
- A thread of a different color is added so that it is not noticeable, the SP is not knitted to the end. A loop is made on the other yarn, secured with a knot, then pulled through 2 half loops, PP is performed. The remains of the thread are hidden in the process of knitting. PS is created, 2 VP, yarn over, the hook is inserted into the same loop, the thread is grabbed and a similar action is repeated. The loops on the hook are connected with a common vertex. Then VP and in SS2H of the previous row, the thread is pulled out 3 times and connected with OB. Continue this way to the end of the row.
- The thread changes. PS is knitted in VP between PS of the previous row. Then 2 VP and a new PS.
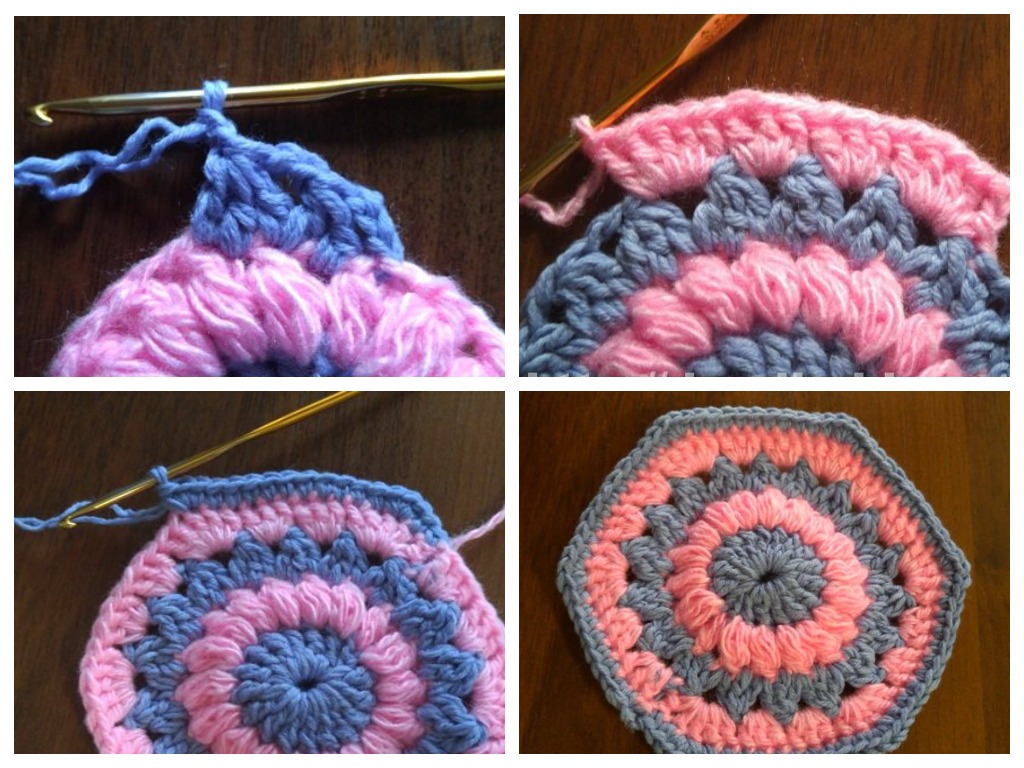
- The color changes. Create 2 PP, 2 DC in 2 VP of the previous row. In the next VP 5 DC. Then alternate 3 DC in VP, 5 DC in VP.
- The thread is changed to the main one and the motif is tied: 3 DC in 3 DC of the previous row, 10 DC in 5 of the previous row.
Next, you need to create the sole. You can knit a square, an oval like booties or the shape of the foot. Cast on 13 VP, knit the rows with SC to the desired length. To form the socks, you need to fasten the toe part, the extensions of the foot and the sidewalls. Everything is connected to the sole. You can sew the parts of the sock with an invisible seam or fasten them with a crochet hook, using SC or DC, knitting them for half loops of opposite sides from the wrong side. You can decorate the products with beads or lace. Thus, knitting socks for beginners with a crochet hook is not difficult if you have the desire and the ability to create elementary columns with and without a yarn over.
Video