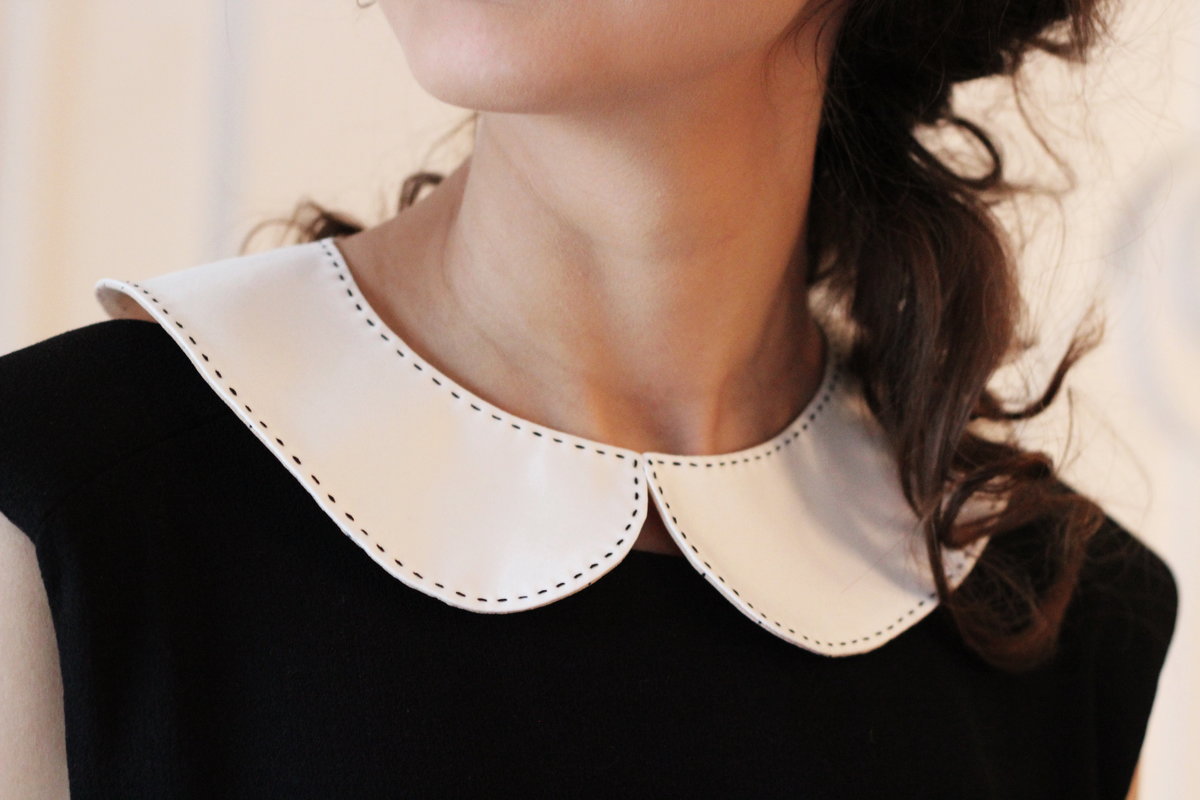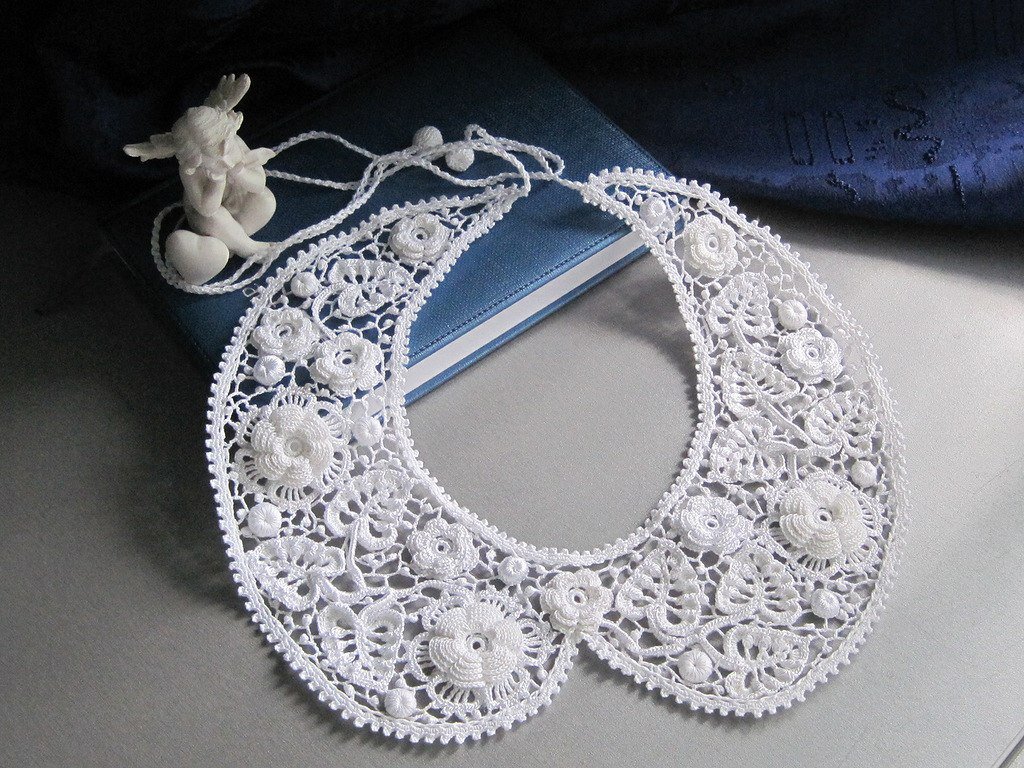
Handmade accessories can add originality, romance and chic to even the simplest outfit. To add a beautiful item to your wardrobe, you can crochet an openwork collar using a ready-made pattern. Even a novice craftswoman can do this. The resulting decoration can be worn with dresses, blouses, sweaters and even T-shirts.
Materials and tools
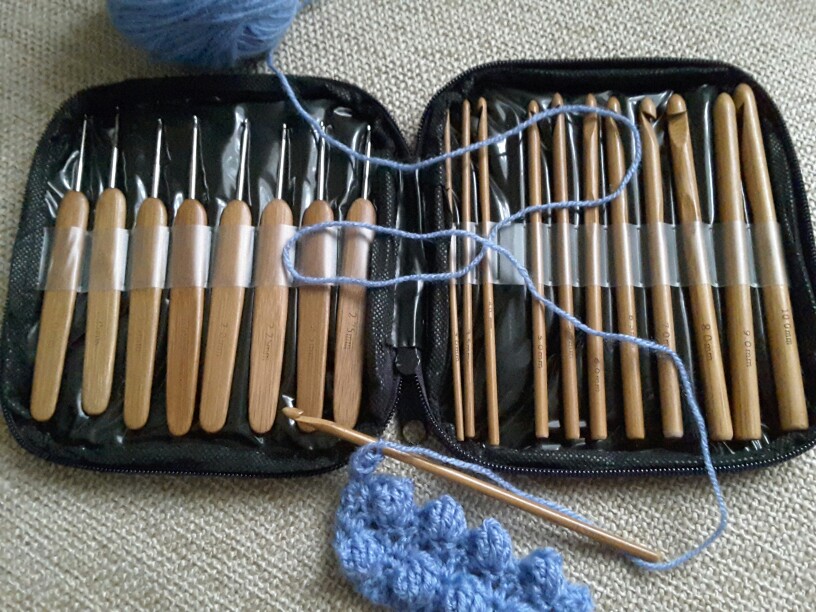
To crochet a collar you will need a minimum set:
- hook (size depends on the pattern and thickness of the thread);
- threads;
- pins;
- paper and pencil for drawing the pattern;
- special marks (if required by the drawing);
- scissors;
- decorative elements.
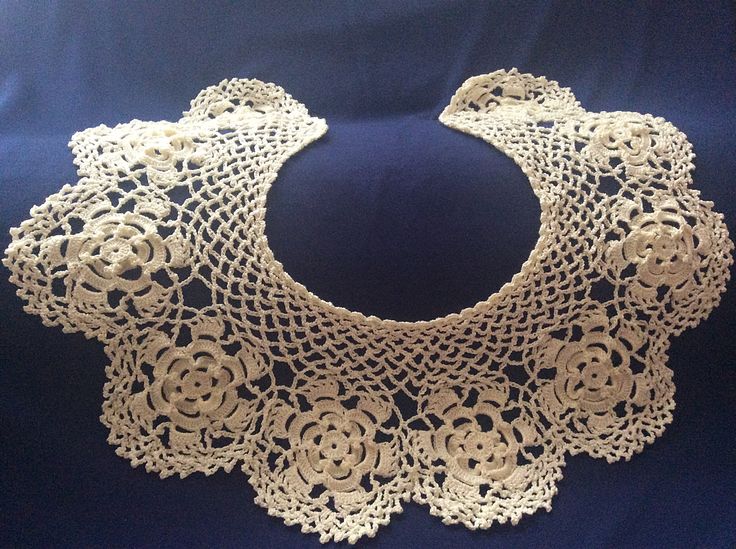
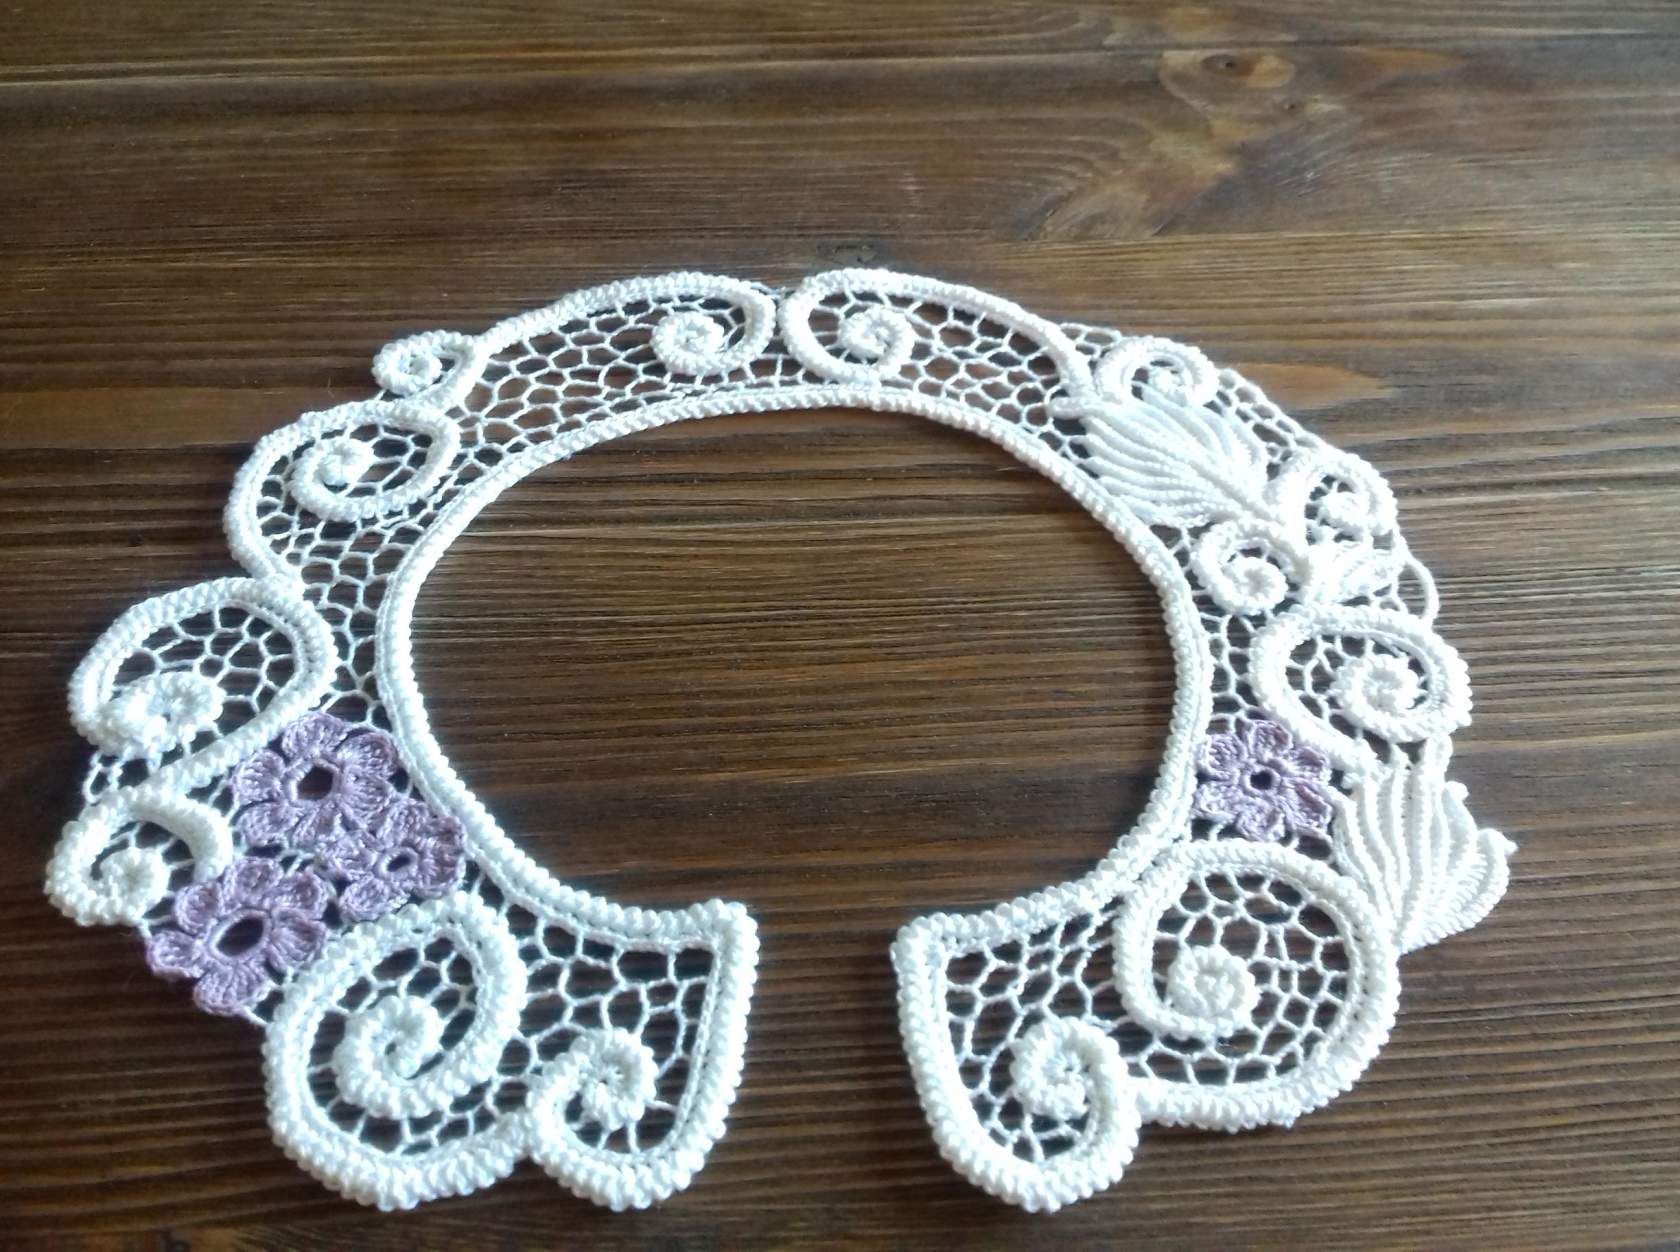
Knitted collars come in a variety of styles (stand-up, turn-down, rounded or pointed, decorated with frills, with a fastener or pulled over the head). When choosing a style, it is necessary to choose the right type of thread and match it with the size of the hook. The tool is purchased based on the thickness of the yarn and taking into account the features of the pattern, as well as your own knitting technique. So, with tight knitting, a hook slightly smaller than the recommended size is selected, with loose knitting, accordingly, it should be slightly larger.
Knitting a collar in the style of Bruges lace is done with cotton yarn and hooks No. 1-3. Irish lace looks exquisite if it is made of thin viscose, here a small-diameter tool will come in handy. The technique of "sewn guipure" is perfectly executed with a hook No. 0.9 and thin acrylic threads Kartopu Kristal.
Knitting stages taking into account the model
You can make a crochet collar the first time if you follow the following steps when knitting it:
- Make a pattern on paper. To do this, measure the circumference of the neck and put it on the inner circle.
- From there, measure outward the expected width of the collar.
- Make roundings on the pattern (optional).
- When starting the process, first knit a dense mesh consisting of columns along the entire contour.
- Fix this outline on the pattern, laid out with the right side down. Secure with pins.
- Fill the free space inside the outline with pre-knitted details (leaves, flowers, twigs).
- Sew the pieces together and along the outline, iron them, and sew them to the dress or blouse.
The technique in question is called "sewn guipure". If a beautiful lace collar, knitted with a solid cloth, is chosen, the work begins with knitting a chain, followed by creating a pattern according to the scheme.
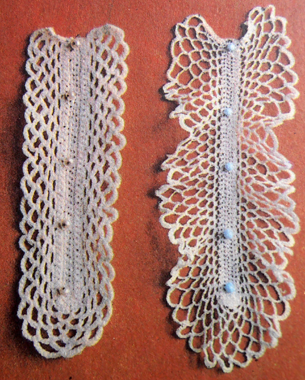
Jabot
Having decided on the shape and size of the frill, you need to crochet in the following sequence:
- We collect a chain of air loops. Their number is calculated by preliminary knitting of a small segment and comparing it with the required size.
- We knit a row of single crochet stitches.
- In the last loop, as shown in the diagram, there should be three columns (for turning in the opposite direction).
- During knitting, you need to carefully monitor the symmetry of the resulting fabric.
- We knit the dense part of the product, adding loops at the bottom.
- As the dense part is ready, we knit the mesh. At the same time, to give its edge a wave, loops are added in the first row.
- When the mesh is knitted, we finish the work with single crochet stitches.
The lace collar looks gorgeous when paired with the same cuffs. The crocheted jabot can be used for a dress, blouse, or summer sundress in a romantic style.
For school uniform
You can give an original look to a school dress with the help of an openwork collar. This option is moderately strict, elegant and extraordinary. The stages of knitting the simplest model are as follows:
- knit the first and third rows with single crochets;
- the second and fourth are double crochets.
To knit roundings, you should make increases in every fourth loop. If you knit the loops of the pattern with a back grip, the product will be voluminous. Important: in the third row, add through 4 loops, and in the following ones - through five.
To make a collar for a senior schoolgirl, you will need 60 g of cotton yarn and a hook No. 1.75. Knitting begins with a chain of air loops, followed by the execution of the selected pattern. The motifs of the pattern are distributed in advance.
During the manufacturing process, the collar looks wrinkled. However, after steaming and starching, it acquires an attractive appearance.
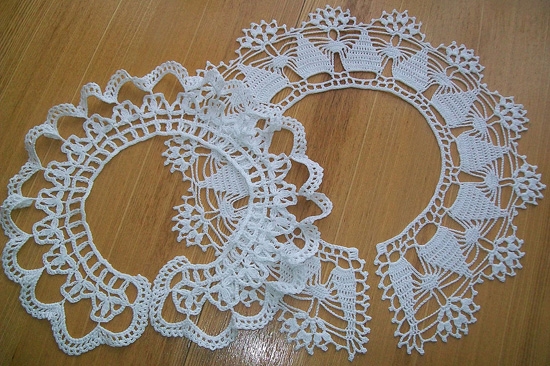
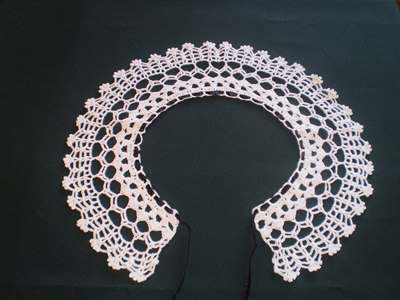
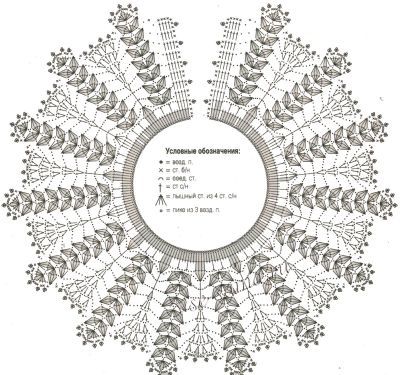
Round on the dress
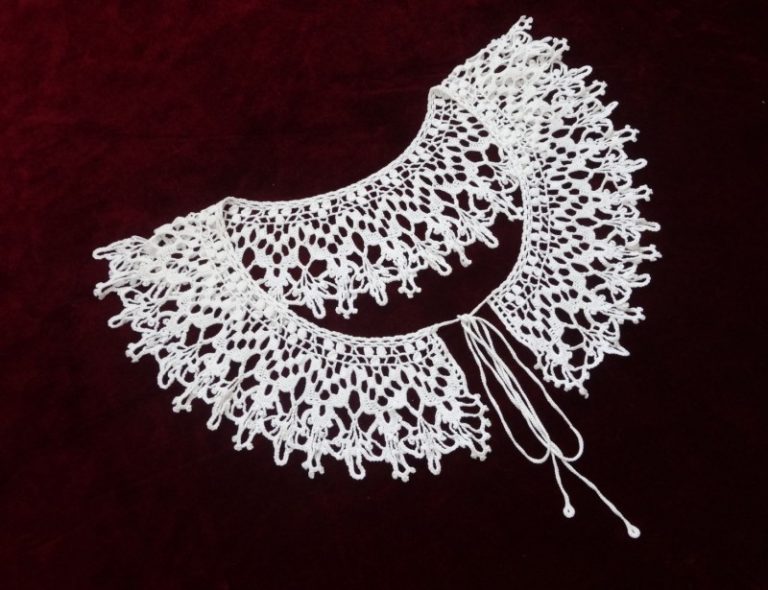
The round collar on the "Cat's Paws" dress is knitted from 109 air loops. Knitting is carried out according to the pattern up to the selected width of the finished product. The neckline is processed with single crochets with the remaining thread. To decorate the ties, chains of air loops are made.
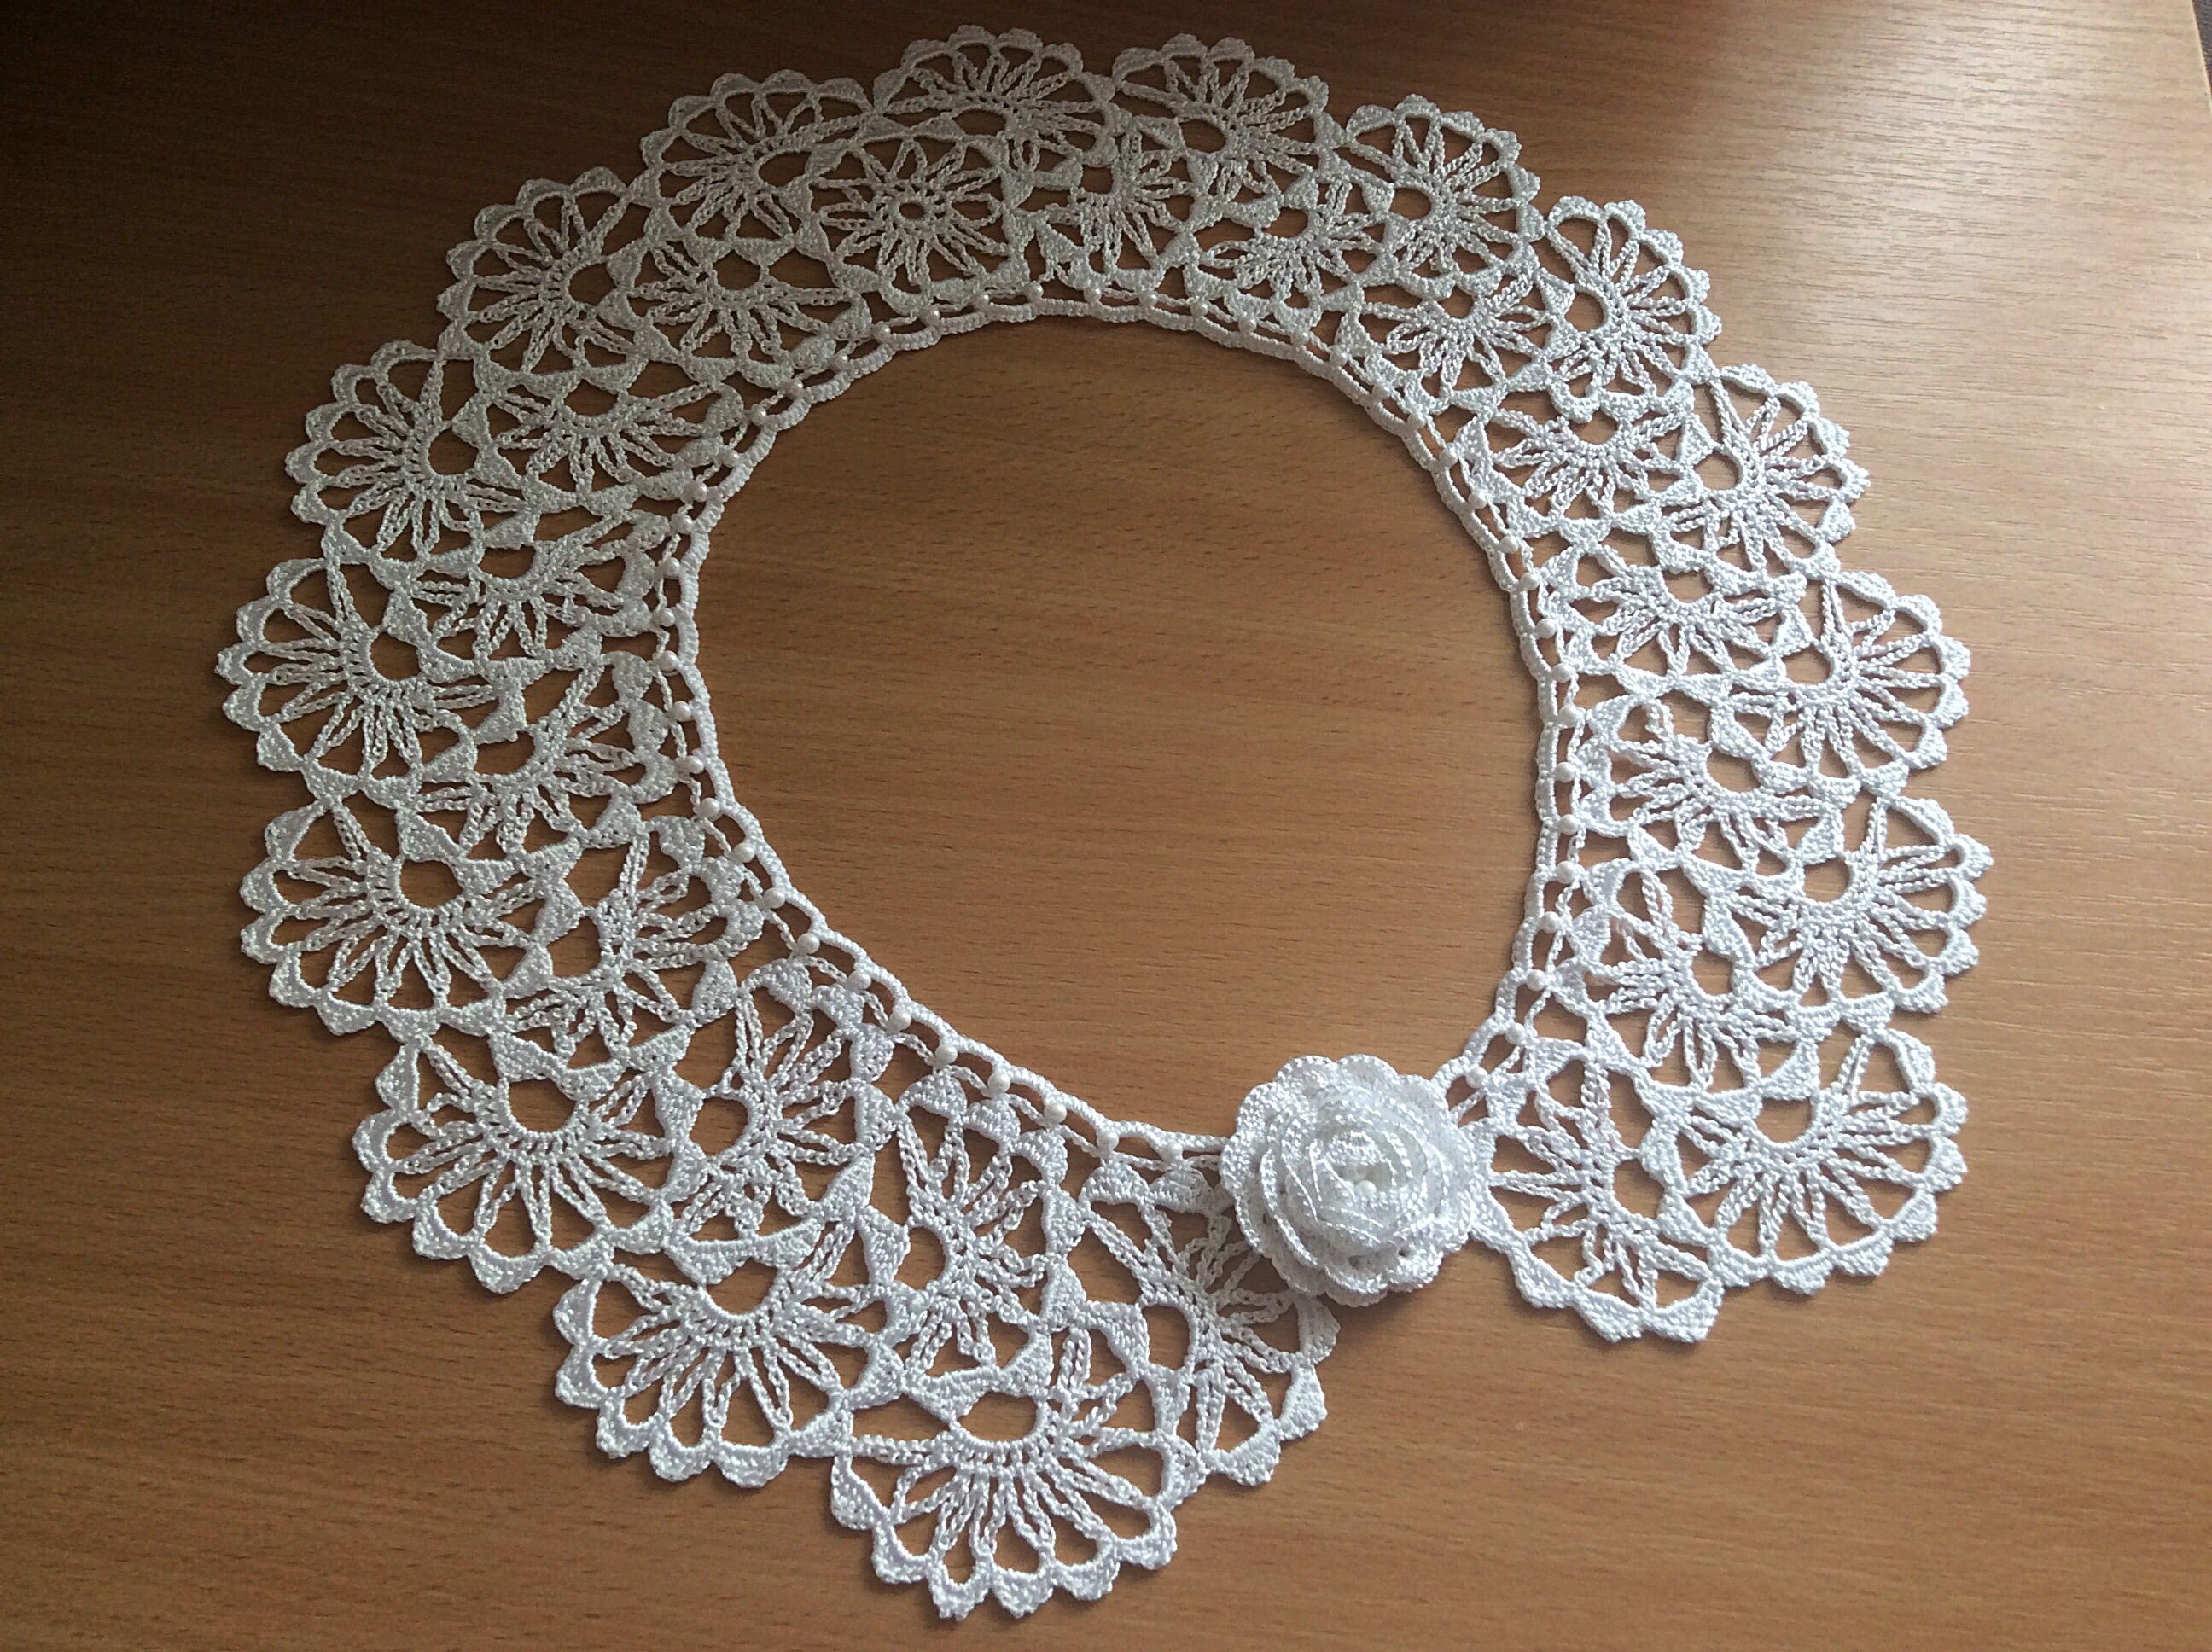
You can give a round collar a special charm by sewing beads or seed beads onto it. Having come up with your own scheme for their arrangement, you need to take threads in the same tone and carefully attach the decorations to the finished product. A round collar can be decorated with original silk ribbons, which will also serve as a fastener. Buttons, a brooch, or a clothing clip look organic at the junction of the ends.
The round collar version is also knitted using the "Star Paths" pattern. For this you will need 50 g of thread (preferably 100% cotton) and a #1 hook.
- Knitting begins with a set of air loops.
- Next row - single crochet.
- The third and subsequent rows are done according to the pattern.
- At the end of the work, the neck needs to be done with a "crayfish step" - a special finishing pattern that holds its shape perfectly. To do this, you need to knit single crochets in the opposite direction.
This version of a round collar can be placed close to the neck or beautifully spread over the shoulders and neckline. The ends are tied in the front or back.
The Star Trek collar will look better if starched. Dry the product in a stretched position, secured with pins.
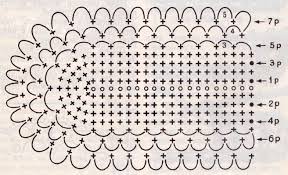
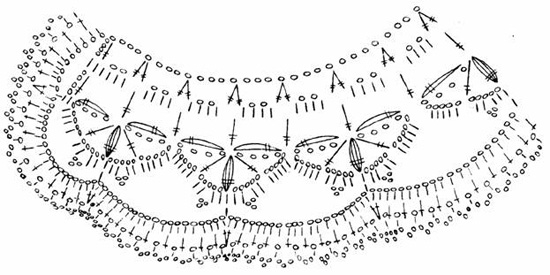
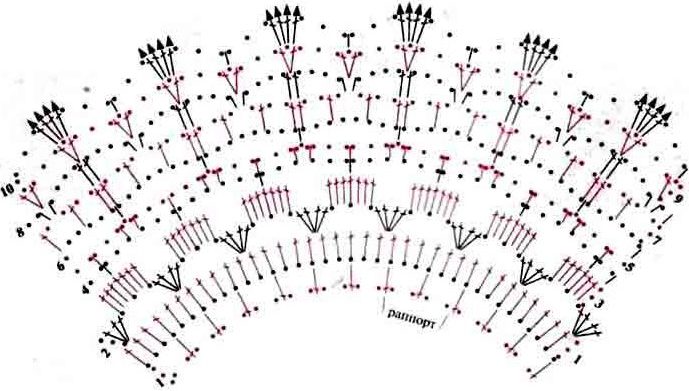
Decoding diagrams for beginners
You can knit a simple lace collar even without knitting experience. It is enough to know the technique of knitting air loops and columns (half columns), which come in the following types:
- without yarn over;
- with one yarn over;
- with two or three yarns over.
A knitted pattern is created from identical alternating elements. Together they are combined into a motif. The diagram shows the sequence of knitting elements and motifs. For beginners, it is important to know the basic rules for reading a schematic image of loops:
- You need to read starting from the bottom of the graphic instructions.
- Each row is read in turn: first from right to left, then vice versa.
- The rows that create the circle should be viewed starting from the right.
- Between the arrows there is a rapport that needs to be repeated several times.
- If the pattern contains loops located outside the arrows, they must be knitted at the beginning of the row, as well as at the end.
Knitted collars are unlikely to ever go out of fashion, this decorative element is considered a classic. Having mastered the technique of knitting the main loops and having the chosen pattern in front of your eyes, you can safely get down to business. It is better to work carefully and slowly, so you can create a unique decoration for yourself or as a gift to a loved one in a few evenings.
Video