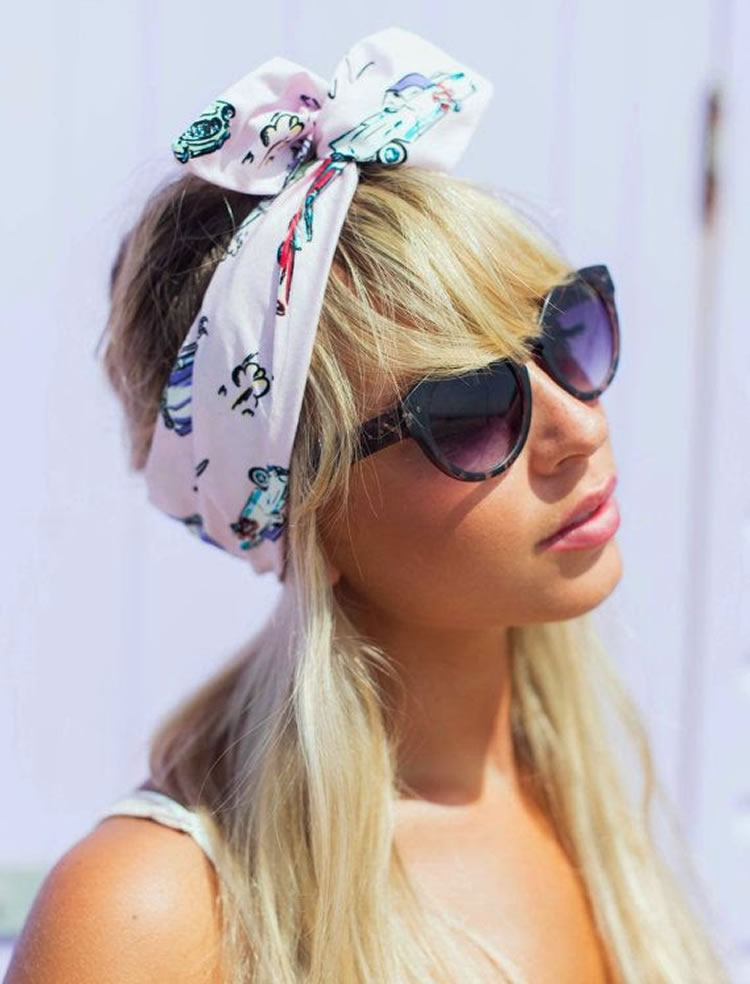
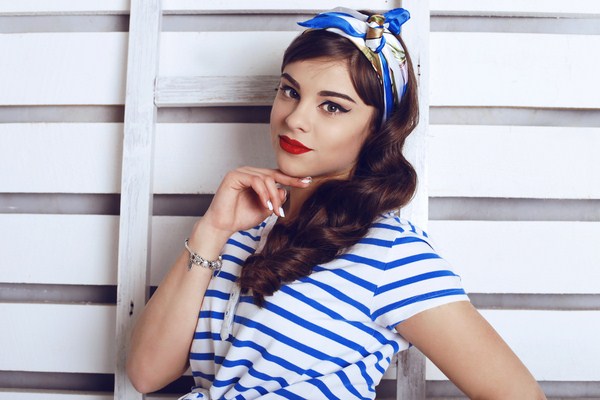
Hair accessories used by girls with short and long hair not only help to hold curls in strong winds, but also make the image stylish. One of the options is the Solokha headband, which has become popular all over the world. It has firmly entered fashion wardrobes, and evokes associations with the American stylish pin-up trend. A beautiful and fashionable headband can be made independently, knowing the step-by-step technology.
Features of the accessory
The Solokha headband, reminiscent of a headband, has a number of distinctive features:
- the product can be narrow, suitable for summer, or wide, protecting the ears from the wind;
- for convenience and to maintain the required volume, a special wire can be inserted inside the bandage;
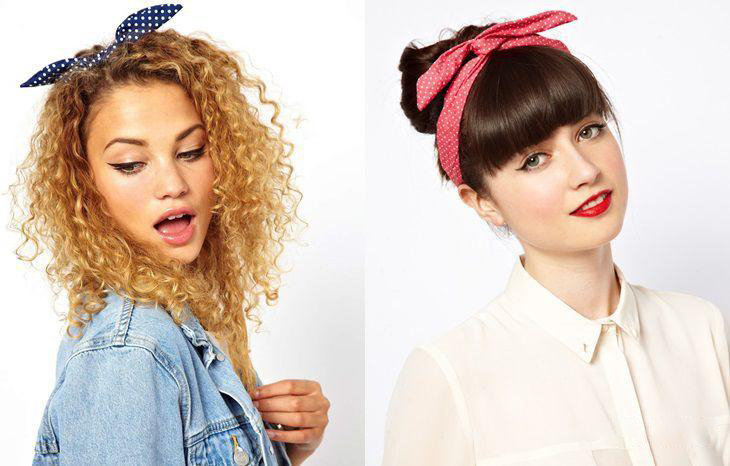
- The color scheme of the fabric for Solokha is chosen depending on the shades of the rest of the clothes, but in most cases these are noticeable, eye-catching prints or a single-color, but bright color.
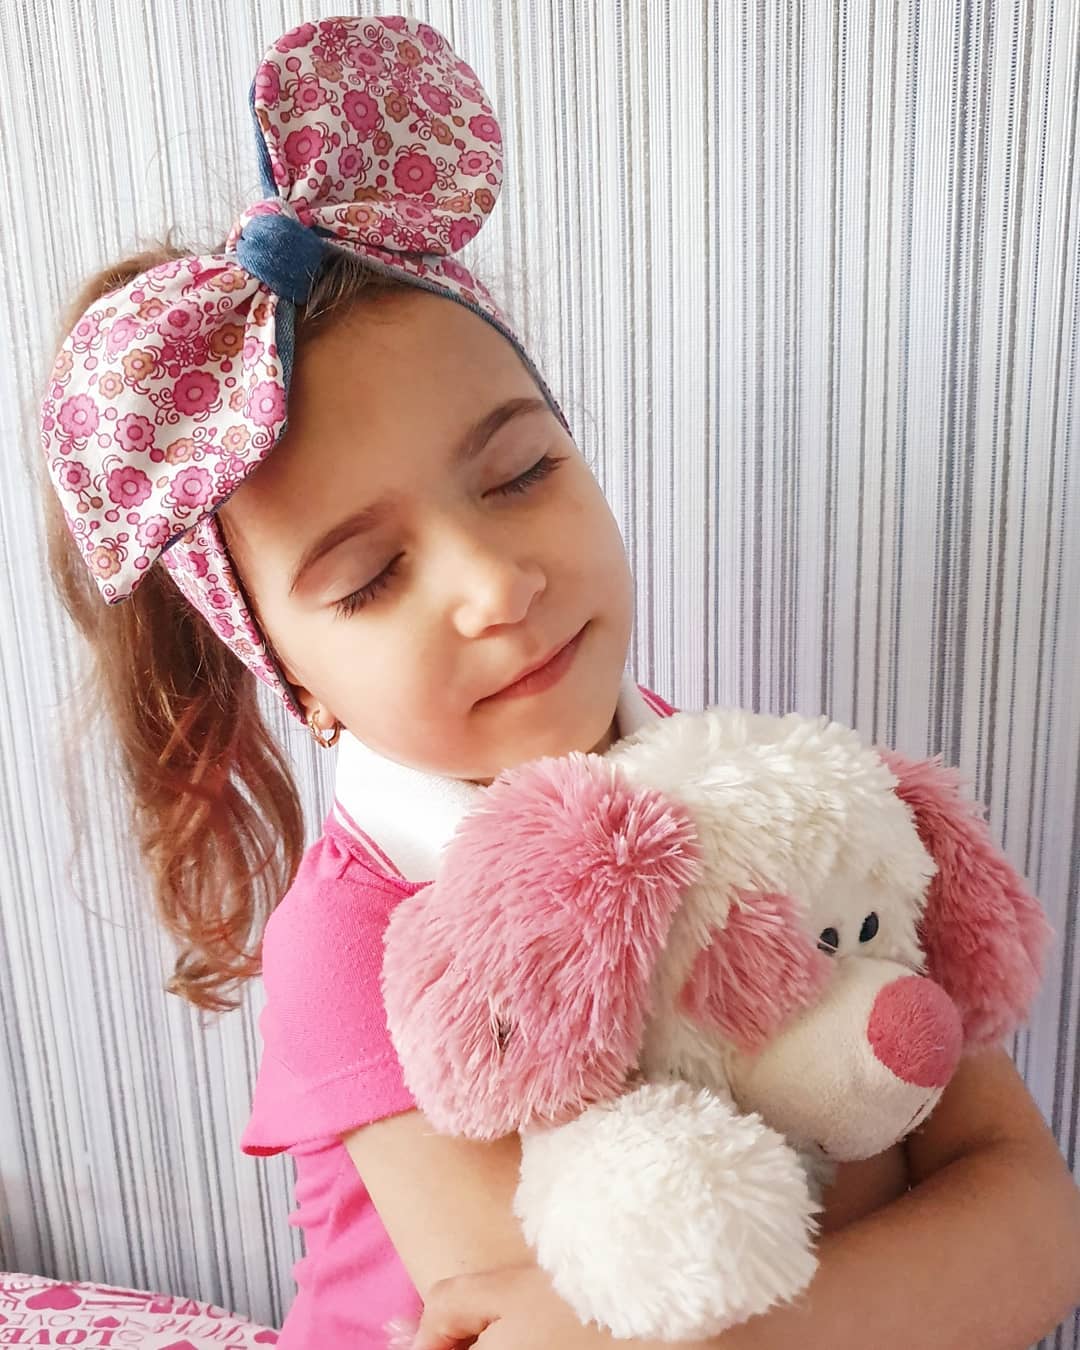
The reasons for such great popularity of the Solokha style headband are its convenience and versatility; it is suitable for girls of any age. In addition, the ends of this accessory sticking out above the head add playfulness and originality to the image. The headband also helps out if there is no time to style or wash your hair.

Materials and tools
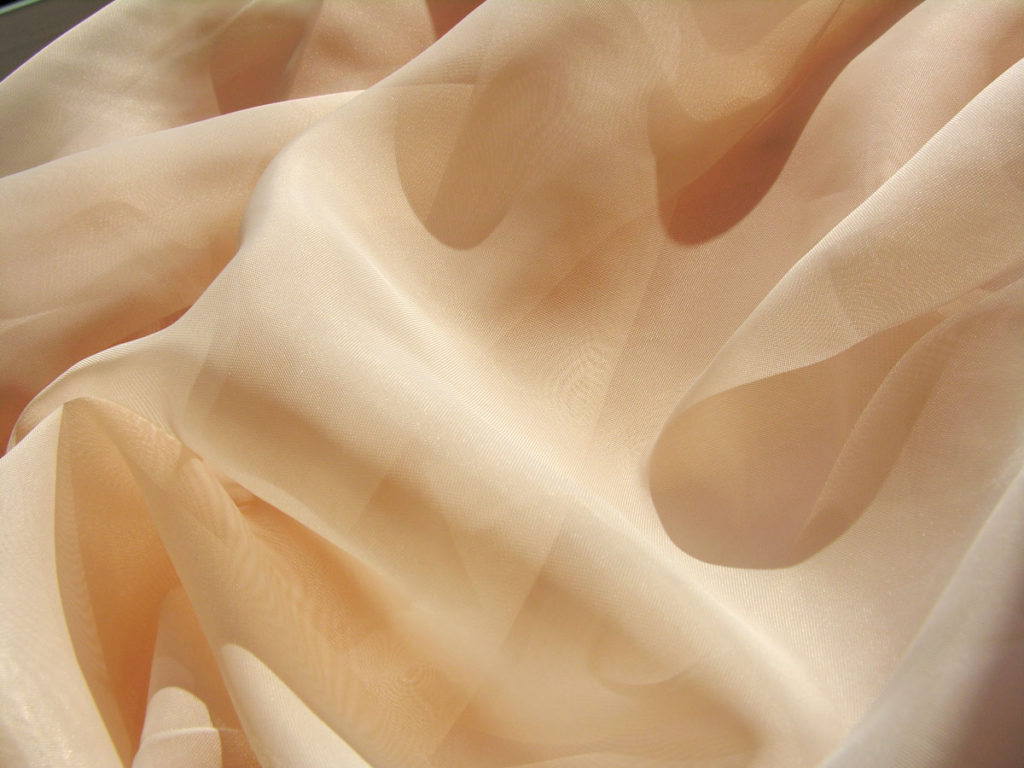
To make a headband, you can use ready-made scarves or make a fabric base using simple patterns. Suitable materials include cotton, silk (can be used with the addition of lace), knitwear, chiffon, satin, denim, wool (crocheted or knitted accessories).
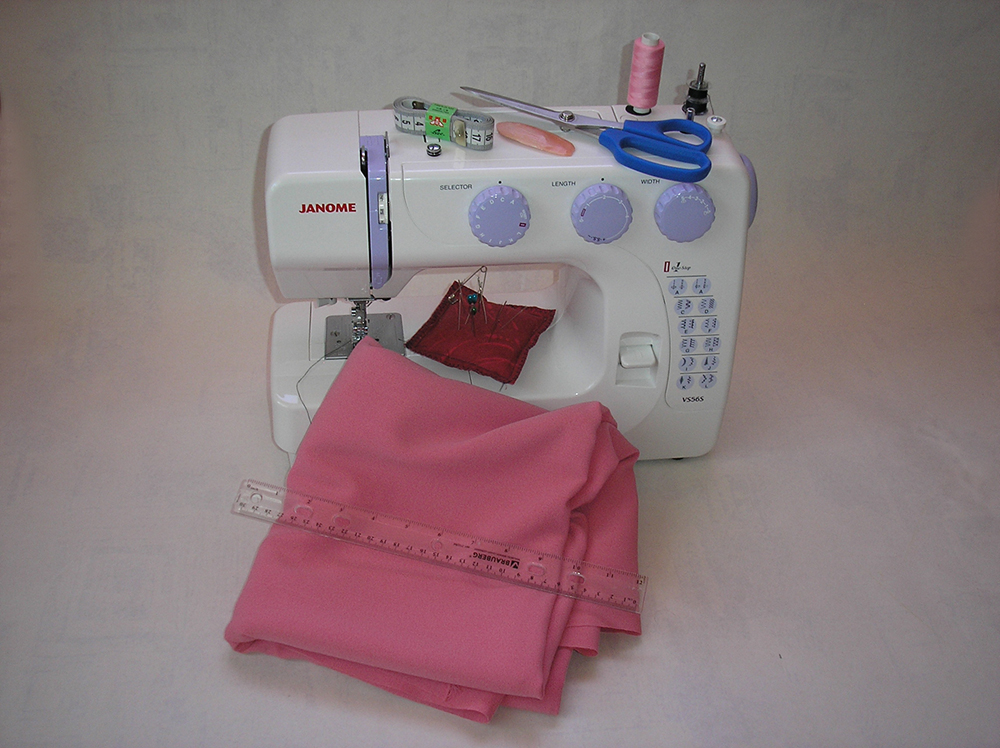
To make a bandage with your own hands, you will need the following materials and tools:
- a piece of fabric (no more than 12-14 cm in width, about 90 cm in length, for double-sided bandages you need two different pieces of 6-7 cm in width);
- scissors (well sharpened);
- needles and threads;
- wire (diameter - 2 mm or less, length - about 170 cm) or elastic band (length - 7-8 cm, width - no more than 3 cm);
- cardboard or Whatman paper (for pattern samples);
- chalk or pencil to make marks on the fabric;
- measuring tape;
- decorations (beads, rhinestones).
The length of the fabric trim for the pattern will depend on the head circumference and the length of the ends, which will be located on top of the headband. To measure the head circumference, take a measuring tape and wrap it so that it is located above the forehead (approximately at the level of the hairline or slightly higher, depending on how the headband will be put on). The lower part of the measuring tape should pass under the back of the head.
To get it right, you need to wrap your head starting from the zero mark of the tape. It is imperative to double-check your measurements several times to eliminate the possibility of error. If you only have an iron or plastic ruler, you should use a regular rope: after the measurement is done, you should attach the thread to the ruler. In addition to the bandage itself, you need to provide a supply of fabric for the ends and the knot.
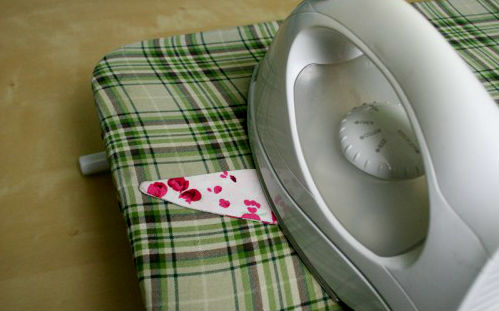
Sewing stages
The Solokha headband is sewn quickly, but depending on the chosen option, the pattern may differ slightly. If an elastic band is used (mostly suitable for comfortable children's headbands), it is important to remember that it will not be located along the entire length of the product, but only at the back.
Double sided for girls
To sew a beautiful and original Solokha headband for a girl, you need to perform a number of simple steps:
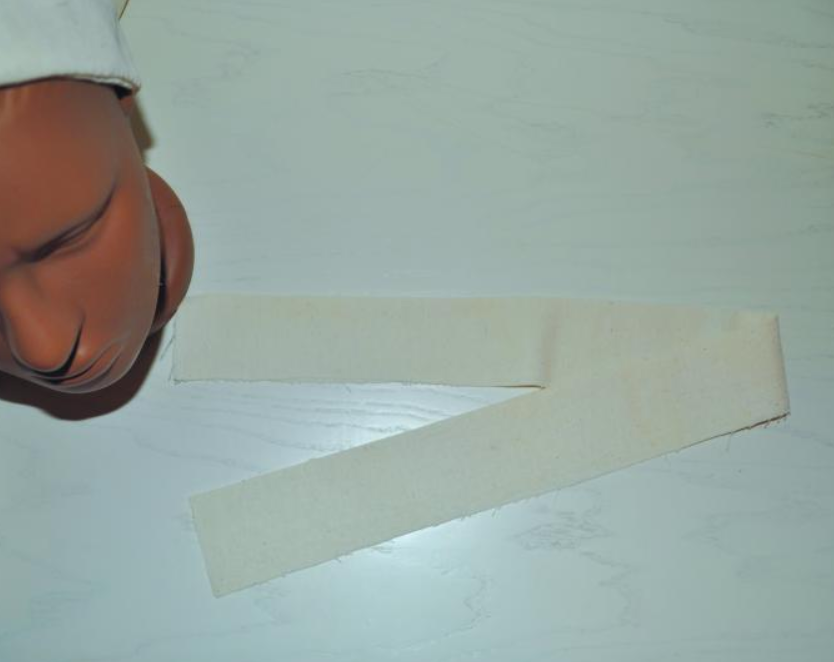
- Take cardboard or paper. Using a ruler and pencil, draw a rectangle - this will be half of the bandage. The width is selected individually (on average, five centimeters will be enough), and the length is calculated as follows: the girl's head circumference minus 5 cm, divide the result by 2. Leave five centimeters, which are subtracted from the length of the workpiece according to the presented formula, for the insert with an elastic band (if you add half a centimeter of allowances for hemming the part, you will get 6 cm). To the resulting length of the main part, you need to add 1-2 cm for the allowance (if the material is very frayed, add 1 cm from each edge, if not - 0.5 cm).
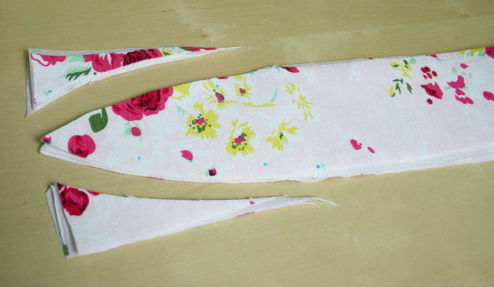
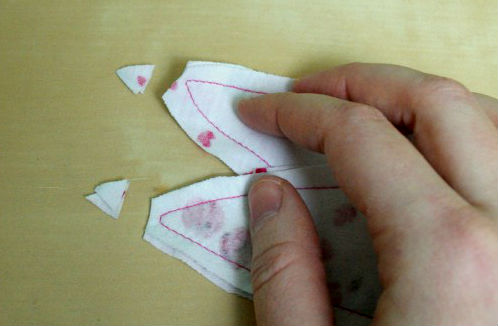
- Draw "ears" or part of a bow to one end of the rectangle, which will be located above the girl's head after putting on the headband. The shape should resemble the flame of a burning candle. The dimensions are chosen at the discretion of the craftswoman, but on average it is recommended to make a bow like this: at the widest point - about 7 cm, length - about 12 cm.
- Draw a rectangle on paper for the back of Solokha, into which the elastic will be inserted. Its dimensions are: length – 6 cm, width – the same as the top of the bandage.
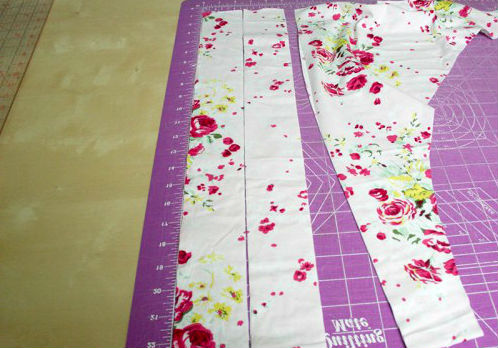
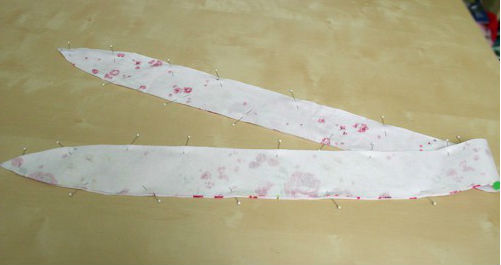
- Place all the pattern pieces on the fabric, outline with chalk, and cut out. You need 2 pieces for each part of the bandage.
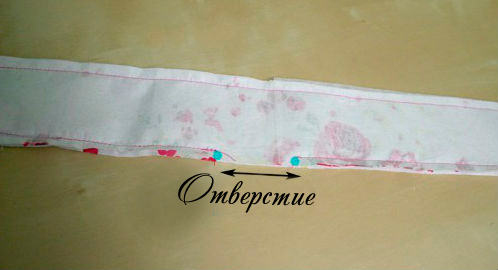
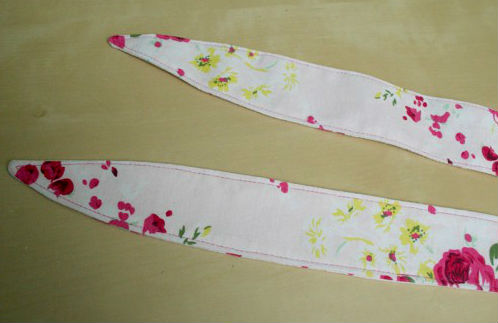
- Place identical "ear" pieces together with the right sides facing inward, sew them along the edge. Repeat the same with two pieces of the upper part of the bandage. Leave one edge unsewn, turn the piece inside out.
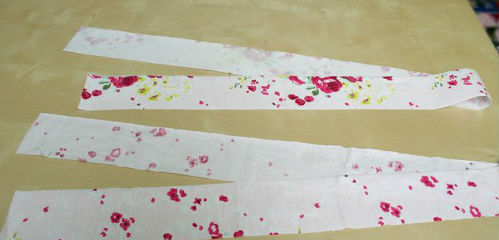
- Take two six-centimeter pieces of fabric and sew them together in the same way, but only from the two longest sides. Turn them inside out, insert the elastic, fold the edges. Lastly, sew all three pieces together.
For a girl, Solokha is best created in bright and unusual colors, if there is no attachment to a specific image.
Wire headband
To make a Solokha with wire for a girl, you need to prepare the above tools and materials, choose a fabric that matches the clothes and check if the wire is too stiff. Algorithm of actions:
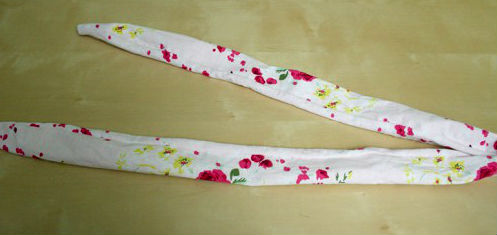
- take a thick strip of fabric, the length of which corresponds to the circumference of the head, plus an allowance for a bow or “ears”, and the width is equal to twice the desired width of the headband, plus an allowance for tucking the material (1-2 cm);
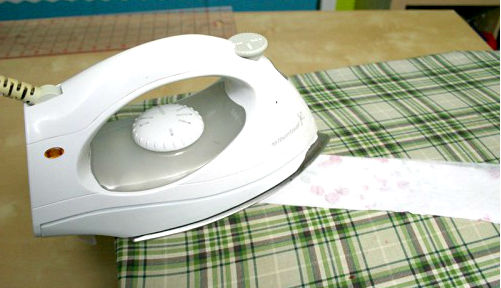
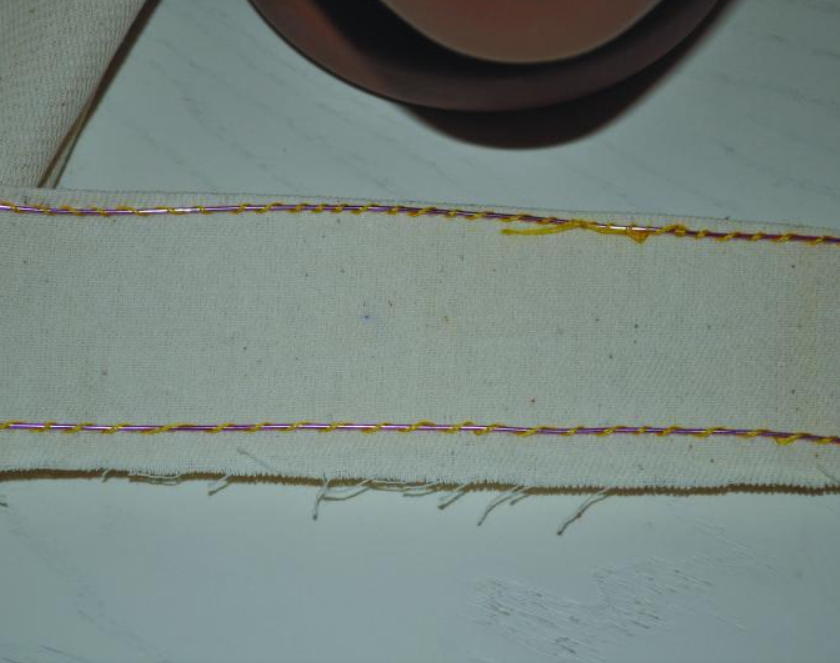
- fold the strip in half horizontally and sew;
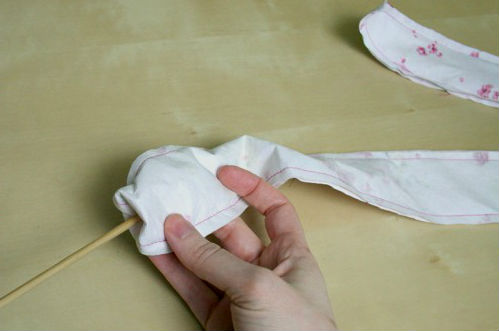
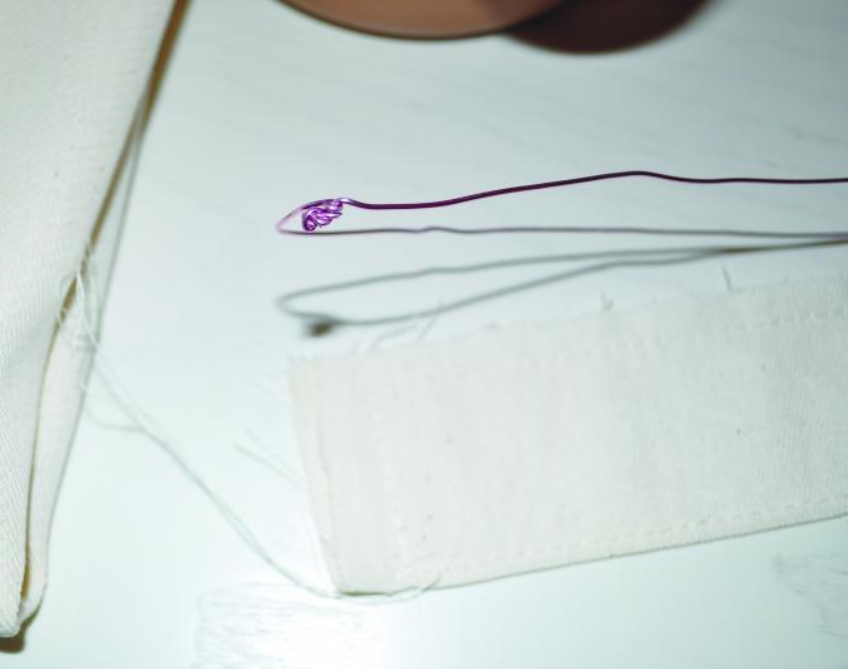
- pierce the workpiece with wire in the corner, rounding the end to avoid injury;
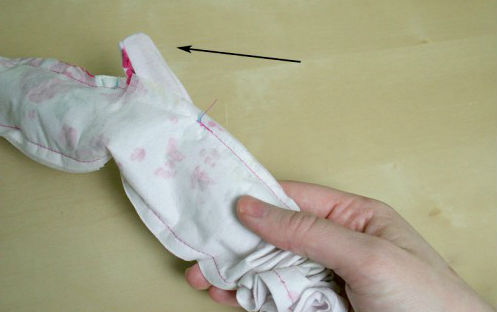
- thread the wire through a tube made of fabric and carefully sew the edges of the bandage.
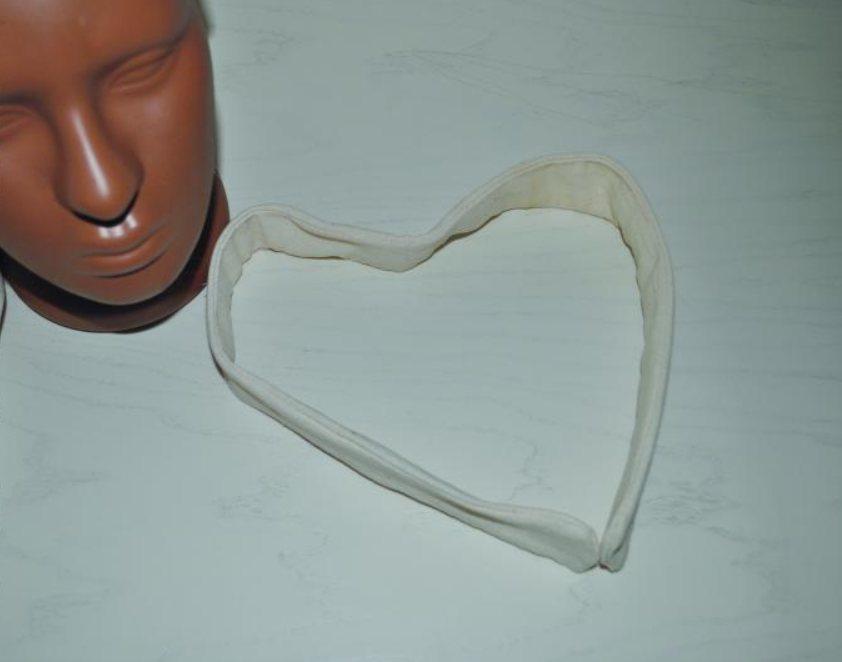
When putting on Solokha with wire inside, you need to wrap it around your head so that the middle is at the bottom (below the level of the back of the head). The upper ends are easily twisted over the head, forming protruding "ears".

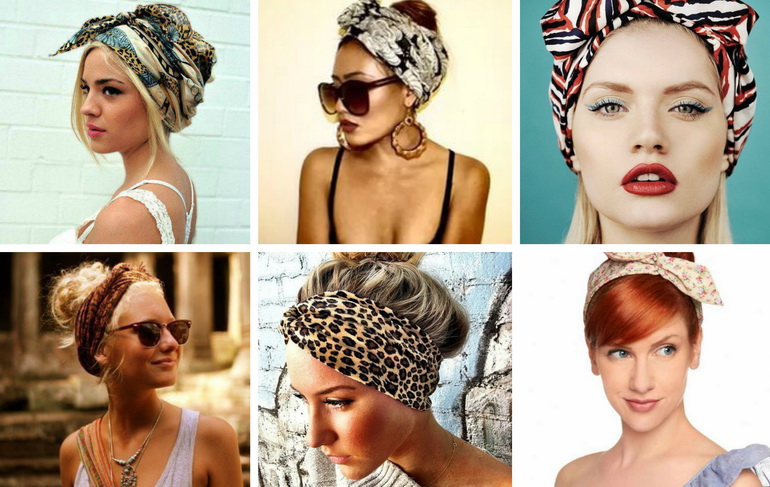
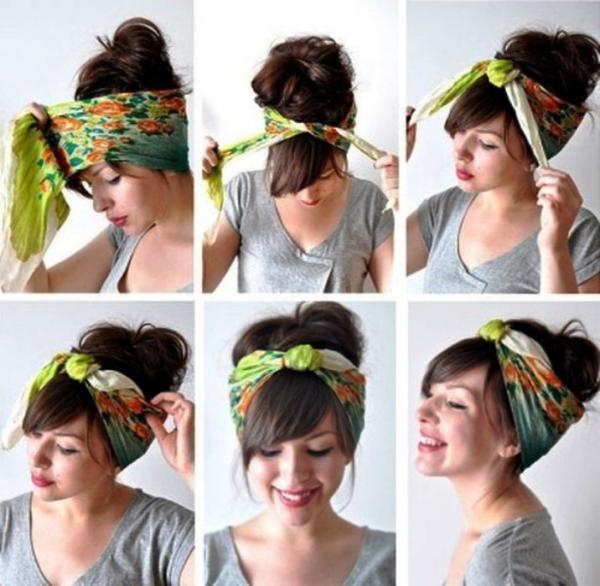
How to make from a scarf
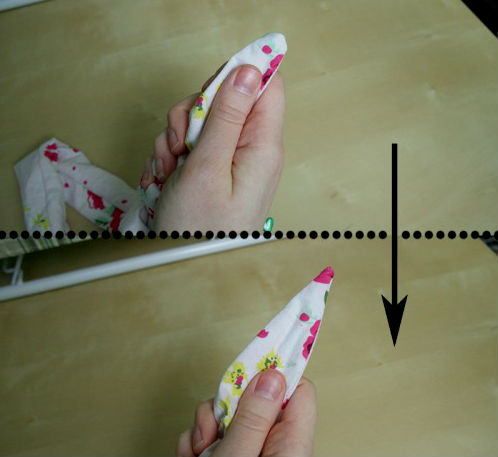
How to tie a fashionable Solokha headband if you only have a regular scarf is a question that is often asked by girls who want to have such an accessory in their wardrobe. First of all, you need to evaluate the length of the headdress. If the scarf is not long enough to wrap around your head and make a nice bow on top, you need to fold it diagonally.
After the scarf is folded, you need to place the product so that its middle is at the bottom, near the neck. Then wrap it around your head, tie the bandage on top with two knots, tightening it carefully. The final touch is to straighten the ends beautifully.
How to wear it correctly
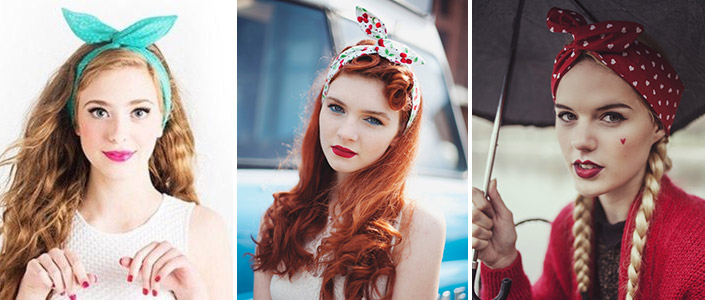
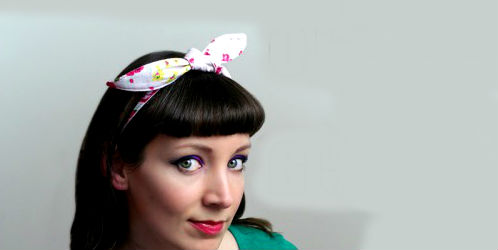
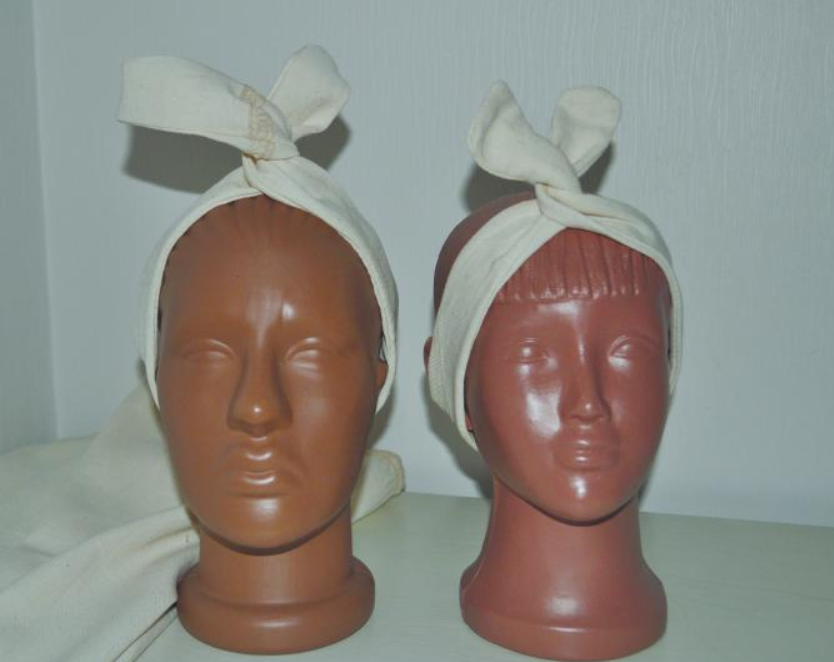
Solokha-style hairbands can be both an ornament, a fashionable addition, and a useful functional element that helps a woman look neat. The versatility of the product allows you to wear it with clothes of almost any style, it will suit an office, sports, romantic, street wardrobe. In addition, the headband will complement any hairstyle (loose long hair, a braid, a bun, other options for a high hairstyle or a short haircut). The scarf can cover most of the head or be folded into a strip headband, leaving the back of the head open.
Above the headband, its ends formed after tying should stick out (approximately above the forehead). This is a mandatory condition for compliance with Solokha's style. The headband can cover the ears or go slightly higher. Everything depends on the image being created, anatomical features, and the shape of the hairstyle.


Video