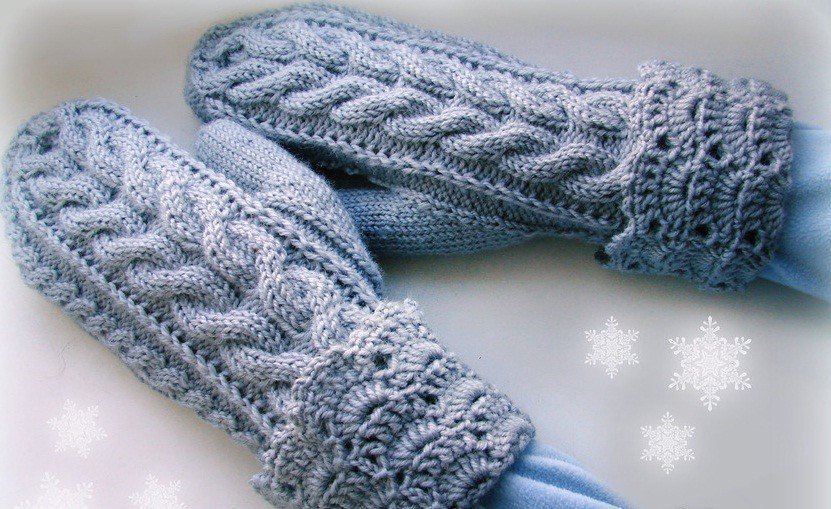
Knitting is a creative, interesting, but rather painstaking activity. The process of making things yourself brings a lot of pleasure, calms the nervous system, and allows you to be alone with your thoughts. Most often, novice craftswomen first practice on simple products. Socks and mittens with knitting needles are ideal for learning knitting techniques. However, you should first familiarize yourself with a number of subtleties and recommendations.
Selecting yarn and knitting method
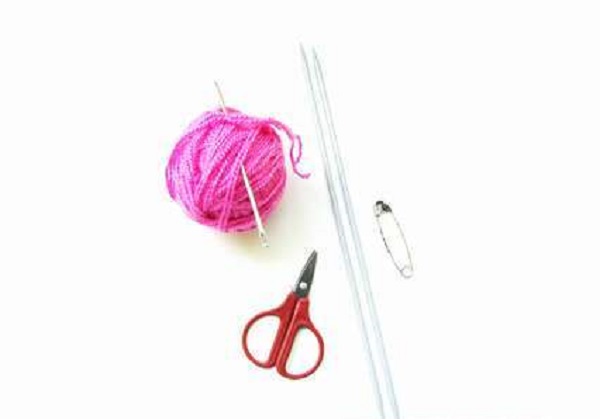
Before knitting mittens with knitting needles, you should choose the yarn, the diameter of the tools and the working technique. As practice shows, any type of yarn is suitable for creating mittens. It all depends on their subsequent use.
For children's warm mittens, it is advisable to choose a thicker thread with wool. However, you should avoid 100% wool content, otherwise the child will experience discomfort - an unpleasant tingling sensation.
If you plan to make beautiful mittens for a girl or woman, then you should give preference to thin, light yarn, thanks to which you can create original patterns. The thinner the selected thread, the more exquisite the product turns out. Therefore, to keep warm in frosty weather, mittens with or without a pattern, but made of thick yarn are suitable. But in the off-season, a model made of thin thread will be ideal.
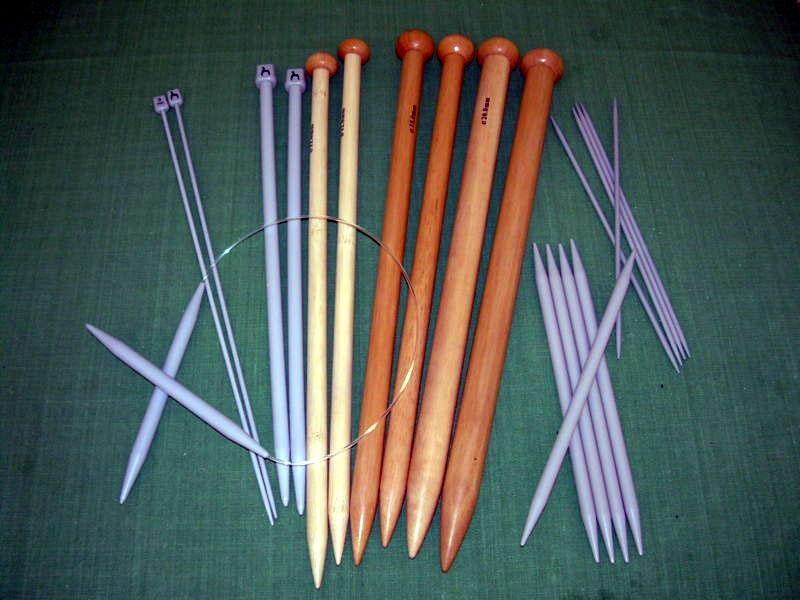
Based on the thickness of the yarn, you should also choose the diameter of the knitting needles. In this case, you should pay special attention to the label of the threads, which indicates the appropriate number of the knitting tool, as well as instructions for caring for the finished product.
Mittens can be created using two or five knitting needles. The first method is considered simpler and more understandable. It is recommended for beginner needlewomen. However, using the second method, you can create a neater and more interesting product.
Before starting work, it is important to study the patterns and description of knitted mittens, understand the principle, master the process of creating a basic model. Then even the most bizarre patterns and techniques will become accessible.

How to determine the size
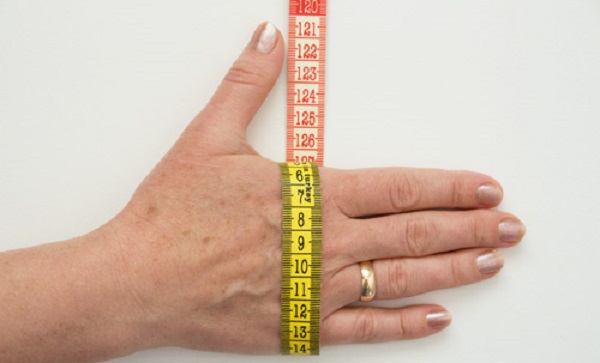
To create mittens of the right size, you need to take measurements. The process is responsible, requiring a thorough approach. Although many believe that it is enough to transfer the outline of the hand to paper.
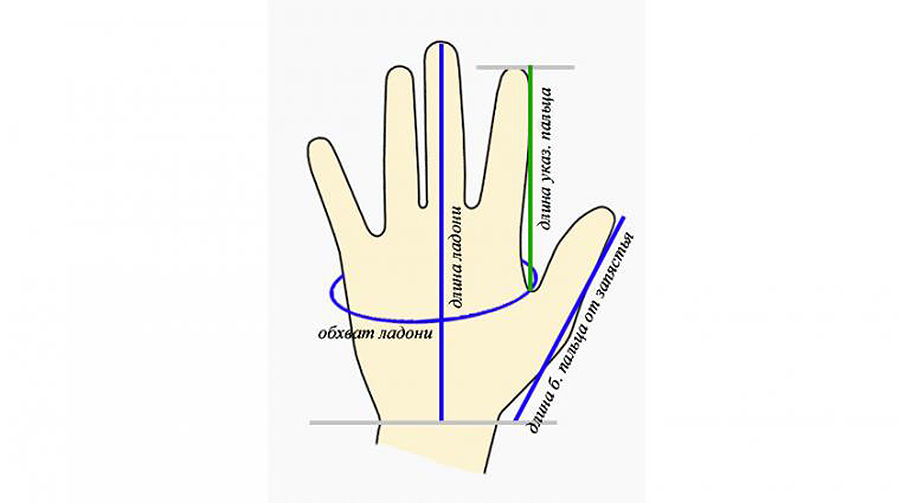
Experts recommend taking hand measurements. Only then create a pattern on paper. This is especially true for beginners. To create knitted mittens, you need the following measurements:
- Palm volume. The correct measurement is considered to be the widest part of the palm.
- Height from the wrist to the beginning of the thumb.
- The distance from the beginning of the little finger to the wrist.
- Height from the beginning of the index finger to the wrist.
- Maximum height of the palm. The measurement is taken from the beginning of the wrist to the extreme point of the middle finger.
Once all the measurements are taken, you can create a pattern that will make knitting easier. It is recommended to select the maximum width equal to the volume of the palm, and the height of the mitten after the elastic band, equal to the length of the palm. This will help to subsequently set the correct size, determine the number of rows and loops.
Beautiful patterns and techniques
In the process of work, you can use a variety of patterns for mittens. Each one differs in shape and execution technique. The most popular are:
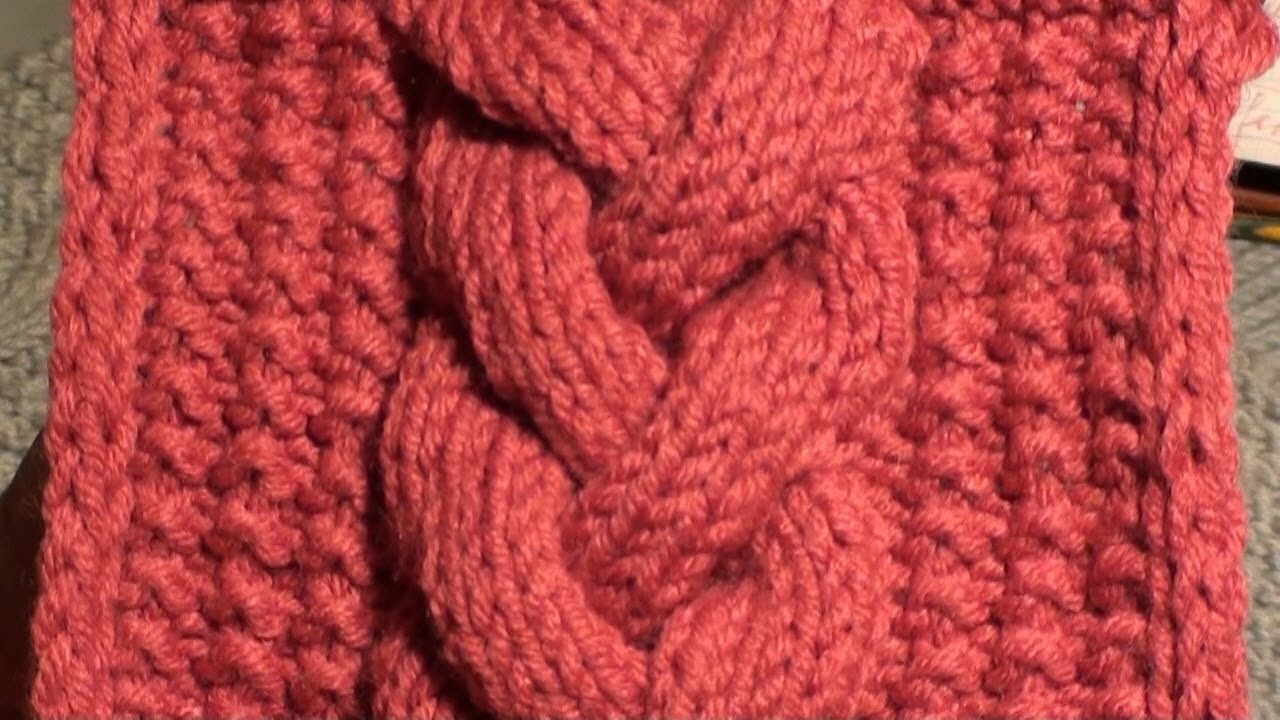
- Volumetric braids. Quite simple to do. They are formed by moving the loops to the right or left side.
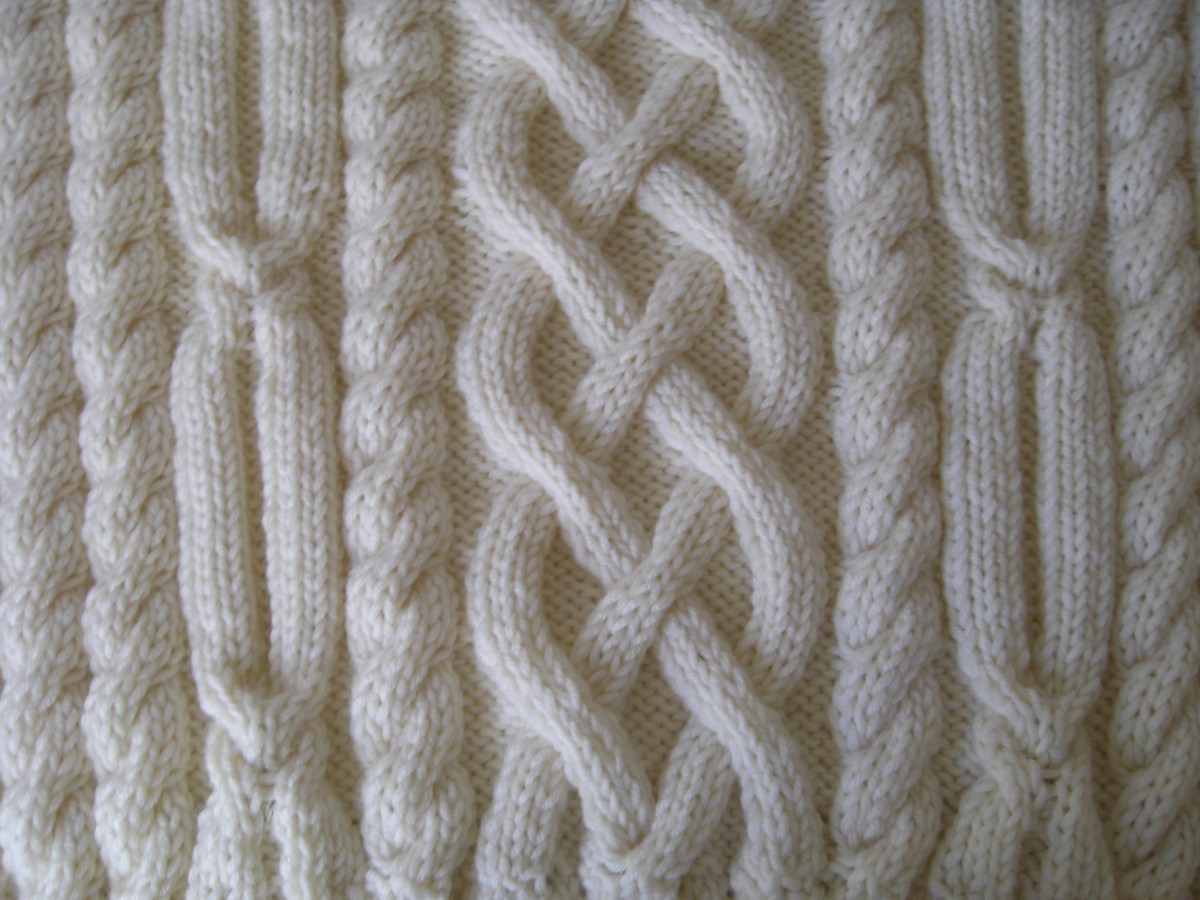
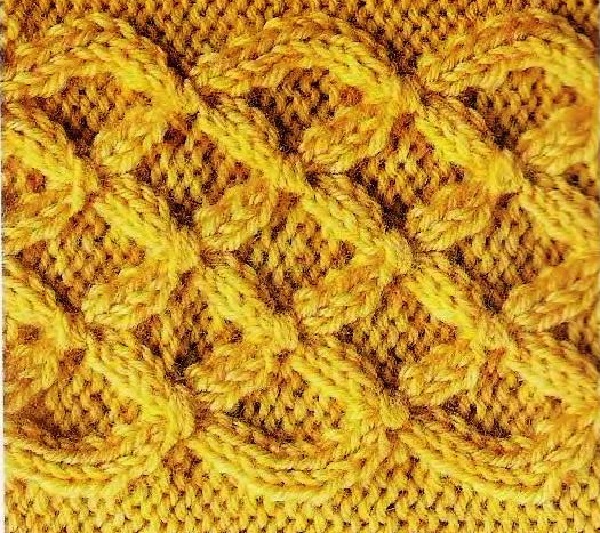
- Interlacing. Used to create a warm model. Complex level of execution. Created using shortened rows, decreases, and a set of additional loops.
- Cables. Used to create voluminous models. Medium level of complexity. Such beautiful patterns are created by changing the order of knitting loops.
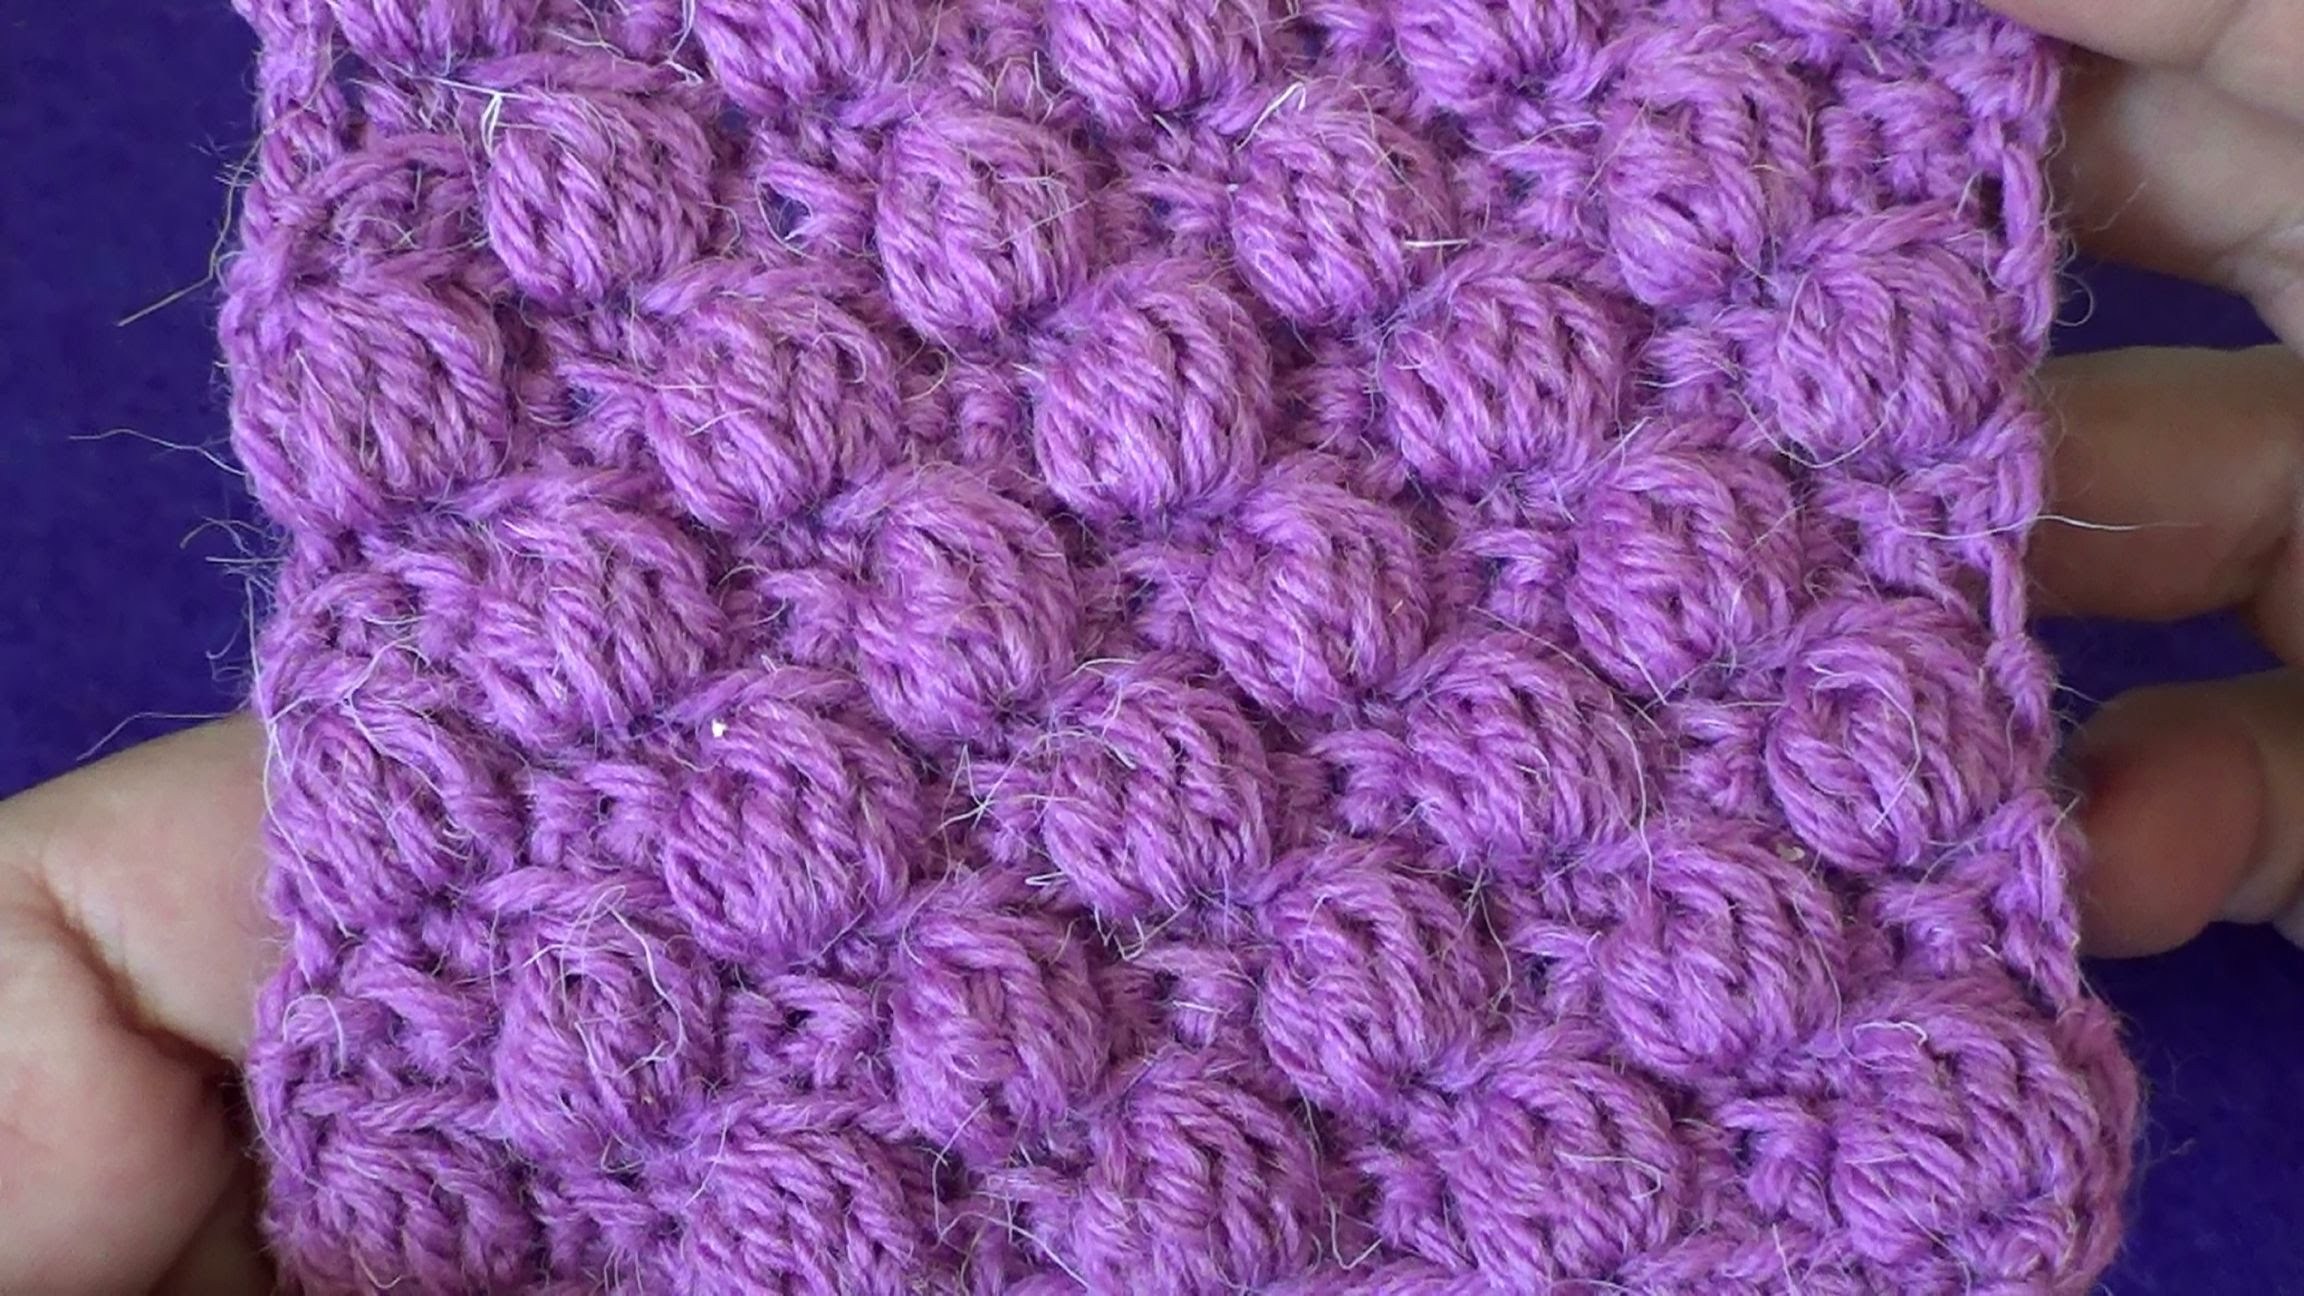
- Bumps. A convex, unique pattern, difficult to execute. Knitted with both front and back stitch.
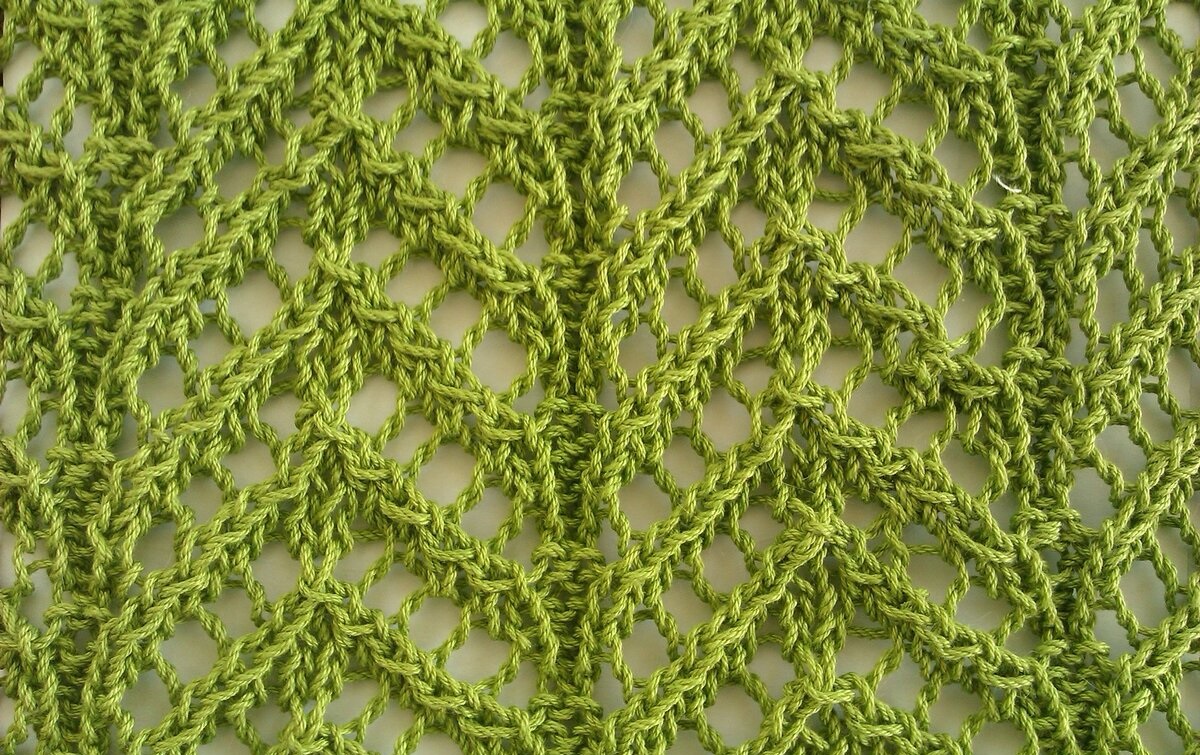
- Openwork patterns. Very popular. Quite a high level of complexity of patterns for knitted mittens. Created by means of yarns.
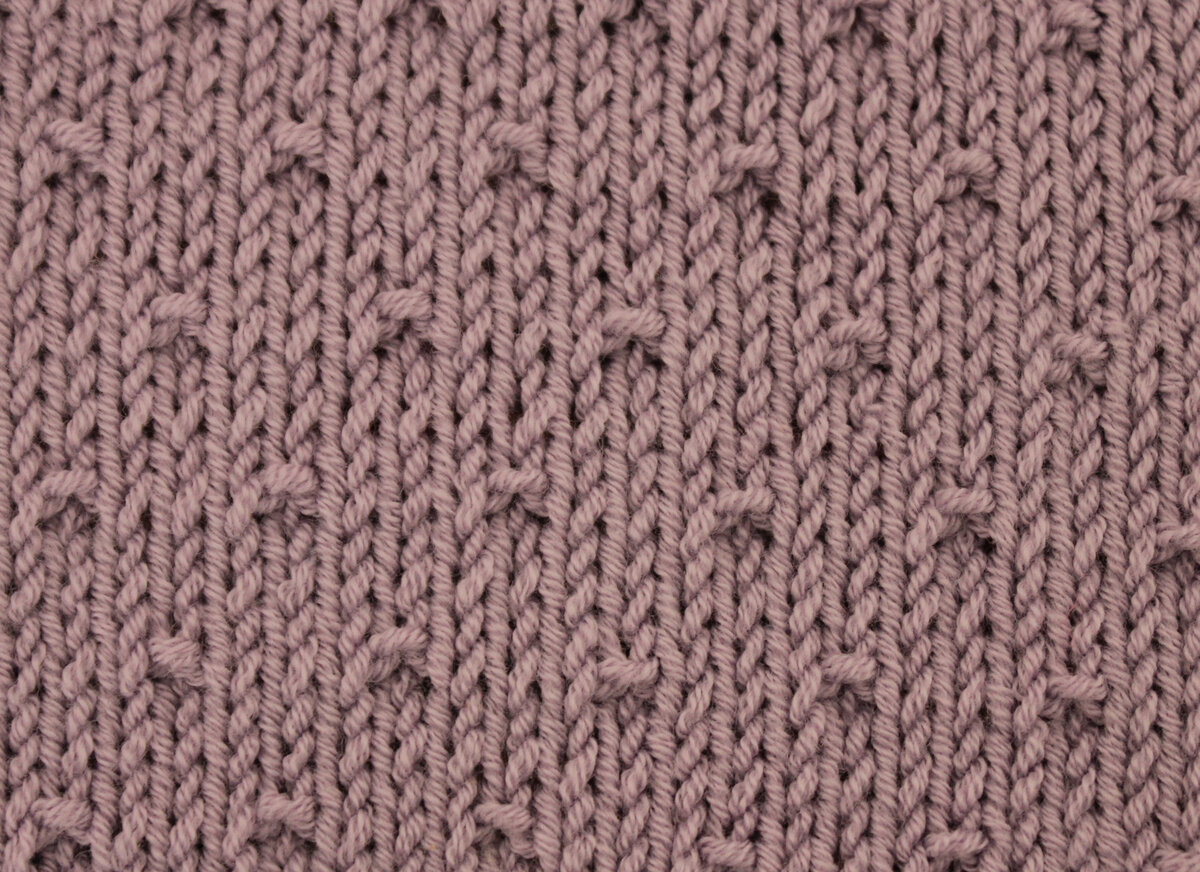
- Patterned satin stitch. The best option to create knitted mittens with a pattern. It is used as a base against which the pattern stands out clearly. You can also make an insert of purl stitch on the front side. It will turn out quite original. The execution technique is simple.
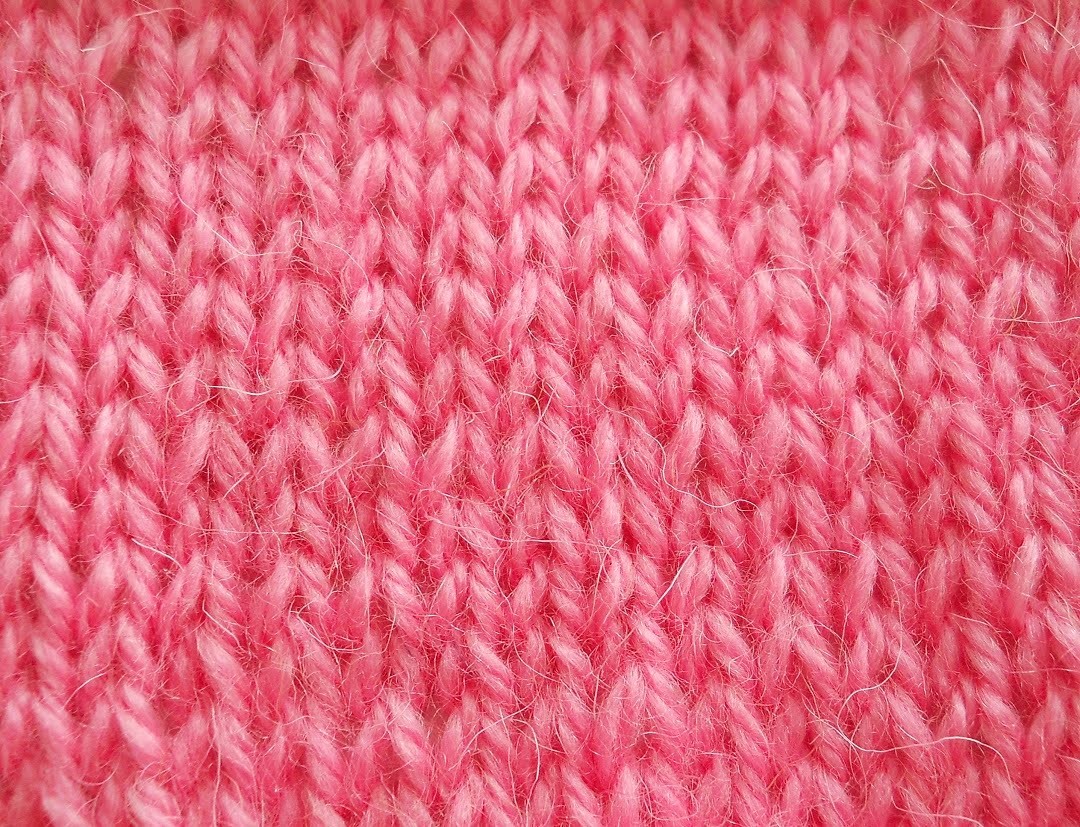
- Plain stitch. Basic pattern for mittens. Quite simple to make. The main thing is that all the loops are the same. They can be created both for the front and back walls.
There are many more patterns. They are used to create mittens with ornaments, shells, borders, leaves, honeycombs, Norwegian patterns. It is recommended to start making your first work with a basic version.
Knitting algorithm on 5 needles for beginners
A popular way to knit mittens involves working from the cuff to the toe. Recommended for beginners. The process involves 5 knitting needles.
First of all, you should take measurements and make calculations. The number of loops to be cast on is equal to the product of the palm circumference and the horizontal density of the pattern. The resulting number is divided into 4 parts for each knitting needle in equal proportions. If necessary, the indicator should be rounded up.
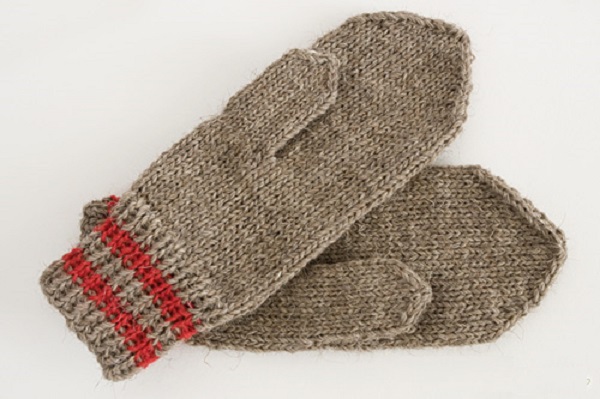
Mittens are knitted using front and back stitches. The whole process is done in a circle, from top to bottom. The right mitten is an example. The initial stage is to create a cuff. The most popular method is ribbing. About 70 mm is knitted. The next stage is the main element. The front loops are knitted in a circle to the starting point of the thumb, about 60 mm.
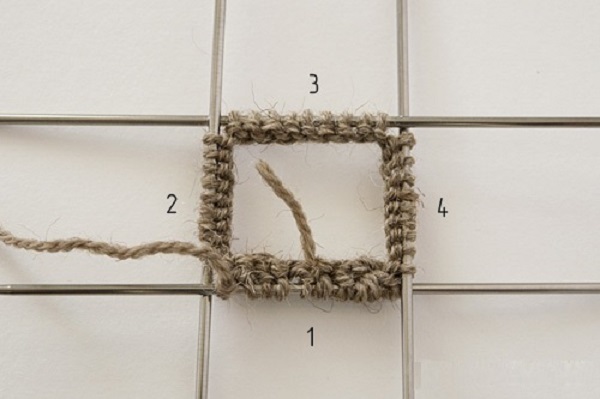
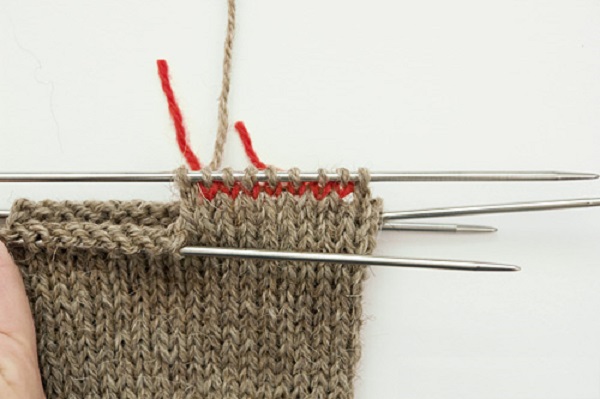
Next comes the base of the thumb. Work is done on the first knitting needle. The first loop is made with the main yarn. The following ones (except the final one) are knitted in a contrasting color. The front surface is used. After the loops of contrasting yarn, return to the first knitting needle and knit with the main yarn. A colored border appears, which serves as an indication of the beginning of the thumb.
Then the main part is knitted in a circle to the starting point of the little finger. About 80 mm. At the toe, the loops are reduced. On the odd needles, the two initial loops are connected with the front surface behind the back walls. In this case, the first loop is turned over. On the even ones, the two final loops are connected with the front surface behind the front walls.
The reduction should be done through the circle until half of the original number of loops is reached, then in each one. The goal is eight loops, a pair on each knitting needle. They are tightened and fixed on the wrong side.
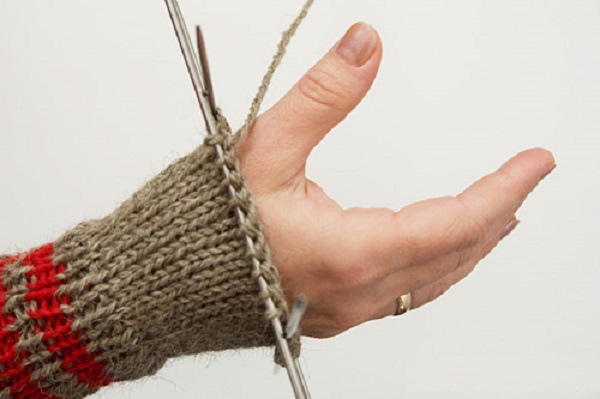
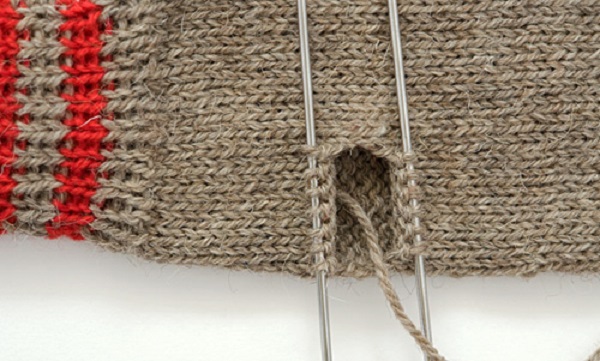
The next step of the algorithm, how to knit mittens for beginners step by step, involves creating a thumb. The contrasting thread is removed. Its place is taken by two knitting needles. Then all the loops are transferred to four tools. To make it comfortable to work, the remainder of the thread is hidden inside the hole. The thumb should be knitted in a circle.
From the central point of the nail, you should start decreasing the loops, on the odd needles at the beginning of the row, on the even ones - at the end. The method is the same as when creating a cape. The only difference is that the loops are initially decreased in each row. When one loop remains, they are tightened and secured on the back side.
The left mitten is knitted in a similar way, but in a mirror image. The base of the thumb is knitted on the second knitting needle. The set of warm mittens on 5 knitting needles is ready.

Step-by-step master class on knitting popular models
There are many popular techniques for knitting mittens. These include children's and women's openwork mittens with knitting needles or mittens. Having carefully studied the recommendations, you can knit them yourself.
Children's on two needles
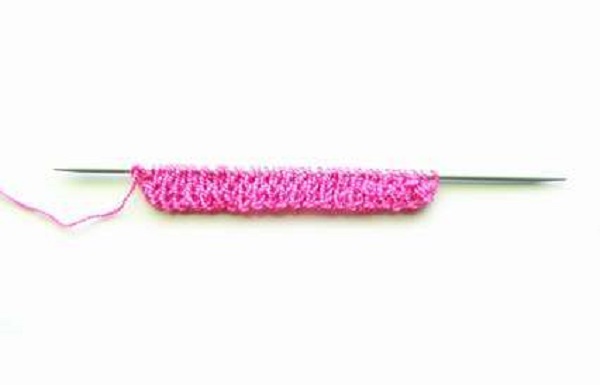
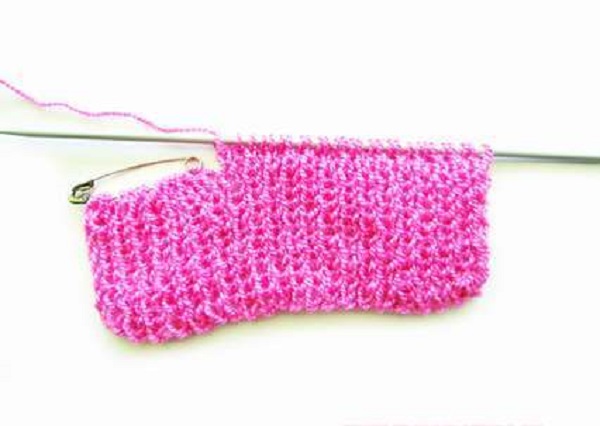
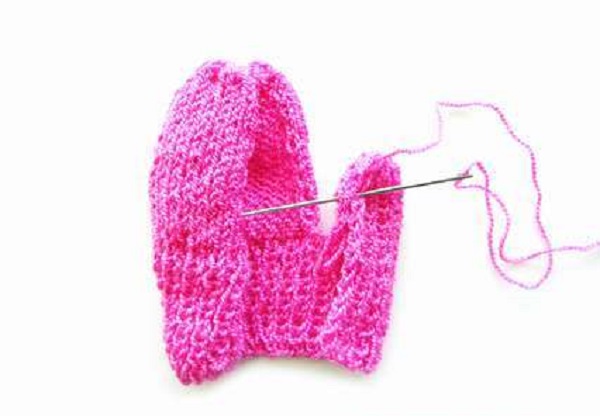
When making children's mittens on two knitting needles, the required number of loops is cast on the tool (based on the desired size). An elastic band is knitted, about 15 rows. Then the pattern follows to the starting point of the thumb. In this case, in the final row, loops equal in number to half the volume of the finger should be knitted with a thread of a contrasting color. Then move them to the second knitting needle and knit with the main thread.
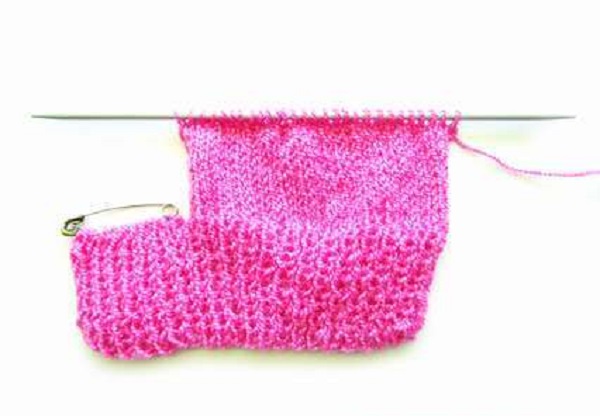
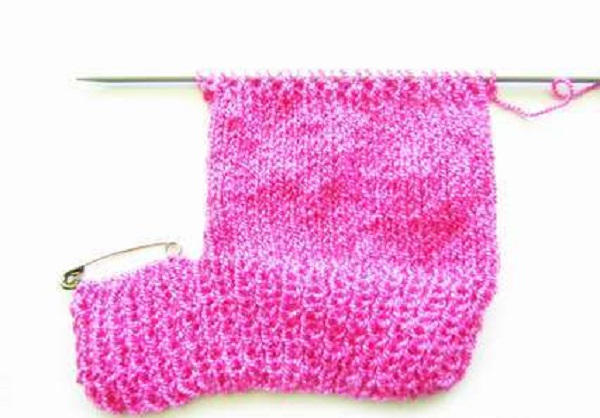
Then knitting on the needles continues without changes or using any pattern you like until the height of the little finger. From this point, you should start decreasing the loops. This process is carried out by connecting two initial, four middle, two final loops in every second row. Upon reaching the height of the middle finger, you need to divide the resulting amount between two needles, fold it in half and fix it with a knitted seam.
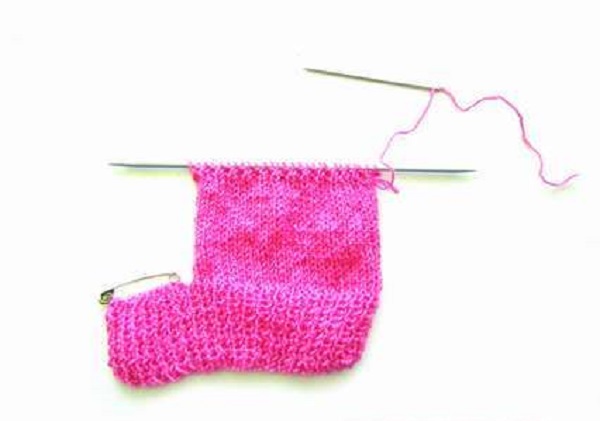
The next step is to create a thumb. The contrasting thread is removed and a knitting needle takes its place. The bending point requires a set of two additional loops from the broaches. The specified height is knitted. In every second row, the fourth loop is decreased. At the end, the remaining loops are sewn. The resulting fabric is formed into a finger and fixed along the entire height with a seam. After that, the entire product is sewn. Children's knitted mittens are ready.
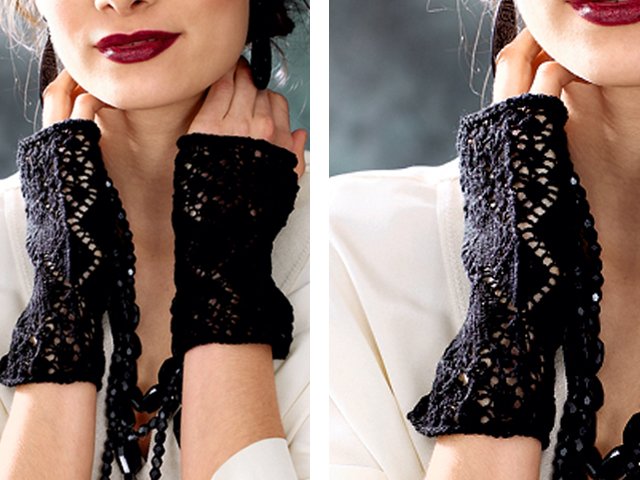
Women's openwork mittens
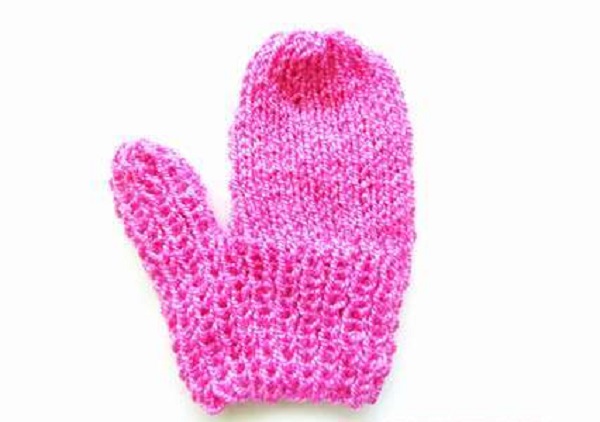
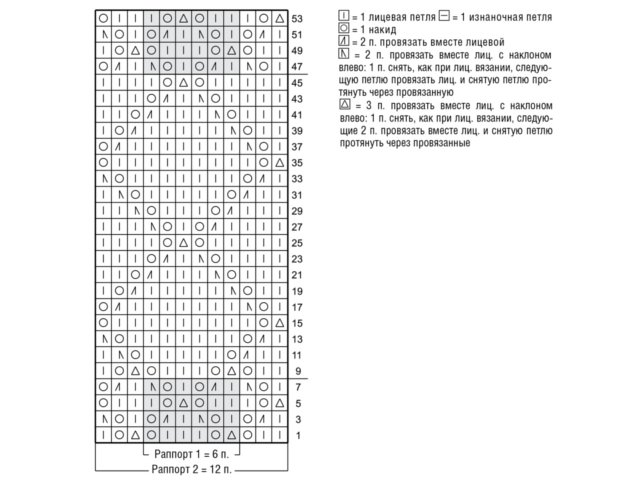
Women's openwork mittens are made on five knitting needles in a circle. First, measurements are taken, the number of loops is determined. It is recommended to knit a pattern sample to determine the density of the loops. The peculiarity of knitting is the same pattern along the entire length, no decreases or increases are made. Therefore, the basis is the palm circumference at the widest point minus one centimeter. In this case, the pattern rapport is taken into account, which should be a multiple of the number of loops.
For example, a palm of 17 cm, a rapport of 7 loops is taken. The total number of loops is 49. They are cast on two knitting needles to create the first row. Then they are distributed on four knitting needles, which are used throughout the process of creating a pattern in a circle. All odd rows are knitted with a purl surface.
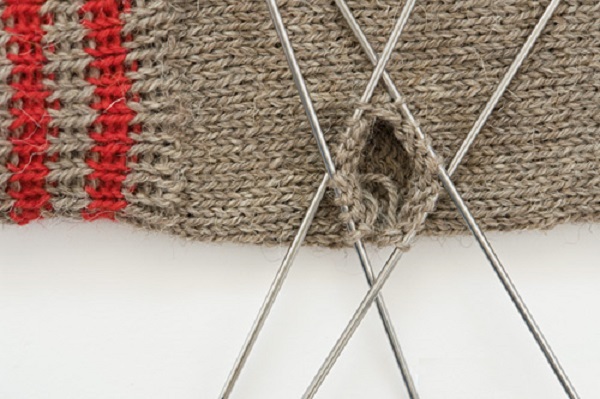
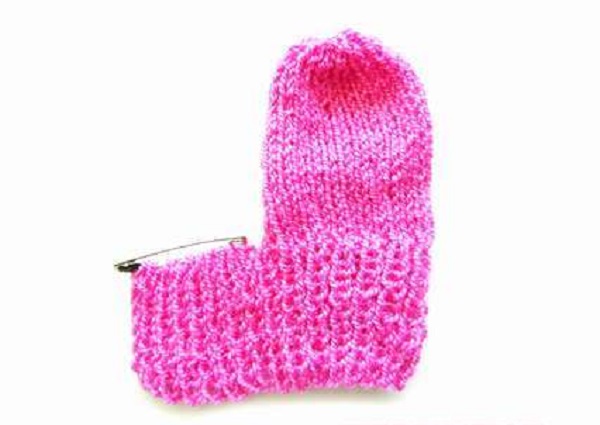
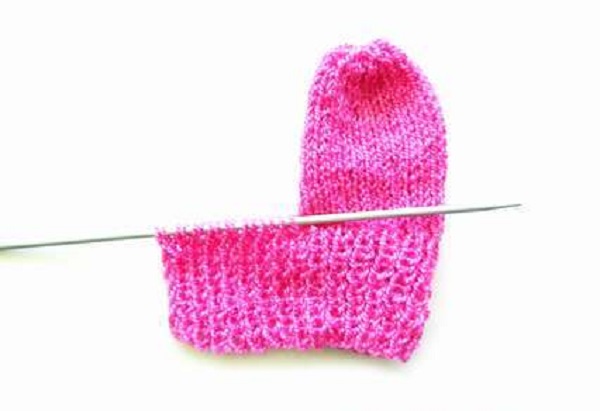
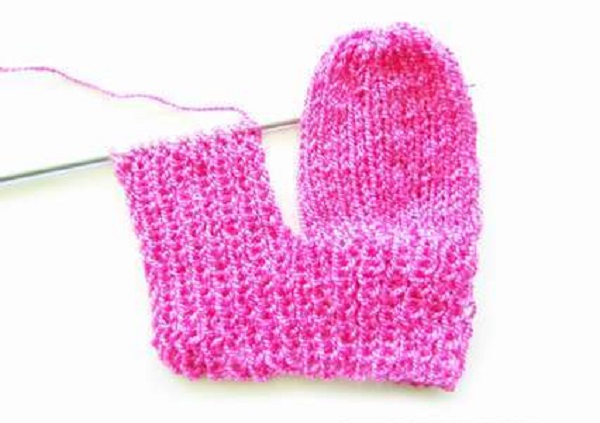
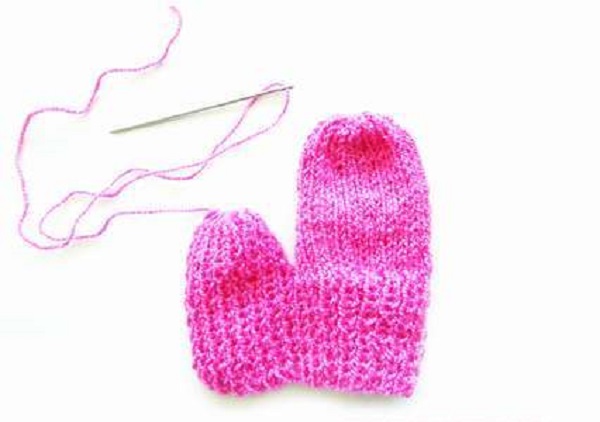
Upon reaching the base of the thumb, a hole is formed. To do this, 10 loops are transferred to a pin. In their place, during further knitting, air loops are created. The process continues until the desired height of the product is obtained. The final row is secured with a hook using single crochets. The hole for the thumb is completed in the same way. In this case, four rows are knitted. Openwork mittens for women are ready.
How to decorate
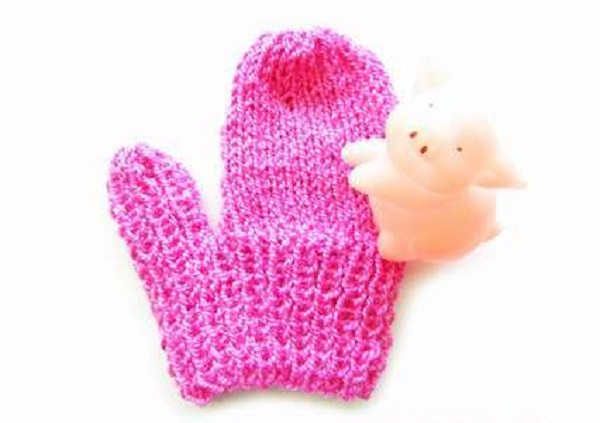
Having knitted beautiful mittens, sometimes you want to complement the product, create an exclusive, original version. There are many ways to do this. Some decor options are suitable for children's products, others - for women.
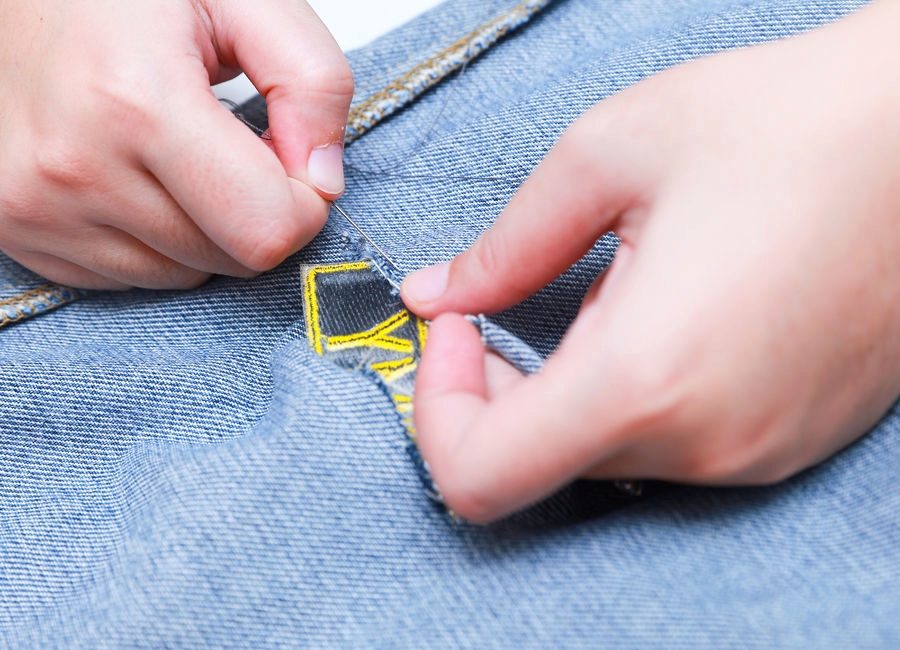
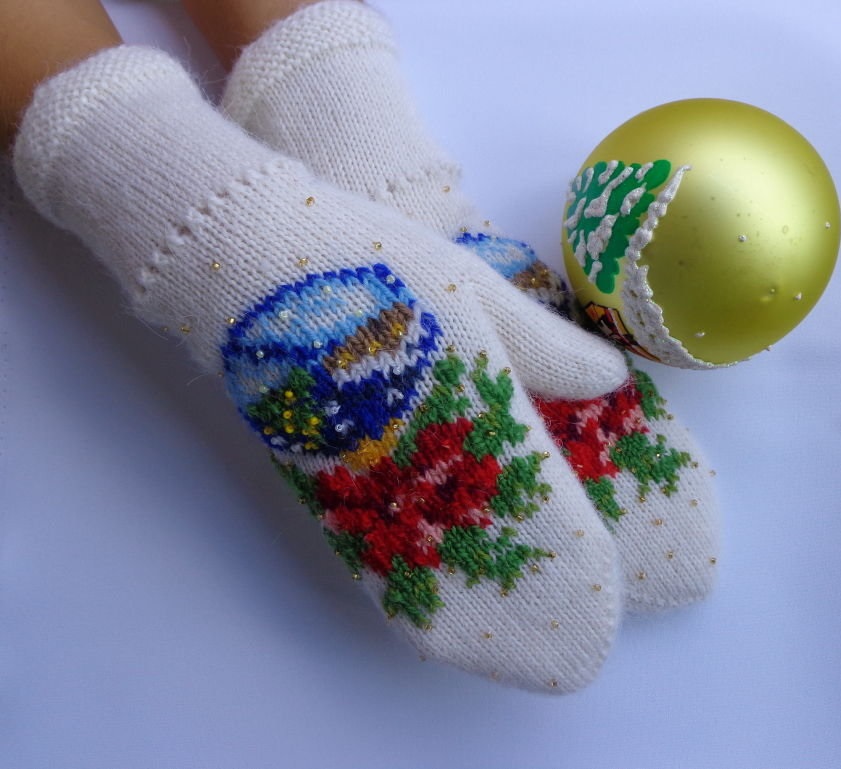
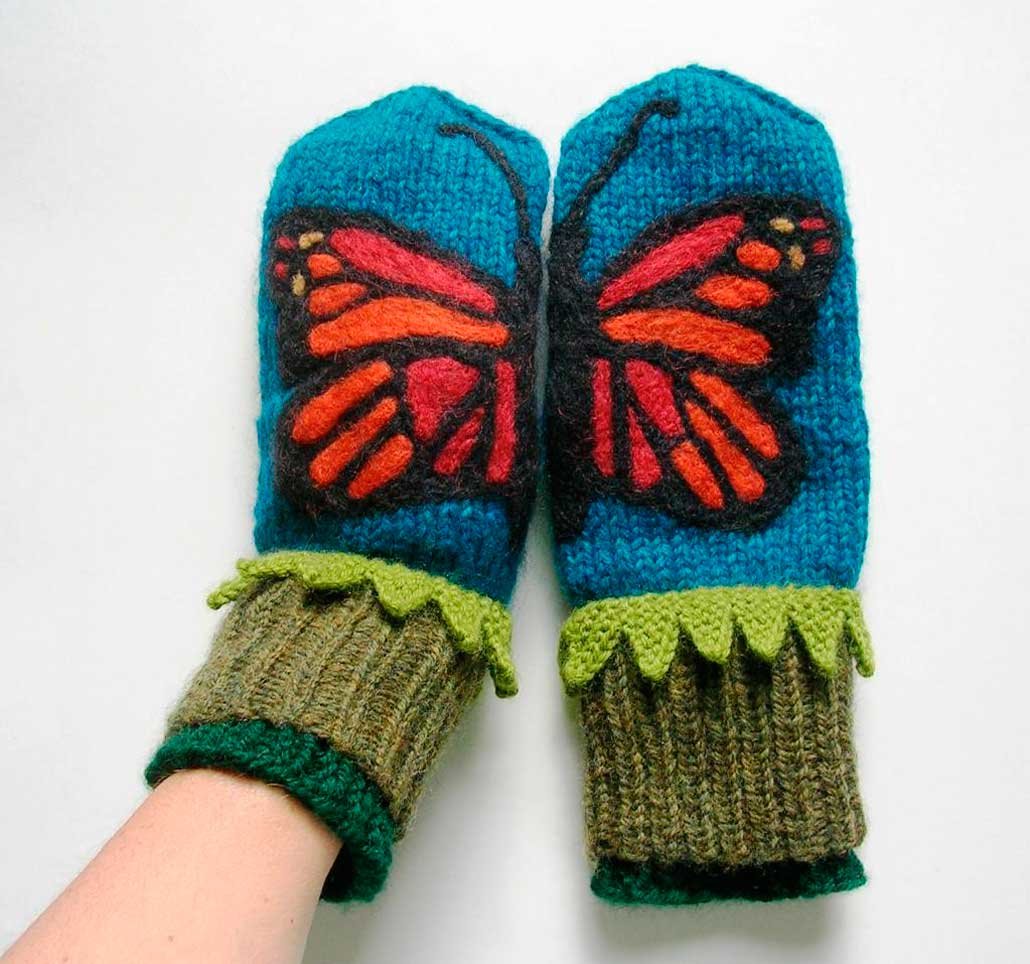
The children's version of decorating mittens involves something funny and cheerful, for example, funny animal faces. They can be purchased in a store or created independently using the same yarn and knitting needles. Felt patterns are often used, both the same for two mittens and those that go from one to the other.
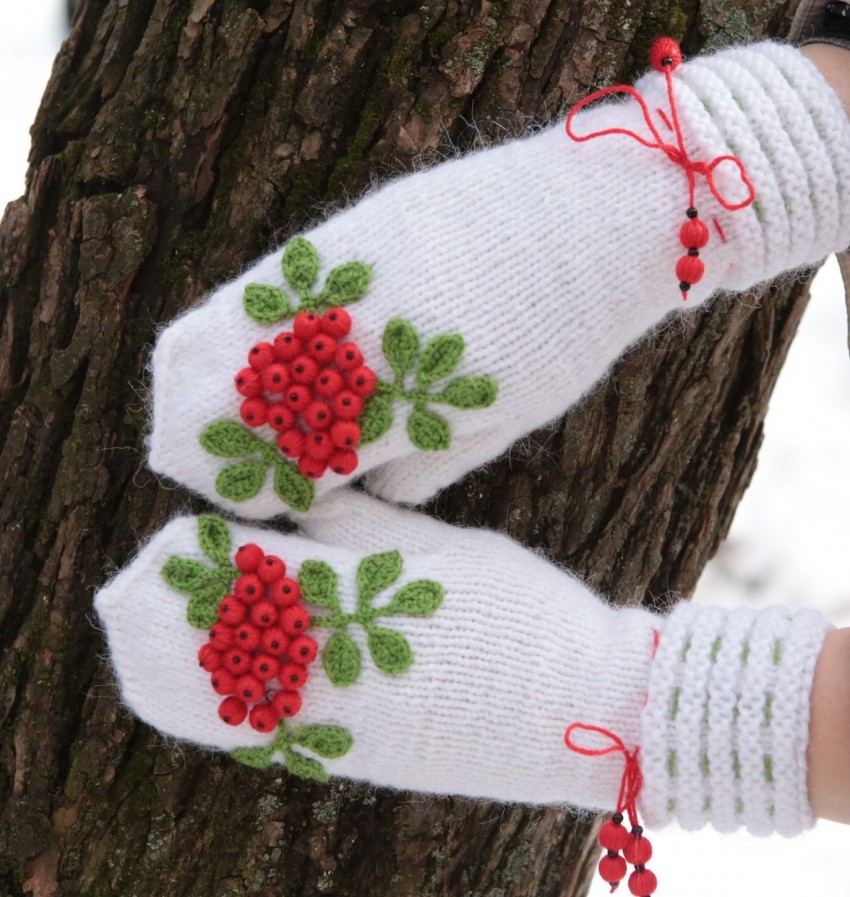
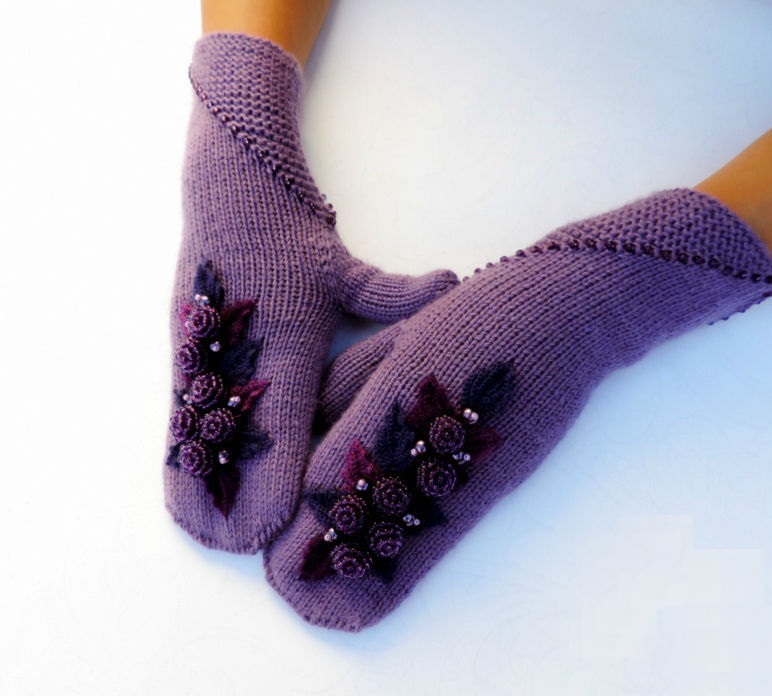
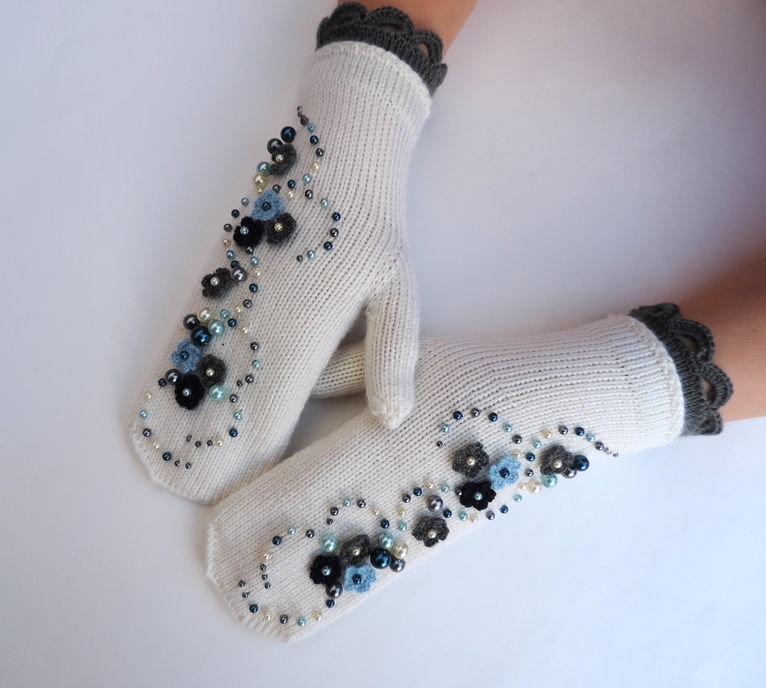
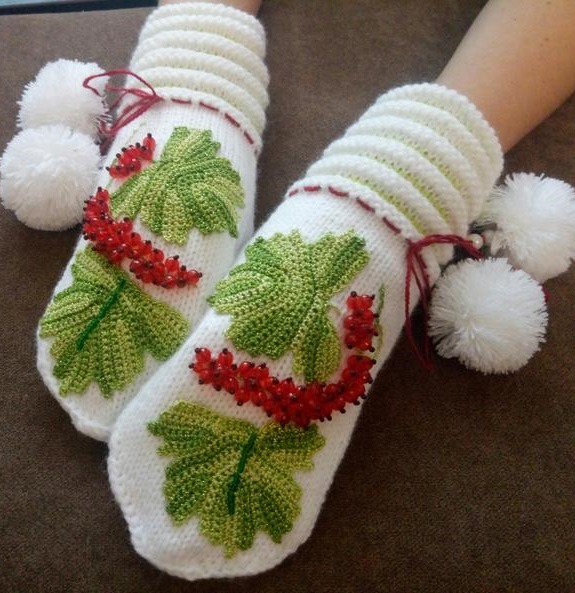
As a decoration for women's mittens, something more refined and elegant is recommended. Rhinestones and beads on the mitten can emphasize the style of its owner. They are usually fixed using a glue gun. But a woven satin ribbon will create an elegant look. Popular decor options include pom-poms and floral arrangements.
Video