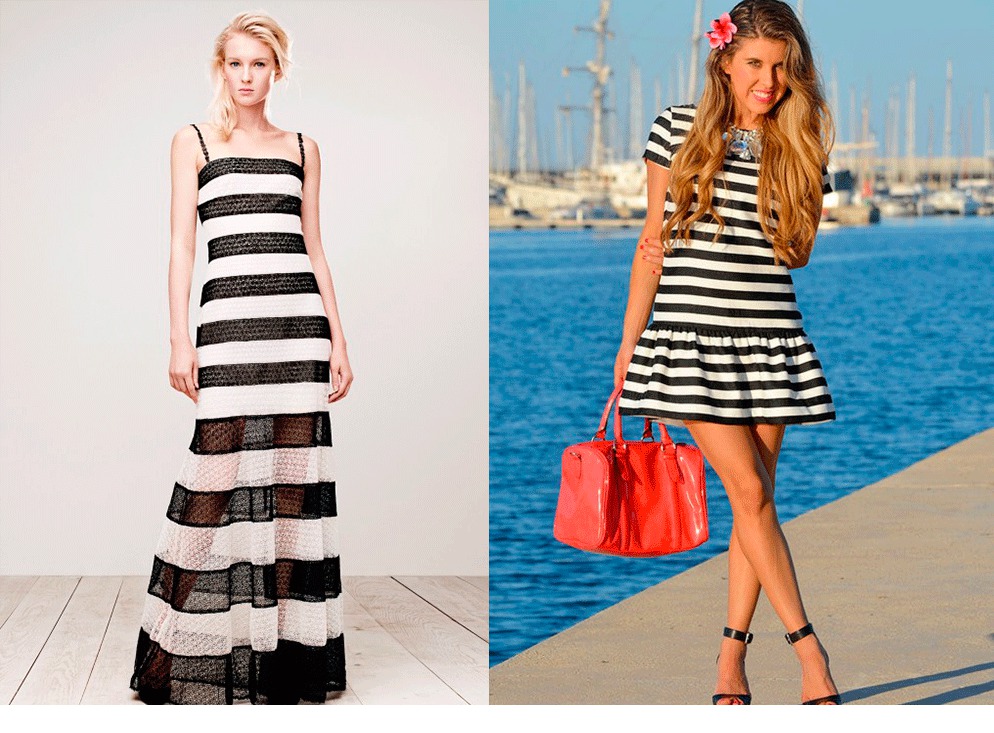
Today, the sewing industry has filled the market with a variety of modern clothing, which is presented in various styles and shades. The retail network offers models for different age categories. It is a mistake to think that sewing clothes is a thing of the past. There are a large number of sewing studios where professionals will fulfill an individual order. And you can also learn to sew products at home. But this will require patience and high-quality equipment.
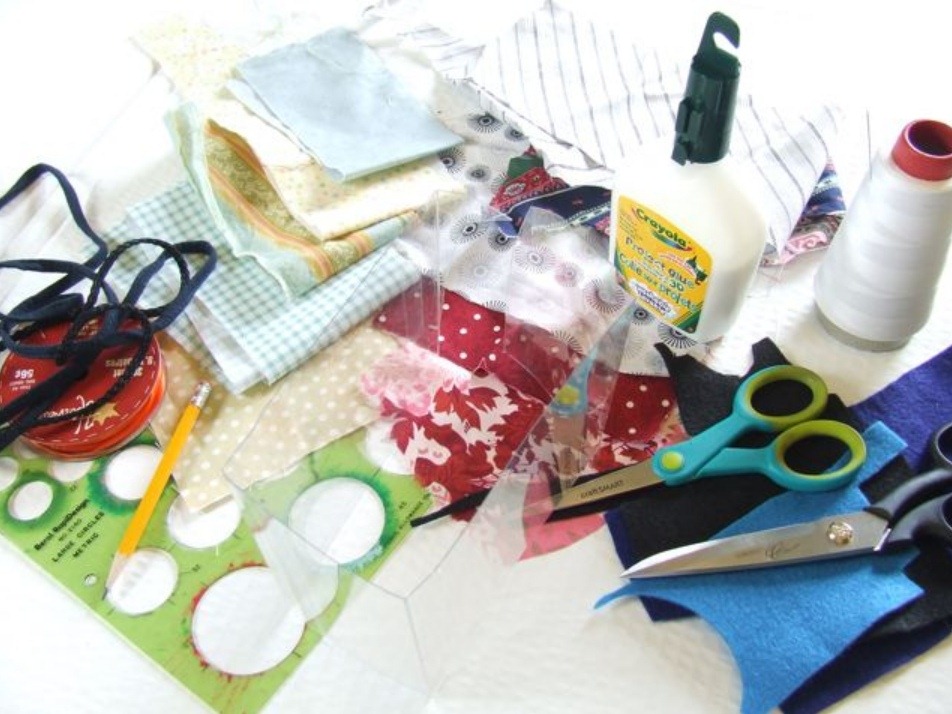
Necessary tools and materials
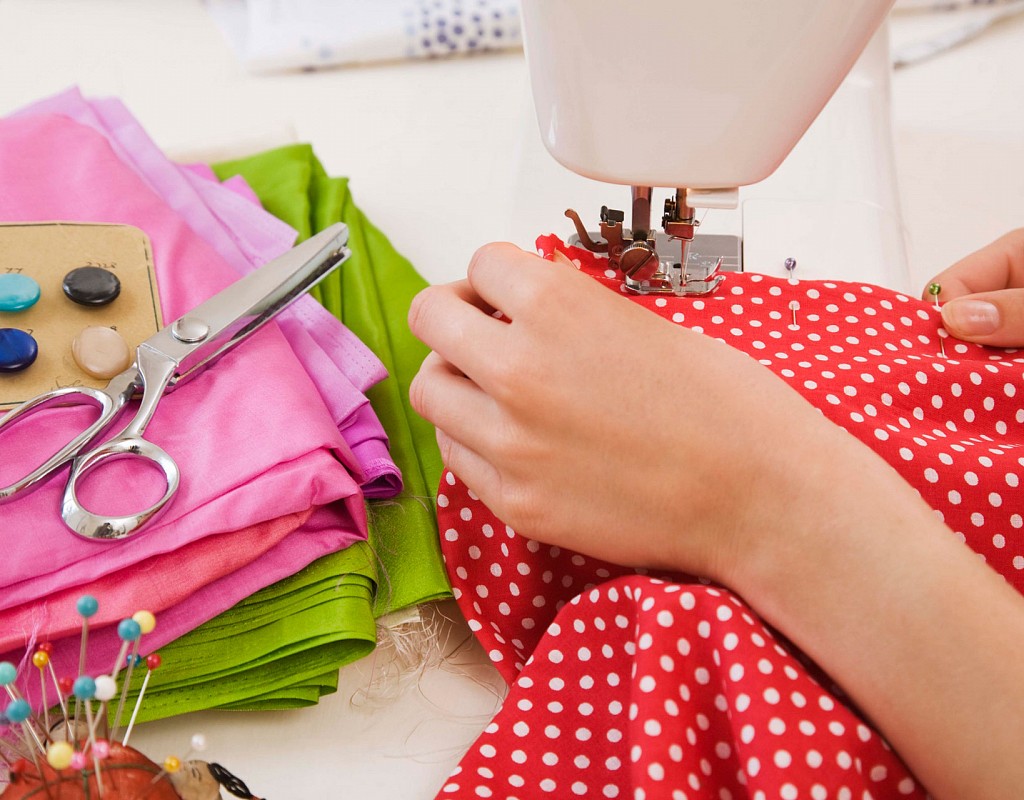
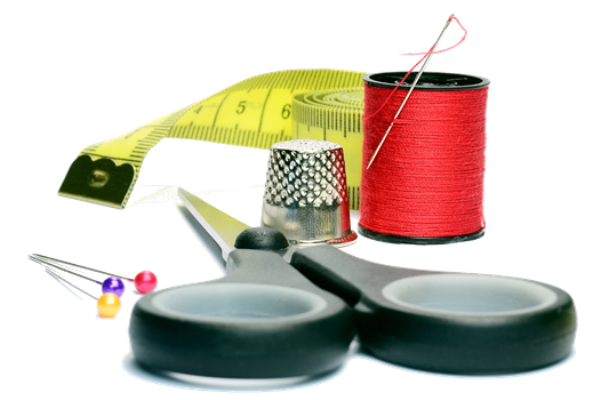
Sewing clothes by hand is divided into stages: take measurements, cut the material, apply marks to the fabric, baste the product parts by hand, join the parts with a machine seam and carry out wet-heat treatment. What do you need for sewing? Each of these operations requires certain tools and materials:
- Needles;
- Pins;.
- Thimble;
- Pincushions;
- Scissors;
- Measuring instruments;
- Sewing machine;
- Iron.
To make clothes with your own hands, you need basic, lining, and finishing materials. They must have good sewing, operational, and hygienic properties. The material can have different compositions. The fabric consists of cotton, linen, silk, or wool fibers. Material containing nylon or lavsan fibers has increased wear resistance and less wrinkling. Therefore, fabrics can be divided into three main categories: natural, artificial, and synthetic. The textile industry has introduced a wide range of different materials to the market that are used for sewing products – cotton, polyester, jacquard, silk, calico, chiffon, velveteen.
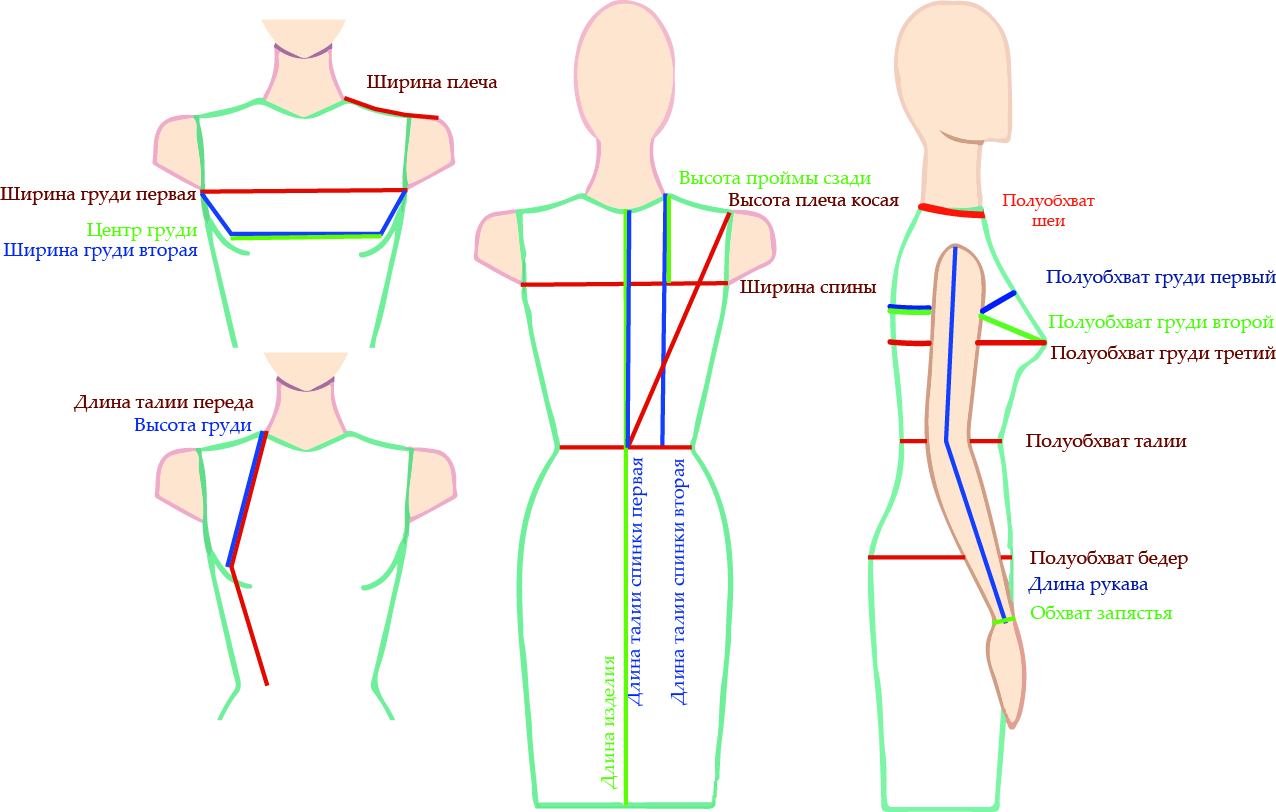
How to take measurements
To make a clothing pattern, you need to take measurements in accordance with the features of a person's figure:
- SS ─ half-girth (h/o) of the neck. Measured at the base of the neck;
- SG ─ p/o chest. The tape measure is placed along the lower part of the shoulder blades and connected at the elevations of the mammary glands;
- CT ─ p/o waist. The tape measure is placed along the narrowest part of the figure;
- SB ─ p/o hips. The tape measure is placed along the highest points of the buttocks and connected in the middle of the abdomen. The hip line is located 15-18 cm below the waist;
- BWL ─ length (dl) of the back to the waist line. The centimeter is located from the base of the neck parallel to the spine to the waist line;
- DPS ─ length of the front to the waist line. Measured from the base of the neck, through the rise of the chest to the waist line;
- DI ─ for the product. Place the centimeter from the seventh cervical vertebra to a certain length;
- SBW ─ back width. This is the distance between the corners of the left and right armpits;
- ШП ─ front width. The centimeter runs from the right armpit, above the chest and to the left armpit;
- ВПр ─ armhole height. Measured from the base of the neck to the corner of the armpit;
- ВГ ─ bust height. The centimeter runs from the base of the neck to the highest part of the bust;
- DP ─ for the shoulder. The centimeter is located from the base of the neck to the collarbone;
- OP ─ shoulder girth. The centimeter runs horizontally along the widest part of the upper arm;
- DR ─ sleeve length. The centimeter runs from the shoulder mark to the desired length;
- CG ─ center of the chest. The centimeter runs between the protruding points of the bust.


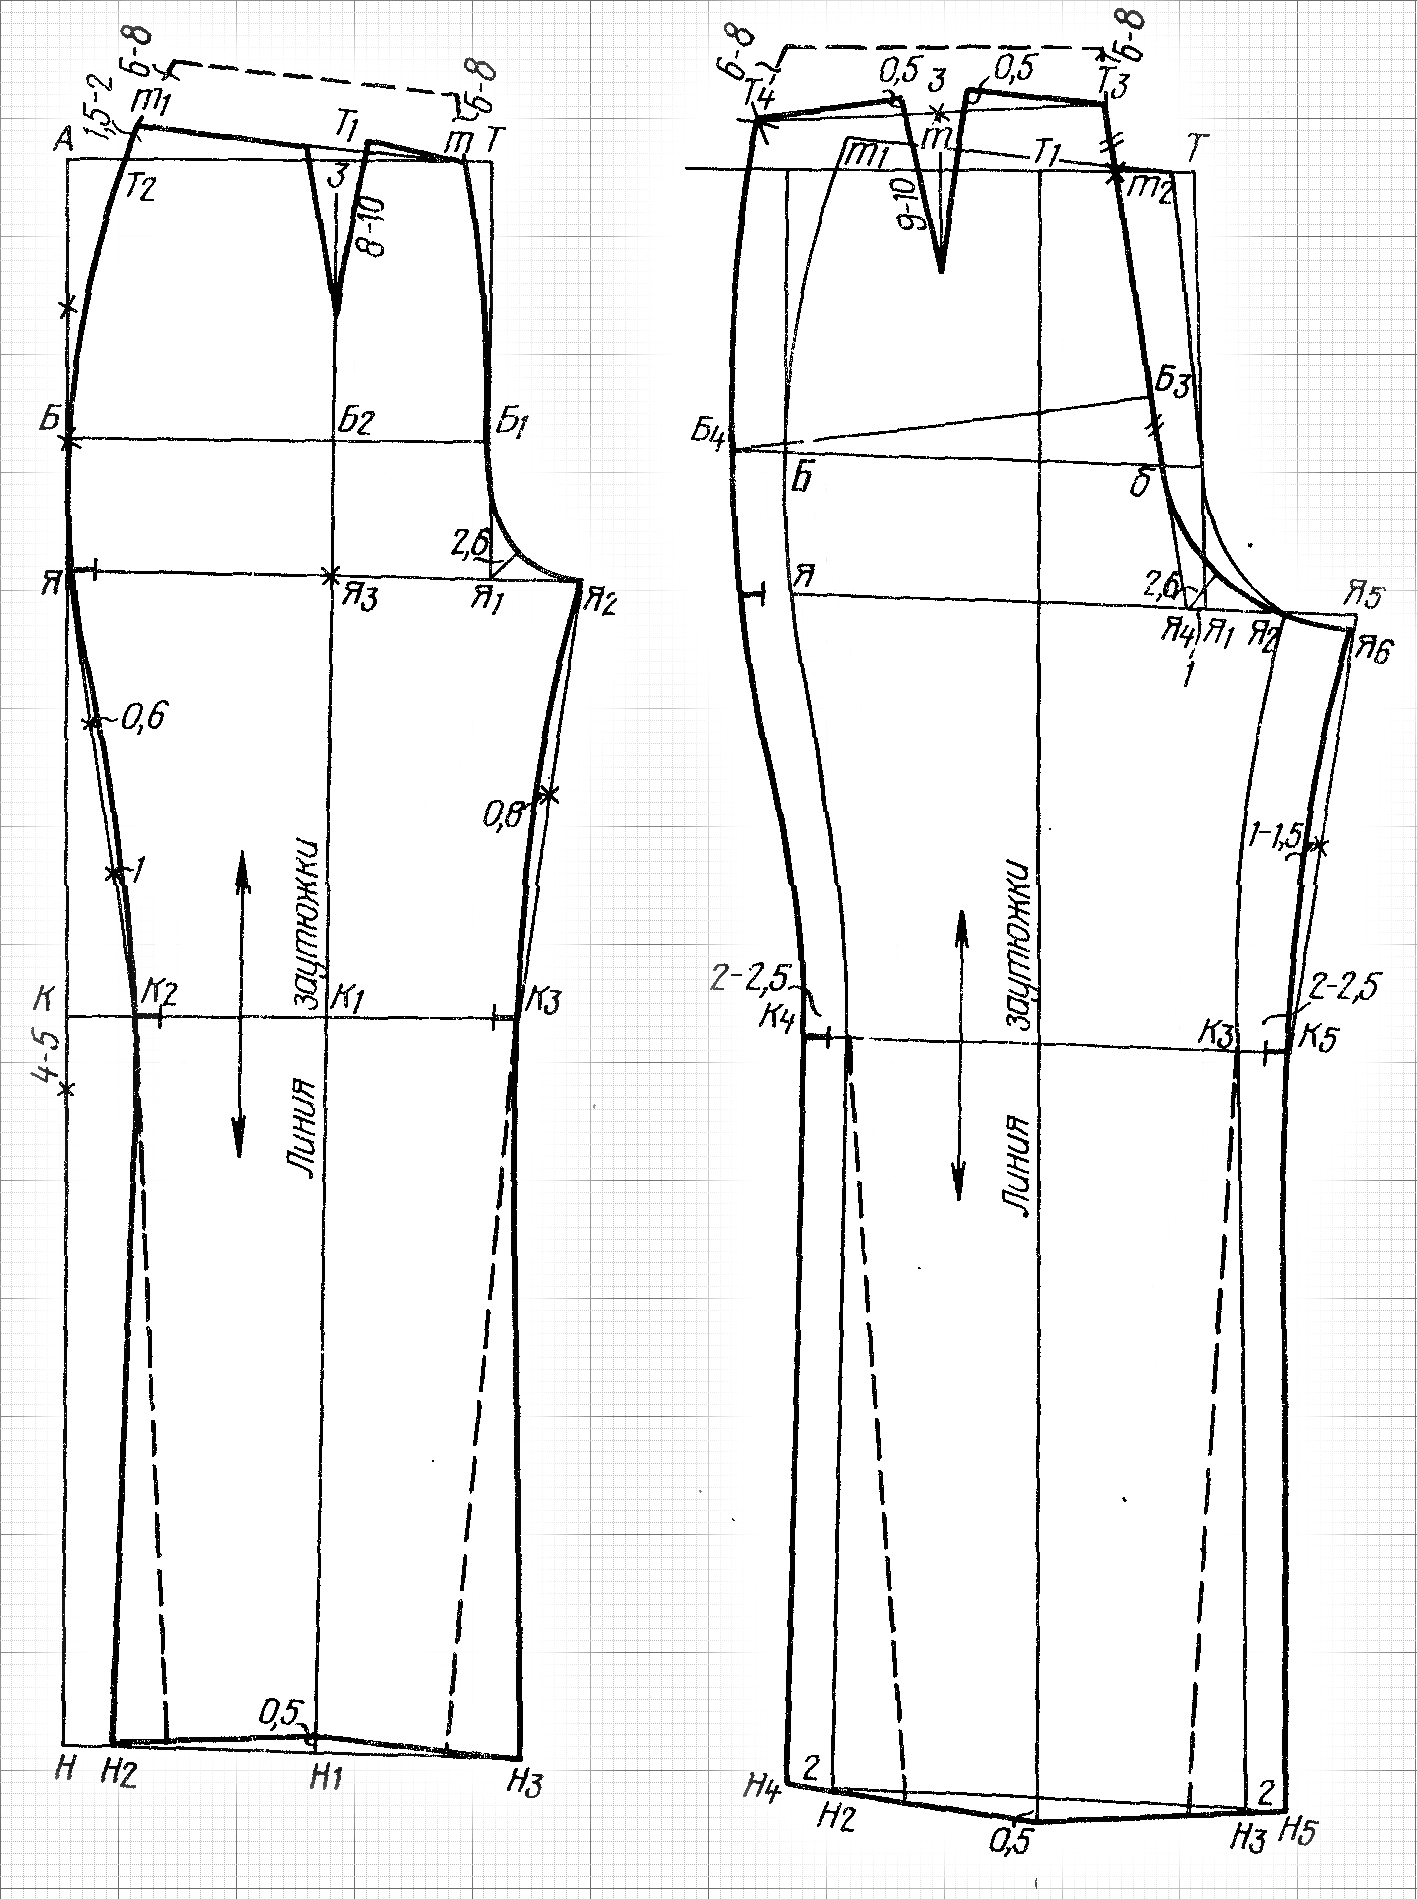
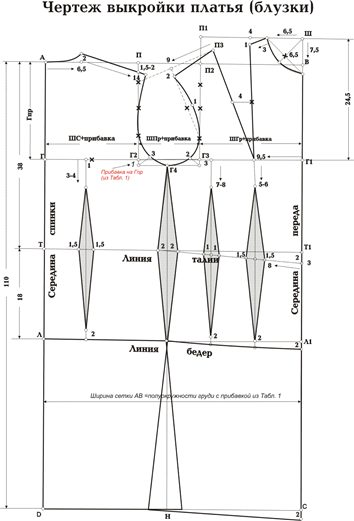
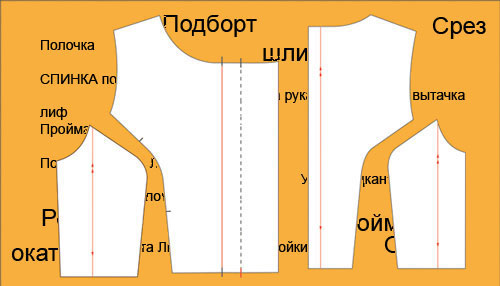
Patterns and patterns
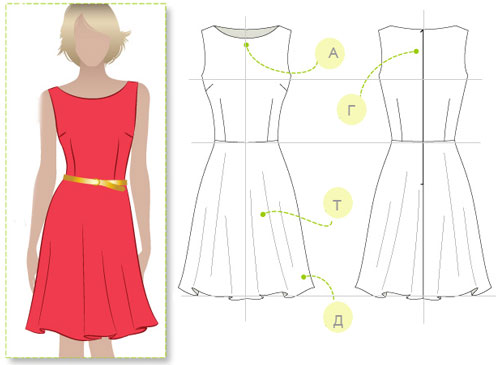
Every milliner should understand that the production of any garment begins with the creation of a pattern. The life of the created masterpiece depends on how the drawing is developed. The beginning seamstress faces the question: how to sew clothes so that they please the owner. You need to start sewing clothes by creating the basis of the pattern ─ these are vertical and horizontal lines. They create rectangles in which all the individual features of the human figure are laid. The height of the rectangle is determined by the length of the future garment, and the width ─ SG + allowance for free fit. All parameters are applied inside the base, as well as the dimensional features of the person. Based on the base, you can change the length of the product, the fit, the type of collar, and make other design changes. For sewing clothes with your own hands, for example, a sheath dress, there are 4 types of fit:
- Very close fitting;
- Adjacent;
- Semi-fitted;
- Direct.
The modern sewing industry, thanks to new technologies, is constantly evolving. The computer has come to the aid of dressmakers, with the help of which calculations are created for constructing schemes and patterns. It is known that a pattern can be made with the help of:
- Formula;
- Modeling;
- Mulage modeling;
- Computer programs.
It is not advisable to use magazine patterns, as they are designed for a standard figure. It is better to make your own calculations that correspond to the features of your body structure.
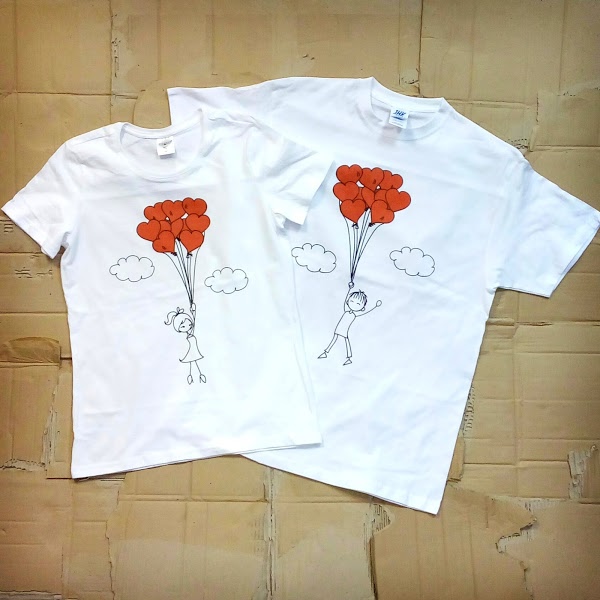
Many craftswomen, when creating clothing sketches, use the "grandmother's" method - they calculate formulas and put the result on paper. There is no need to be afraid of independent design, as well as sewing a product. To begin with, you can take patterns for beginners that do not require detailed construction. These can be simple dresses based on a T-shirt, a summer sundress of a rectangular shape, for which two pieces of fabric are required. You can sew clothes with your own hands of simple models and then move on to more complex ones. The created basic pattern with the removed parameters will allow you to create any pattern of the selected product. To replenish your wardrobe, it is enough to master 3-4 basic patterns - for a sheath dress, skirt, trousers, shirt. Then it remains only to make changes to the design of new models on the pattern. It is enough to adjust the neckline on the pattern, lengthen or widen the lower part of the sheath dress, change the width or length of the trousers. The pattern of a straight basic skirt can be transformed into a pencil skirt, a godet skirt, pleated skirt, or a yoke skirt. All changes can be made to the basic pattern in a short period of time. For a normal shoulder, the slope of the shoulder seam line is 2.5 cm, and for a high shoulder, 1.5 cm. The shoulder slope line should be extended by 1.6 cm.

Sewing technology
This phrase unites several stages of clothing production:
- Design;
- Technical training;
- Process.
Today, special attention is paid to design. It is in it that all the characteristics of future clothes made with your own hands are laid.
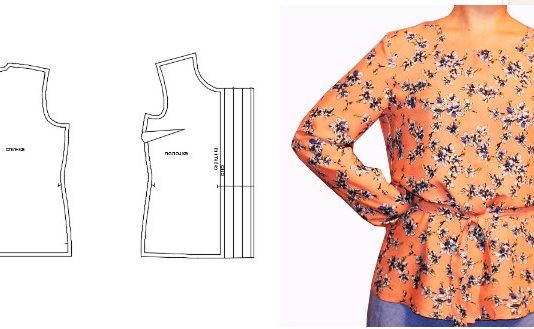
Before making a product, you need to make sketches of clothes, select the material, fittings and other decorative elements. The appearance of the model depends on the correct execution of the sewing technology. Each detail of the product must be consistently processed, prepared before performing a certain operation. The master class on sewing clothes describes in detail the algorithm for sewing clothes from scratch.
| Item No. | Operation name | Sequence of operation execution |
| 1. | Prepare the parts | Before assembling the product, the pockets, collar, and cuffs must be processed and prepared. Darts, slit pockets on the front or shaped lines on the parts must be made on the back and front. If you are sewing a skirt, you should prepare darts, folds, mark the bottom of the product and sew the side seams. In the sleeves, you need to sew the seam and decide on the bottom of the product. |
| 2. | Assemble the product |
|
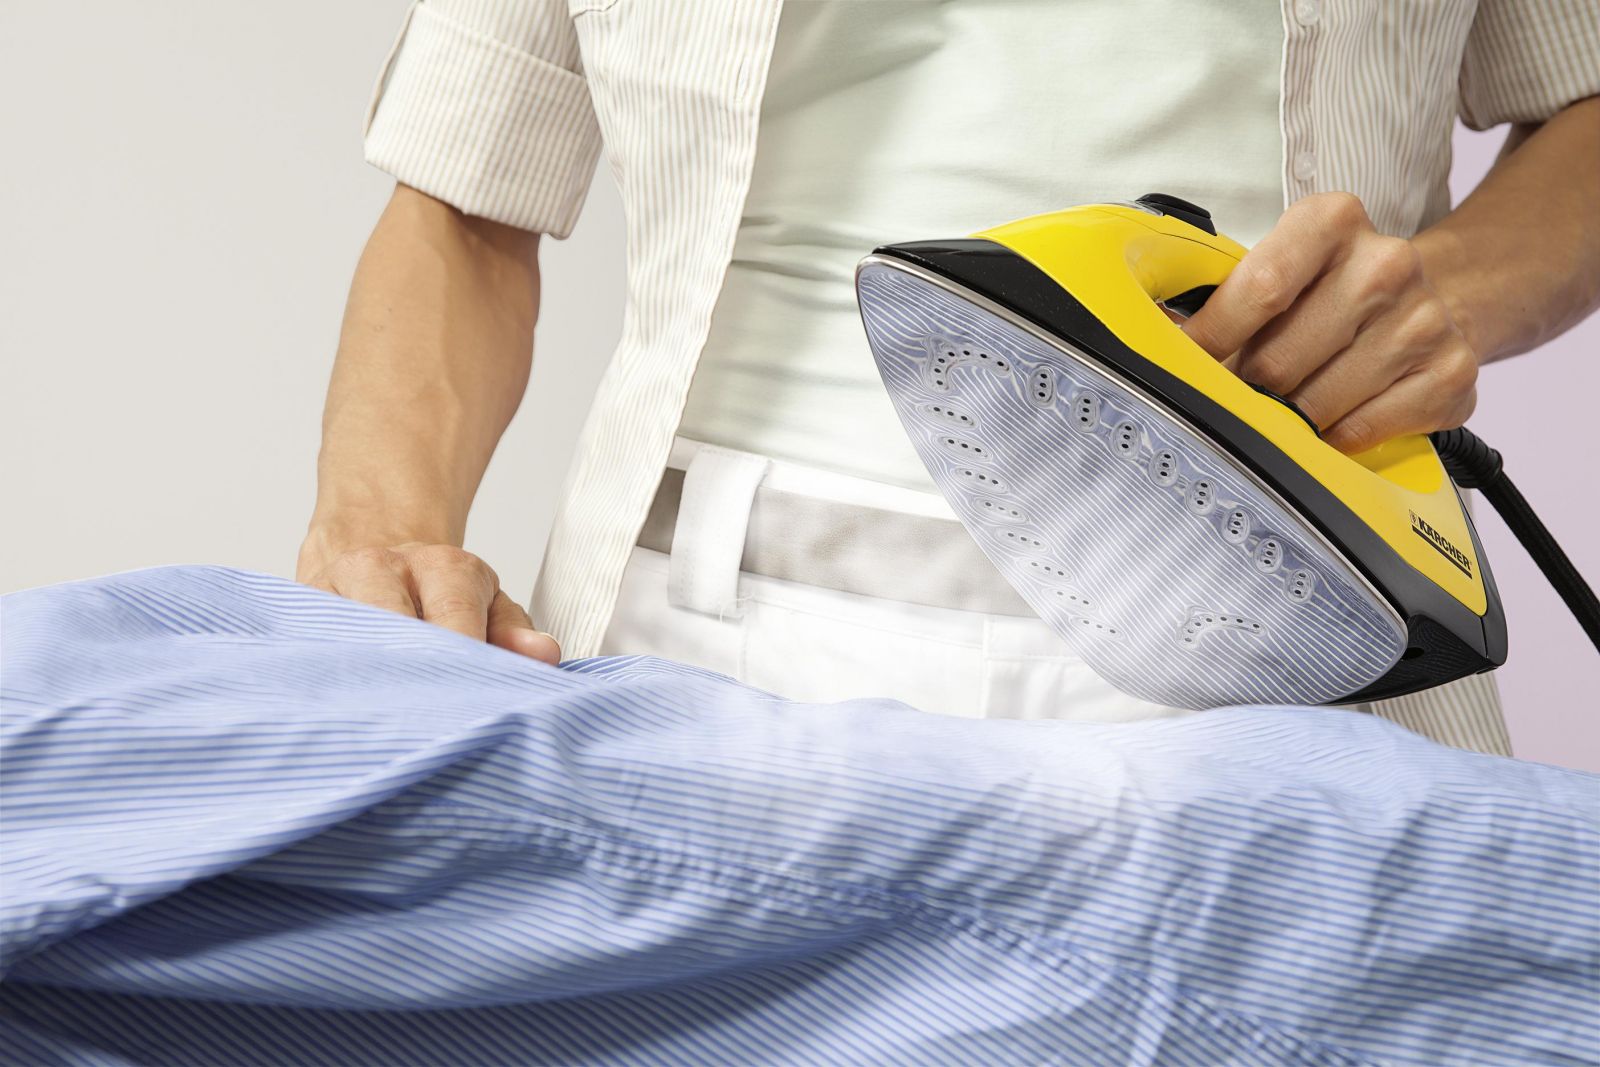
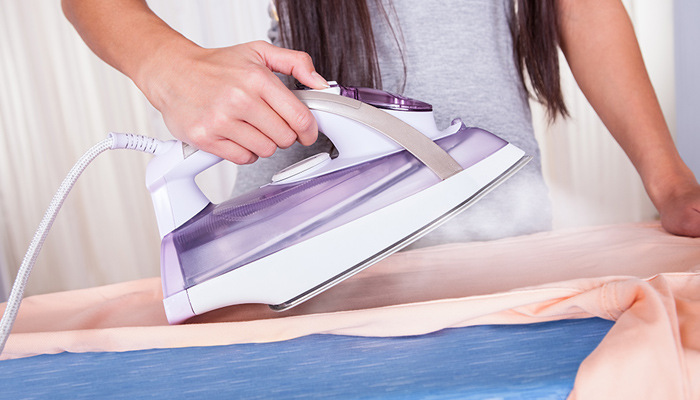
| 3. | Wet-heat treatment after grinding the main parts | After machine stitching, it is recommended to iron the completed operation to avoid shrinking of the fabric. |
| 4. | Process the darts | To prevent the darts marked with chalk or pencil from shifting from the inside, they need to be basted with frequent stitches. The bust dart is stitched from the shoulder seam to the top of the chest. The remaining ends of the threads should be tied in a knot several times. If the fabric is thick, it is ironed to the neckline, and in a product made of thin fabric, the dart is ironed on both sides of the seam. |
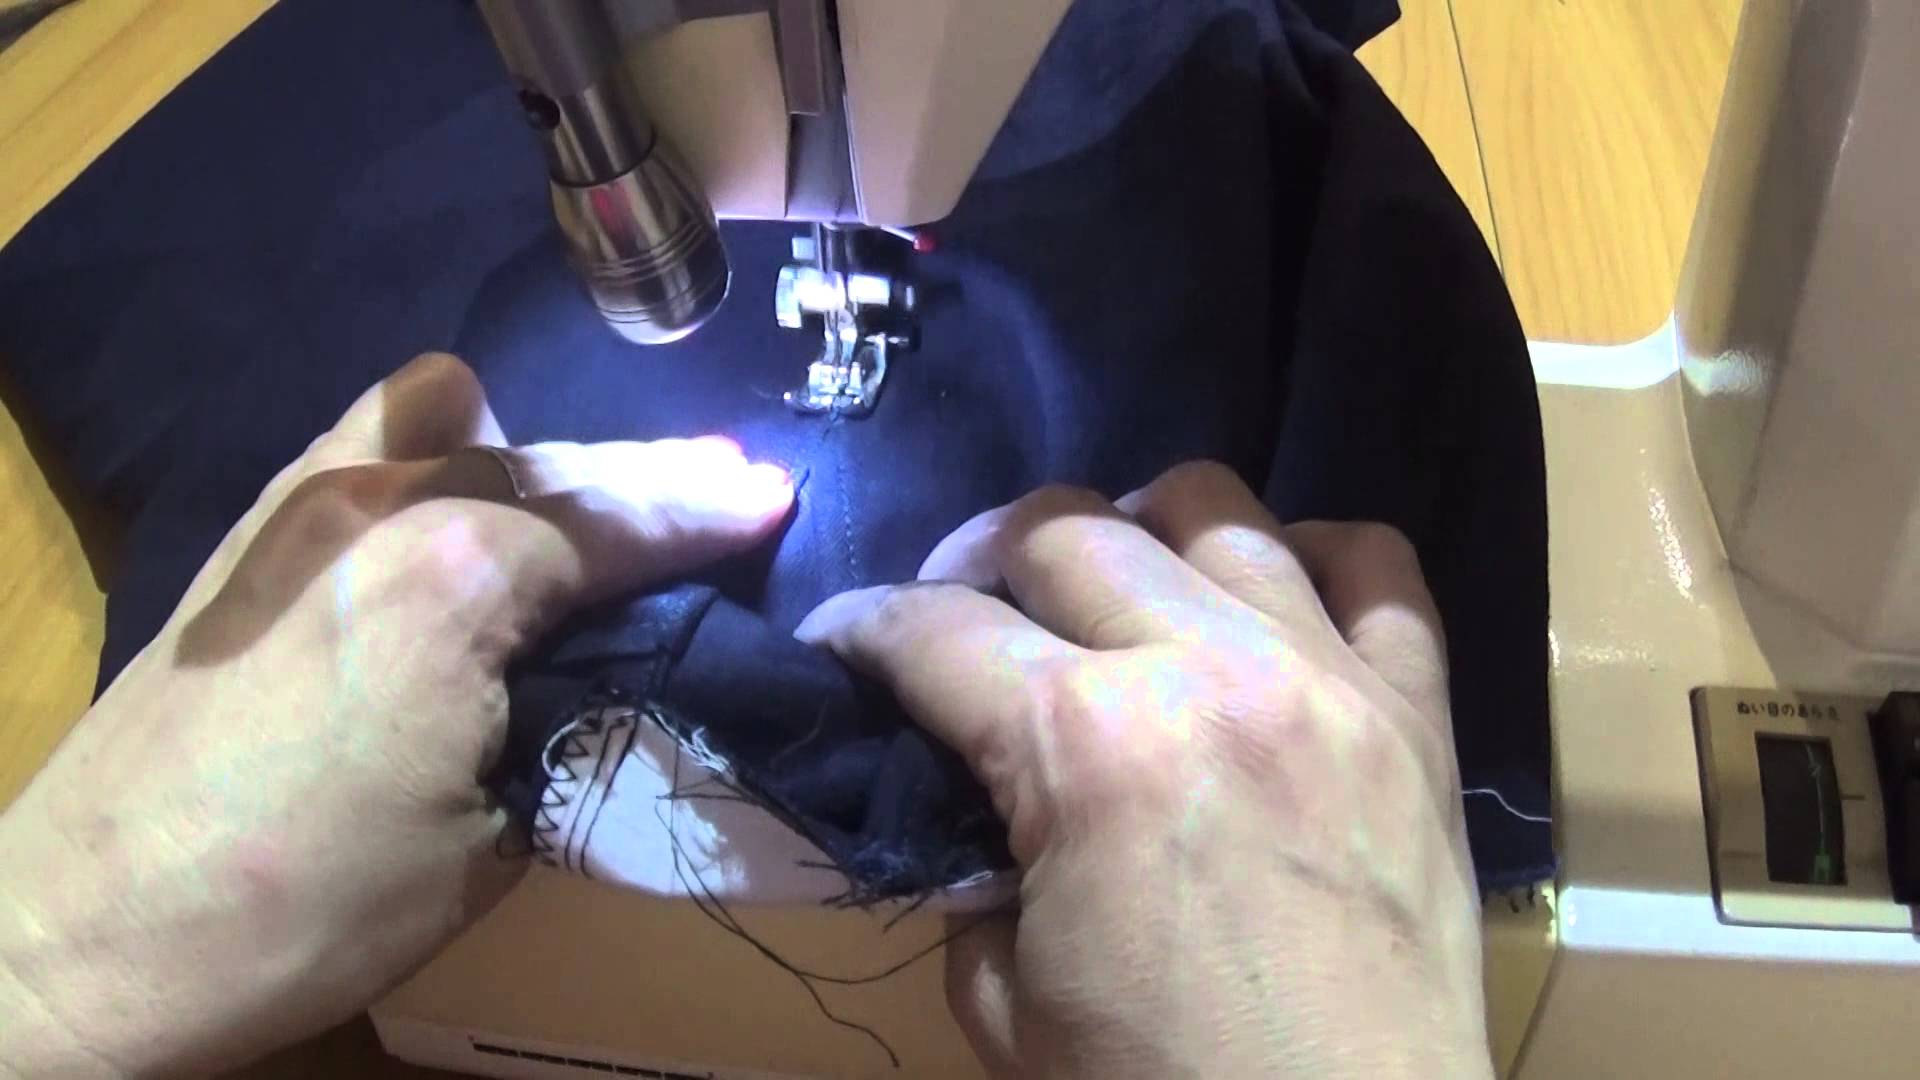
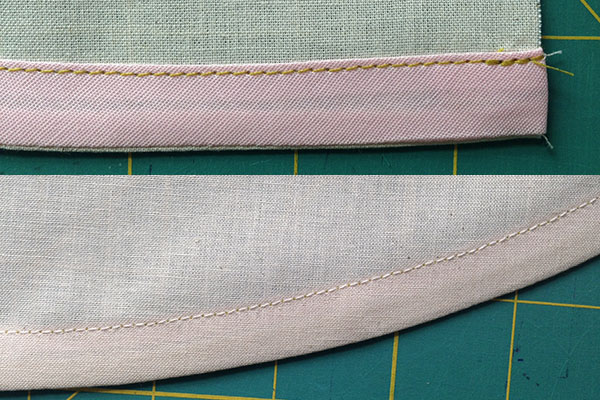
| 5. | Process the shoulder seams | The front side of the back and the front are folded inward and the shoulder seam is basted. If there are darts on the pieces, they must be processed before machine stitching. The shoulder seam is processed with a zigzag or overlock stitch, ironed towards the back or ironed apart. If the machine does not have special devices for processing edges, the cut must be folded by 0.3-0.5 cm and stitched to the wrong side. If the fabric is thick, the cut can be processed with edging tape. To do this, fold the tape and the cut of the main product with the right sides together. Stitch 0.2-0.4 cm from the upper cut. Then wrap the tape around the edge of the product, baste and stitch along the edge of the tape. |
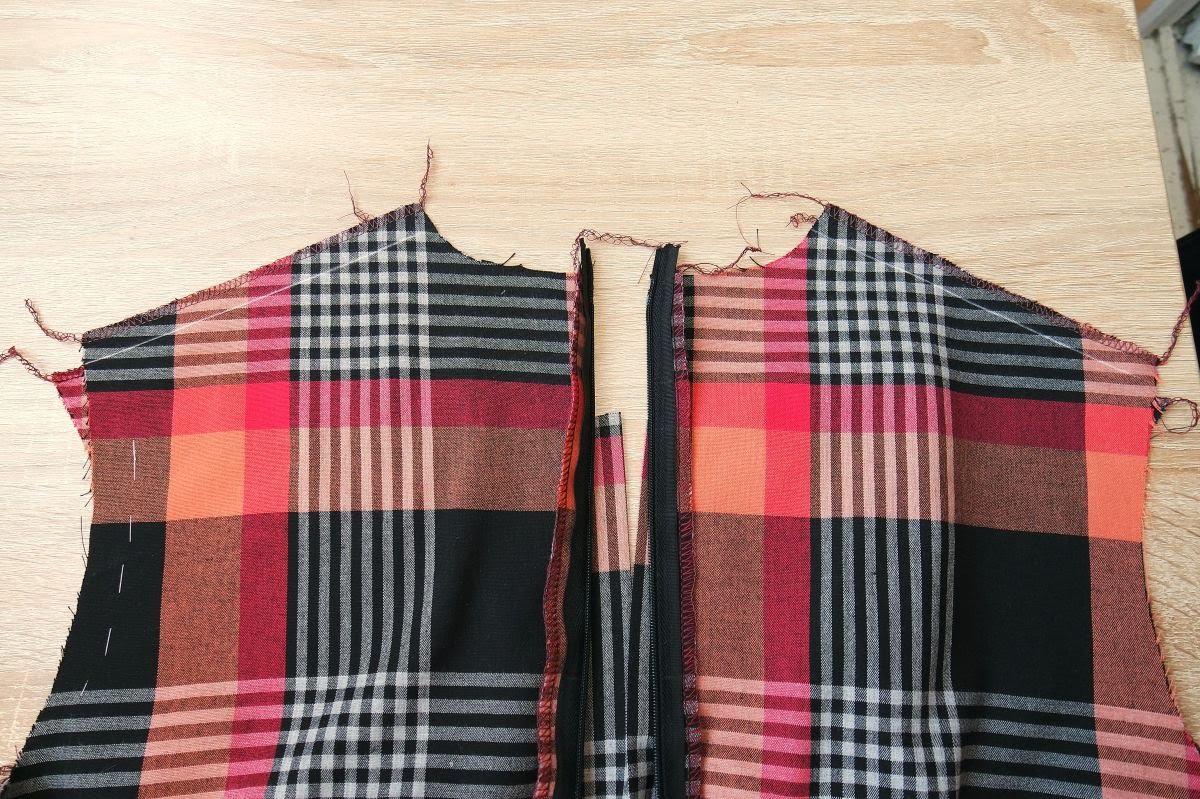
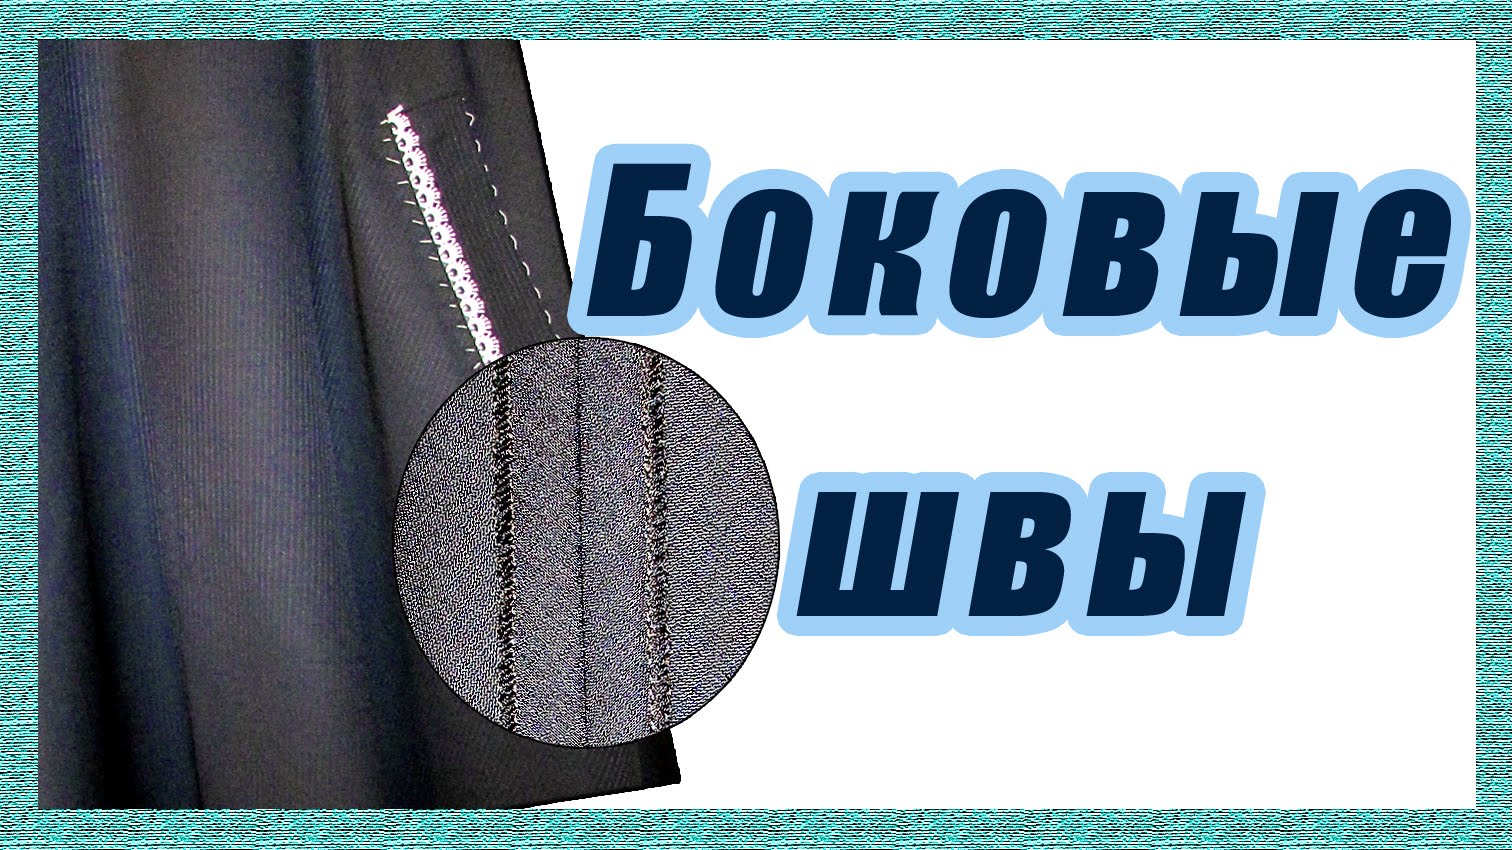
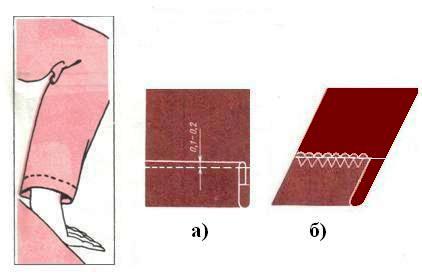
| 6. | Process the side seams | After aligning the control marks, baste the side seams. Stitching is done from the back side at a distance of 1.5 cm from the upper edge. Overcast the allowance for free fitting, iron it towards the shelf or iron it apart. |
| 7. | Process the bottom of the sleeve | The bottom of the sleeve in a blouse, dress or other product is processed with a blind seam. And if a fastener is provided, then 6-10 cm are not stitched to the bottom of the sleeve (excluding the allowance for hemming the sleeve). |
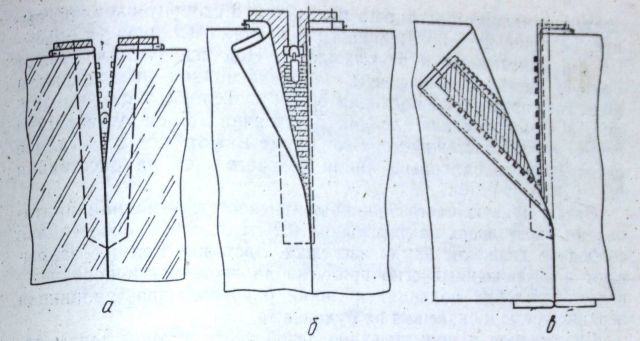
| 8. | Treat the skirt fastener |
|
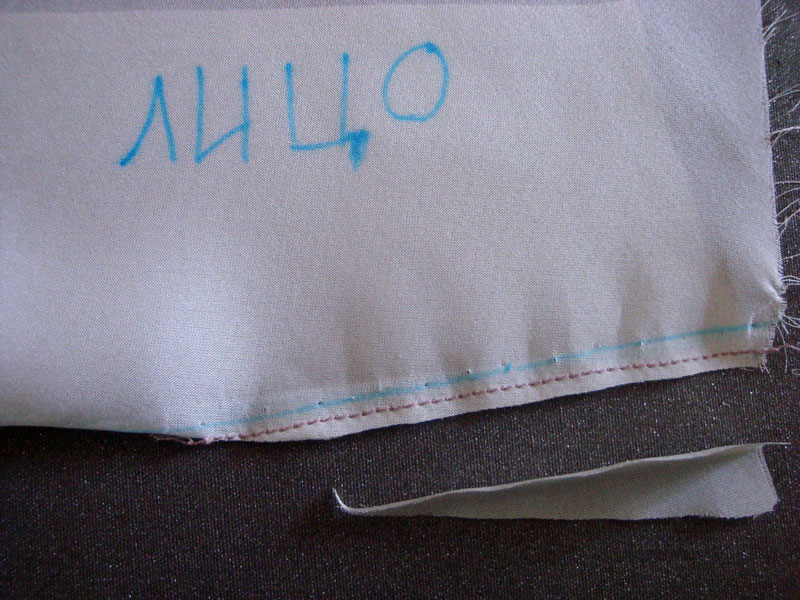
| 9. | Process the bottom of the product | Finish the bottom of the product with a hem with an open or closed cut, baste, machine stitch or hand stitch. It depends on the material and model. Thin fabrics are processed with a "Moscow" seam. To do this, hem the cut by 0.1-0.2 cm, then fold it over again and stitch 0.2 cm from the cut. The result is a thin and neat seam. Thicker fabrics are processed with edging tapes or braid. |
| 10. | Iron the finished product | Iron the finished product through an ironing board. |
The work of a seamstress is assessed by how the clothes are made and processed from the inside. To sew a product, use the simplest and most accessible manufacturing processes. Do not be afraid to sew, but rather believe in yourself.
Video