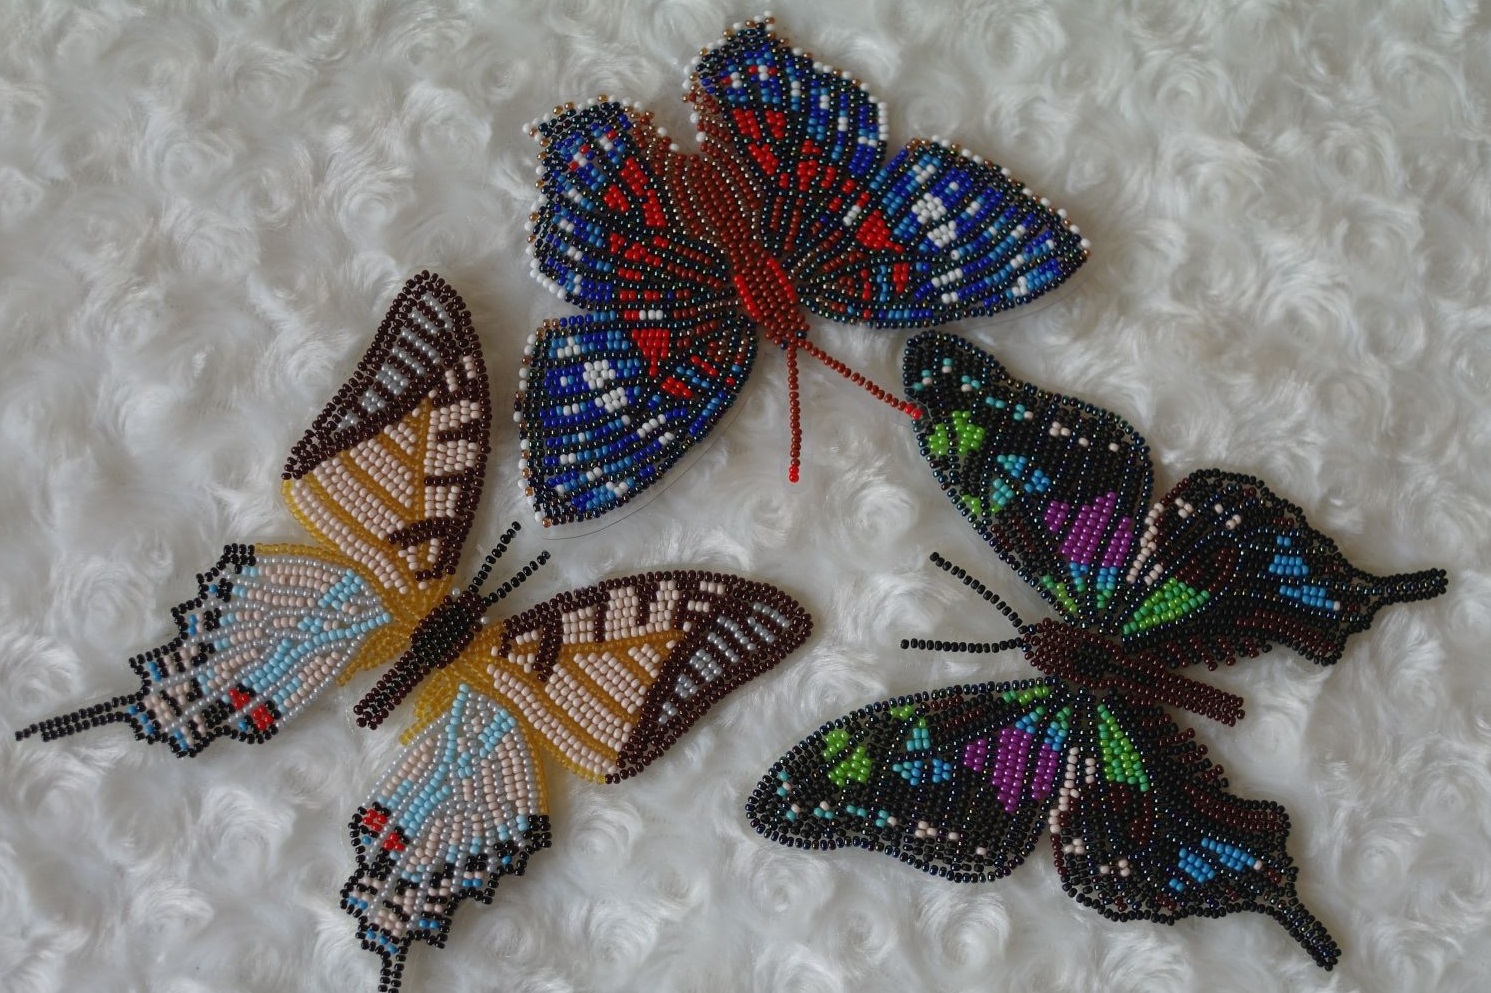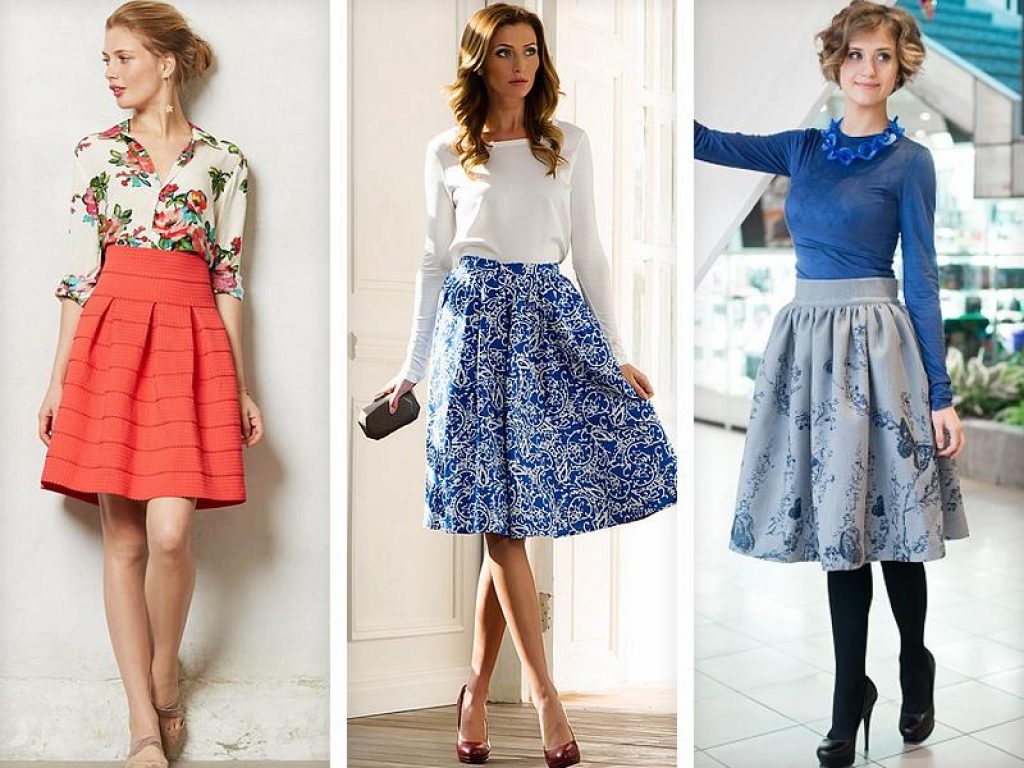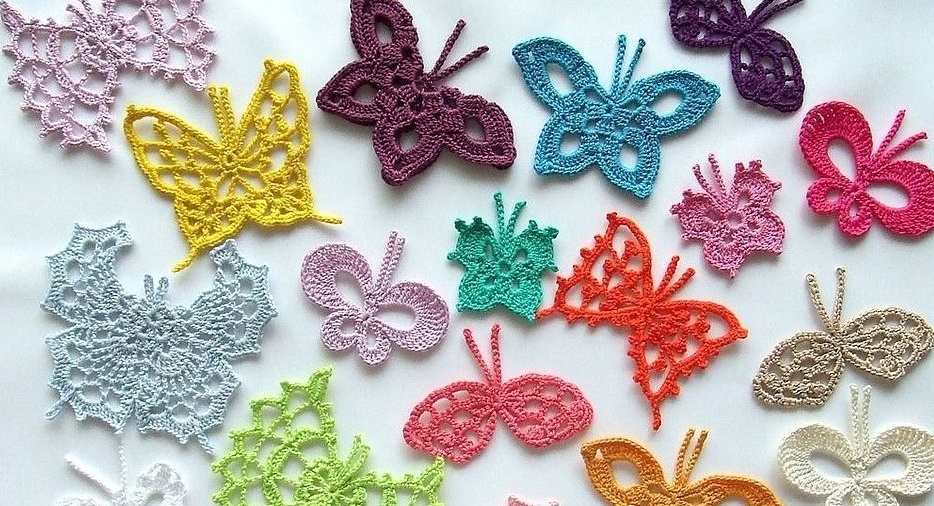
Bright butterflies remind us of summer, sunbeams and childhood. Few can remain indifferent to their beauty. It is not surprising that jewelry with their image is so beloved and popular. A colorful openwork butterfly crocheted in any technique can become an applique, a brooch, an interior detail, a toy, a bookmark. Every craftswoman can create such a decorative element.
Materials and tools
The main thing to pay attention to when choosing yarn for crocheting a butterfly is how it holds its shape. Softness and a flowing effect are not needed here, otherwise the wings will quickly droop, and the crocheted butterfly will become unrecognizable. Therefore, wool, pile fibers, viscose are not suitable for it at all. If you need to complement the finished product with decor made of such yarn, it is better to add it to the main thread, which will help the wings not to lose their shape.
The easiest way to make the item stiff is to use starch, if you don’t mind having to treat the jewelry with it after each wash.
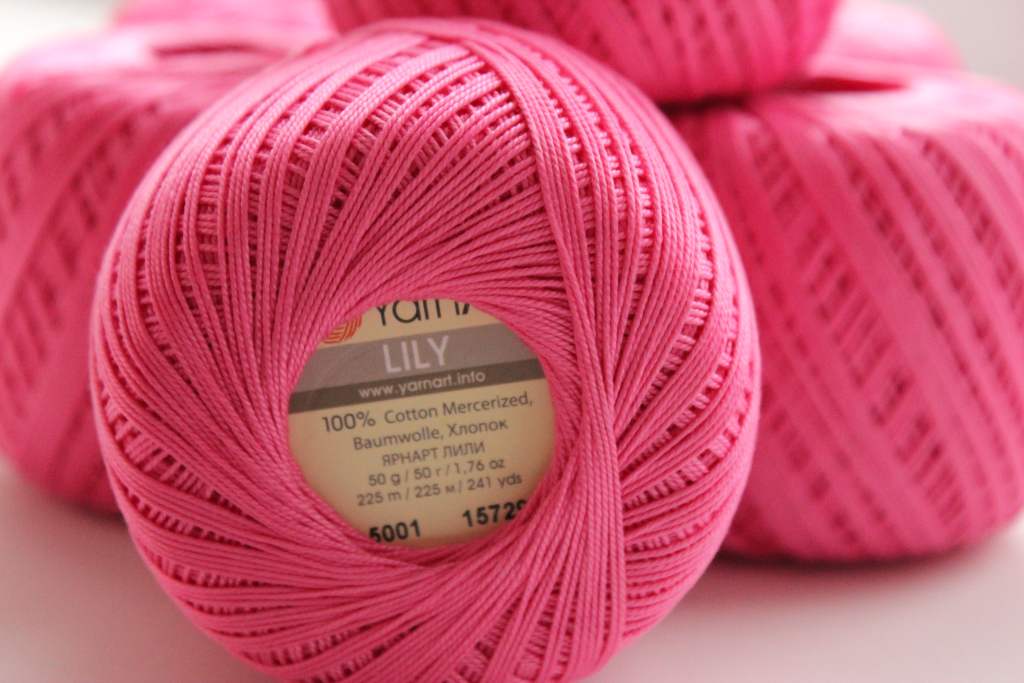
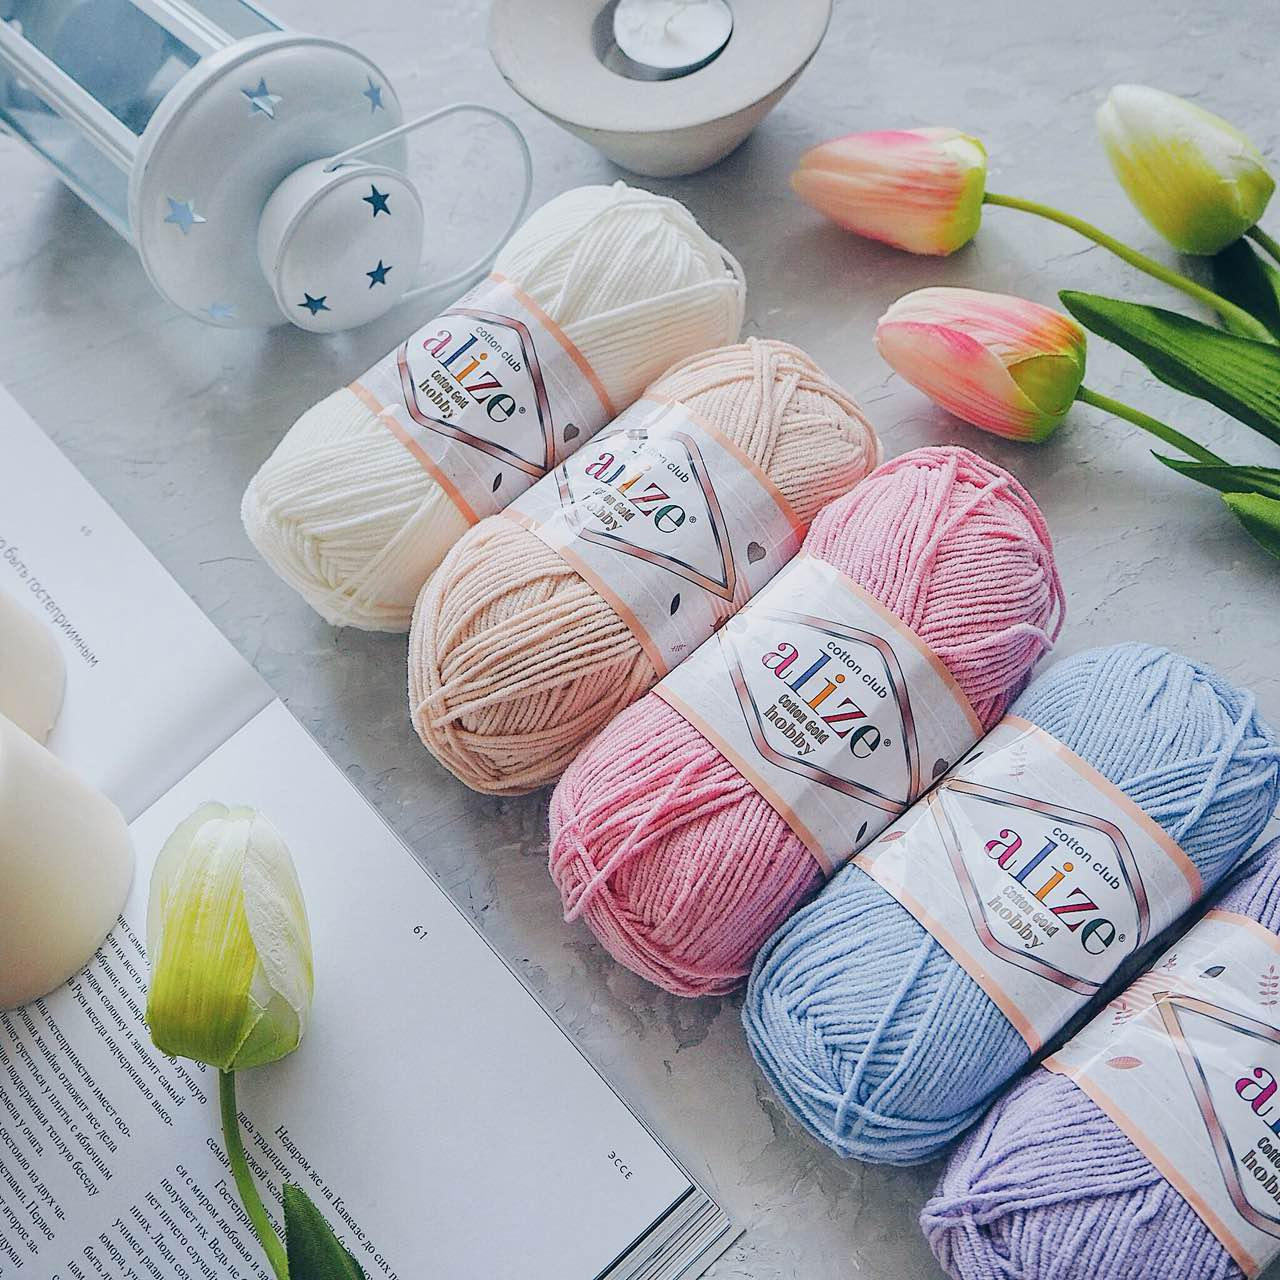
If the butterfly is to become an element of children's clothing or a toy (for example, a module above a crib), then it should be made of stiffer yarn to have a voluminous appearance. Acrylic, cotton (plain or mercerized), linen, bamboo, microfiber are best suited for such products. When knitted tightly, they hold their shape well and will last a long time if properly cared for. Examples of yarn for knitted butterflies:
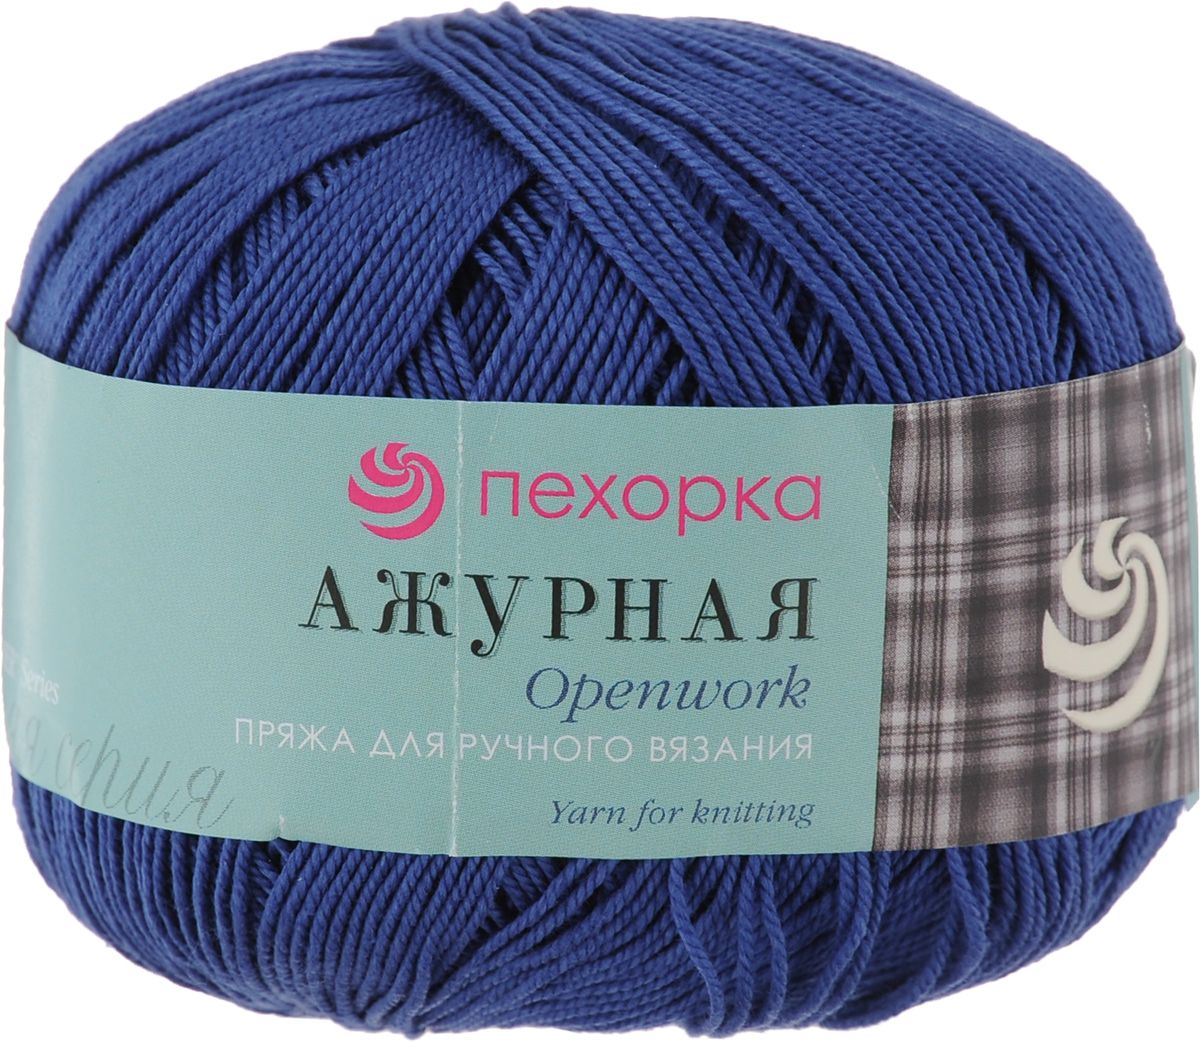
- Pekhorka "Azhurnaya";
- YarnArt Lily;
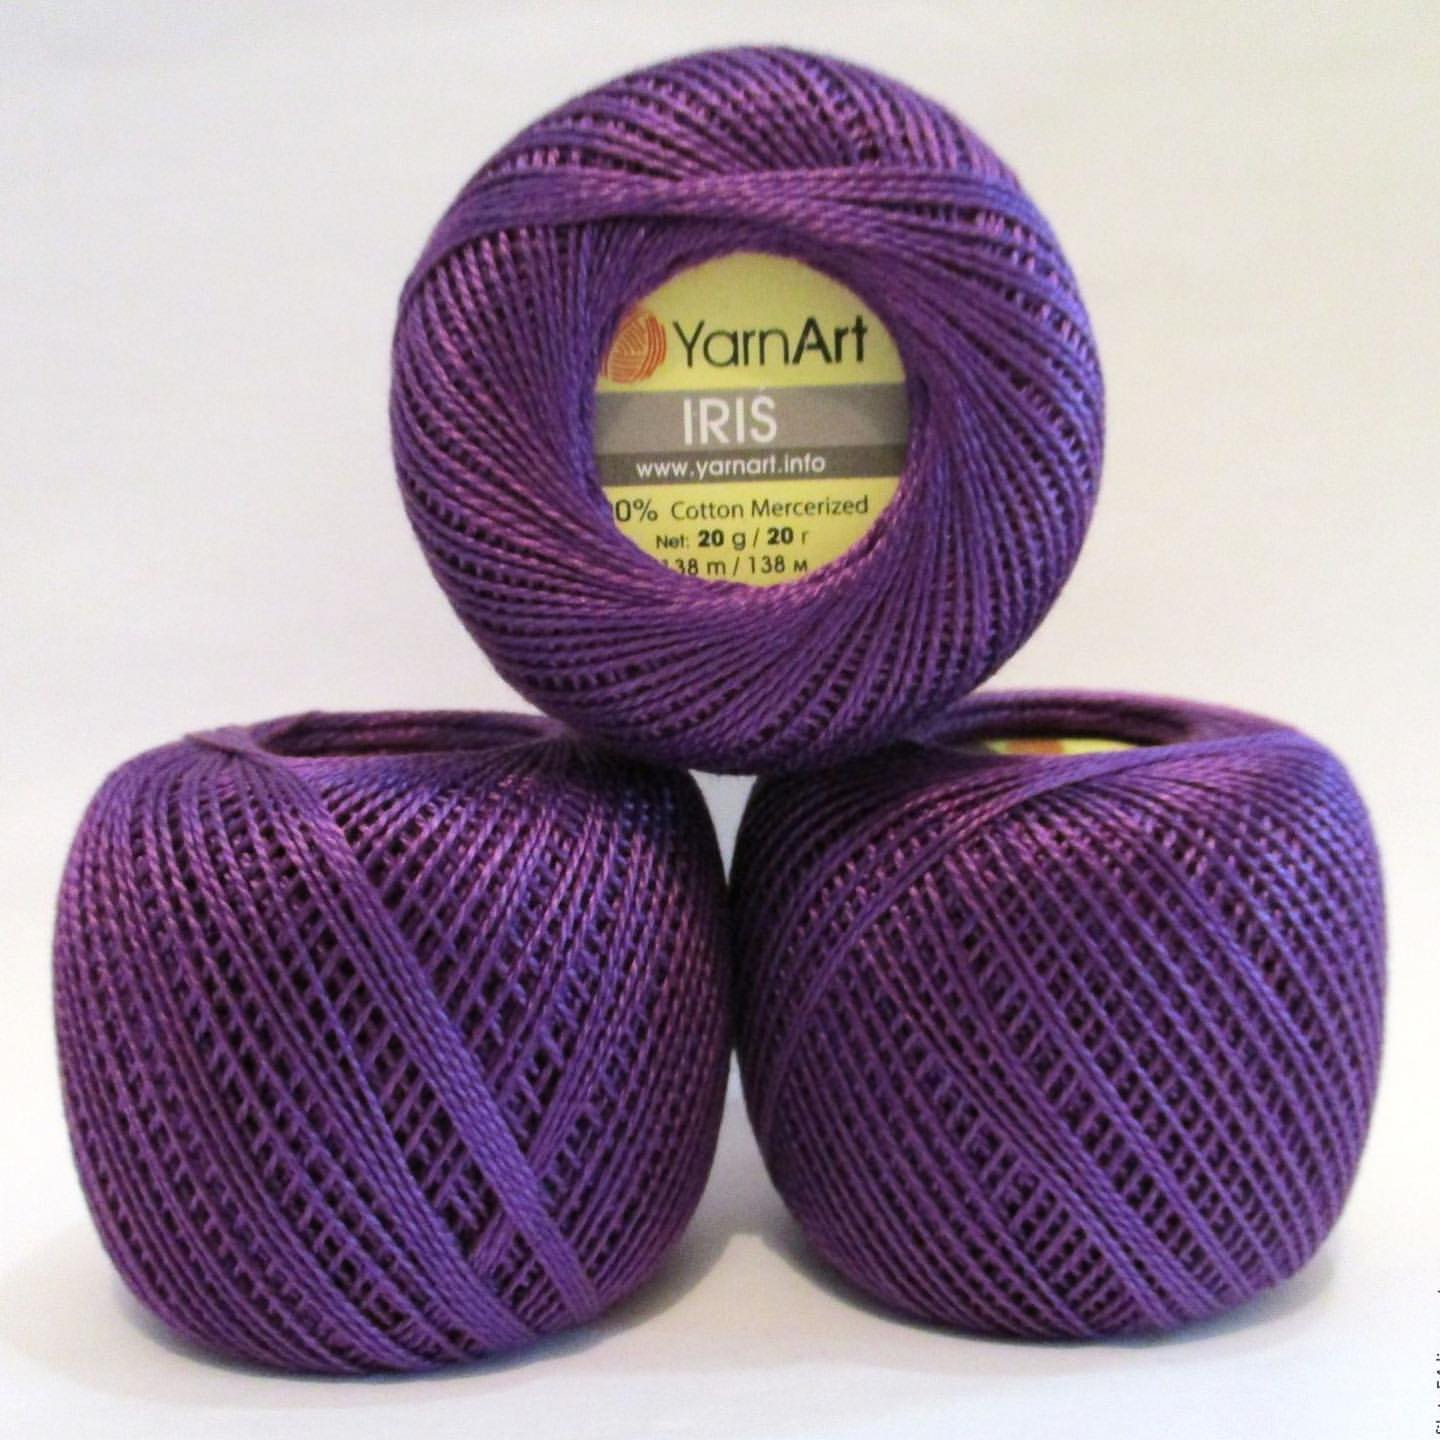
- YarnArt "Iris";
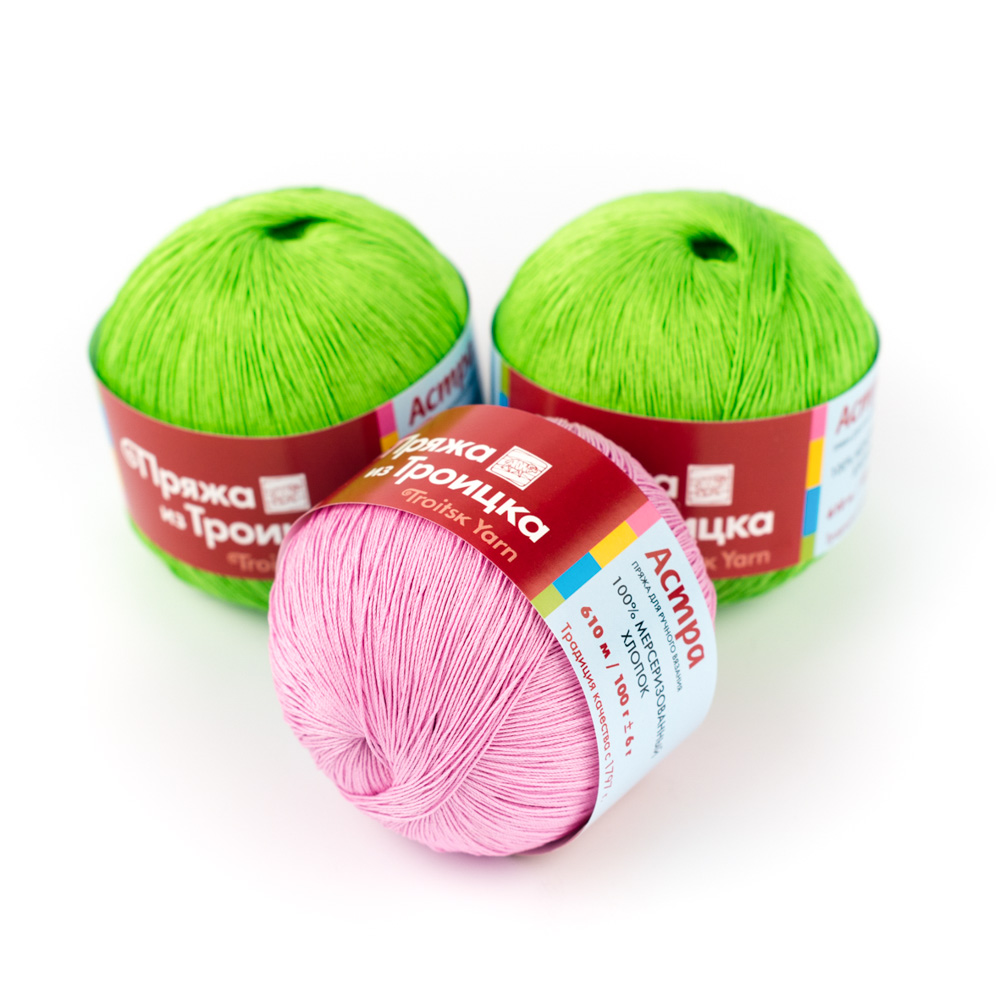
- Trinity "Astra";
- Kamtex "Amigurumi";
- Kamtex "Flax";
- Alize Cotton gold hobby;
- Alize Bamboo fine.
For miniature items, you should take thin threads, but if you need a larger butterfly, it is better to take thicker yarn or knit with two threads.
The choice of hook depends on the diameter of the yarn and its rigidity. It is not difficult to select the size of the tool for the thread - to do this, you need to insert the thread into the notch of the hook and make sure that it does not stick out, does not fall in, but exactly fits the diameter. In addition, you need to pay attention to the material from which the hook is made. Steel ones with a comfortable handle are preferable, since they do not cling to the fibers of the yarn, do not electrify it, slide well, do not bend, do not break.
Step-by-step knitting algorithm taking into account the model
To crochet a butterfly, you need to choose the knitting technique, color and size. There is a wide variety of models, any of these butterflies can be easily crocheted following the master class, which provides a detailed description of the work process.
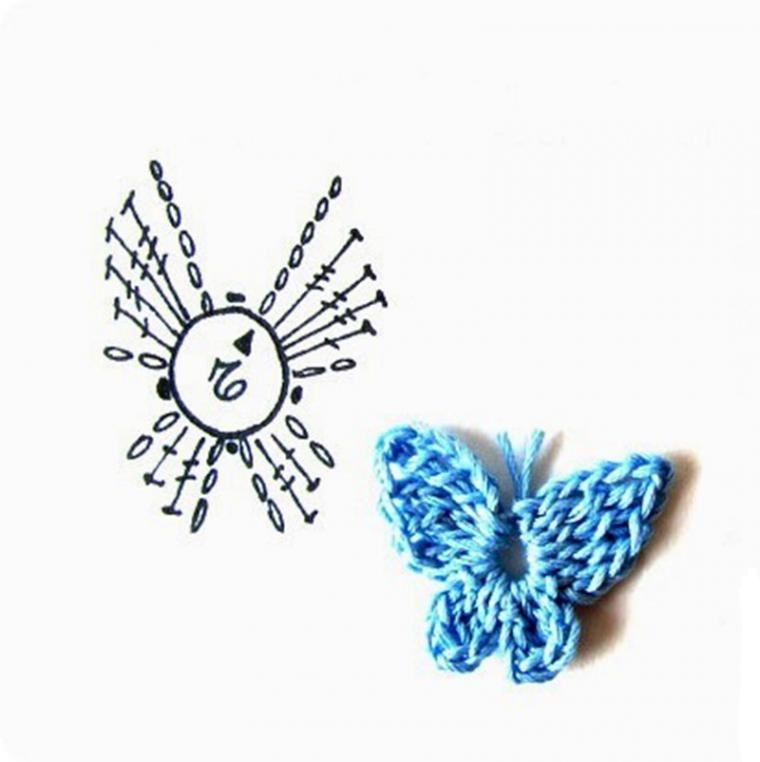
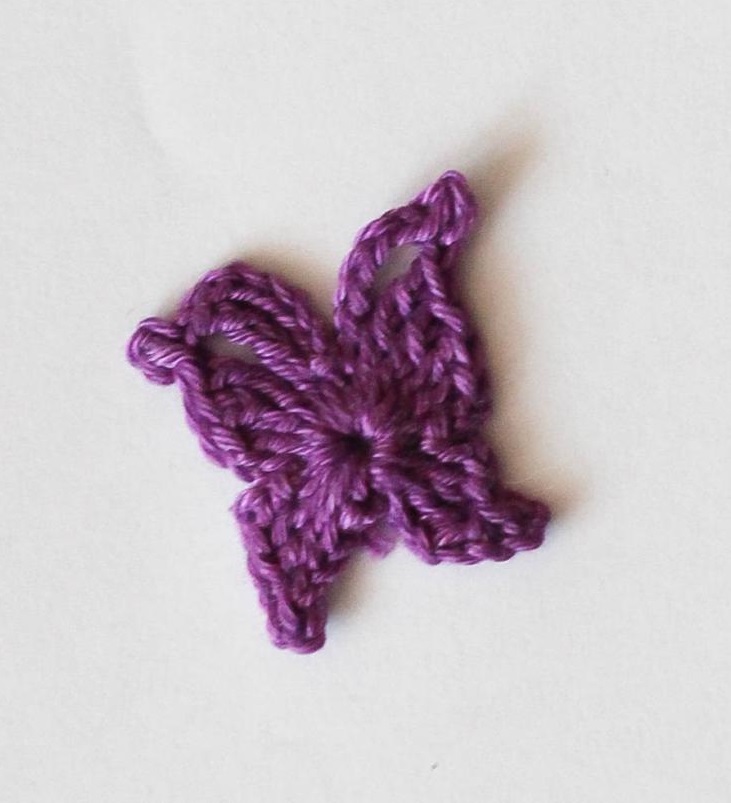
Classic flat figure
Flat crochet butterflies are openwork figures with four tightly tied wings. This is a quick way to crochet an expressive figure for applique. It is done with a thread in one or two colors. The work begins with 5 VP, which are closed in a ring. Next:
- In this ring we knit arches one by one: from 5 VP, from 10 VP, from 10 VP, from 5 VP. These are 4 wings (2 - larger, 2 - smaller).
- Let's start tying the small wing. In the arch of 5 VP we knit: 1 pSt, 1 St, 1 StN, 5 St2N, 1 StN, 1 pSt.
- We move on to the large wing. We knit in an arch of 10 VP: 1 pSt, 1St, 1 StN, 1 St2N, 1 St3N, 1 St4N, 7 St5N, 1 St4N, 1 St3N, 1 St2N, 1 StN, 1 St, 1 pSt.
- Then we knit the second large wing similarly to the first.
- And the second small one is similar to the first.
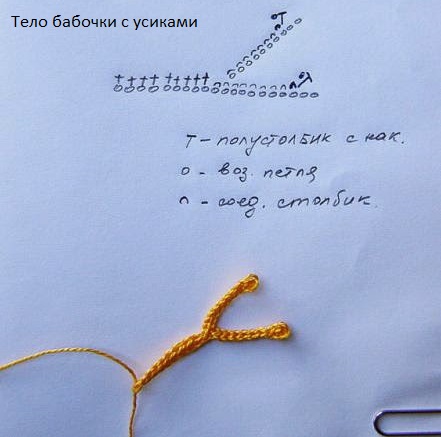
- Then you need to make the binding and antennae. Here you can use contrasting threads, or you can knit with the main ones. We make the binding with half-columns in each column of the previous row. When we reach the junction of the large wings, we begin to knit the antennae.
- Antennae: make a chain of 10 VP, then knit a half-column into the fourth loop from the hook and return down to the wings with half-columns. In the same way, form the second antennae.
- Continue tying to the end of the row. The product is ready.
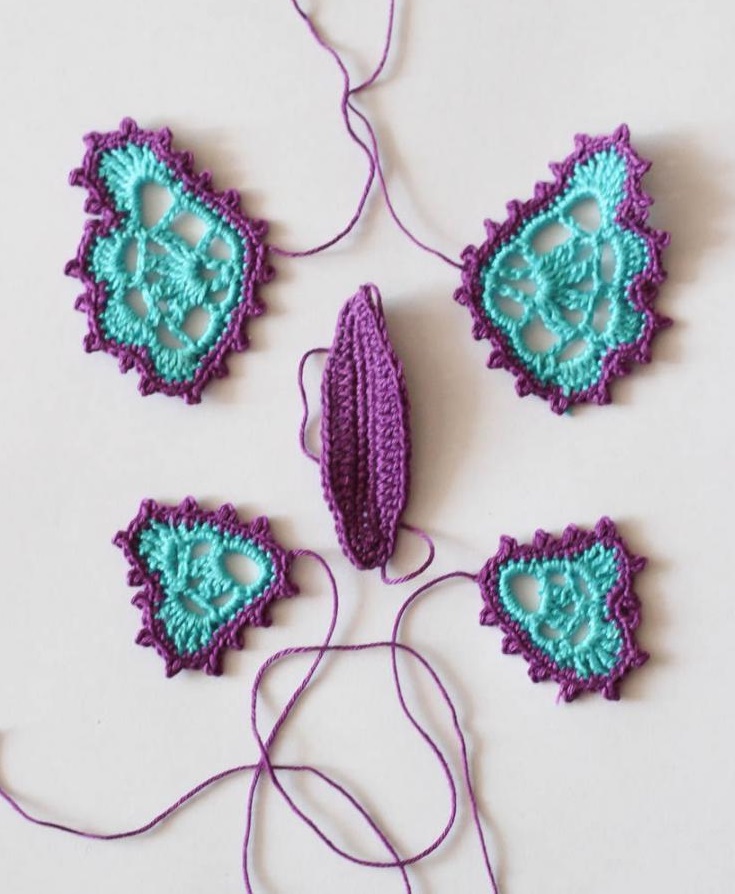


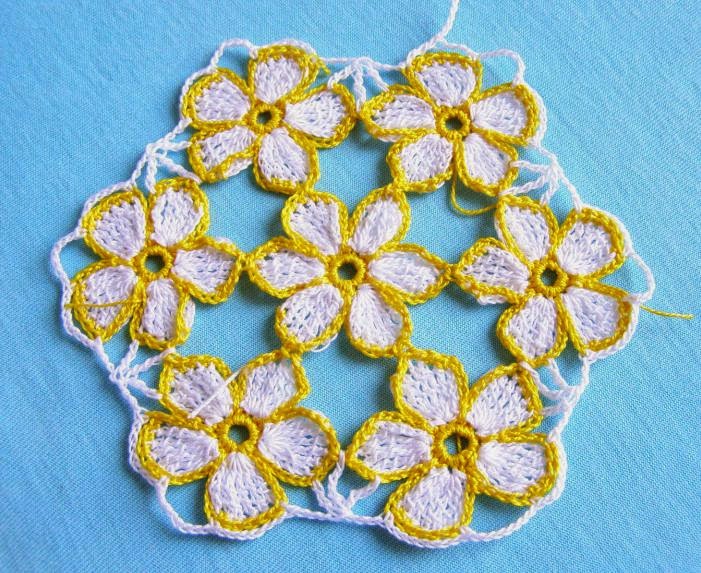
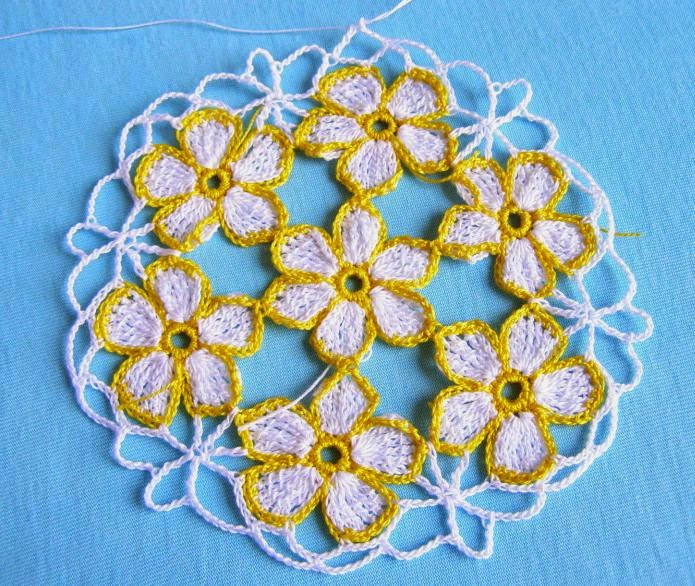
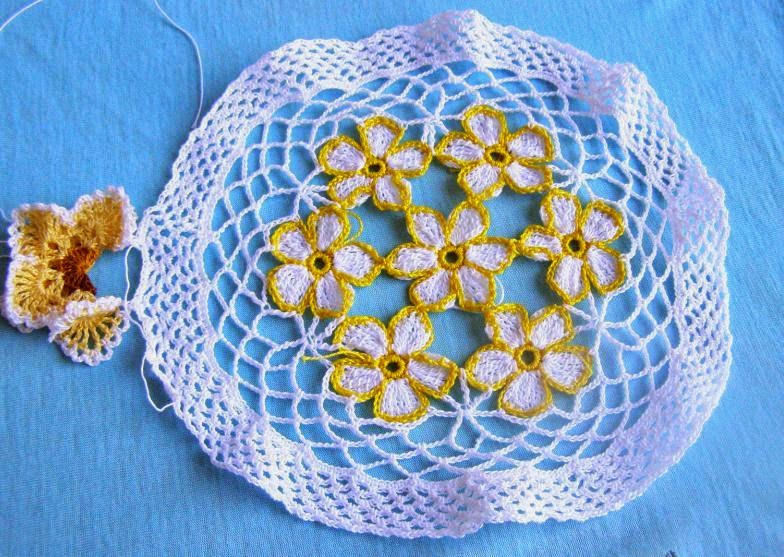
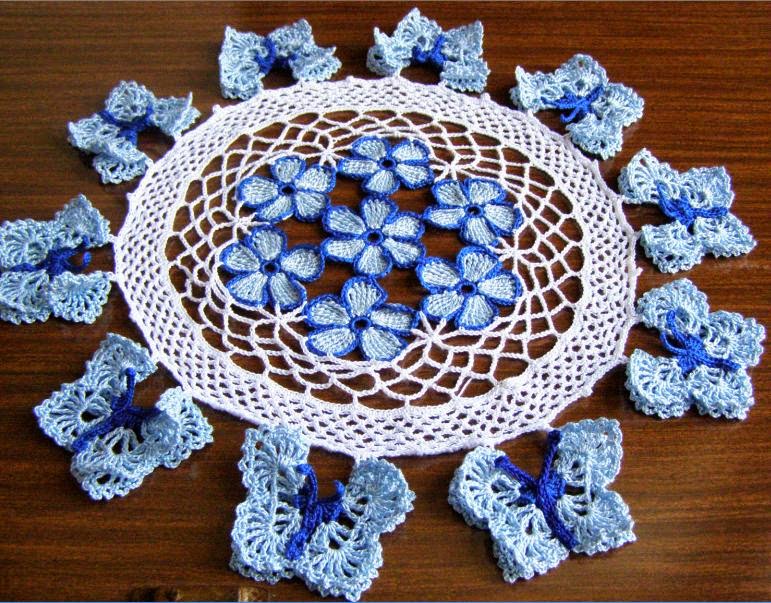
Napkin with volumetric butterflies
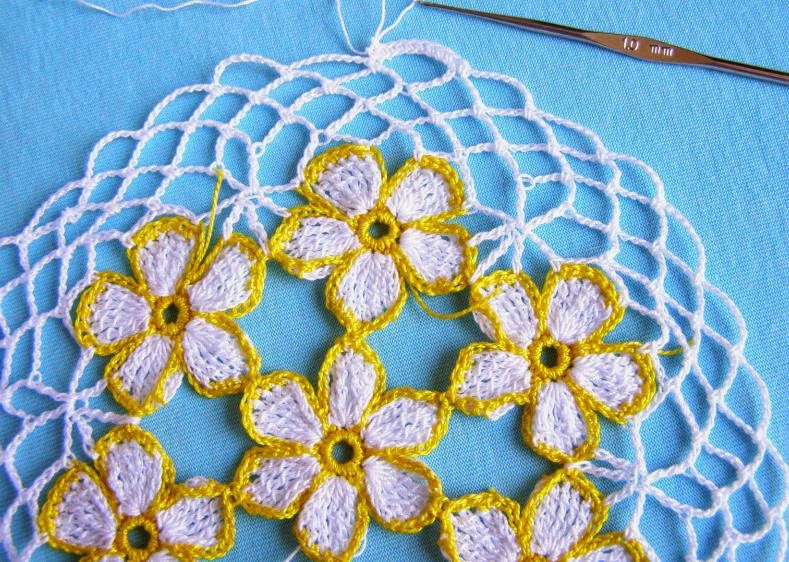
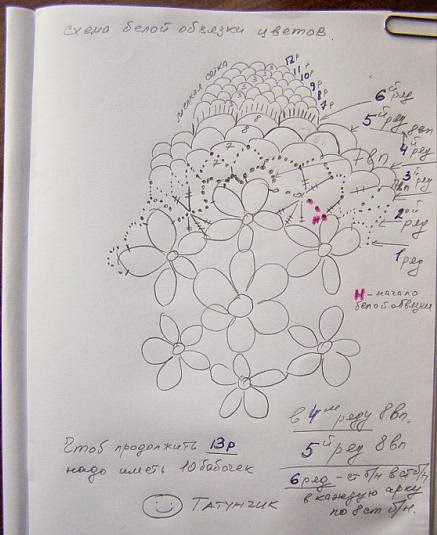
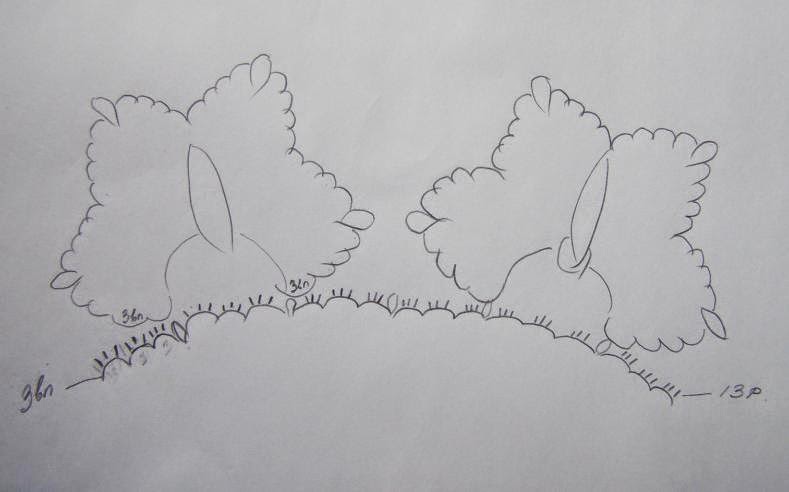
The napkin is a round piece of cloth made using the filet knitting technique, framed along the edge with three-dimensional elements in the form of butterflies with four wings. First, we knit the napkin:
- We knit a ring of 9 VP.
- We make 4 VP and knit 19 StN, between which we knit 1 VP.
- Second, third row: double crochets, 2 VP between them.
- In the fourth row we make increases: from each StN of the previous row we knit 2 StN, between them 2 Vp. Between pairs of columns also 2 Vp.
- Knit the fifth and sixth rows like the second.
- We knit the seventh row like the fourth, but between all the columns there is 1 VP.
- From the eighth to the thirteenth - knit like the second.
- In the fourteenth row we make an increase: after every 4 single dc we knit double dc. Between all columns 2 VP.
- Knit the fifteenth row like the third.
- The sixteenth is an increase similar to the fourteenth, but every 5 sts.
- From the seventeenth to the nineteenth - knit like the third.
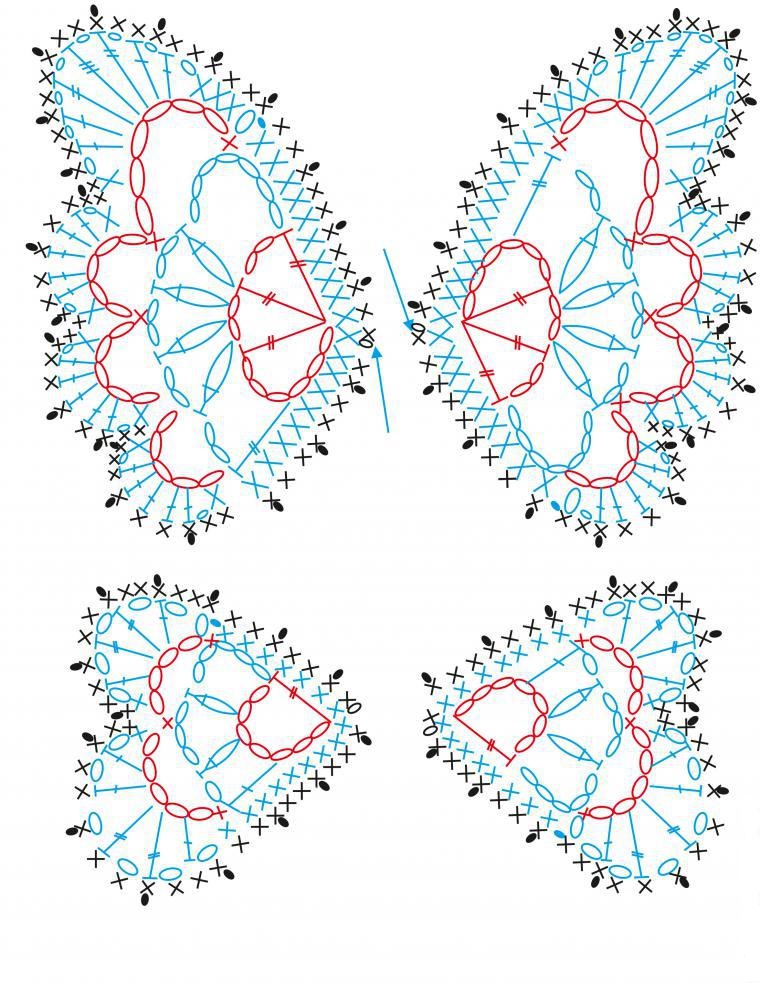
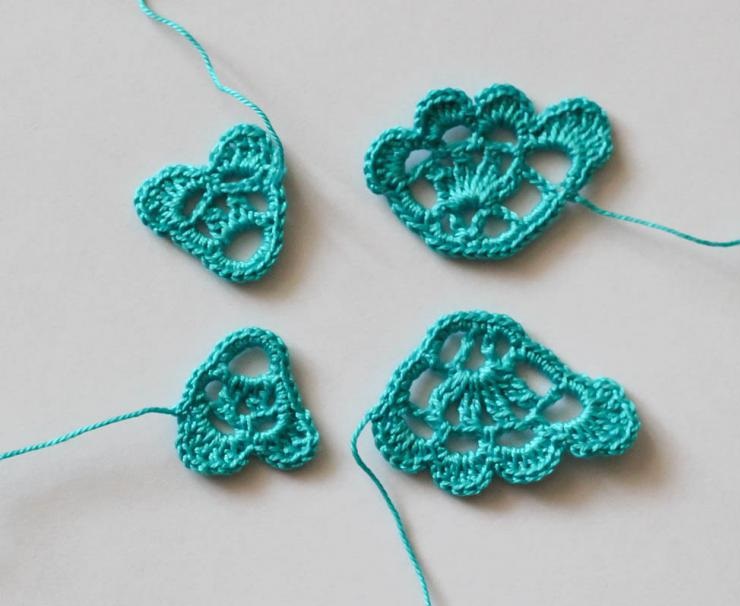
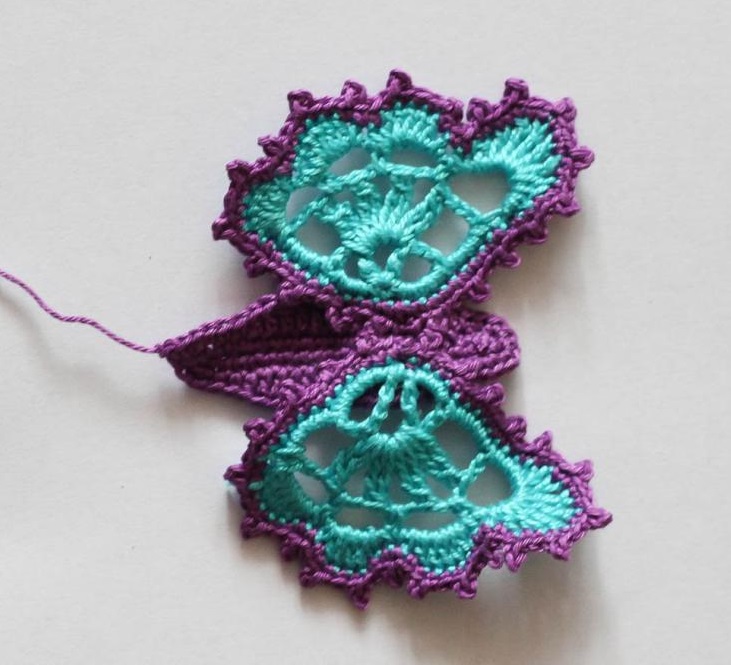
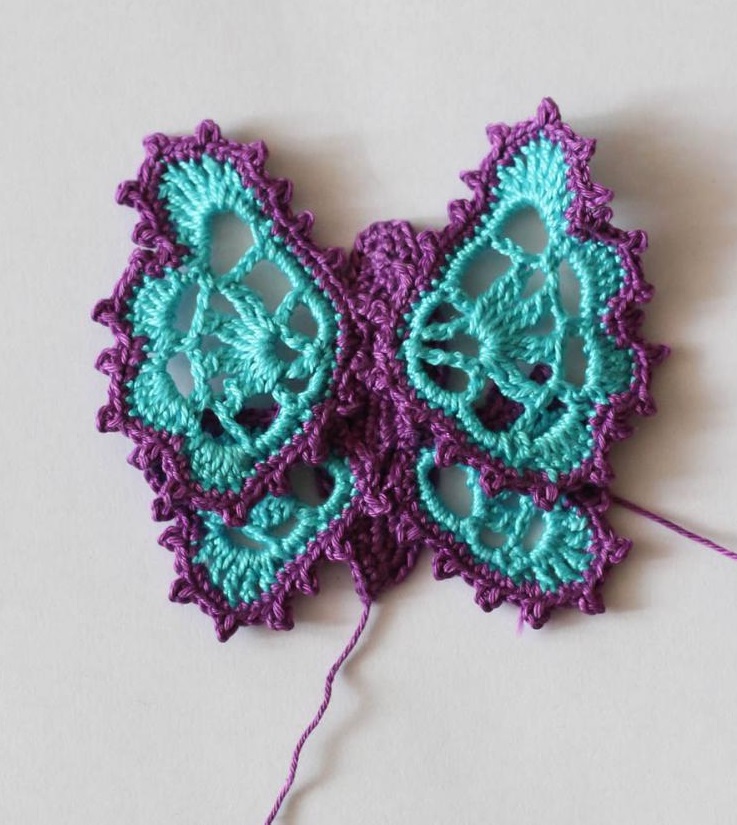
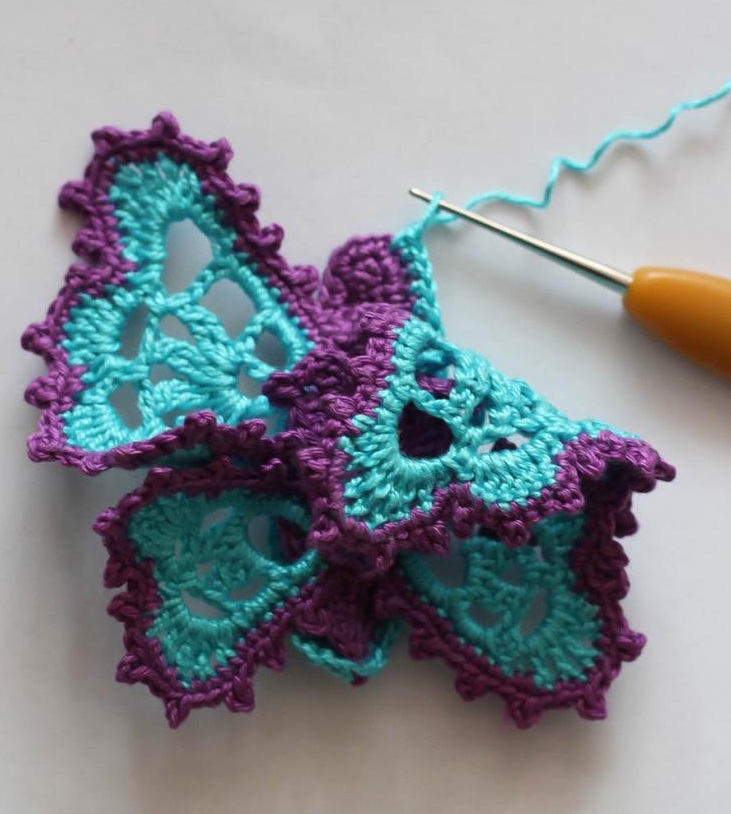
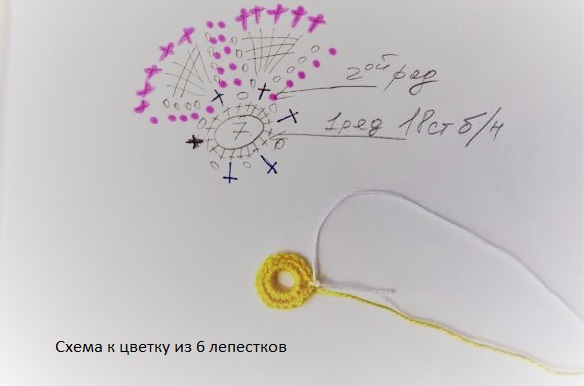
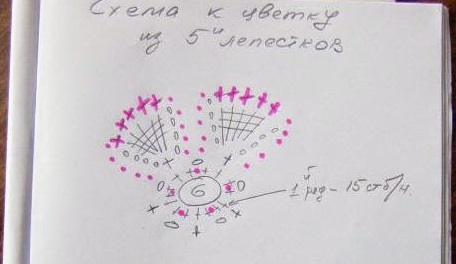
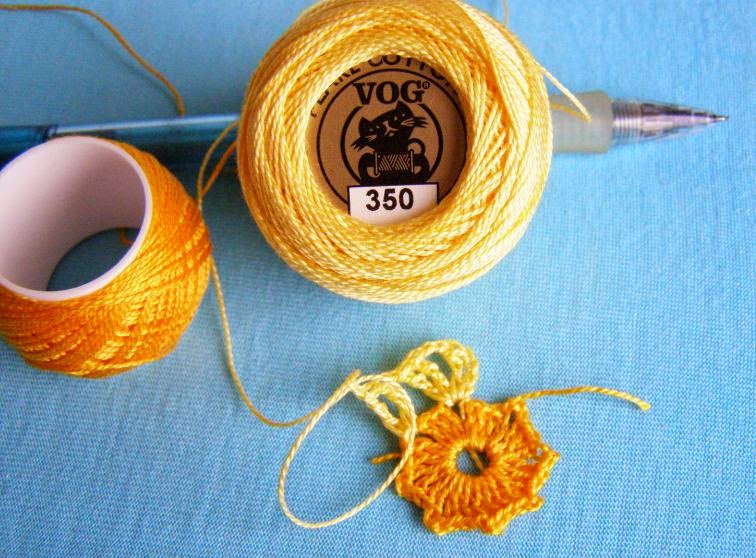
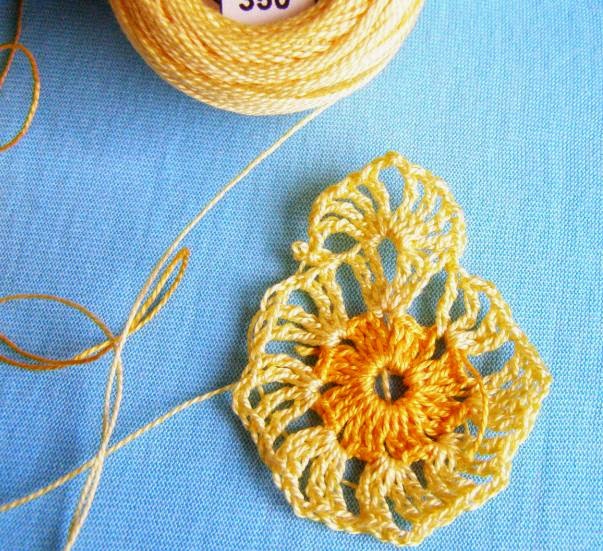
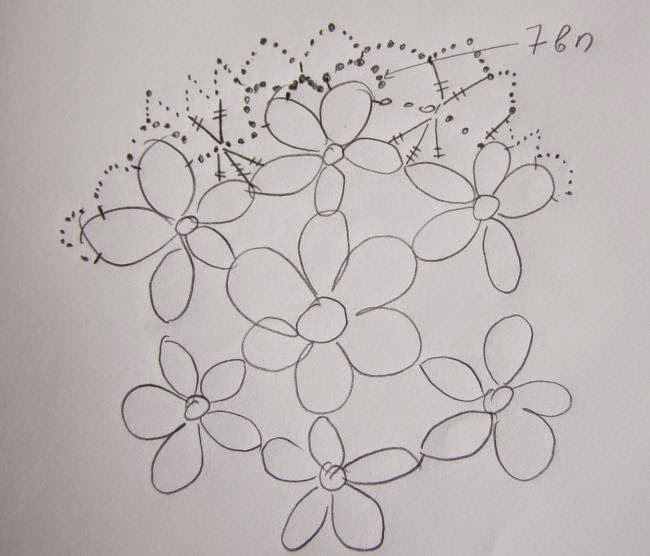
The napkin is ready. Now you need to knit 10 butterflies and sew them evenly onto the lacy edge of the napkin. First, make a ring of 6 VP, then the description by rows:
- 8 groups of 3 sts in a ring, 4 ch between them.
- Turn the knitting and continue in the other direction: in each arch knit 5 StN, 5 Ch, 5 StN.
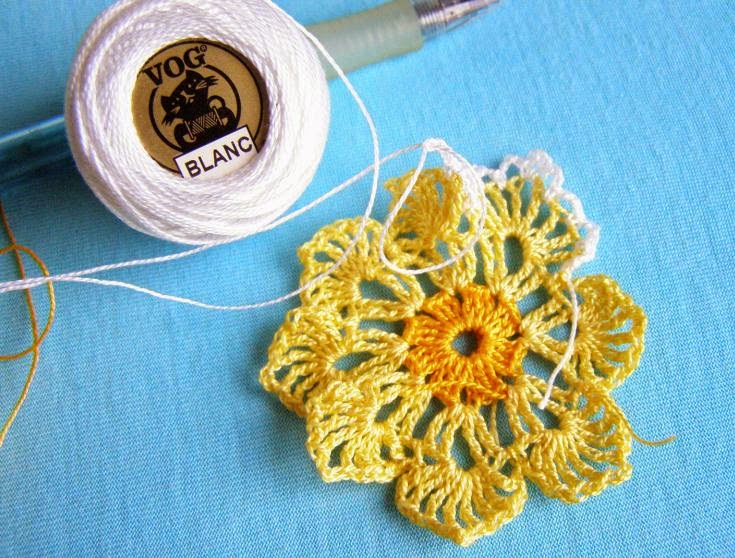
- Between the groups of 5 StN of the previous row we knit 1 StN, in each arch we knit 7 StN, 2 Ch, 7 StN.
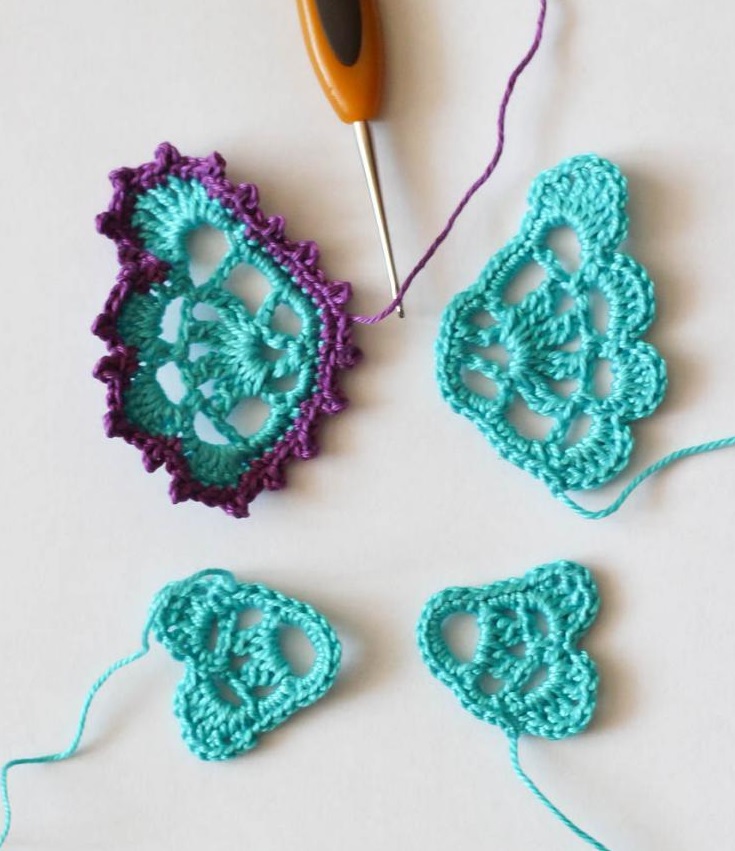
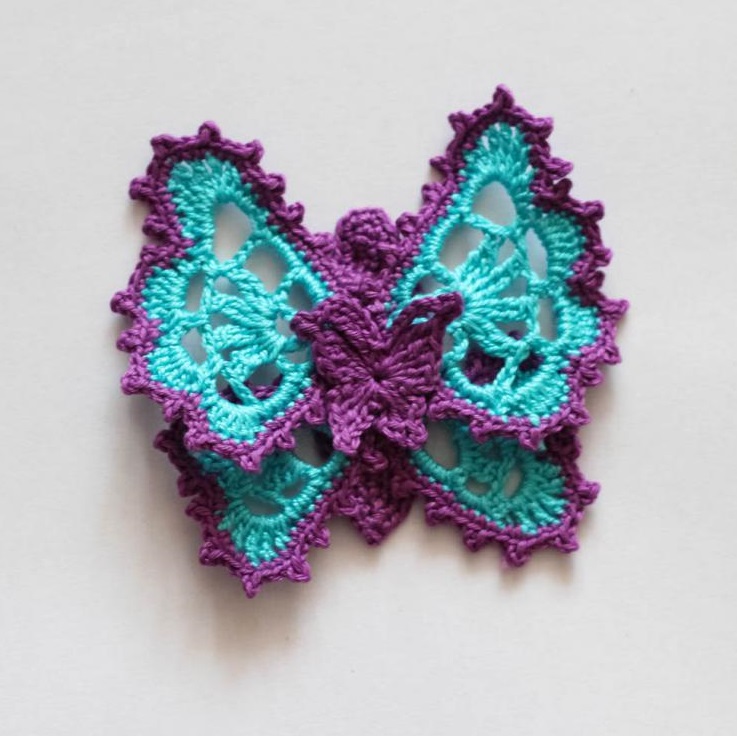
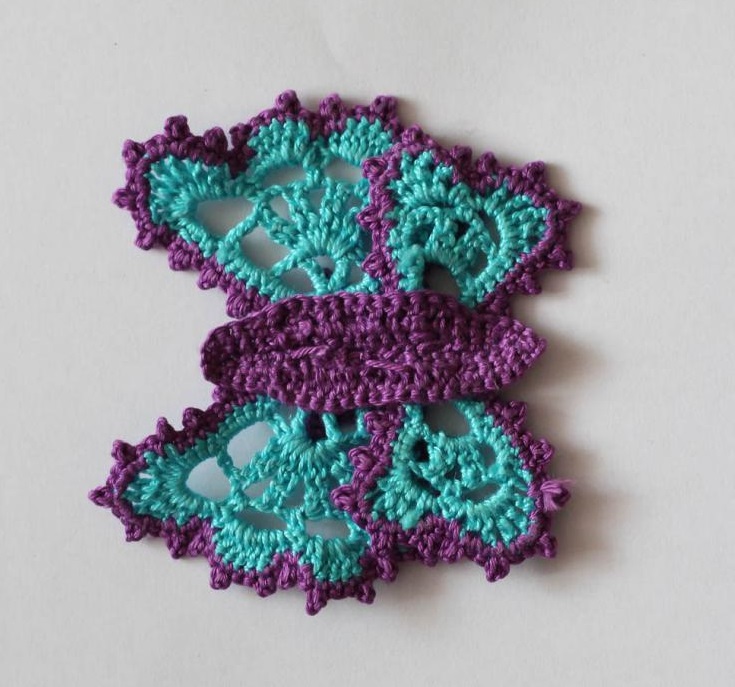
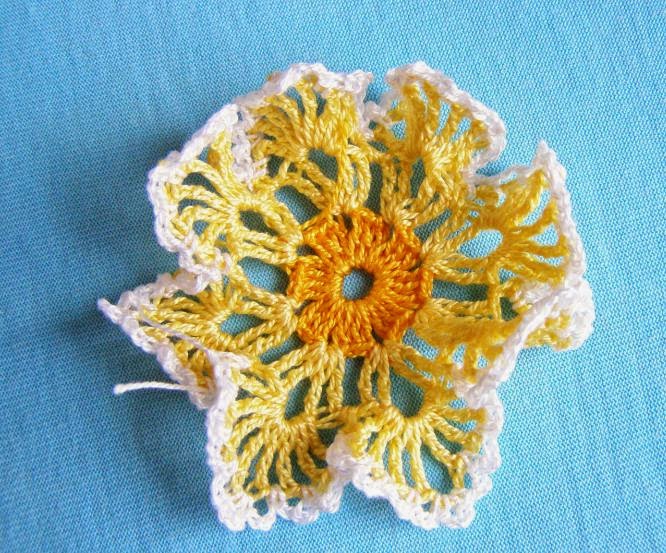
- We finish by tying the edges with columns.
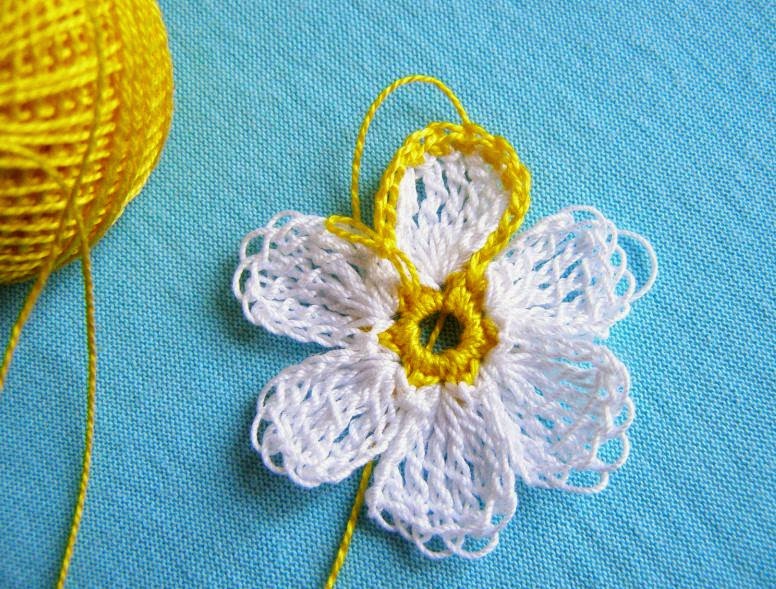
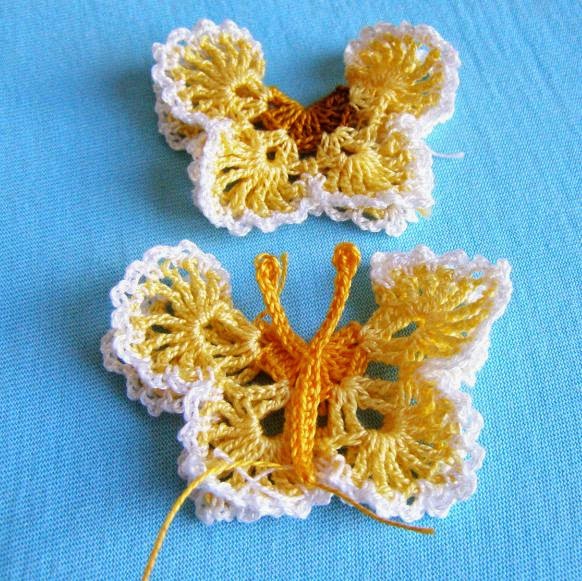
The result is a flower with eight petals and folds along the edge. We fold it in half. We get a two-layer butterfly with four wings.
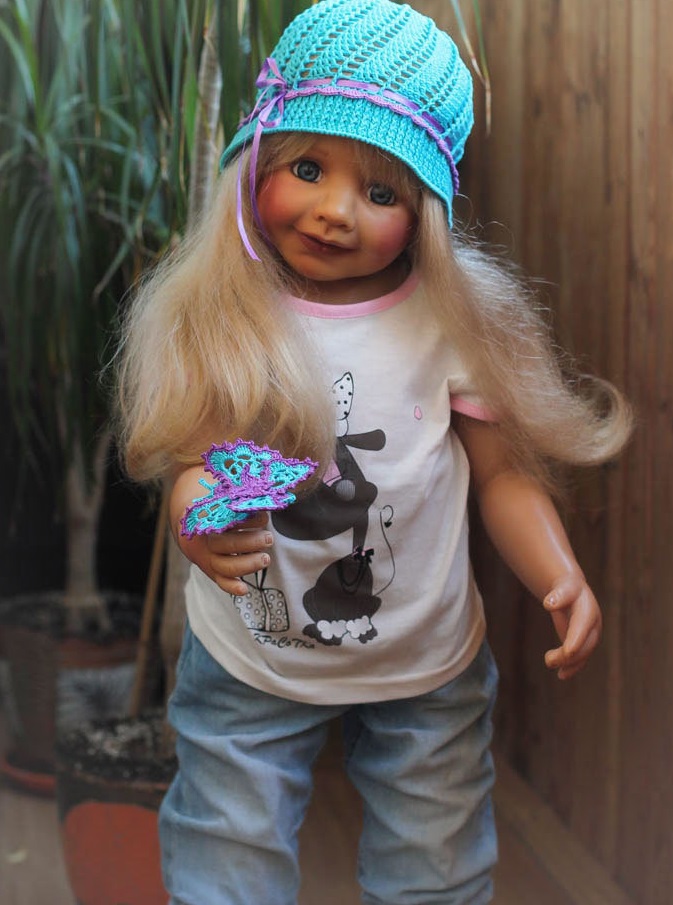
Openwork items look best when sewn onto a simple, uniform crochet pattern.


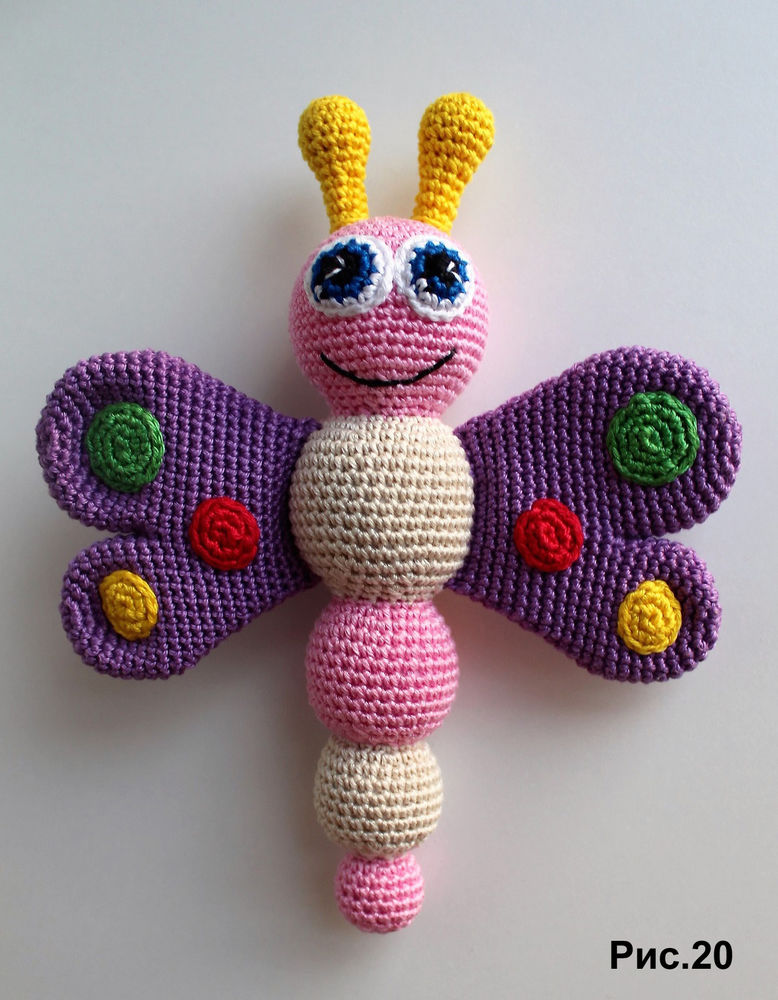
Amigurumi toy
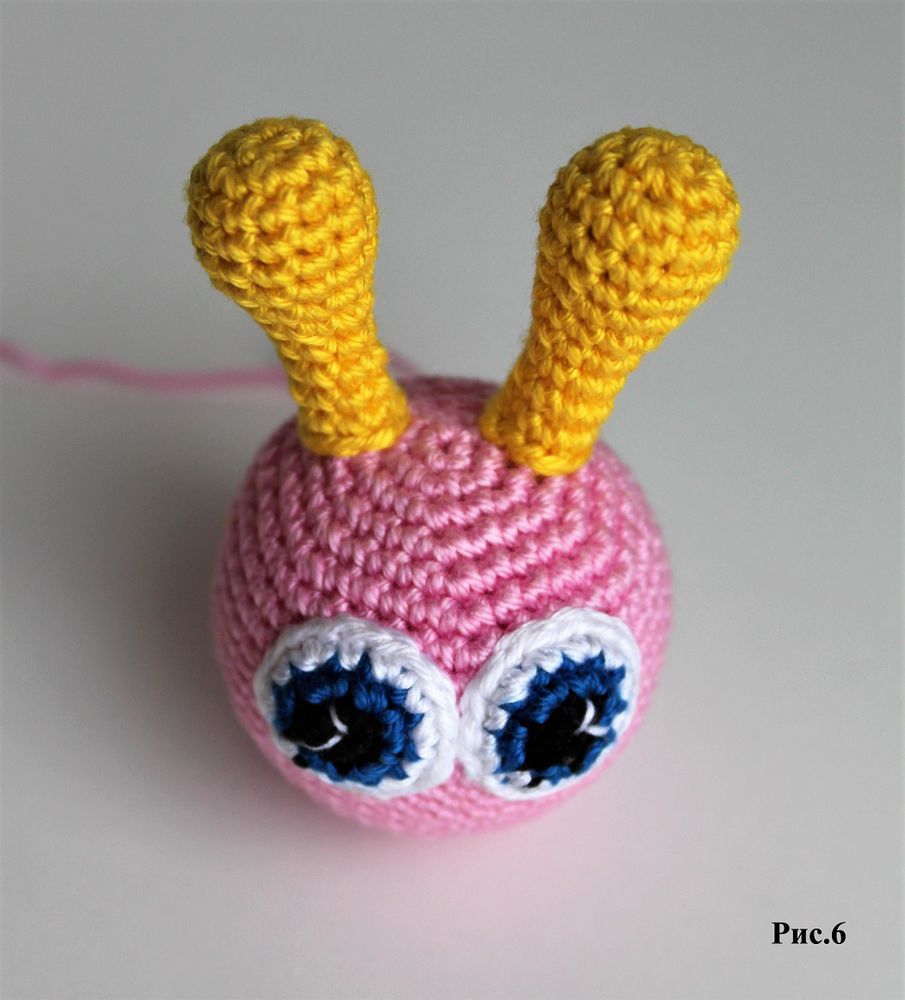
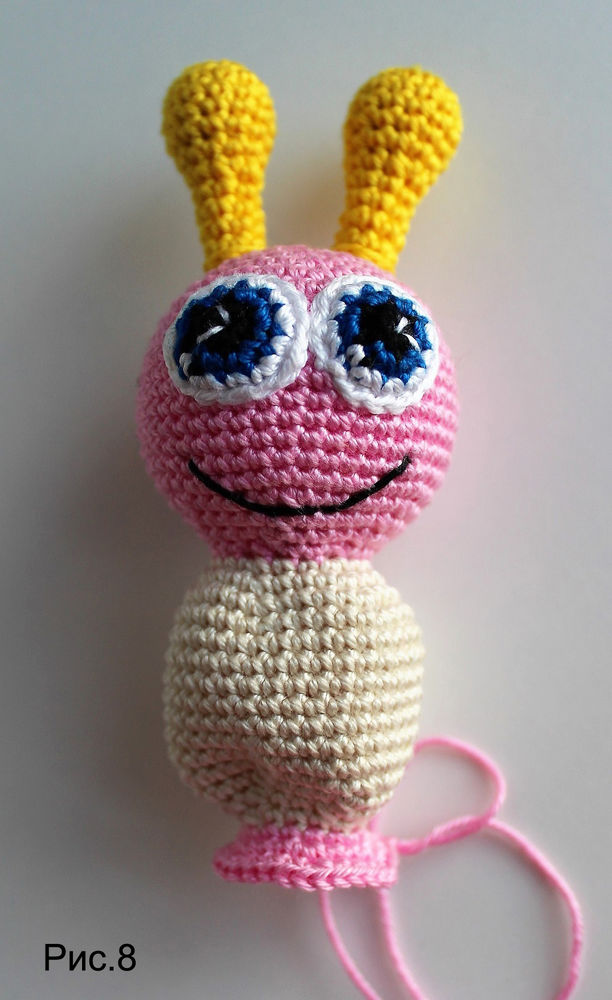
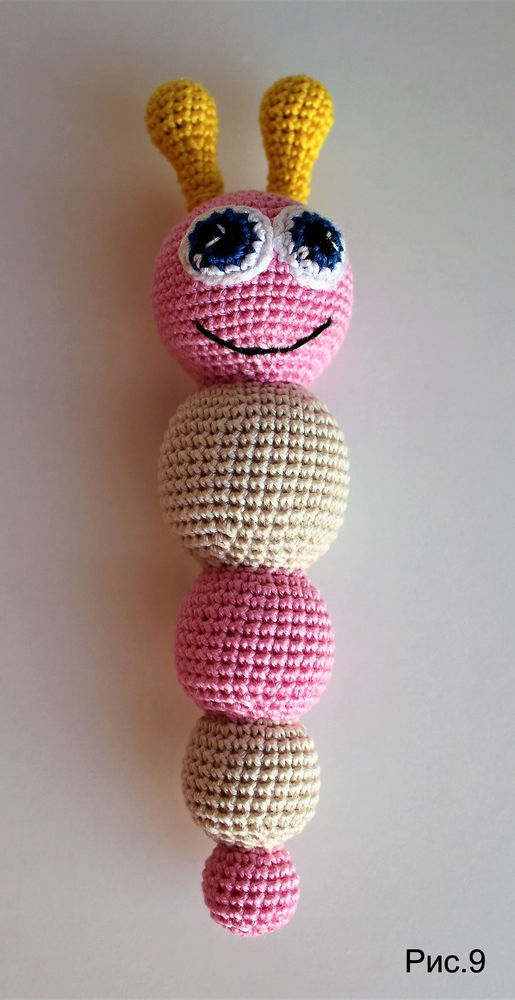
For a cute amigurumi butterfly, you will need to knit several parts: a head, antennae, a body and two wings. Then they are connected. The parts are knitted in a spiral, the rows are not closed.
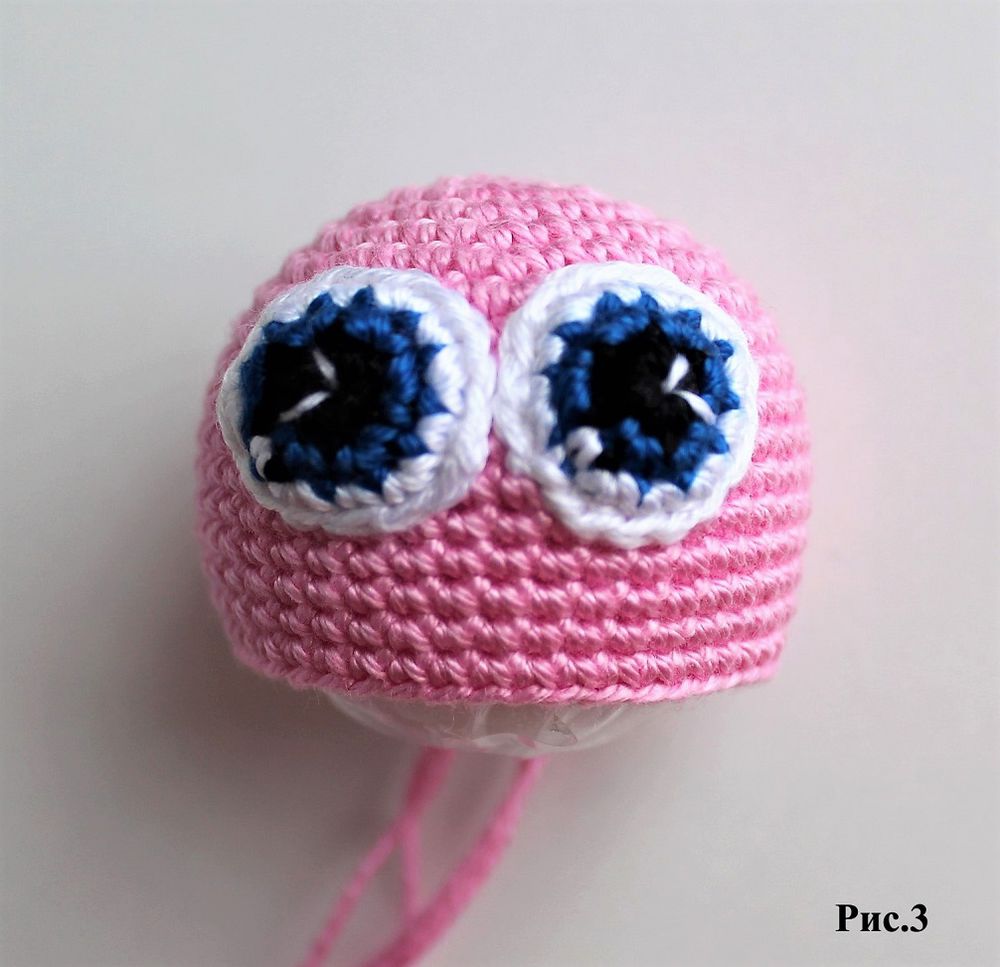
Head (main color):
- Amigurumi ring, knit 6 St. into it.
- We make an increase: in each St we knit 2 St.
- We alternate single sts and increases through one.
- Increase after 2 tbsp.
- Increase after 3 St.
- Increase after 4 St.
- From the 7th to the 12th row we knit without changes.
- Next, we begin to decrease one loop at a time in the same way as the increases.
- We make reductions until there are 12 loops left in the row.
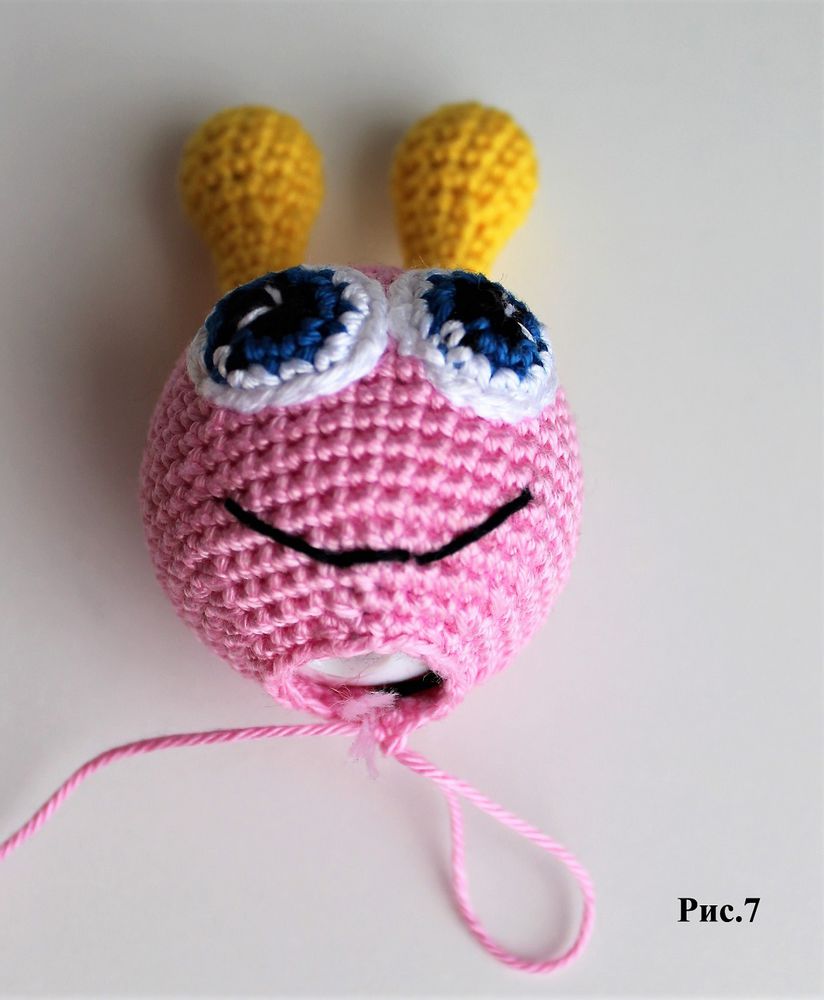
- We stuff the head with stuffing, embroider or glue on eyes.
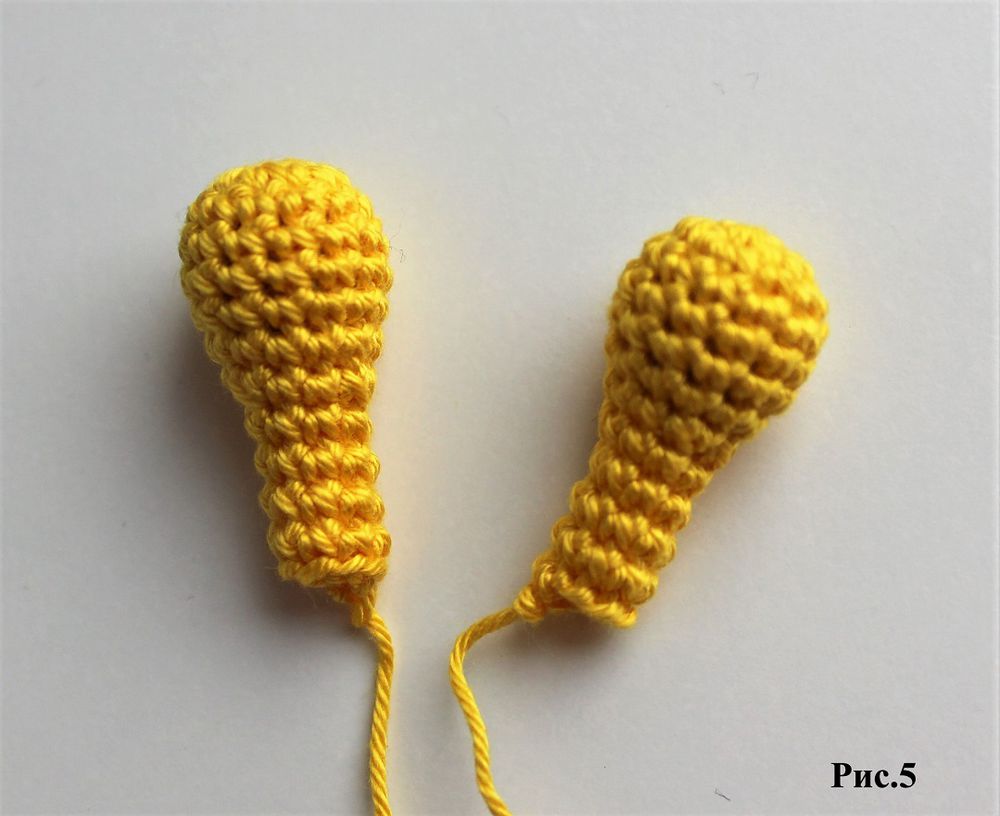
Antennae (main color):
- The beginning is standard: an amigurumi ring with 6 St.
- We make an increase - one St (there are 7 St in a row).
- No changes.
- Subtract one st.
- Decrease one st (5 stitches left)
- Change the thread to white and knit 3 rows without changes.
- We make 2 such antennae.
Body (main color):
- Amigurumi ring, 4 tbsp.
- Increase through one St.
- Similar to the second one.
- Increase after 2 tbsp.
- Increase after 3 St.
- Increase after 4 St.
- Increase after 5 St.
- From the 8th to the 13th row - no changes.
- From the 14th row we begin to decrease 1 loop every 5 sts.
- In the 15th row - after 4 stitches
- In the 16th - through 3 St.
- Row 17 - decreases in each st.
- We stuff the body with filler.
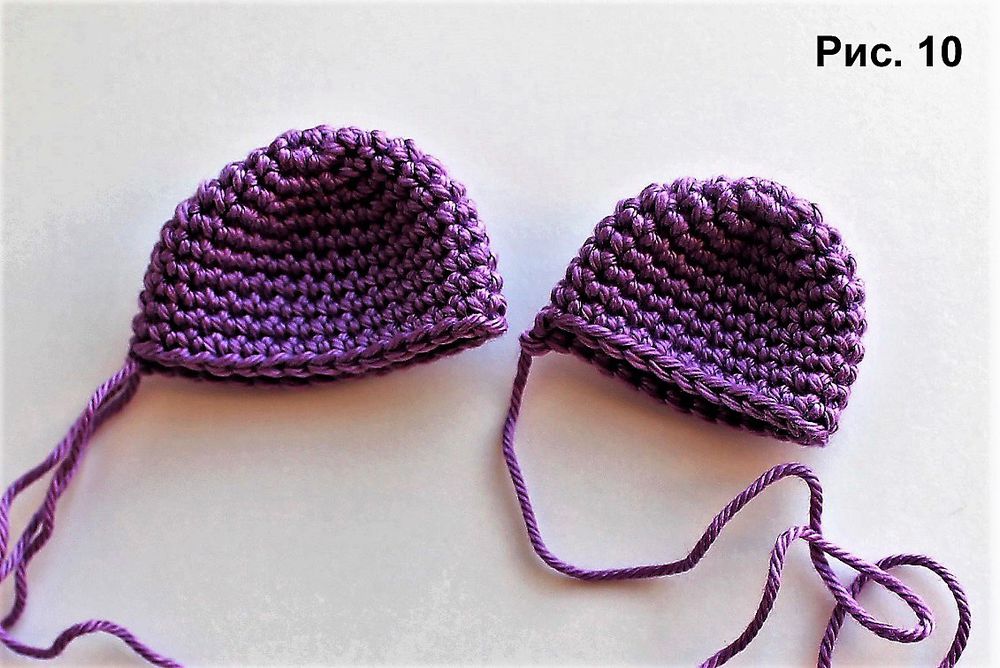
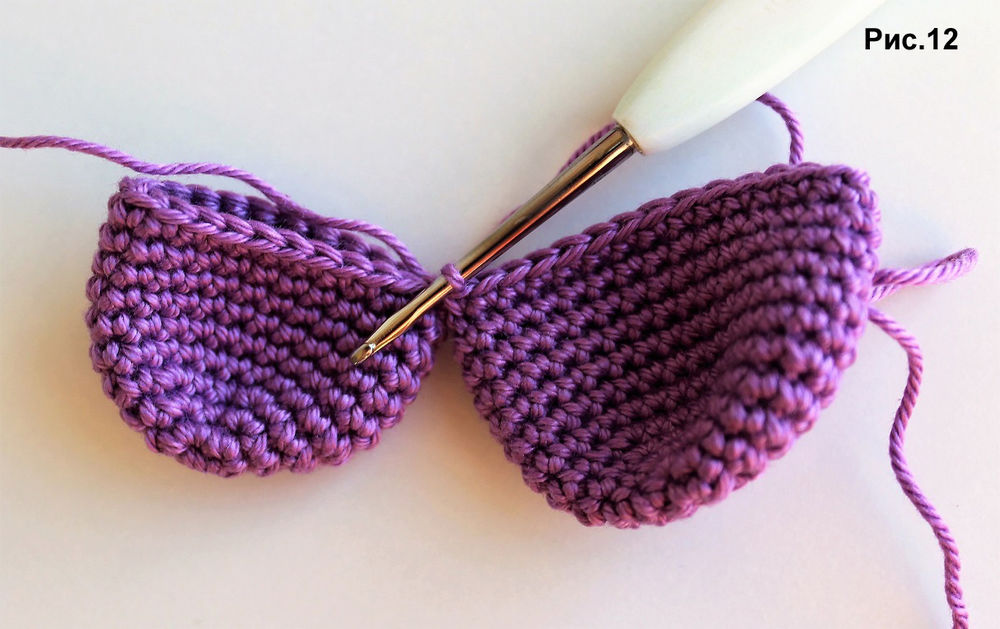
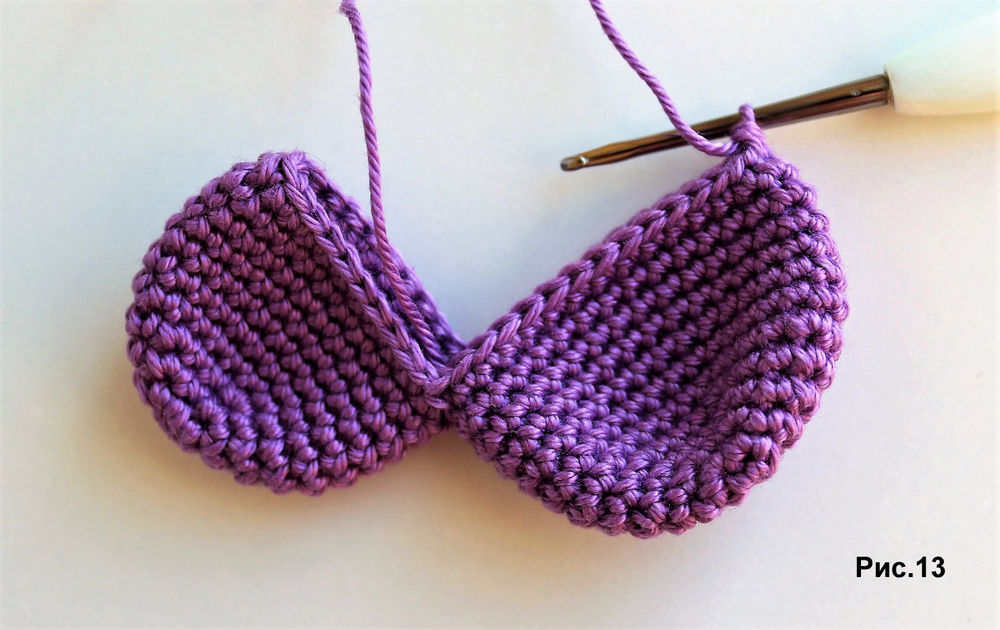
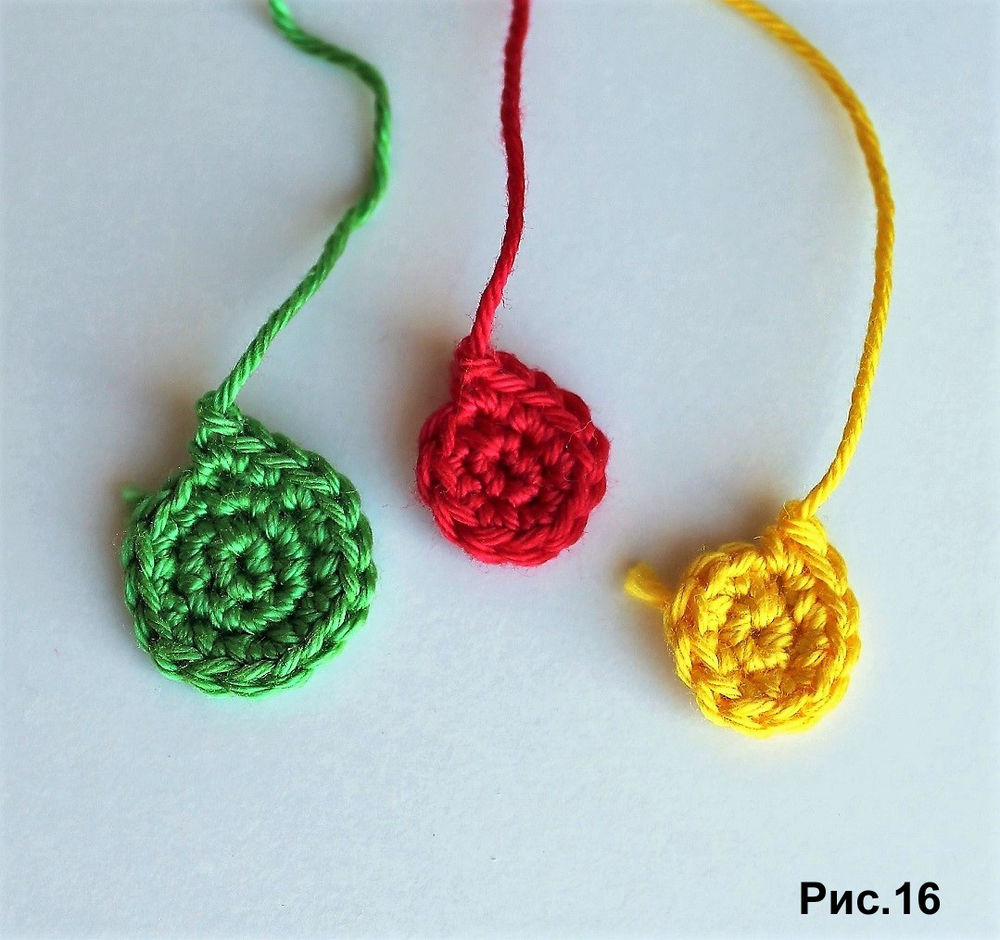
Wing:
- First detail (white color). We make an amigurumi ring. In the ring we knit 6 St.
- Increase: in each St we knit 2 St.
- We make an increase every other st.
- We make an increase after 2 tbsp.
- Increase after 3 St.
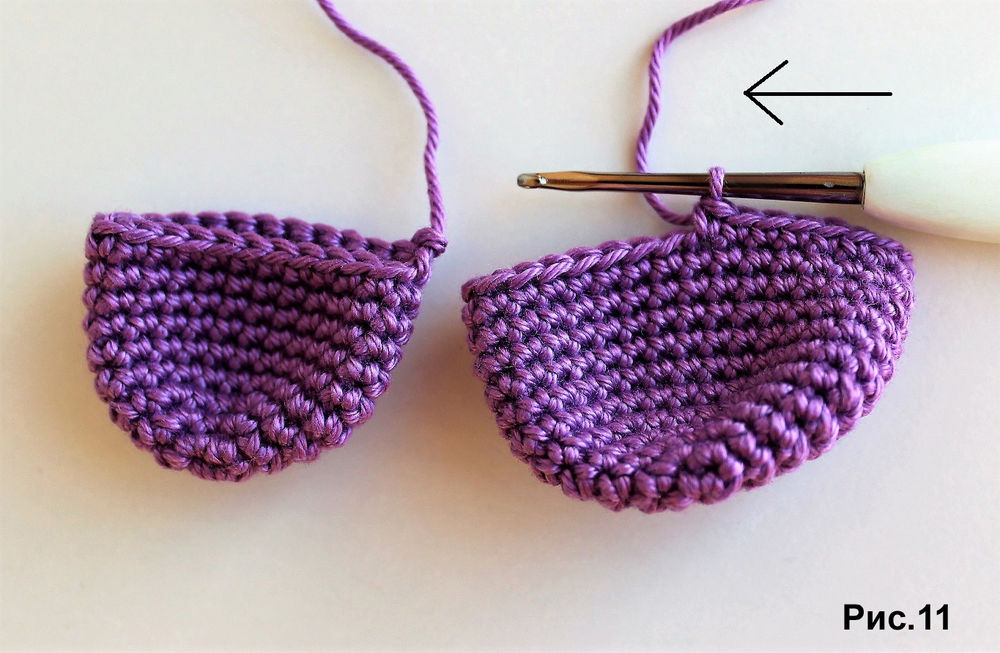
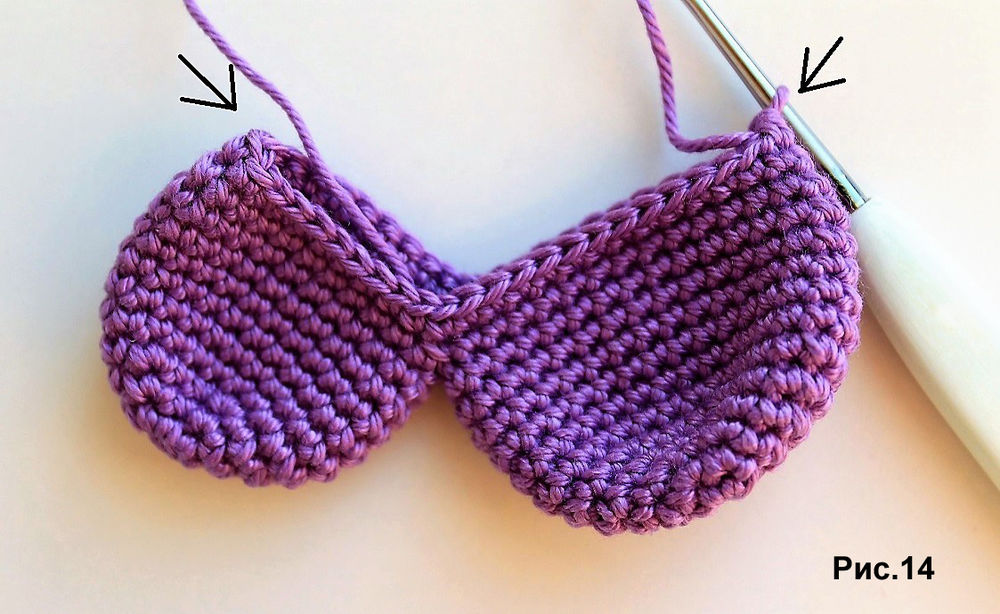
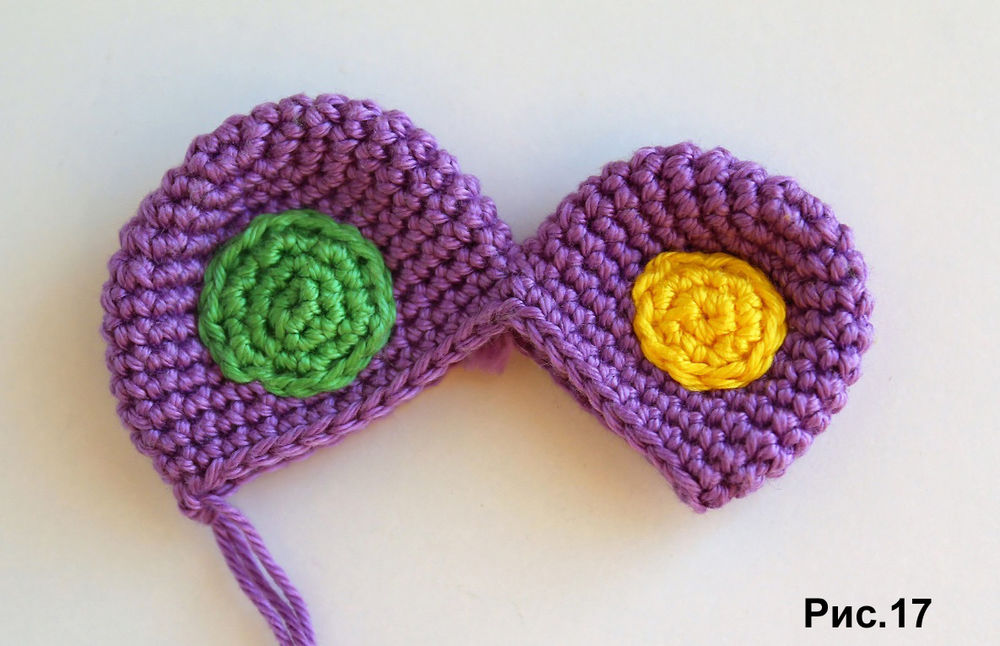
- The second part (white color). Similar to the first part of the wing, but we make only 3 rows.
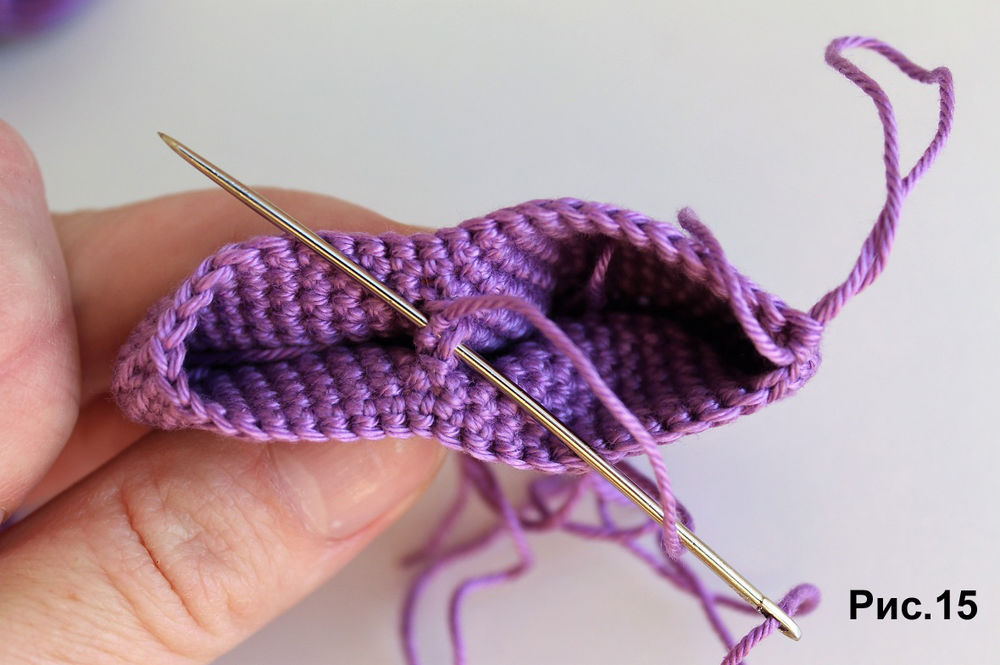
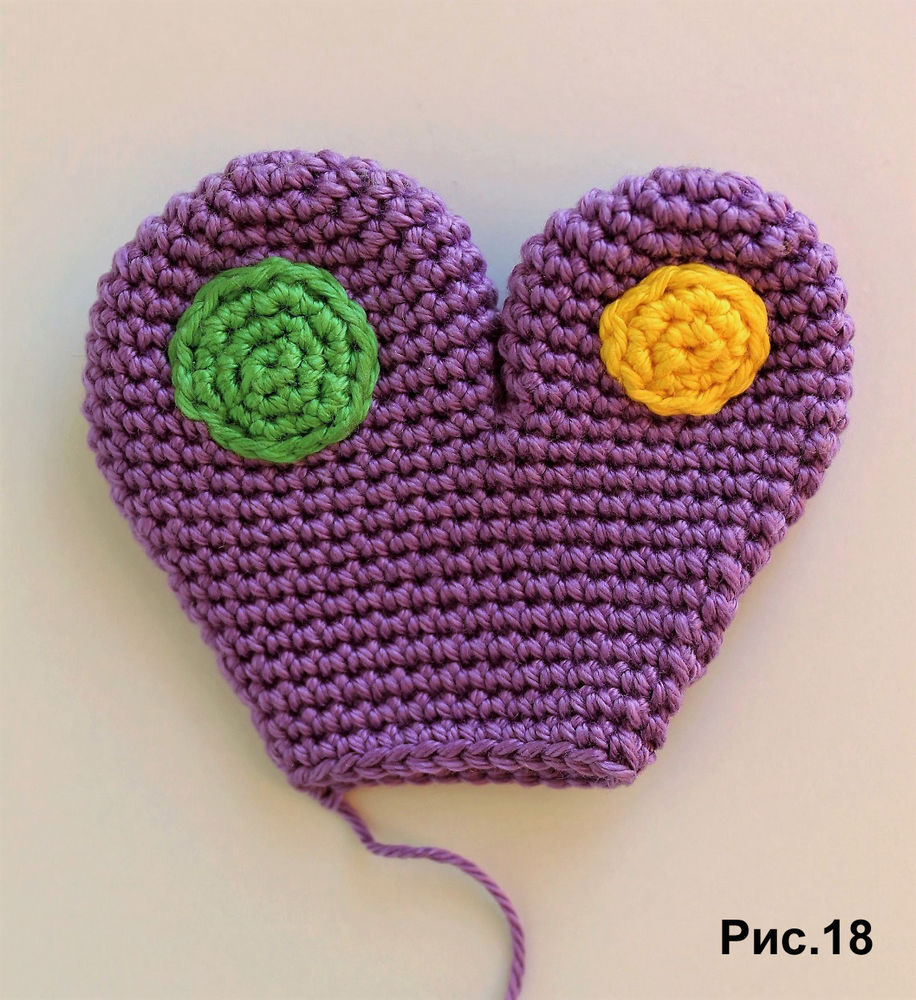
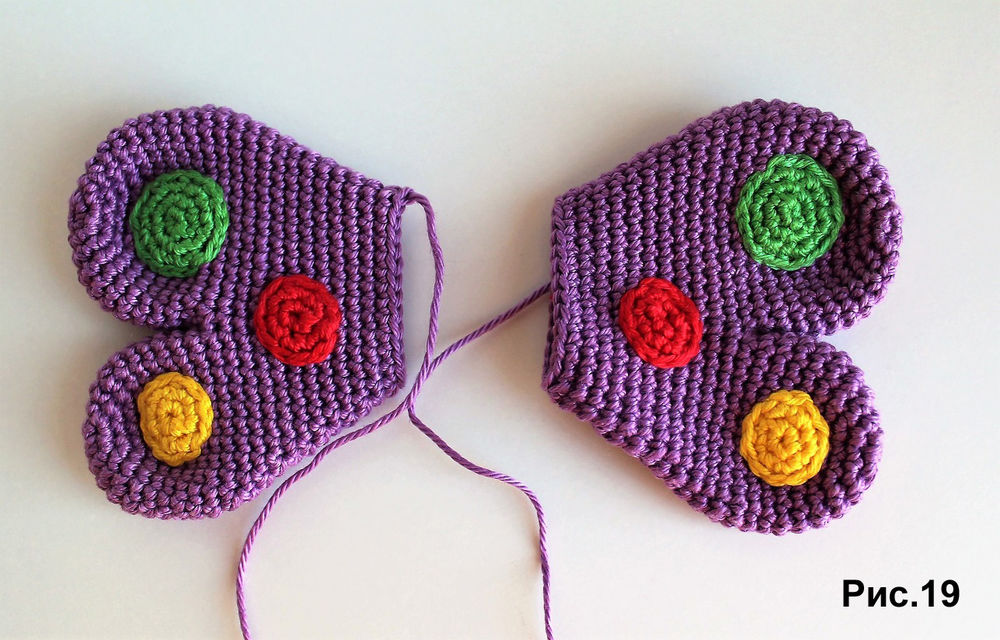
- We connect both parts at the edges to create a figure eight, and tie them with columns using the main color thread.
- We sew all the details. The toy is ready.

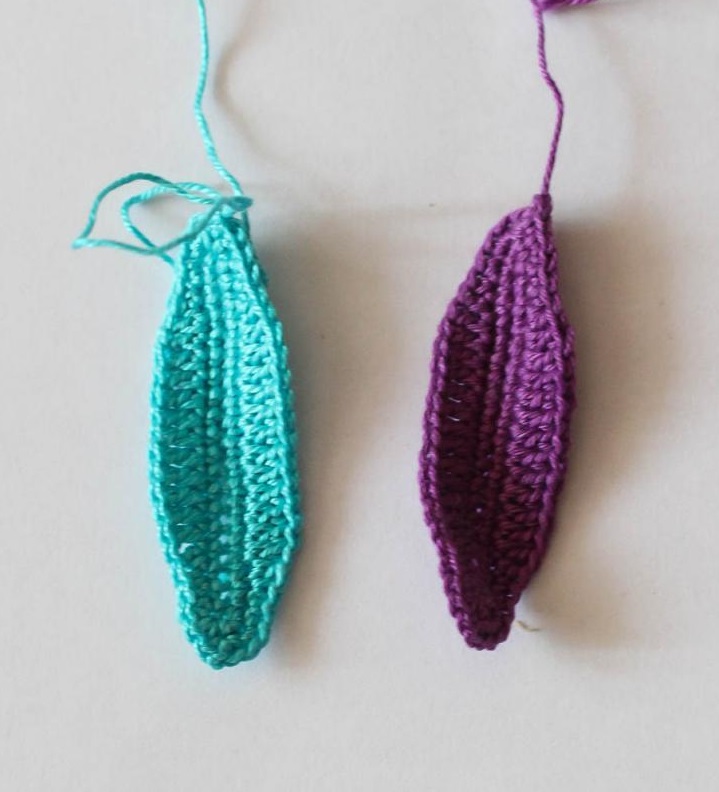
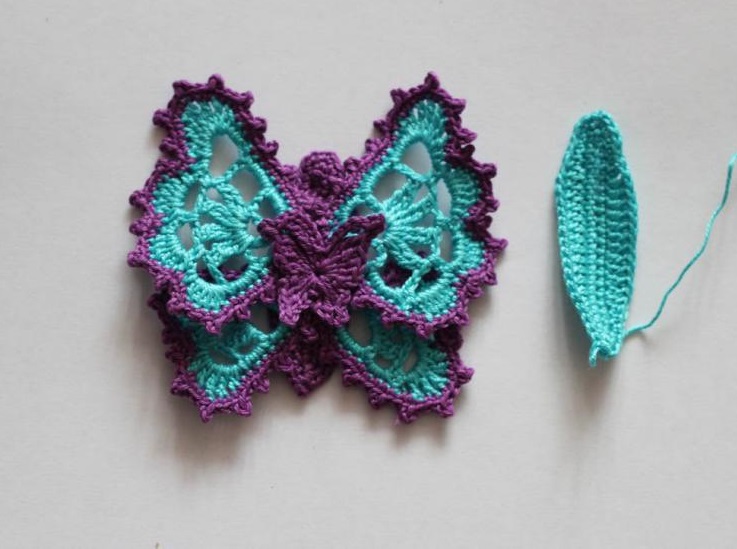
Accessory for men
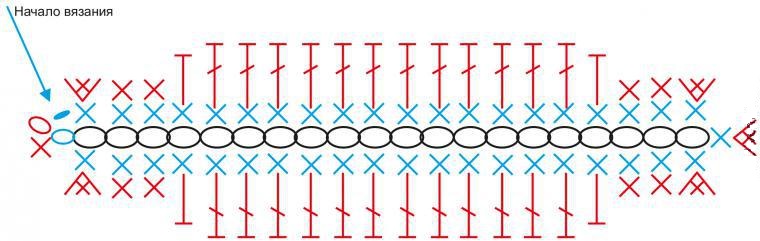
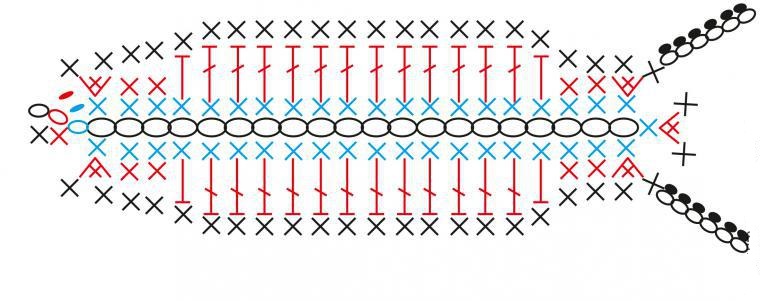
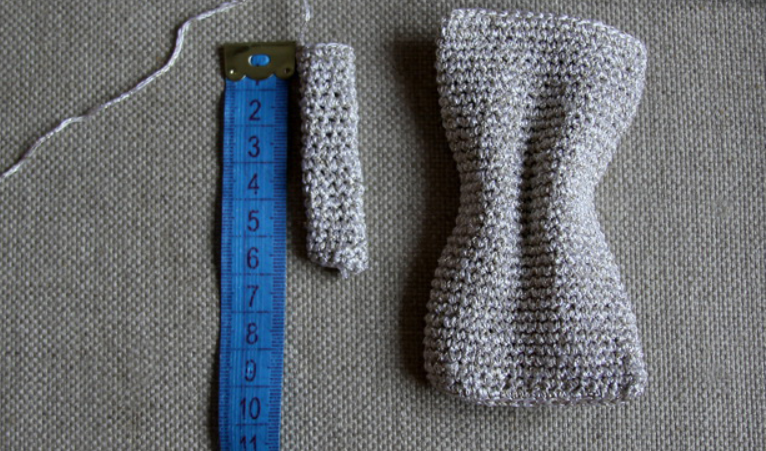
A simple accessory consists of two parts - the bow itself and a jumper in the middle. Both are knitted "tubes". The knitting pattern for the parts is the same. The size of the bow is chosen at the discretion of the craftswoman. The work algorithm:
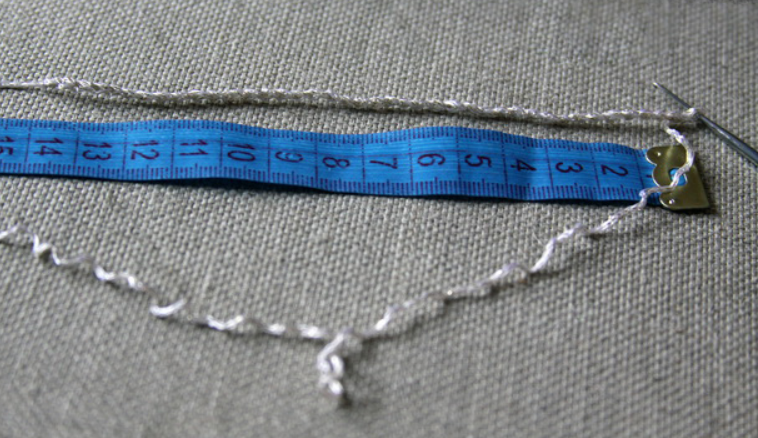
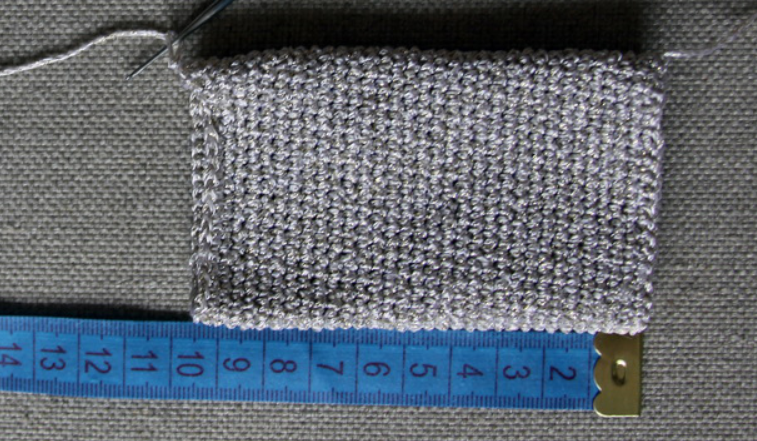
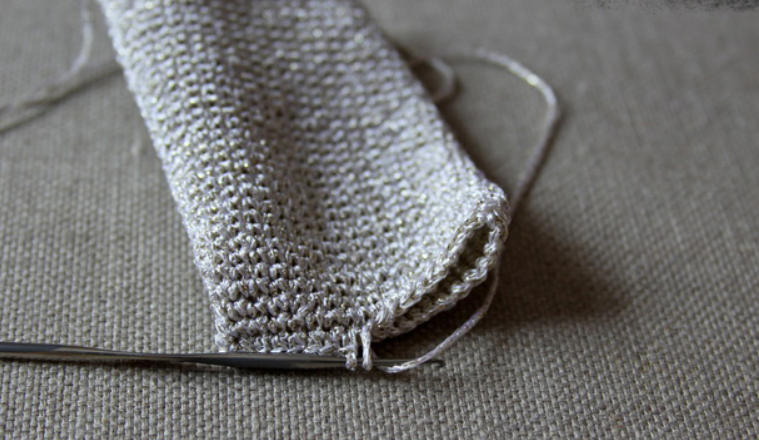
- For the base, we knit a chain of air loops of such a length that when folded in half, we get the height of the finished product. Then we close the chain into a ring and form a “pipe” in dense rows to the desired width of the butterfly. We close both edges of the “pipe” with columns.
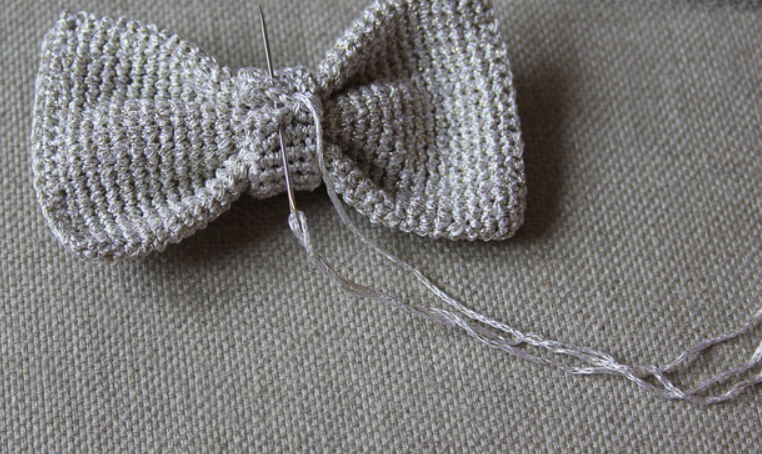
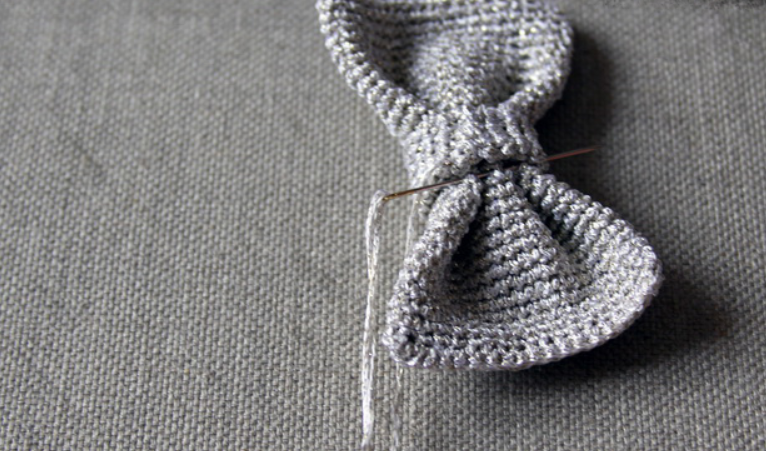
- For the jumper, we do everything similarly, only the diameter of the "pipe" will be small. After it is ready, we wrap the jumper around the base, gathering the bow with it, and sew it. It makes sense to fix it on the base so that the middle does not move to the side.
- This bow tie is put on using fabric, rubber or knitted tape.
The secret to the elegance of a men's bow tie is a very fine knit, which produces a dense ribbed fabric. To prevent the bow tie from fuzzing, you need to take smooth mercerized cotton.

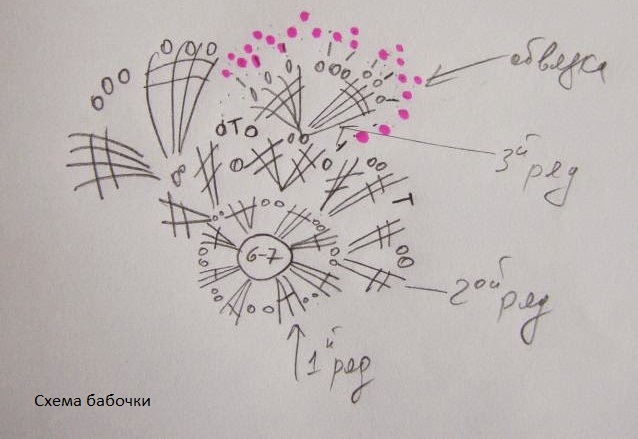
Decoding diagrams for beginners
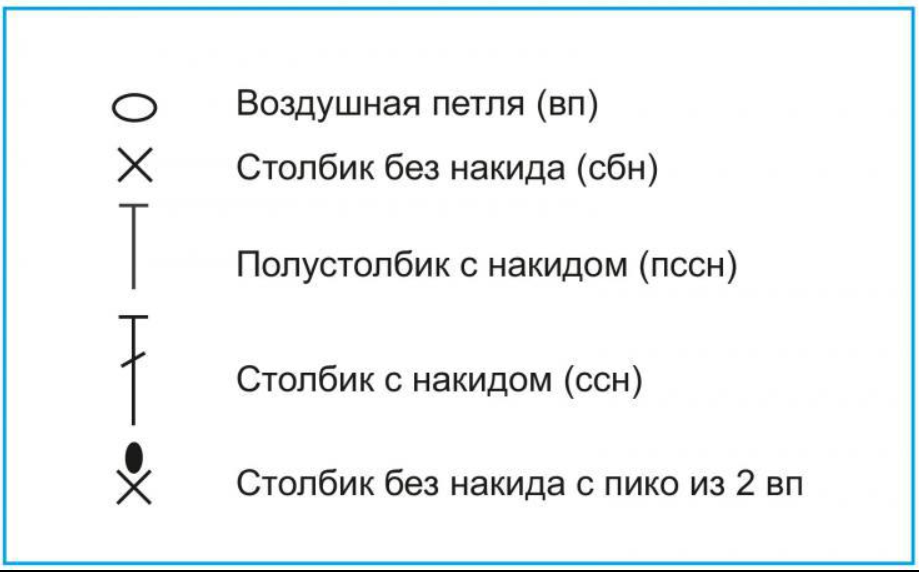
To correctly read the butterfly crochet patterns, the needlewoman must be familiar with the symbols used in them. There is nothing complicated about it. The main thing is to remember the basic knitting techniques.
| Name | Abbreviation for circuit description | Conventional designation |
| Air loop | Vp | Circle or dot |
| Half-column | pSt | Short vertical line |
| Column | St | Plus |
| Column with one yarn over | StN | A long vertical line crossed by one horizontal line |
| Double crochet stitch (loop with three, four, five crochets are designated in the same way) | St2N | A long vertical line crossed by two (three, four) transverse sticks |
| Arch of 5 air loops | 5 VP | The arc under which the number of loops is indicated |
Beautiful crochet butterflies are small in size and require careful execution. You need to work slowly, then the finished item will certainly give you a summer mood and a bright touch to your clothes or interior.
Video