The St. George ribbon was approved back in 1769, and today it is one of the main symbols of Victory Day. On the eve of the holiday, thousands of people decorate their clothes and vehicles with it. But, as practice shows, not everyone understands how to tie a St. George ribbon into a bow, and even more so does not know the history of the origin and meaning of this symbol. Meanwhile, it is never too late to broaden your horizons and consider different ways of folding and fastening this accessory.
In what cases is it necessary?
The ribbon got its name from Saint George the Victorious. It was awarded to soldiers for bravery and faithful service. Several centuries ago, the St. George ribbon was passed down by inheritance, and a salary was given along with it. It is believed that the colors used in it (black and orange) symbolize smoke and flame. When the Bolsheviks eliminated the old system, the St. George ribbon did not cease to be used. The distinction was actively used by emigrant organizations during World War II. In the USSR, it was attached to many awards.
In modern Russia, St. George ribbons symbolize soldierly valor, and are still part of military awards. Since 2005, they have been an integral part of the holiday, and are worn on Victory Day.
St. George's ribbons appeared on the streets thanks to a public action initiated by one of the student organizations and the RIA Novosti agency. Since 2005, they have spread around the world in quantities of more than 50 million pieces. It is difficult to imagine the celebration of Victory Day without this accessory, so many want to make a St. George's symbol for May 9 with their own hands. In addition to the manufacturing process itself, you also need to know how to tie a St. George's ribbon into a bow.
There are different options for folding the accessory:
- classical;
- in the form of a check mark;
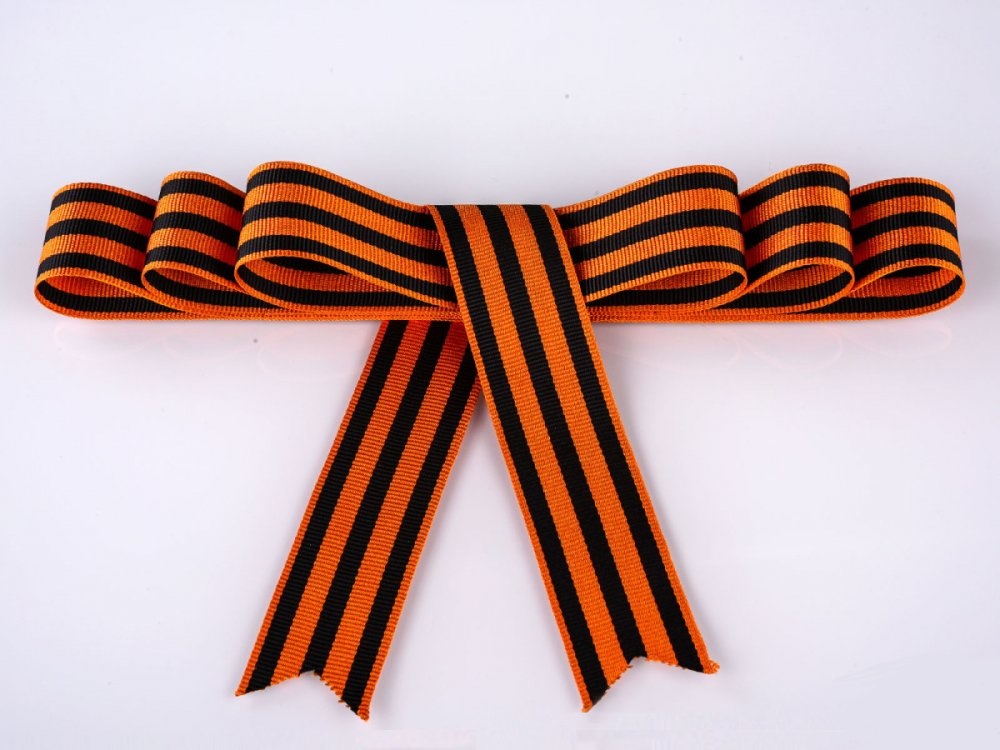
- with a bow;
- lightning;
- in the form of the letter "M";
- corner;
- butterfly;
- tie;
- with a scarf.
Since there are no official rules for wearing it, you can tie the St. George ribbon in any of the above ways. The main thing is that it is attached to clothing, and not to a car, bag, or other places. This is a symbol of respect and expression of grief for fallen soldiers, so it must be treated with care and caution. The accessory can be purchased ready-made, but most people prefer to wear a St. George ribbon that they made themselves.
What you will need
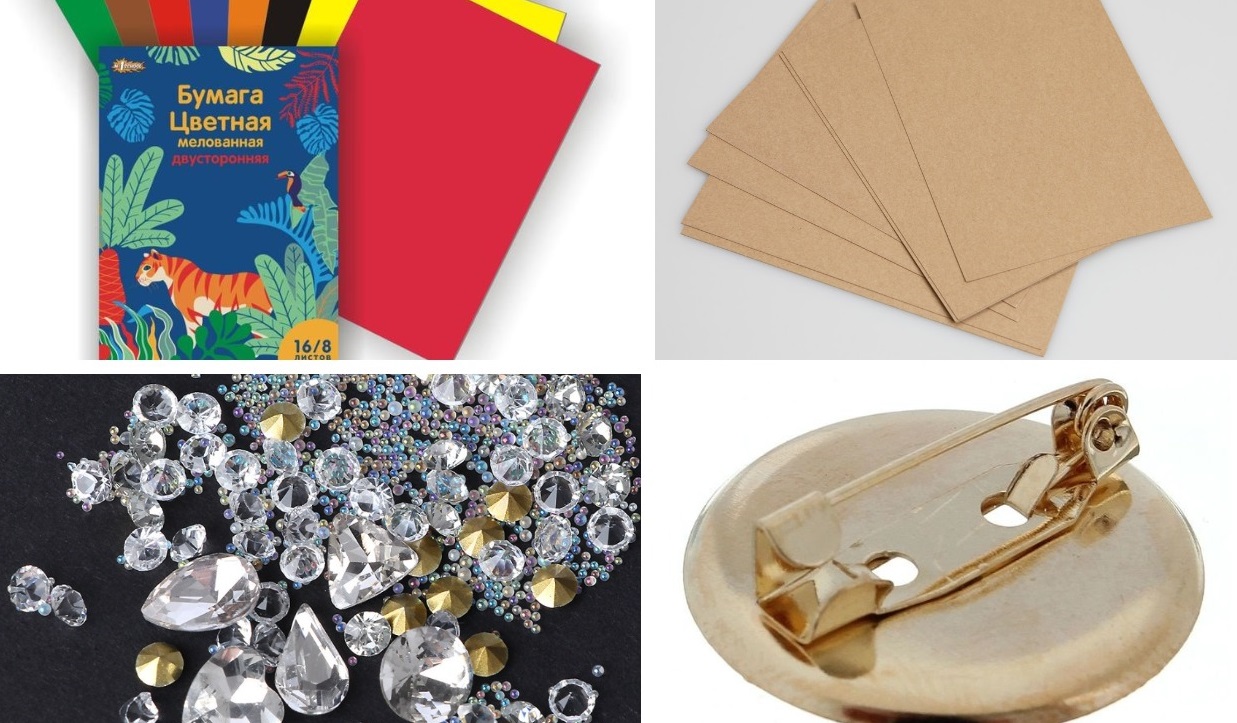
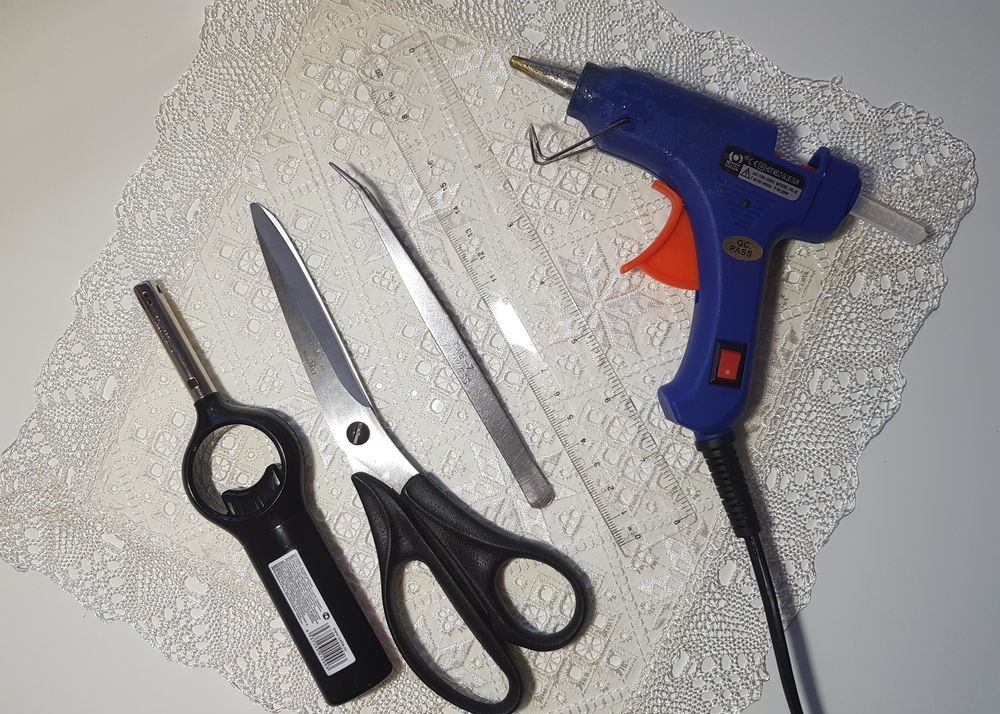
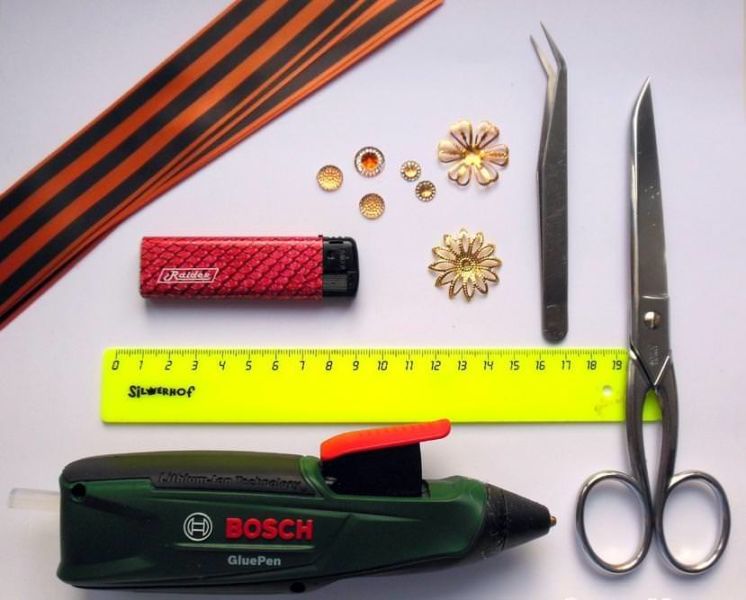
To make a symbolic accessory for May 9 with your own hands, you will need the following materials and tools:
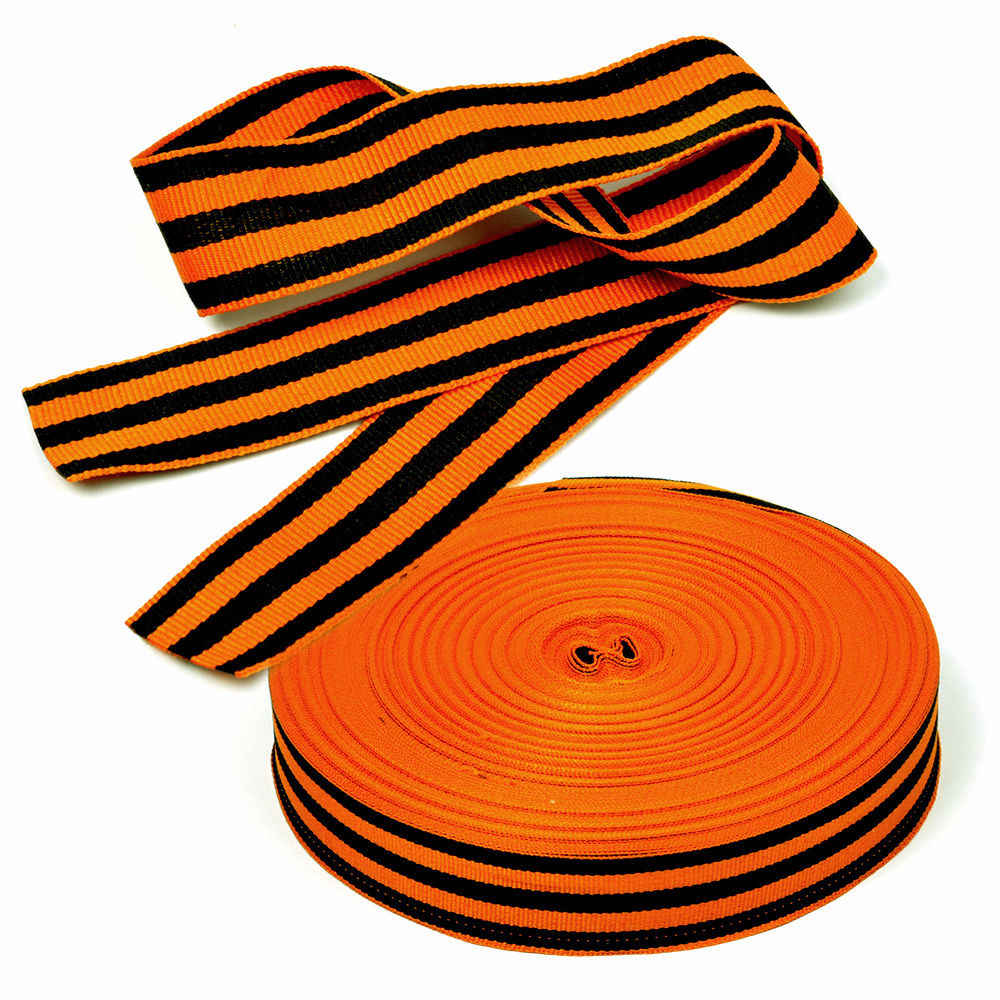
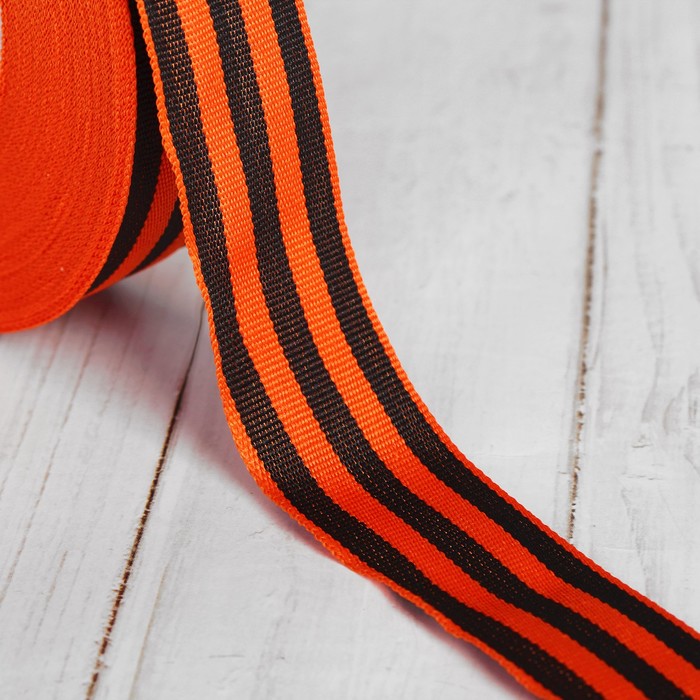
- a piece of ribbon (you can take two colors or striped);
- colored paper;
- thick cardboard;
- brooch base;
- pin;
- rhinestones or beads;
- scissors (regular and curly);
- glue gun;
- glue stick;
- stapler;
- lighter or matches, candle;
- ruler;
- tweezers.
Depending on how exactly the victory symbol made from the St. George ribbon will be tied with your own hands, the list of necessary tools can be shortened or supplemented.
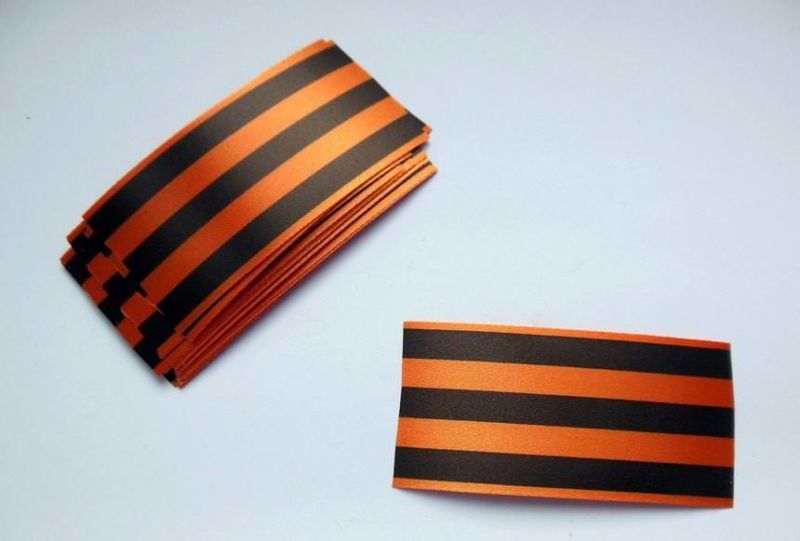
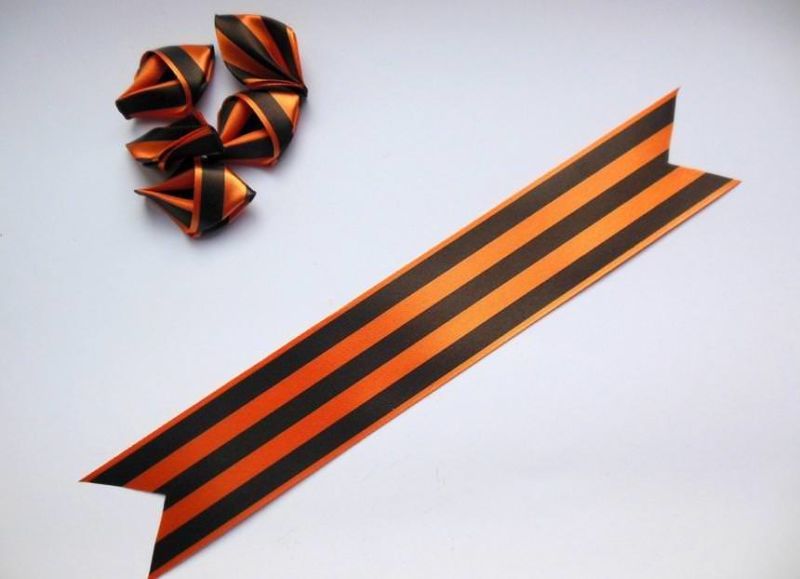
The length of the ribbon depends on the tying method. The optimal width is 2.5 cm.
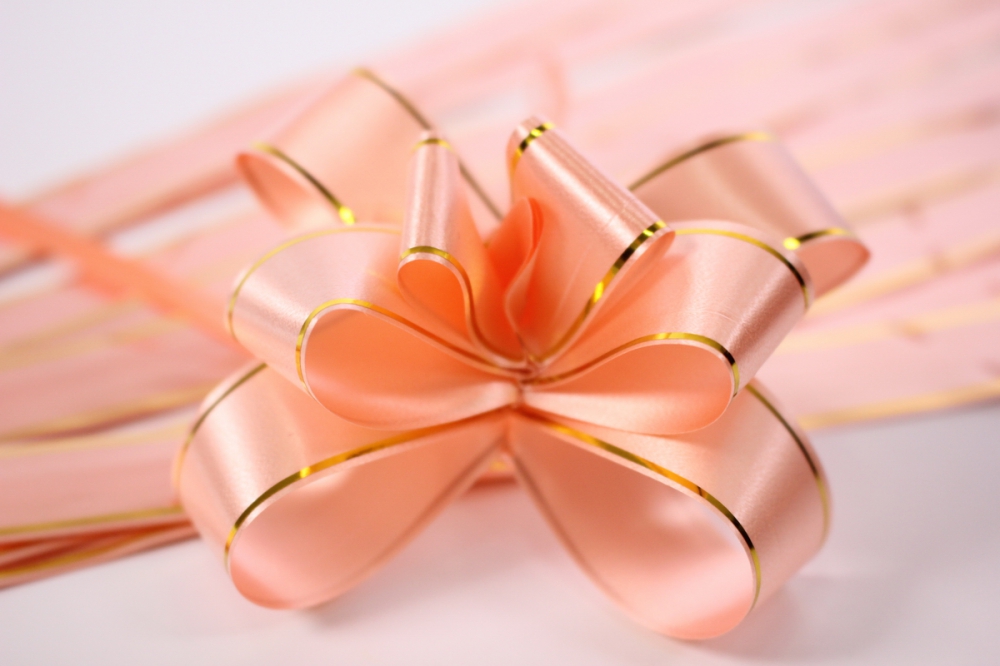
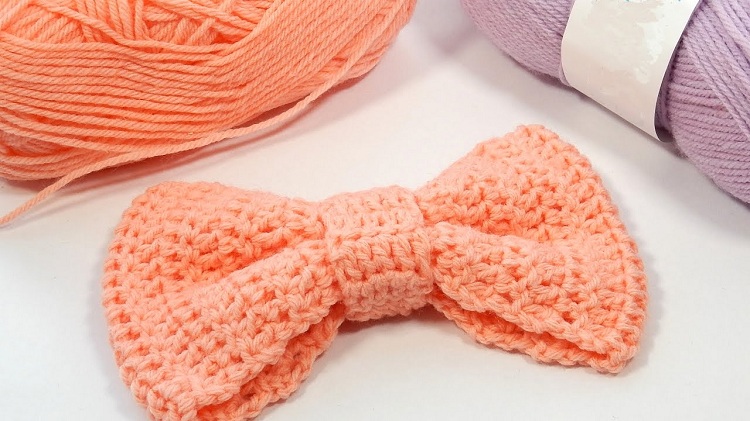
For production, you can choose either satin or regular ribbon. Some use brocade fabric because it looks very elegant. The usual material, unlike satin, does not require finishing the ends. If satin is chosen to make a bow from the St. George ribbon, the material must be burned or treated with wax. Beautiful accessories are created not only from fabric, but also from paper. What exactly to choose is decided by the creator. The symbol can be additionally decorated with beads, rhinestones, flowers (both artificial and real), as well as icons of different shapes.
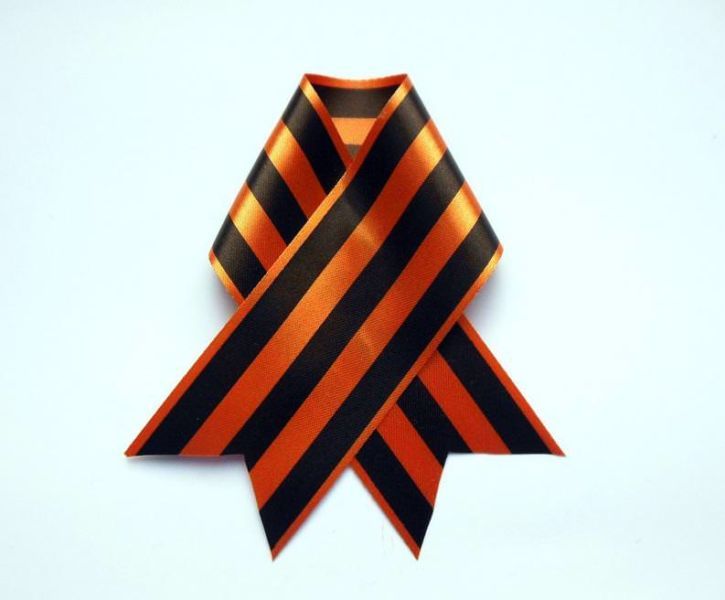
Simple ways to fold
A simple lapel is the most common and easiest method. It is enough to form a loop from the ribbon and secure it with a pin. For this, you will need a ribbon 25 cm long. To fold the loop beautifully, it is better to use a template made of thick cardboard. The width should be 6 cm at the bottom and 2 cm at the top. The size of the beveled edges is 3.5 cm. The shape of the template will resemble a thick pencil. The ribbon is placed on the table, a cardboard blank is placed on it, and the edges are folded inward along the beveled lines. To keep the product in shape, it is necessary to temporarily fix the edges using pins or clamps.
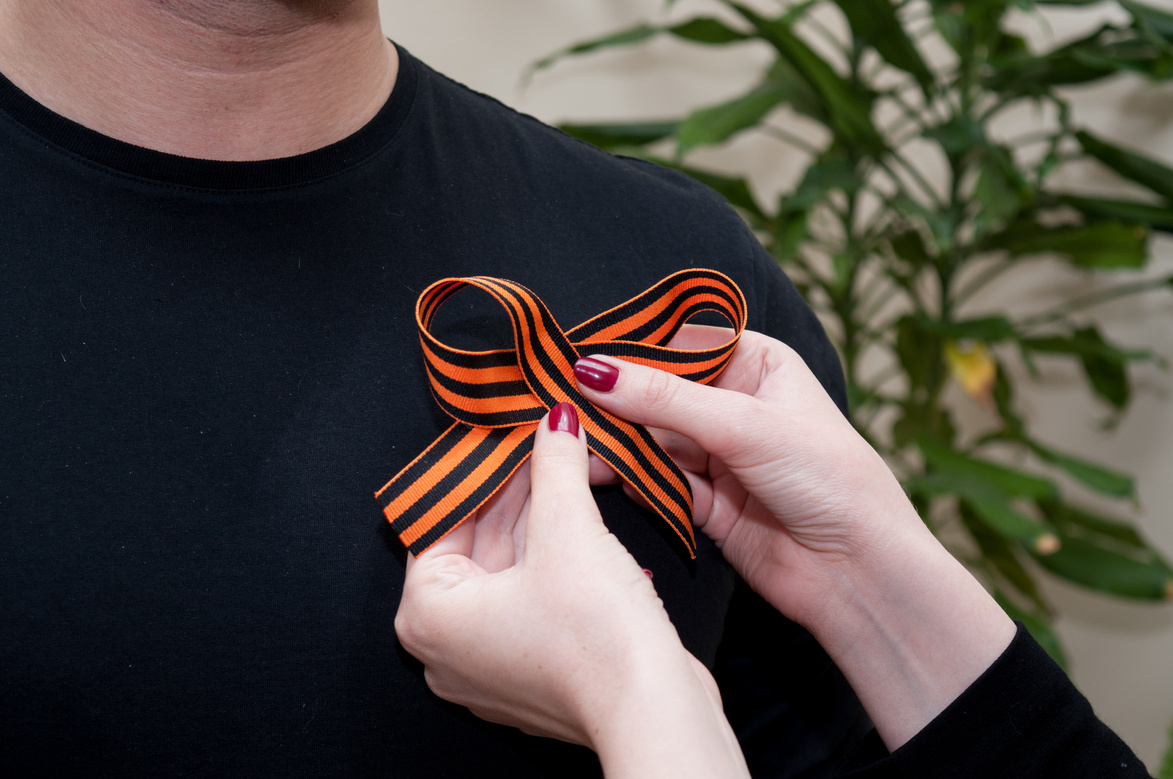
Another simple folding method is a figure eight bow. It can be either single or double. To create it, you will need a ribbon, its length will depend on the chosen folding option. The figure eight can be folded from two parts (the figure eight itself separately, the tail separately) or from a single piece of tape. If the second option is chosen, you need to:
- Place the ribbon on the table and then point the ends down, making a loop out of each one.
- Secure the middle with a pin or tie it with a piece of the same fabric.
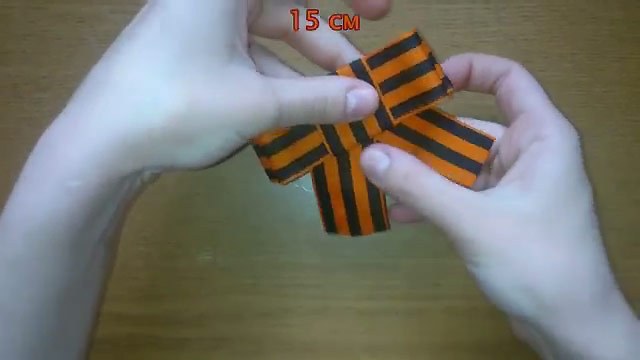
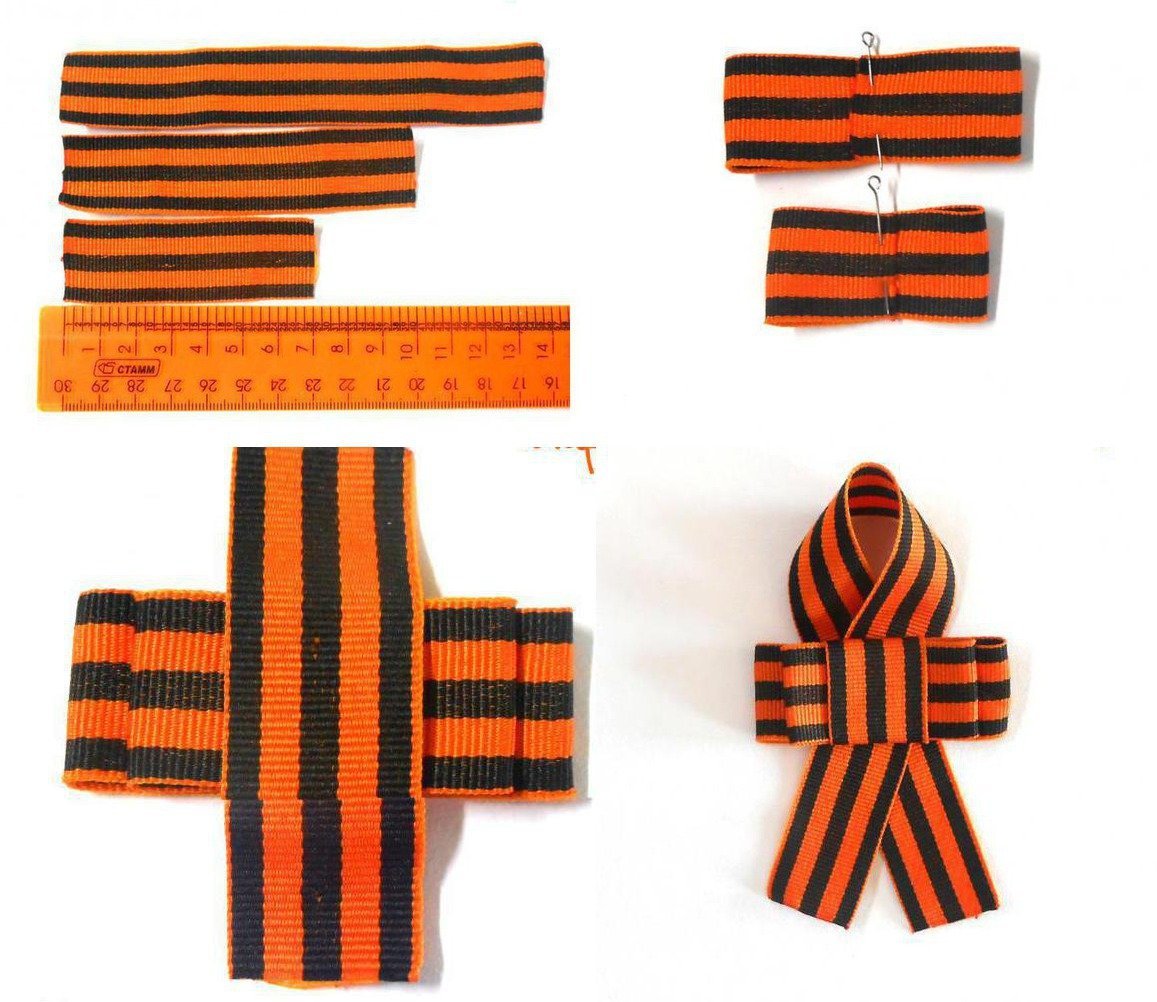
If the bow is created from several elements, you need to:
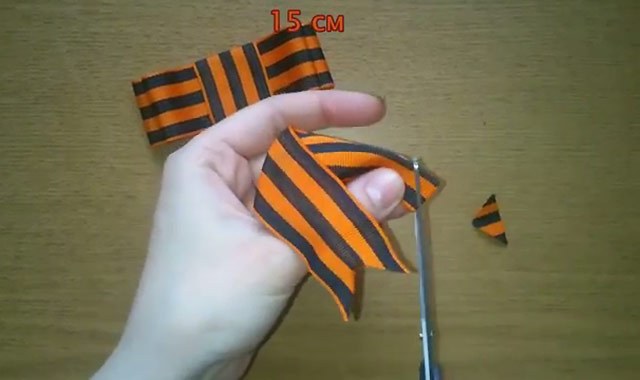
- Cut the tape into 3 parts (14, 16 and 5 cm).
- Make a figure eight bow from the largest piece of St. George's ribbon, with the ends meeting in the center.
- Cut off the ends of the middle part in the same way as a small triangle or a check mark.
- Fold the ribbon in half at a slight angle so that the bottom ends point in different directions.
- A small piece serves as the middle of the bow.
When all the parts are ready, it is enough to sew them together and process the ends with wax or fire. A small piece can be replaced with an ordinary pin or a beautiful bead sewn to the ribbon.
Step-by-step algorithm for creating bows
Ribbon bows are quite easy to create, even intricate shapes can be formed with your own hands, spending very little time and materials. Below are detailed diagrams, where each action is described step by step. Some types of bows can be made together with children, they will find it interesting and useful. It is necessary to prepare all necessary materials and tools in advance.
Simple
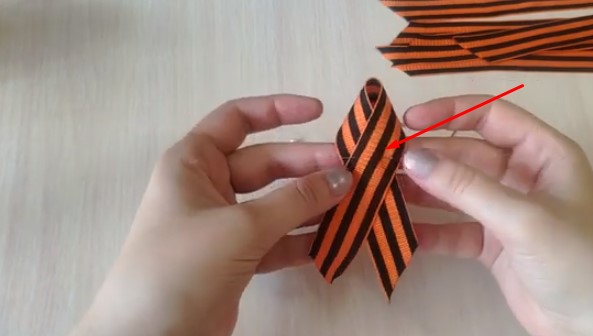
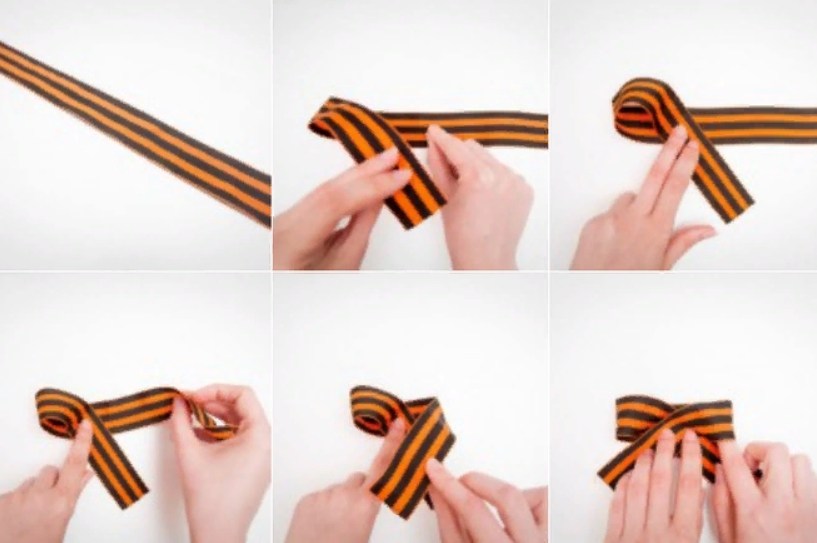
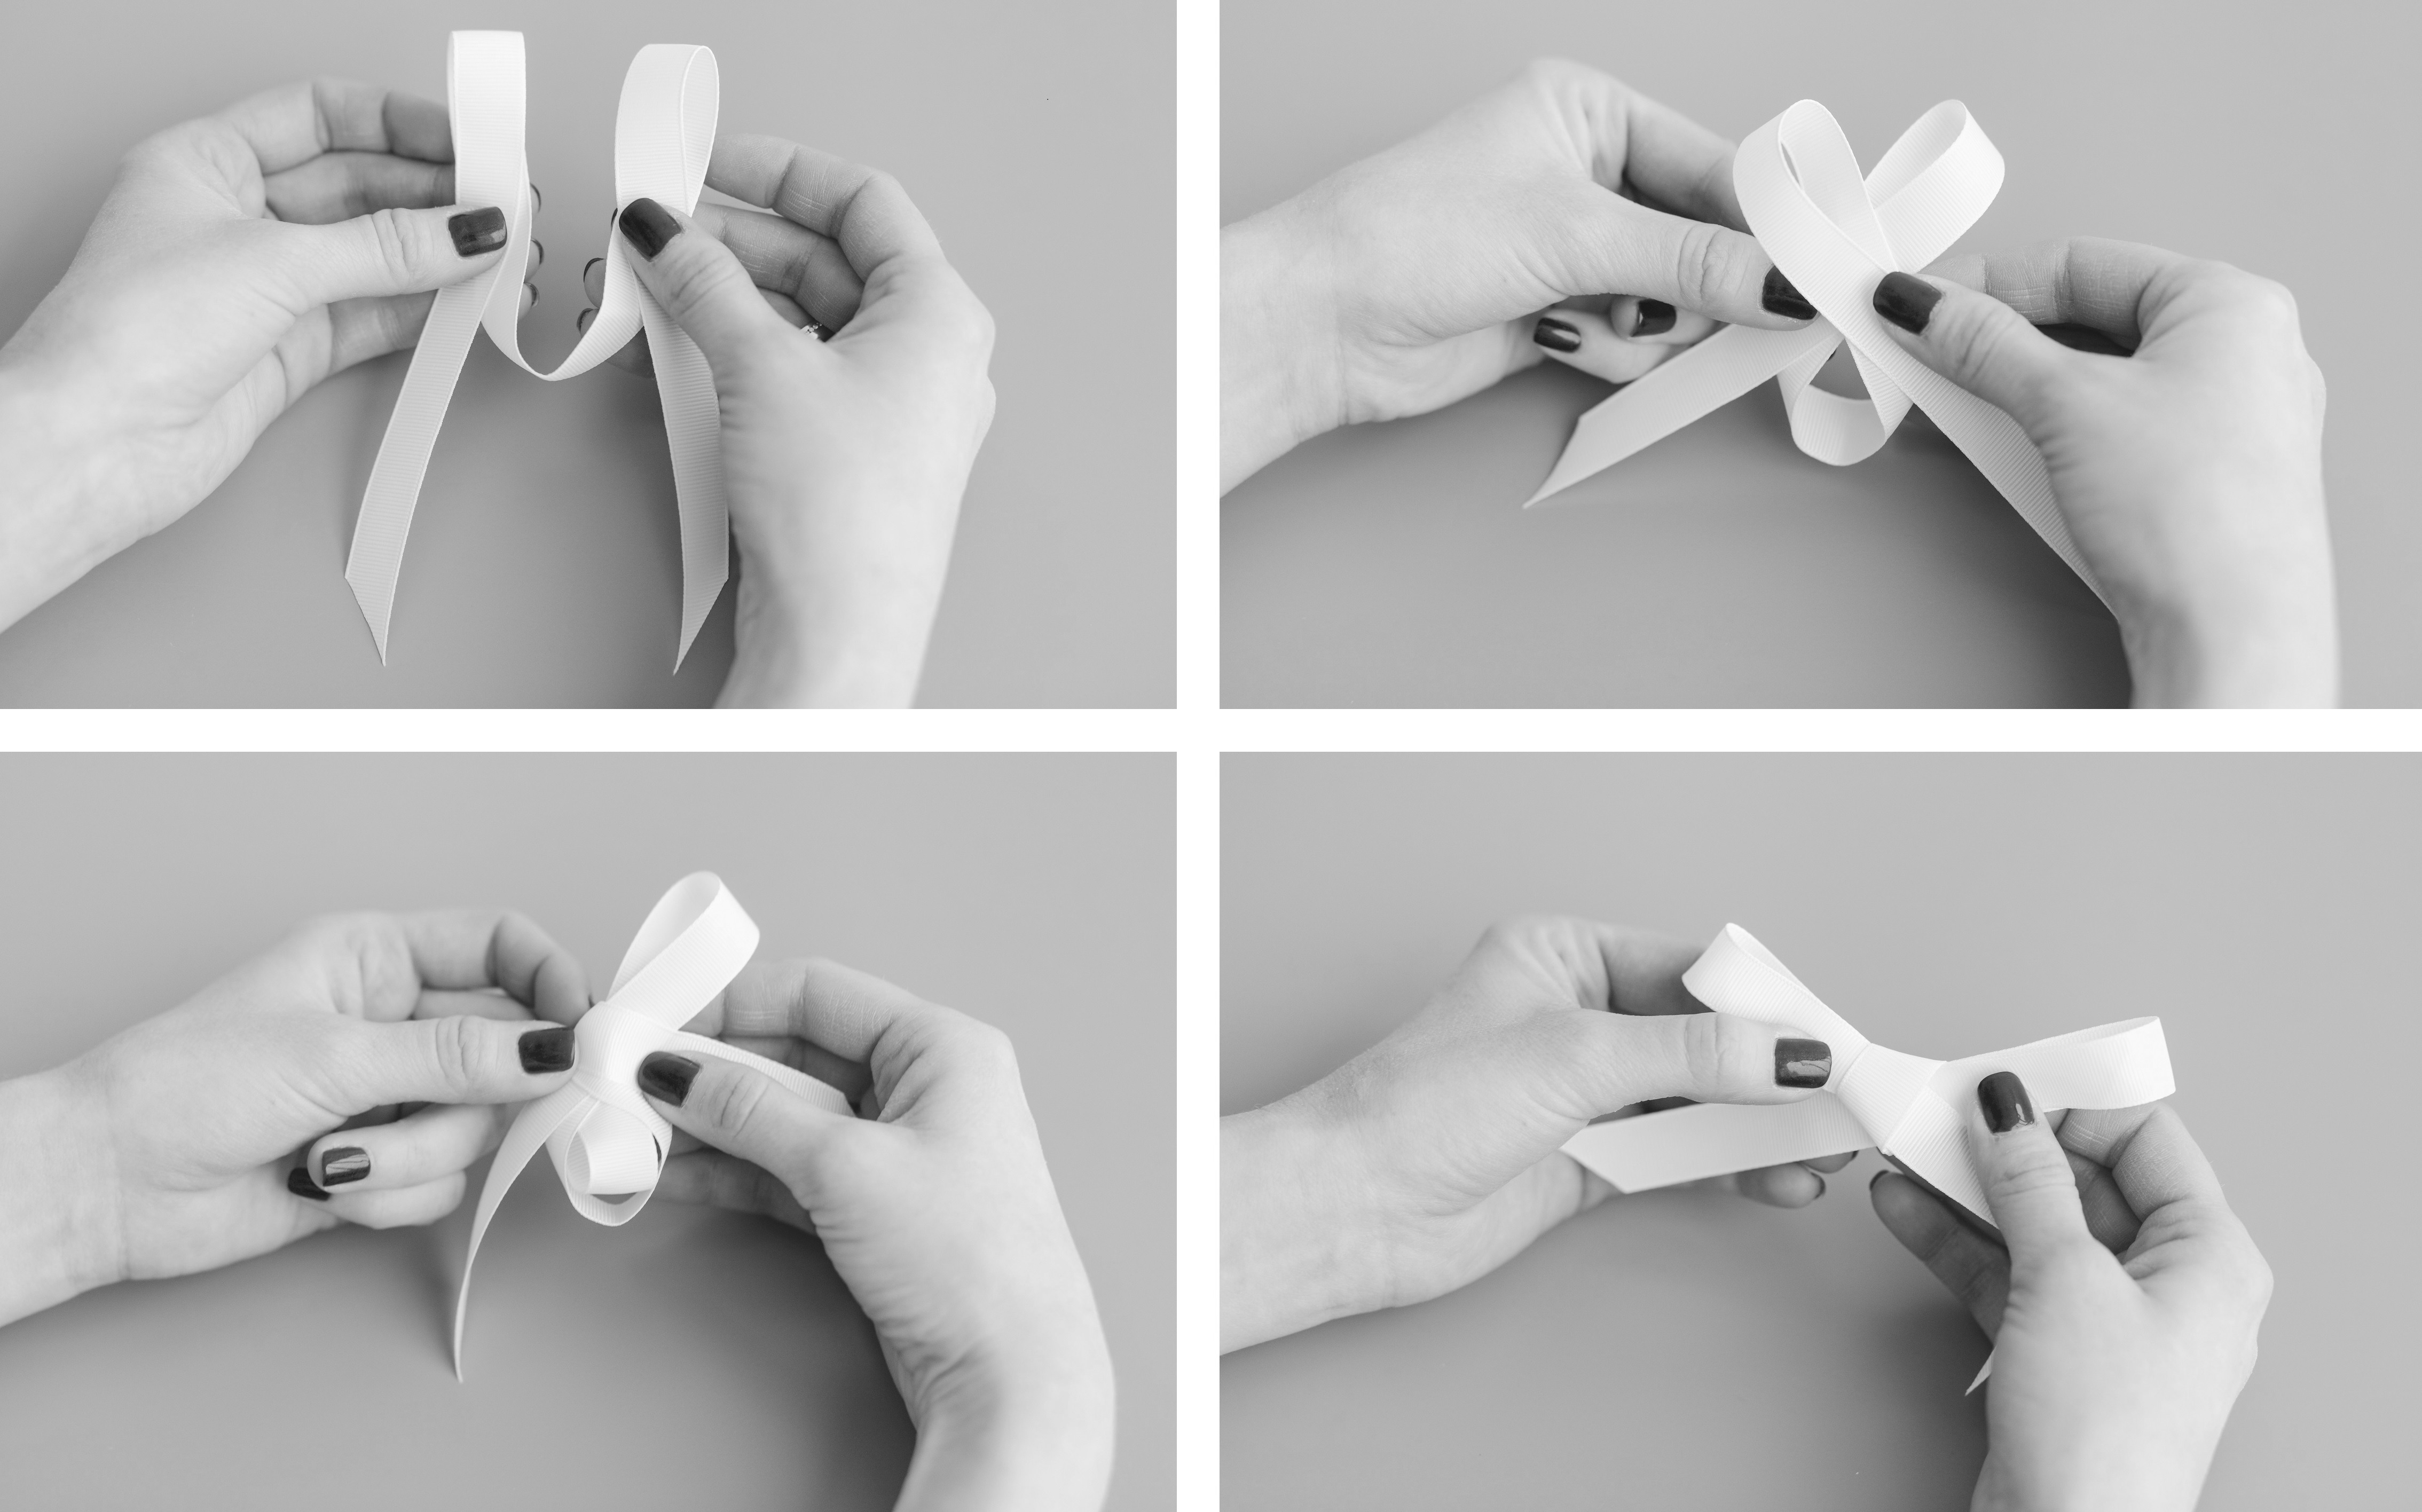
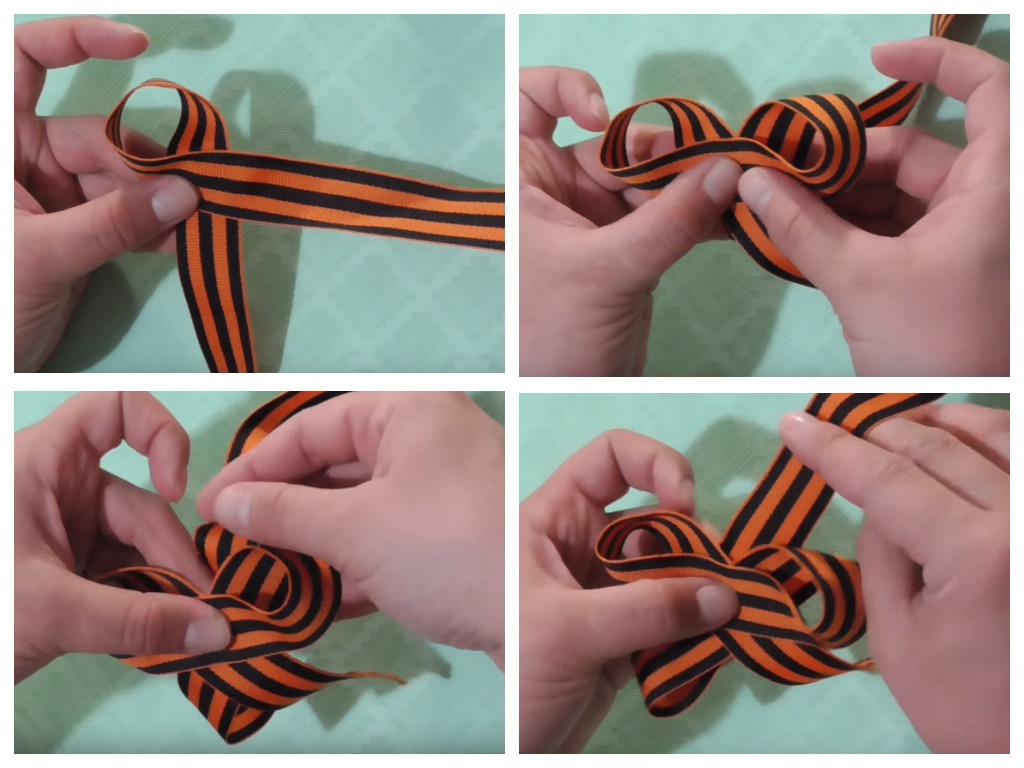
The diagram showing how to tie a St. George ribbon into a bow is extremely simple. You will need scissors and a lighter. The ribbon is 30 cm long and 2.5 cm wide. You can use your palm or a template to tie it, but the first option is easier. Step-by-step instructions:
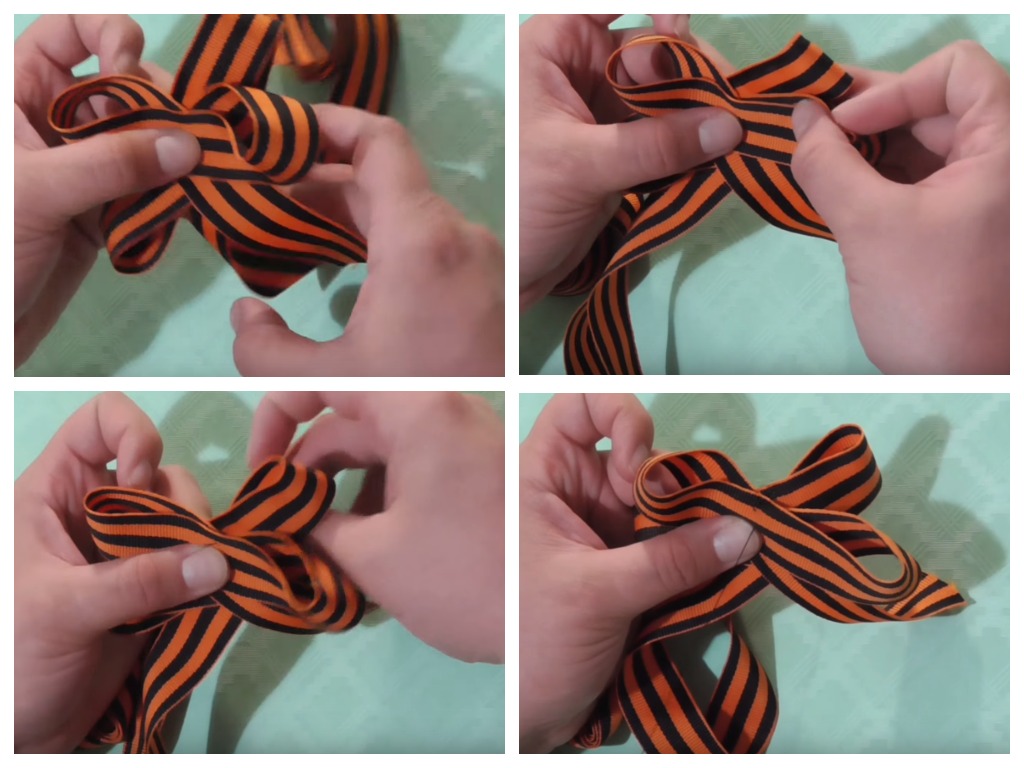
- Tie the ribbon overlapping in the middle of the palm.
- Pull the right end clockwise and lower it between the middle and ring fingers.
- Again pass the right end between the same fingers, passing it under the entire ribbon, forming the middle.
- Pull the right end through the left end to form a loop.
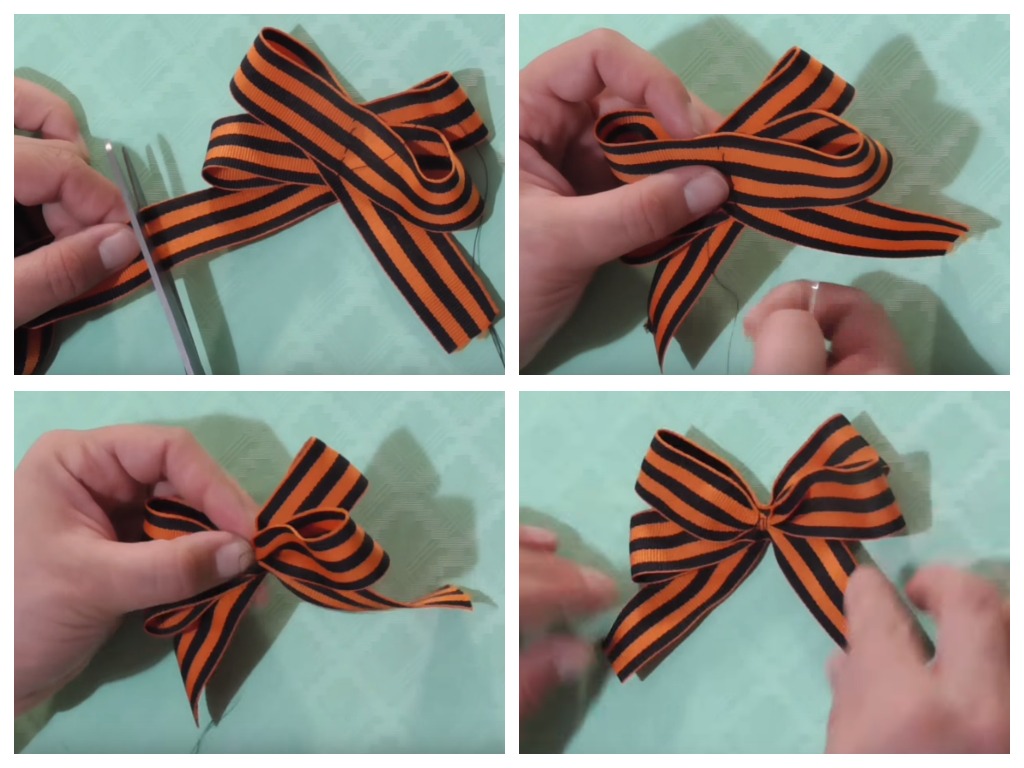
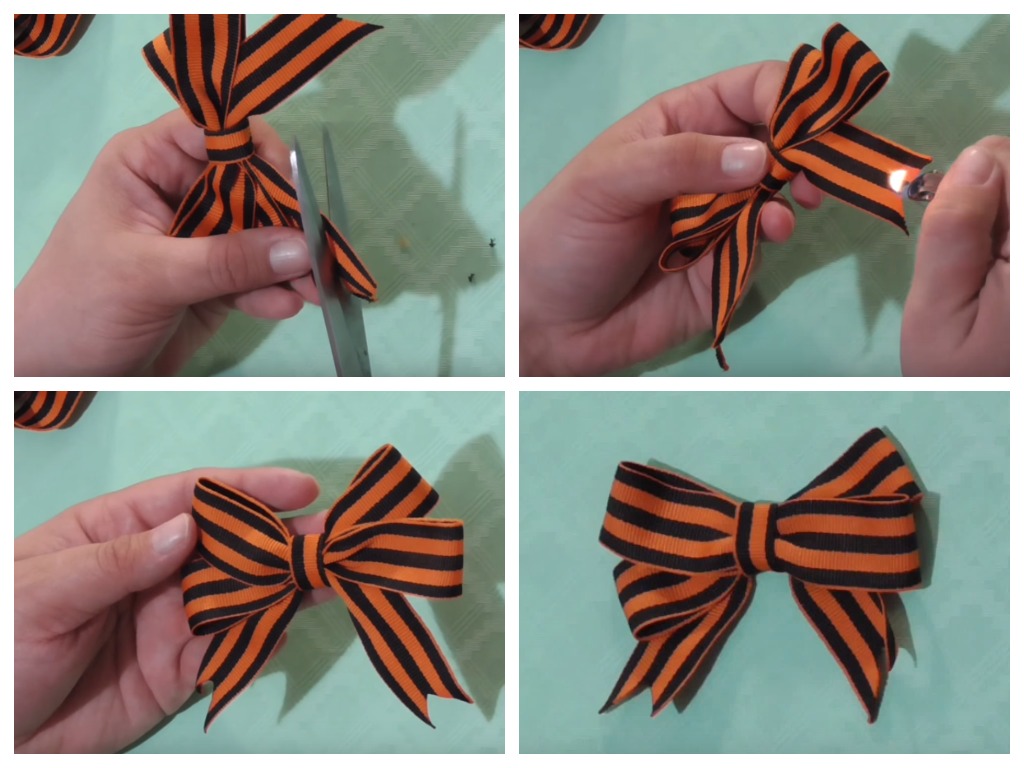
The middle part must be tightened carefully. It is necessary to straighten it beforehand and make sure that the ends of the tape are the same length. If necessary, you can trim them with scissors, and for beauty, make “check marks” at the bottom by cutting off a part in the form of a triangle.
Elegant
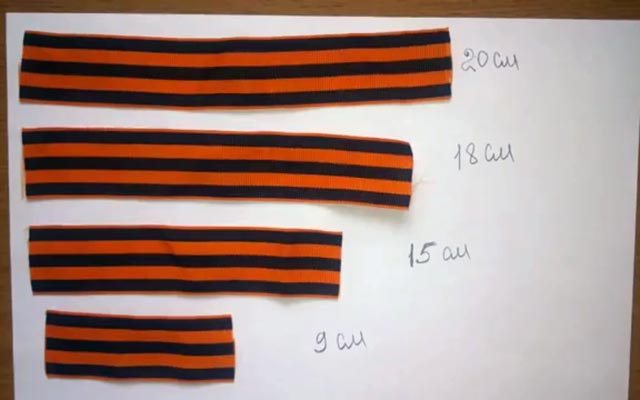
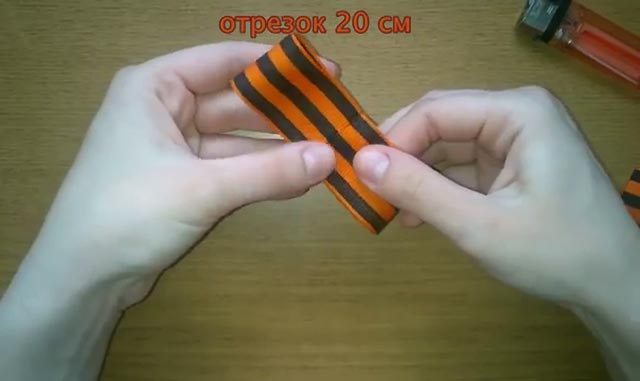
You can tie the ribbon in the form of an elegant bow. To create it, you need a ribbon 60 cm long. It must be cut into 4 parts: 20, 18, 14 and 7 cm.
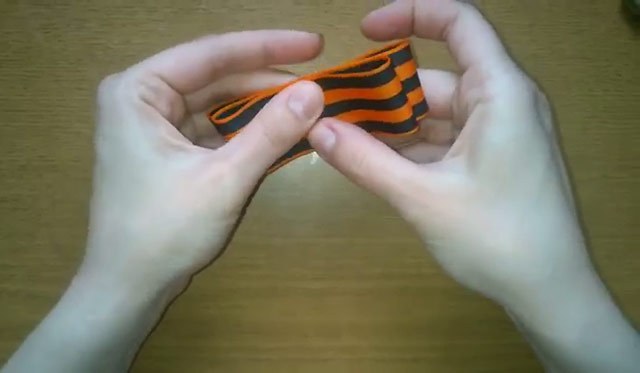
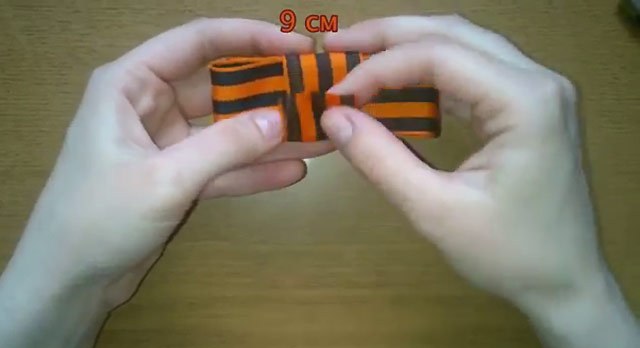
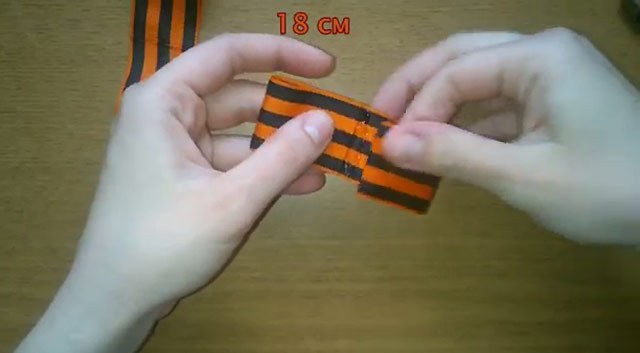
- Loops are formed from pieces 18 and 14 cm long, with the ends shifted towards the center.
- The smaller piece is glued or sewn to the larger one.
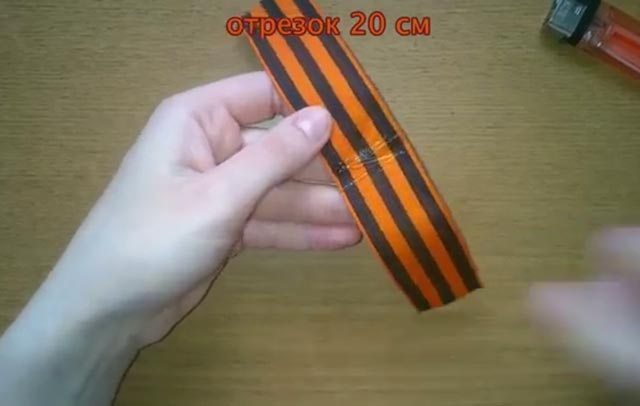
- A 20 cm long strip is laid overlapping each other, forming ends that are turned in different directions.
- The smallest part serves as the middle and is tied around the resulting bow.
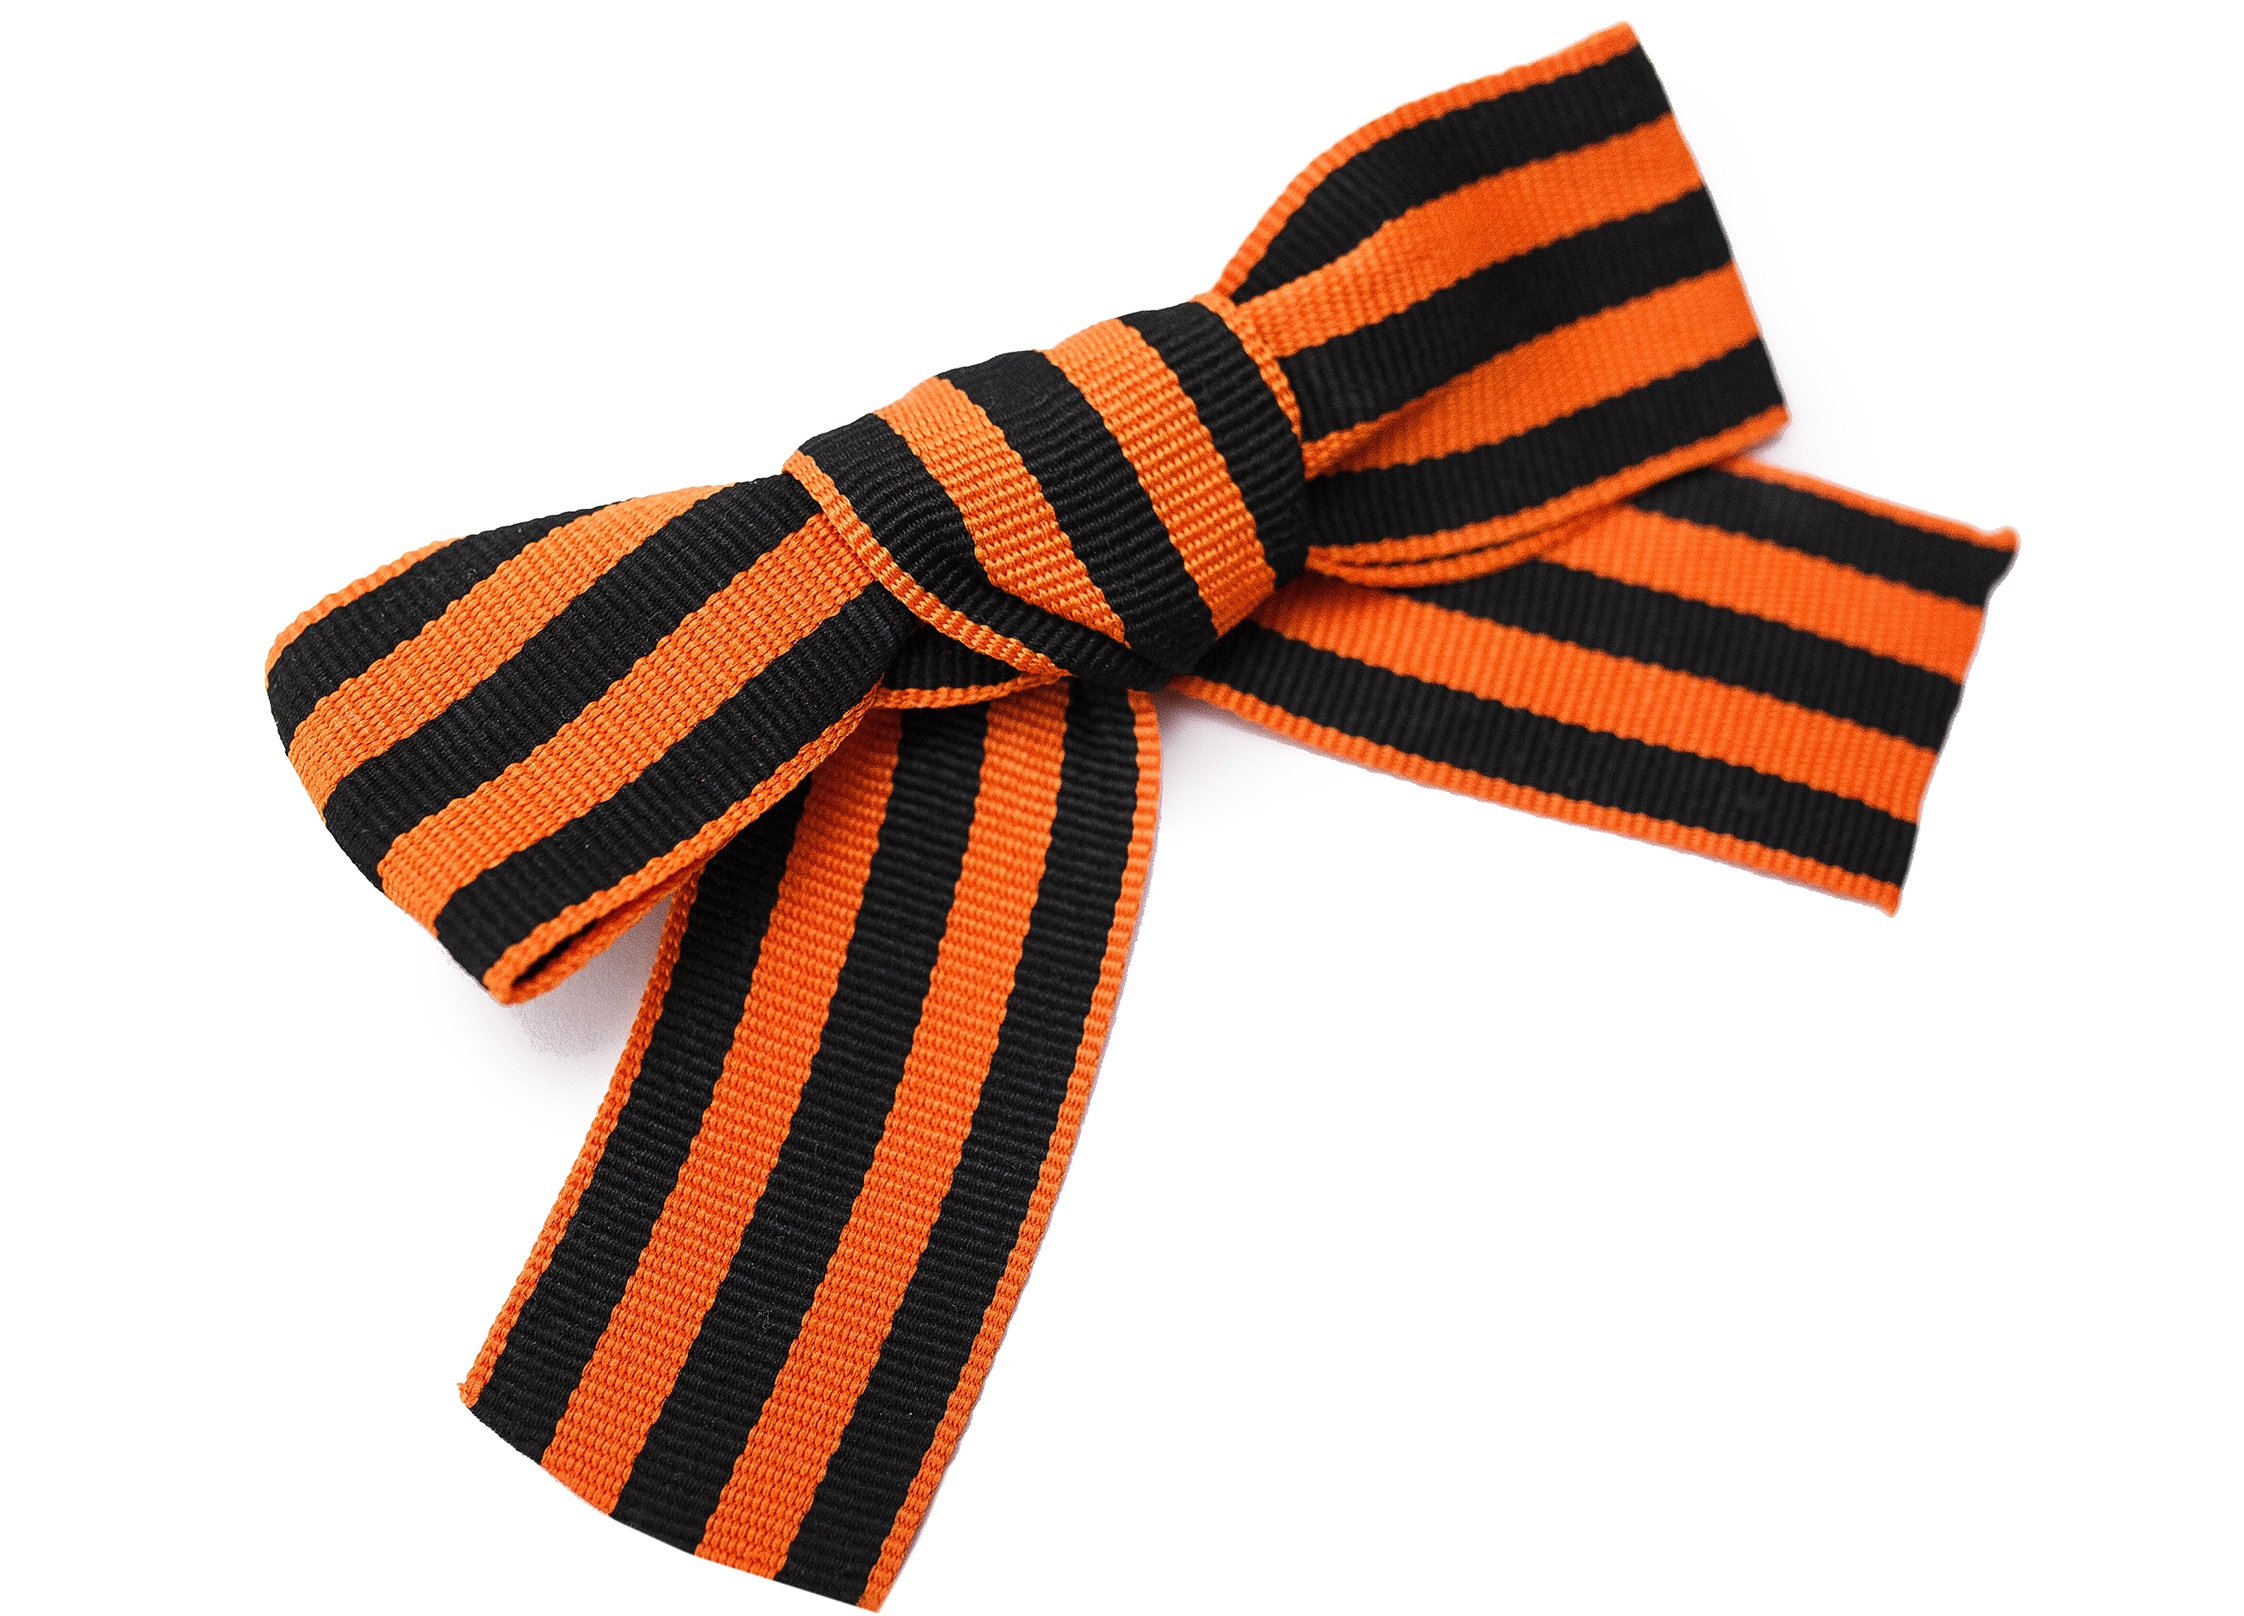
Grosgrain ribbon holds its shape better than satin ribbon.
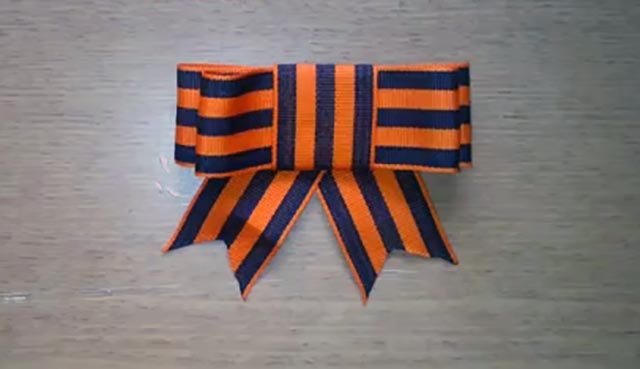
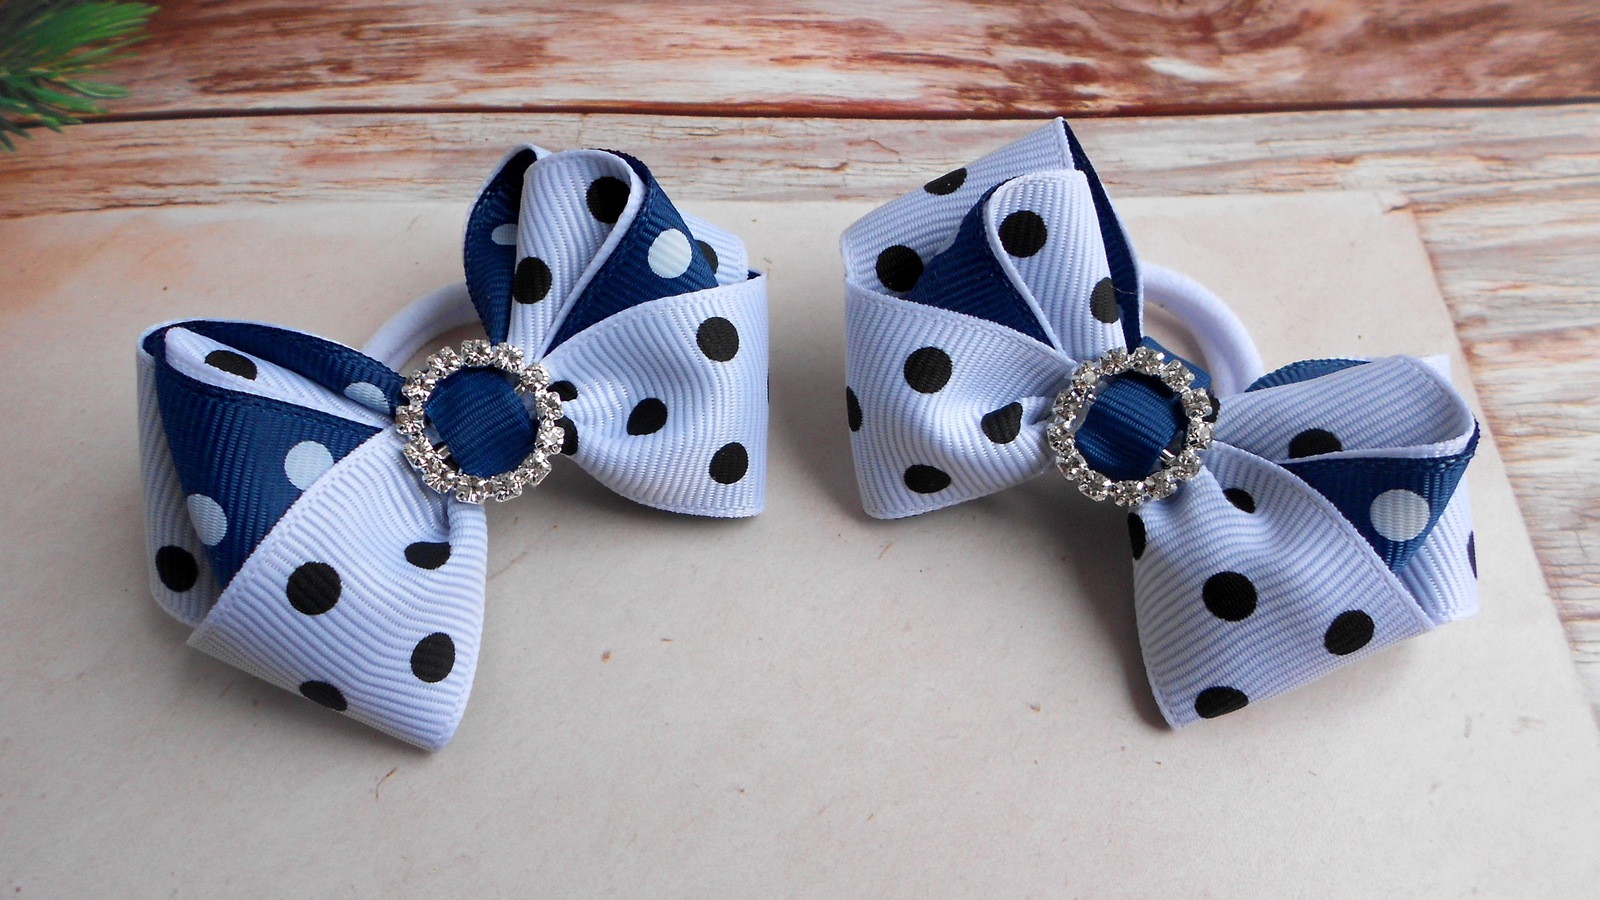
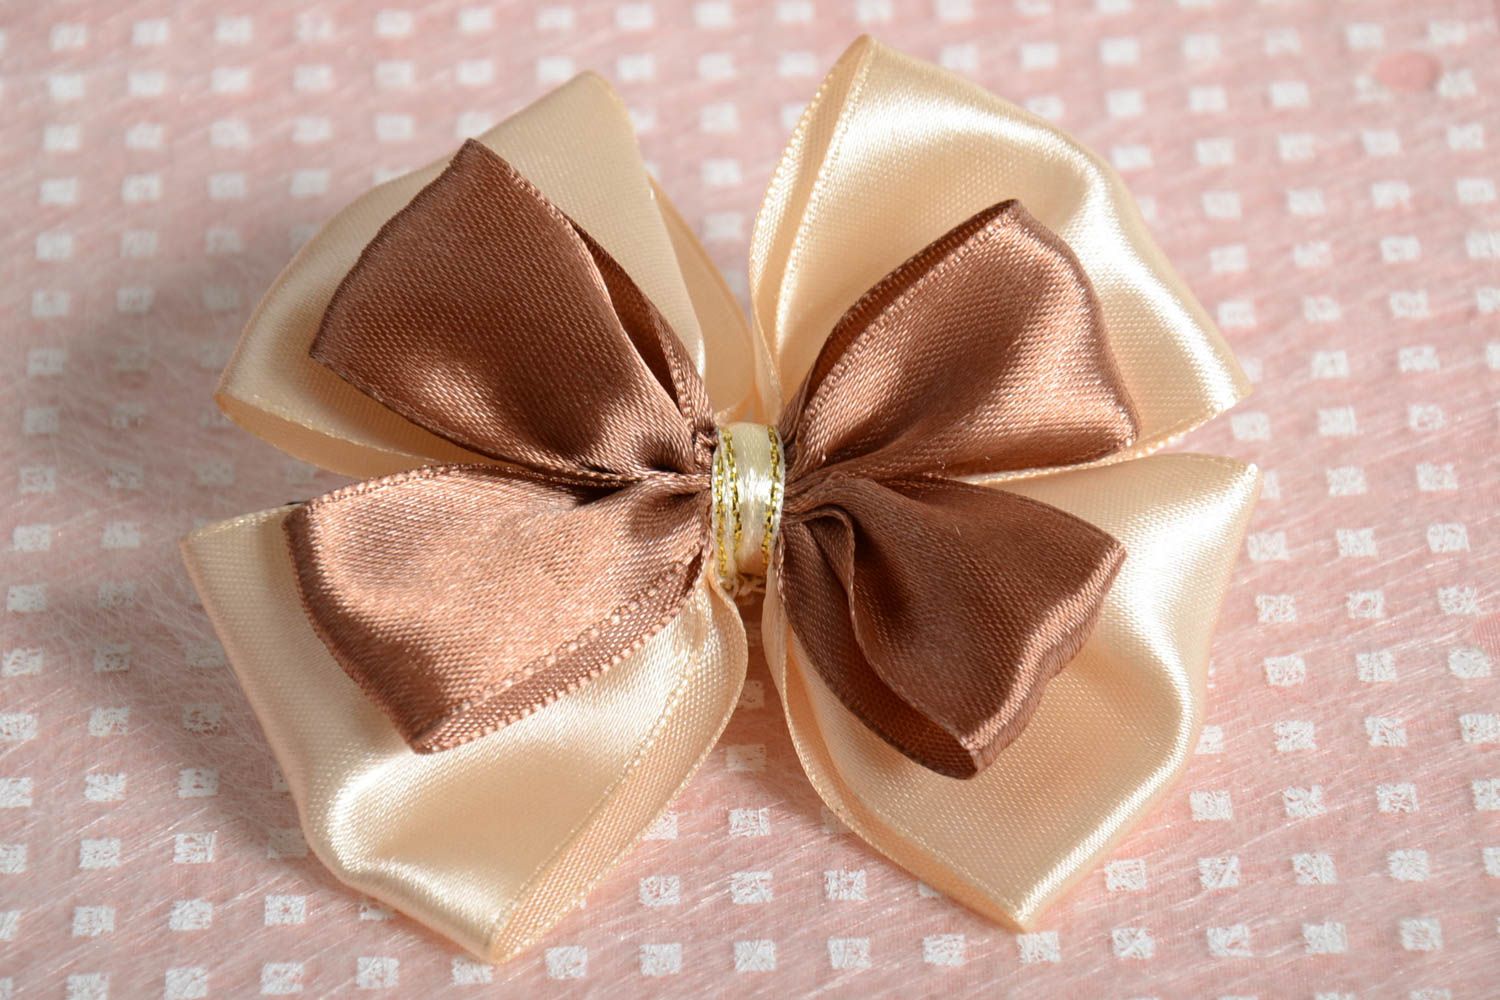
Elegant
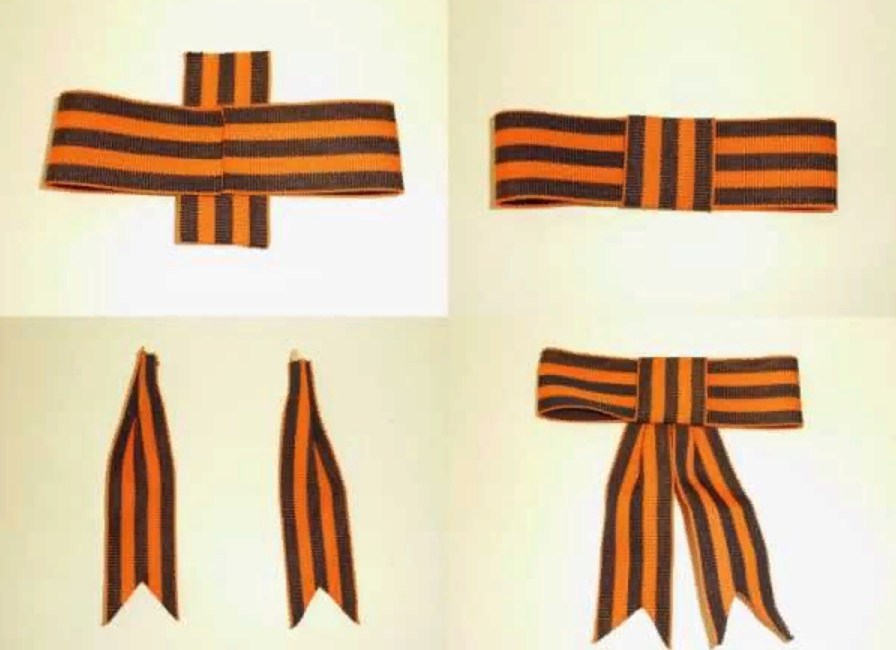
Another option is to attach the St. George ribbon in the form of an elegant bow. It is made from a 50 cm long piece of fabric, which is divided into parts (16, 14 and 5 cm). There should be 2 of each of these pieces.
Algorithm for creating an elegant bow:
- The longest pieces are folded in half so that the ends point inwards. They need to be placed parallel and sewn together.
- The ends with cut edges are formed from 14 cm pieces. They should also be sewn to the inside of the bow.
- To hide the seams, the shortest piece is tied around the bow in the middle and sewn at the back.
You can attach this type of St. George's ribbon using a pin or a brooch mount.
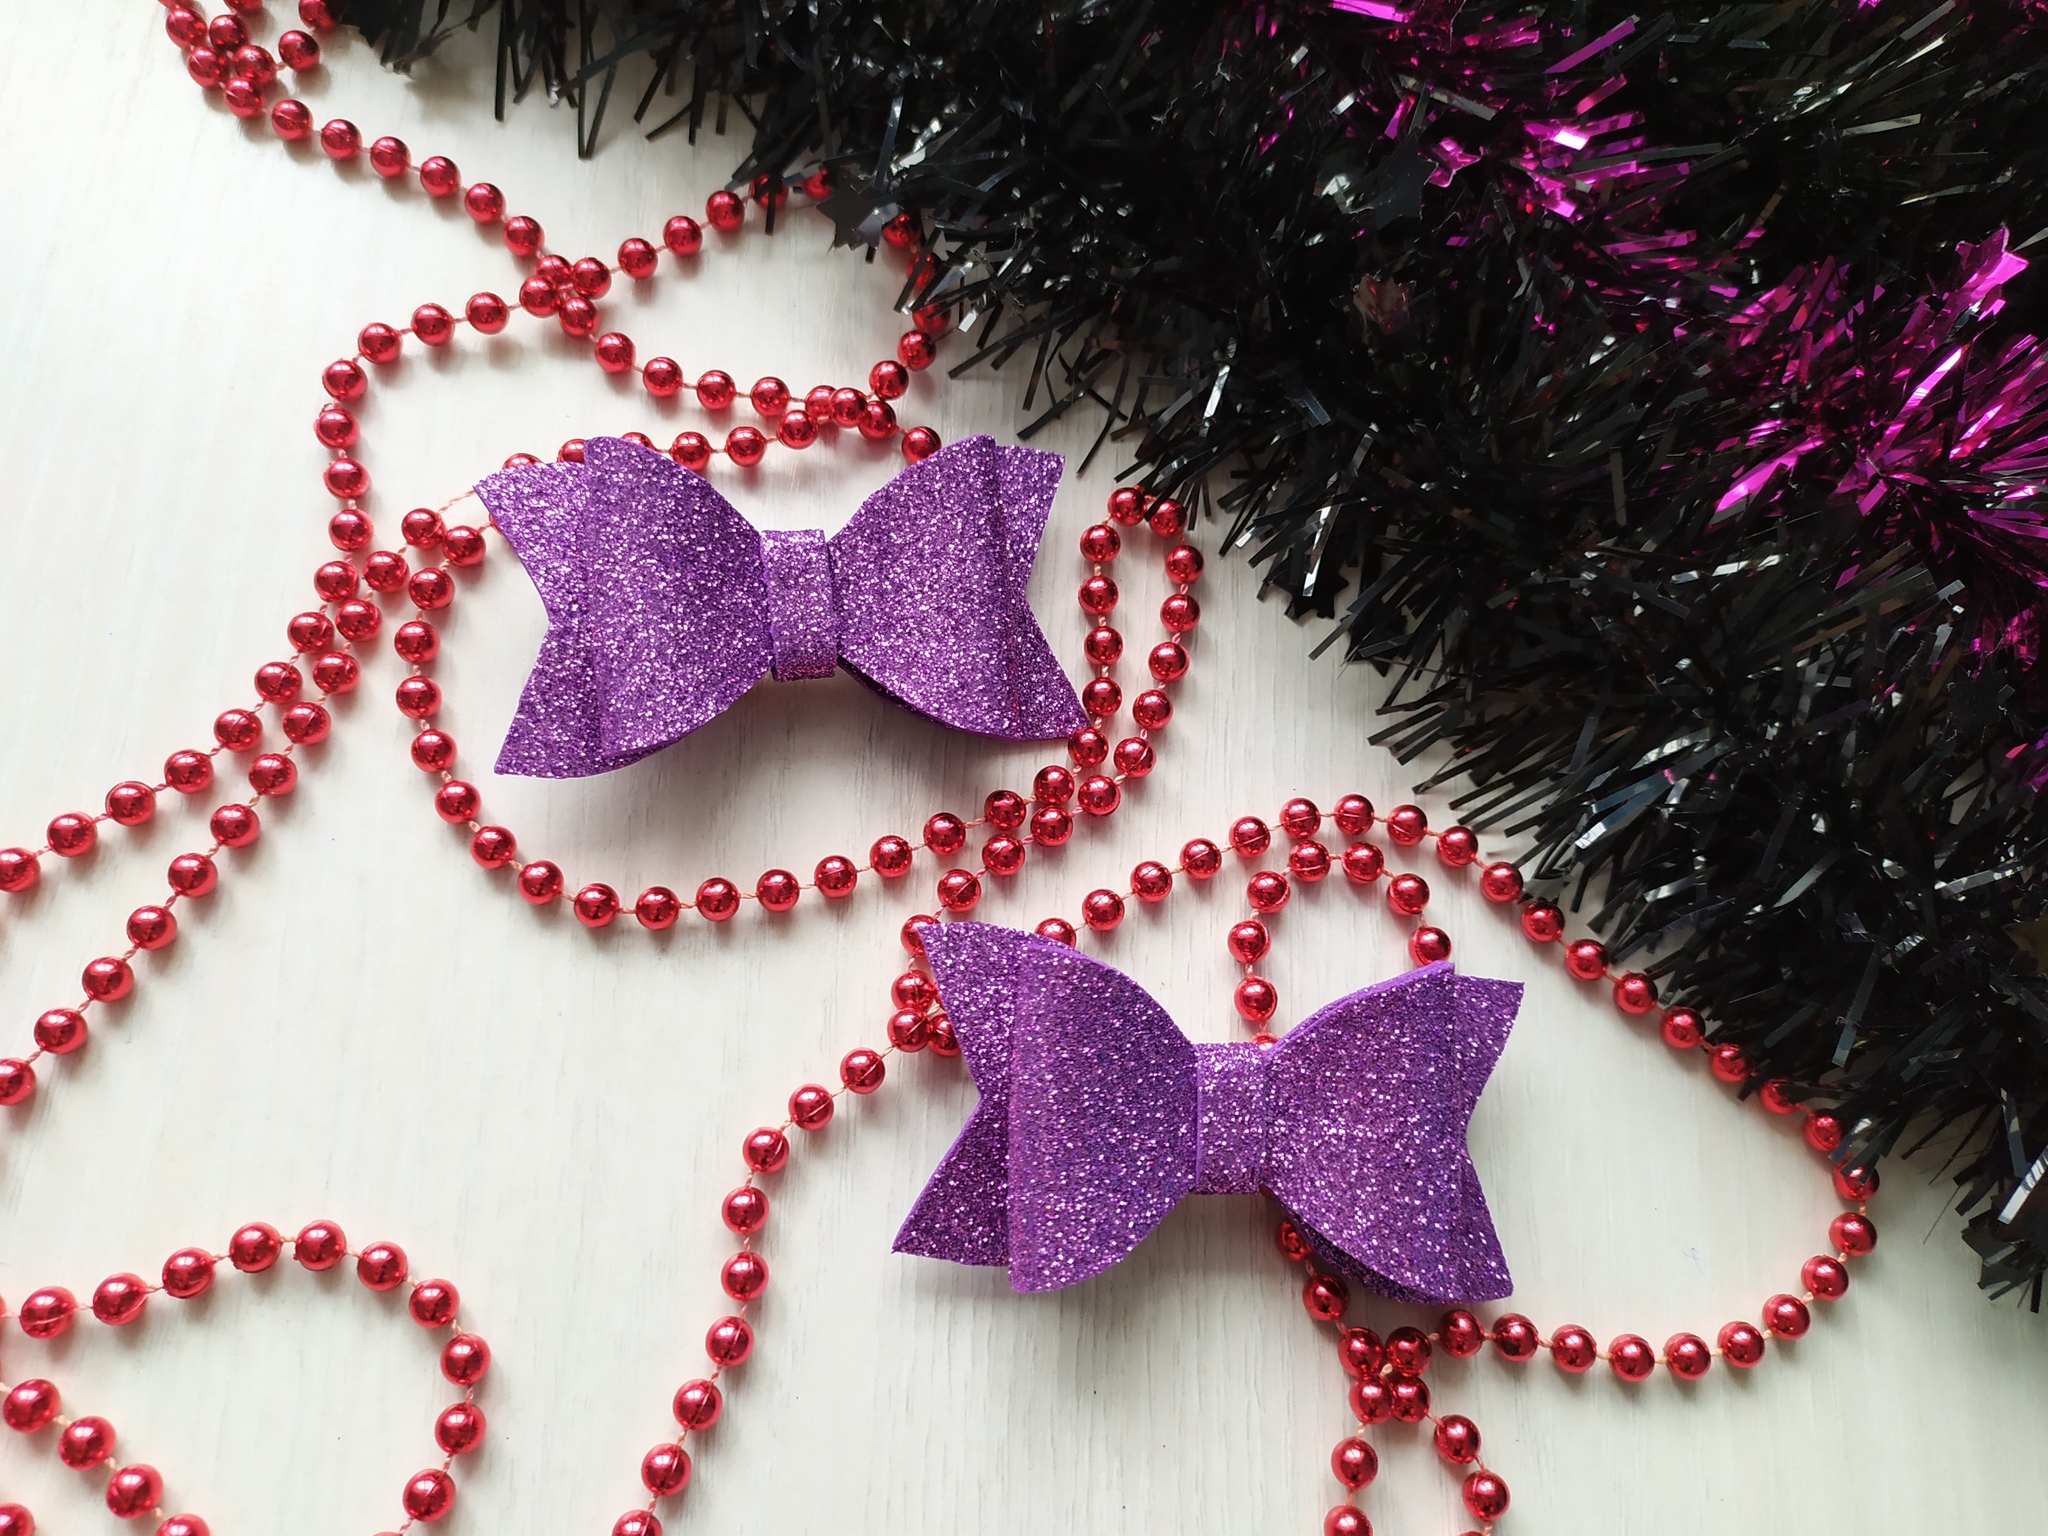
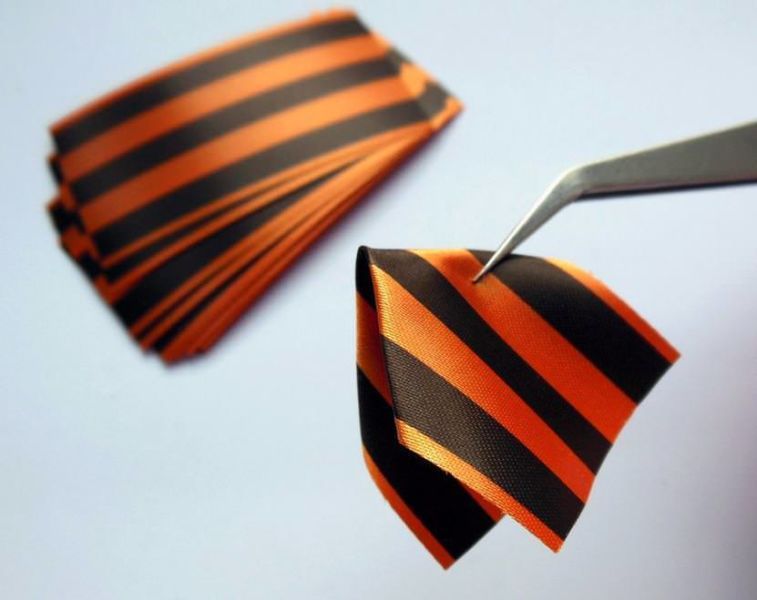
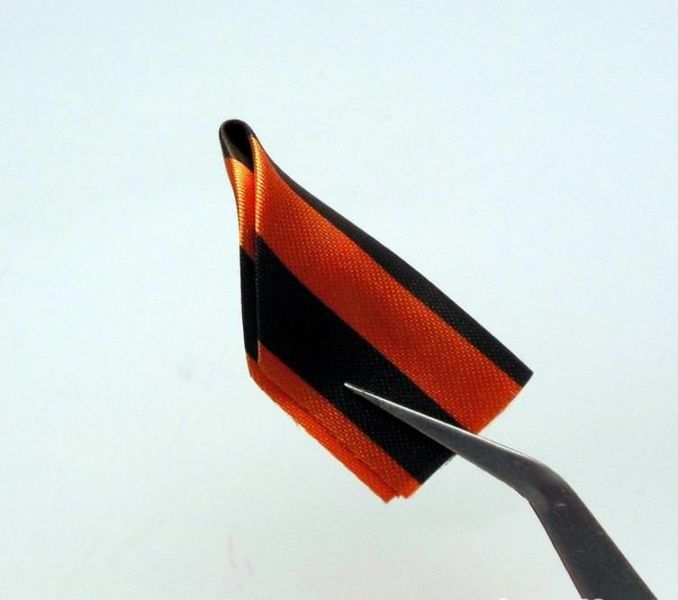
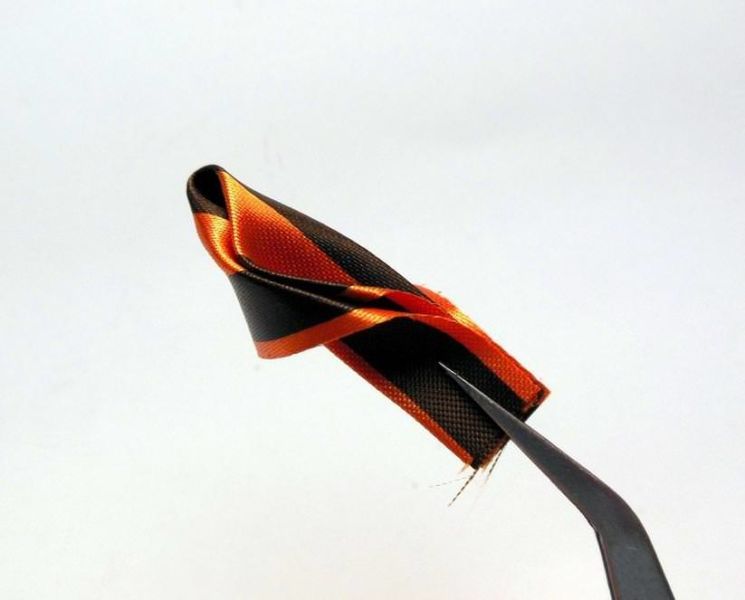
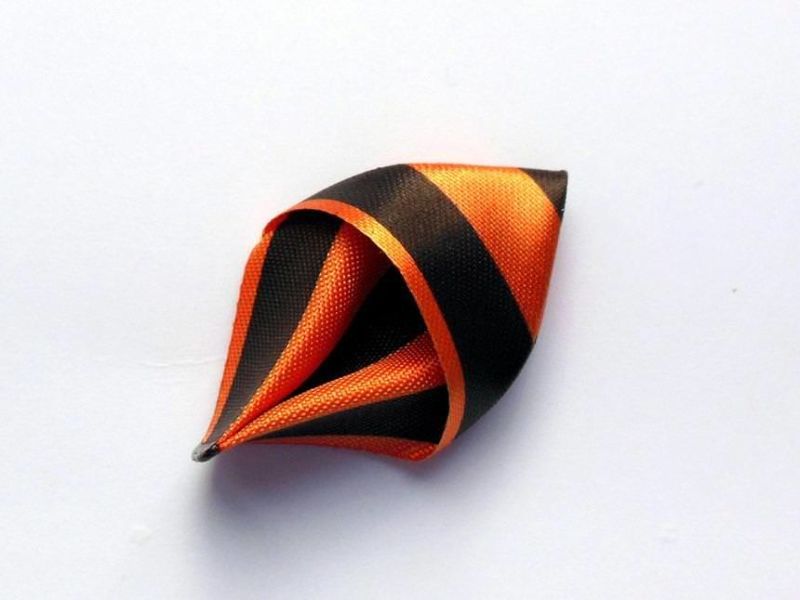
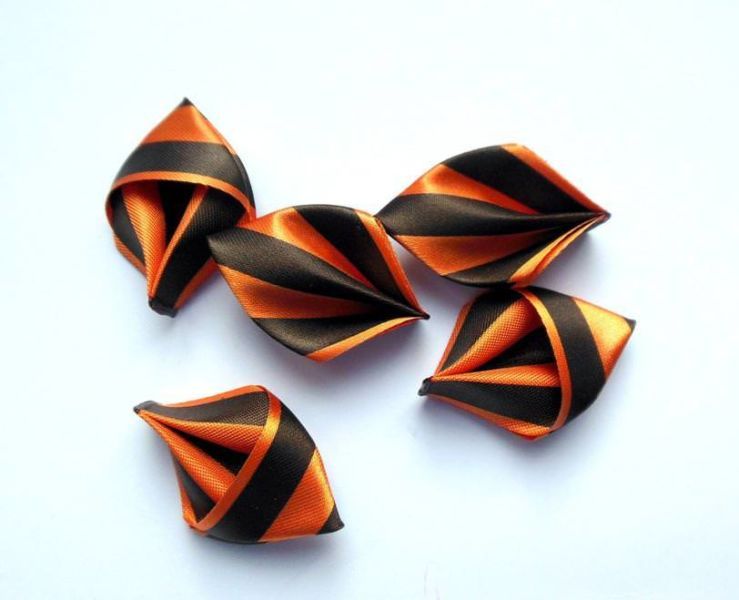
Butterfly
Those who do not know how to tie a St. George ribbon beautifully can use a simple but elegant folding method called "butterfly". No tools are needed for this, except for scissors to align the ends. The ribbon is folded into a knot, but not too tight. The shape of the bow is somewhat similar to a figure eight. The ends are straightened and cut in a zigzag pattern.

Multilayer figure eight
To make the figure eight even more beautiful, you can use a ribbon laid in several layers. For this, you will need a piece of about 100 cm. The free edge of 35-40 cm is laid on the table. The ribbon is gradually laid on top of it in eights, with the bottom layer being long, and all subsequent ones being smaller in size. The middle can be secured with a pin or decorated. The ends can be cut in a zigzag for beauty.
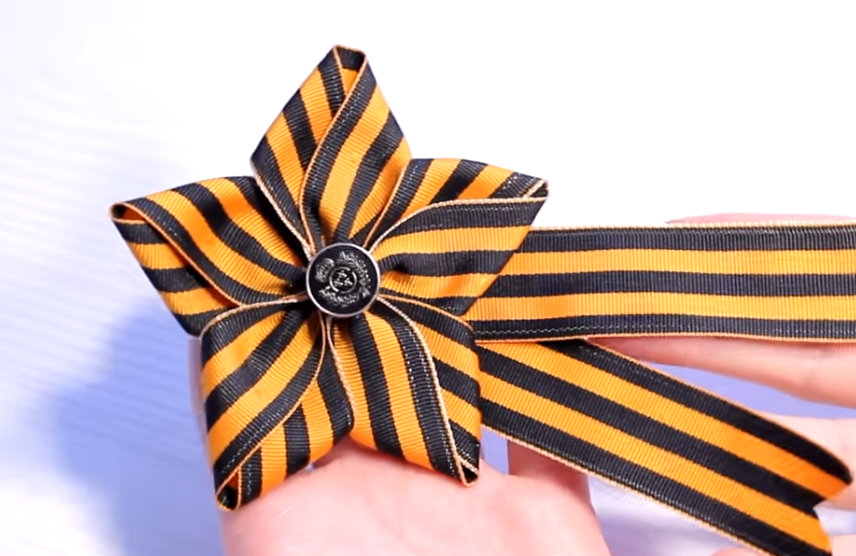
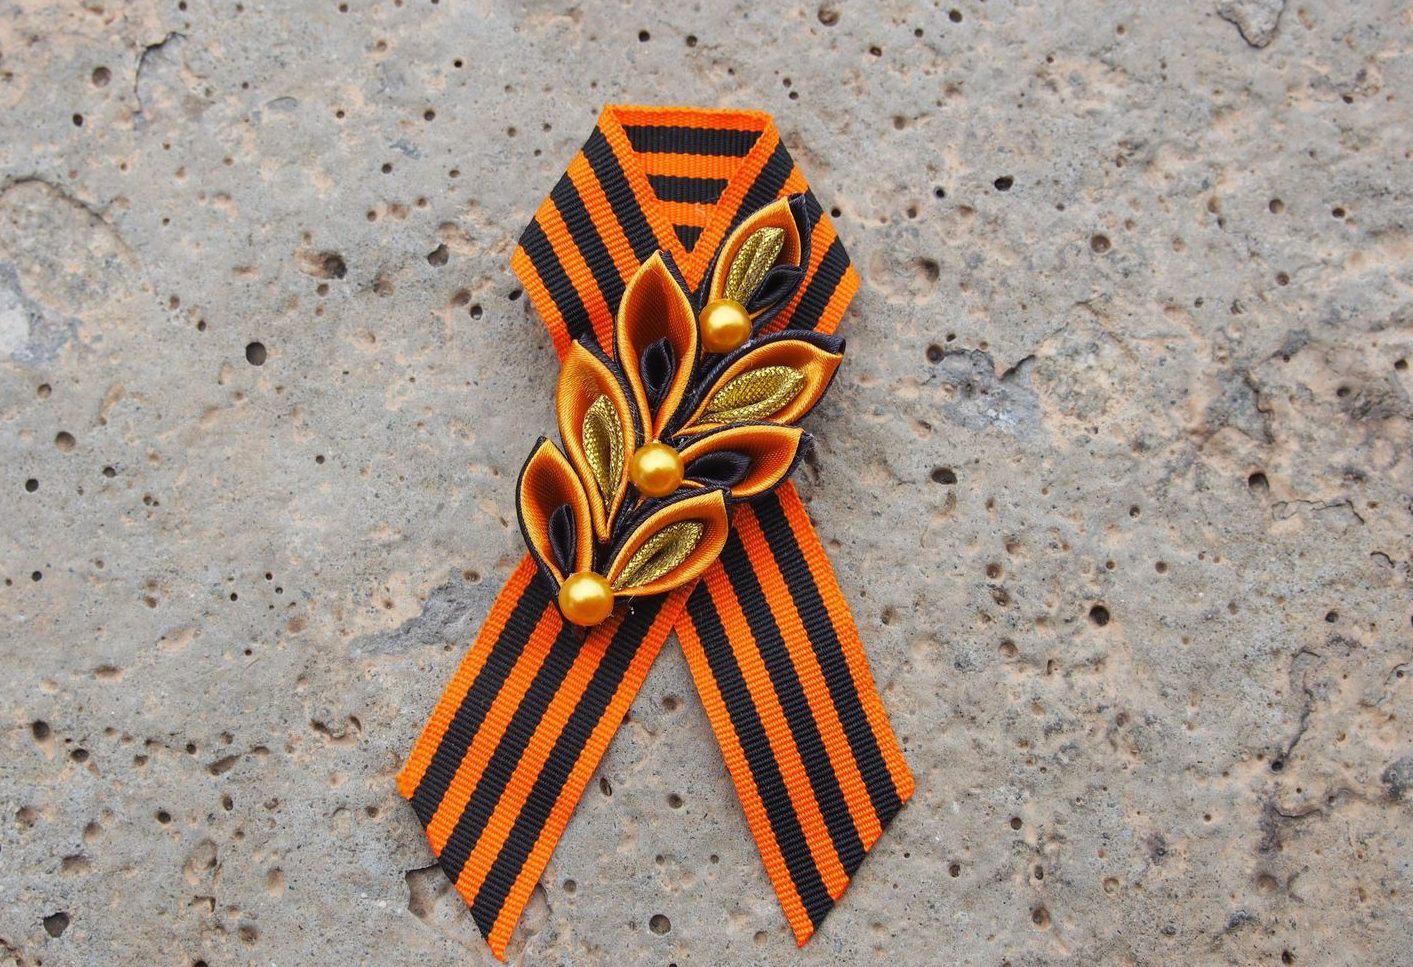
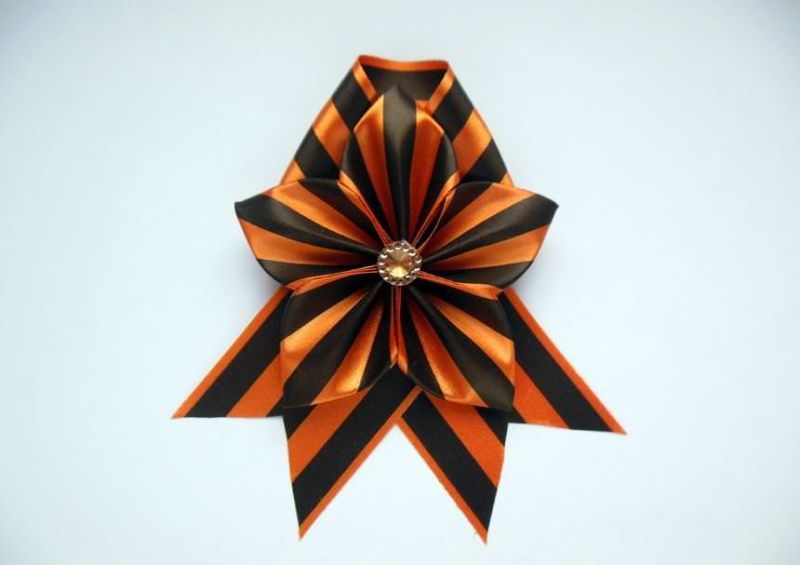
Kanzashi Flower Bow
If you want to tie the ribbon not into a bow, but into a more original shape, a flower or a star would be a good option. The kanzashi technique is used for creation. To make a beautiful flower, you will need the following materials:
- tape length 100 cm;
- felt base (round shape, 6 cm in diameter);
- decor for the middle (beads, beads);
- brooch clasp;
- scissors;
- glue gun;
- tweezers;
- candle.
Step by step creation:
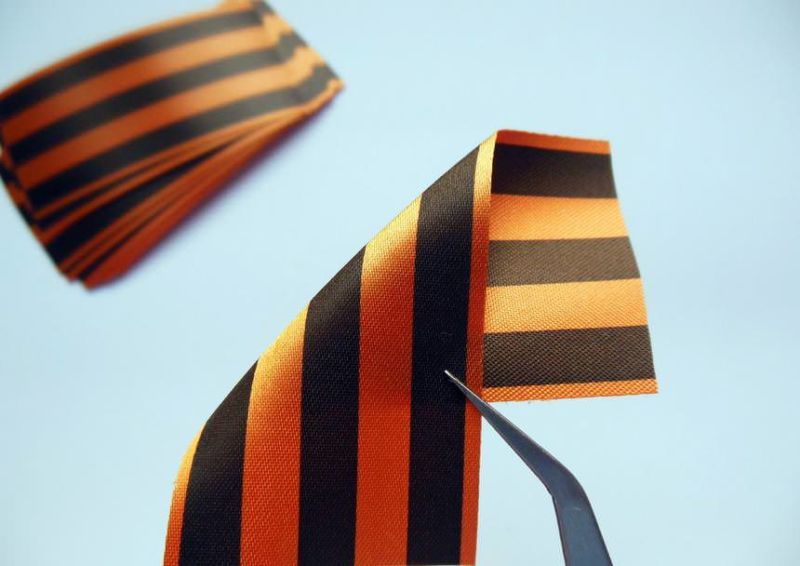
- Cut 5 pieces of tape, each 11 cm long.
- Form loops from them that resemble petals.
- The ends are fixed with a candle: you need to clamp them with tweezers and then hold them over the candle flame for a few seconds. The ends should be perfectly even.
- All the petals are glued together to form a beautiful flower.
- A piece of tape 10–15 cm long is cut off and the tips of the flower are formed from it.
- The inside of the bow is covered with felt, onto which a brooch clasp is attached.
- Decor is glued to the outside.
If you don't have a glue gun, you can replace it with regular thread and a needle.
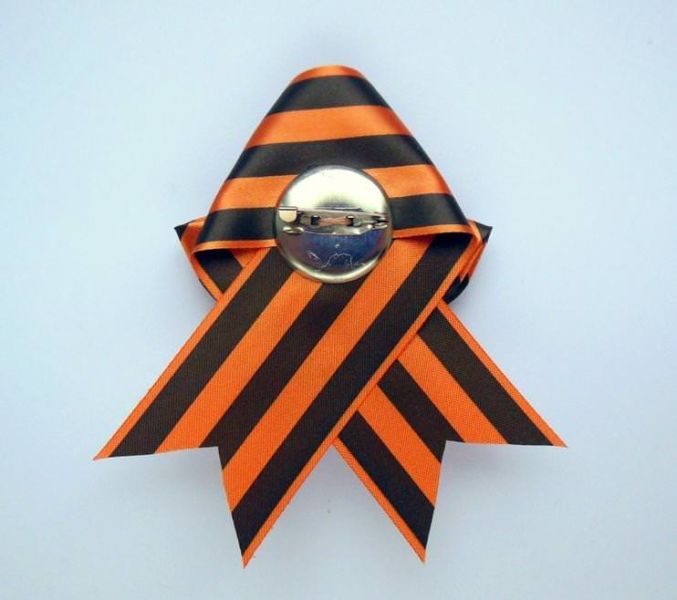
How and where to attach
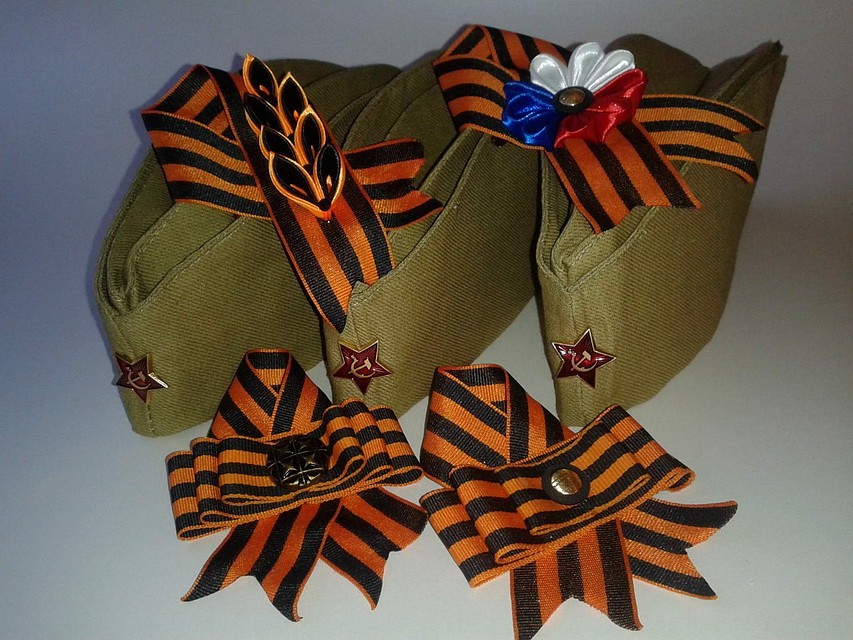
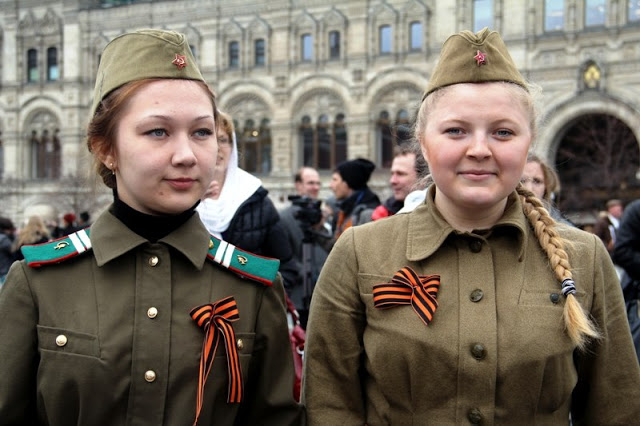
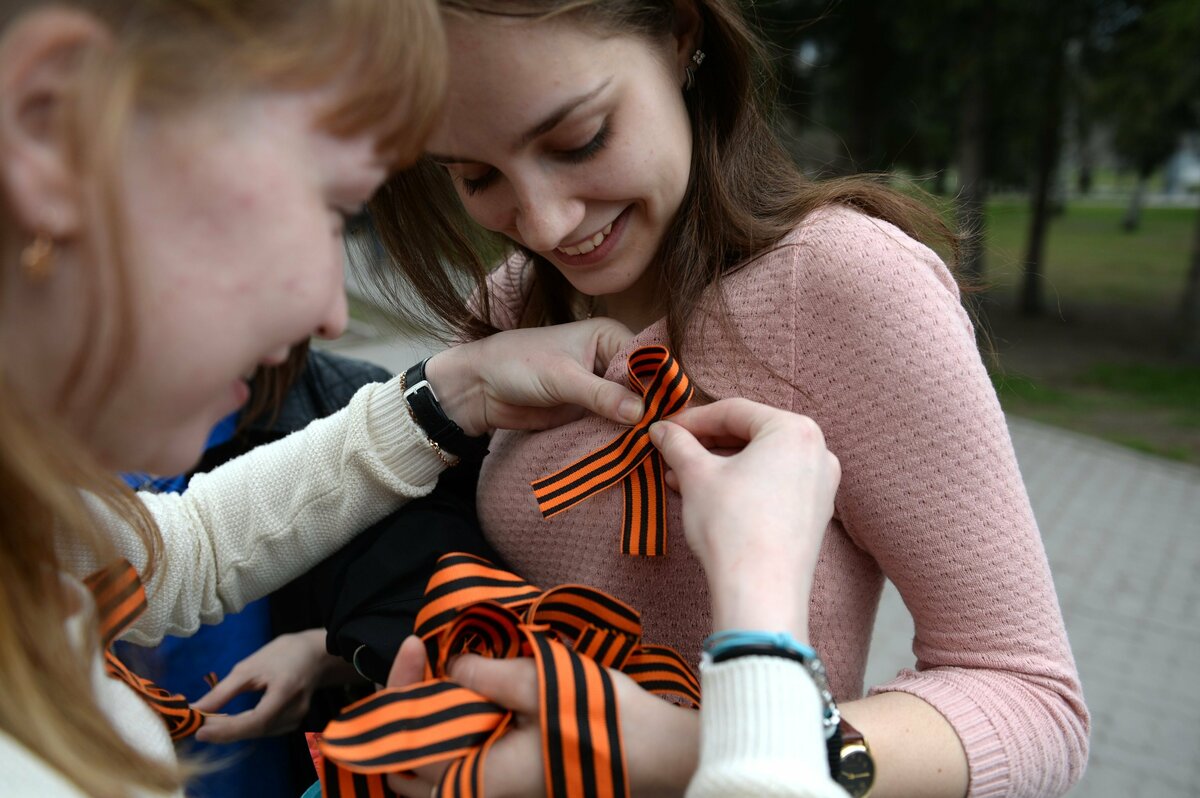
Despite the fact that the St. George ribbon has been actively worn on Victory Day for many years, some people still do not know how and where to attach it. You can put the ribbon on a jacket, blouse or dress, a man's shirt, a school uniform and, of course, on a military jacket.
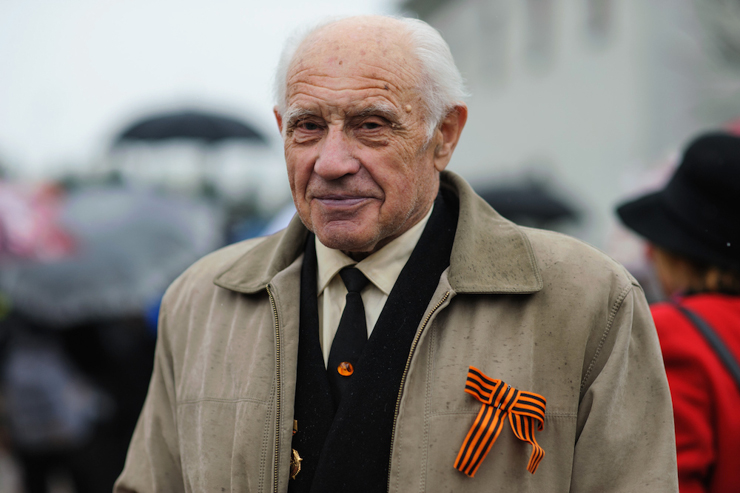
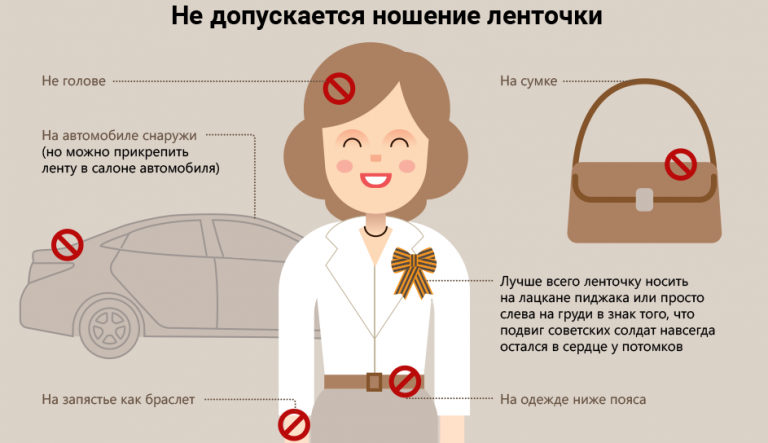
The bow made of St. George's ribbon should be placed on the left side near the heart. It can be sewn or pinned to the clothes.
The left-hand position of the ribbon means that people are proud, remember, and wholeheartedly respect those who fought for their homeland. It is unacceptable to tie the ribbon instead of shoelaces, attach it to a bag, or wear it below the waist. There are some extraordinary cases when the accessory is attached to a car antenna, used as a hair tie, or tied around an animal's neck. Also, you should not wear several ribbons at once; one will be enough. Such options are unacceptable, since the St. George ribbon is a symbol of respect and grief, not a fashion accessory.

Video