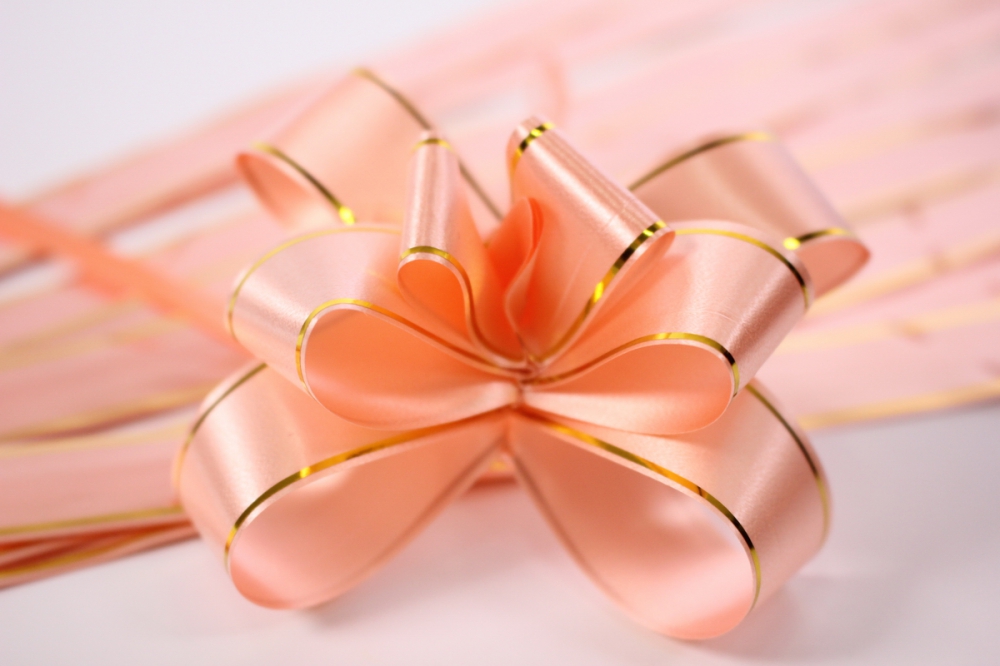
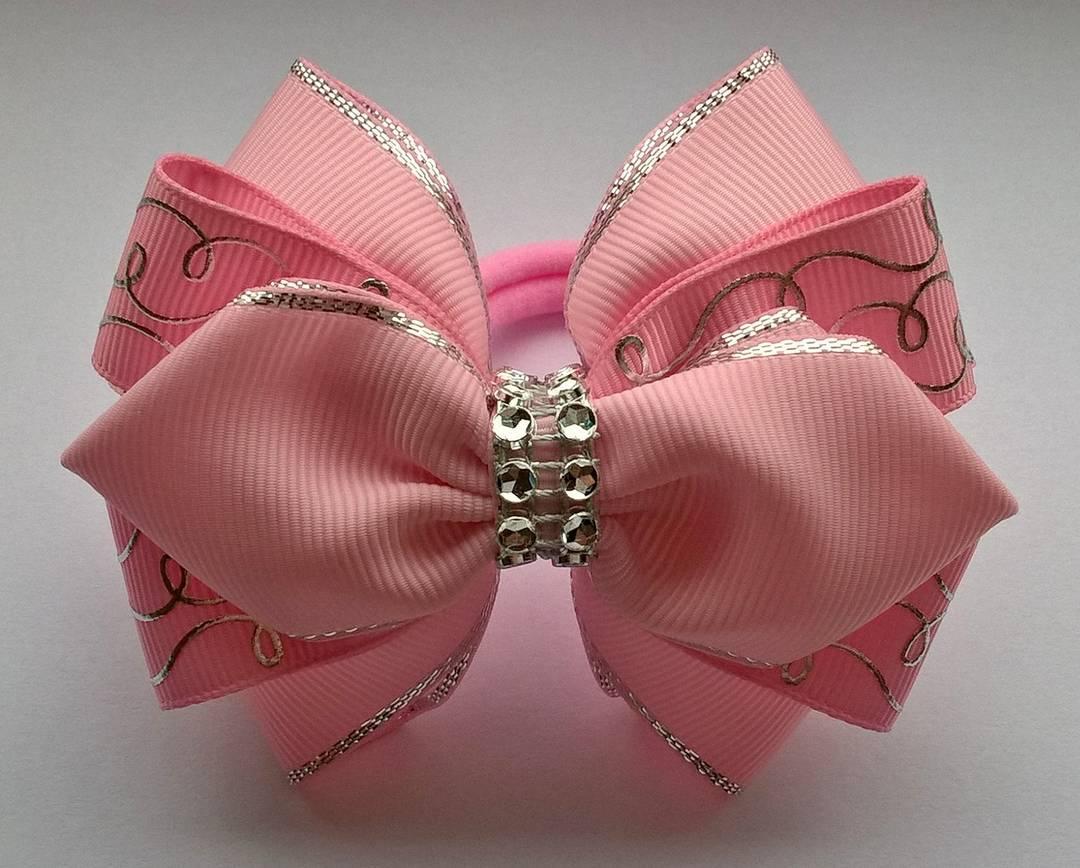
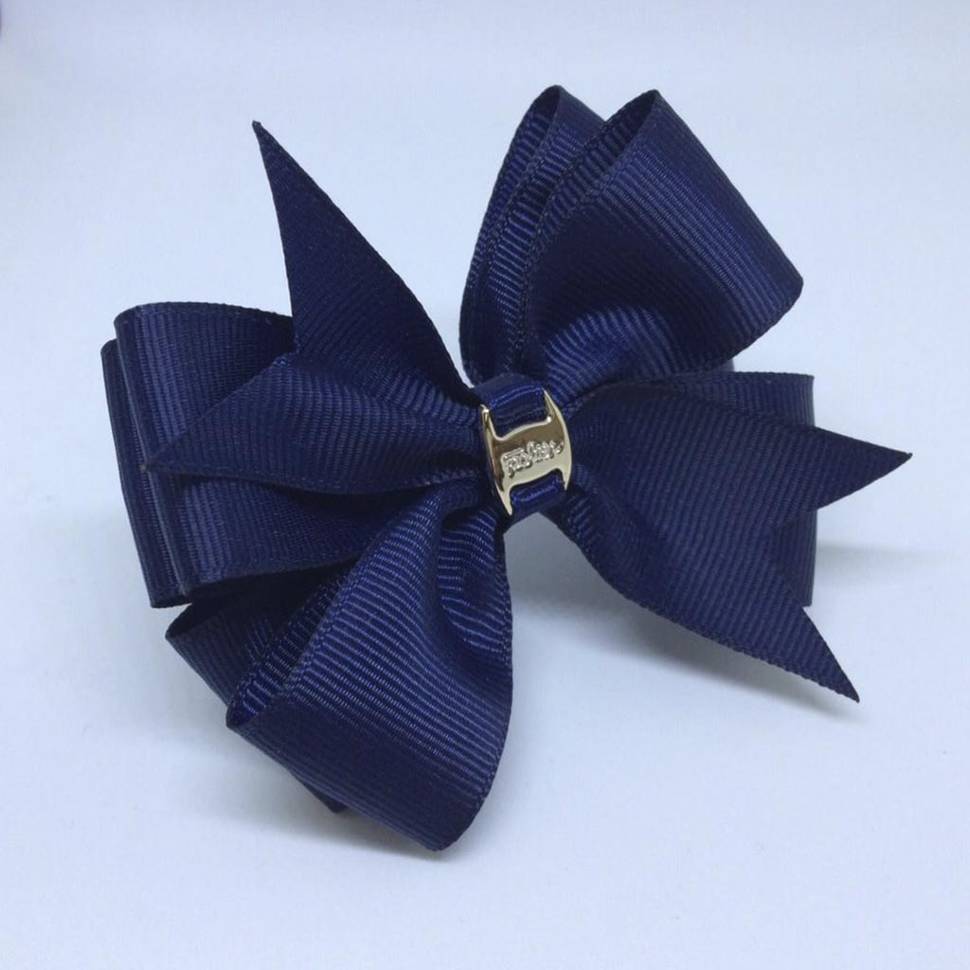
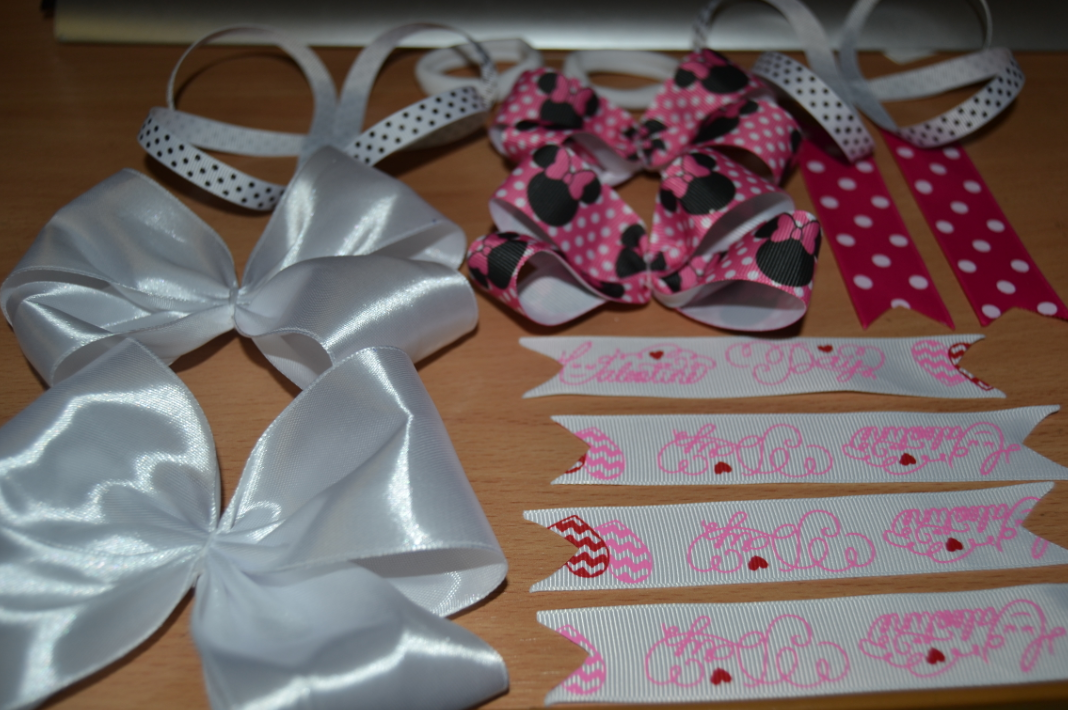
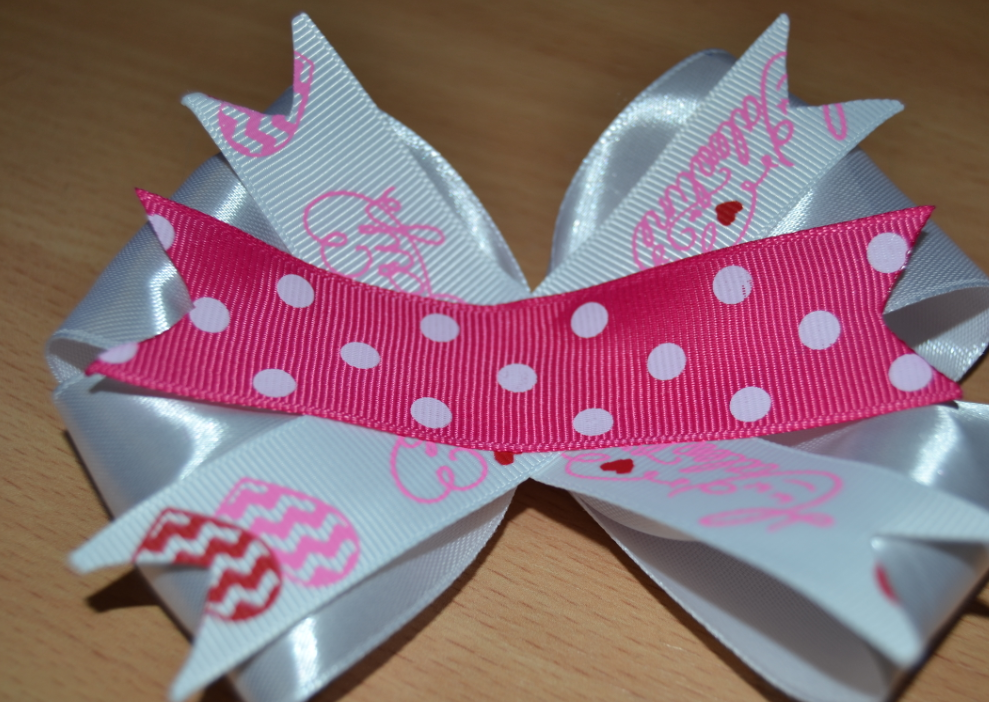
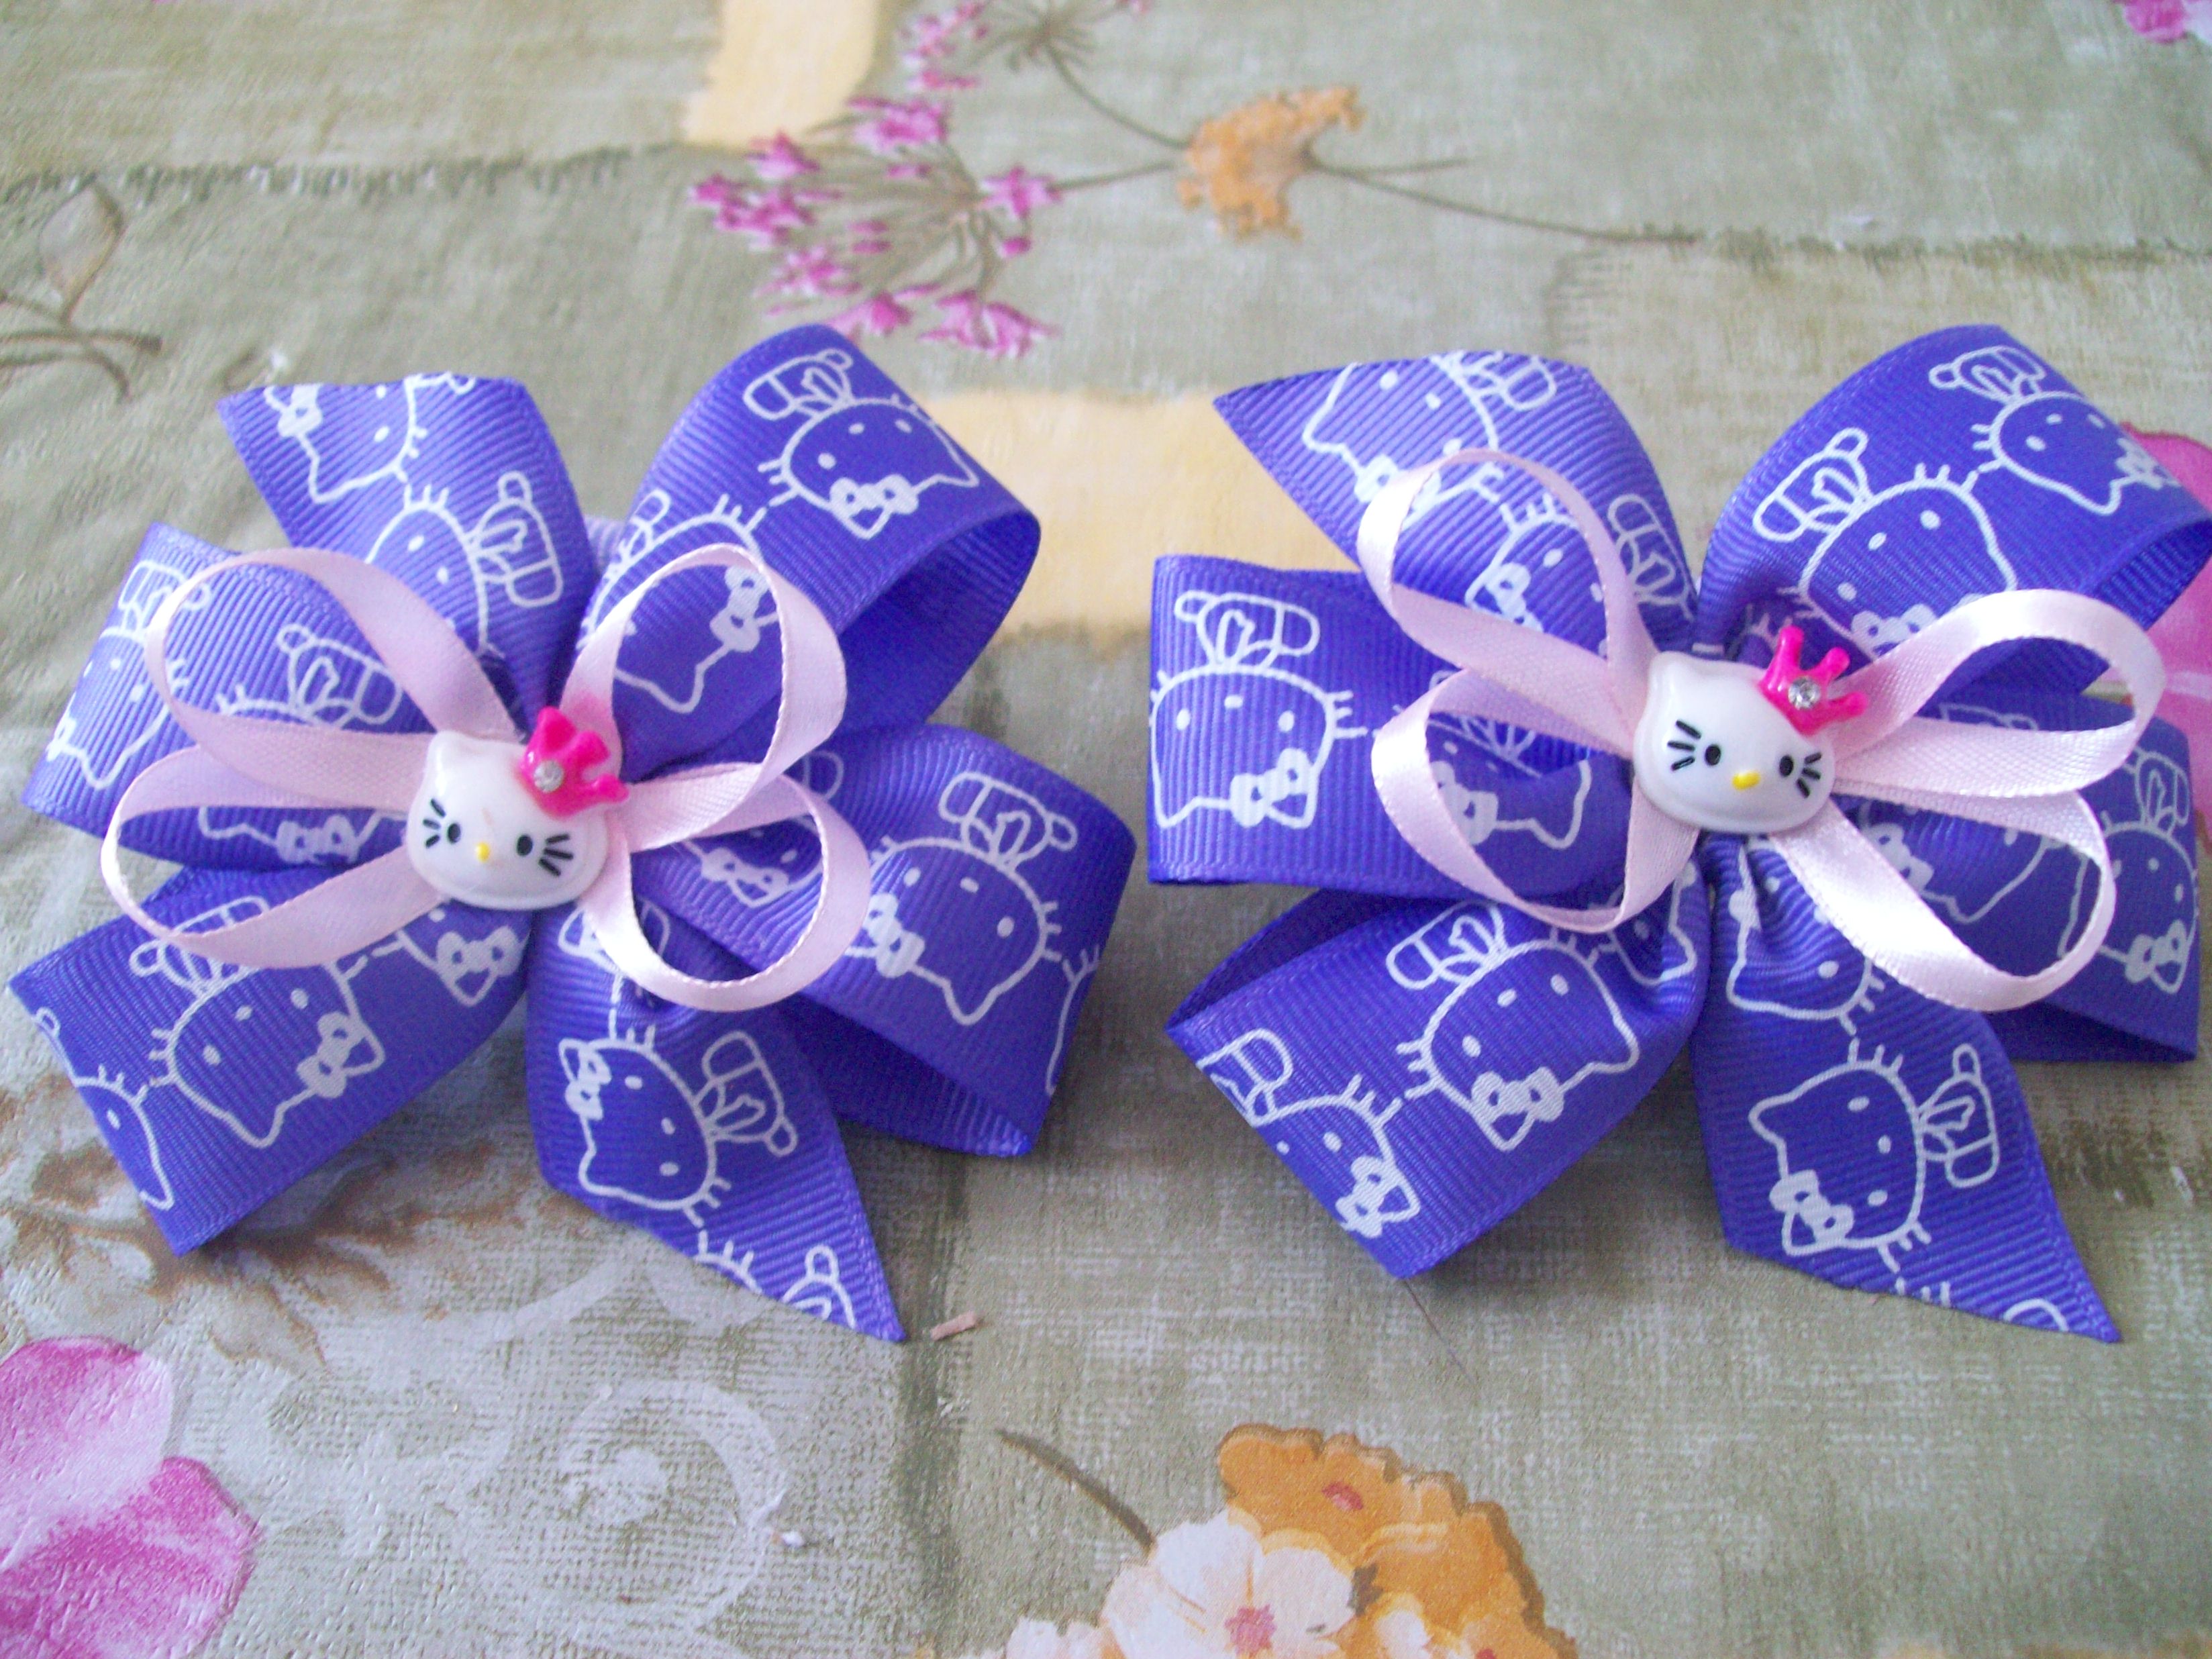
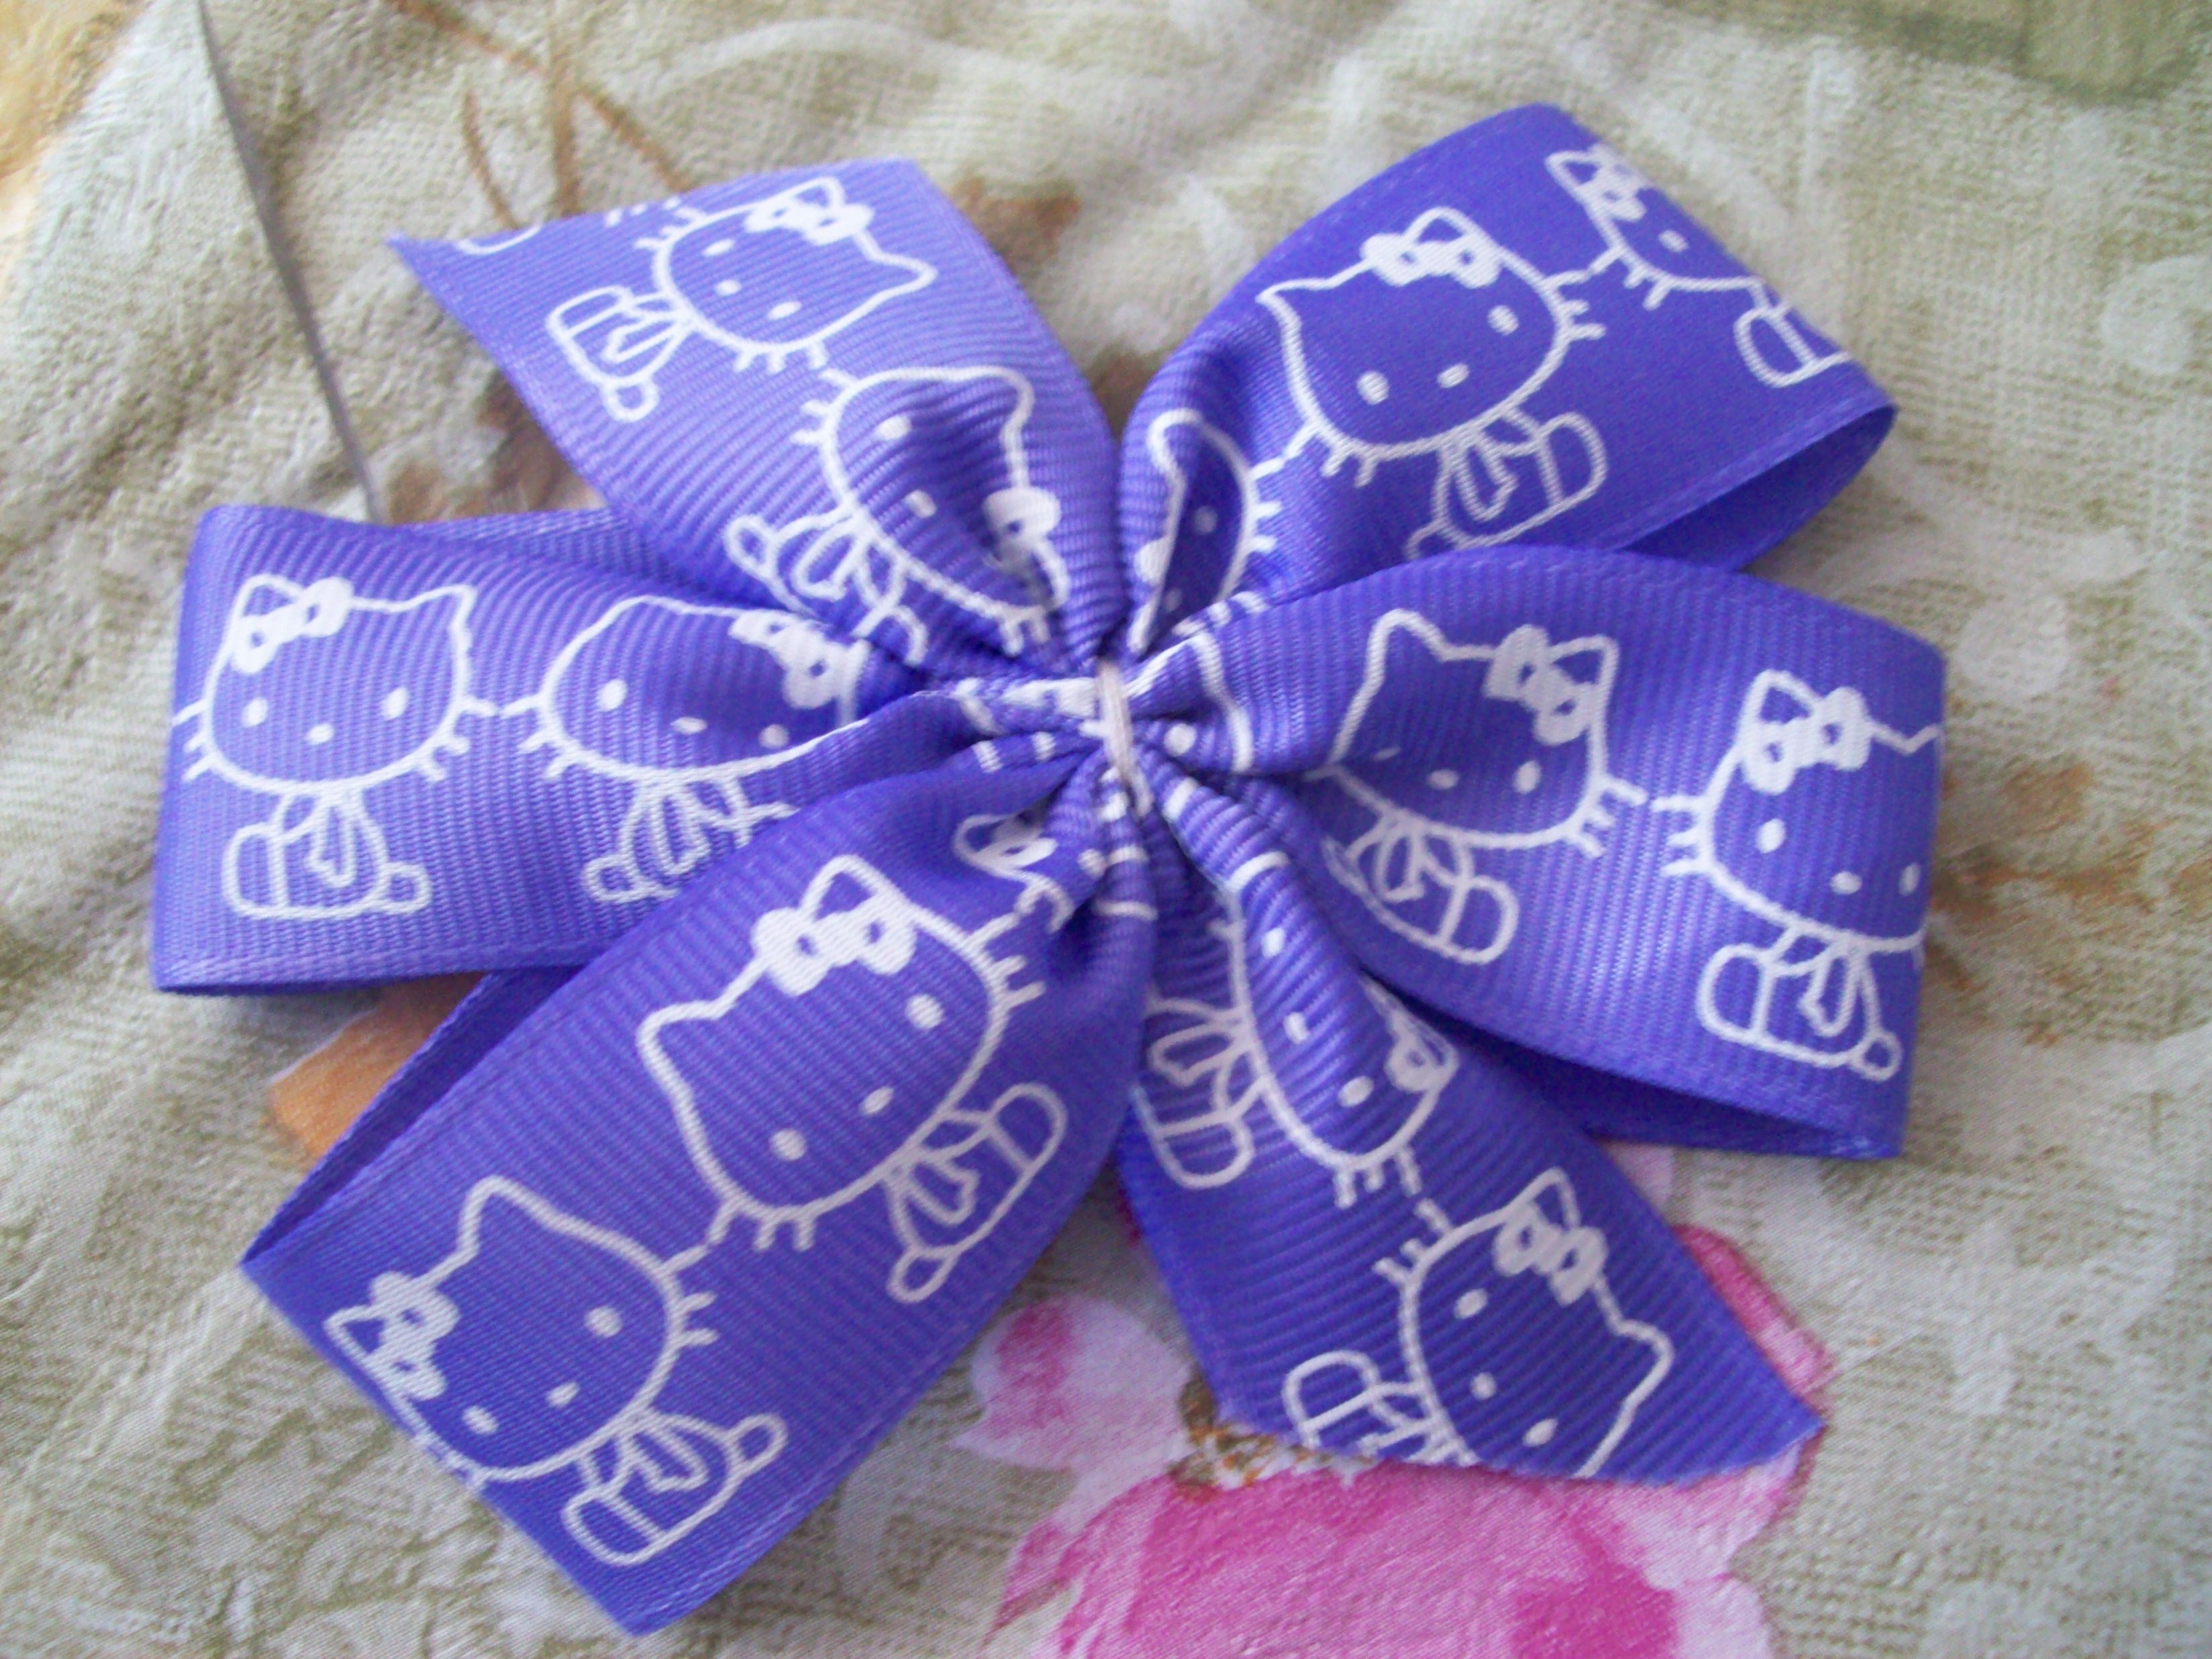
Grosgrain ribbons are one of the most popular materials among handicraft enthusiasts. They are used to create a variety of decorations of all shapes and sizes. The reason for the popularity of the material is its durability and ease of use. Bows made of grosgrain ribbons are very beautiful, they can be used to decorate clothes, hats, hairpins or headbands. It is easy to make such decorative elements, even novice craftswomen can handle it.
Accessories Features
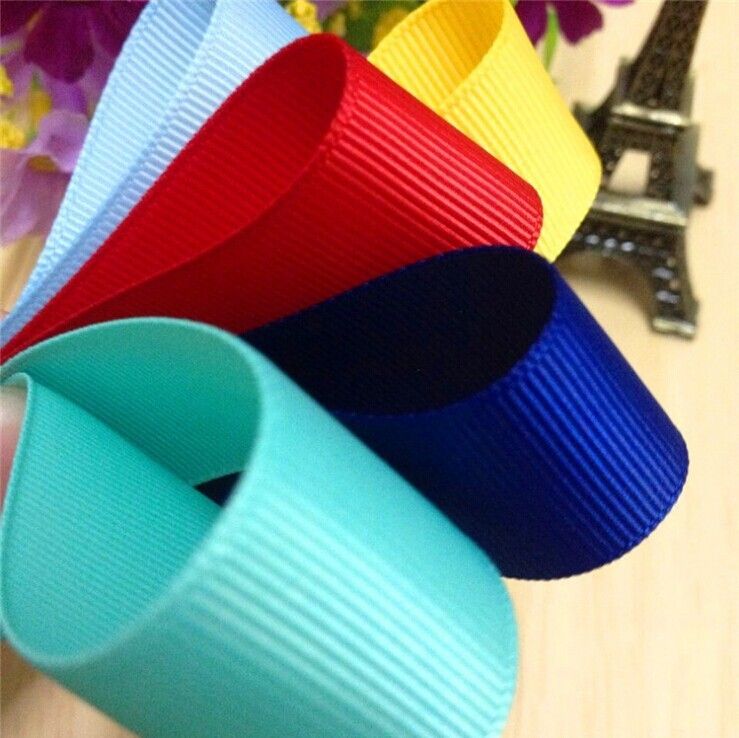
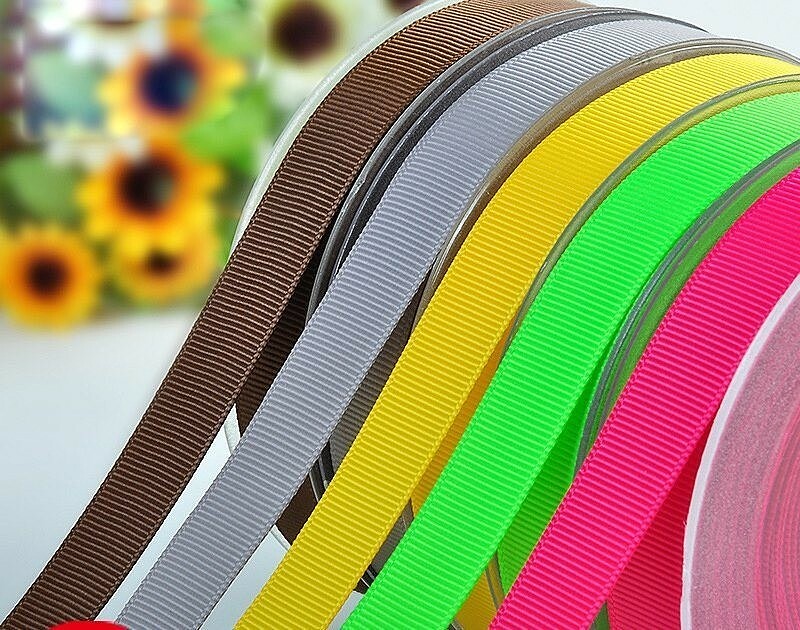
A grosgrain ribbon is a narrow strip of fabric with a classic plain weave, made of dense and durable polyester. Its edges are processed so that the material does not fray. Grosgrain ribbons differ from ribbons made of other materials in that they hold their shape perfectly. Even a novice craftsman can work with them. Grosgrain ribbons have the following features:
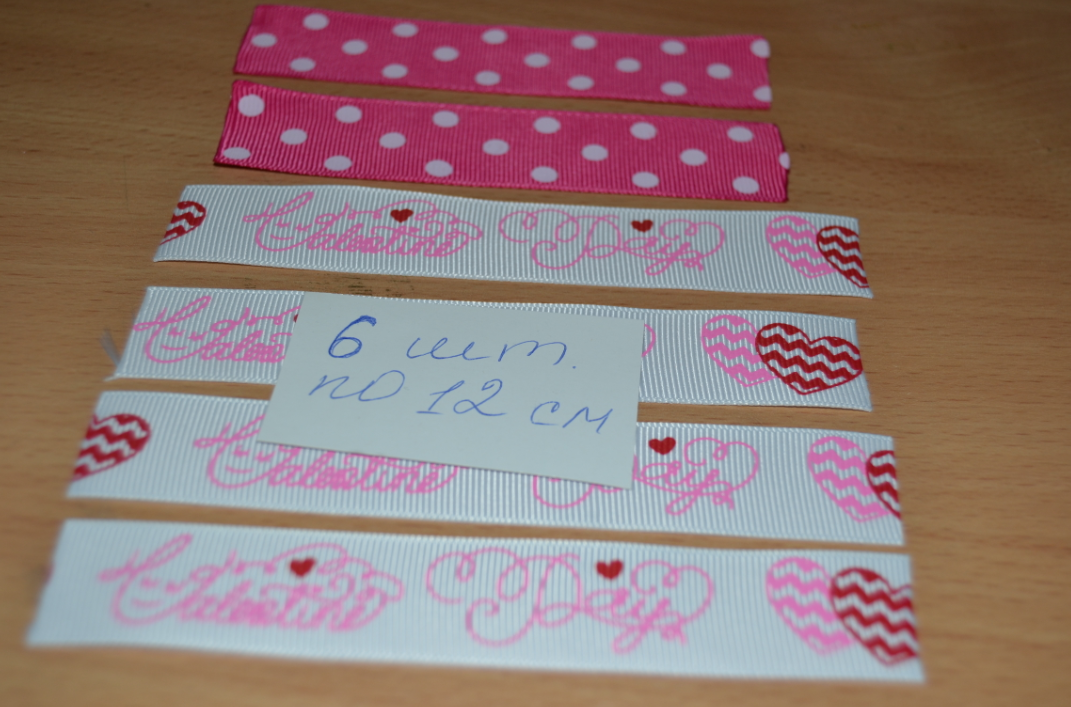
- the width can be from 0.5 to 6 cm;
- are produced in any colors, usually single-color, but may have a printed pattern, which is applied after the tape is made;
- the edge is usually smooth, sometimes perforated, corrugated, with additional decorative elements;
- The density, texture of the fabric, width and height of the rib may vary.
Bows made from grosgrain ribbons are used to decorate hair, attaching them to elastic bands, hairpins, and headbands. But their use is not limited to this. Beautiful bows made of rep can decorate:
- dressy or casual clothes;
- headwear;
- shoes (for example, designers at Gucci decorate some shoe models with grosgrain bows);
- pet fur and clothing;
- costume jewelry;
- handbags and other haberdashery;
- gift wrapping.
Often in men's suits, a grosgrain bow replaces a bow tie.
What you will need
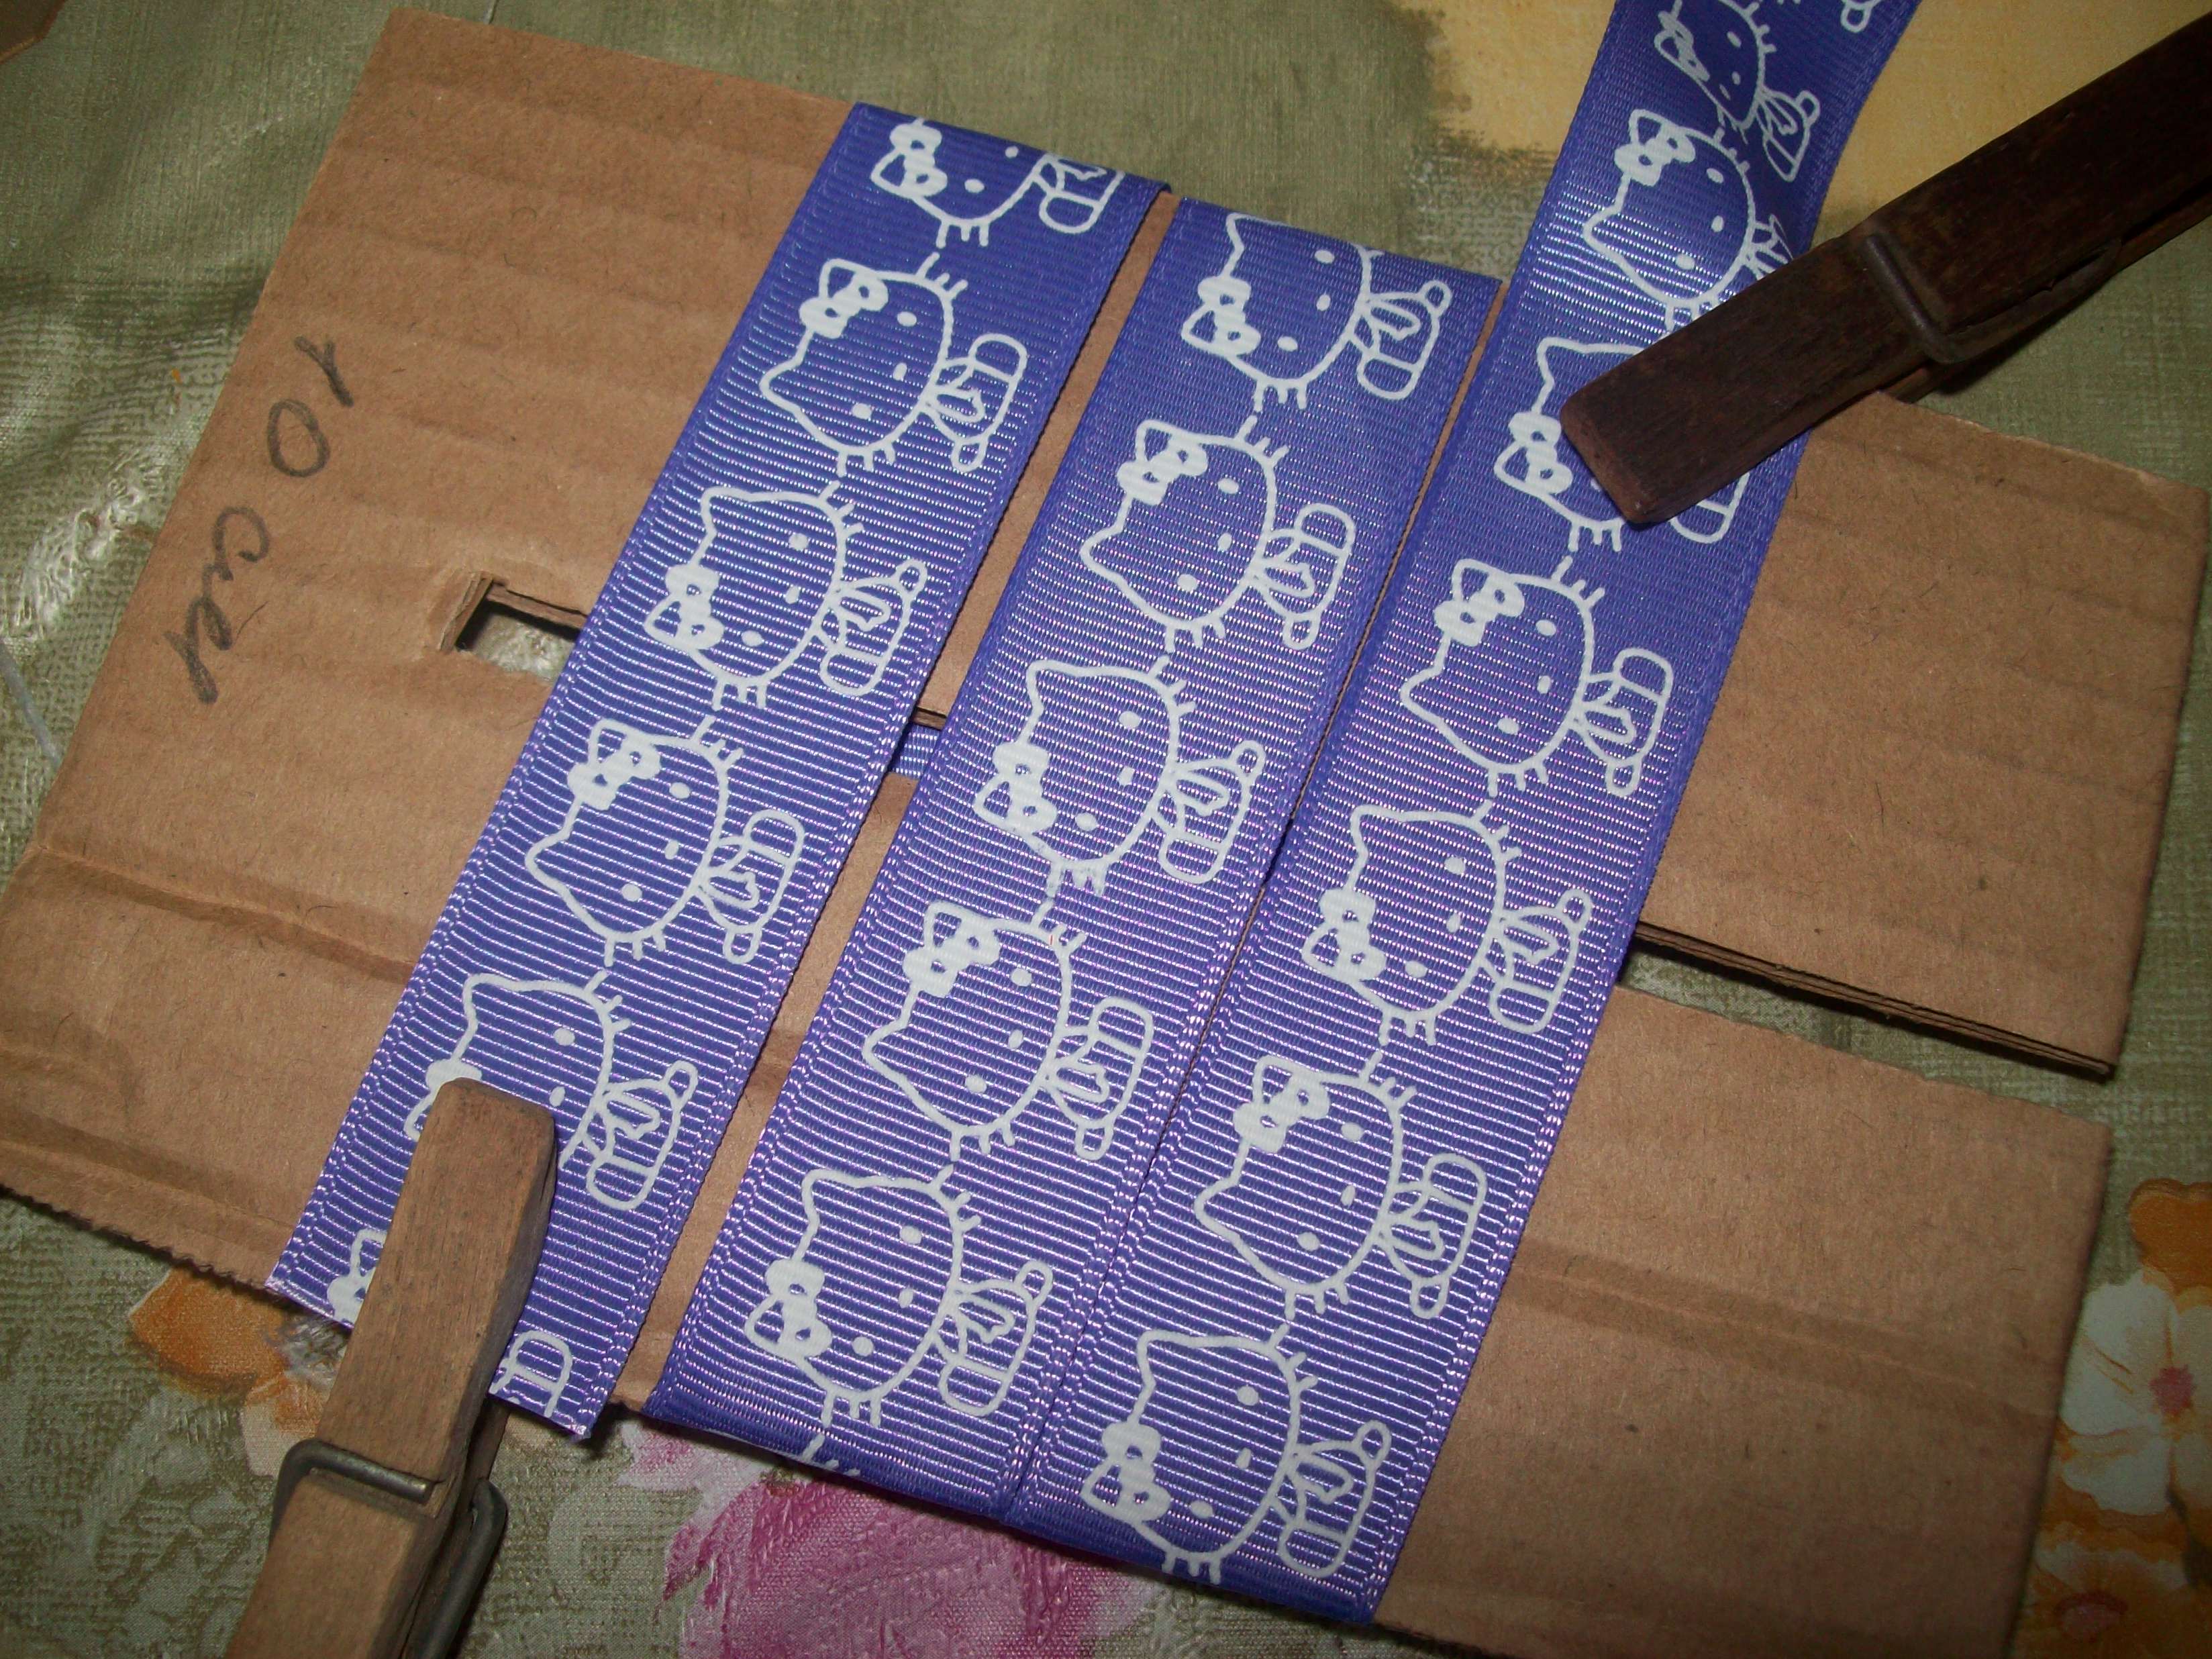
Rep is easy and pleasant to work with. Ribbons made of this material are often used in applied arts and handmade products. For beginner needlewomen, it is recommended to use strips 15-25 mm thick - they can easily be used to make bows of any size, they will hold their shape perfectly.
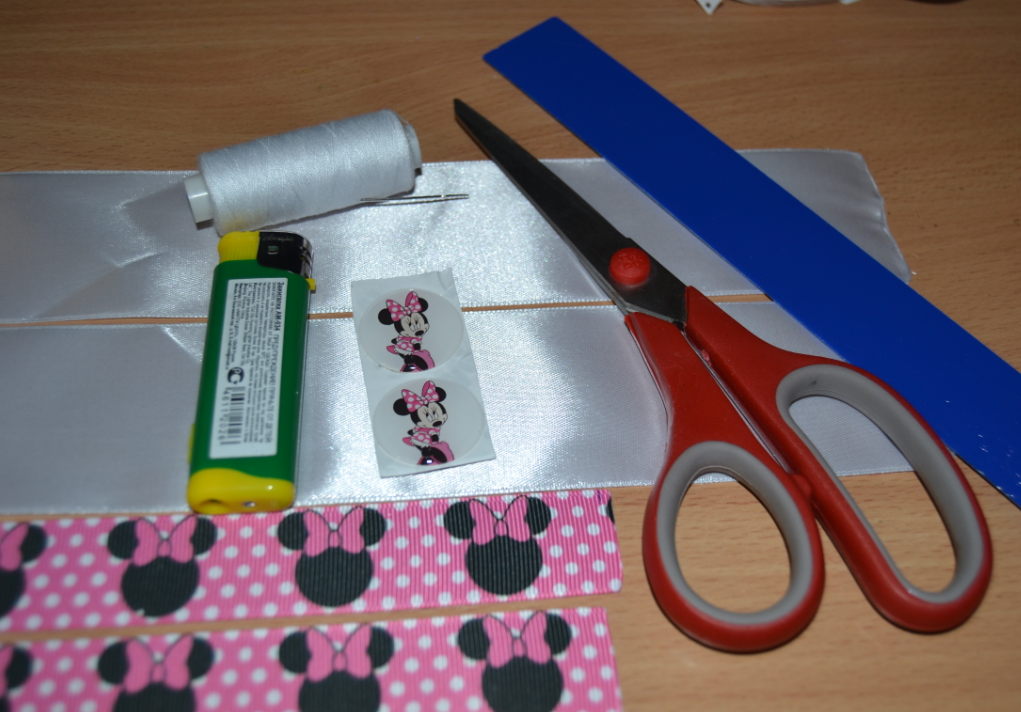
When creating bows from grosgrain ribbons with your own hands, the following tools and materials are used:
- scissors;
- needles;
- threads in tone;
- ruler or measuring tape;
- matches, lighters or candles for burning the cuts;
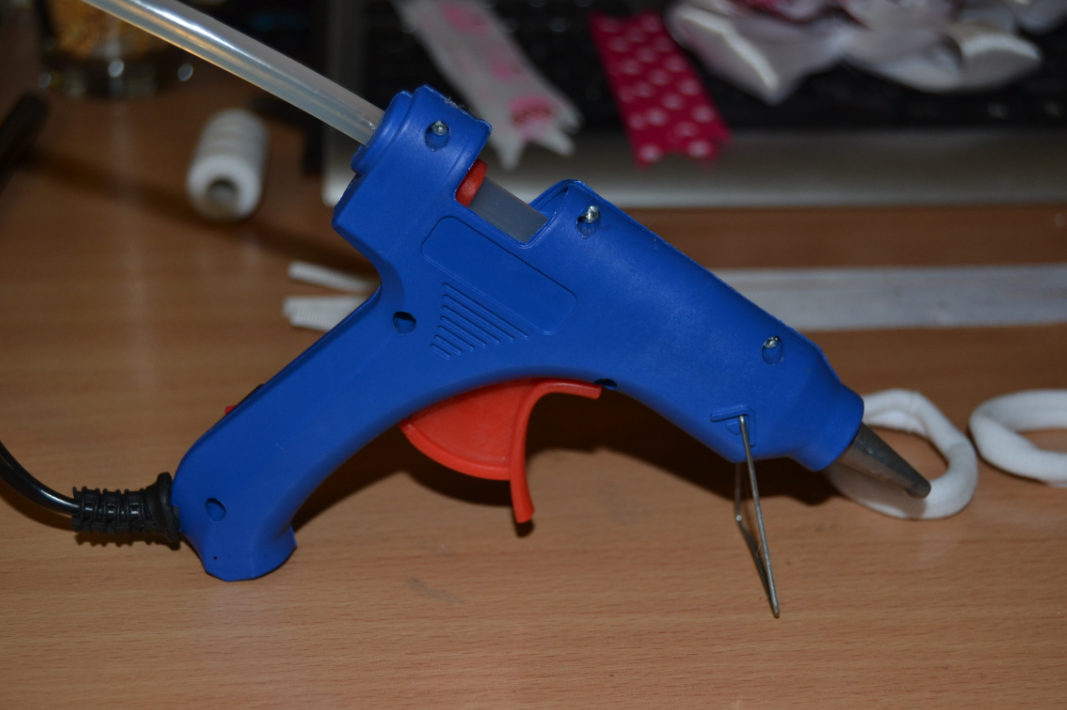
- glue gun, which is often used instead of threads and needles when fastening parts;
- cardboard or thick paper for making templates;
- pins and clamps for fixing parts during work;
- decorative elements (beads, rhinestones, seed beads);
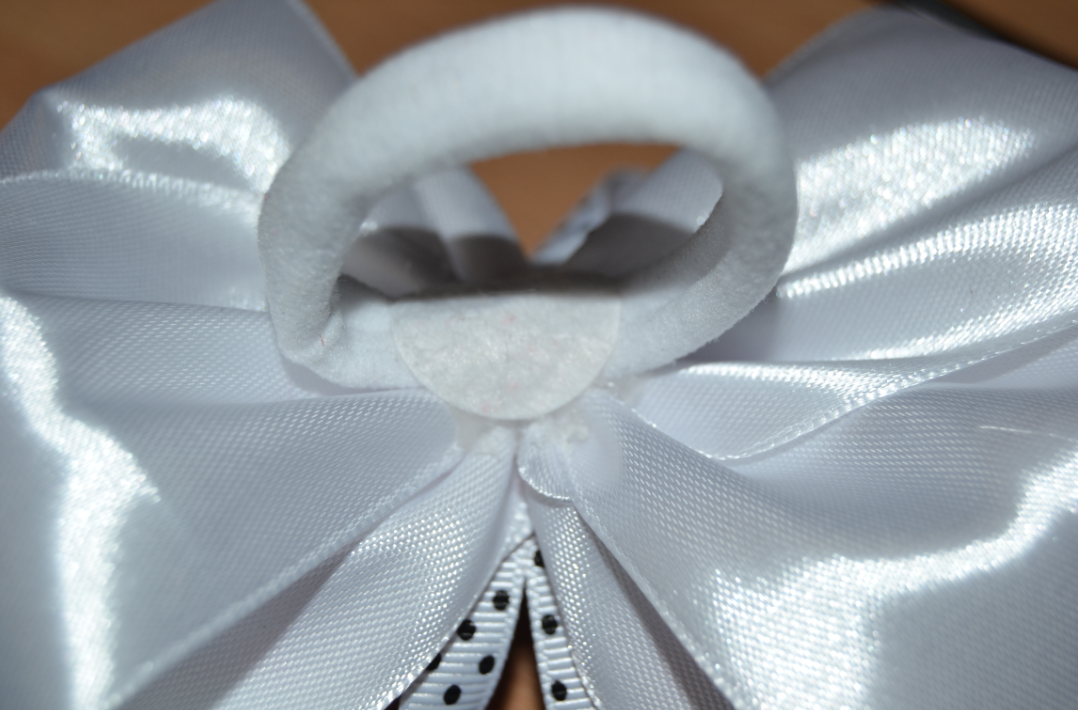
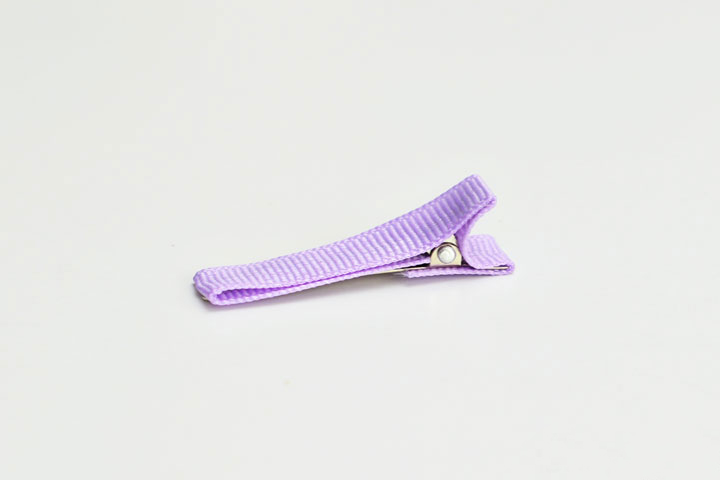
- basics – headbands, elastic bands, hairpins.
The entire list of listed materials is rarely used at the same time. For the simplest master class, scissors, a glue gun, the tape itself and a lighter are usually enough.
Thin ribbons require well-developed fine motor skills and a certain skill, while thick ones hold their shape worse, and random errors when working with them are more noticeable.
Manufacturing nuances taking into account the model
The algorithm for working on a bow from a rep ribbon differs depending on the chosen model. Beginner needlewomen are recommended to initially practice on simple decorations, then gradually move on to complex ones.
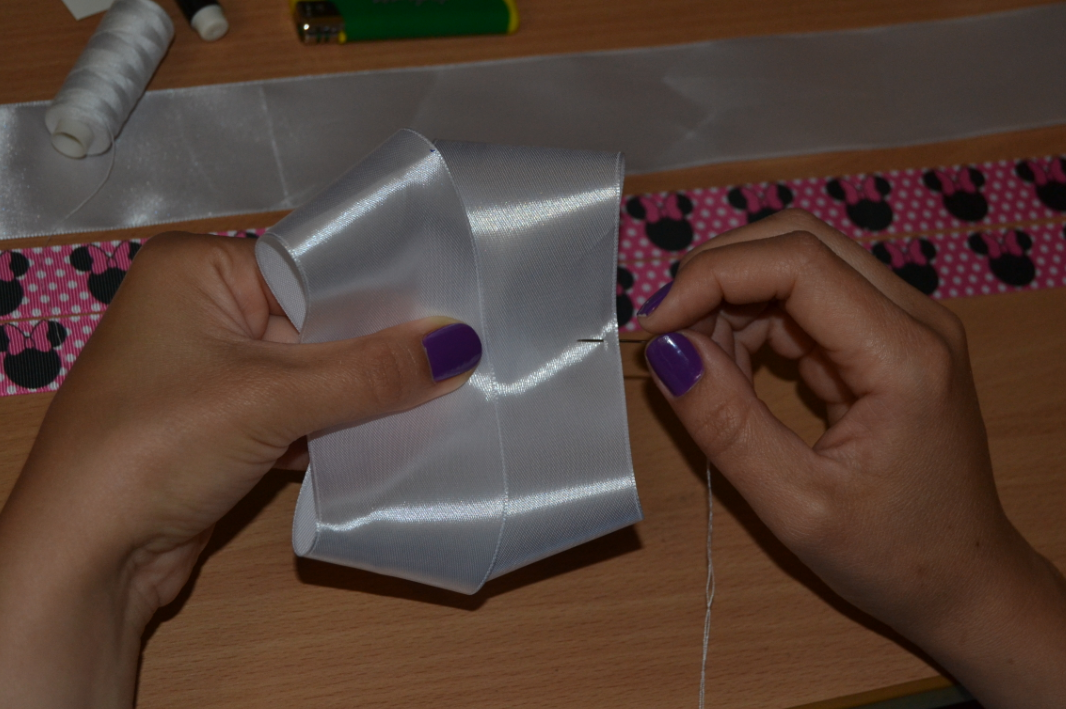
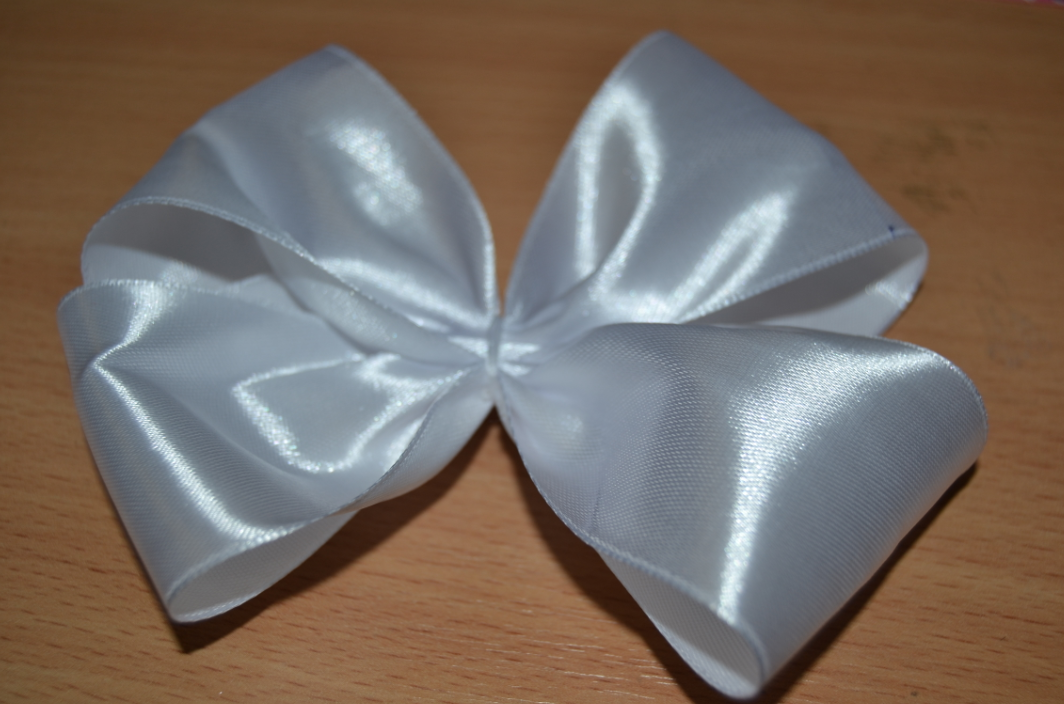
Volumetric for beginners
A simple but beautiful bow can be made quickly with your own hands. For production you will need the following materials:
- rep ribbon 1-2 cm wide;
- lighter or matches;
- scissors;
- strip of cardboard (optional).
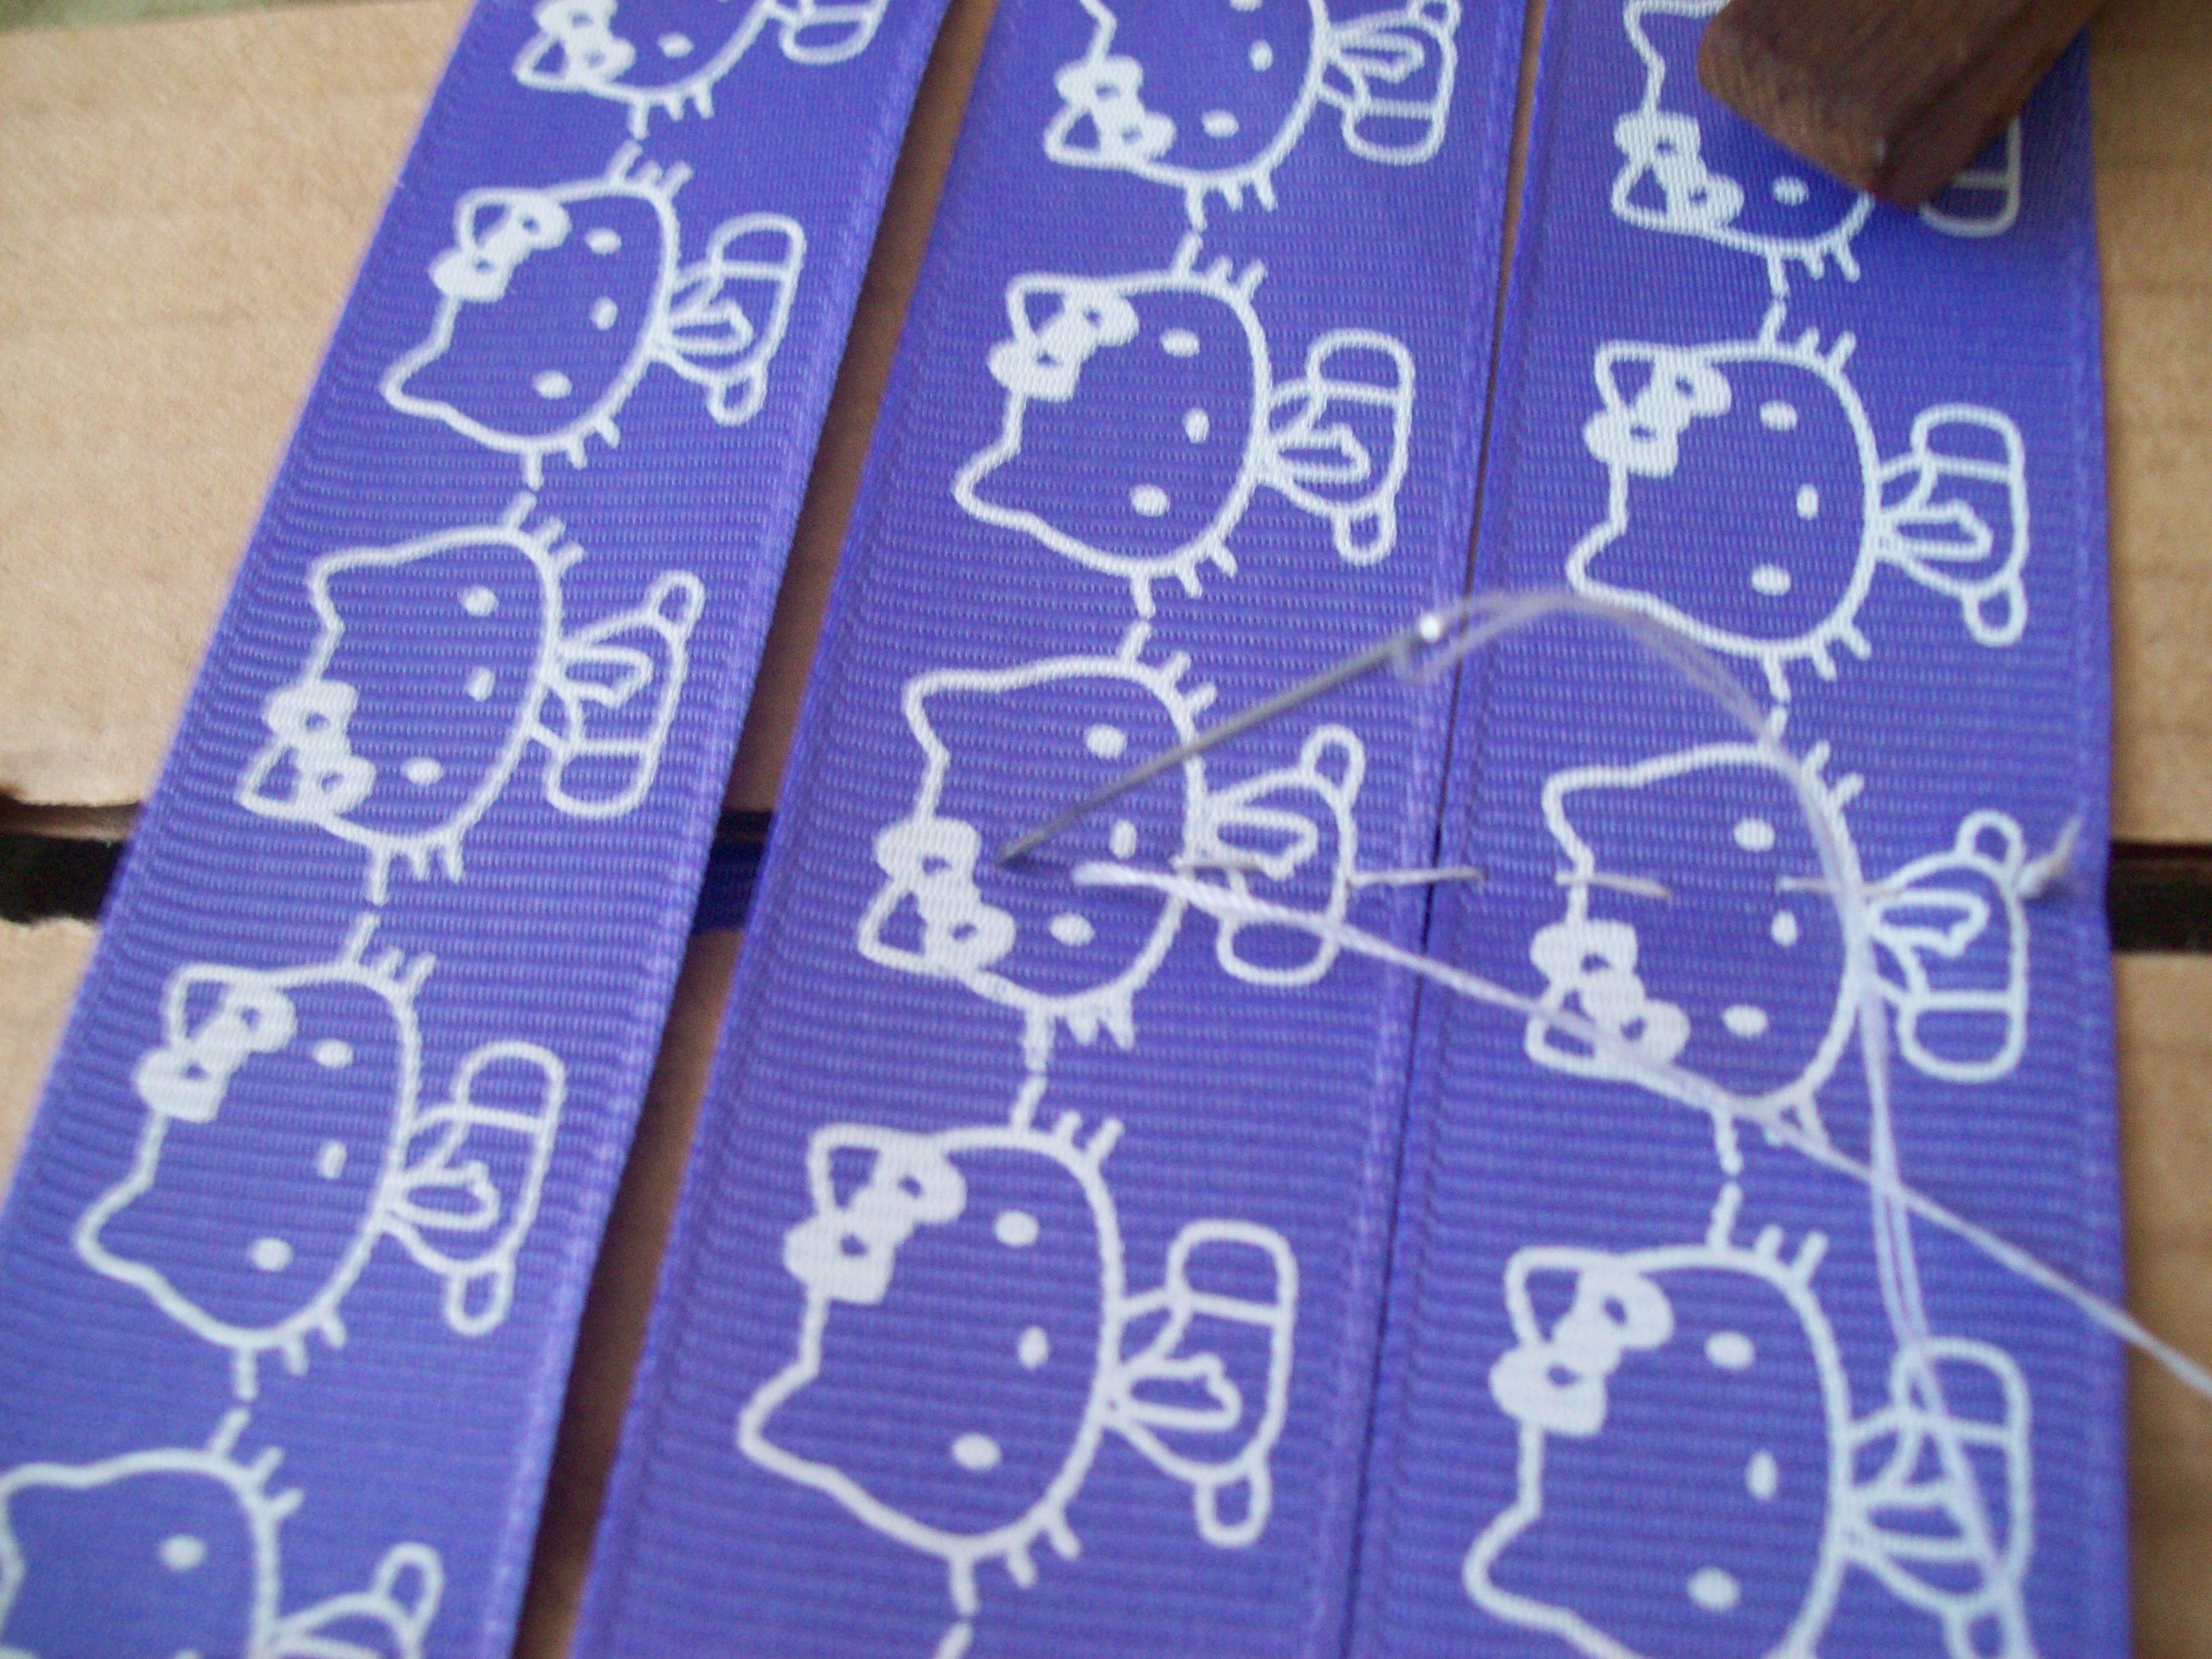
Step-by-step instructions for creating a voluminous bow:
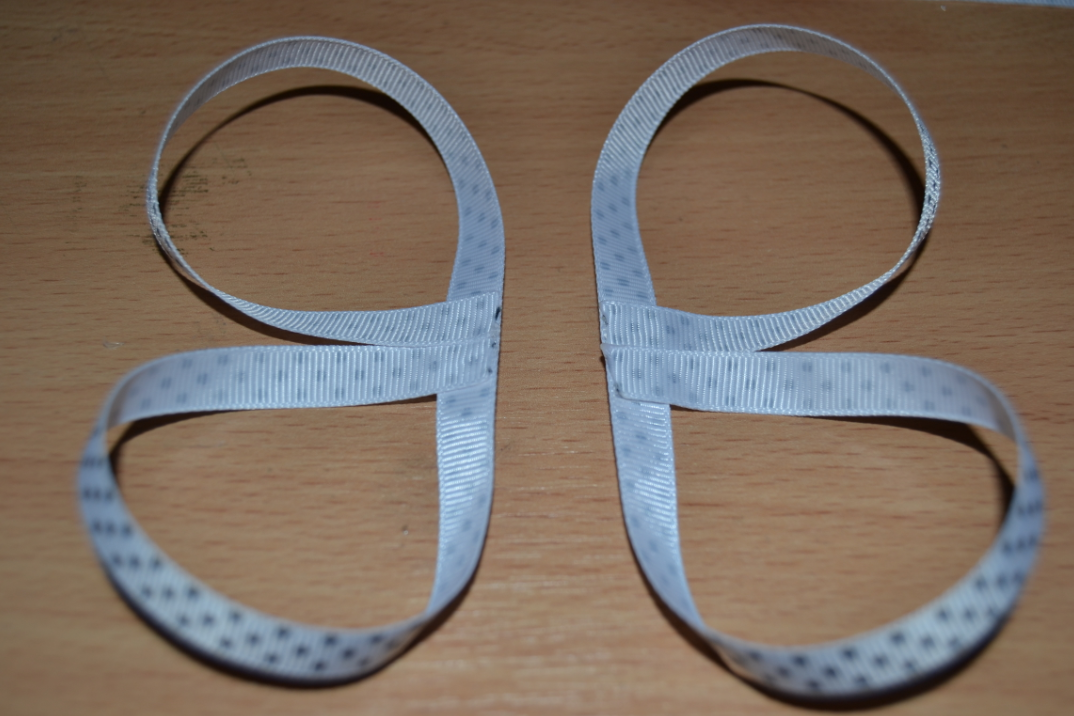
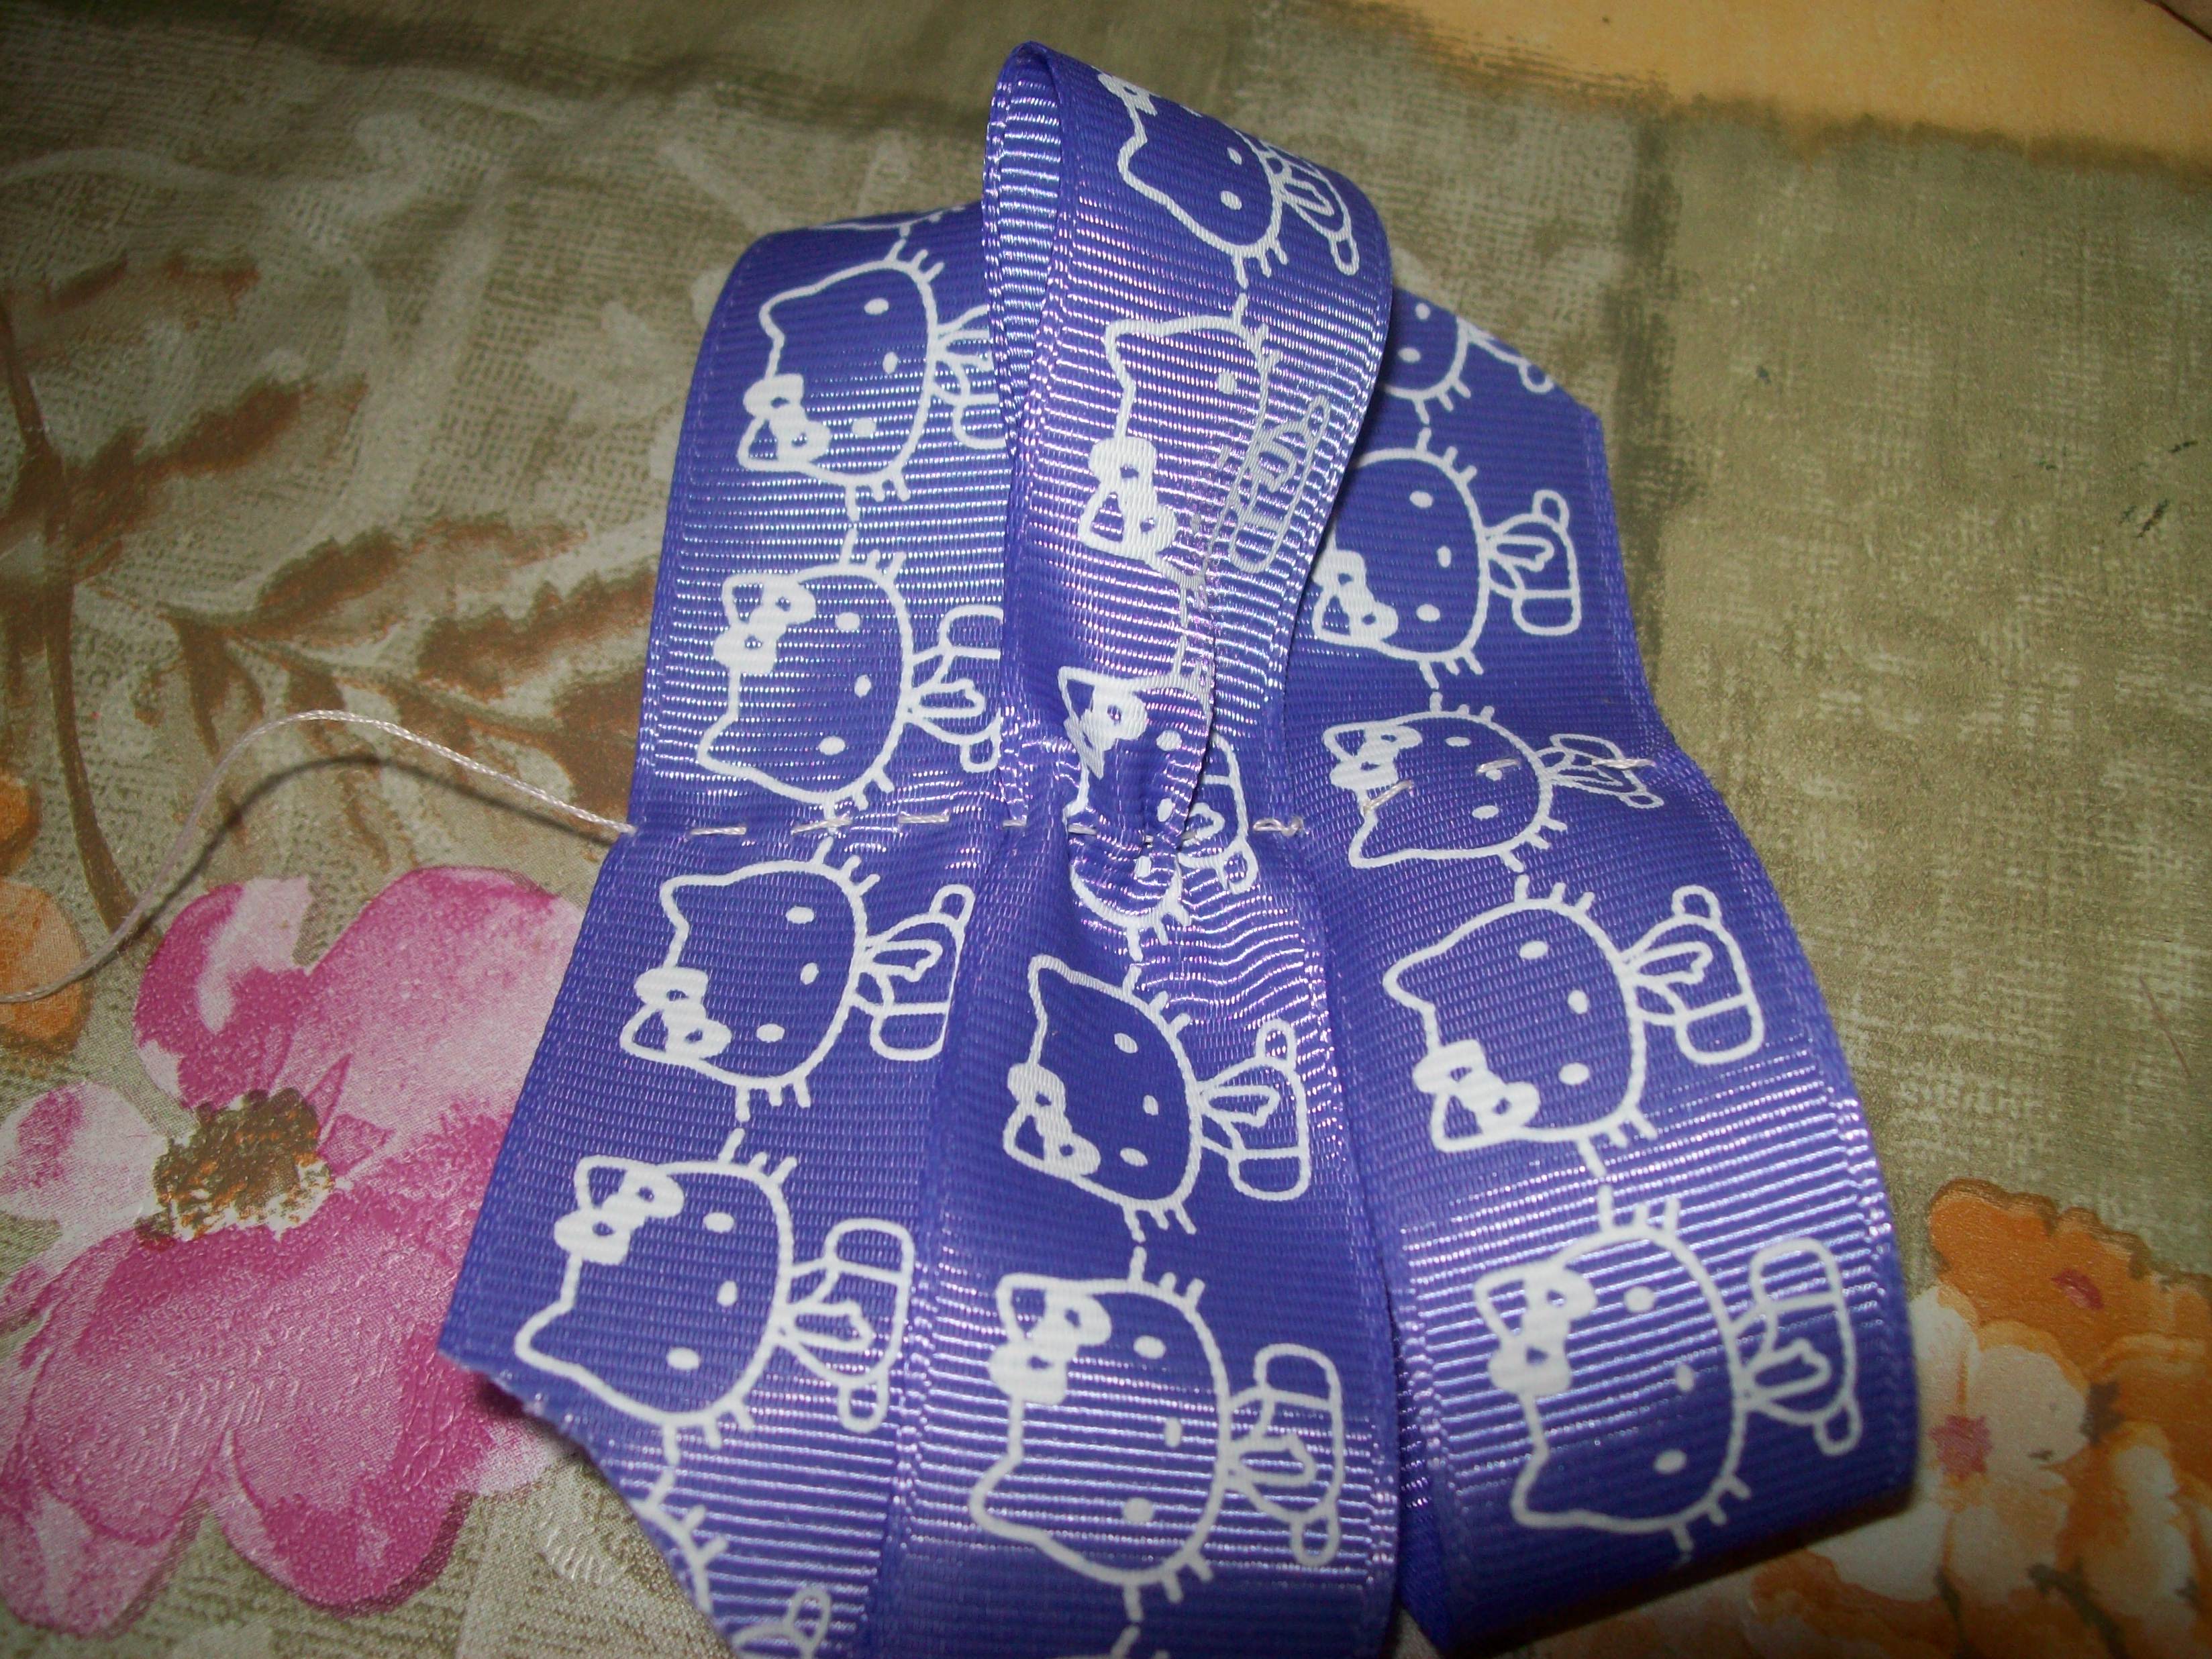
- Cut a strip out of cardboard, the width of which should be greater than the thickness of the ribbon, and the length should slightly exceed the intended size of the bow.
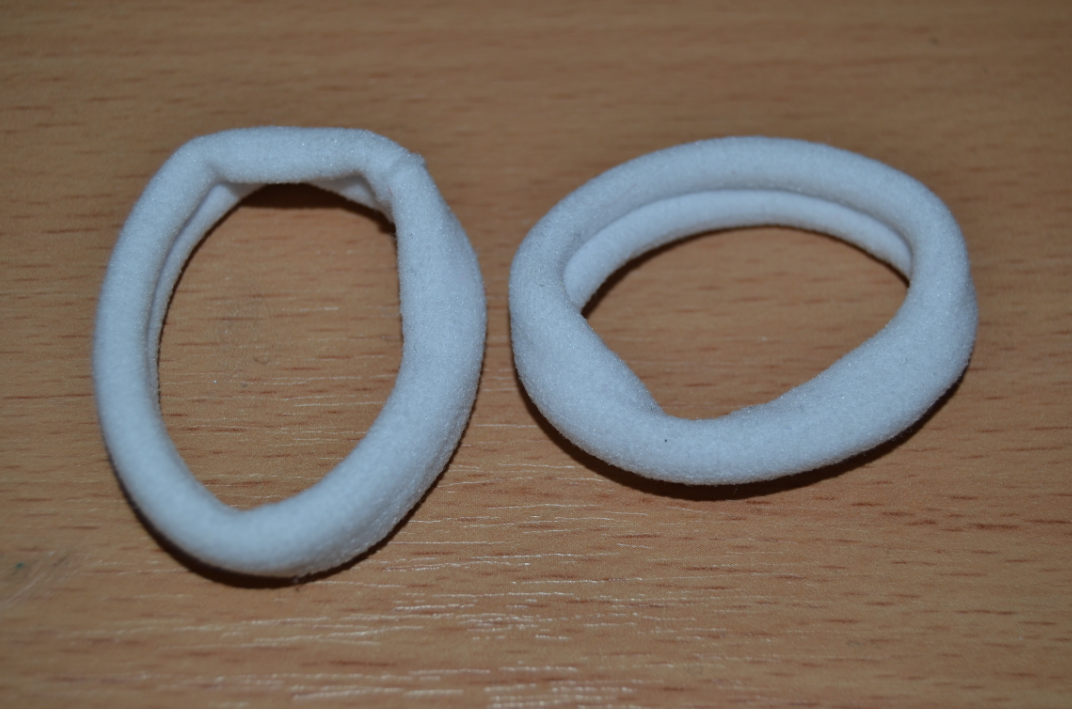
- Form a ring from the grosgrain ribbon by placing it over the cardboard blank.
- Make any number of turns (the more there are, the fluffier the bow will be), cut off.
- Carefully remove the wound rings and tie them in the middle with a short piece of rep.
- Singe the free ends of the ribbons over an open fire, tuck them inside the rings or leave them free.
- Straighten the resulting bow.
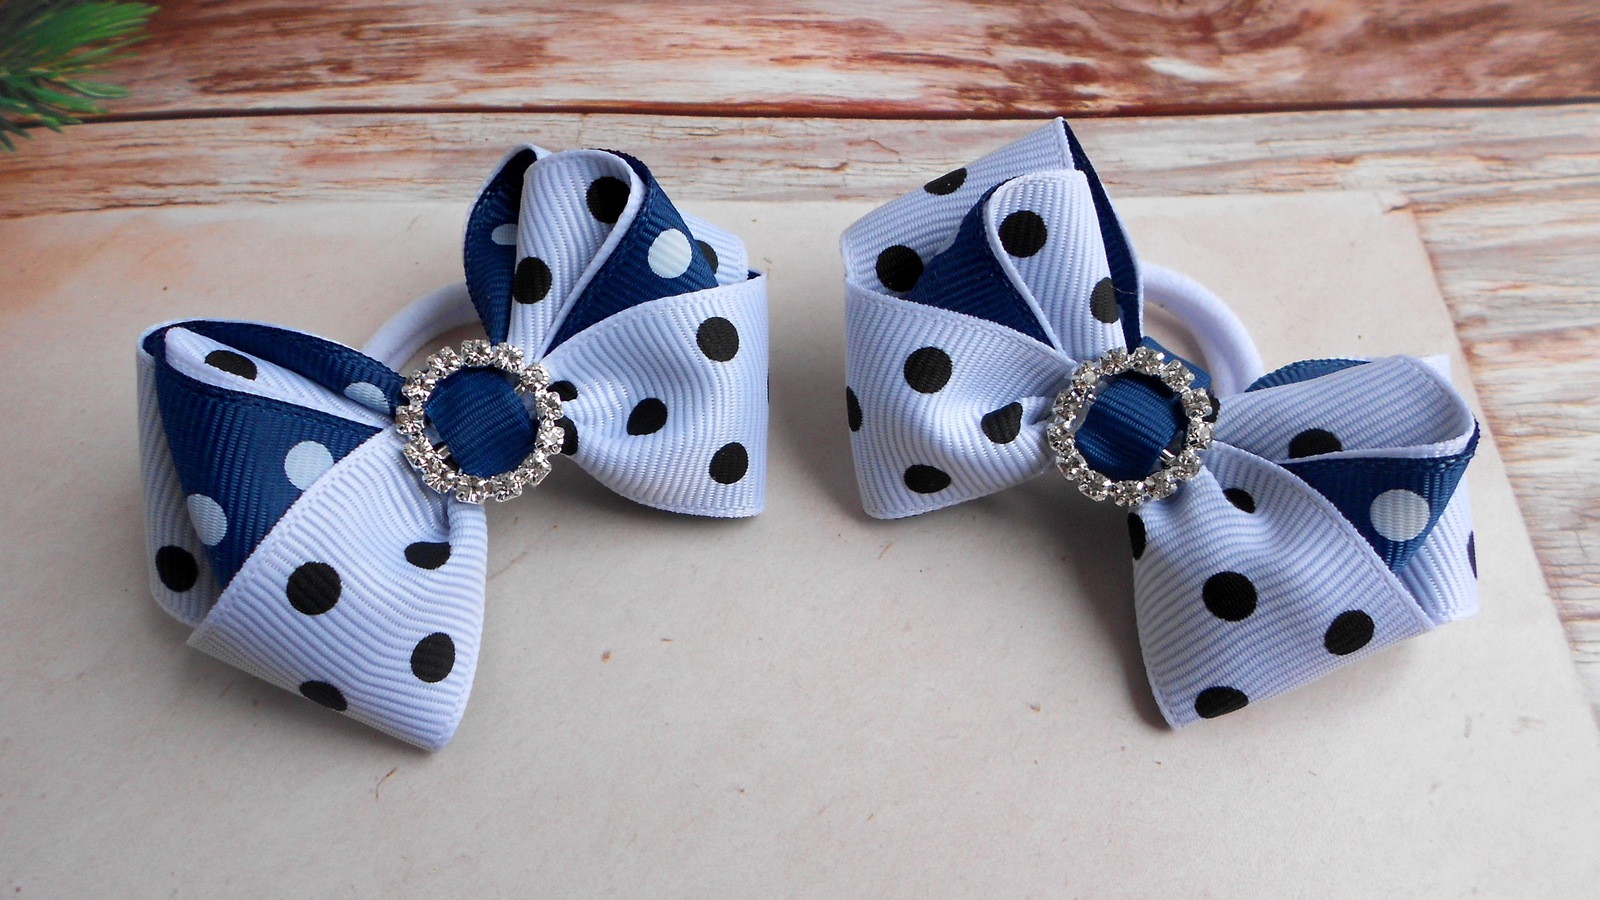
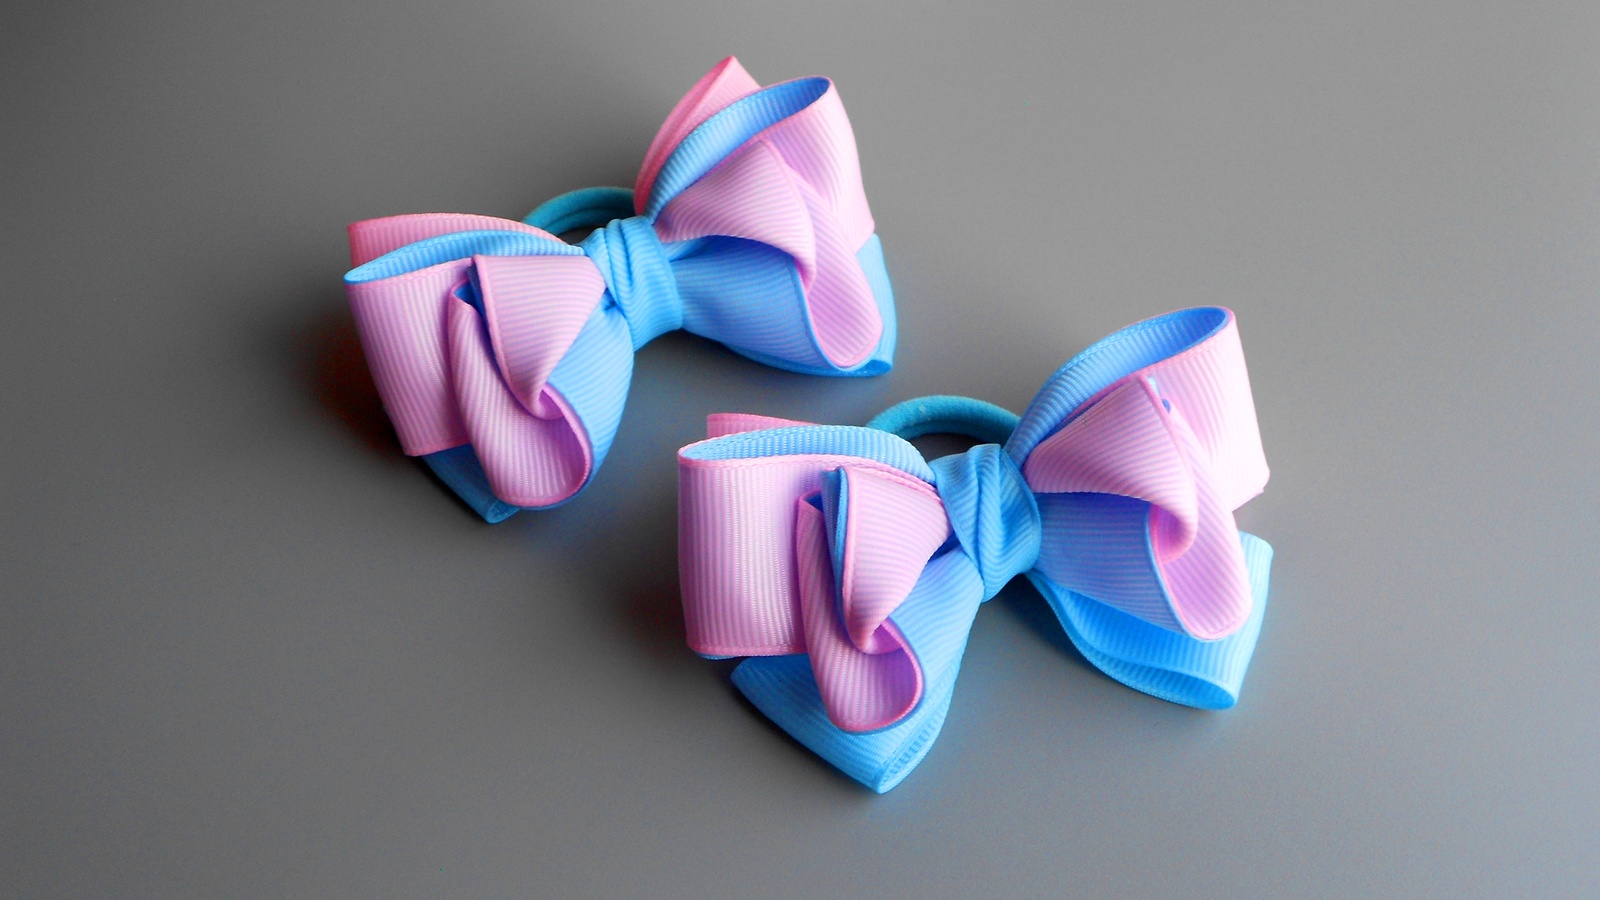
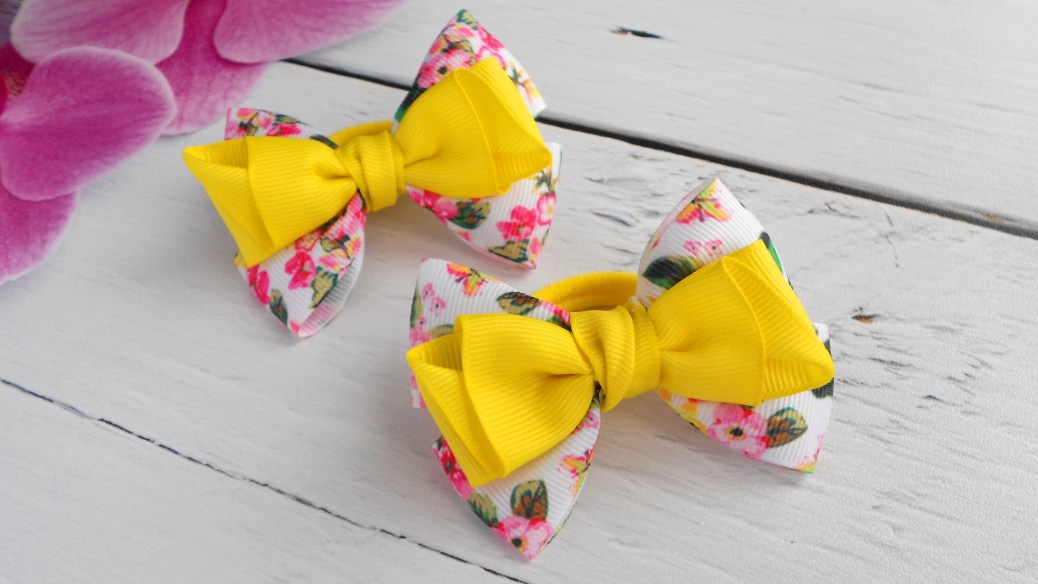
Elegant on a hairpin
You can create an elegant bow for a hair clip from rep ribbons. For work you will need:
- two long identical pieces of tape and one short one;
- base for a hairpin;
- matches or a lighter;
- glue gun;
- scissors;
- decorative elements (optional).
The length of the ribbons intended for decoration should exceed the size of the hairpin by more than 2 times. The base sticking out from under the bow looks unsightly.
Step by step manufacturing process:
- Burn the cut edges of the grosgrain ribbons over an open fire.
- Roll the long pieces into rings and glue the ends together.
- Place the tape on the table so that the fastened edges are at the bottom and in the middle. You will get 2 double grosgrain strips with glue seams hidden on the back.
- Fold each strip lengthwise, right sides together. Fold the edges back and secure the middle with hot glue.
- You will get two double ribbons with a deep beautiful fold in the middle. Move them close to each other, align the edges, fasten in the center with a short piece of rep.
- All that remains is to glue the bow to the hair clip and decorate the middle as you wish.
The glue gun can be replaced with a thread and needle.
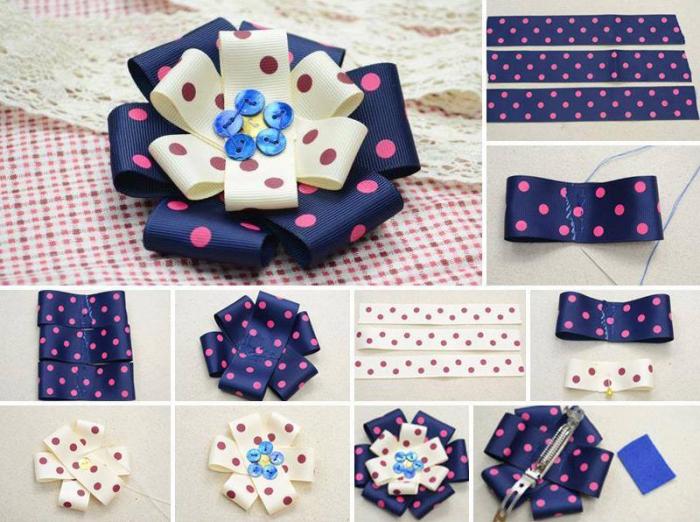
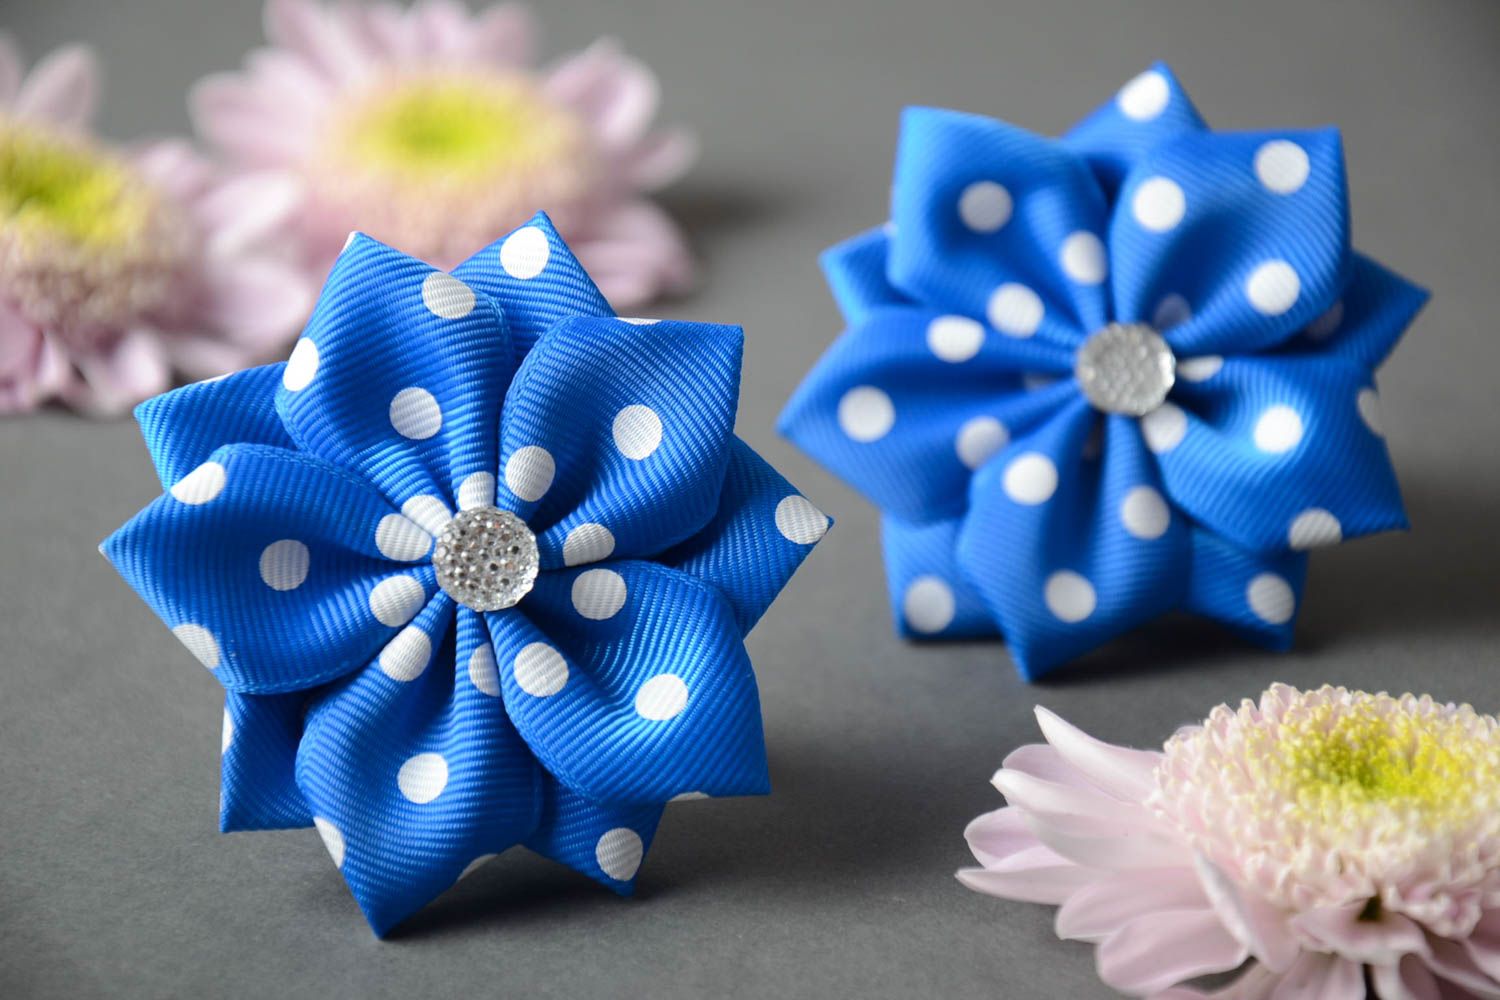
On a rubber band in the style of kanzashi
The technique has Japanese roots and consists of making decor from square or rectangular pieces of fabric. They are first folded in a special way and secured. Then bows, flowers, and butterflies are assembled from the finished parts. At first glance, the kanzashi technique seems very complicated. In fact, anyone can make such a bow. The simplest master class will be a great start for mastering a new style.
To create a bow you will need:
- 2.5 cm wide grosgrain ribbon;
- threads in tone;
- needle;
- ruler;
- scissors;
- candle;
- decor.
When working with the kanzashi technique, you will have to burn a lot of parts, so it is more convenient to use a candle instead of matches or a lighter.
Sequence of actions:
- Cut 8 pieces of 8 cm each from the grosgrain ribbon, 6 pieces of 6 cm each. Burn the edges.
- Fold the eight-centimeter piece in half and baste. Make stitches as close to the edge of the cuts as possible.
- Repeat the same with the remaining long pieces of tape.
- Collect them all on one thread using a needle.
- Pull the edges together. You will get a bow that looks like a flower. Secure the thread.
- Also connect short pieces of ribbon into a circle.
- Place the smaller circle on top of the larger one and secure with thread.
- Decorate the center with decorative elements. They should completely cover the center of the bow, pulled together with a thread. You can use a large half-bead, a heart, a large beautiful button, a cabochon.
- Attach the finished decoration to the elastic band using glue or thread.
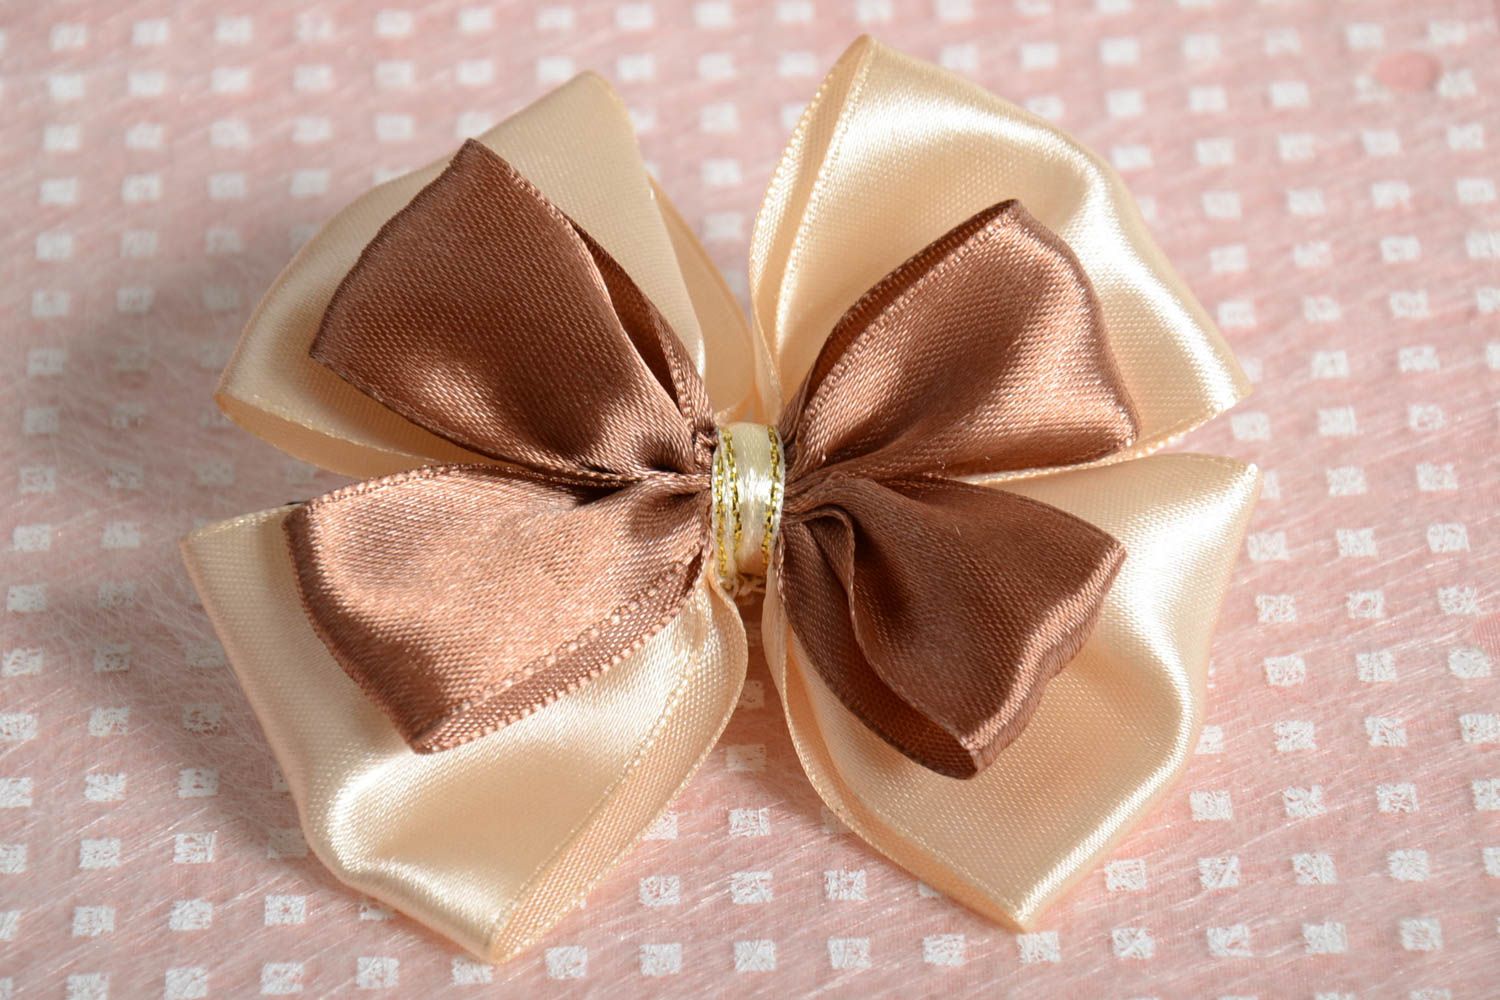
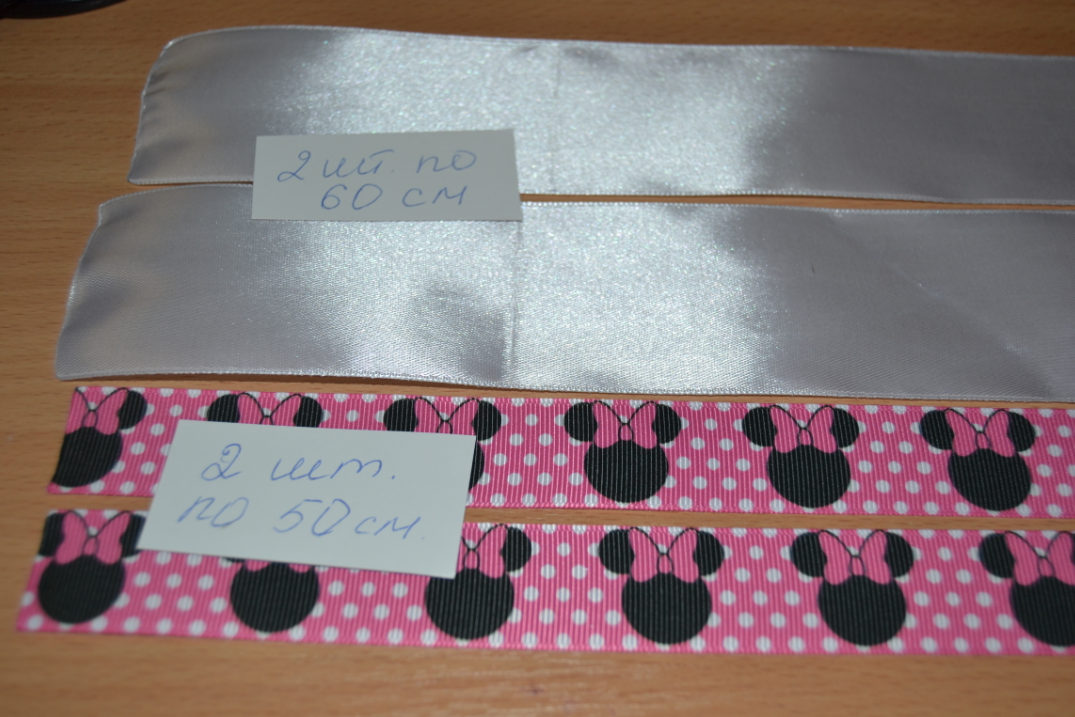
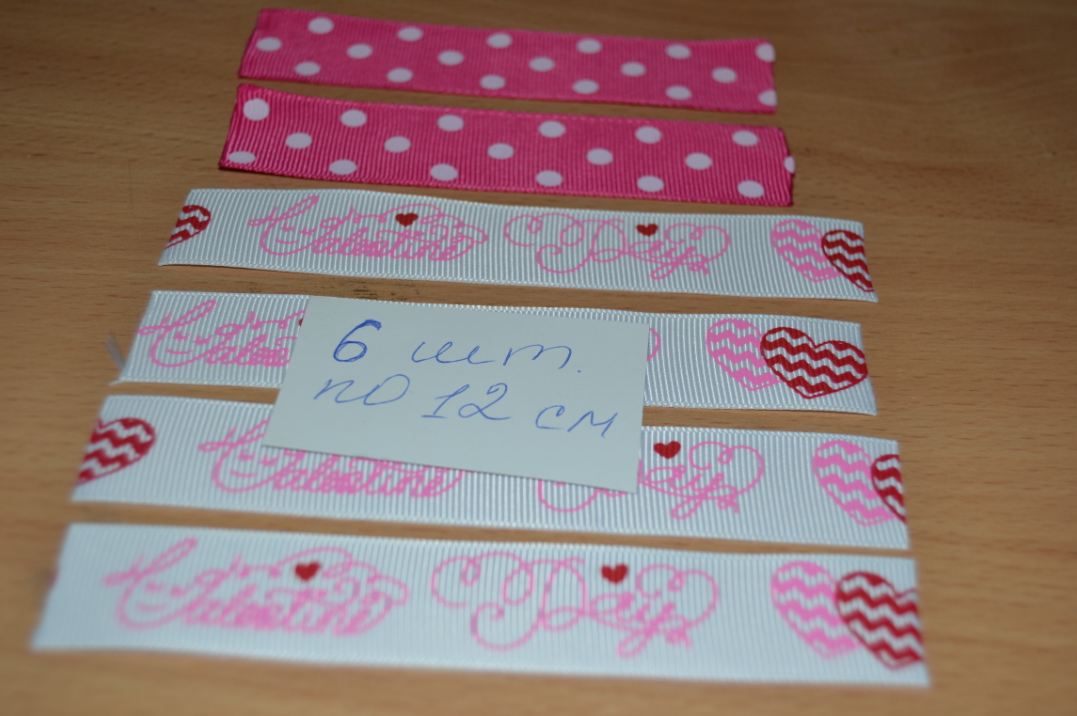
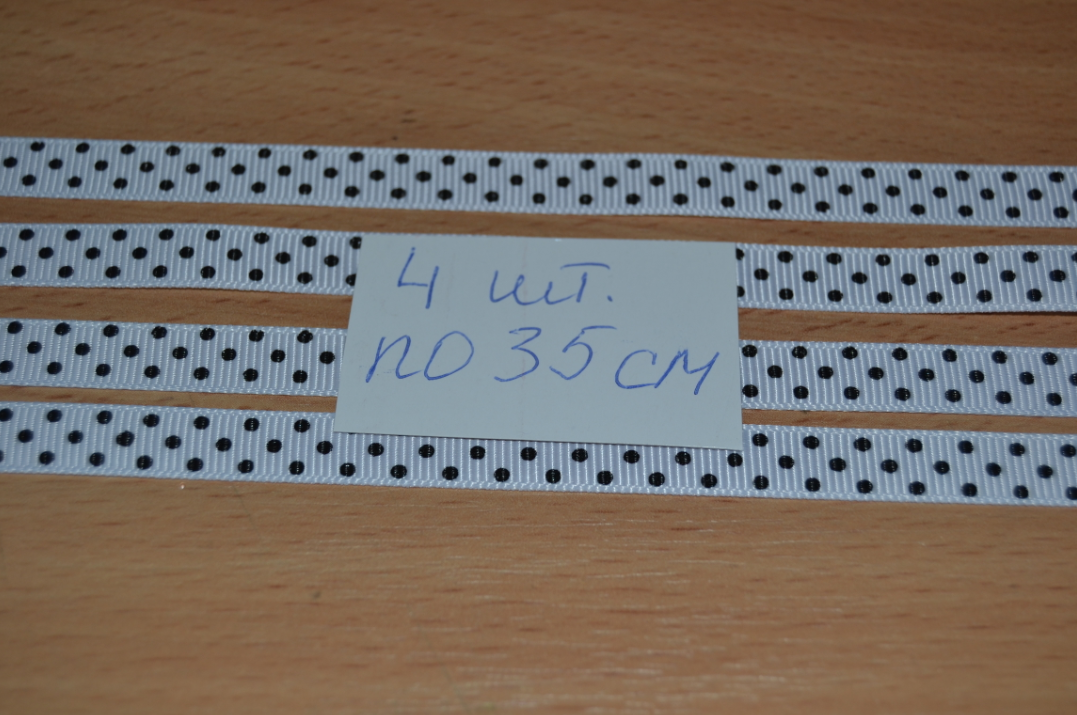
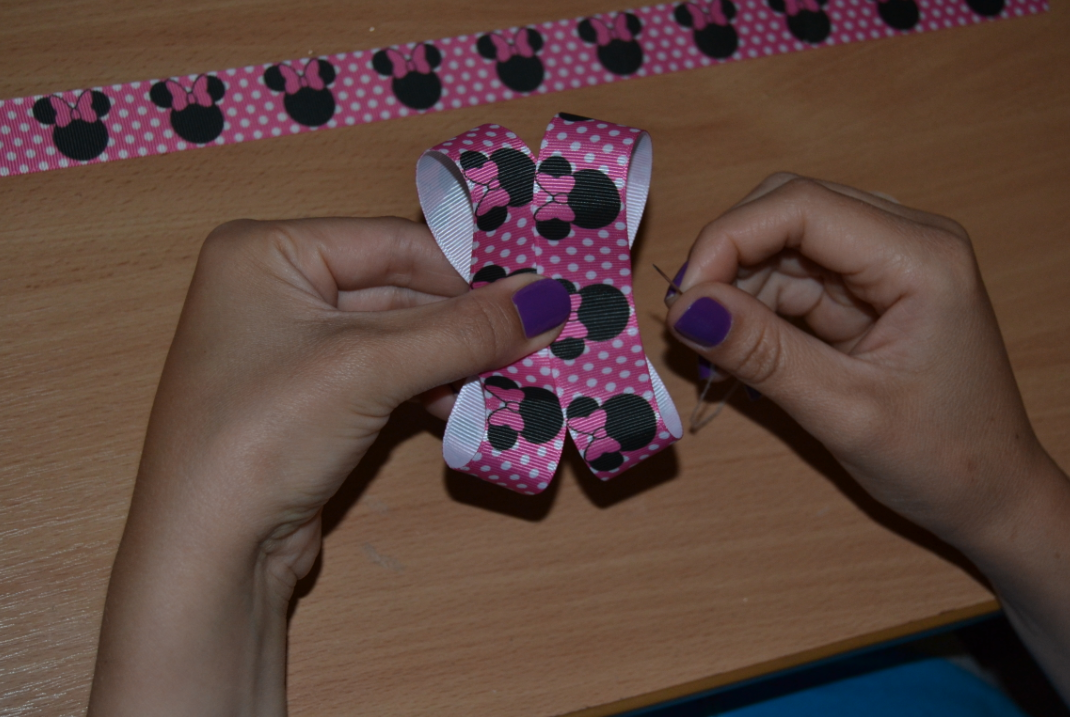
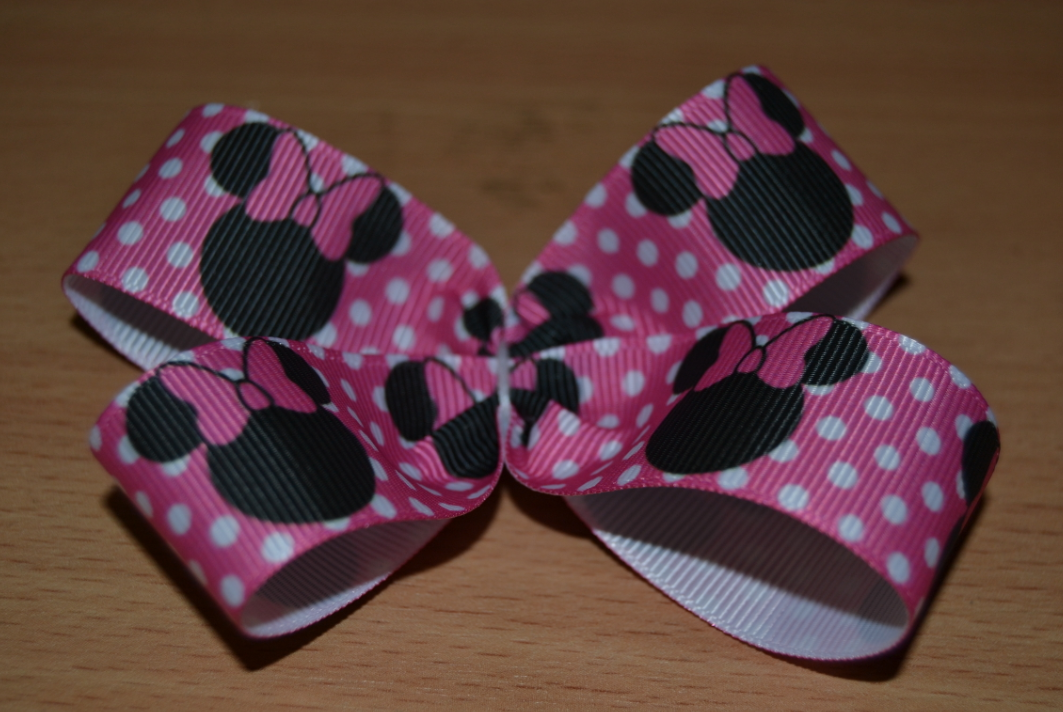
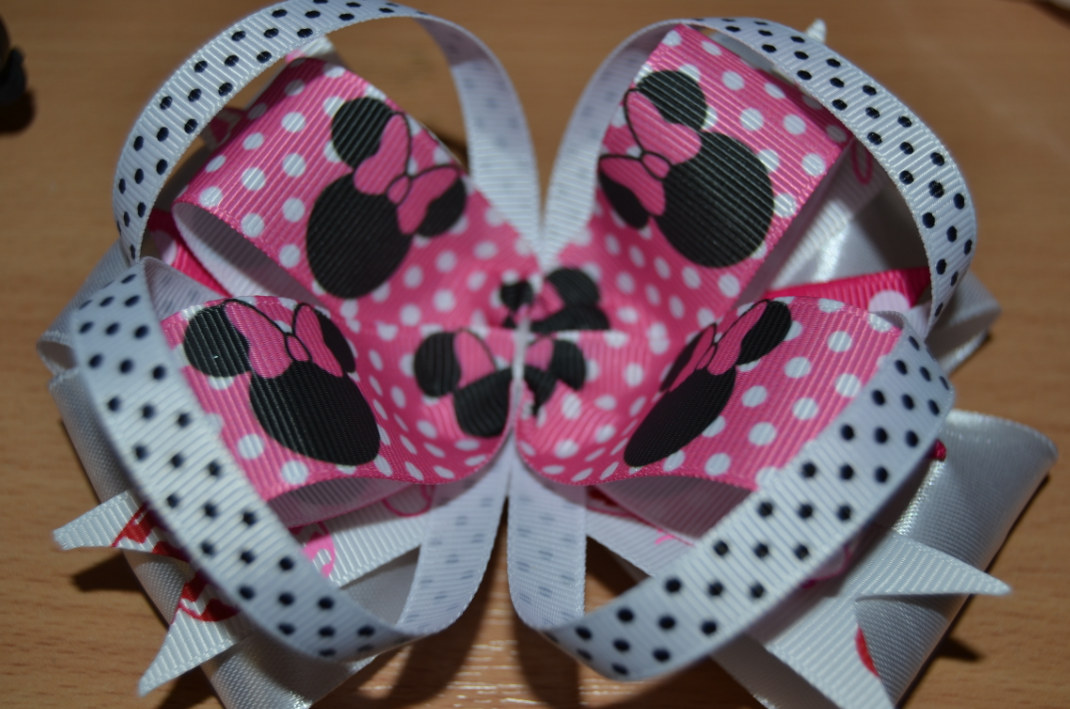
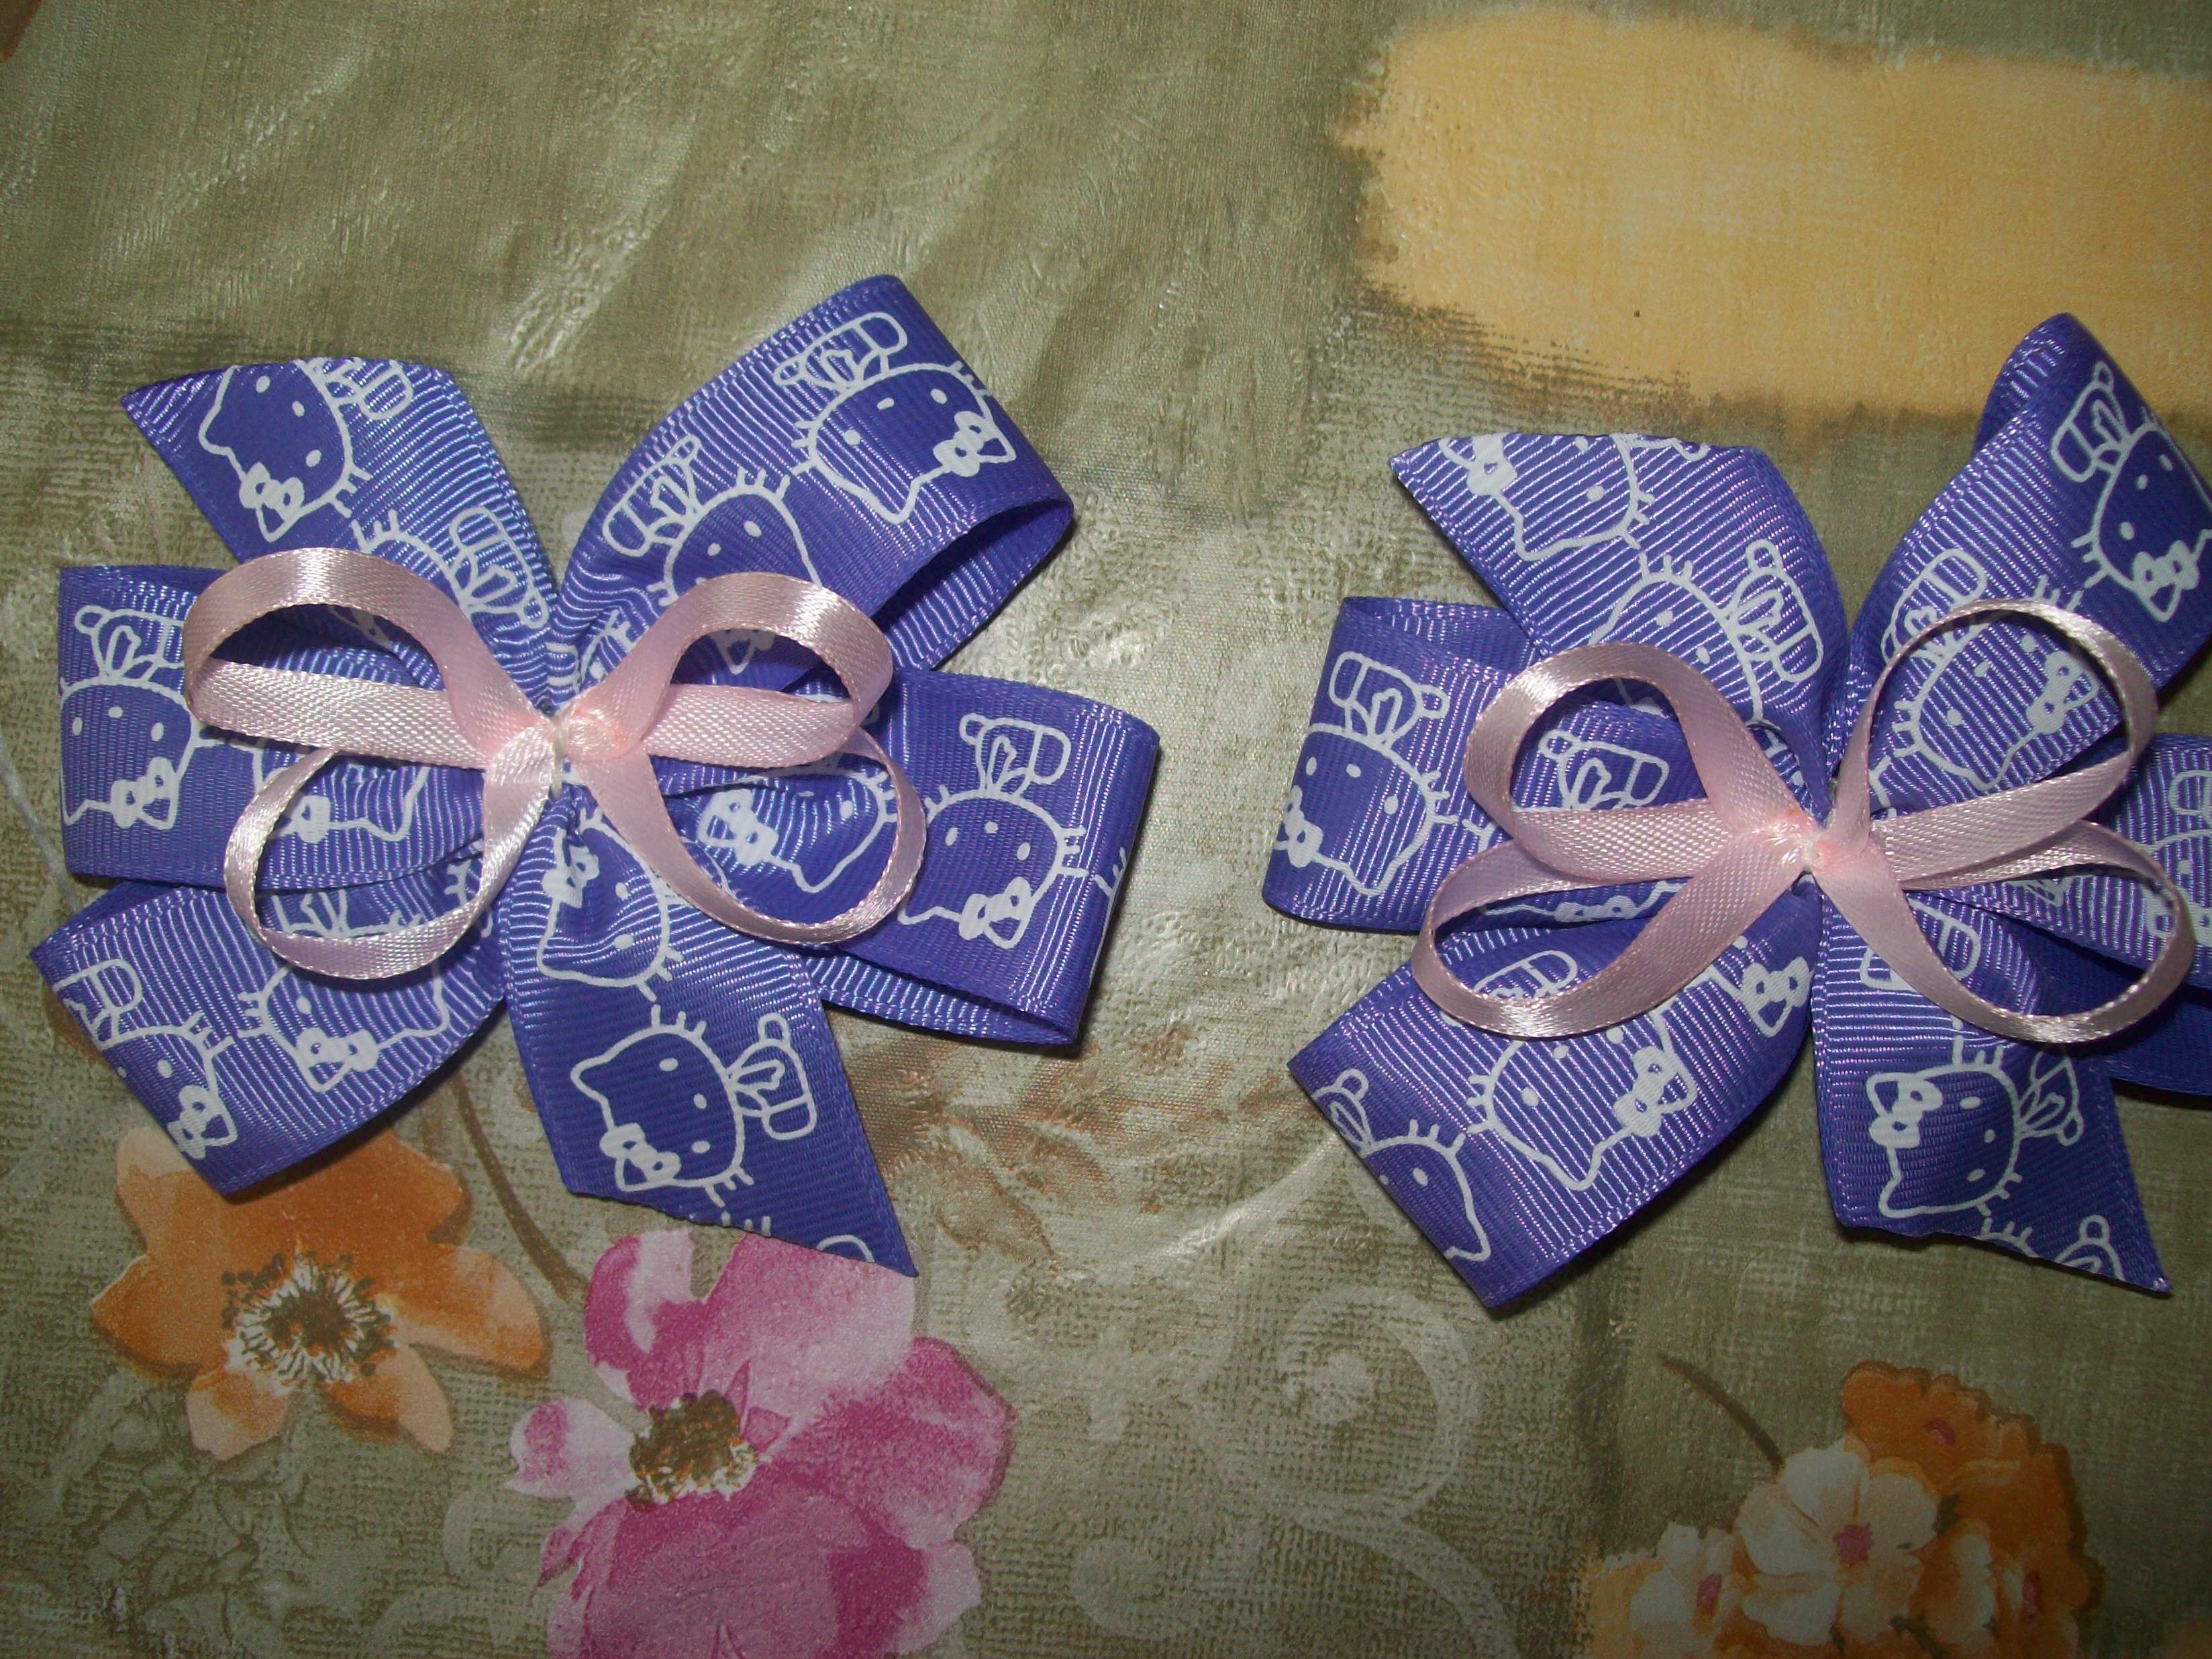
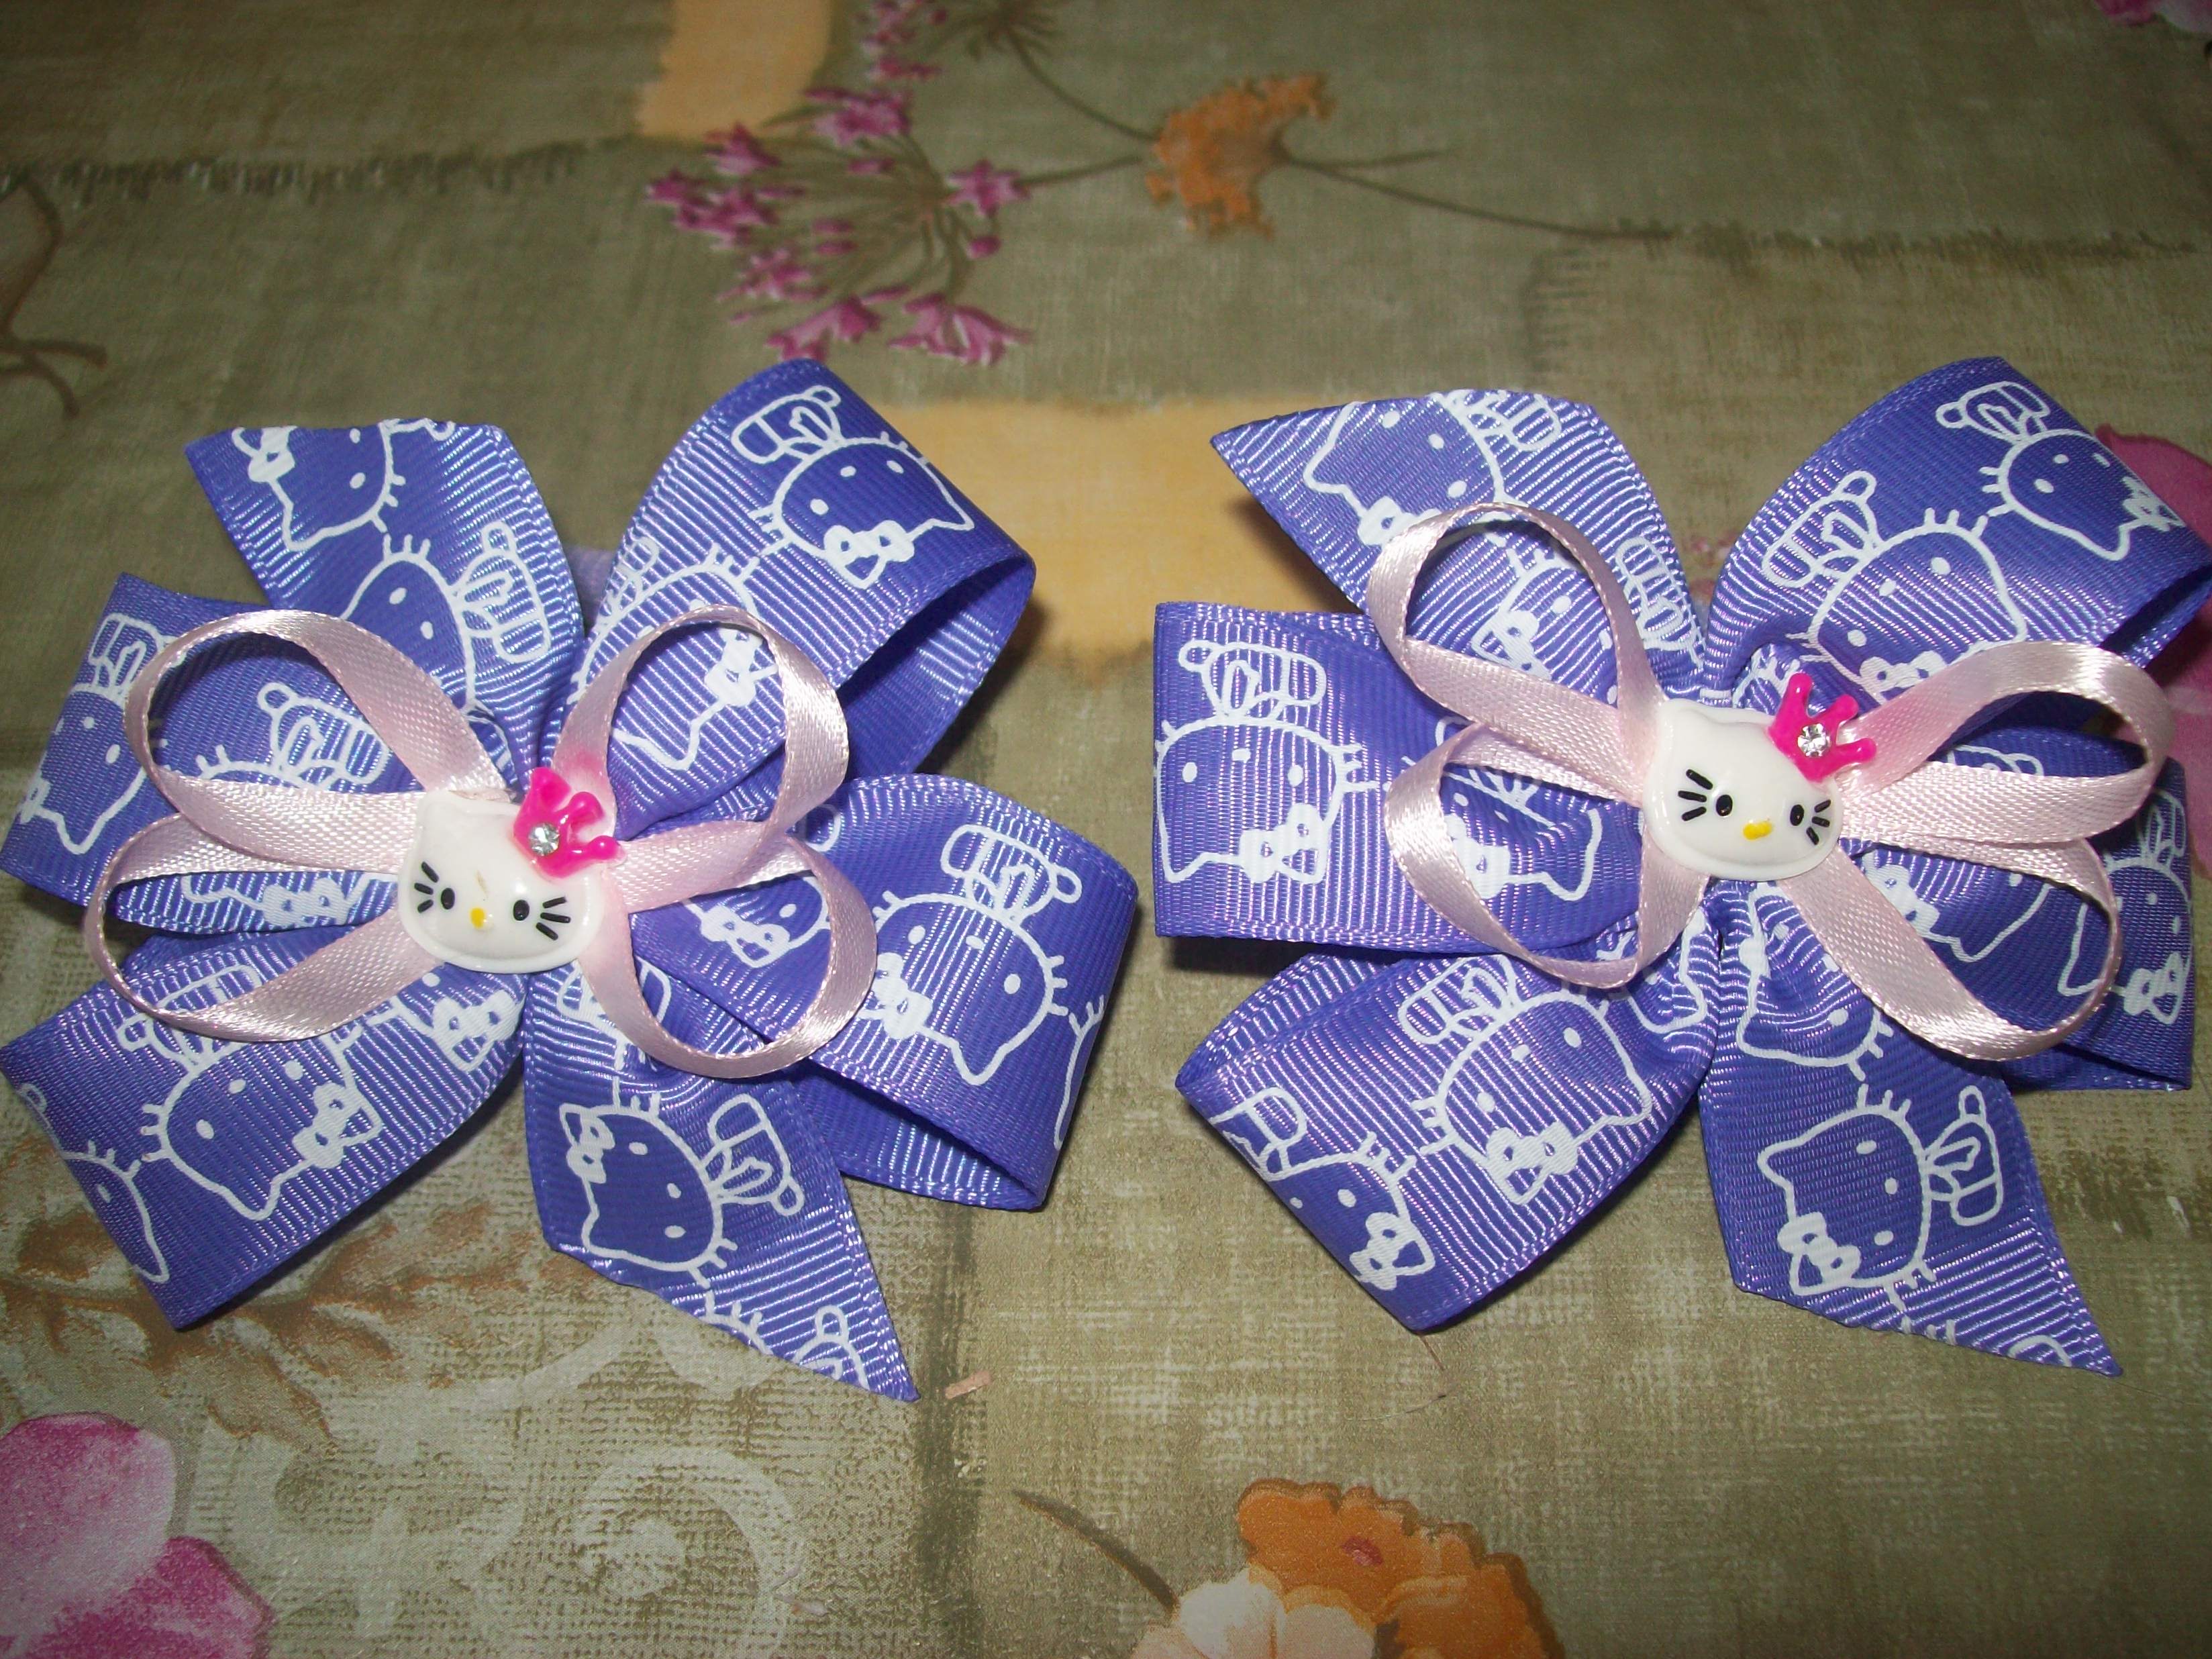
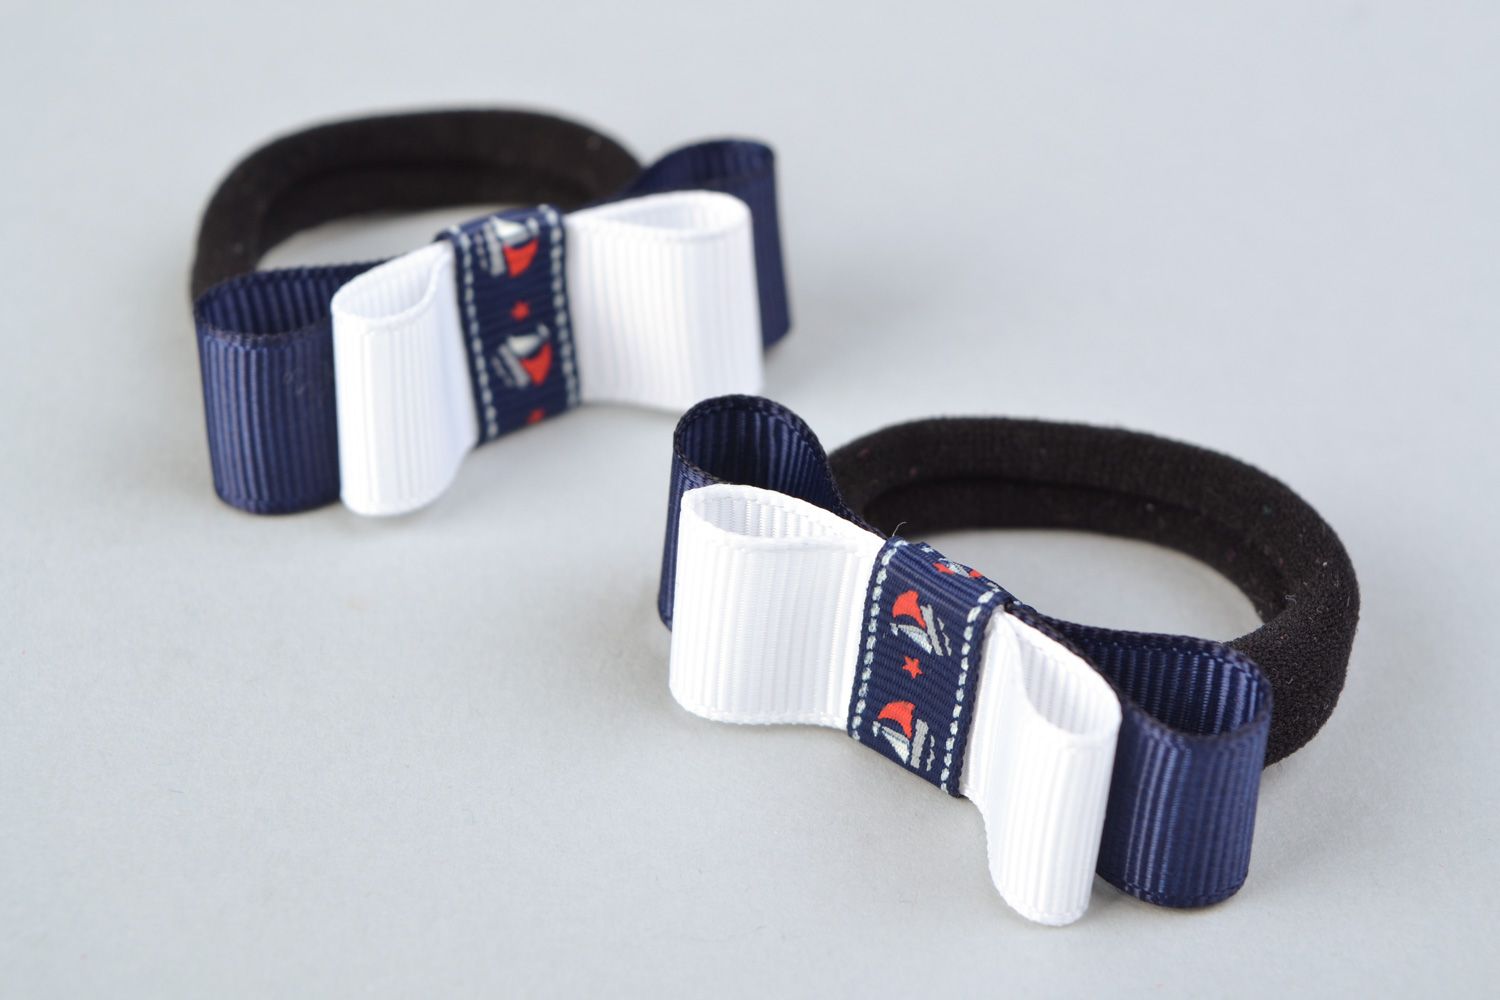
From rep and satin ribbons
You can combine different materials in one product, for example, bows made of satin and rep ribbons look beautiful. For work you will need:
- rep ribbon 14 cm long, 2.5 cm wide – 2 pieces;
- grosgrain ribbon of a contrasting color, 14.5 cm long, 1 cm wide – 2 pieces;
- satin ribbon 19 cm long, 1.5 cm wide – 1 piece;
- lighter or matches;
- threads in tone;
- glue;
- scissors;
- base (hair clip, clip, headband).
Sequence of making a bow:
- Singe the edges of the grosgrain ribbons.
- Place narrow strips in the middle of the wide ones and secure with glue in several places.
- Roll the double ribbons into rings and secure the edges.
- Make two bows. To do this, fold the grosgrain strips in half and tie them tightly in the center with a thread.
- Make one complex bow from two simple ones. First, glue them together, then secure them with a thread for strength.
- Fold the satin ribbon lengthwise, cut corners at the ends. Carefully singe the edges.
- Tie or fold a simple bow so that the forked ends hang freely.
- Place the satin bow on top of the grosgrain bow and secure with thread.
- To disguise the center of the product, which is overloaded with joints, you need to decorate it with decorative elements or put a strip of grosgrain ribbon on top.


Simple round for a girl
Together with your child, you can make a simple round bow from grosgrain ribbon and lace. To make it, you will need:
- rep ribbon width – 2.5 cm, length – 50 cm;
- white double lace, width – 3 cm, length – 15 cm;
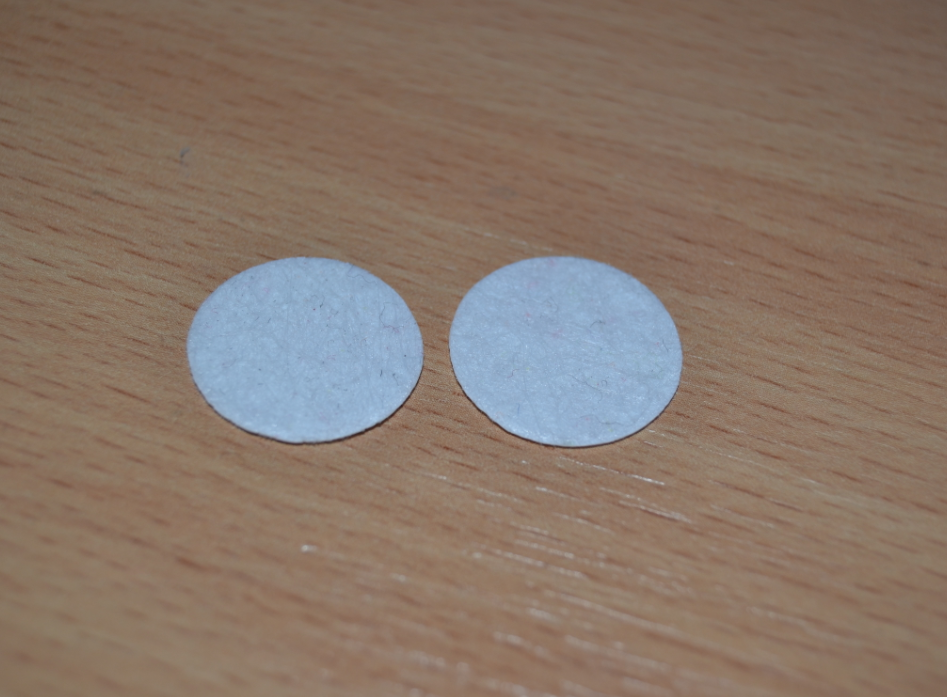
- a felt circle in the same color as the grosgrain ribbon, 3 cm in diameter;
- thread and needle;
- lighter;
- scissors;
- glue gun;
- rubber;
- decor.
Making a bow:
- Use a lighter to singe the cut areas of the grosgrain strip.
- Make folds along the longitudinal edge of the tape and secure with large stitches.
- Form the resulting frill into a spiral, place it on a felt circle and glue it.
- Fold the lace strip in half along the long side.
- Sew the inner edge with small stitches.
- Pull the thread tight, but not all the way, so that a small hole remains inside.
- Glue the lace frill inside the round grosgrain bow.
- The center can be decorated with a cabochon, a half-bead, a beautiful button of the appropriate size, or a small flower made of foamiran.
- Attach the resulting bow to the elastic band.


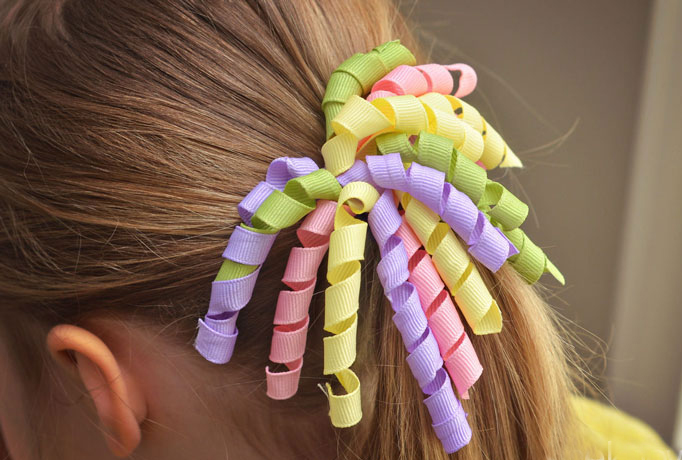
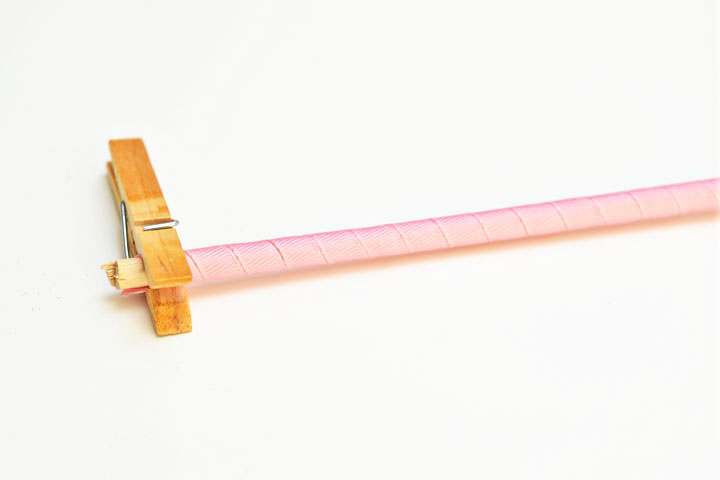
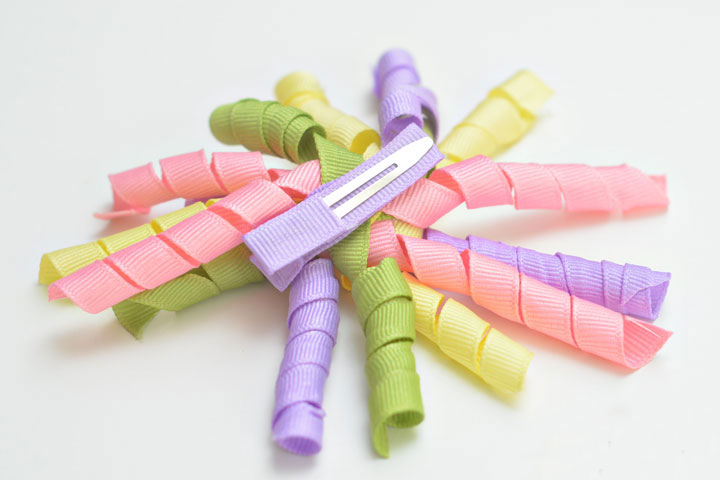
Fantasy with spirals
Spirals made from narrow grosgrain ribbons can be used as an independent decoration or to complement any bow. To make the strip curl like a serpentine, you need to wrap the ribbon around knitting needles or straight wooden sticks, then wrap it in foil and place it in the oven for 10 minutes, preheated to 180 degrees.
There is another way to make spirals from rep (or satin) ribbons. For this you will need:
- iron;
- gauze;
- threads;
- scissors;
- lighter;
- metal tubes with a diameter of 5 mm;
- tape width 0.6 cm.
Manufacturing sequence:
- Wind the tape tightly onto the tube so that the turns do not overlap each other.
- Secure the ends with thread.
- Place the tubes on an ironing board and cover with damp gauze folded in 2 layers.
- Iron with a hot iron for 3 minutes.
- Turn over to the other side and repeat the action.
- Allow the product to cool completely.
- Remove the coils from the tubes.
- Trim off the ends of the ribbons that are wrinkled by the threads.
- Scorch the edges with a lighter.
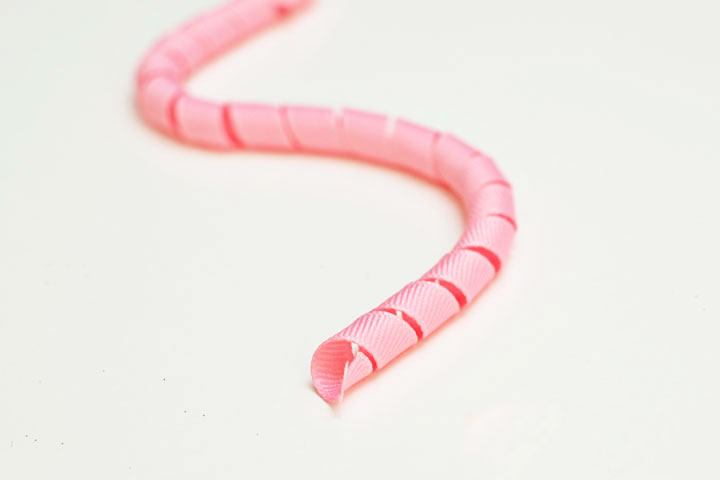
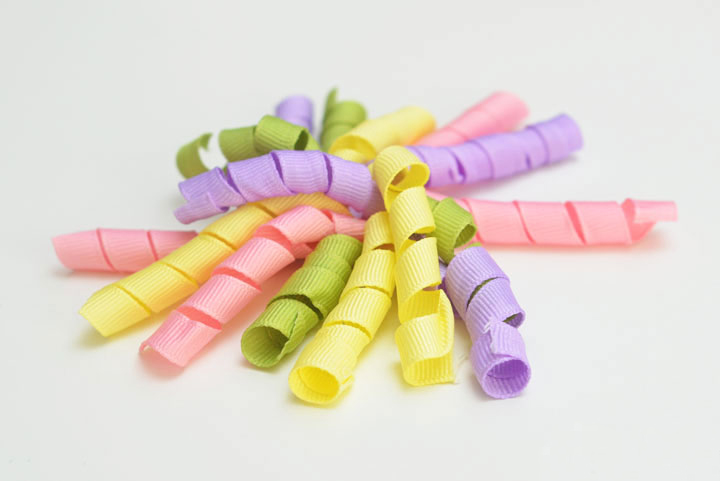
Once the spirals are ready, you need to put them on the needle one by one with the center, having previously cut the length to the desired one. You get a voluminous spiral bow. You can also leave them long and attach them to the decoration made according to the selected master class. This should be done before gluing the decor, so that they cover the joints.
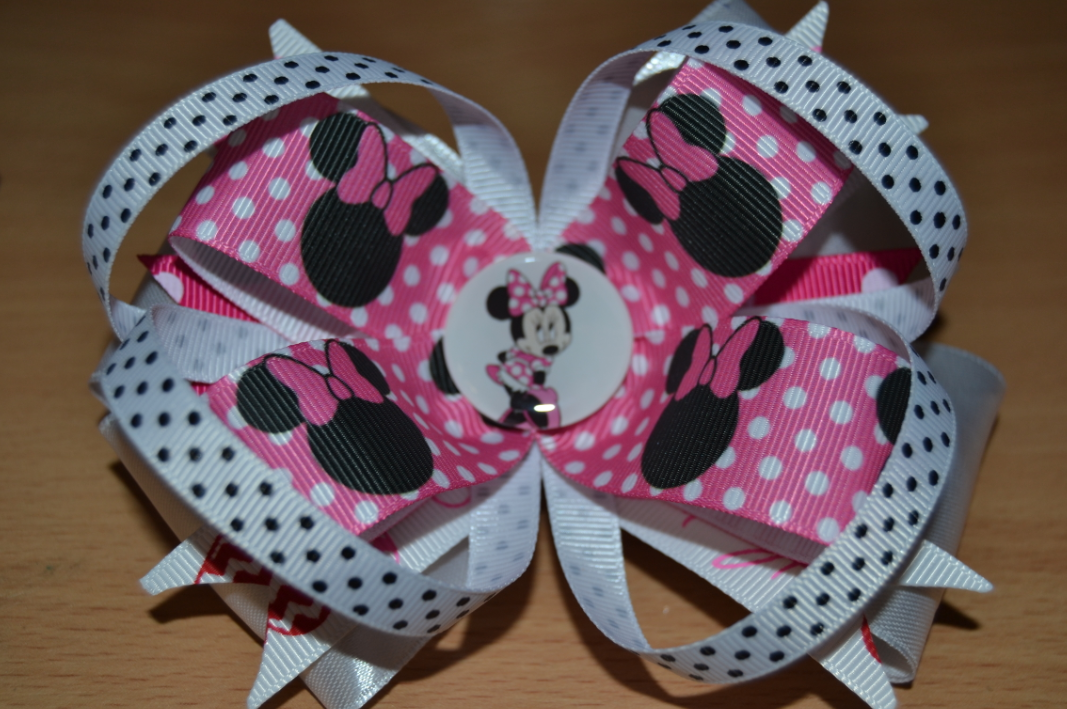
Additional decor
Before making a beautiful bow, a lot of manipulations are carried out with the grosgrain ribbon - stitching with threads, tightening, gluing. Because of this, the central part often looks untidy. To make the product look attractive, various decorative elements are attached. The middle of the bow can be decorated:
- beads;
- half beads;
- sequins;
- cabochons;
- tops;
- rhinestones;
- with beautiful buttons;
- artificial pearls;
- beads;
- flowers made of foamiran.
You can create real works of art from rep ribbons. But it is worth noting that you need to start with simple master classes, and then move on to more complex and interesting patterns. A decoration created with your own hands will certainly become a source of pride.
Video