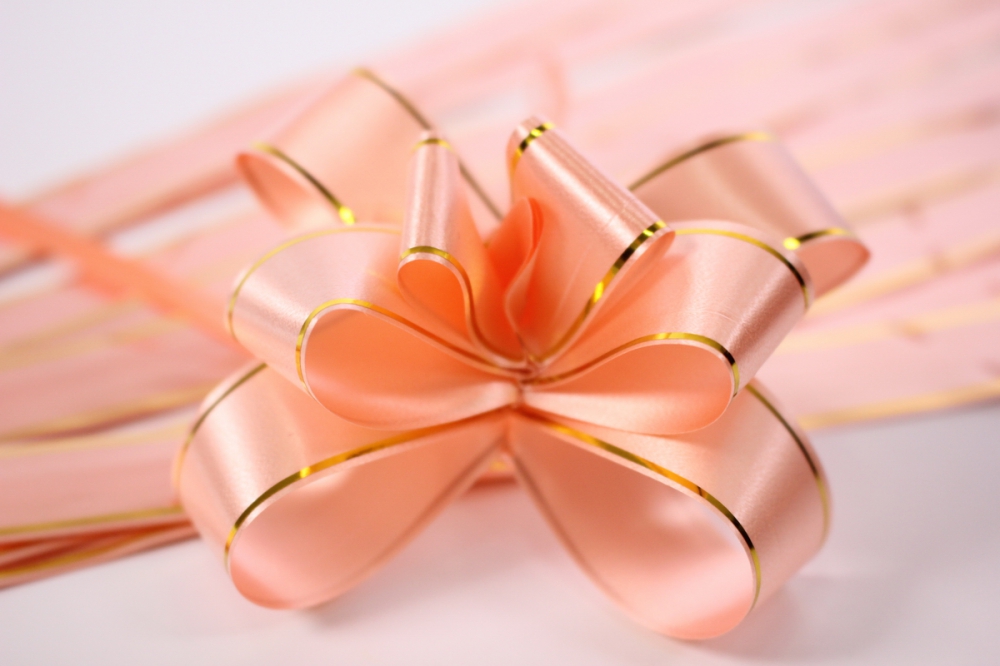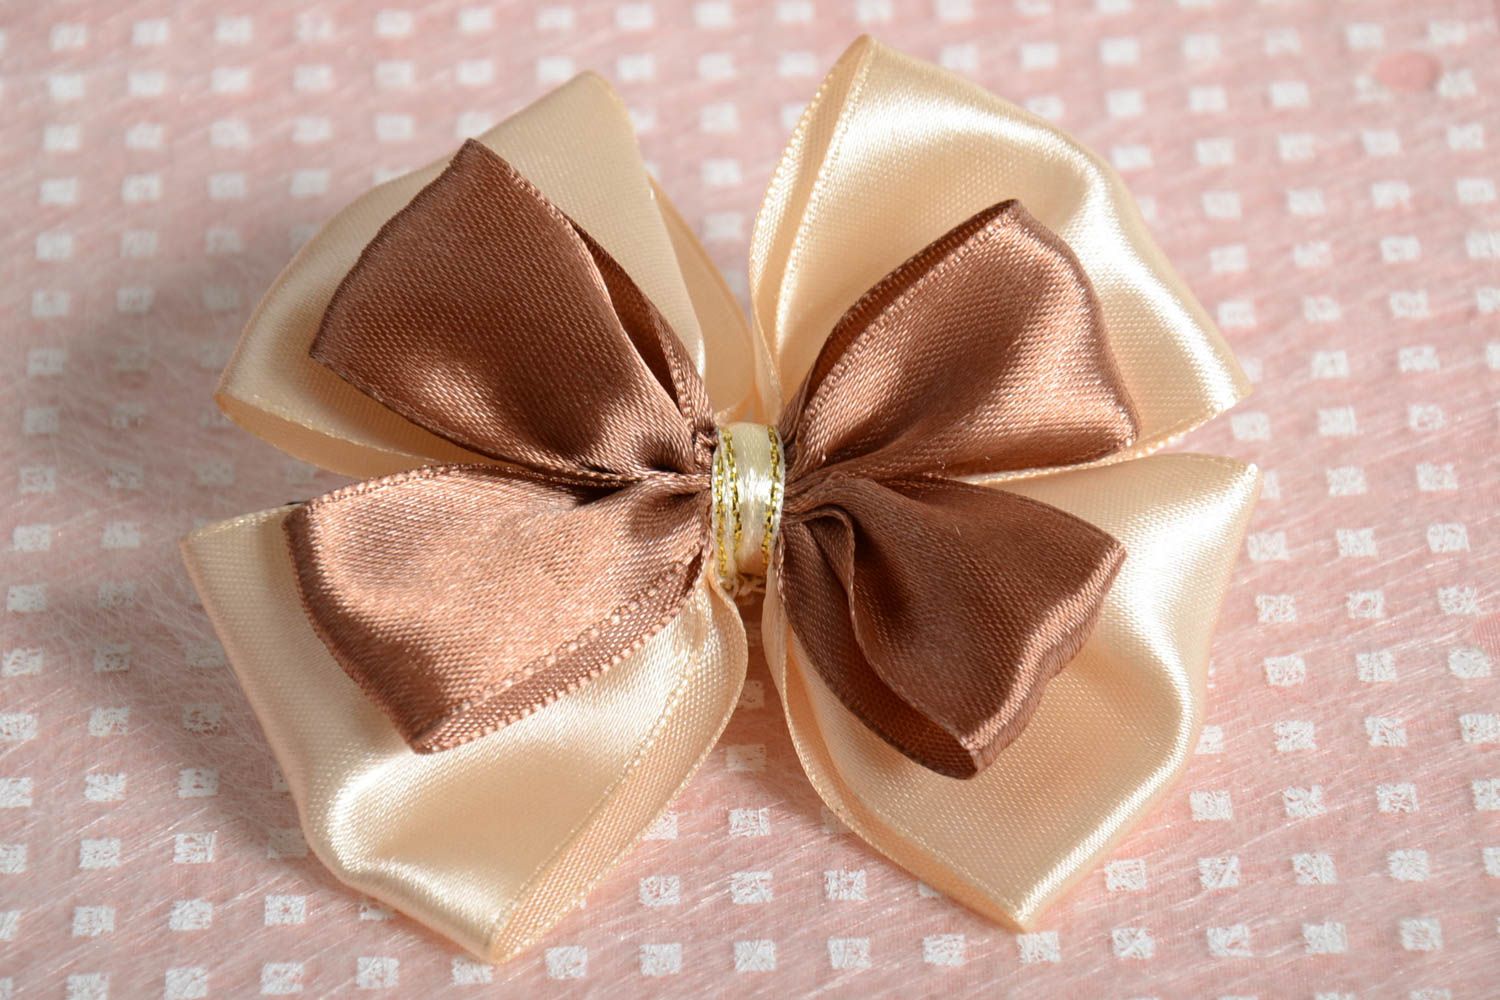
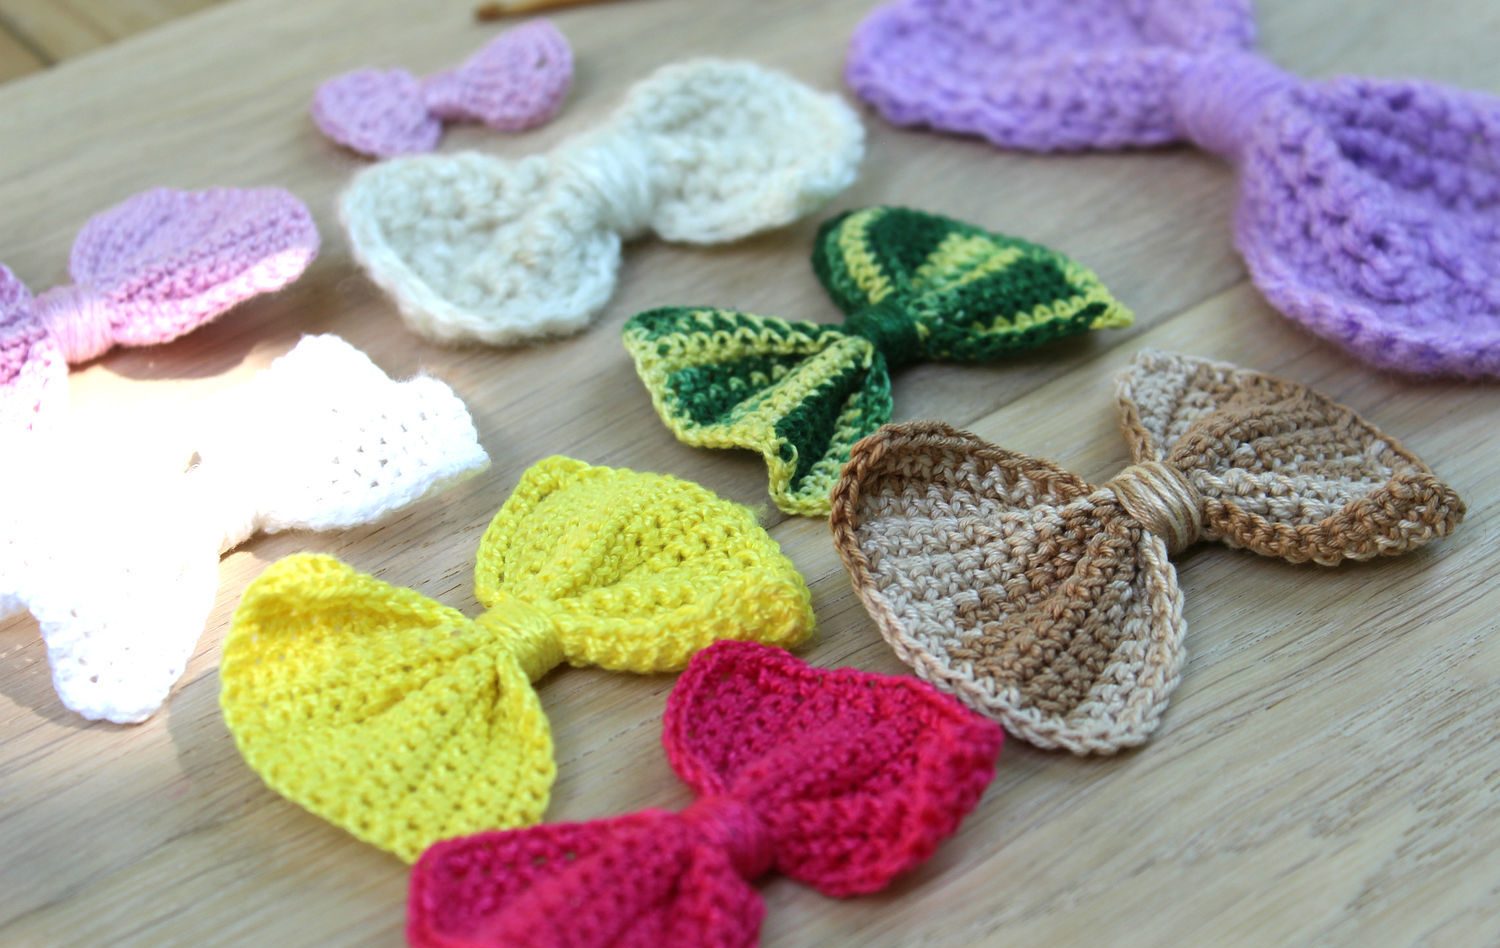
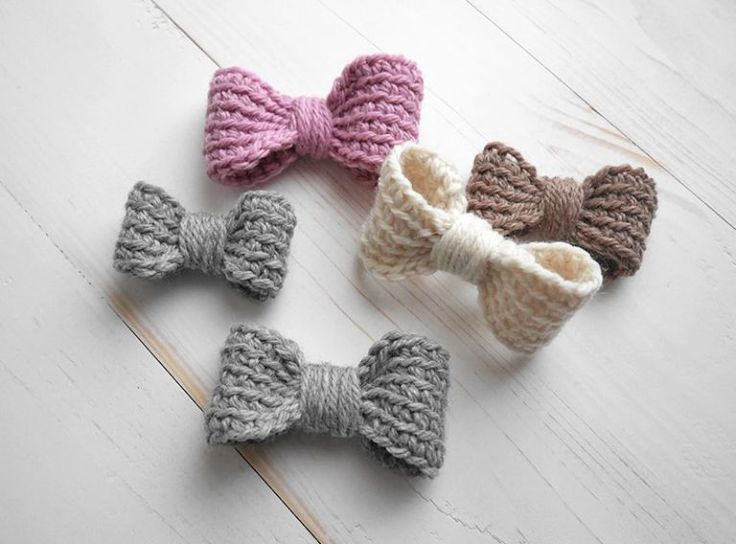
A neat bow can become a decoration of clothes or an accessory. Depending on the shape and size, this decorative item can be combined with a variety of wardrobe styles. A crochet bow, which is quite easy to make yourself, deserves special attention. It can be hung on a hat or dress. Plush or knitted toys are decorated with it no less often.
Necessary materials
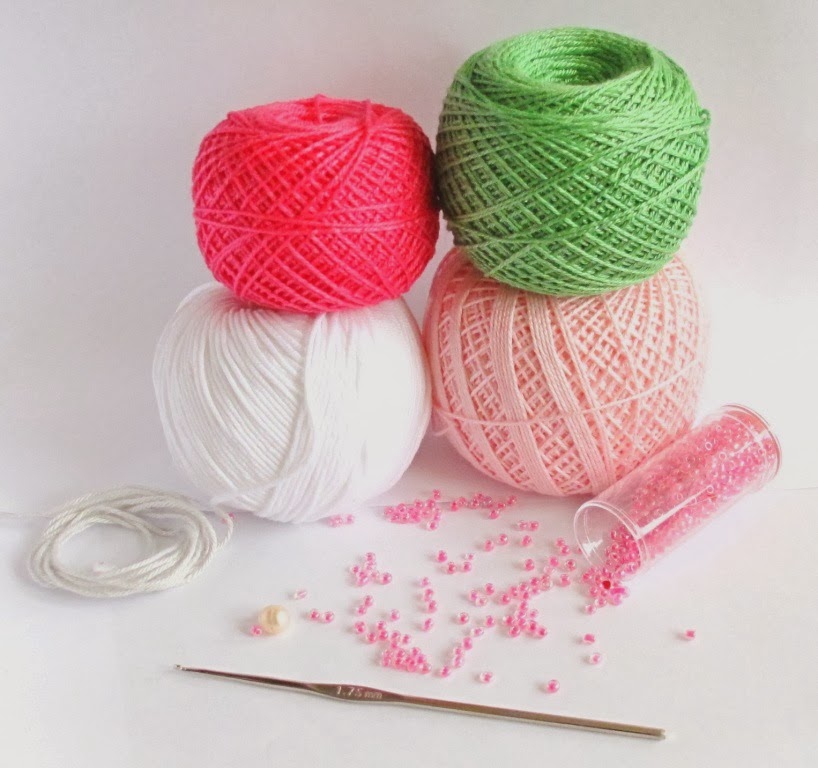
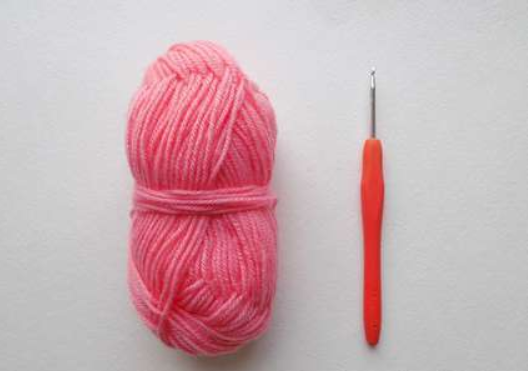
To crochet a small bow, you will need a small tool with a metal tip. For example, when creating amigurumi toys and bows for them, the density of the fabric is important so that the finished product does not show through. This is achieved by using a narrow hook - No. 2 or 2.5. The tool is chosen to be approximately one and a half to two times thinner than the threads.
For crocheting bows, it is best to use tightly twisted thin cotton - it holds its shape perfectly. Sometimes they use cotton mixed with acrylic and wool. Such threads almost do not fade, behave well during use (do not roll, are easy to wash). In addition, for work you will need well-sharpened scissors, a ruler, needles, and a measuring tape.
Step-by-step master class taking into account the model
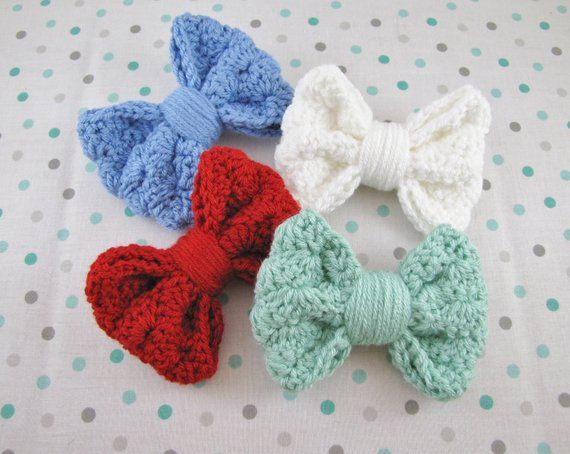
Before you knit a bow, you need to decide on the shape and size. It is worth considering that this decorative element has several models that can be used to decorate toys, clothes, and handbags. By changing the thickness of the thread and hook, you can experiment with the size and textures.
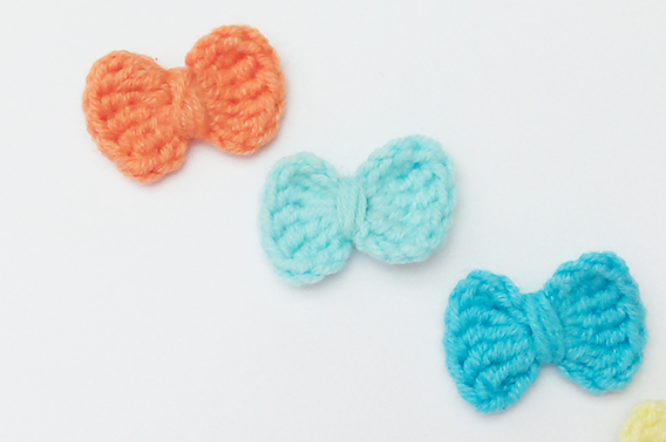
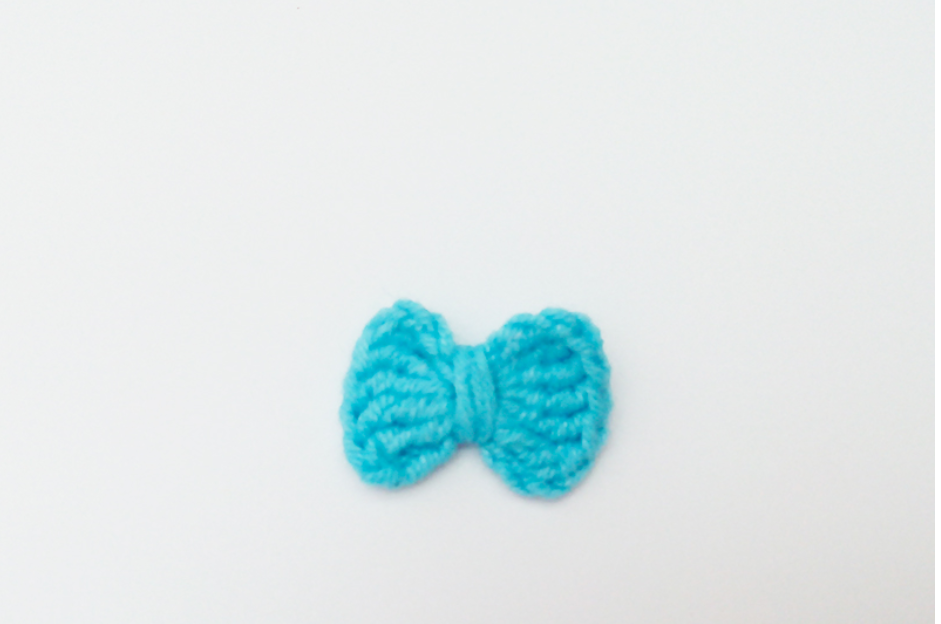
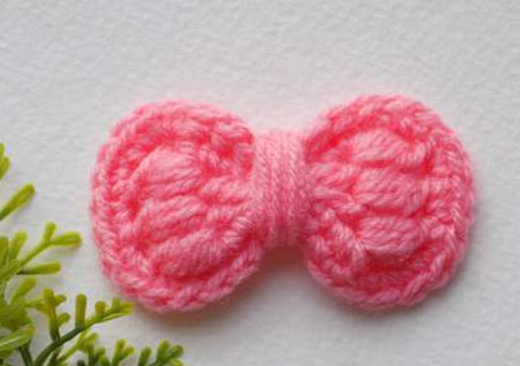
Small for amigurumi
This Japanese term refers to small knitted toys that can fit in the palm of your hand. The bow for amigurumi is made according to the following instructions for beginners:
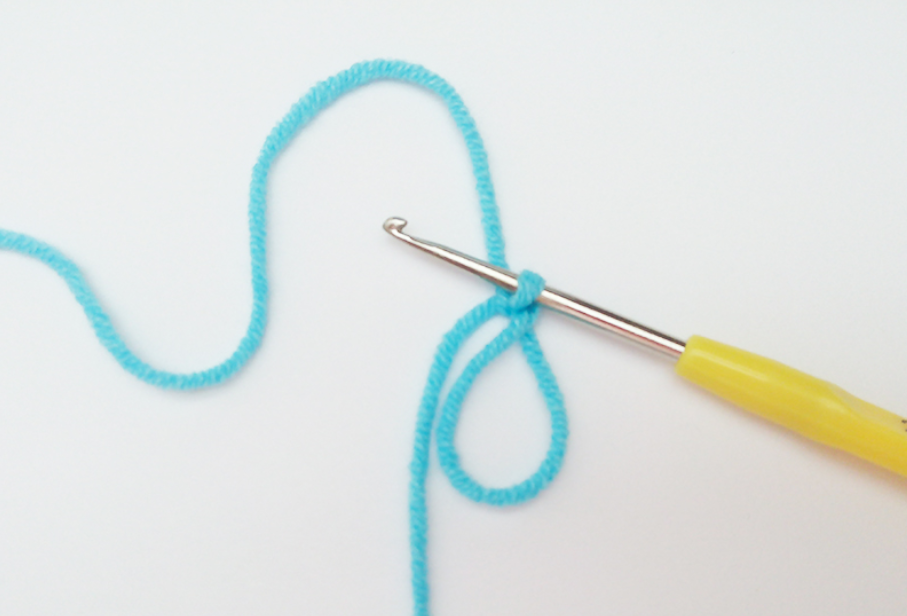
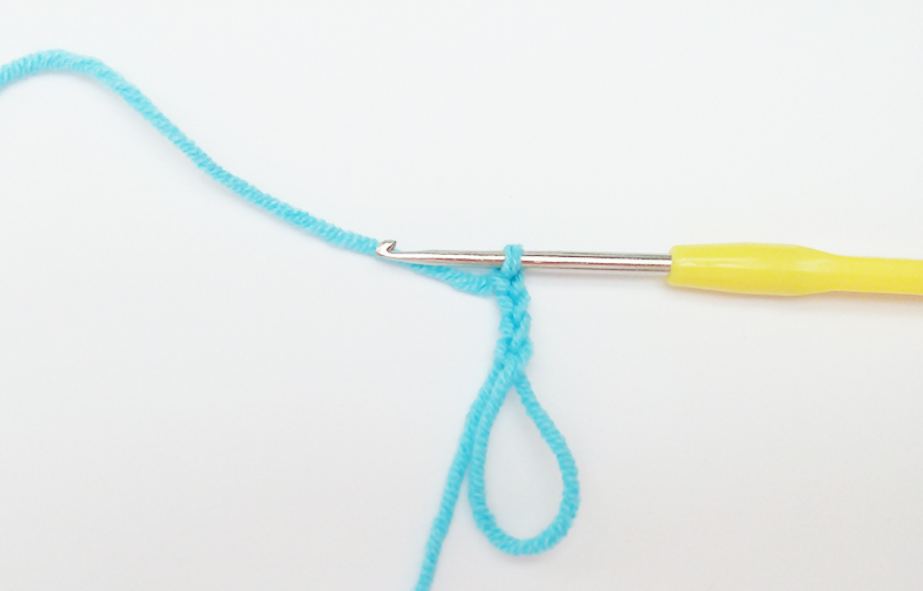
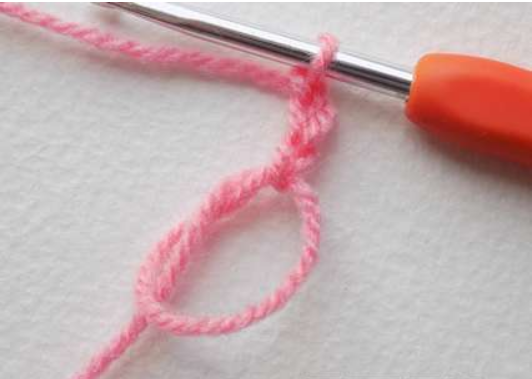
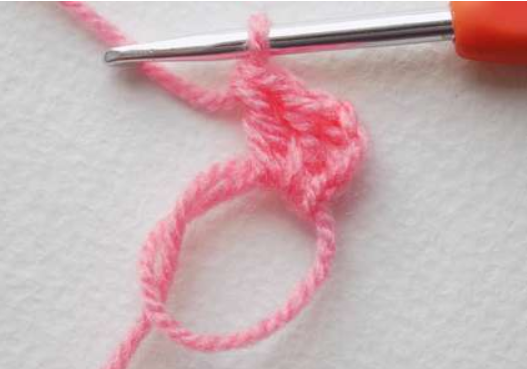
- Create a ring from the thread.
- Make 6 air loops.
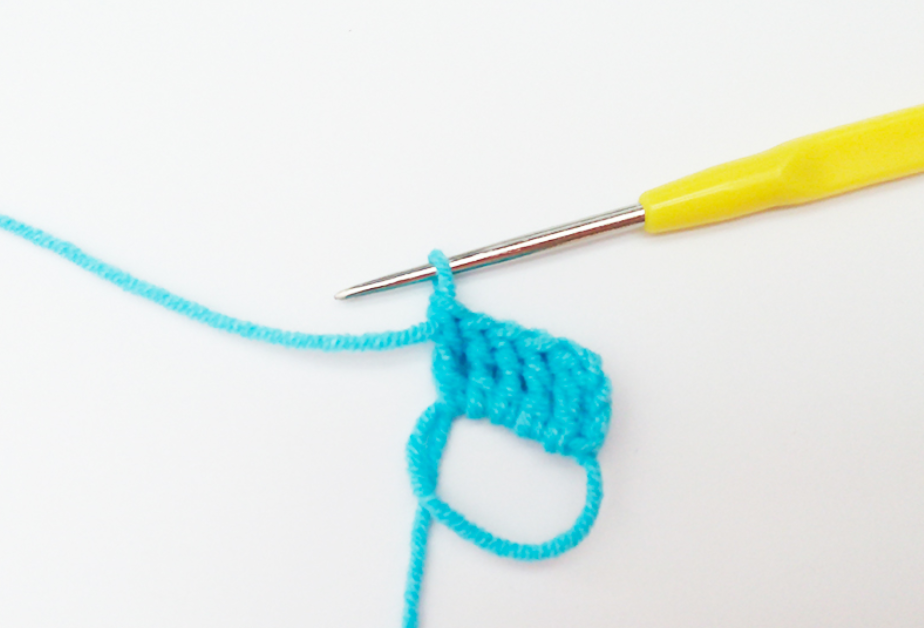
- Six columns with three yarn overs are collected into the ring.
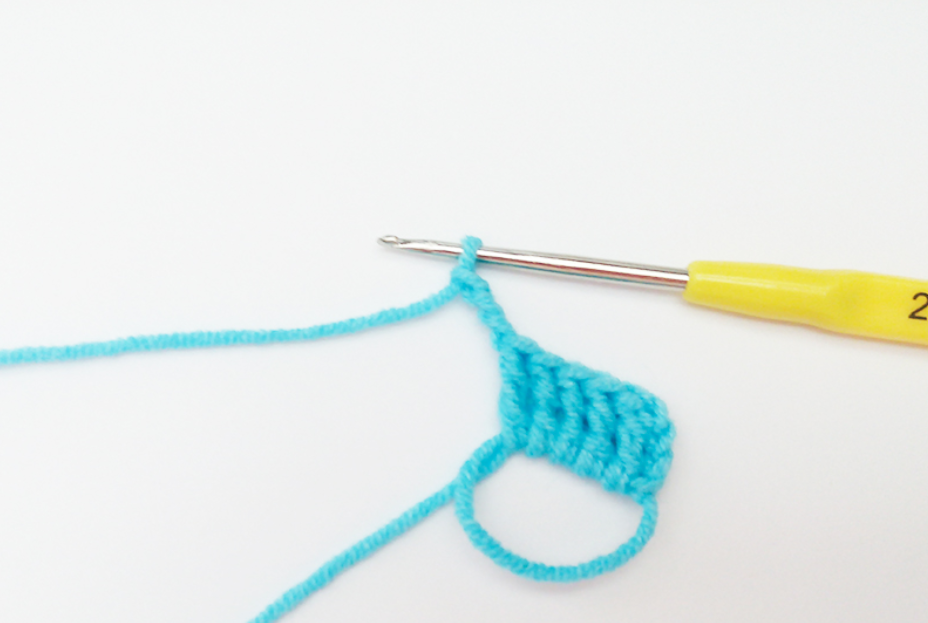
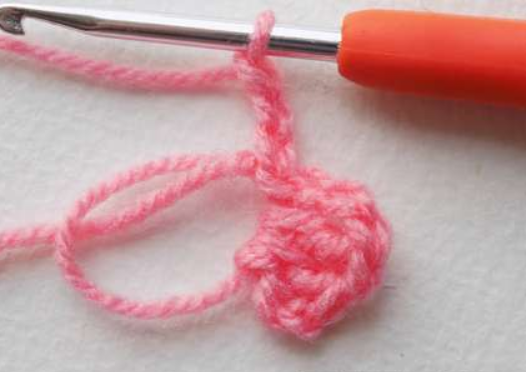
- Knit 5 air loops, fix them to the ring with a connecting post. The first half of the crocheted bow can be considered ready.
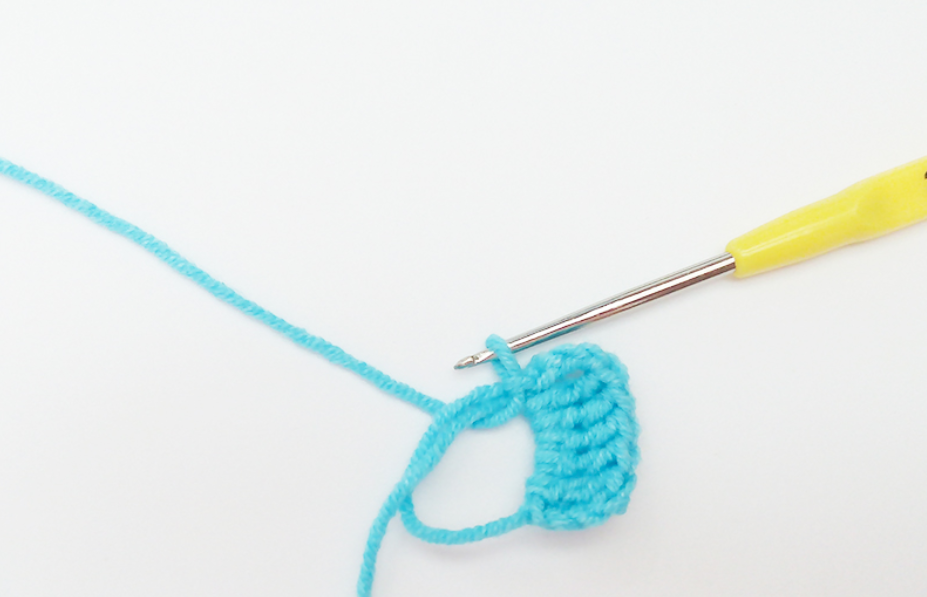
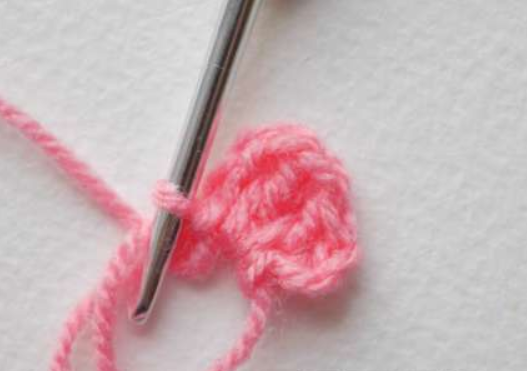
- The second part of the product is made in a similar way.
- The thread is fixed and the amigurumi ring is carefully tightened so that it does not break.
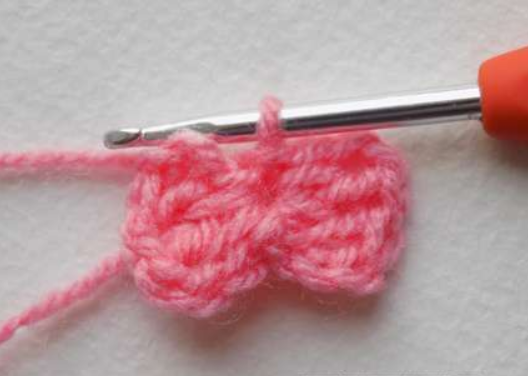
- The tail left over from the yarn is wrapped around the central part of the bow. This will help form the middle.
- The thread is cut after being secured. The bow is completely ready.
Even beginner needlewomen can crochet an amigurumi bow. Without spending much effort and time, you can create a cute decoration for your favorite soft toy with your own hands.
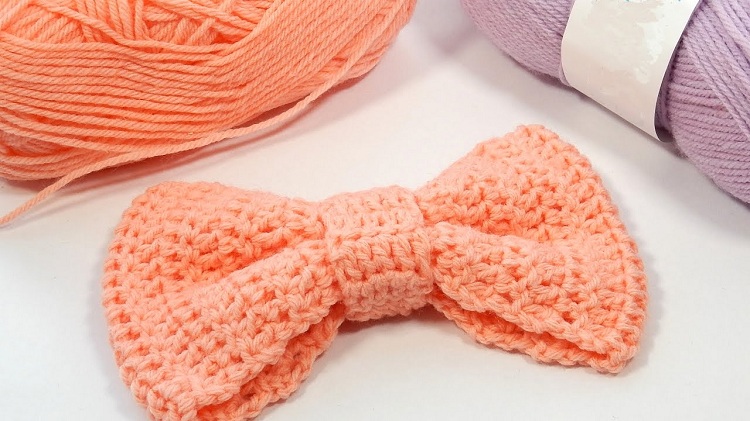
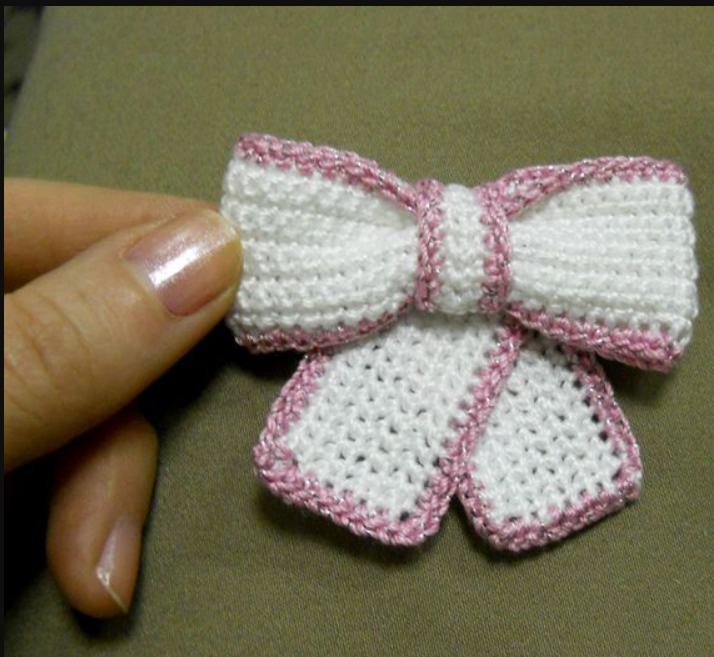
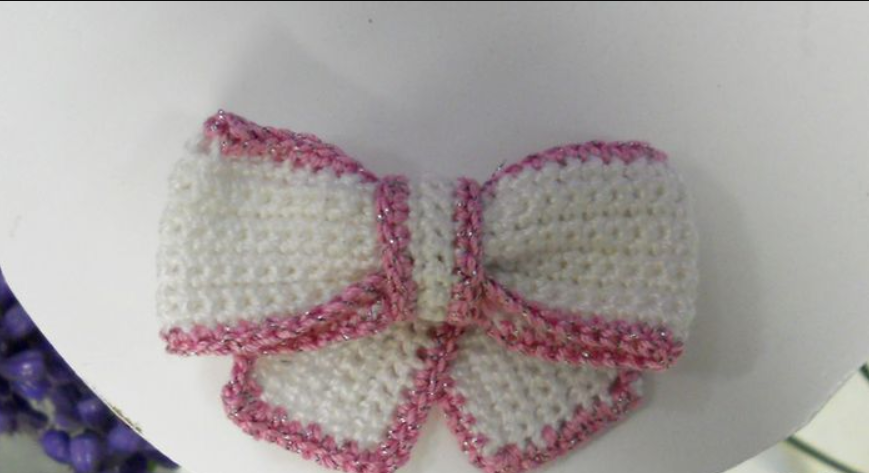
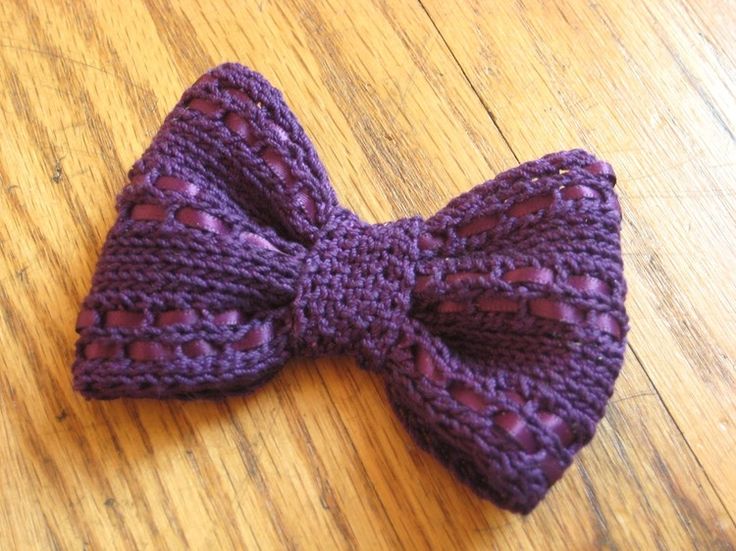
Volumetric bow
A voluminous bow is used to decorate children's clothing. Handbags, tablet or phone cases decorated with it look good. You need to choose two colors (the main one and for the edging) that go well together.
Since the knitted bow turns out small, you won’t need a lot of thread; you can use up the remains of old yarn.
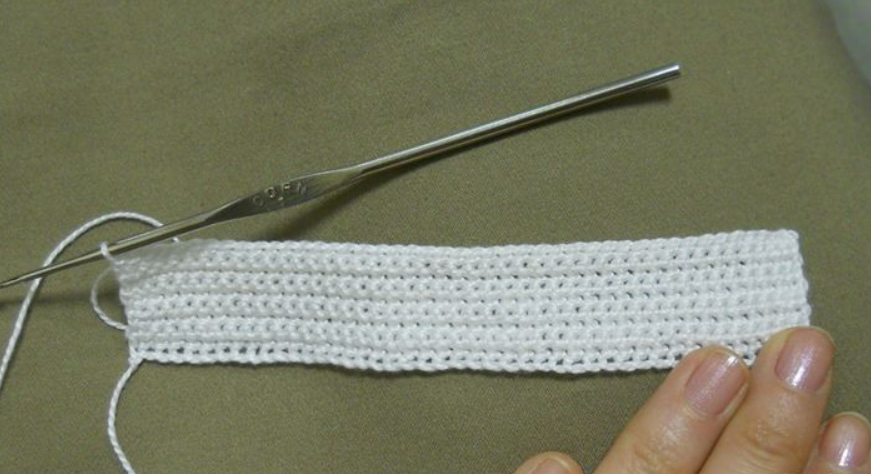
It is better not to use thick threads (wool, acrylic), the product will look ugly. The ideal option is pure cotton. The pattern is single crochet. The pattern of a lush crochet bow is as follows:
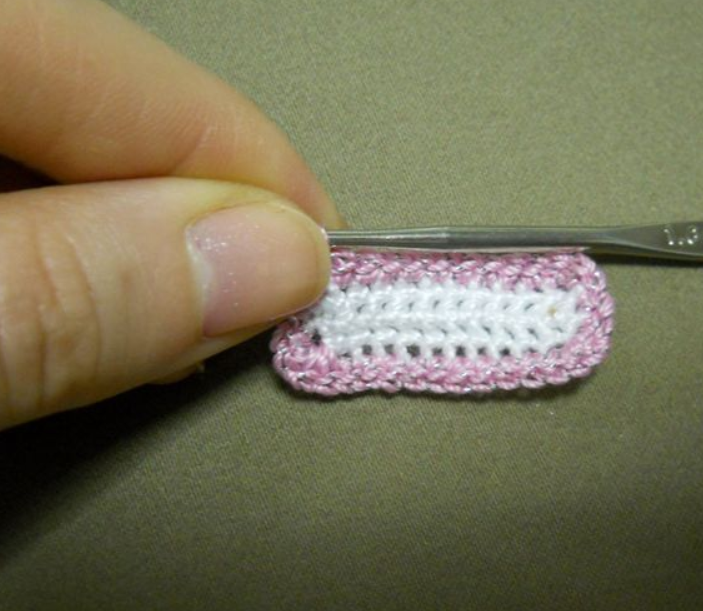
- Cast on 45 chain stitches.
- Knit 9 rows in the main color (you can do less or more, depending on how wide you want the product to be).
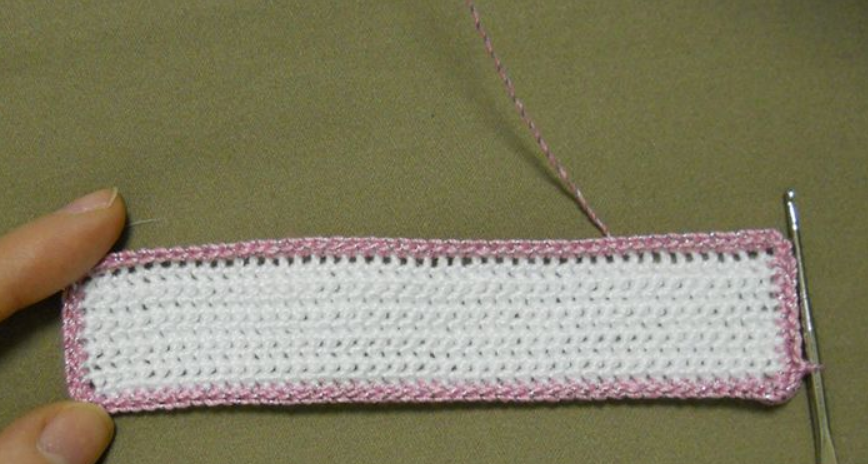
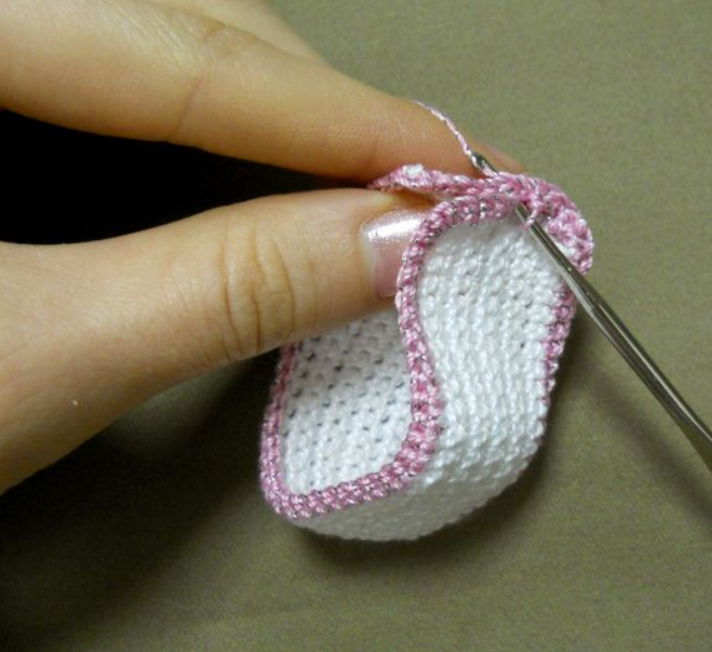
- The edges are tied in this way: one column in each loop, and three in the corners. The thread is not cut, it will be needed later.
- The short edges of the rectangle are joined together and knitted with half-columns. If everything is done correctly, you get a ring of knitted fabric.
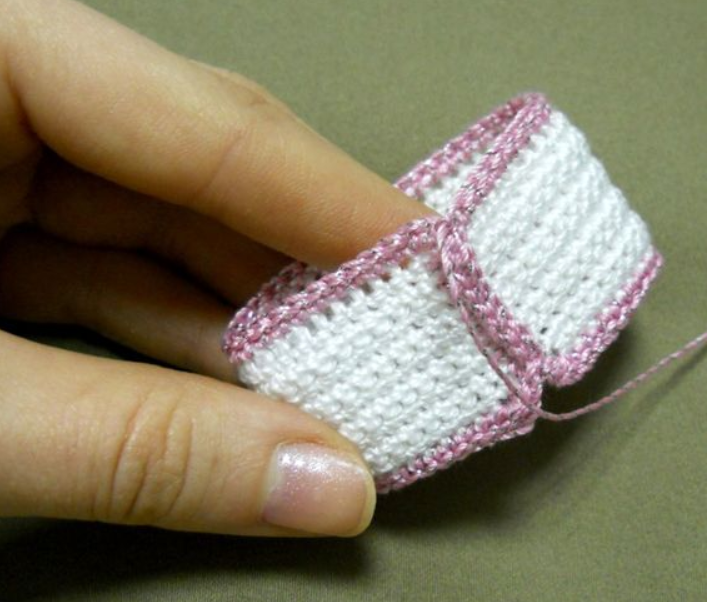
- In the same way, knit a small jumper that will fix the bow in the center and cover the main seam.
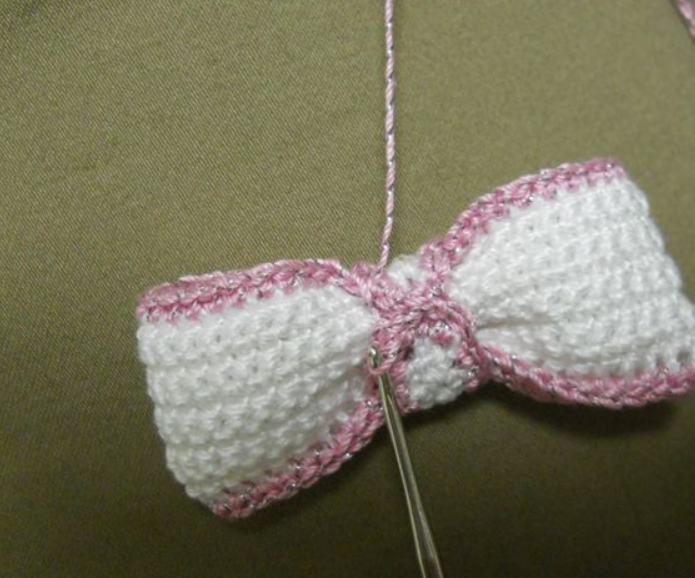
- The wide part is wrapped around the narrow part, the jumper is closed into a ring. As a result, a bow is formed.
If desired, tails can be added to the product. To do this, knit a strip of small width, bend it in the center so that the ends stick out in different directions. Attach to the bow with a crochet hook from the back side.


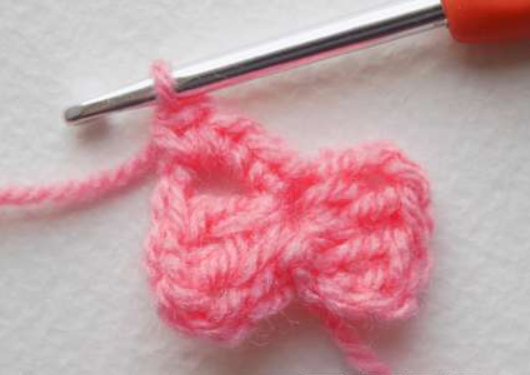
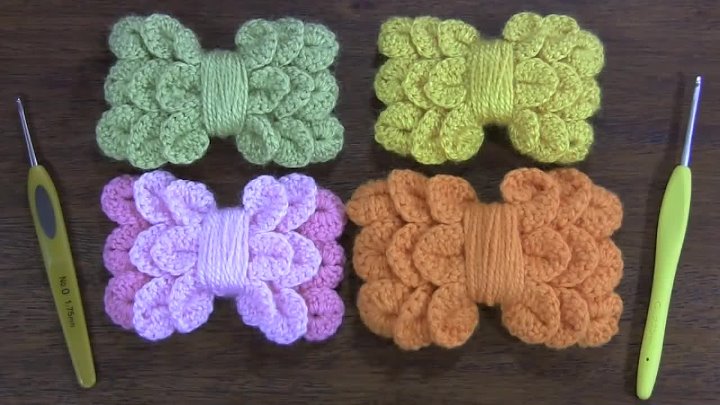
Butterfly
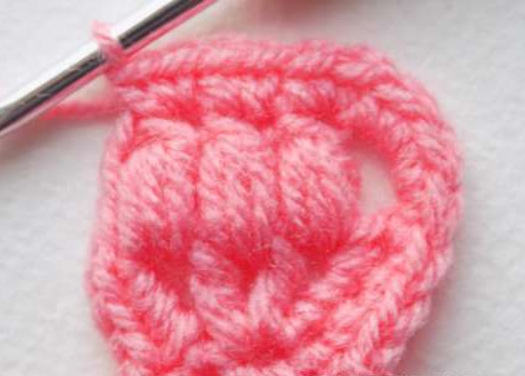
There are several options for how to crochet a bow in the shape of a butterfly. The most popular accessory is made of lush columns. It requires yarn of any texture and shade, the hook is selected according to the thickness of the thread. Description of the work process:
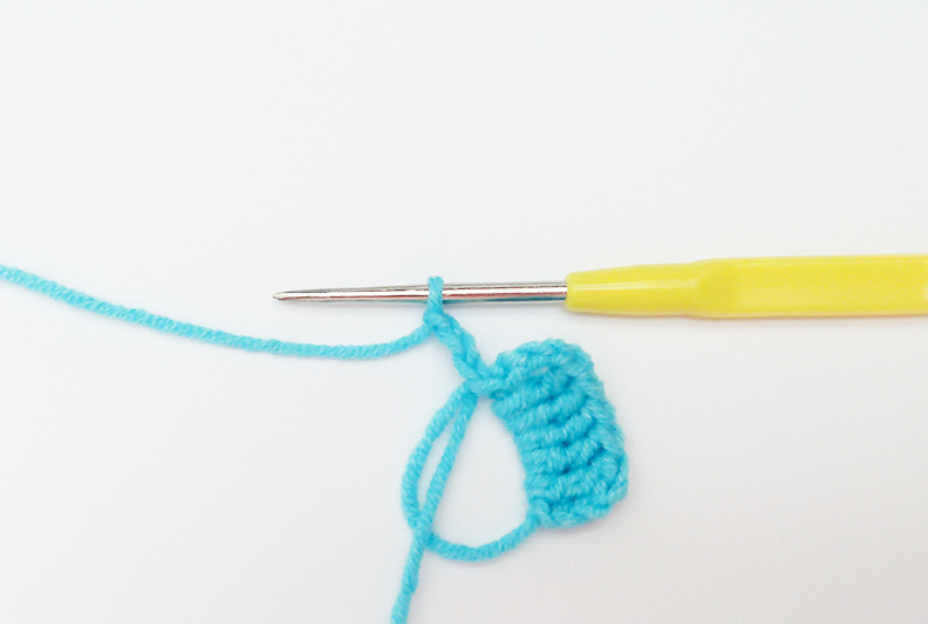
- Make a ring from the thread and knit 3 air loops.
- Cast on 2 double crochet stitches into a ring.
- Make 2 air loops and secure them with a slip stitch. You have one half of a bow.
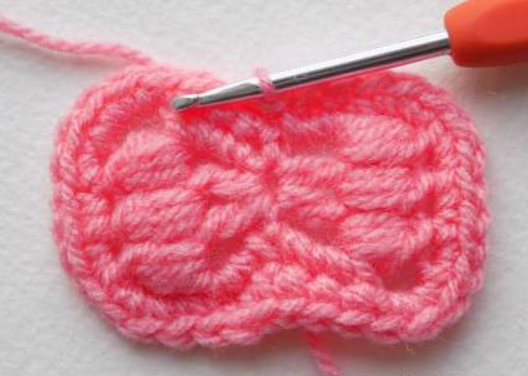
- The execution of the second part is no different from the first.
- The connecting ring is tightened.
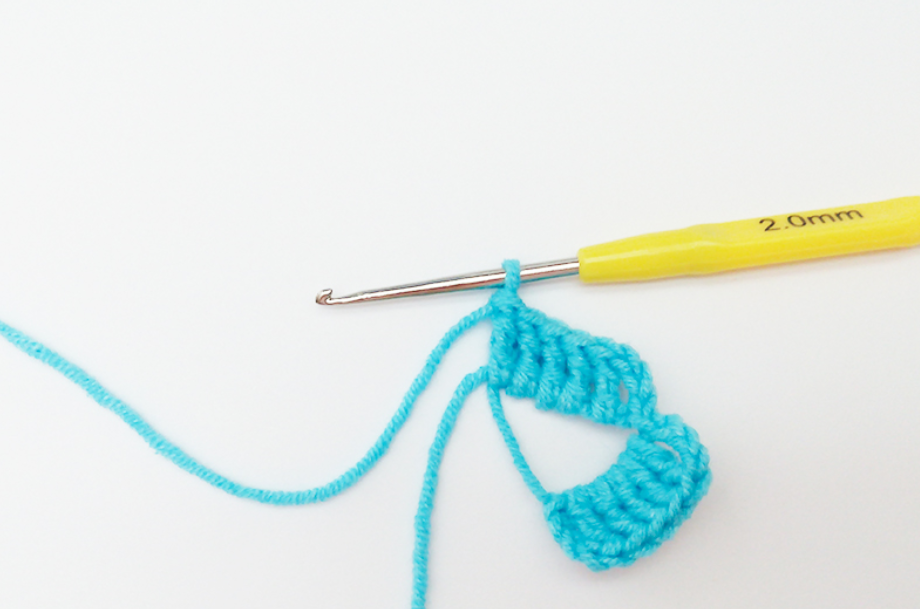
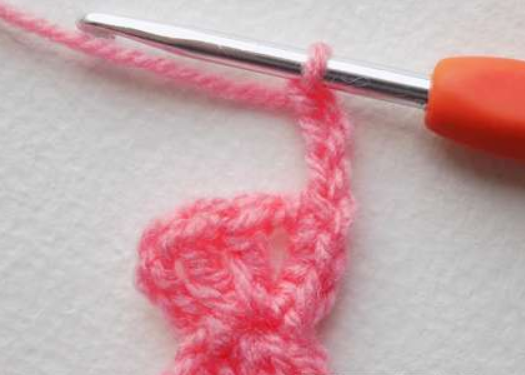
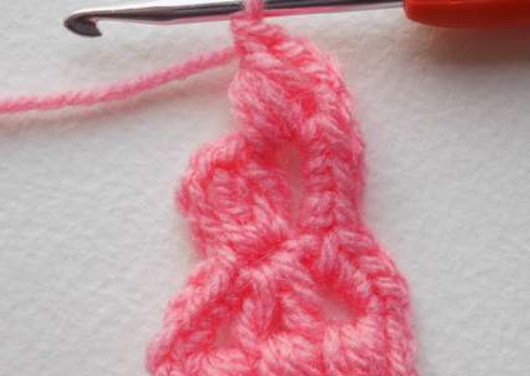
- Proceed to the second row. In the first chain of air loops, knit 3 single crochets, then 3 more lifting loops.
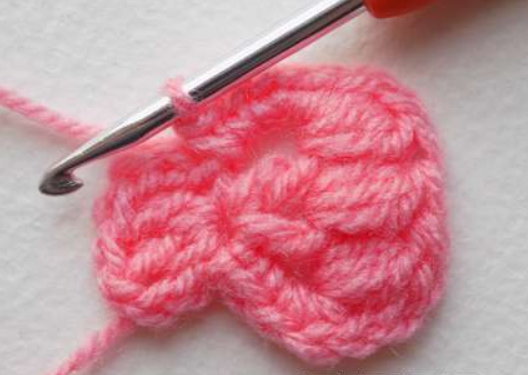
- Next come the lush columns. They are made like this: in the first arch, three unfinished columns with a yarn over are knitted and connected with one top. The second and third arches are made similarly.
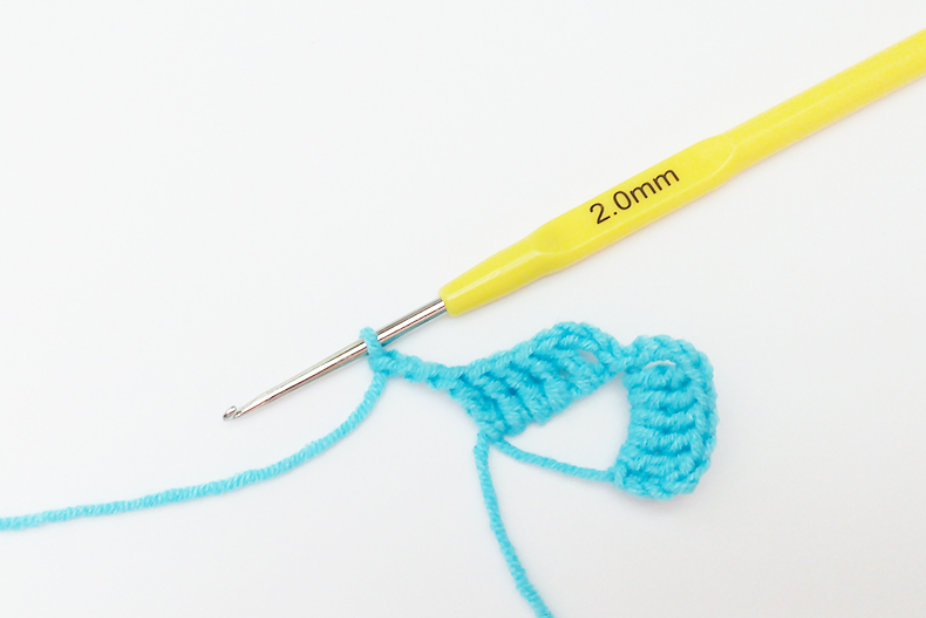
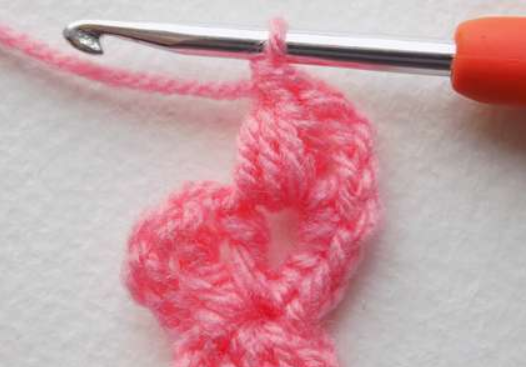
- In the last arch, knit three single crochet stitches.
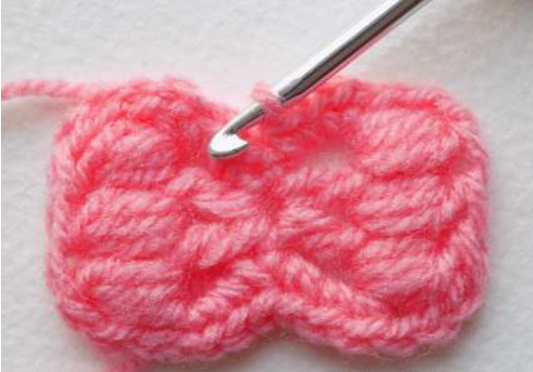
- The second side of the bow is made in the same way.
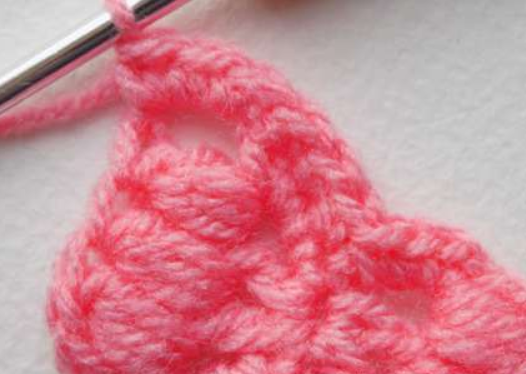
- The product is tied along the contour: in the first arch, 3 single crochets are made, in the upper loops located above the lush columns - two, in the last arch - three again.
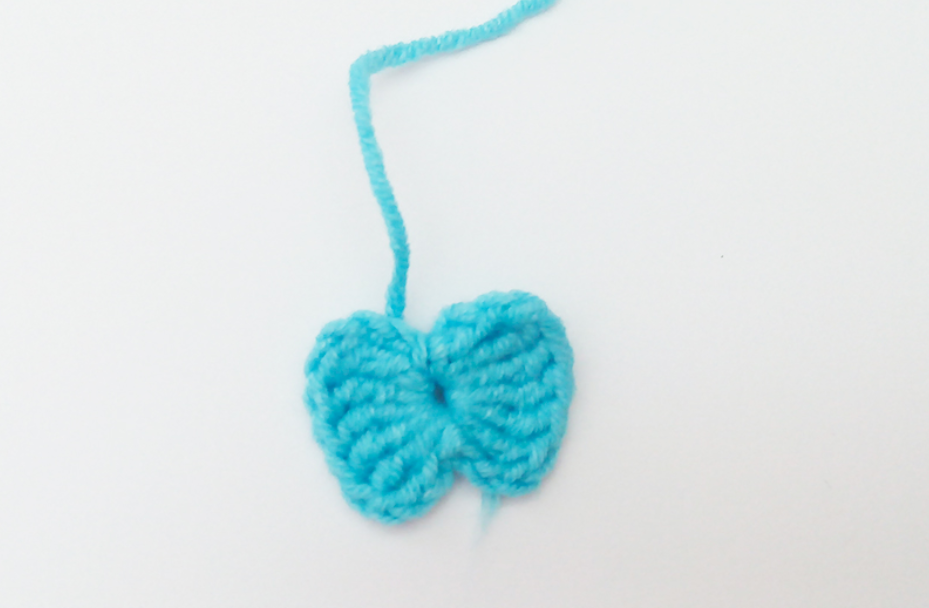
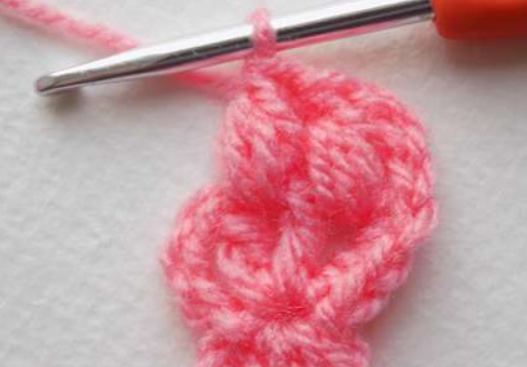
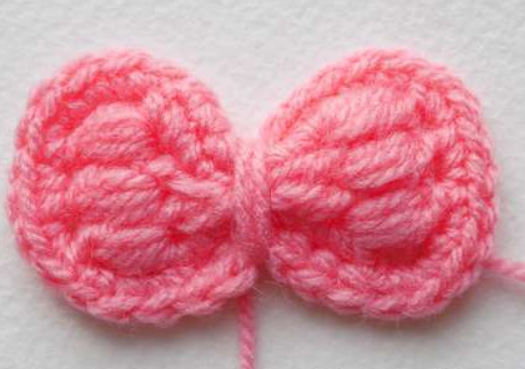
- The thread is pulled tight and cut, leaving a length of about 30 cm. It is wound onto the core.
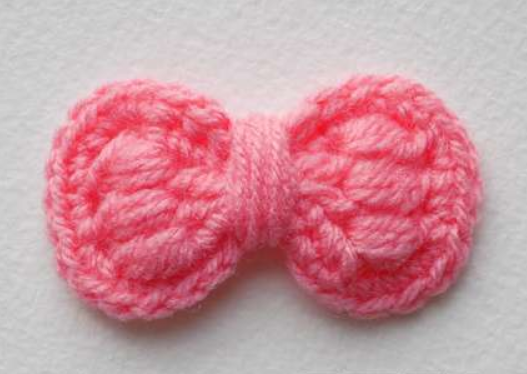
- The edges on the inside are tied with a strong knot and cut off.
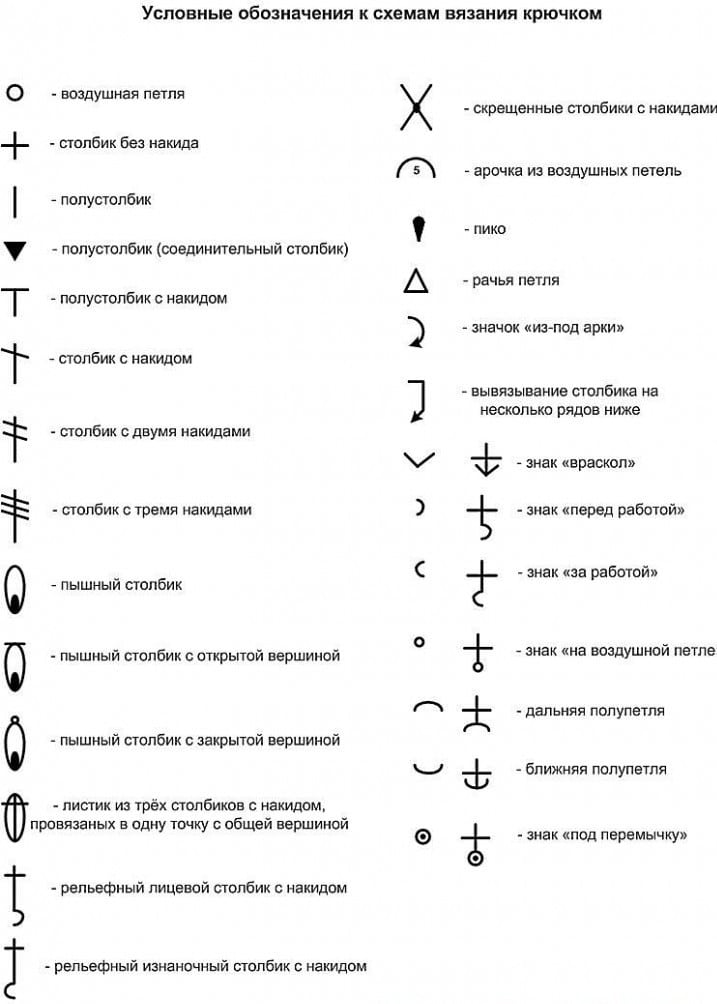
Decoding symbols for beginners
Crocheting is impossible without the ability to read patterns. A beginner may not understand what certain signs mean. As a result, mistakes and a desire to abandon the work. In fact, if you study the symbols, there is nothing complicated. You should start with the basic types of loops:
- arch - connecting;
- circle - air;
- plus - half-column;
- letter "T" - half double crochet;
- vertical line – single crochet;
- A crossed line is a column with one yarn over, the number of crosses indicates the number of yarn overs.
These are the most common loops from which most patterns are built. To create a bow, it is enough to understand them.
When choosing a master class, it is better to choose one that has a diagram. It will help you not to get confused when making complex patterns.
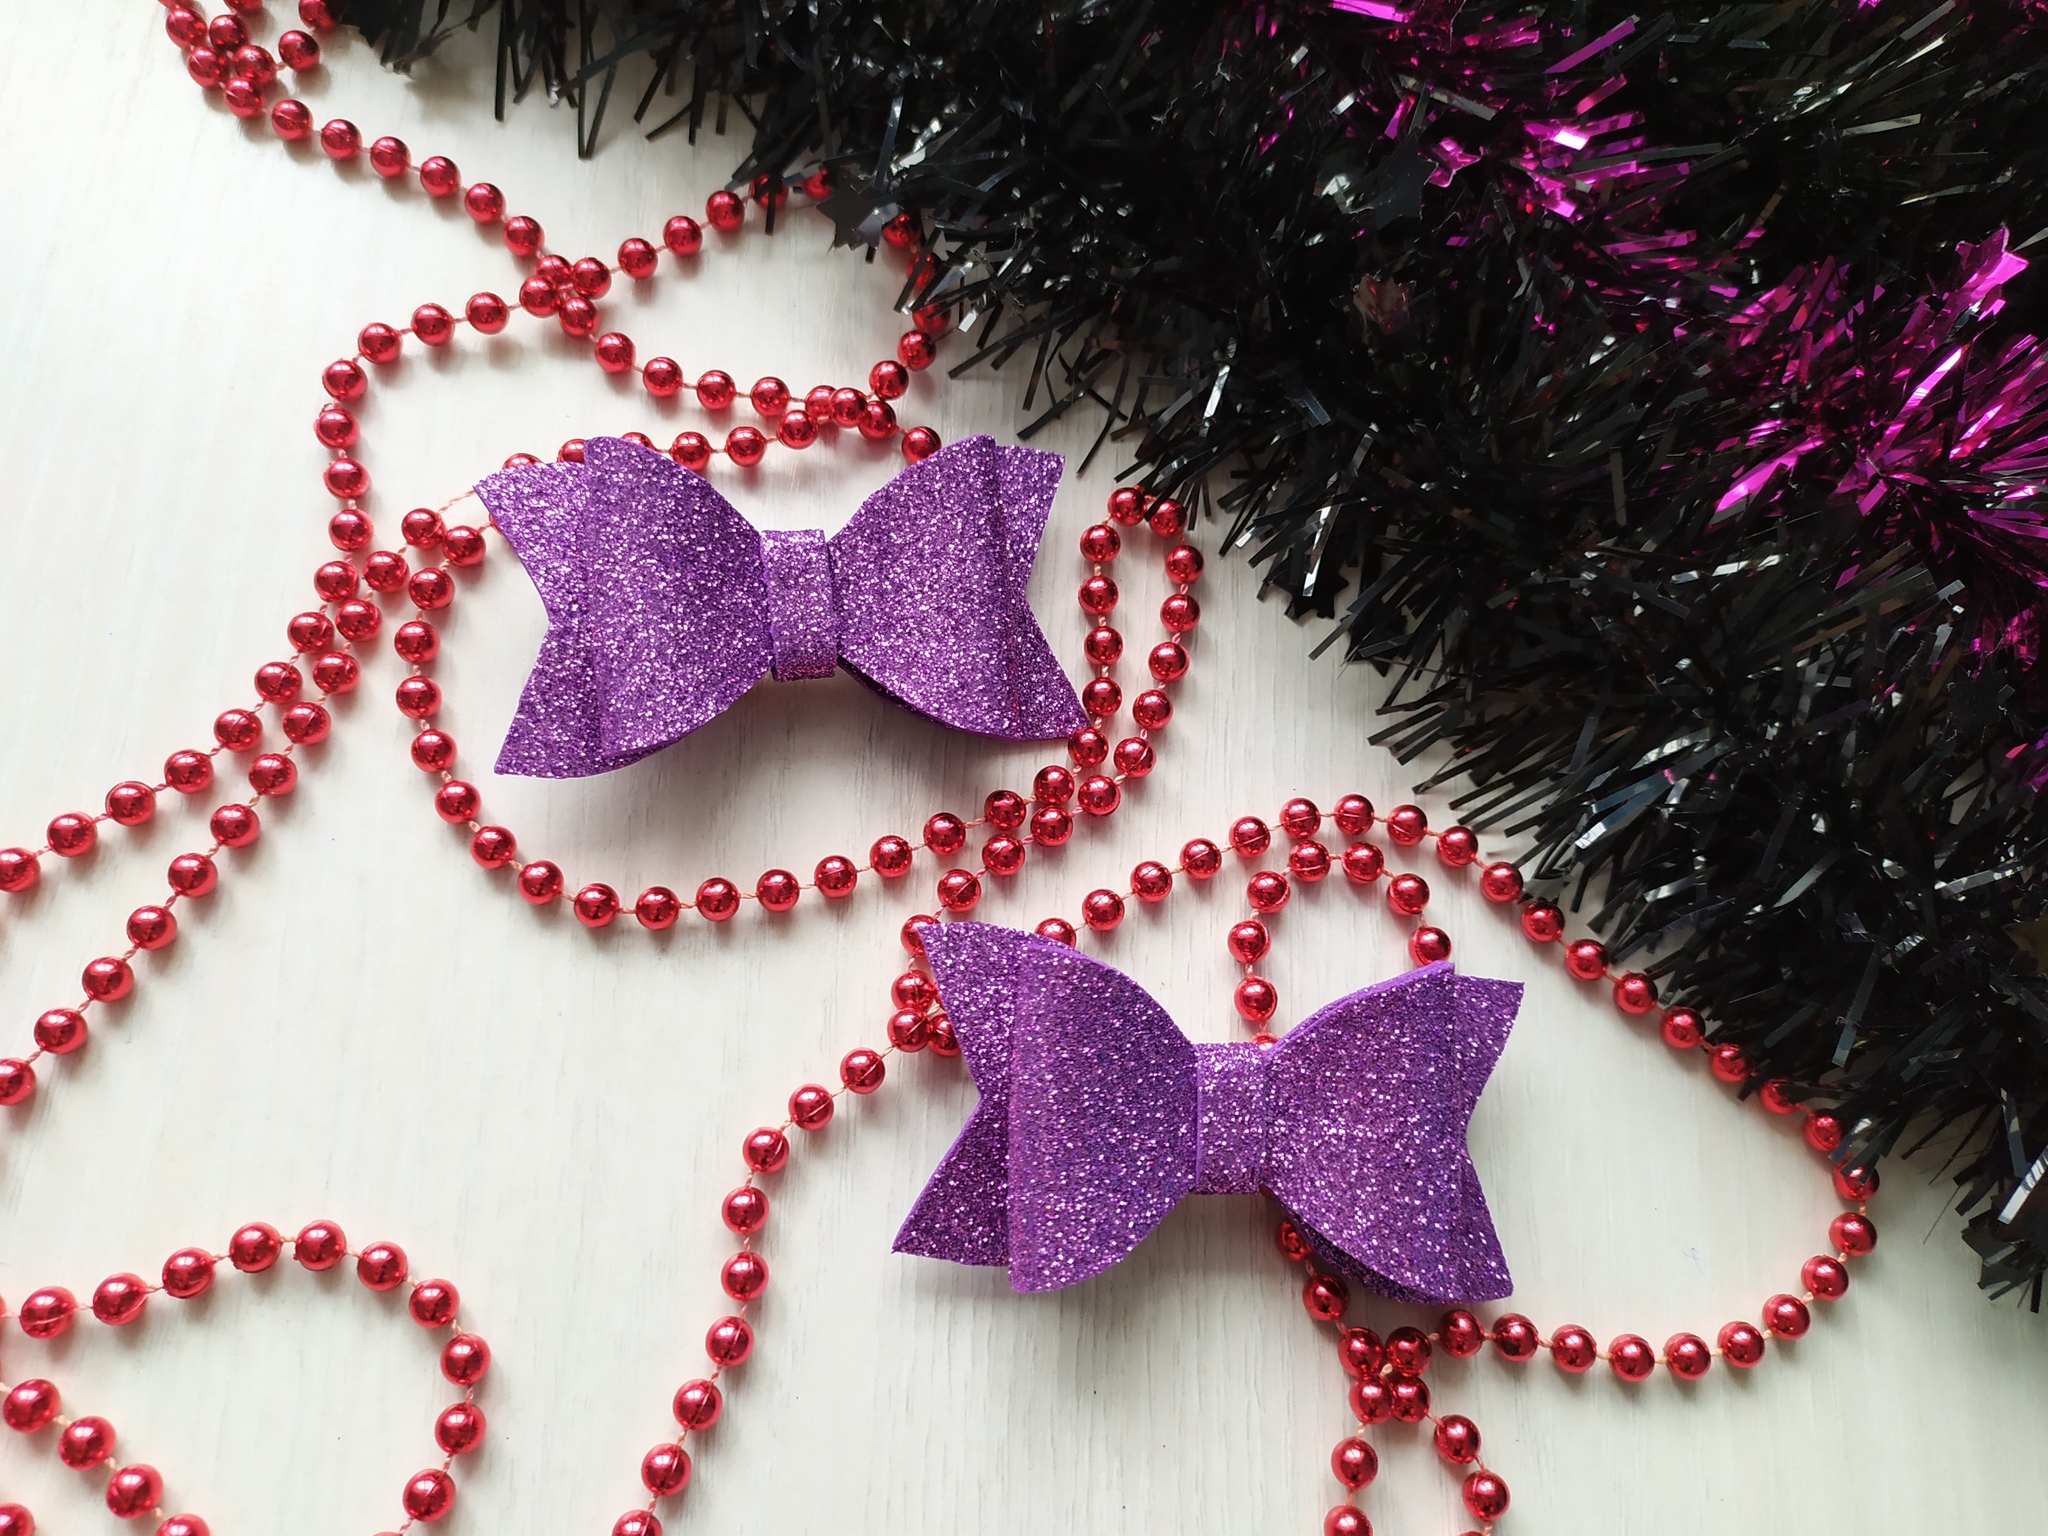
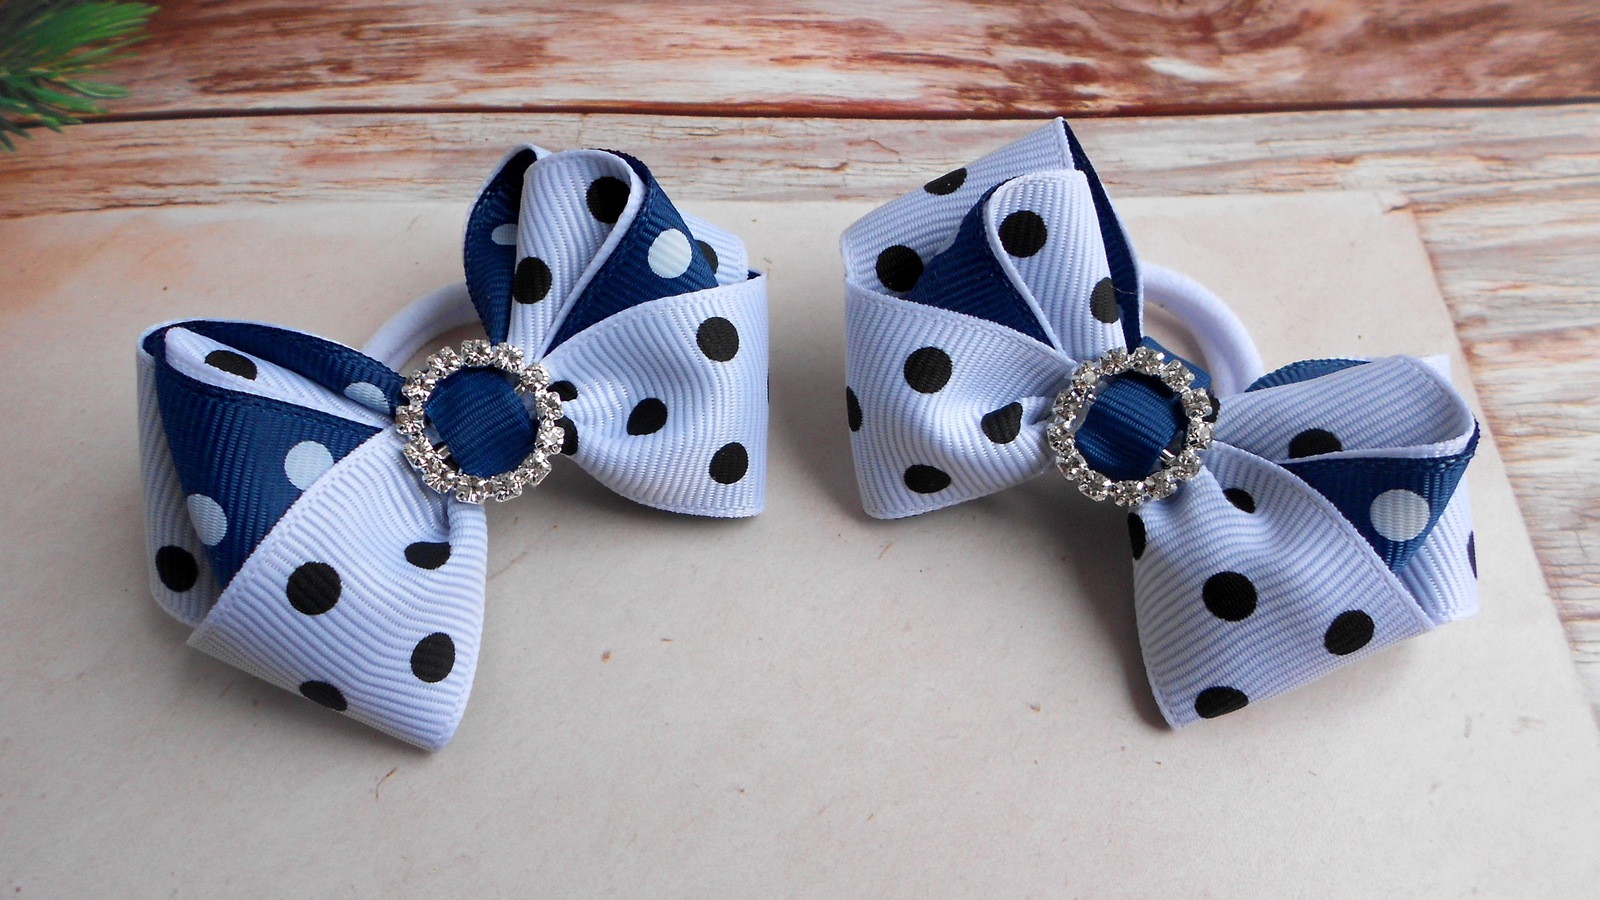
Decoration options
You can decorate the center of knitted bows with a large bead, crystal, rhinestones, sequins. Pearl decor looks delicate on light accessories. A beautifully knitted bow looks with bright trim along the edges and in the center; for this, it is better to choose yarn of a contrasting color. You can use beads to decorate bows. You can use them to trim the edges of the product or make a small scattering on it.
The openwork pattern is a decoration in itself. It is not recommended to decorate it with additional elements, you can overdo it. Another interesting way is to crochet a small flower and place it in the center of the bow. Such decoration will add volume. For large bows, the flower can be made multi-layered.
Video