Despite the fact that stores offer a wide range of hats, it is not always possible to find a suitable model for autumn. For those who like to do needlework, a great option is to make a hat yourself. If you know how to sew a knitted hat with your own hands, and the patterns are suitable for it, then creating the product will take only 2-3 hours. Before starting work, you need to figure out which fabrics are best to use, as well as decide on the style.
- Materials and tools
- The nuances of working with knitwear
- Preparing for sewing
- Taking measurements
- Creating a pattern and transferring the template onto the fabric
- Cutting out the fabric
- Sewing stages taking into account the model
- Children's fleece
- Double Layer Sock for Men
- Elegant beret
- With ears for a girl
- Video
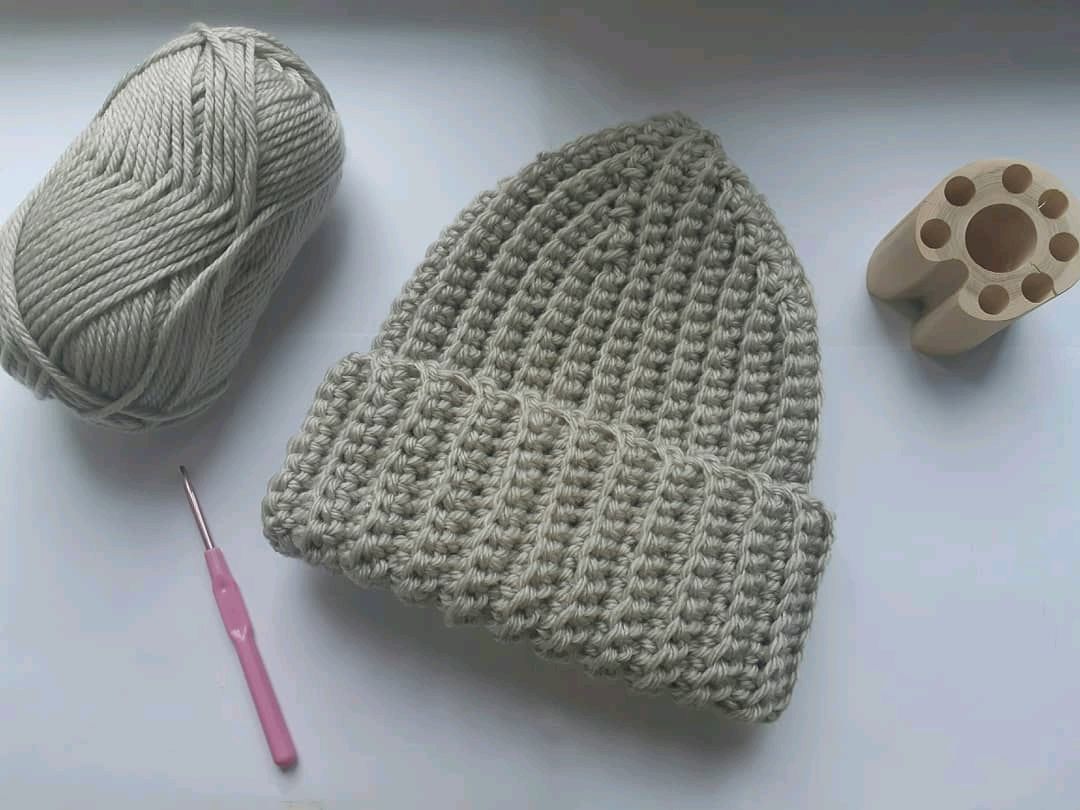
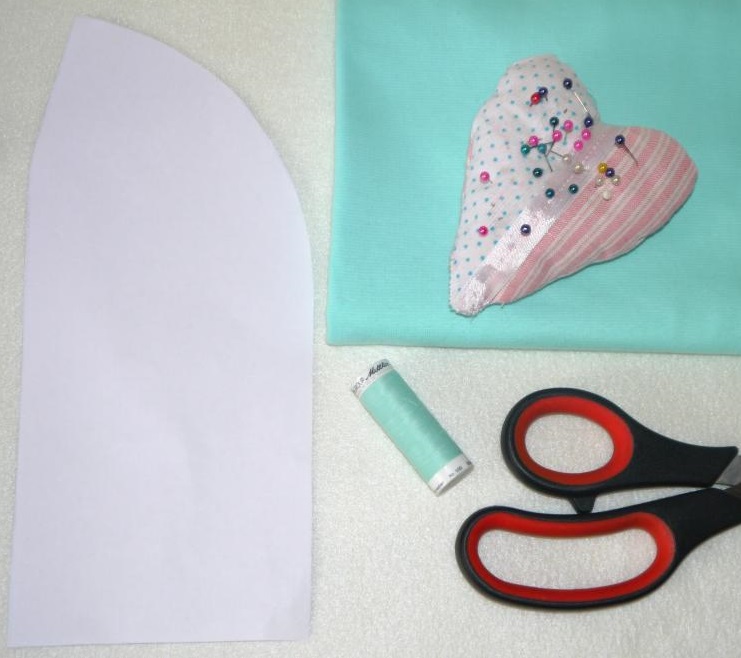
Materials and tools
A knitted hat is an accessory that will never go out of fashion. Today, such a headdress is presented in different variations, so every woman will choose a model to her taste. For sewing a knitted hat, it is better to use the following types of fabric:
- made of cotton threads - a light, translucent fabric that allows air to pass through, stretches well, and is ideal for creating summer and spring models;
- made of wool - is a thick, warm fabric with a small pile; this material is used for sewing winter and autumn models;
- made of synthetics – the material stretches well and is used to create winter and summer hats.
You can also find combined knitwear on sale, which is the best option. The fabric is made by mixing natural and synthetic fibers. It holds its shape well, does not wrinkle, and does not fade. To sew a knitted stocking cap or any other model, you will need:
- fabric in your favorite color scheme;
- threads in tone;
- needle;
- pattern;
- scissors;
- sewing machine.
It is recommended to print the pattern out on a printer beforehand. If you use an electronic version, the probability of incorrect patterning of the parts increases. In this case, it is recommended to print it in its actual size.
The nuances of working with knitwear
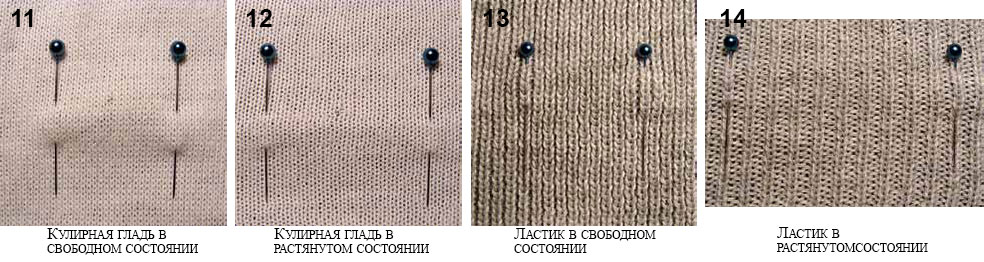
Before sewing a fashionable hat, you need to understand the features of knitwear. This fabric is quite capricious and has its own nuances. Cutting and sewing are carried out in compliance with the following rules:
- when cutting out the details, you need to make sure that the grain line runs parallel to the direction of the stitch;
- to fix the parts, it is recommended to use pins with large heads; if the balls on the needles are small, they will pass through the fabric;
- when cutting out parts for a knitted hat, you must not stretch the fabric in width, and the procedure should not be performed on slippery surfaces;
- When marking lines for parts or seams, use soap rather than chalk, as the dust from it will dull the needle, which can cause damage to the loops in the fiber;
- regardless of the model, it is recommended to sew the parts with a narrow zigzag stitch;
- For basting it is better to use thin threads.
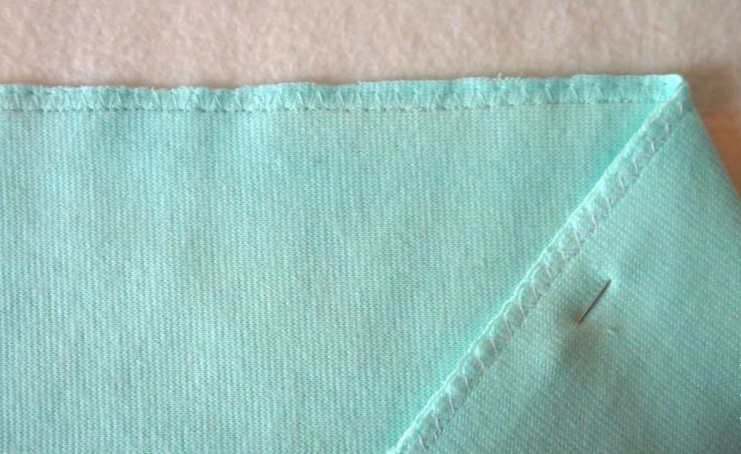
To prevent the loops from dropping at the cuts, it is recommended to iron special adhesive pads to the edges of the parts on the reverse side. Alternatively, the edges can be treated with colorless varnish. To prevent stretching, the headdress should be ironed only in the direction of the loop column.

Preparing for sewing
To make the task of creating an adult or children's hat as easy as possible, you need to prepare in advance. First, you need to buy materials and tools, find and print a pattern, cut out the details. Another important step is determining the size.
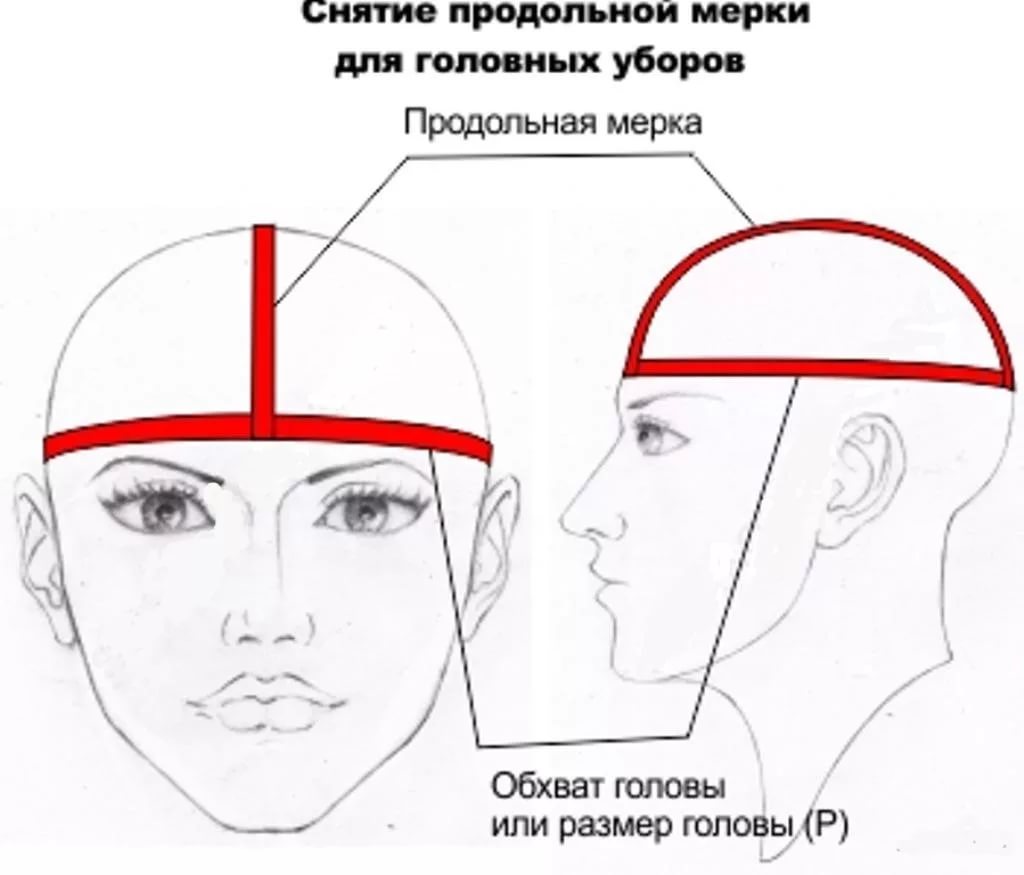
Taking measurements
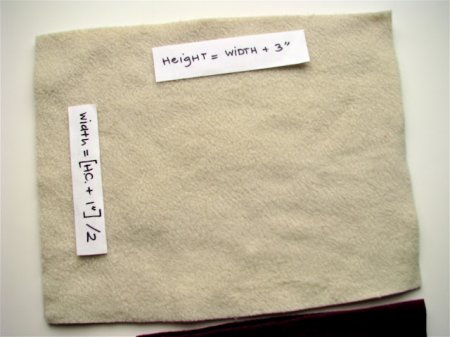
Despite the fact that a hat made of fleece, jersey and other elastic fibers stretches well, before cutting out the details, it is recommended to understand their parameters. If you ignore this step, the headdress may be small or, conversely, will fall on the forehead. Regardless of what hat pattern is used, you will only need 2 measurements for work:
- Head circumference. You need to take a measuring tape, wrap it around your head along the eyebrow line and the most convex part of the back of your head. The tape should not be too tight.
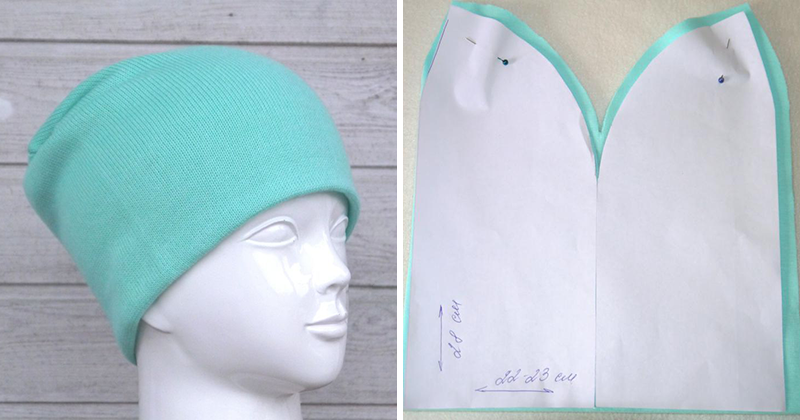
- Depth of the hat. The tape should be drawn along the crown from ear to ear and the resulting value should be divided by 2.
The standard size is considered to be 55-60 cm. As for the depth, it usually varies within 16-18 cm. The exception is models with a high crown, for example, a knitted sock.
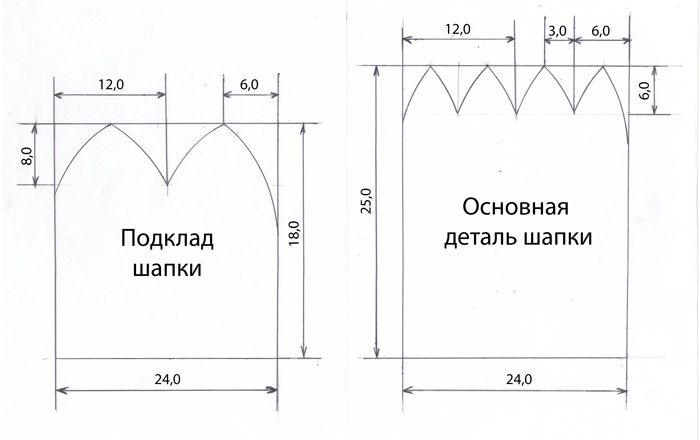
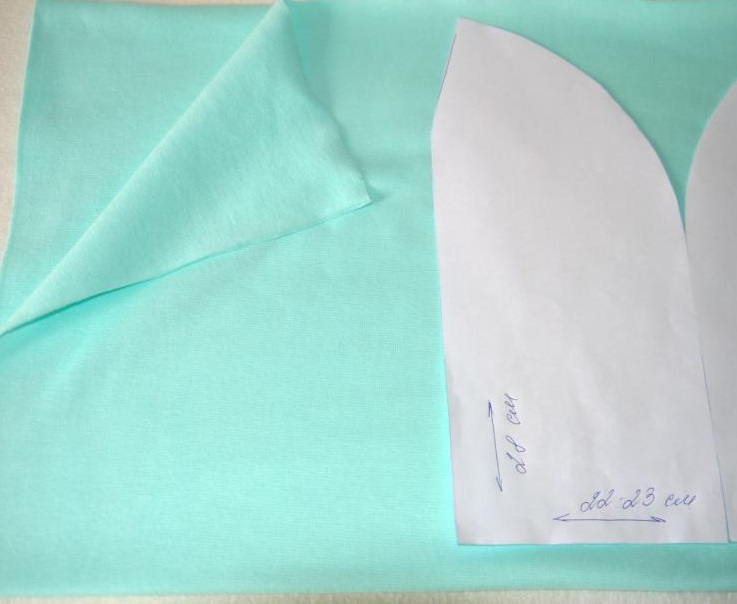
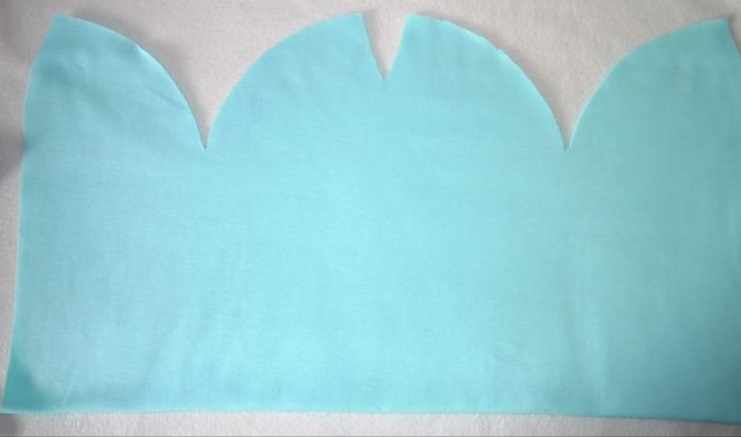
Creating a pattern and transferring the template onto the fabric
If you know the basics of sewing, you can draw a hat pattern yourself. But if you have no experience, it is better to use ready-made schemes. After the drawing is found, it must be printed in real size and start creating the details. To do this, follow this algorithm:
- The purchased canvas should be carefully laid out on the table, and the previously cut out paper parts should be attached to it with pins. It is desirable that they are as close to each other as possible, this will help save fabric.
- Next, carefully transfer the outline of the pattern using a piece of soap, remembering to leave allowances (if they are not indicated in the diagram).
In specialized stores you can find a copying chalk wheel and a pen with disappearing ink. Such tools are very convenient, since they do not stain the fabric and are quickly washed off. But the most accessible tool for tracing is a piece of soap.
Constructing a pattern is a complex stage that requires attention and accuracy.
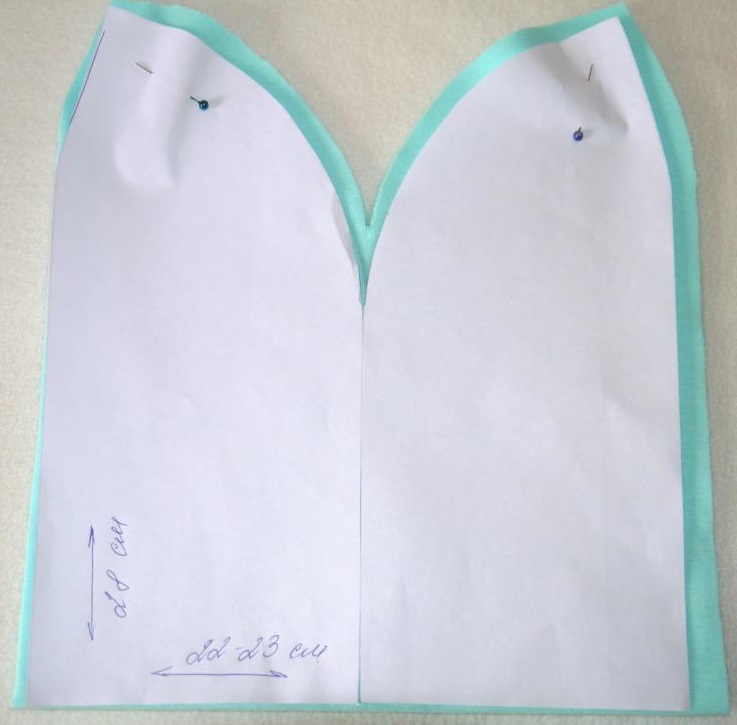
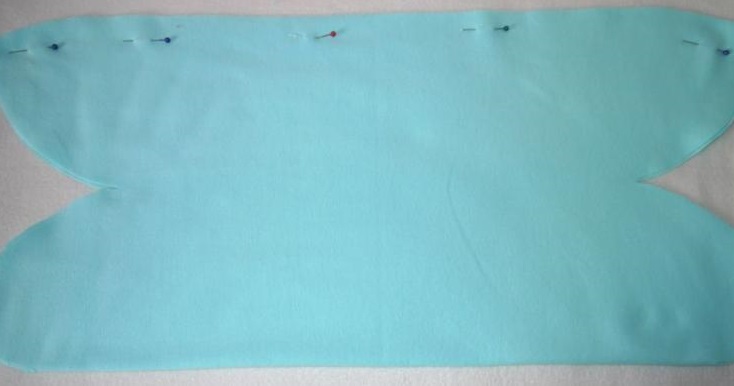
Cutting out the fabric
After the details have been transferred to the canvas, they need to be cut out. Since knitwear stretches a lot, it is recommended to use sharp scissors. It is important to remember that when cutting out details, the material cannot be pulled, otherwise the elements may turn out crooked. The best option is to spread the canvas on the table and cut out the details without stretching the fabric.
If you are using slippery stretch fabric, it is better to attach the pattern to the fabric not with pins, but with pieces of masking tape. This will prevent the material from slipping and drifting to the side. To prevent the edges from coming apart, it is recommended to coat them with a thin layer of transparent varnish or glue them with a special tape. This step can only be ignored if all seams are processed on an overlock.
Sewing stages taking into account the model
Any craftswoman can sew a knitted hat. But it is worth noting that if you have no experience, it is recommended to choose simple models, otherwise the headdress may not work out. The main condition is to make the right pattern.
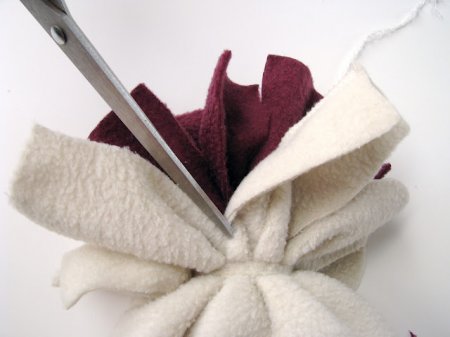
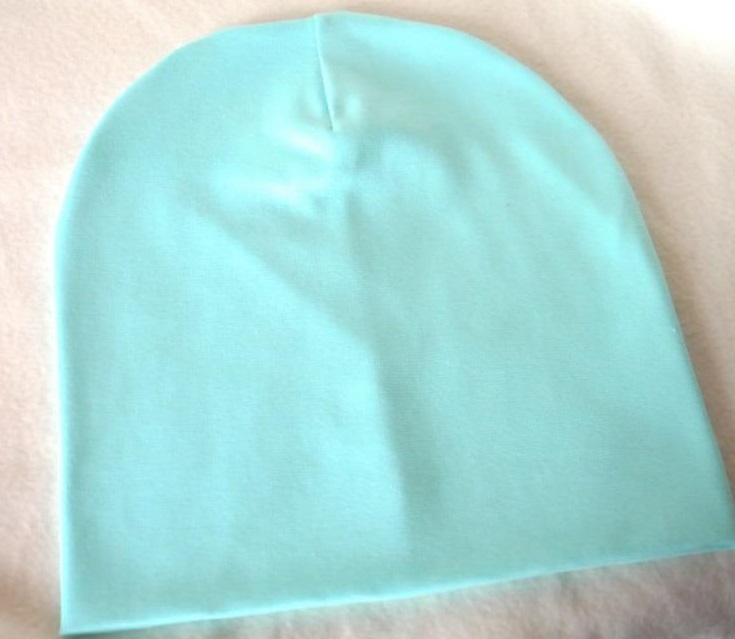
Children's fleece
If you know how to sew a knitted hat with your own hands, and the pattern is suitable, creating an accessory will take about 2 hours. To begin with, it is recommended to start with simple models, try to make a headdress for a girl or a boy. You can sew a children's hat for a baby according to this scheme:
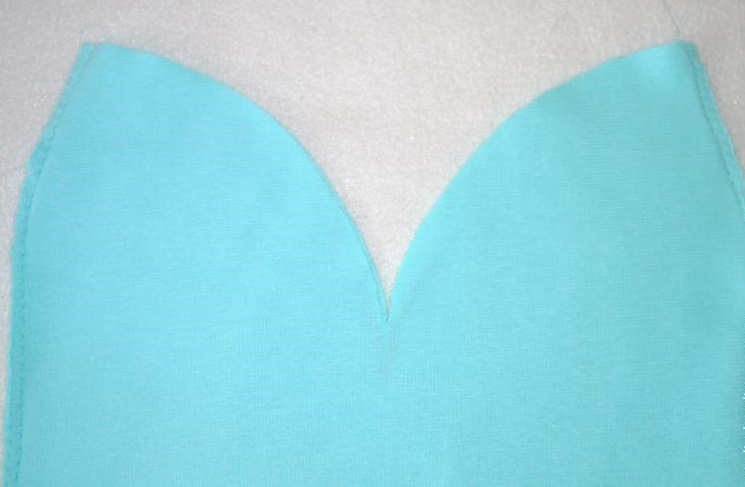
- Cut out the pieces and secure the side seam.
- Next, turn 5 cm inside out and stitch the edge.
- Now you need to sew up the top of the children's hat. To do this, gather and sew the fabric by hand. To make the top look more interesting, you can attach a button in the center to match the product.
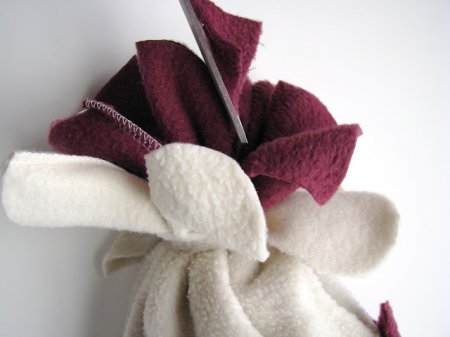
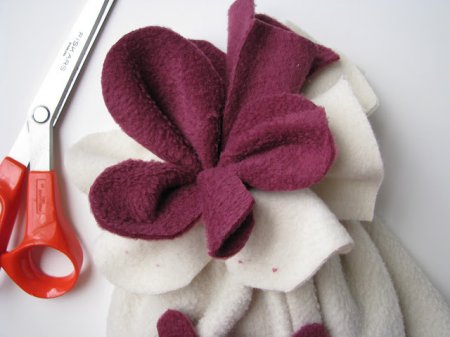
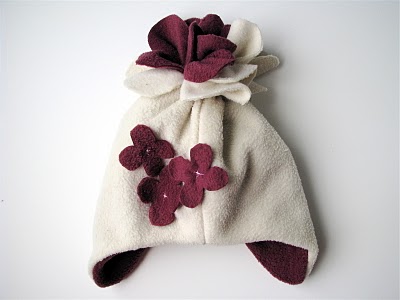
As an alternative option for forming the crown of the hat, you can simply stitch the top from the inside. In this case, you will get a "cockerel" model. Fold the corners or hide them outside. It is not difficult to make such a hat from fleece with your own hands. You can finish sewing by decorating the product. Various iron-on stickers, sequins or a knitted openwork flower are suitable for this.
The decoration of a child's hat should be done safely, without small, sharp or cutting parts. All of them should be securely attached to the product.

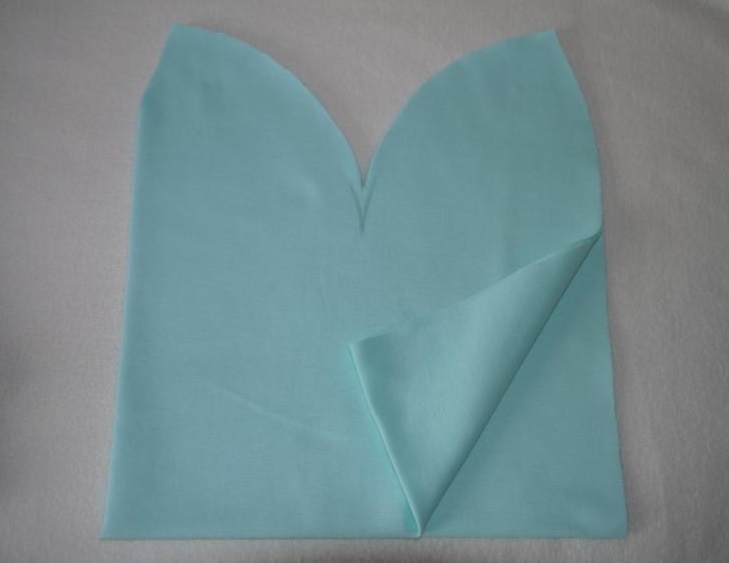
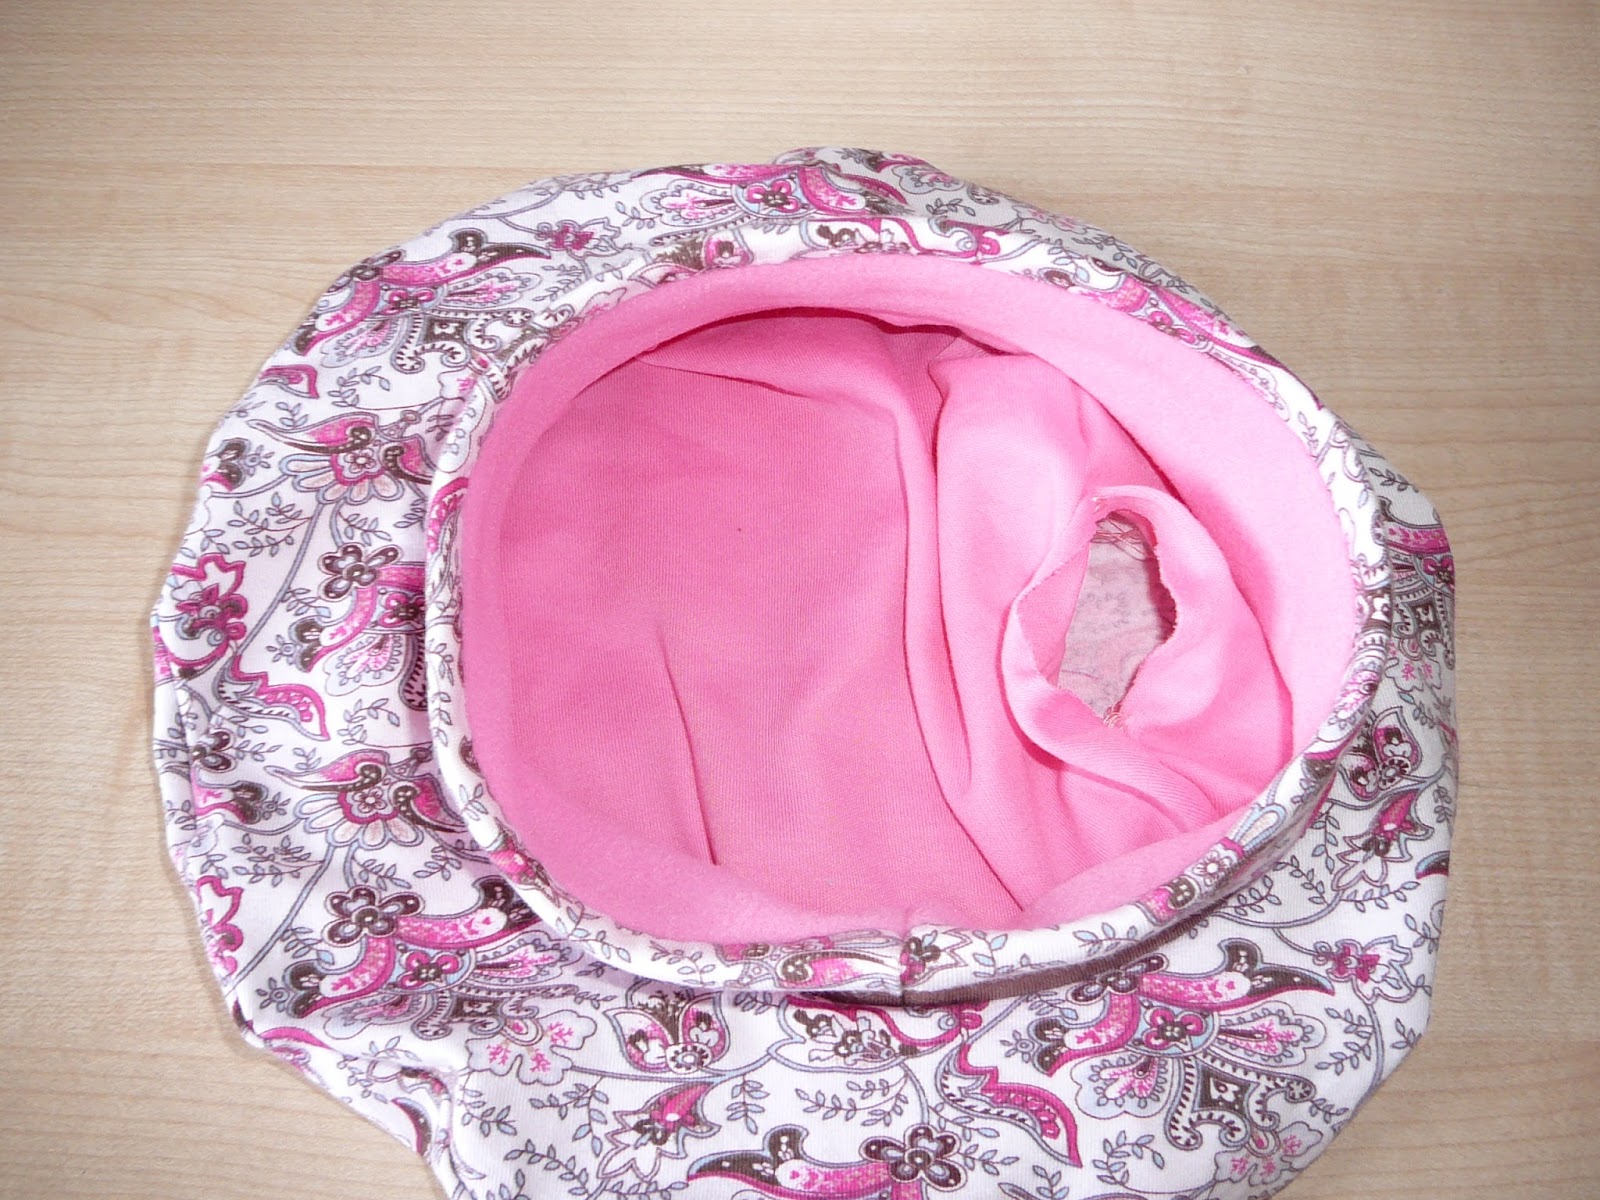
Double Layer Sock for Men
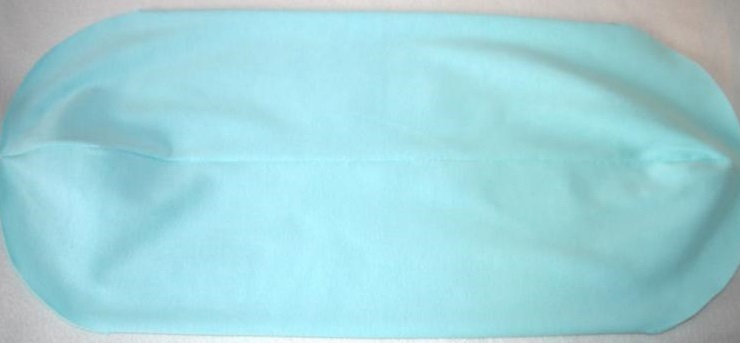
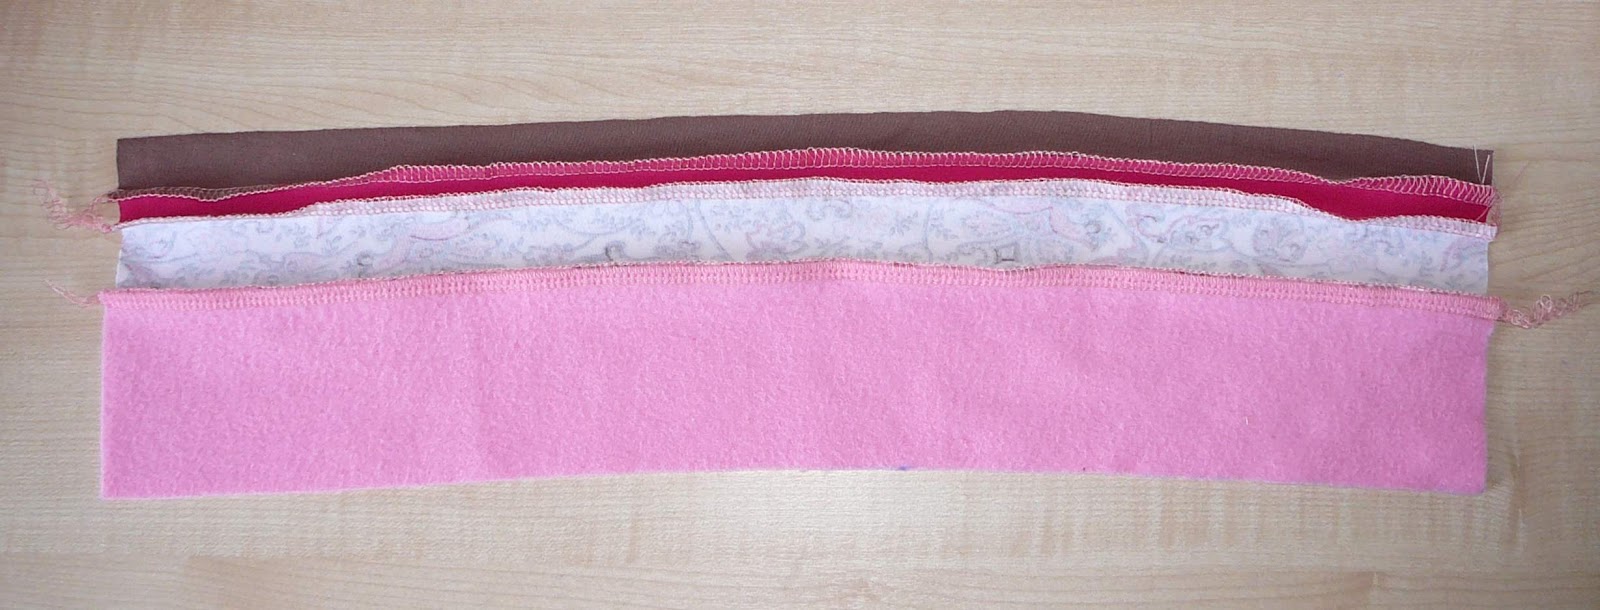
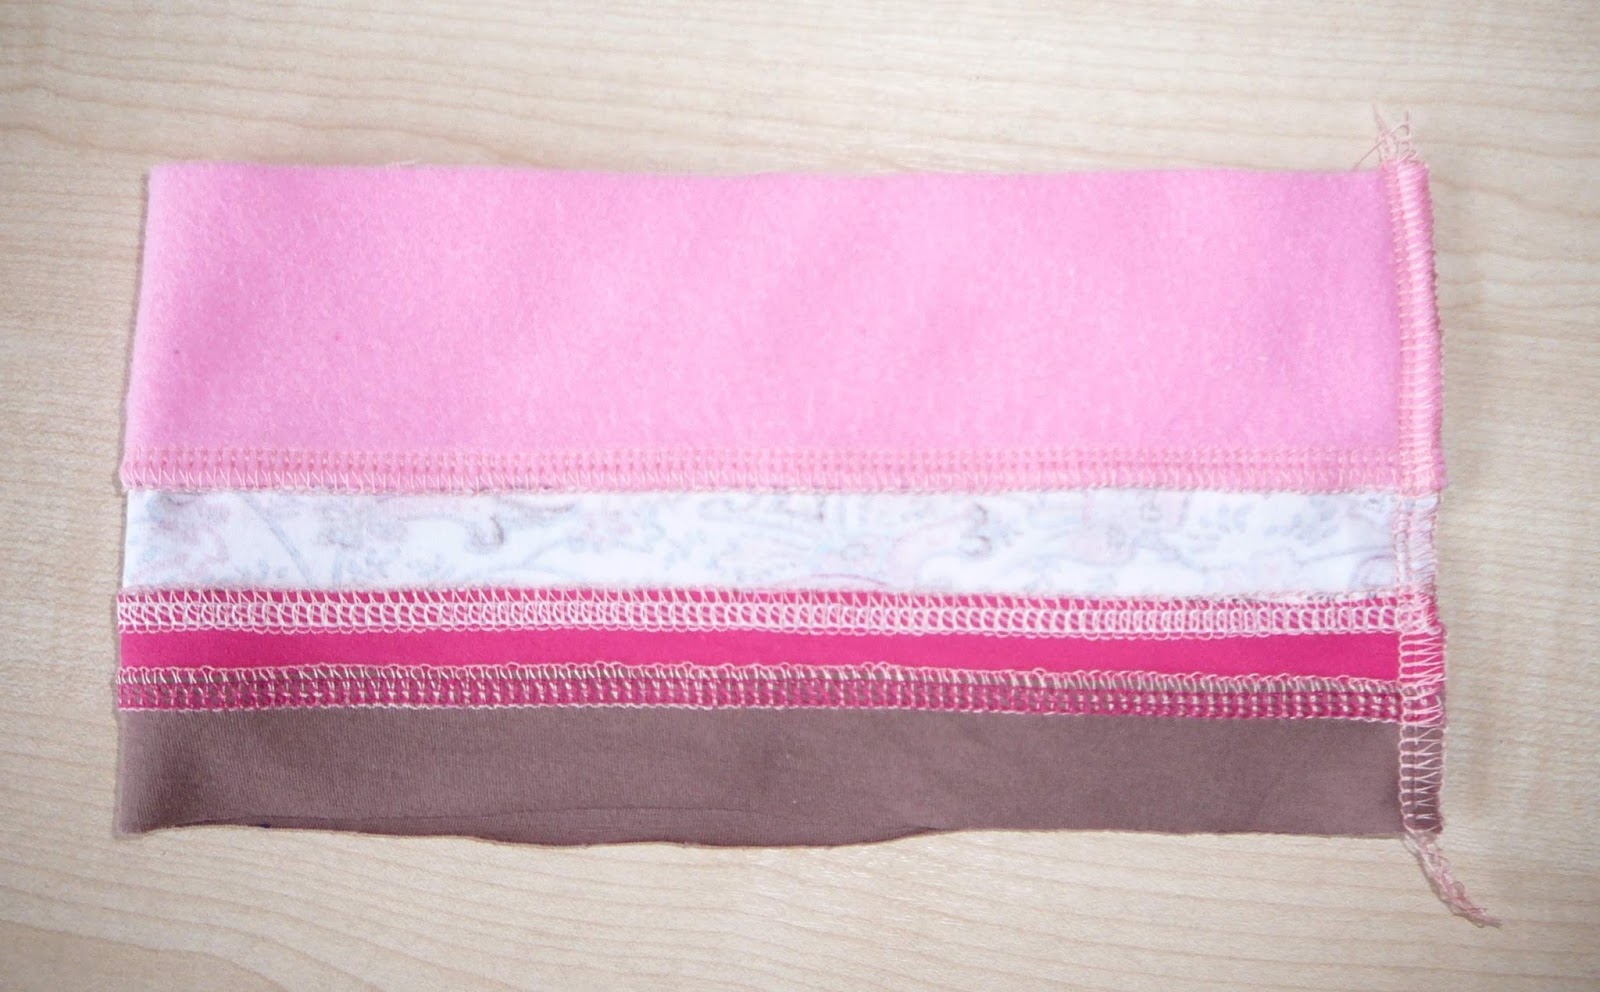
The best way to please your loved one is to make a stylish and unique headdress yourself. To create it, you will need fabric 60 cm long and 50 cm wide. We sew a double knitted hat according to this algorithm:
- You need to fold the fabric with the right side inside. Then again from left to right. The left part will be the front, and the right part will be the back seam.
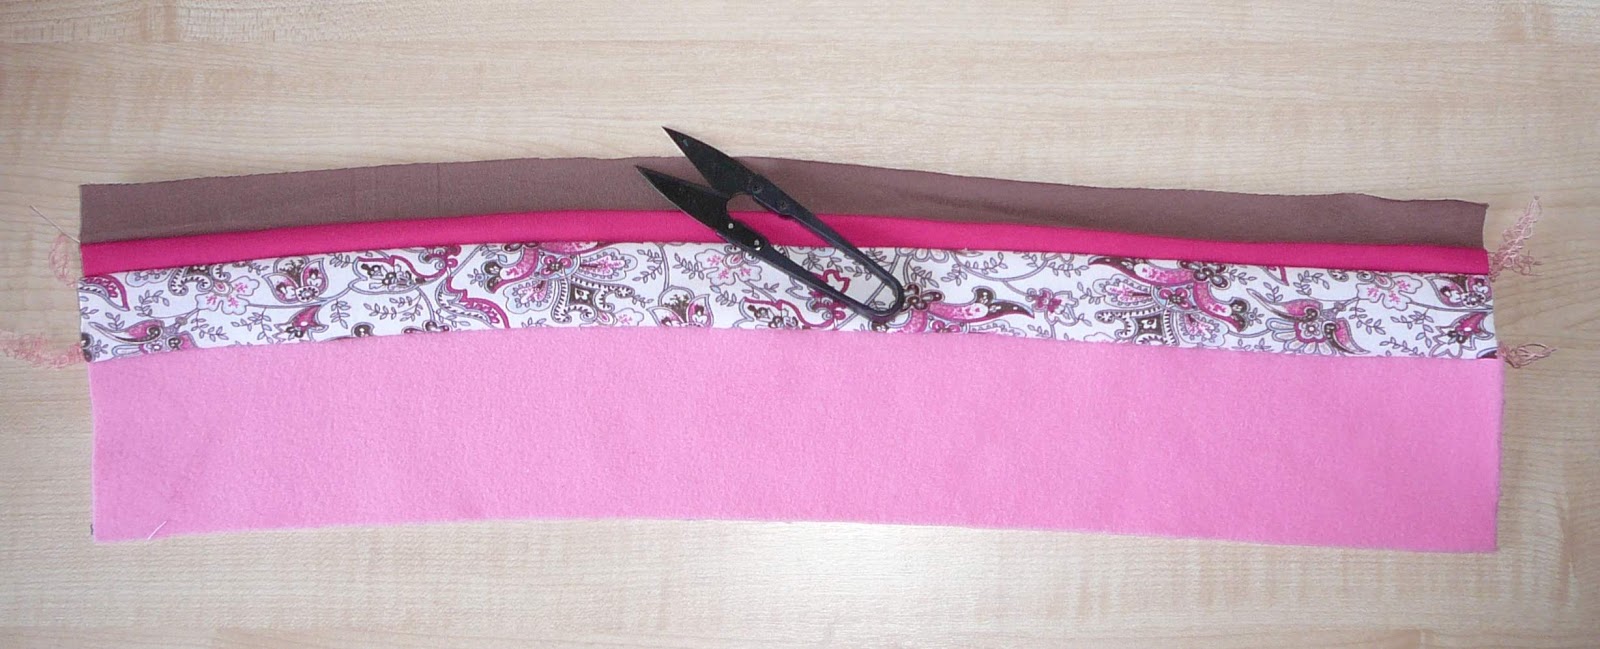
- Place the finished pattern on the fabric, fix it, trace it and cut it out, remembering to leave space for the seams. It is important to remember that the elements are not cut from each other. The fabric must be whole.
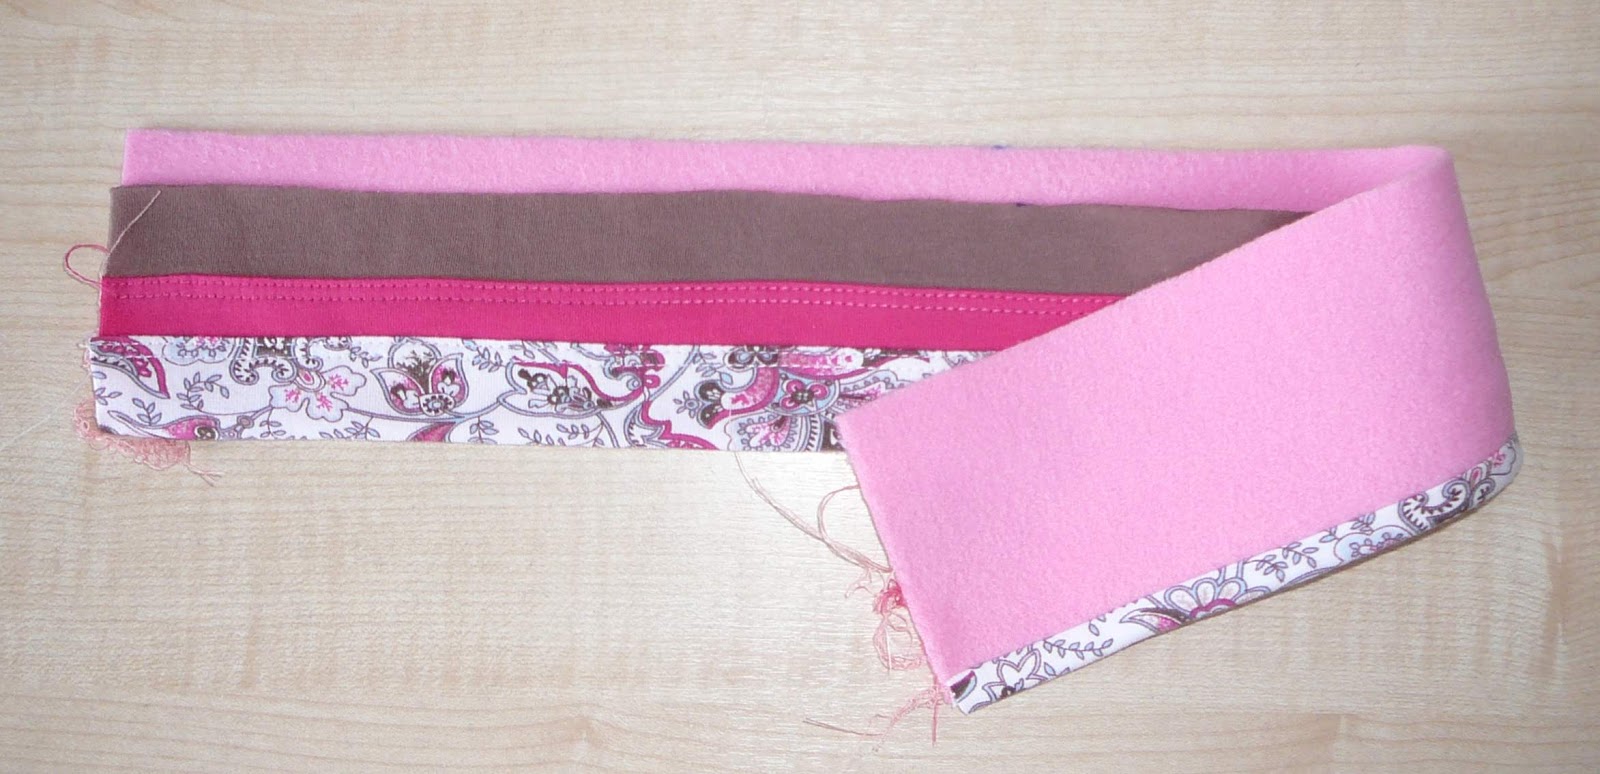
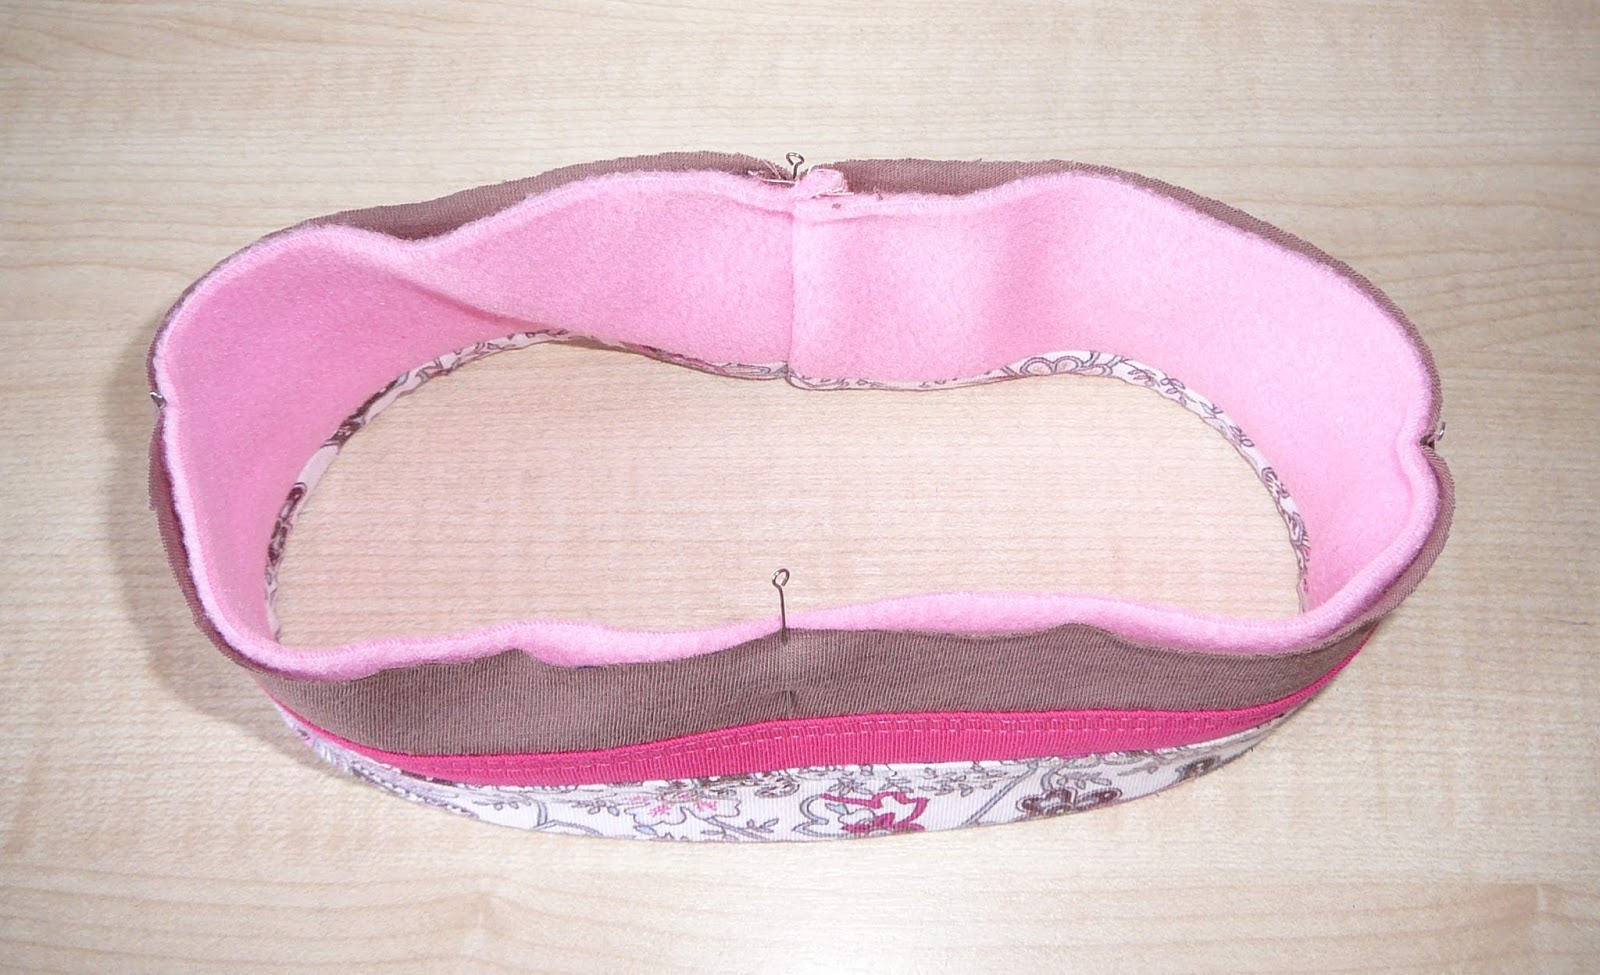
- Next, you need to unfold the fabric, straighten it lengthwise and join it along the back seam (with the right side facing inward). It is done with a zigzag.
- Secure the seam located at the front of the hat (top and bottom).
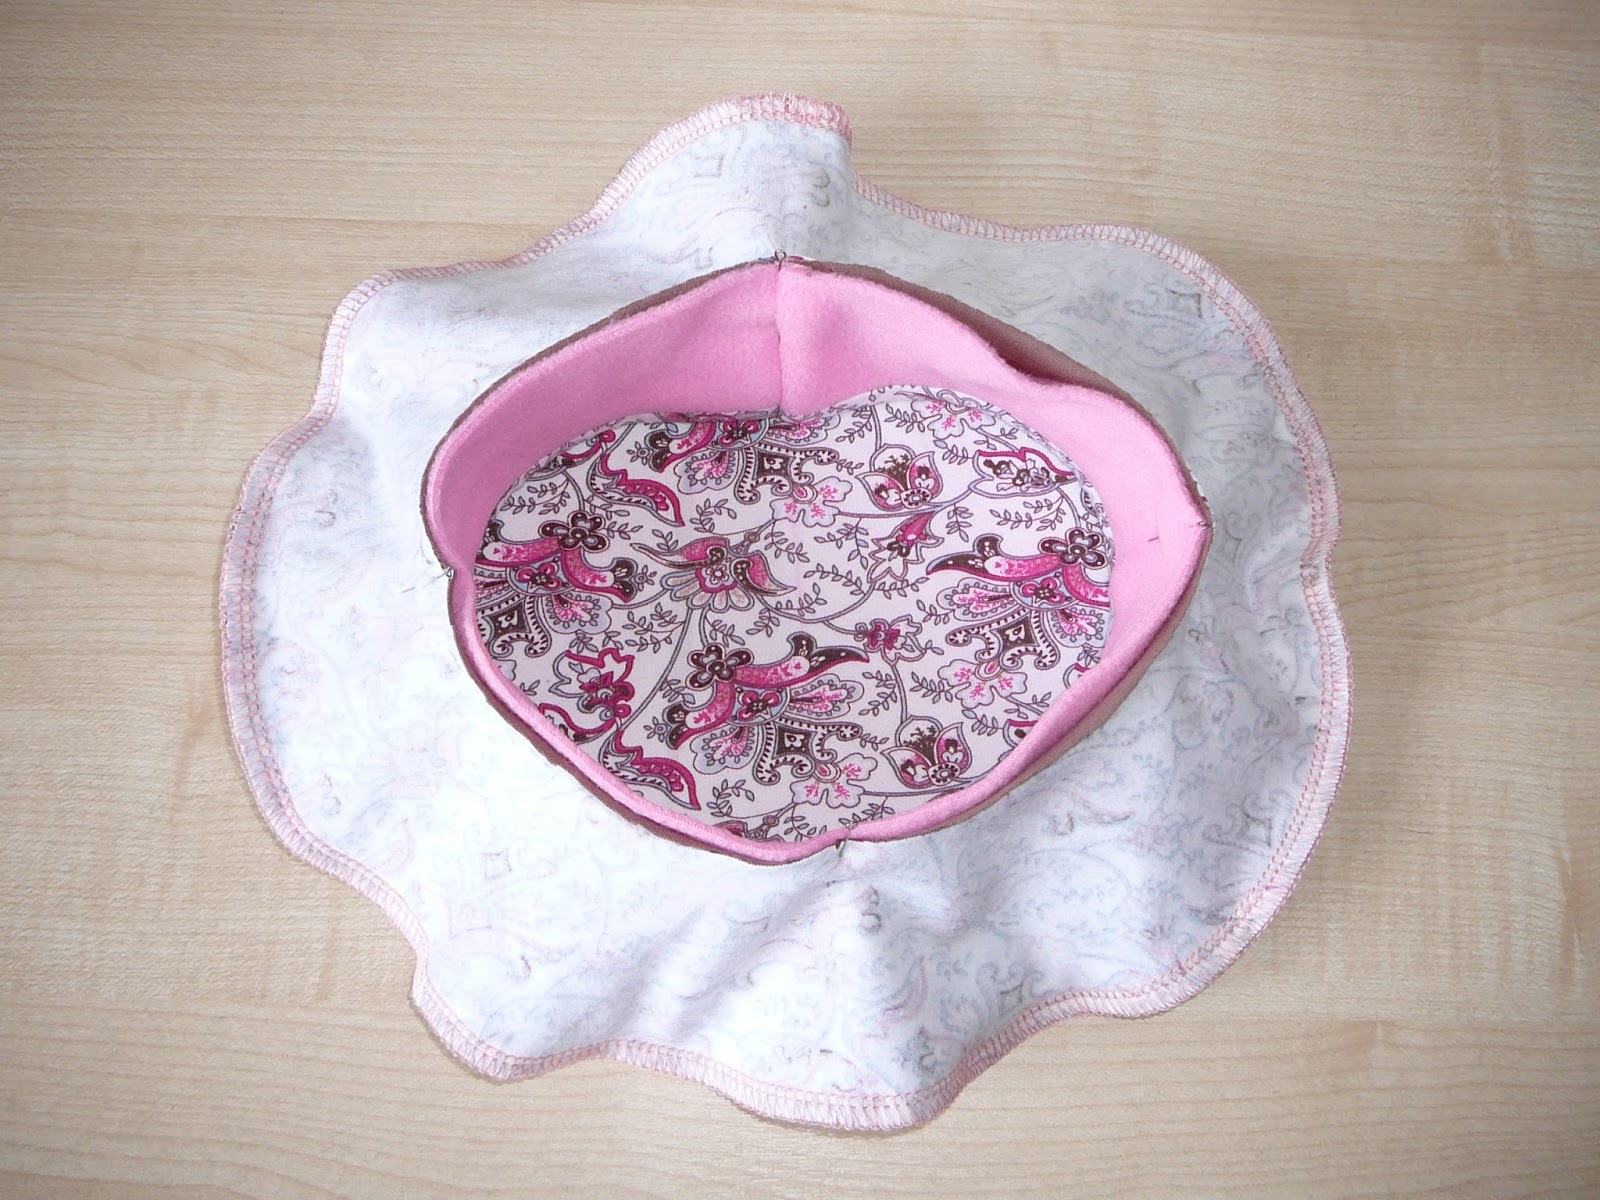
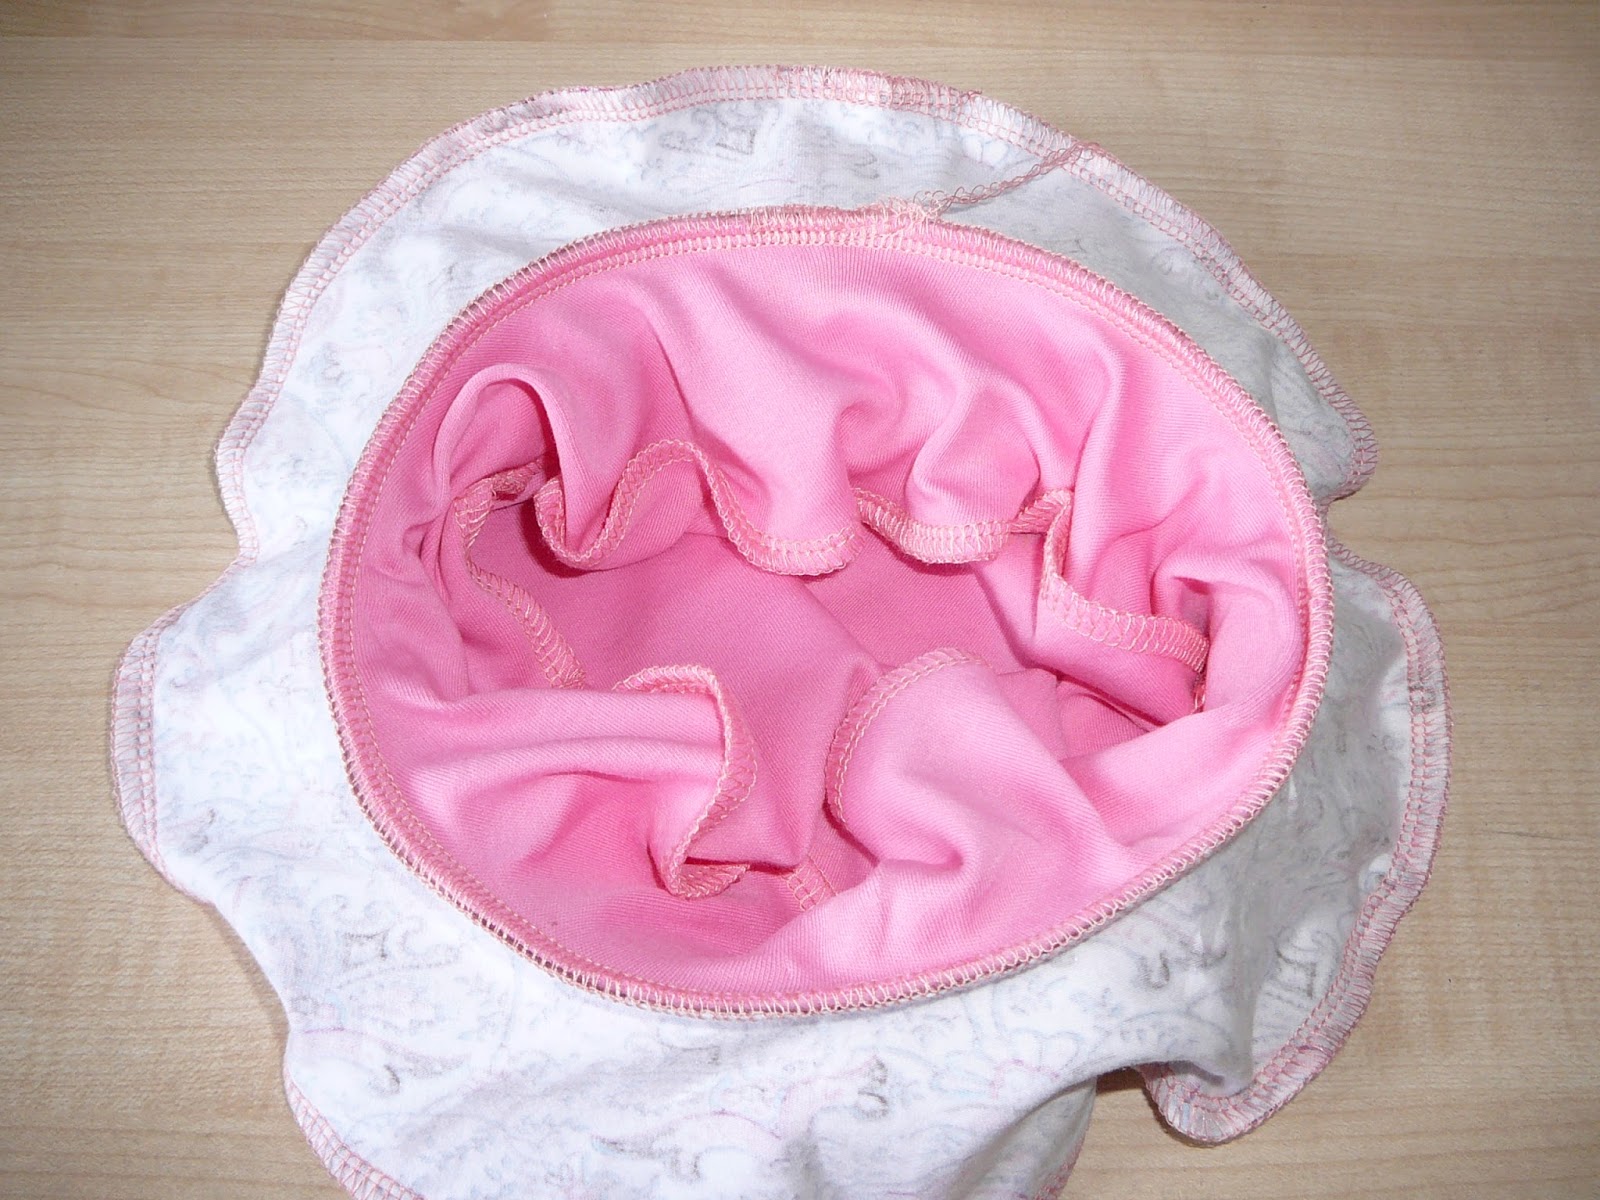
- Afterwards, the product needs to be turned inside out and ironed.
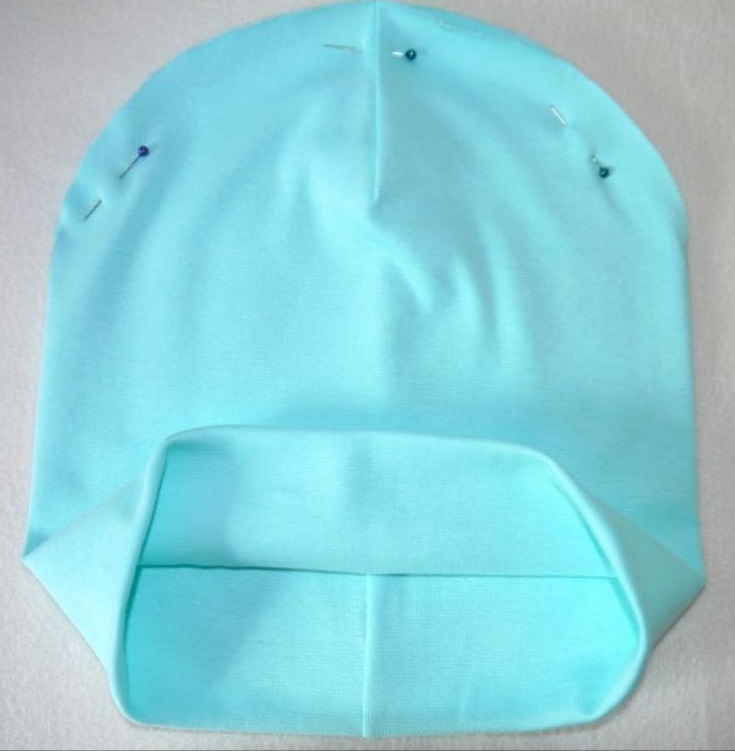
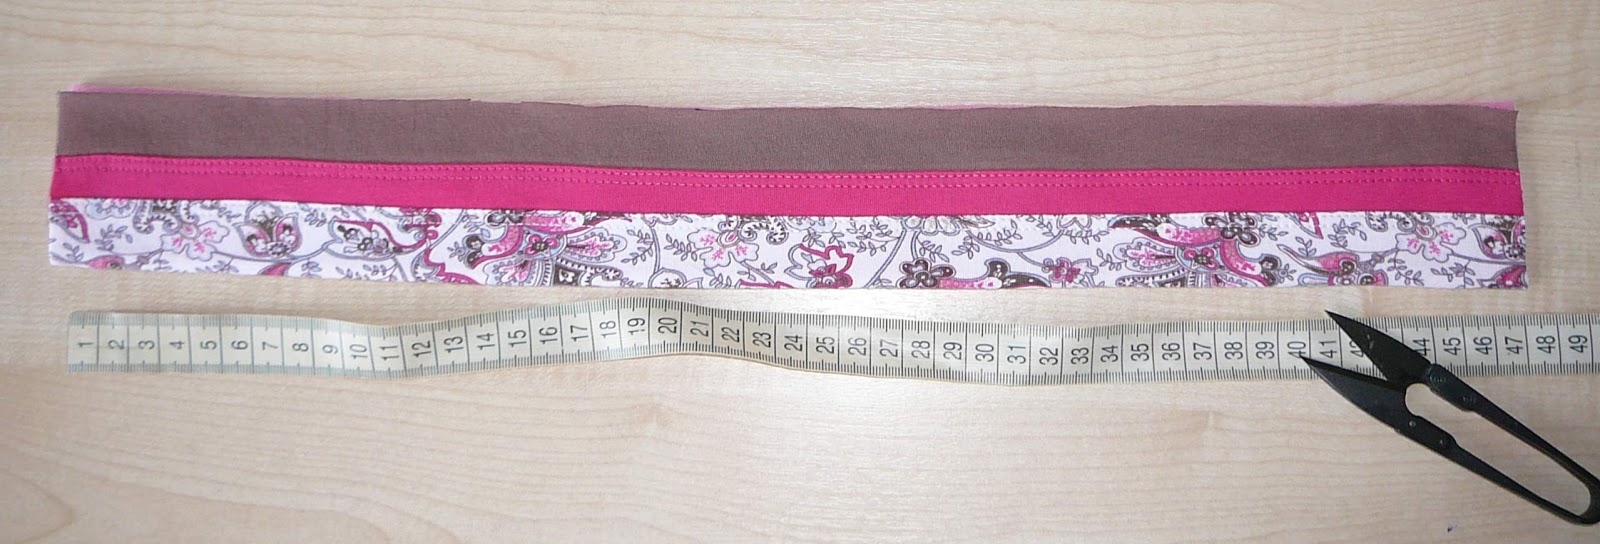
- Fold the accessory in 2 layers so that the seams match. Next, you need to determine which side will be the wrong side, pin everything and stitch.
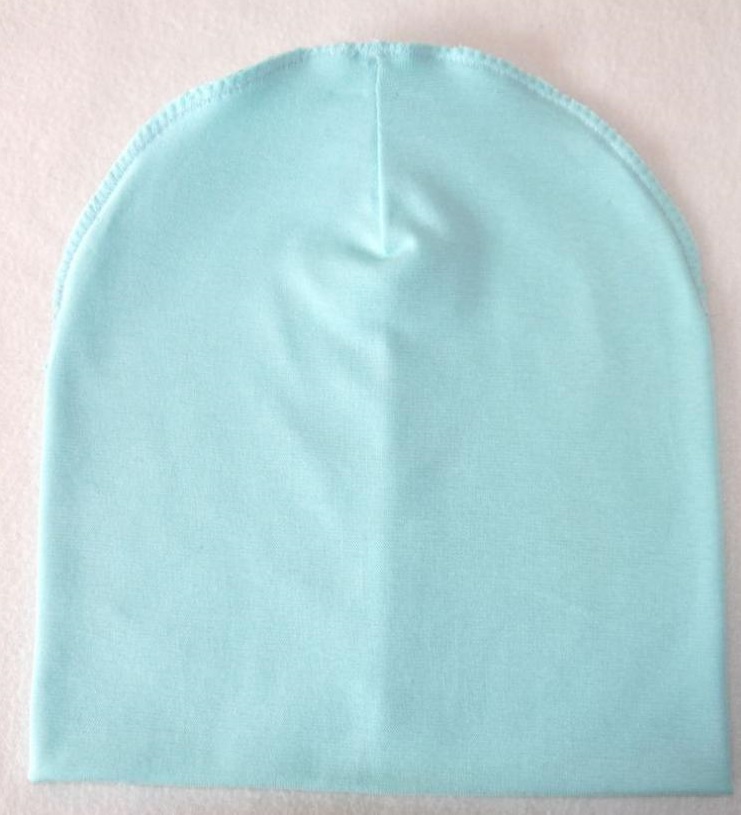
All that's left is to turn the cap inside out. This headdress can be made not only from knitwear, but also from fleece fabric.

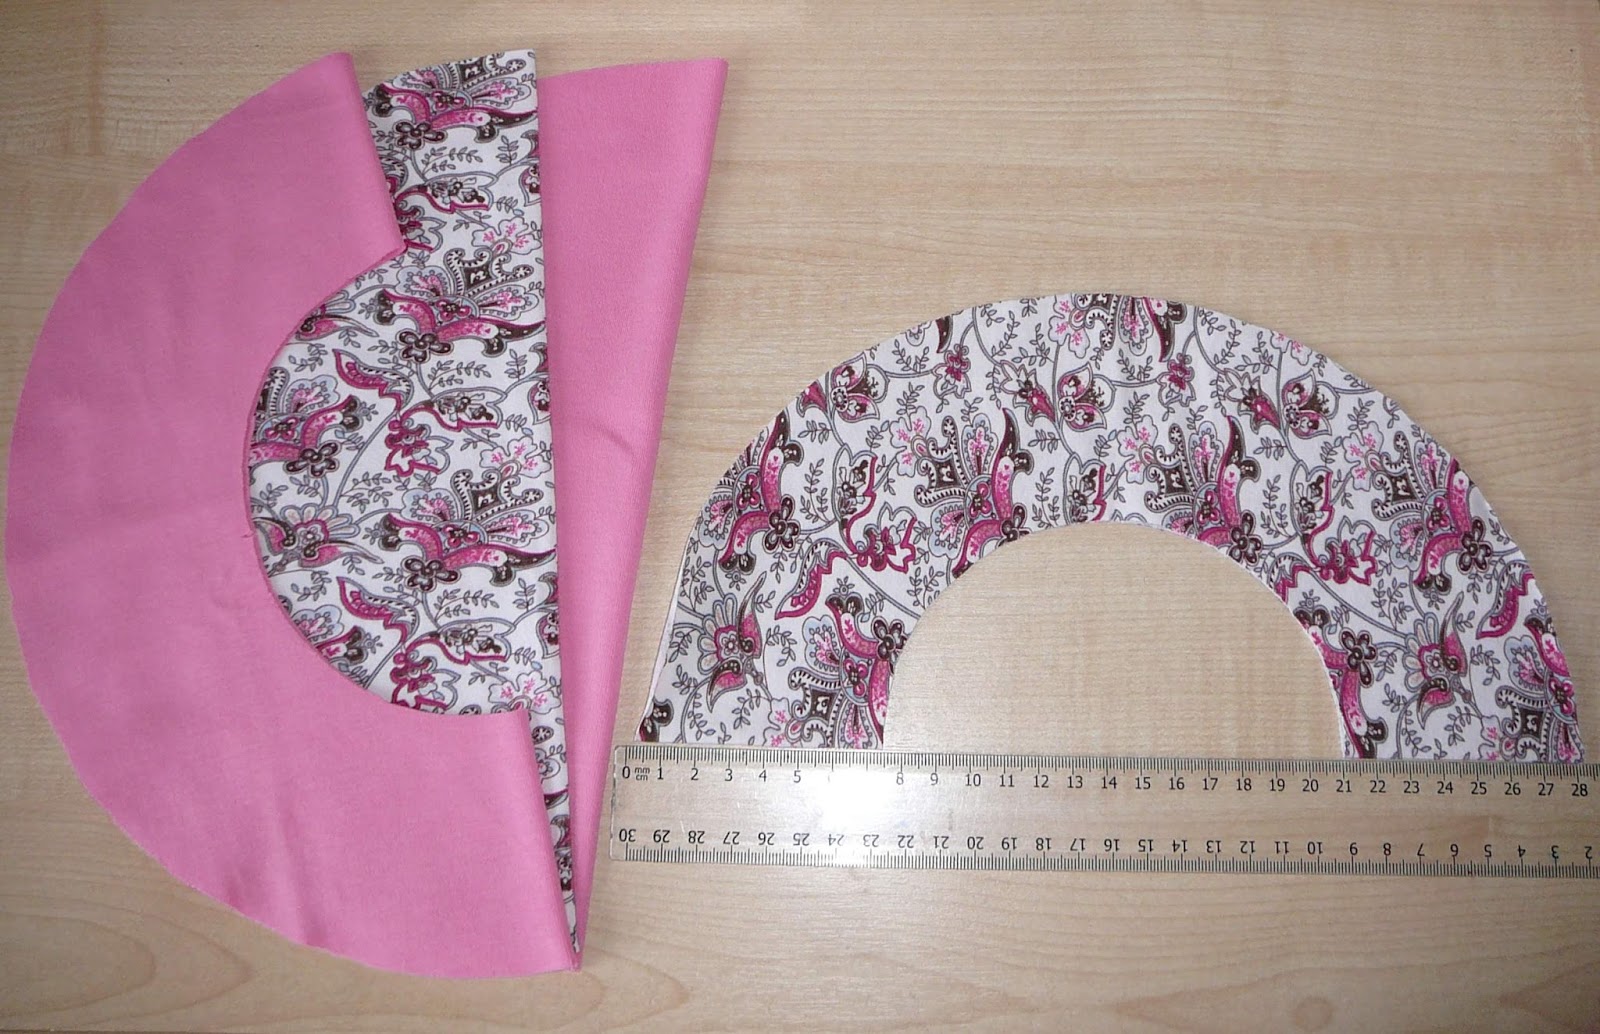
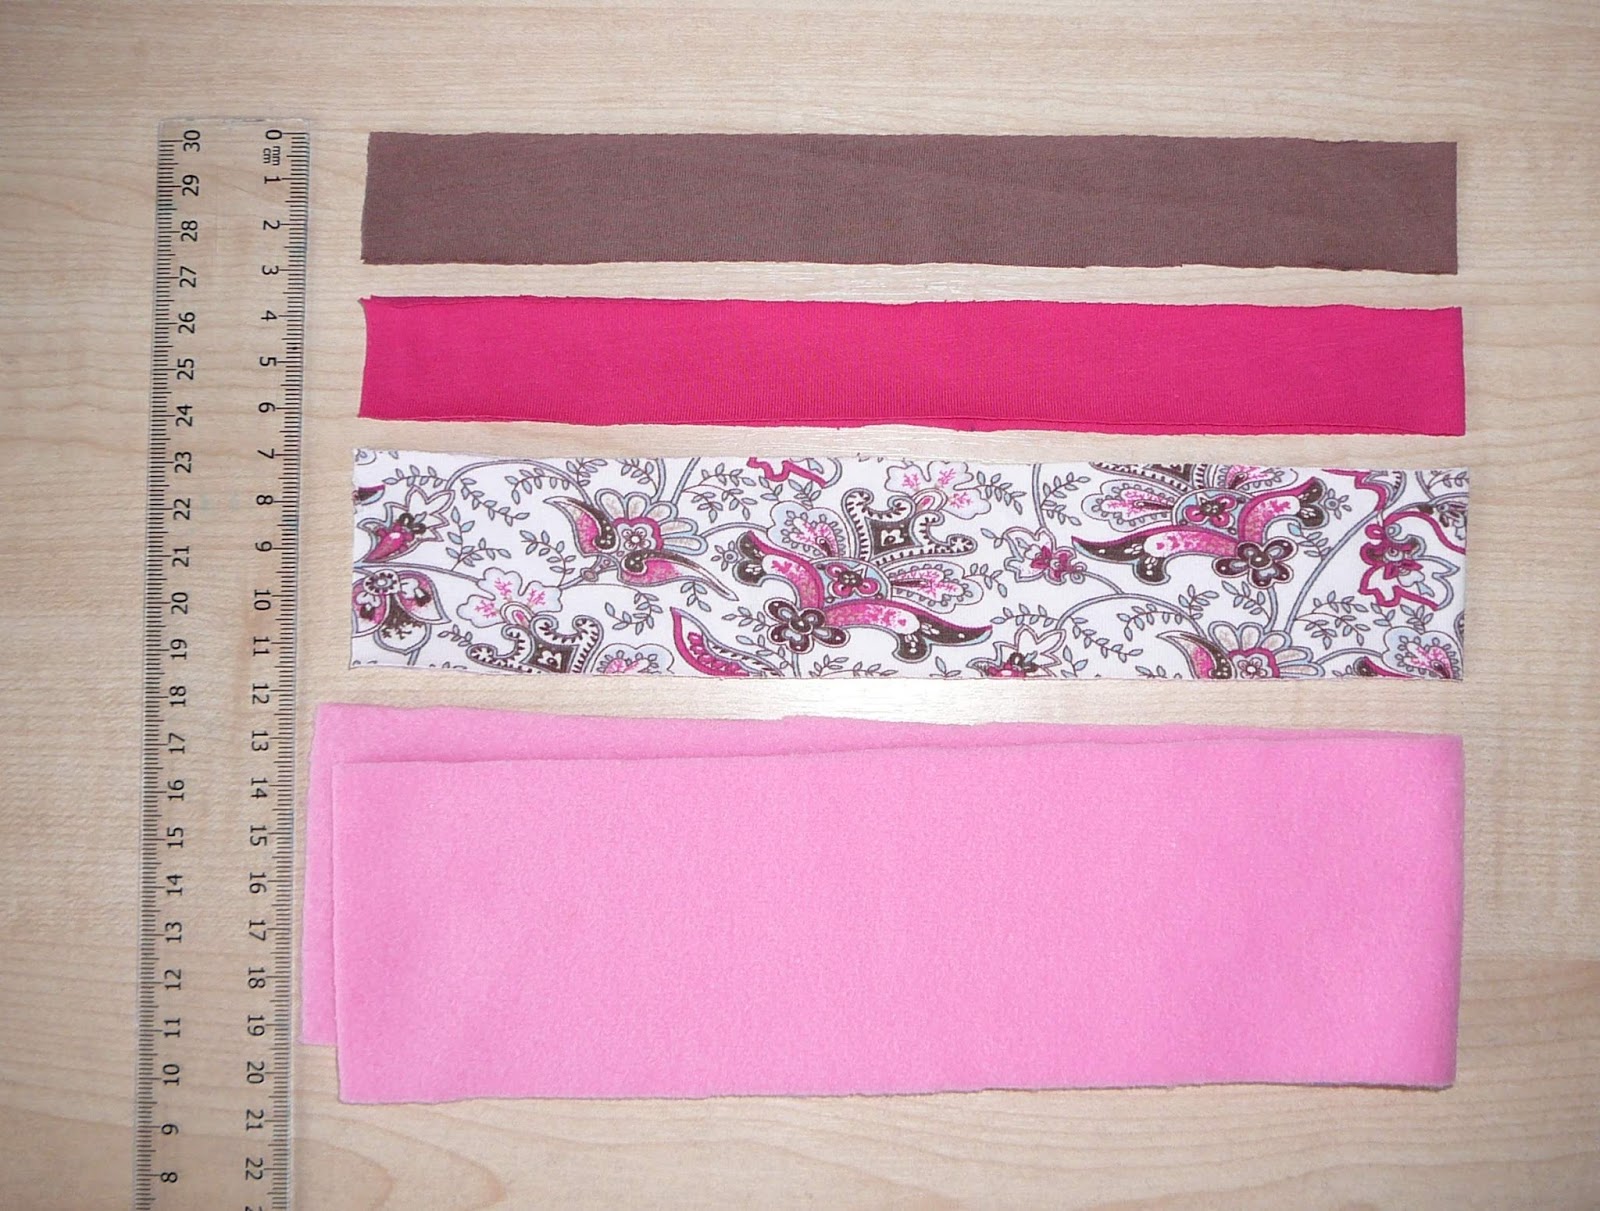
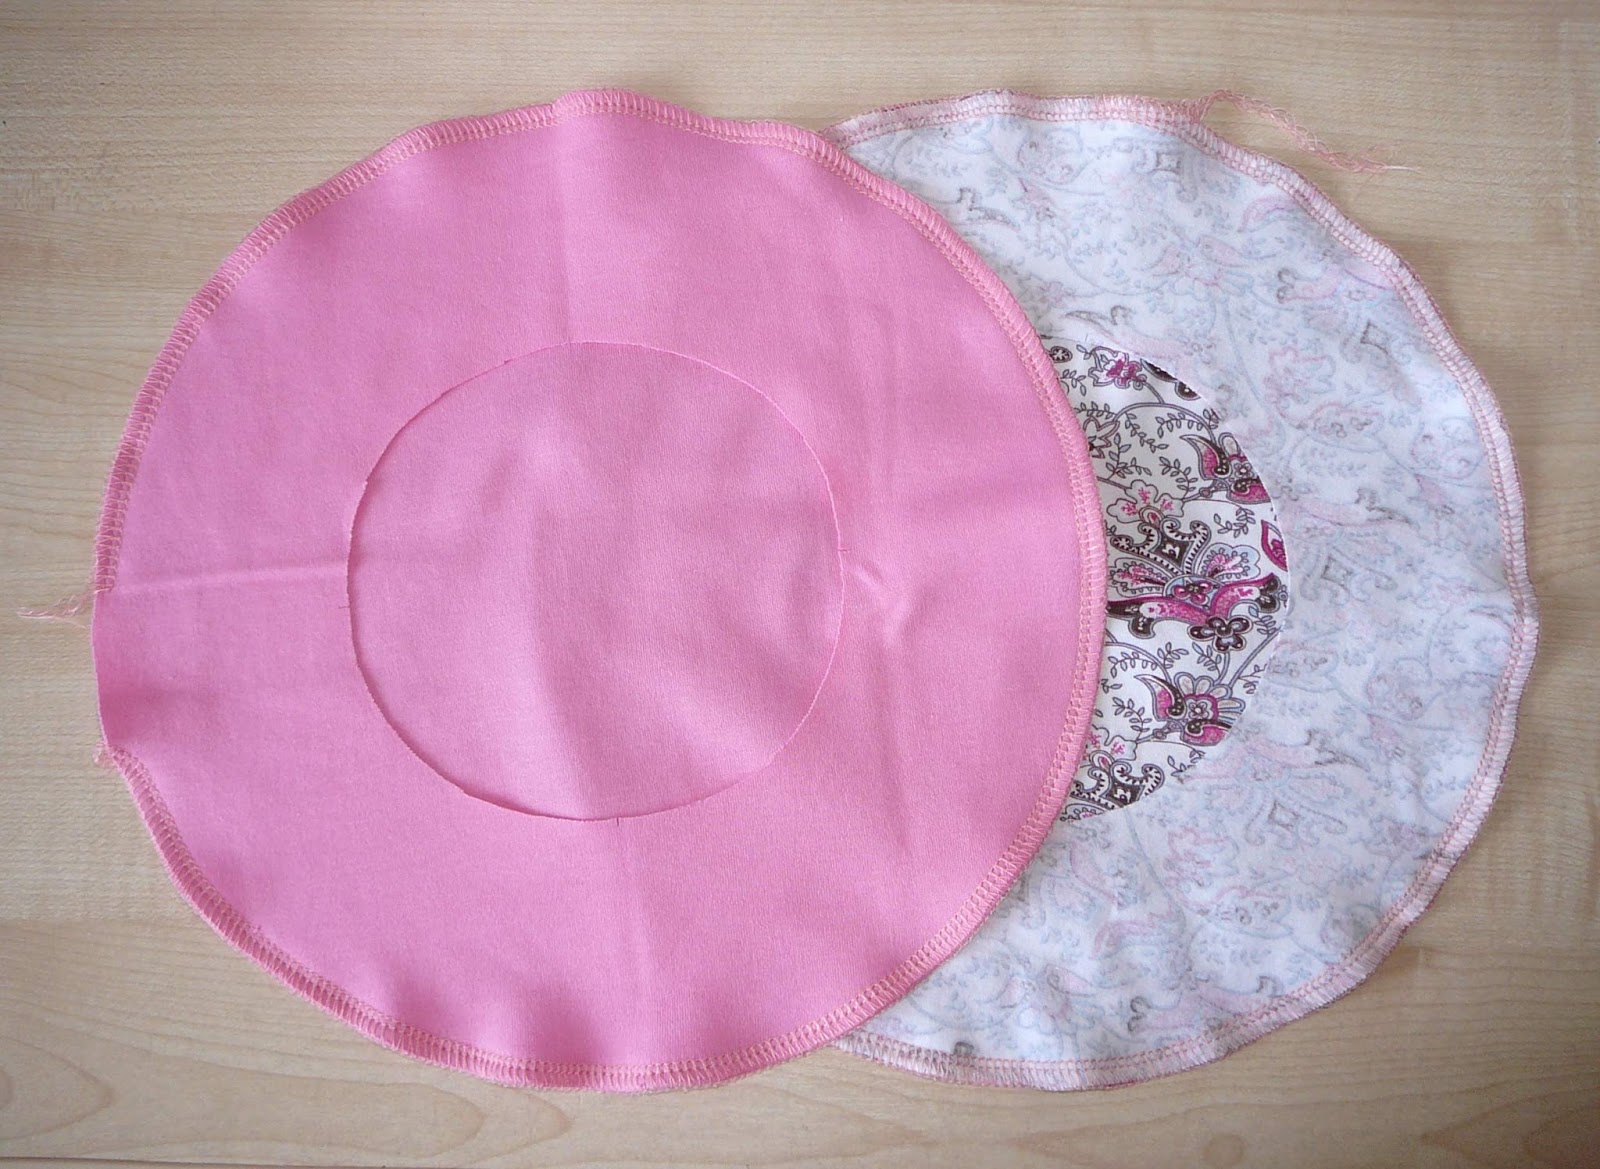
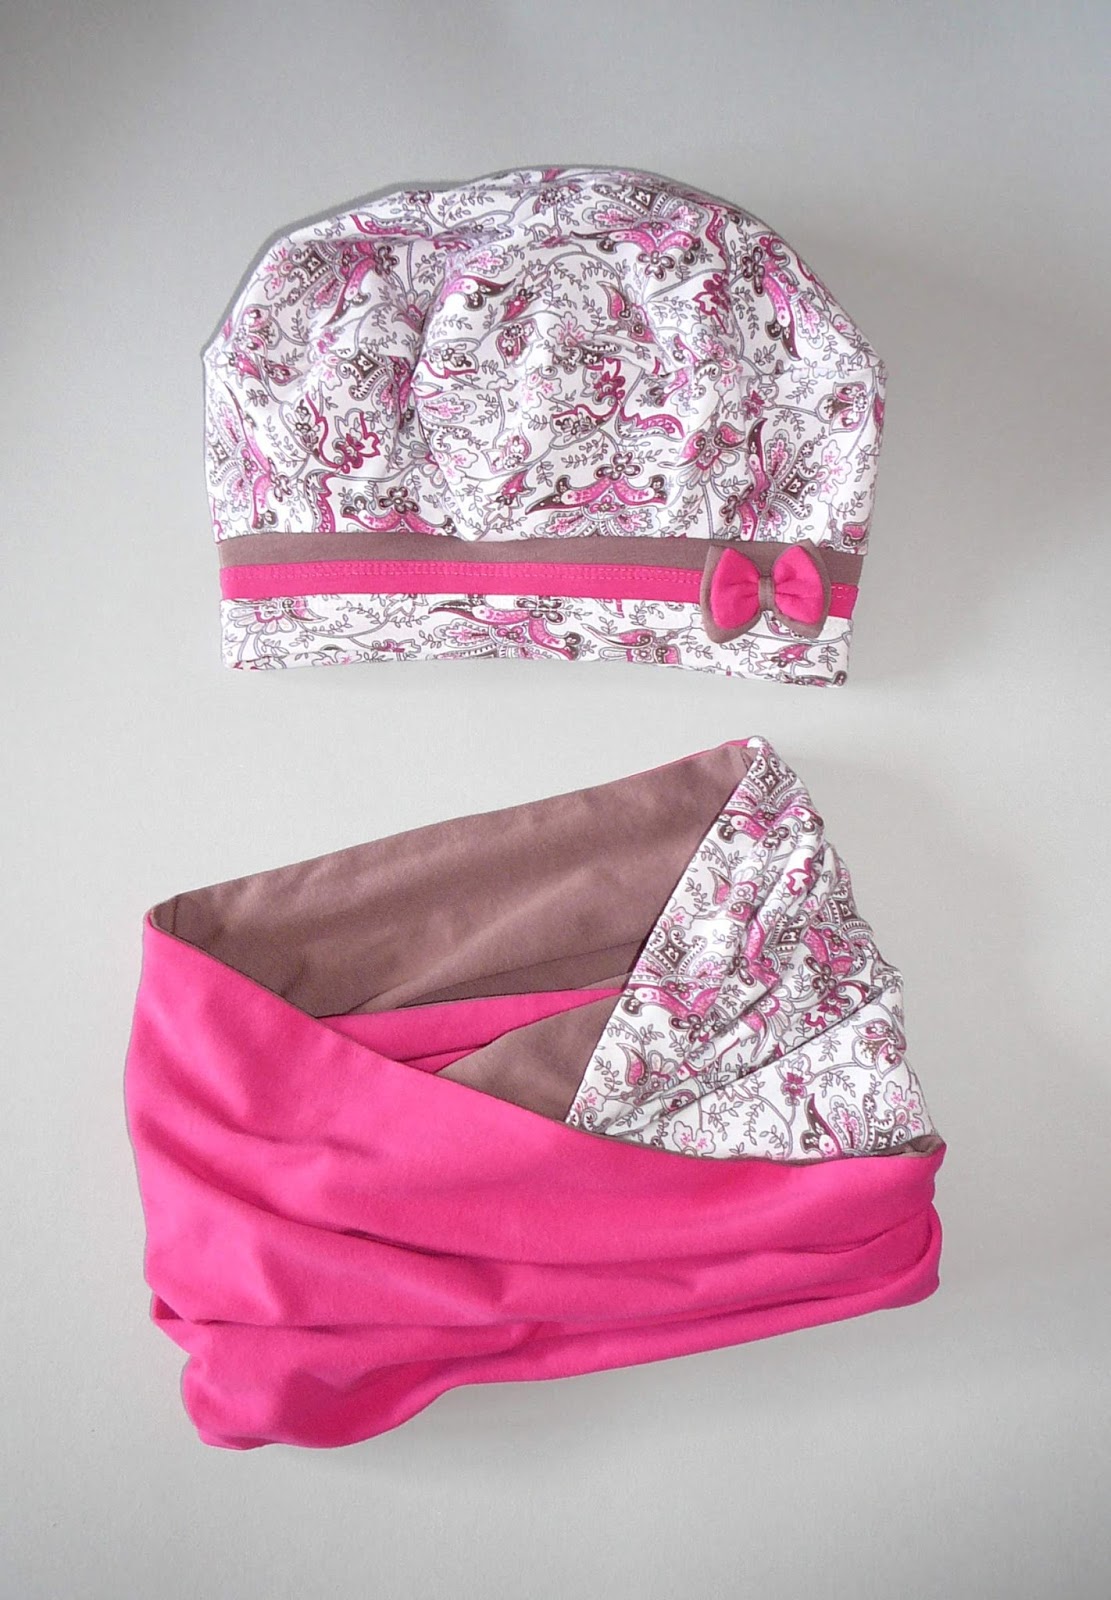
Elegant beret
The most important step in sewing a beret is the correct pattern. When tracing and cutting out the details, you need to make sure that they do not differ from the proposed pattern, otherwise the accessory will turn out uneven. We sew the hat according to the following algorithm:
- The first thing to do is to secure all parts of the side.
- Now iron along the seam.
- Next, the bottom is attached to the side, correctly forming the base.
- After this, you need to iron the seams again.
- Finally, sew on the band, checking the level of its fit on the head.
Since the beret is often made of thin knitwear, it is recommended to make a lining. Cotton can be chosen as the base. The inner part is cut in the same way as the beret itself. The lining is fixed after the main parts have been sewn together.


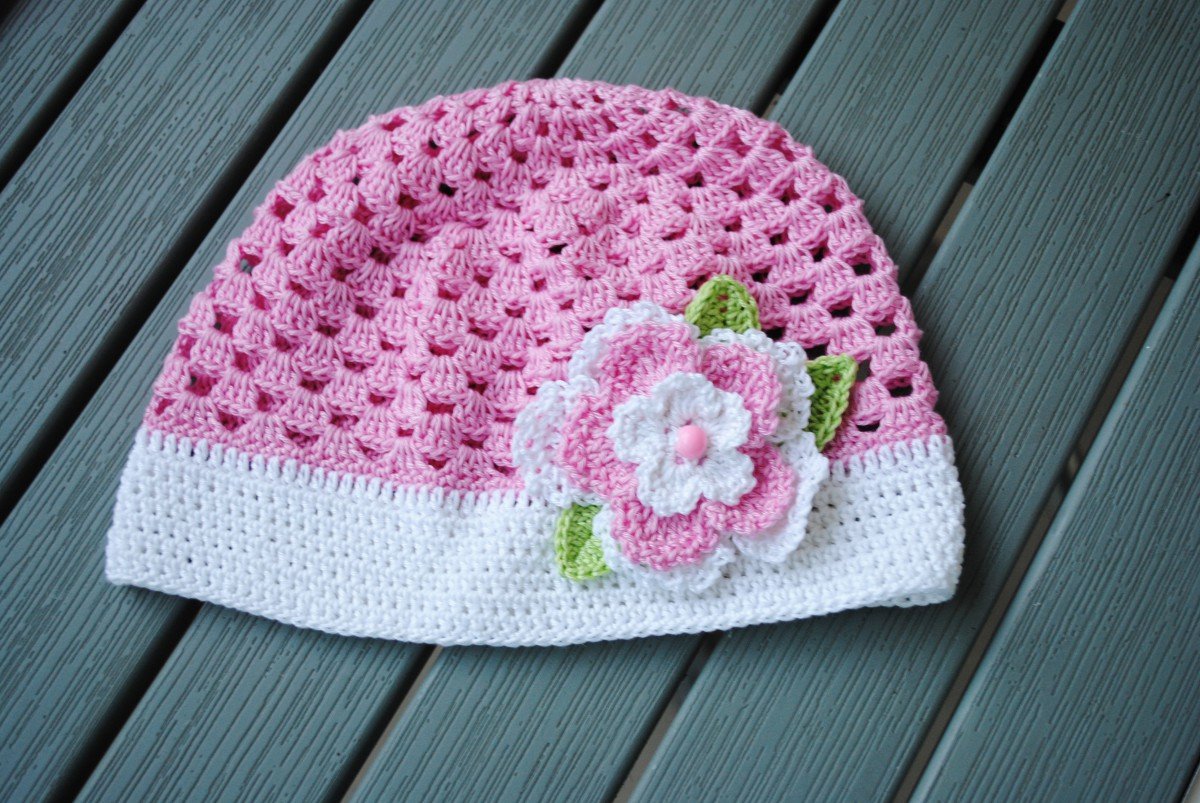
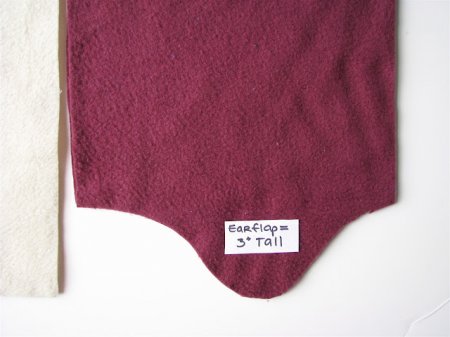
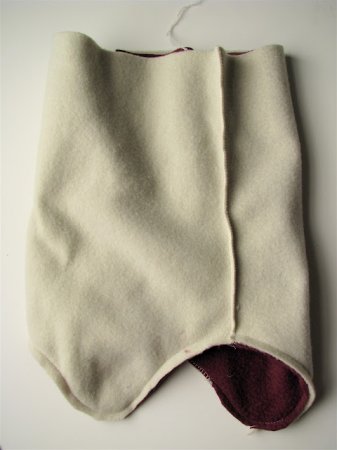
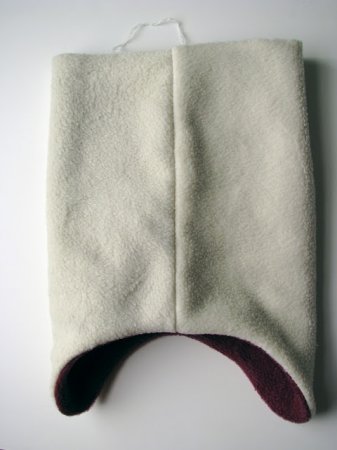
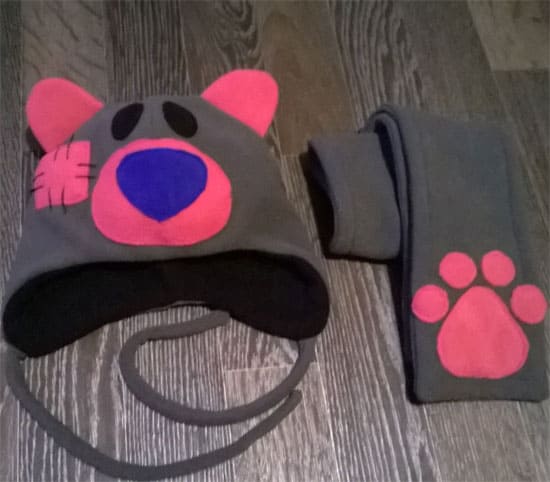
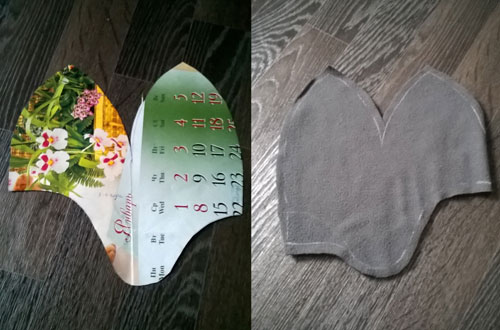
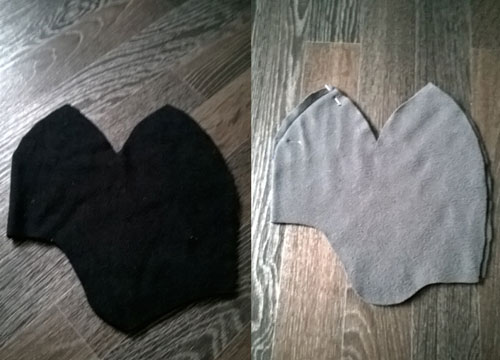
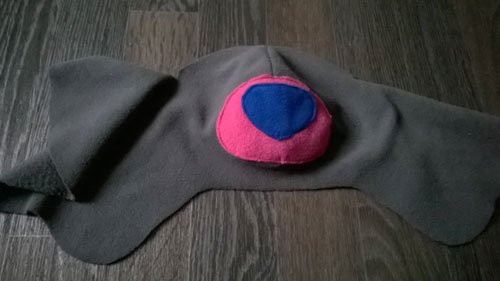
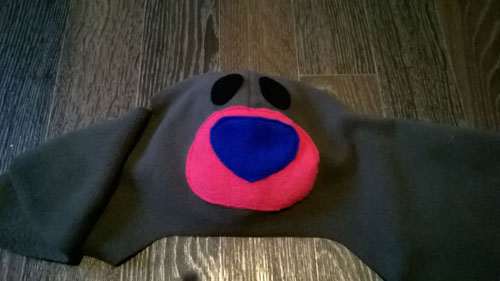
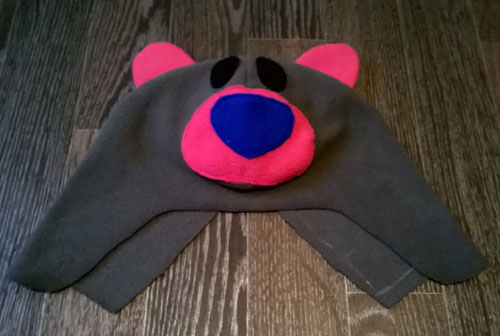
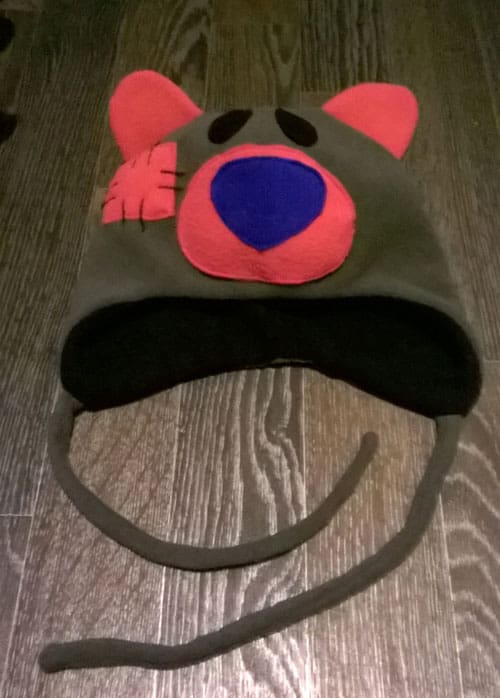
With ears for a girl
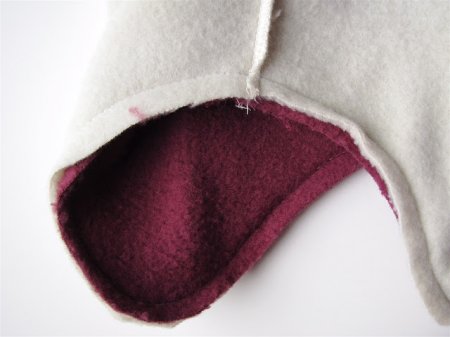
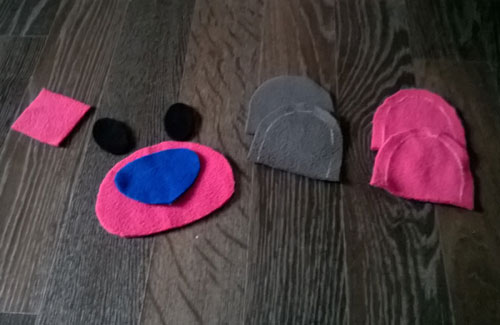
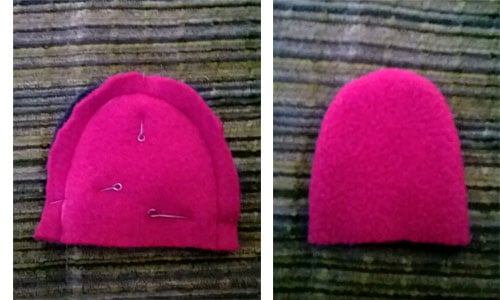
It is not difficult to make such an unusual accessory. Since the pattern of a children's hat with ears is quite rare, it is better to make it yourself. In order not to calculate the size of the parts, it is recommended to take an old headdress of the child as a basis. The hat needs to be traced on paper, there will be 2 halves (back and front). According to the resulting pattern, make parts for the base and lining. After that, make a diagram of the ears (their size is determined individually). After the triangles are cut out of the fabric, they need to be overcast.
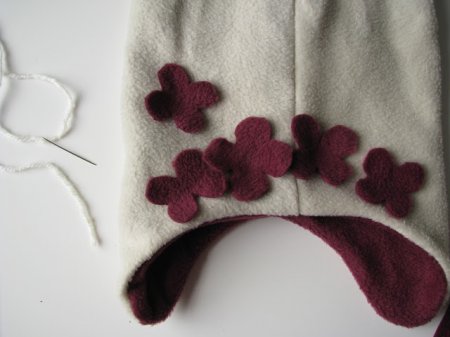
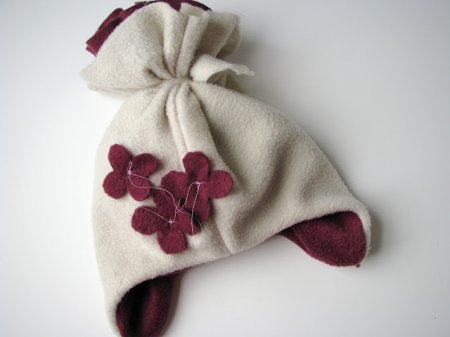
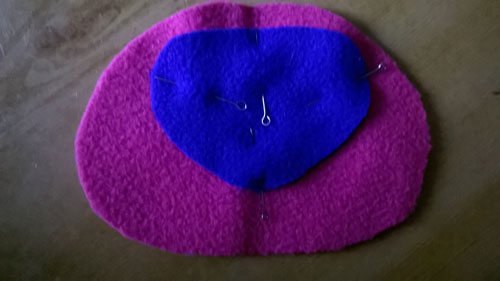
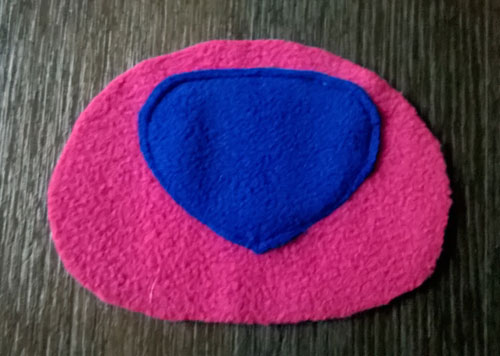
To sew such a hat, you need to fasten the blanks together with pins (with the front side inward). Then install the stitched ears on the top line of the seam (with the top inward). After they are located in the right place, sew on the machine. To make the hat more unusual, it is recommended to make an applique in the center in the form of a muzzle, sewing on the eyes, nose and mouth. To create it, you can use not only ordinary threads, but also beads, seed beads and colored sequins.
Video