Modern fashion offers a wide variety of headwear. Many of them can be made with your own hands, for example, a crochet beanie hat can be made in just a couple of evenings. With knitting skills, you can please yourself and your loved ones with an excellent wardrobe item.
Features of headwear
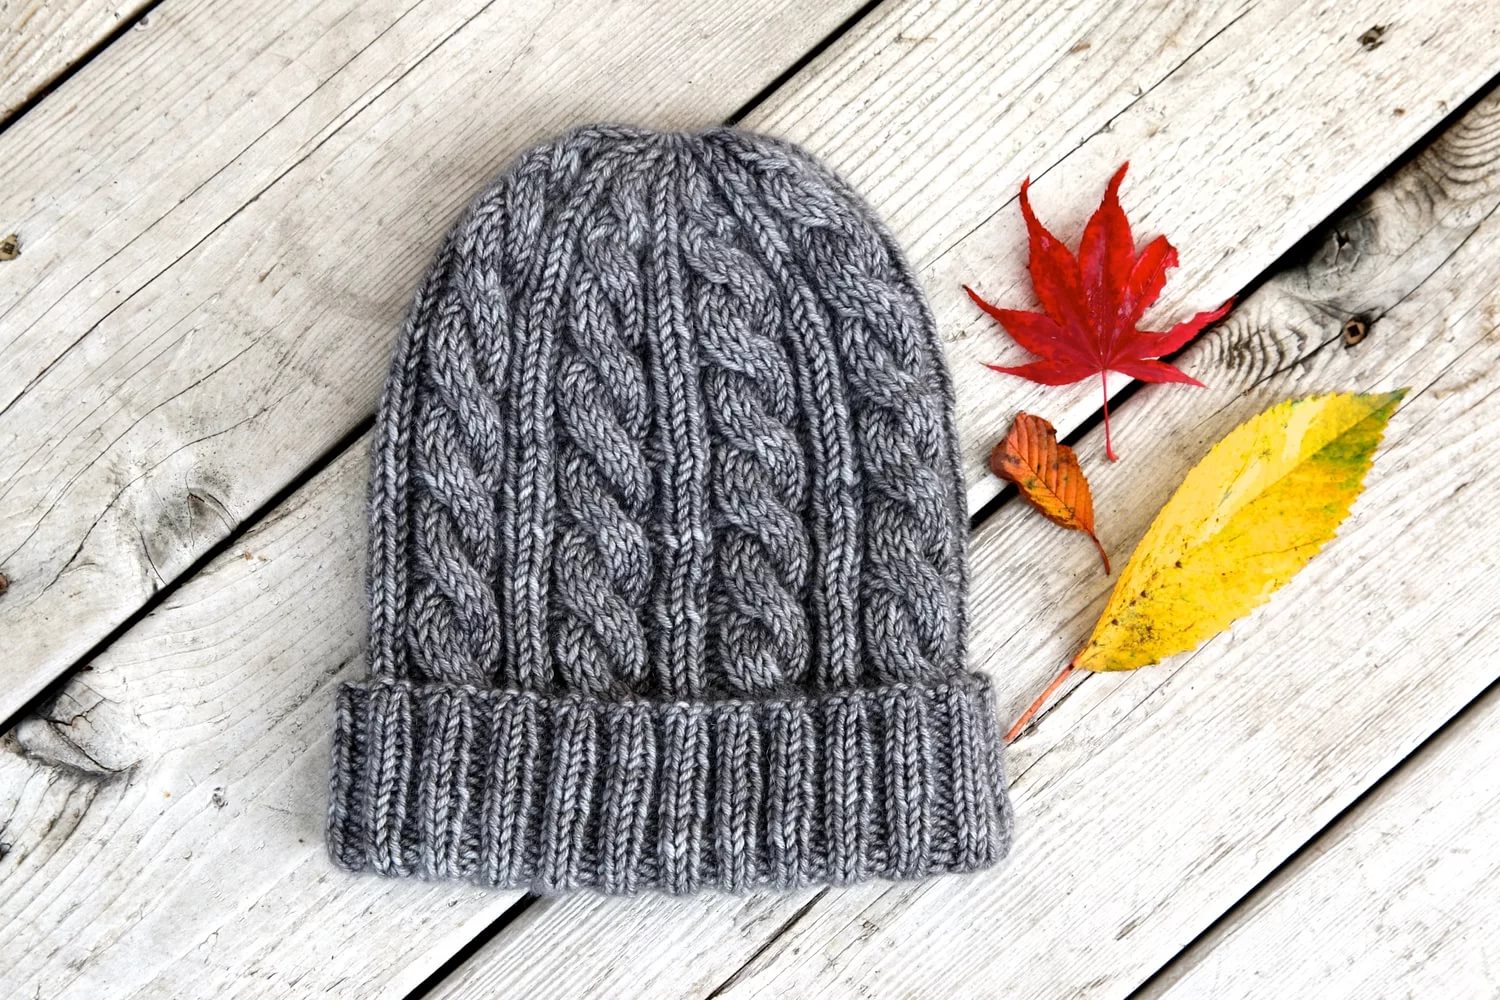
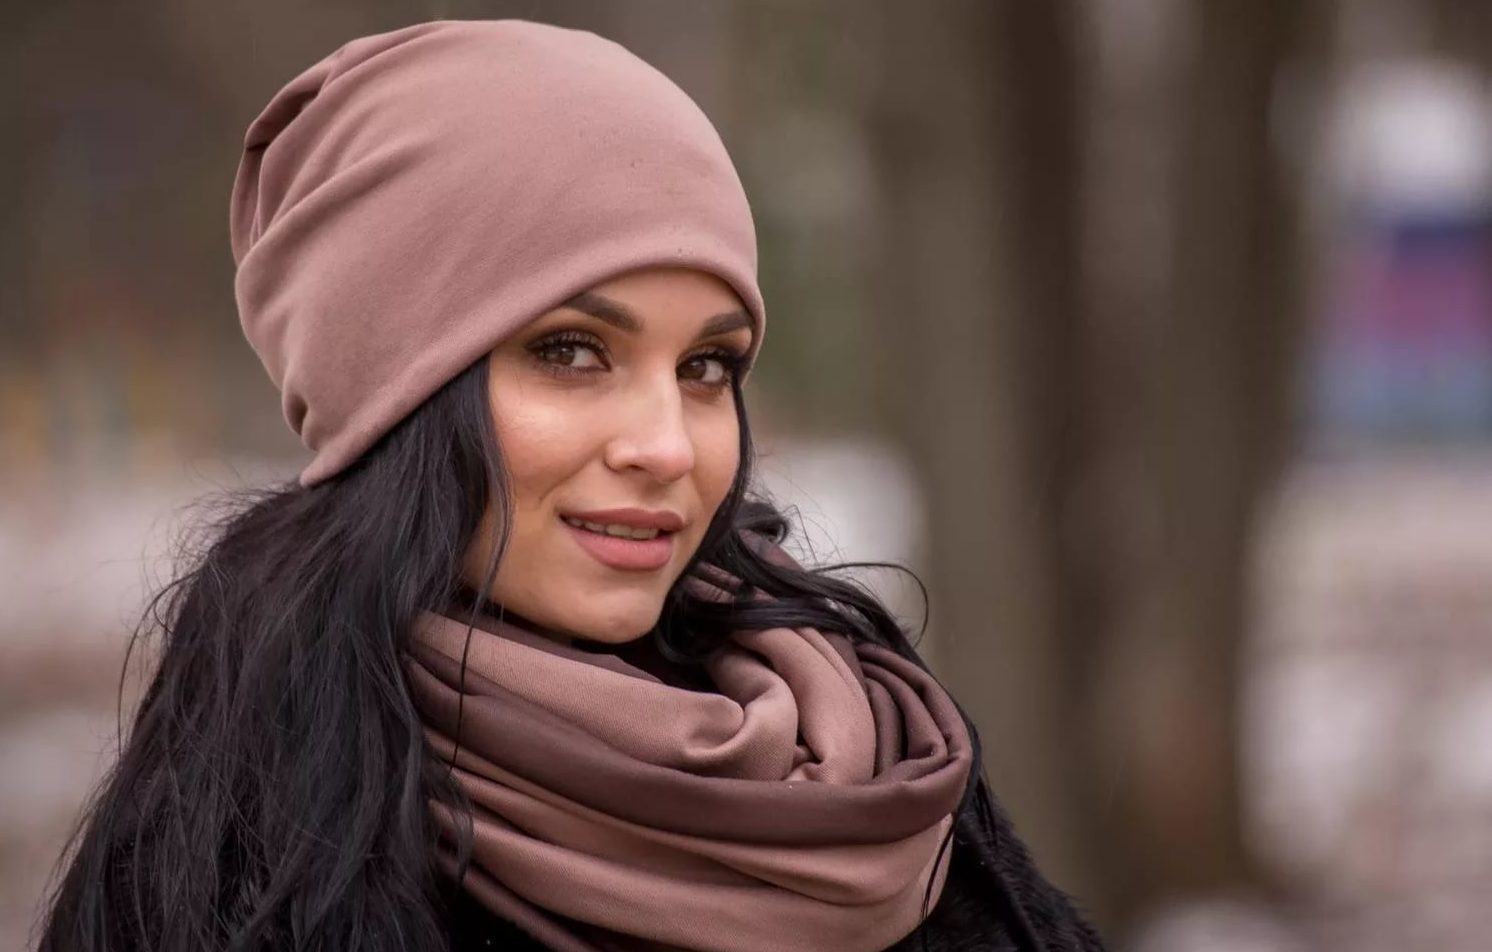
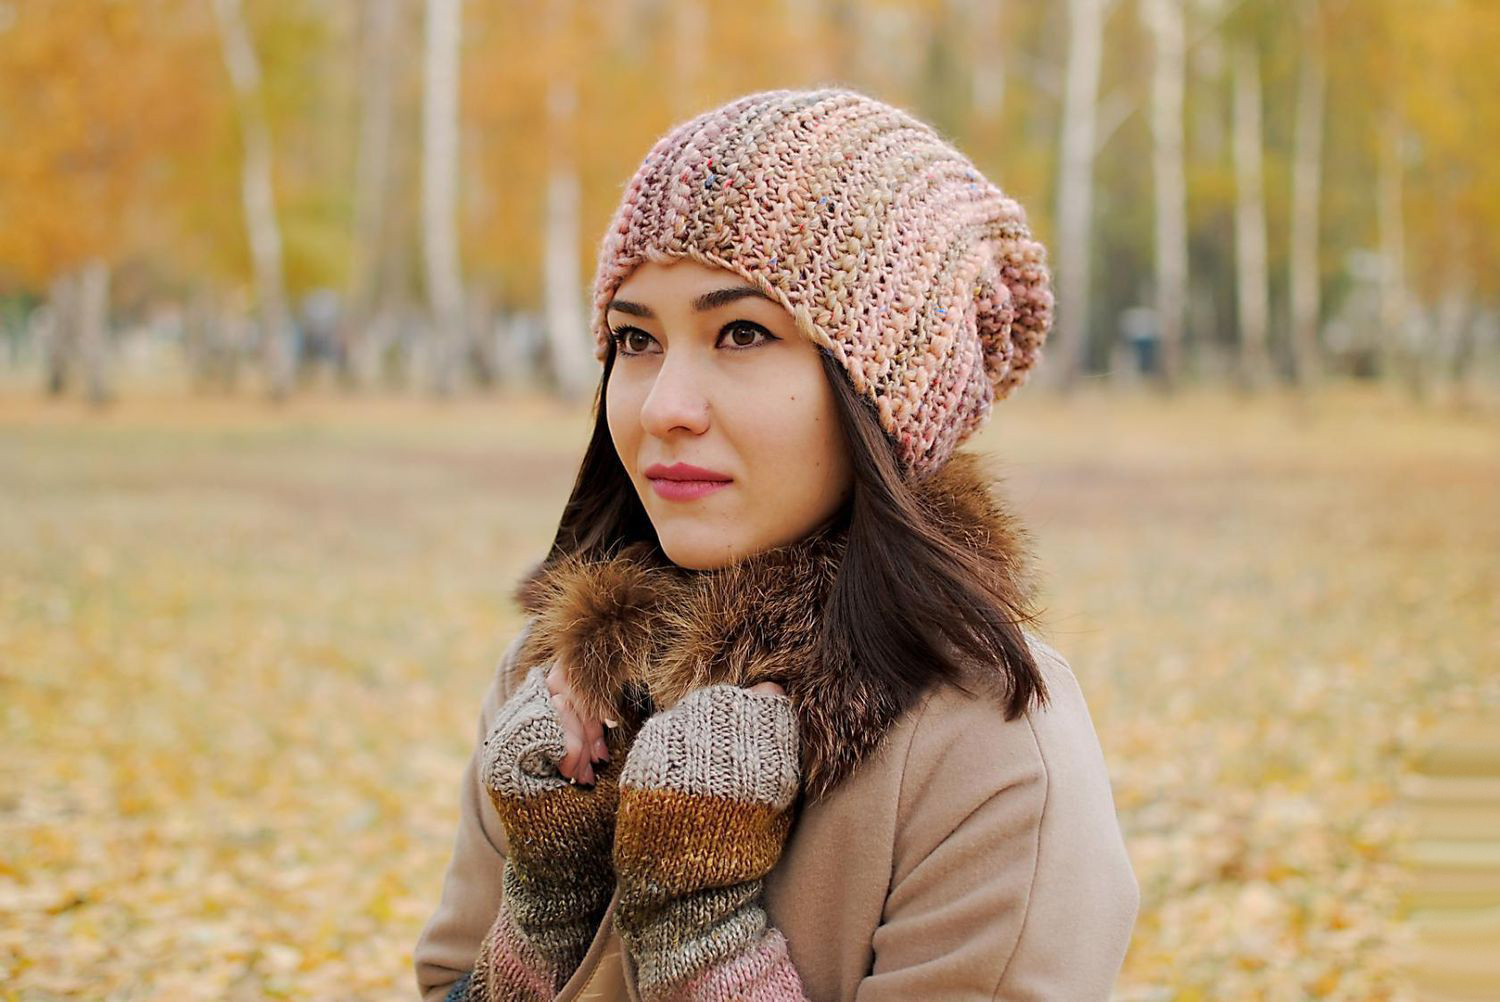
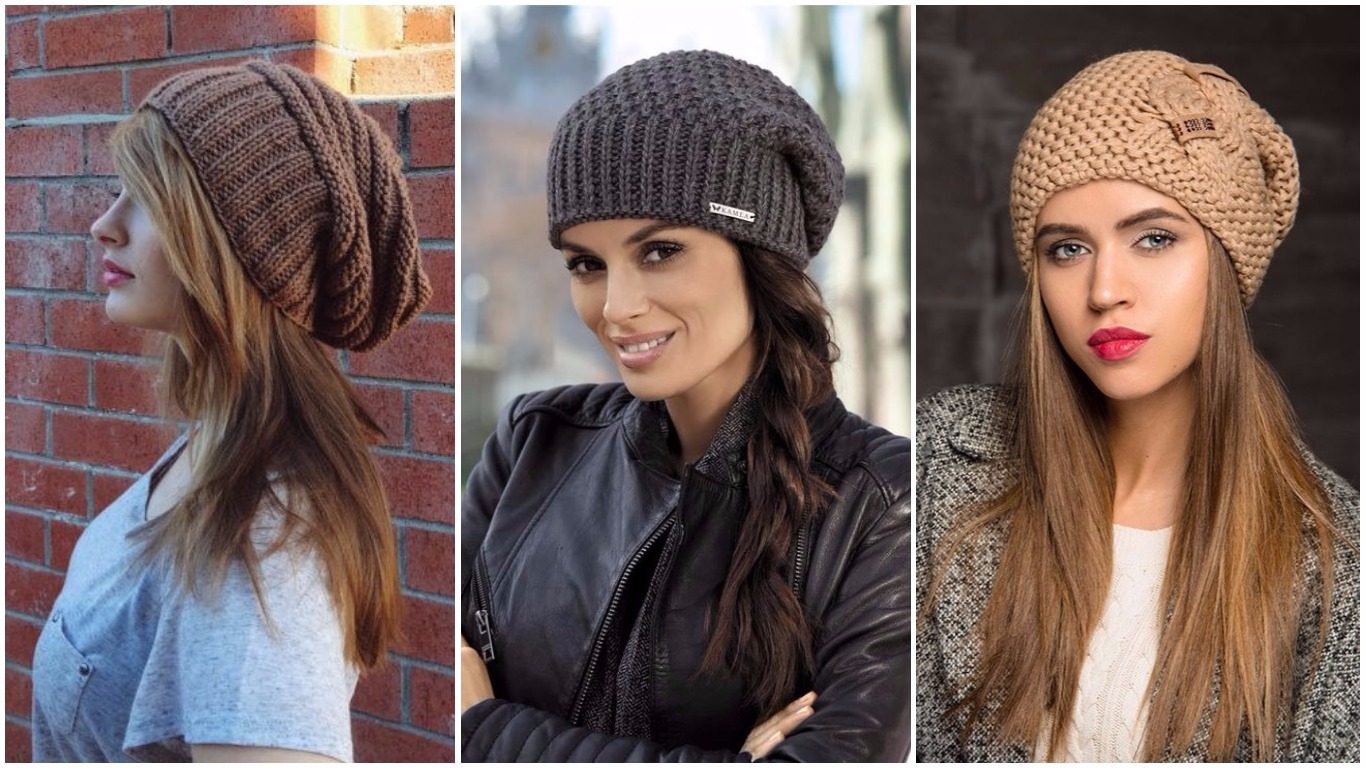
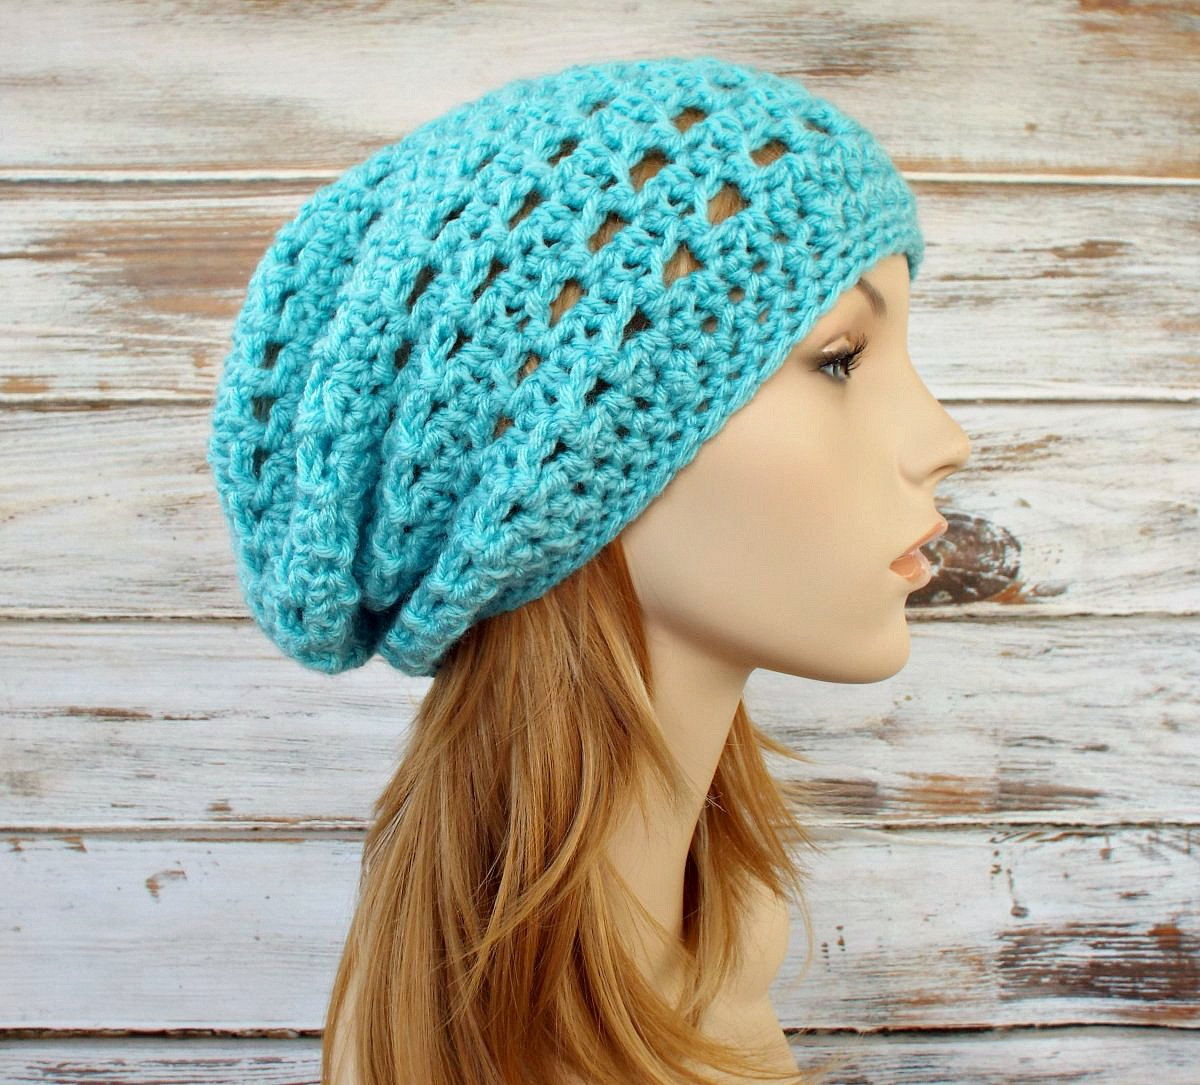
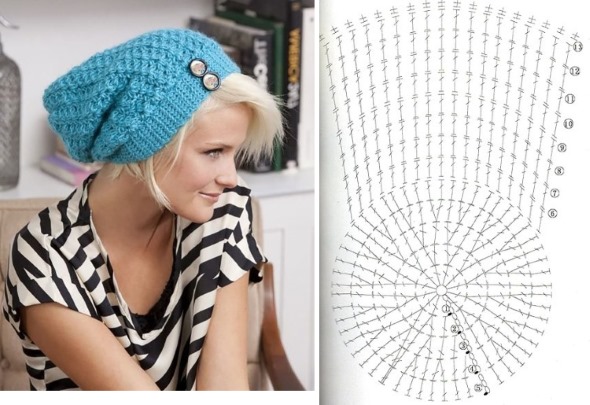
A beanie hat is a tight-fitting headdress without ties. However, the product is quite loose, usually long. If desired, you can find a model that fits tightly to the crown. The design of a crochet beanie hat is quite modest. This is the highlight.
Initially, beanies were worn only by people of working professions, the headdress was comfortable and warmed well. Gradually, the hat became popular among students. This was explained by the convenience of attaching the emblem of the educational institution.
The beanie hat is universal. It will fit into many styles. It is worn mainly with casual and sport styles. The beanie matches winter down jackets, short fur coats, parkas, sweaters, cardigans. Hair length does not matter much, owners of both short and long haircuts will look great in this hat.
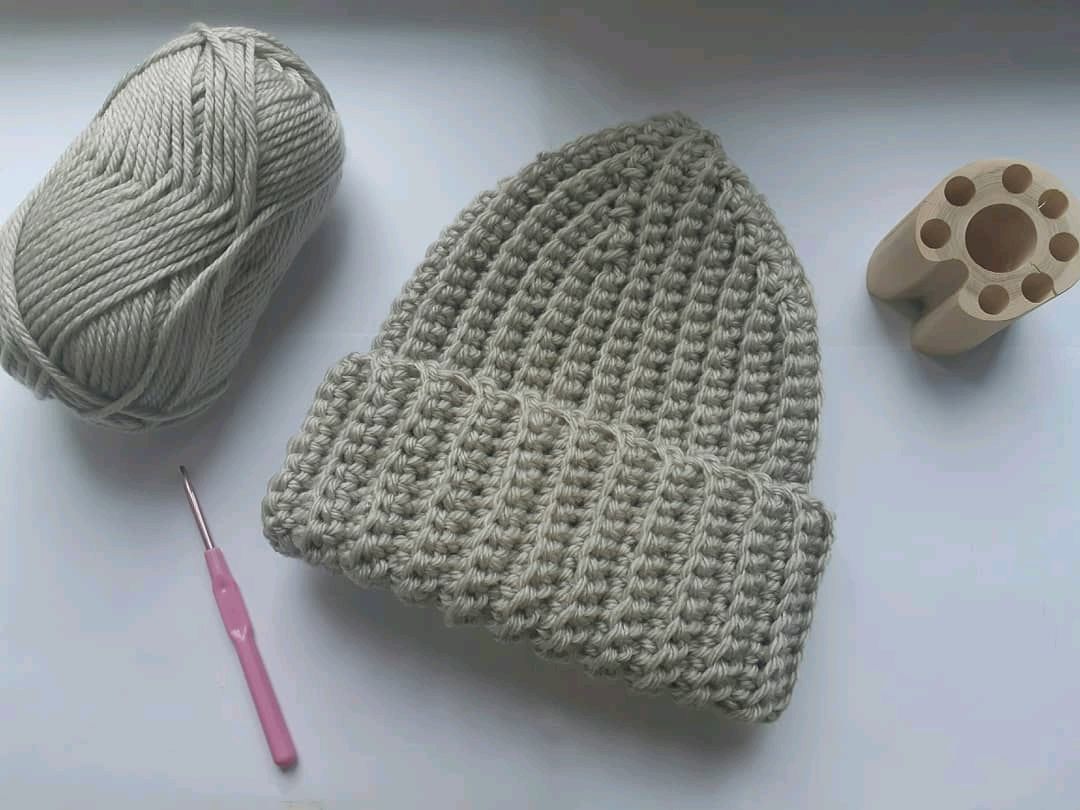
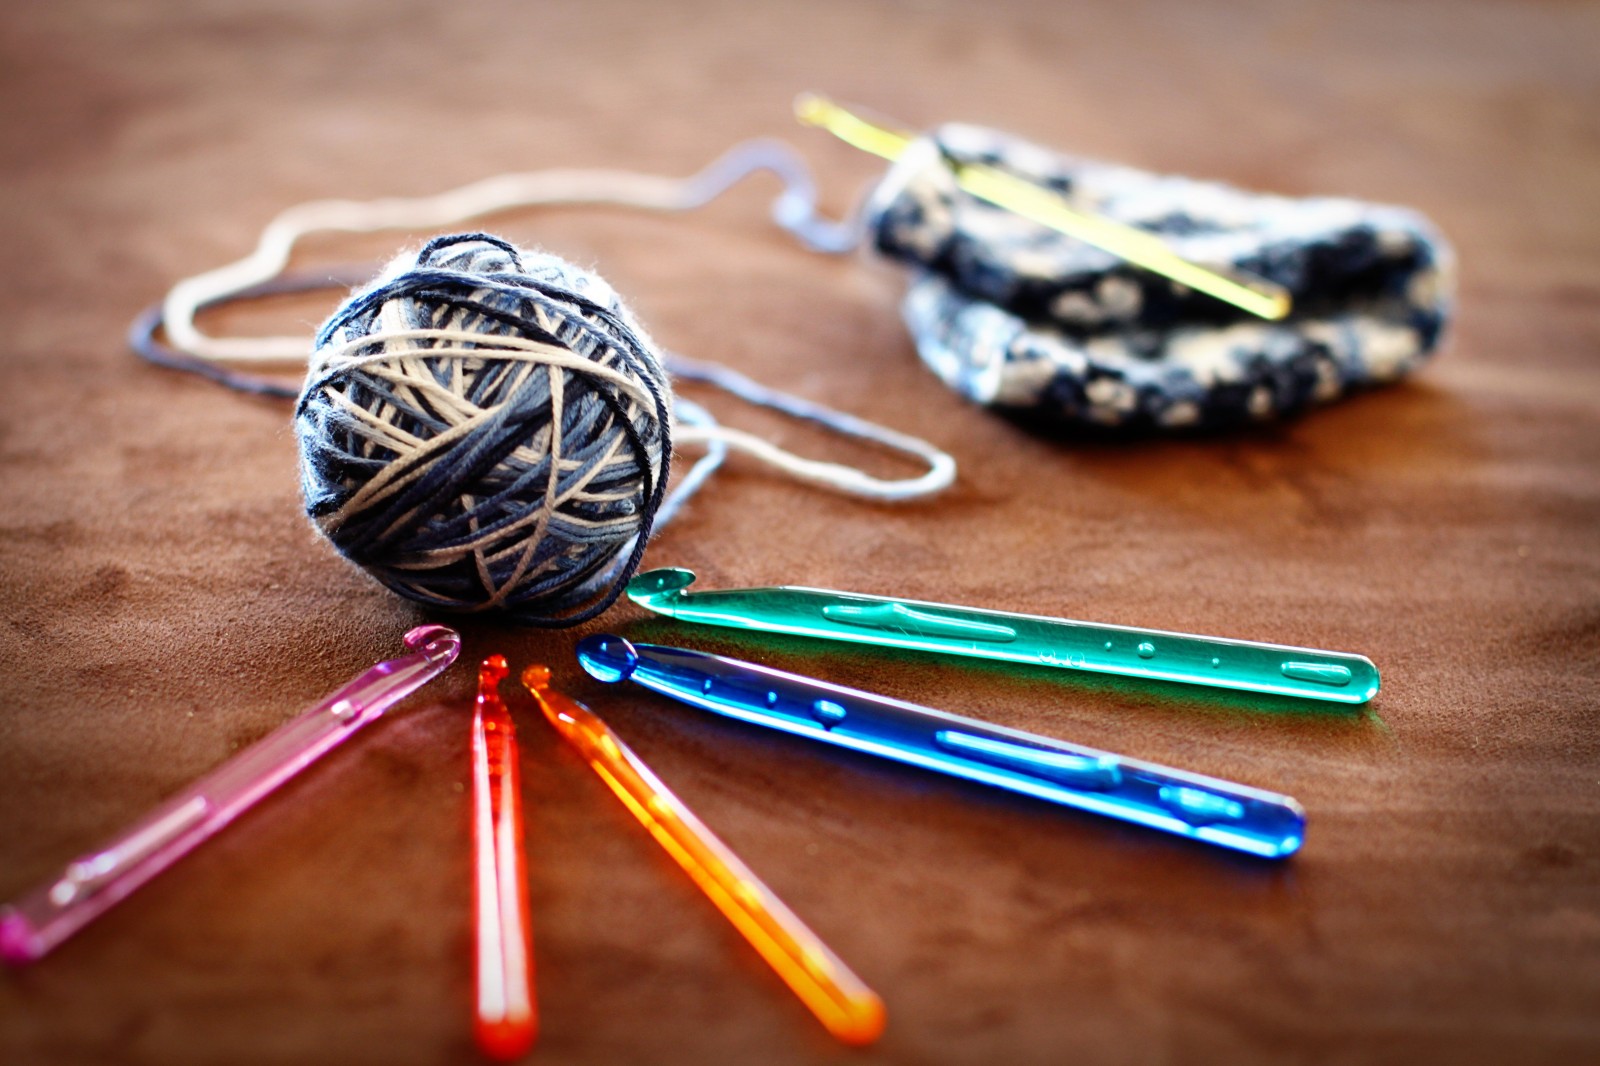
Selecting yarn and tools
When choosing a material, first of all, you should start from the season. For the winter period with frosts and piercing winds, it is important to be warm, so it is recommended to use natural wool, cashmere, mohair, merino, angora.
In the off-season, it is worth choosing thinner yarn, which will allow air to pass through well and protect against overheating. Cotton threads and bamboo are considered ideal. In summer, the primary task is protection from the sun and heat stroke. Accordingly, the main characteristic of the material should be sufficient ventilation.
Regarding the color, everything is very individual. There are no special requirements. There are two categories of color range:
- Universal. Includes classic white, gray, black tones, which are not picky about combination with other shades.
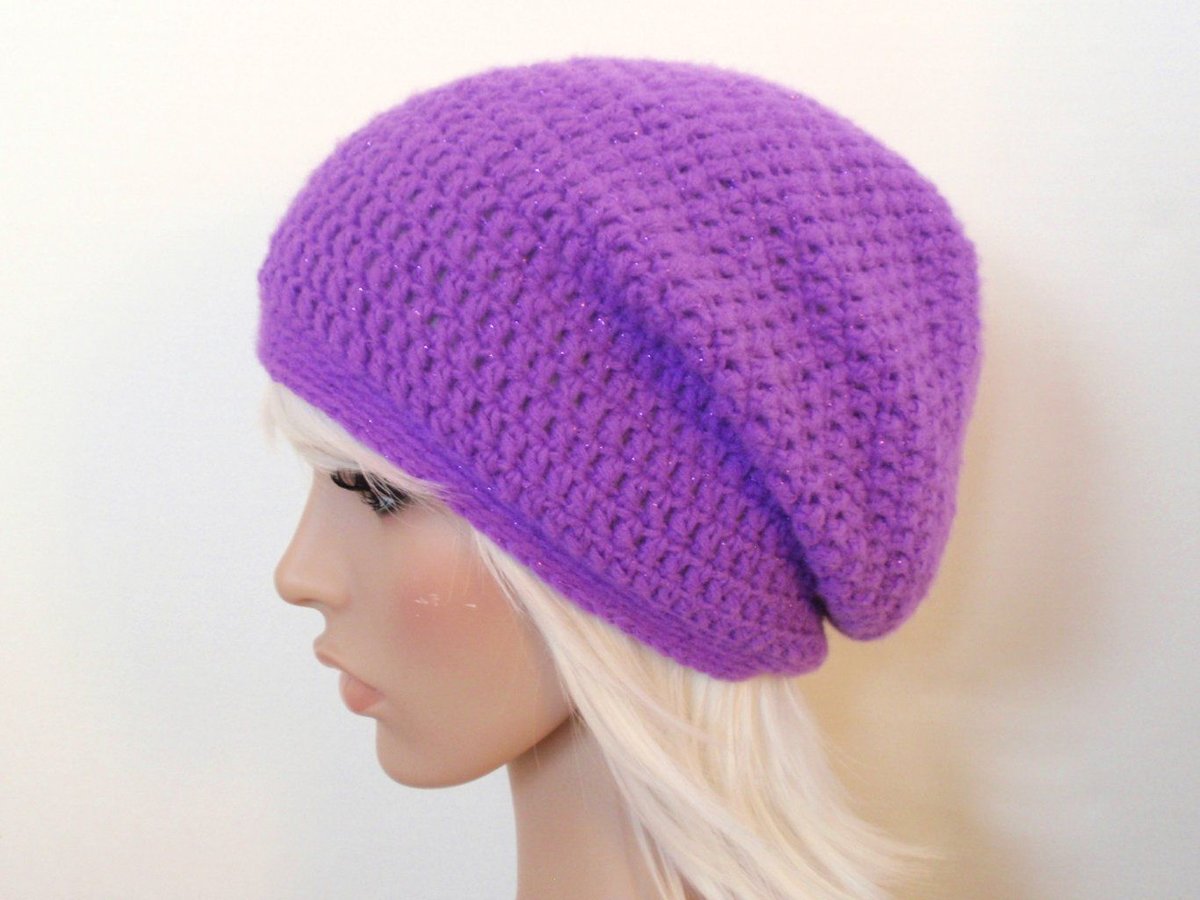
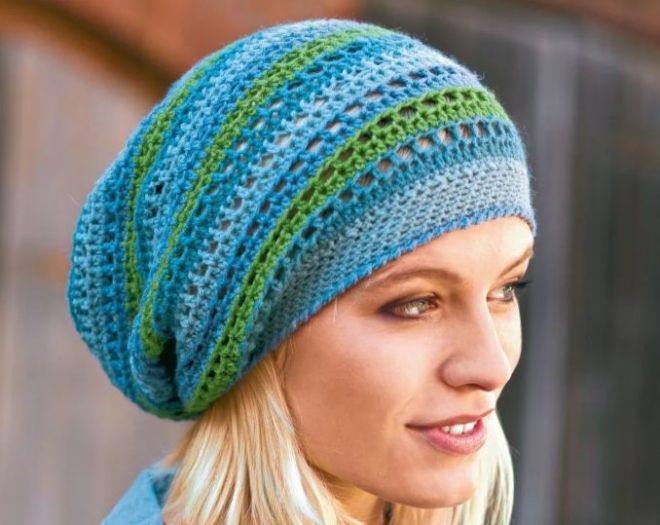
- Original. Multi-colored or single-color bright options, for example, purple, emerald, orange.
The thickness of the hook is selected depending on the yarn used. The ideal ratio is 2 to 1. However, if you need a tight knit, it is better to choose a thin hook. For a product with gaps, a thicker tool is suitable. For beginners, a flattened middle on the handle will be a good help.
How to take measurements
In order for the finished knitted product to fit perfectly, it is necessary to take the head measurements correctly. The maximum circumference is measured with a stretched centimeter tape: in front along the forehead line, on the side above the ears, in the back along the most convex part of the back of the head. Thus, we get the head circumference.
There are two ways to measure the depth of a hat: place the tape from the beginning of the earlobe to the center of the crown or from the middle of the forehead to the center of the crown. The result obtained is used for a tight-fitting model. If a long version is assumed, then the desired value is added.
After taking measurements, you can begin the process of creating the headdress. It is recommended to first knit a control sample. After trying it on, you can finally decide on the required number of loops and rows, and calculate the yarn consumption.
If you plan to make several patterns, it is advisable to knit samples of each of them. Try them on and see if you like them or not.
If the yarn has the property of shrinking under the influence of water, then the control sample should be washed. After analyzing the result, the number of loops and rows should be adjusted.

Instructions for knitting popular patterns
The beanie hat has many styles. In addition to the shape of the headdress, the pattern and knitting density may differ. When choosing a particular model, you should adhere to the proposed work algorithm. The advantage will be the pattern, it will help you not to get lost.
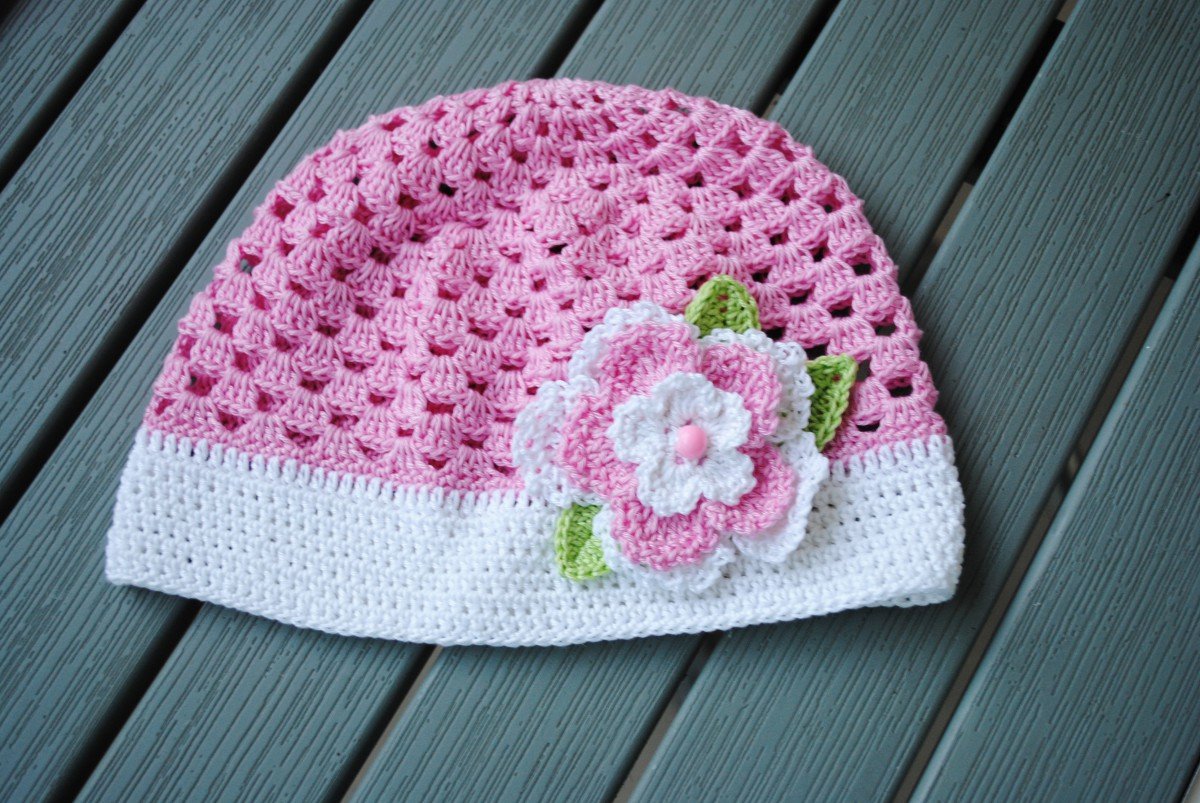
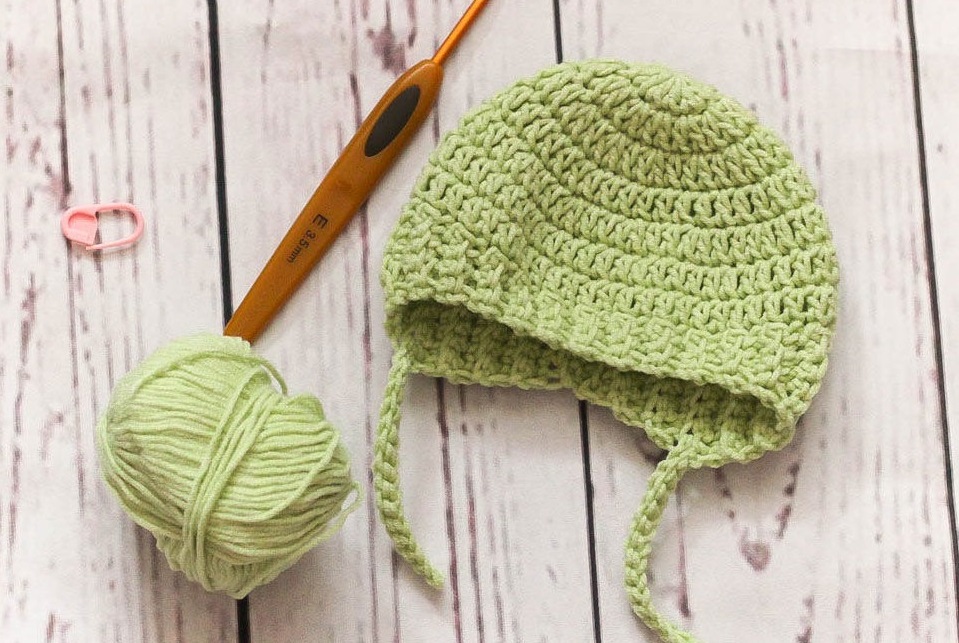
Nursery with a pattern
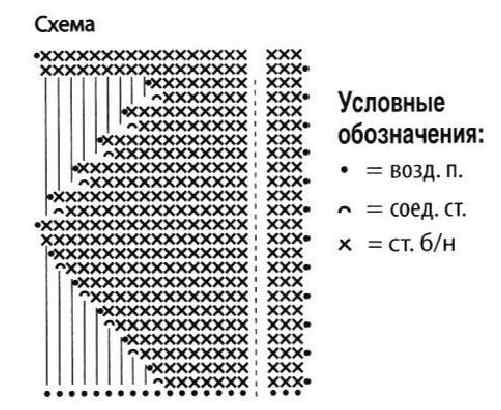
A very common knitting option for a children's beanie hat is the "seagull" pattern. It will suit both boys and girls. The finished product will look original and stylish. To create such a headdress, you will need thin children's yarn, hook No. 1.75.
Step-by-step algorithm for crocheting a children's beanie hat:
- All work begins with the creation of an elastic band. It will be located across the headdress.
- Gain 6 centimeters in height, knit a strip corresponding to the preliminary measurements of the child’s head circumference.
- The short sides are connected to each other.
- Next, the base is knitted. The process starts directly from the elastic band.
- The outer loops are captured and knitting is carried out according to the pattern.
- After 10 cm of the main fabric, reductions begin. You should decrease 1 rapport in every fifth circular row carefully, without shifting.
Once the desired length is reached, the last loops are pulled together into one and secured with a thread. The product is ready, all that remains is to decorate it to your taste.
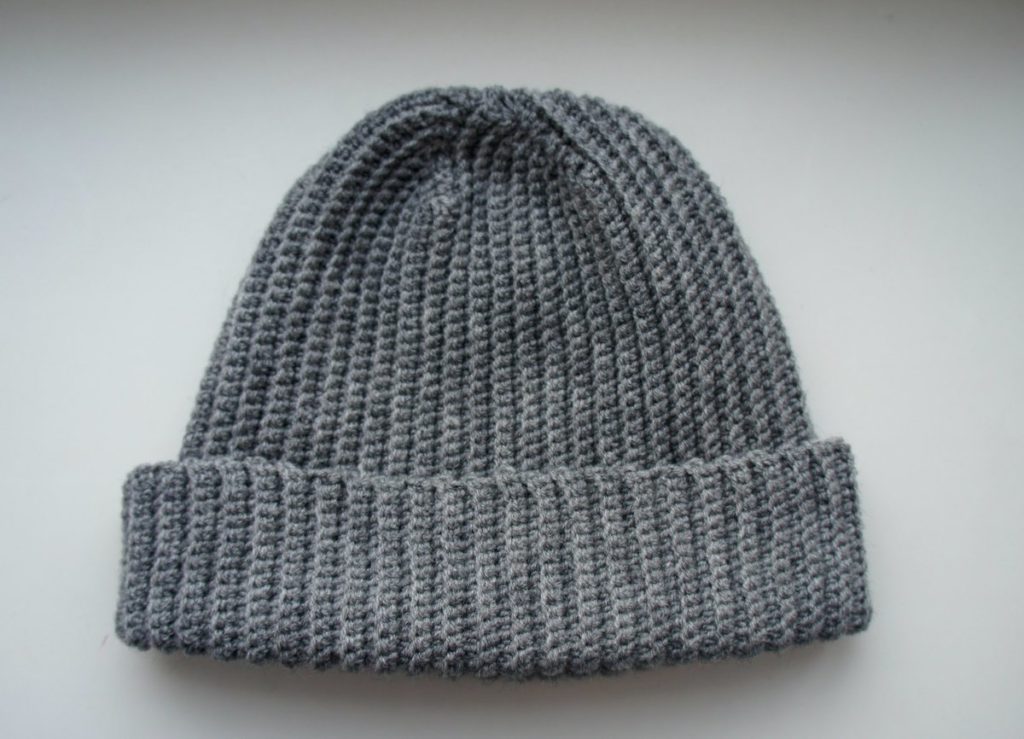
Men's hat with dense columns without nakida
For work you will need medium-density yarn with added merino wool and hook No. 5.5. The hat consists of four wedges. The first and third have 16 rows, the second and fourth – 18. Each wedge is created using “partial knitting”. The step-by-step algorithm below is designed for a head circumference of 56-60 cm, the height of the product is 28 cm. Abbreviations used: P – loop, SC – single crochet.
Knitting stages:
- A chain of 38 main P's and one air ch is collected, which will replace the first column at the beginning of the row.
- The first row consists of 29 sts. Knitting 27 single crochets begins with the second st from the hook and ends with the lifting st.
- Knitting turns.
- The second row consists of 29 sts. 28 sc are knitted from the second st from the tool. There is no lifting loop.
- Third row – 31 loops. One air P, 29 single crochets, one lifting P.
- Knitting turns.
- The fourth row consists of 31 loops. One air P and 30 sc.
- The remaining rows are knitted similarly.
- Once the process is complete, the headdress is assembled using the remaining thread using a chain stitch.
- The last loop is secured.
- The hole on the top is tightened. The product is ready.
The hat is knitted with fairly dense single crochet stitches behind the back half loop. The direction is transverse, therefore the height corresponds to the number of loops, the width – to the number of rows.
Free youth beanie
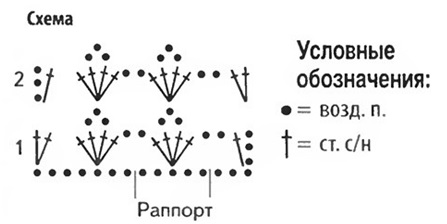
To create a youth hat, you will need medium-density acrylic yarn and a #8 hook. Abbreviations used: P – loop, R – row, SC – single crochet. The headdress is made according to the step-by-step algorithm:
- Each row begins with one chain stitch, replacing the first column. At the beginning, 36 chain stitches are knitted.
- Supplemented with one P for lifting.
- Next, sc are knitted.
- At the beginning of each front R, two columns are formed from the fourth P.
- The penultimate P of each facial R is skipped.
- During the knitting process, a slight slope is drawn.
- When 48 rows are ready, the hat is sewn together.
- The top is pulled tightly with a thread. The product is ready.
A youth beanie hat can be made multi-colored. For this, use threads of different colors or yarn with gradient color transitions.
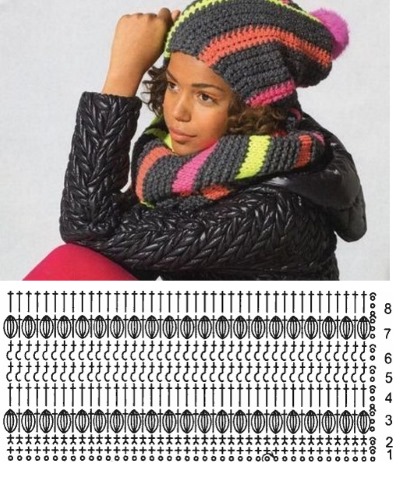
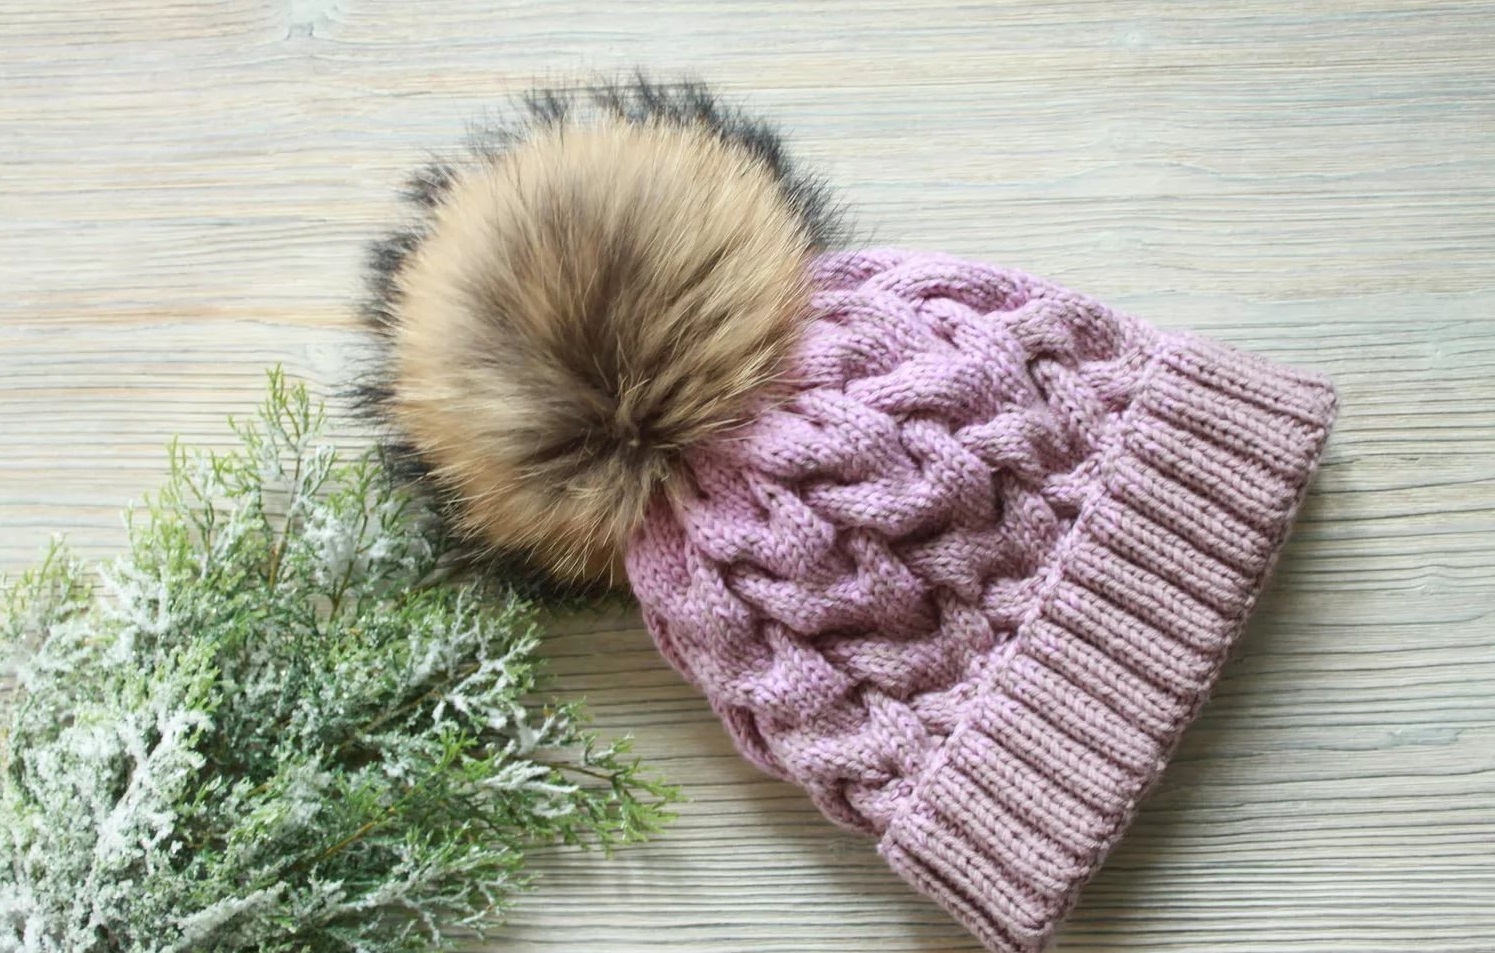
Warm with pompom
The warm beanie is knitted from thick yarn with added wool. Use hook No. 7. You will also need to buy a ready-made fur pompom. The algorithm and description of the process are presented for a model with a bar of size 52-56 (abbreviations used: P - loop, R - row, C - column):
- First, 60 air stitches are knitted, connected in a circle;
- 1-5 P are formed by columns following the example of a plank;
- 6th R – main knitting. The hook is inserted twice into every fourth C, the result should be 75 C;
- 7-18 R – main knitting (75 columns);
- in the 19th, every 4 and 5 C are combined. The output is 60 C.
- 20th R – main knitting;
- The 21st R repeats the 19th. As a result, the final number of columns becomes 48;
- 22nd R repeats 20th;
- In the 23rd row, every 3 and 4 C are combined. The result is 36 pieces;
- 24th R – main knitting;
- 25th and 27th R - each combines the first and second C;
- 26th and 28th rows – main knitting;
- the bottom edge of the hat is knitted with two additional rows of single crochet stitches;
- the upper part is pulled together with a thread;
- A fur pompom is sewn to the top of the head, and the product is ready.
The main knitting consists of relief columns for the back wall. Each circle ends with two air loops. The plank is knitted with relief columns for the front wall. Each circle ends with one connecting column and two air loops of lifting.
Summer from yarn "Iris"
The summer beanie hat is knitted from thin yarn "Iris" of two colors: white and pink using hook No. 1.5. The headdress is made according to the step-by-step algorithm (abbreviations used: P - loop, VP - air loop, R - row, SC - single crochet):
- with pink thread, cast on 210 VP, add 2 lifting P;
- 1st row is knitted with sc;
- 2nd – double crochet, chain stitch;
- 3rd – SC;
- then 36 sts are left for tying;
- then the pattern of the first row is repeated;
- at the end of the 4th R 36 P are not knitted for tying;
- circular knitting begins from the 5th row;
- in the 8th row one rapport is added;
- in the 9th R – 2 rapports;
- Row 11 is knitted with white yarn;
- the next six rows are pink;
- then one R is white;
- the next 6 rows are knitted with pink thread, in the last row one air loop is decreased in each rapport;
- then knit one row with white and six rows with pink thread, decreasing one row in each rapport;
- The remaining rows are formed from single crochets with a gradual decrease in the number of loops to 6.
At the end of the work, the top is pulled together with a thread. The product is ready for the summer.
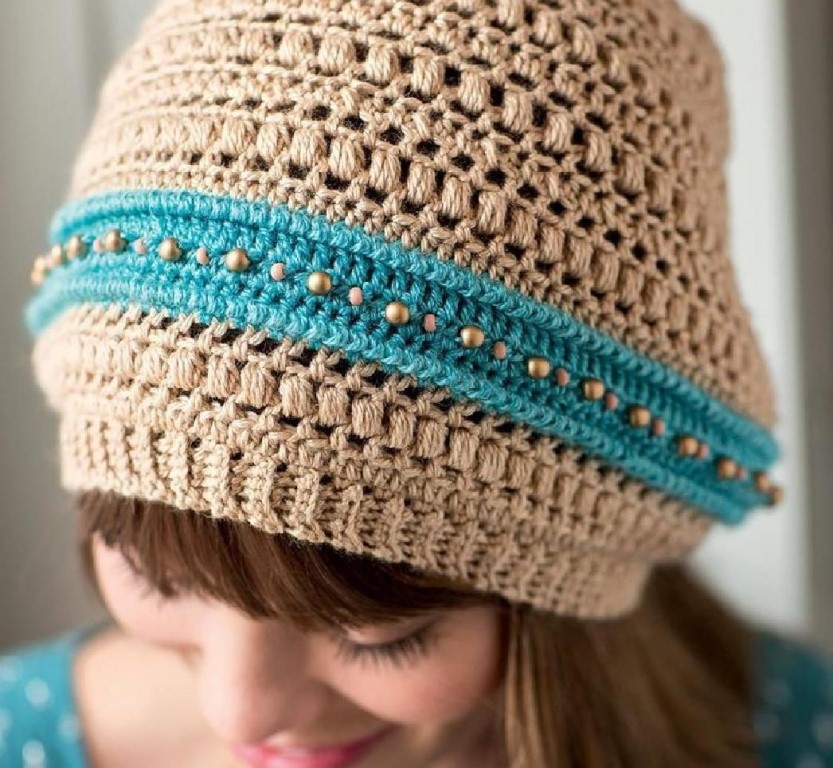
Product decoration
A knitted beanie hat can be presented in various textures and colors. But sometimes even the most favorite product can become boring. In order to correct the situation, refresh the image, fill it with new outlines, you can use decorations. There are a large number of options for decorating a ready-made headdress:
- bows;
- stones;
- applications;
- rhinestones;
- beads;
- flowers made from various materials;
- pompoms;
- tassels;
- embroidery.
Fortunately, all decorative ornaments can be purchased in specialized stores, found among unnecessary wardrobe items, or created with your own hands. Everything depends on your imagination and desire. The main thing is to carefully think over the design of the ornament and project it onto the headdress. Only then start working. With a little effort, every needlewoman can turn an ordinary knitted beanie hat into a real work of art.
 Video
Video