An apron not only protects clothes from dirt, but in some cases serves as an additional decoration for the user. When the range of factory-made products seems boring, uniform, faceless, why not try to make an original apron with your own hands, especially since you can do it even from scrap materials. Before sewing an apron, you should decide what it is needed for and what size will be optimal. These parameters will affect the choice of materials and the manufacturing process itself. If you study the advice of experienced needlewomen, even a novice seamstress will get a beautiful and high-quality product.
Choice of style
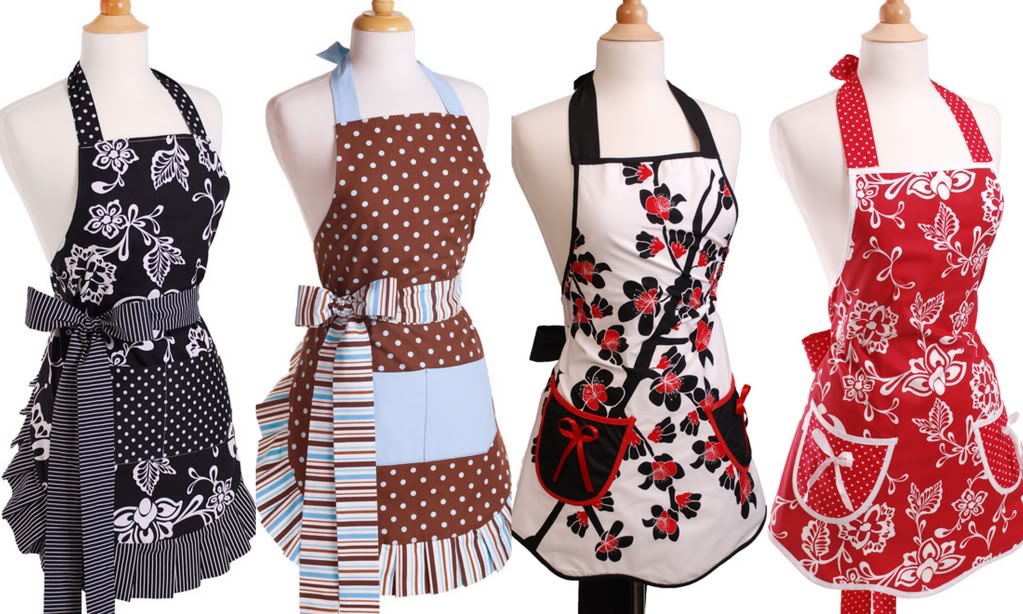
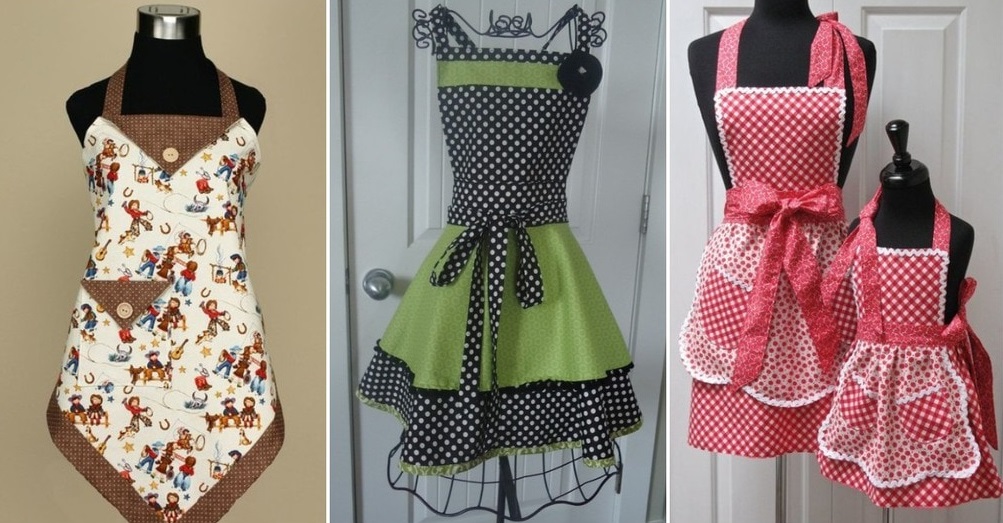
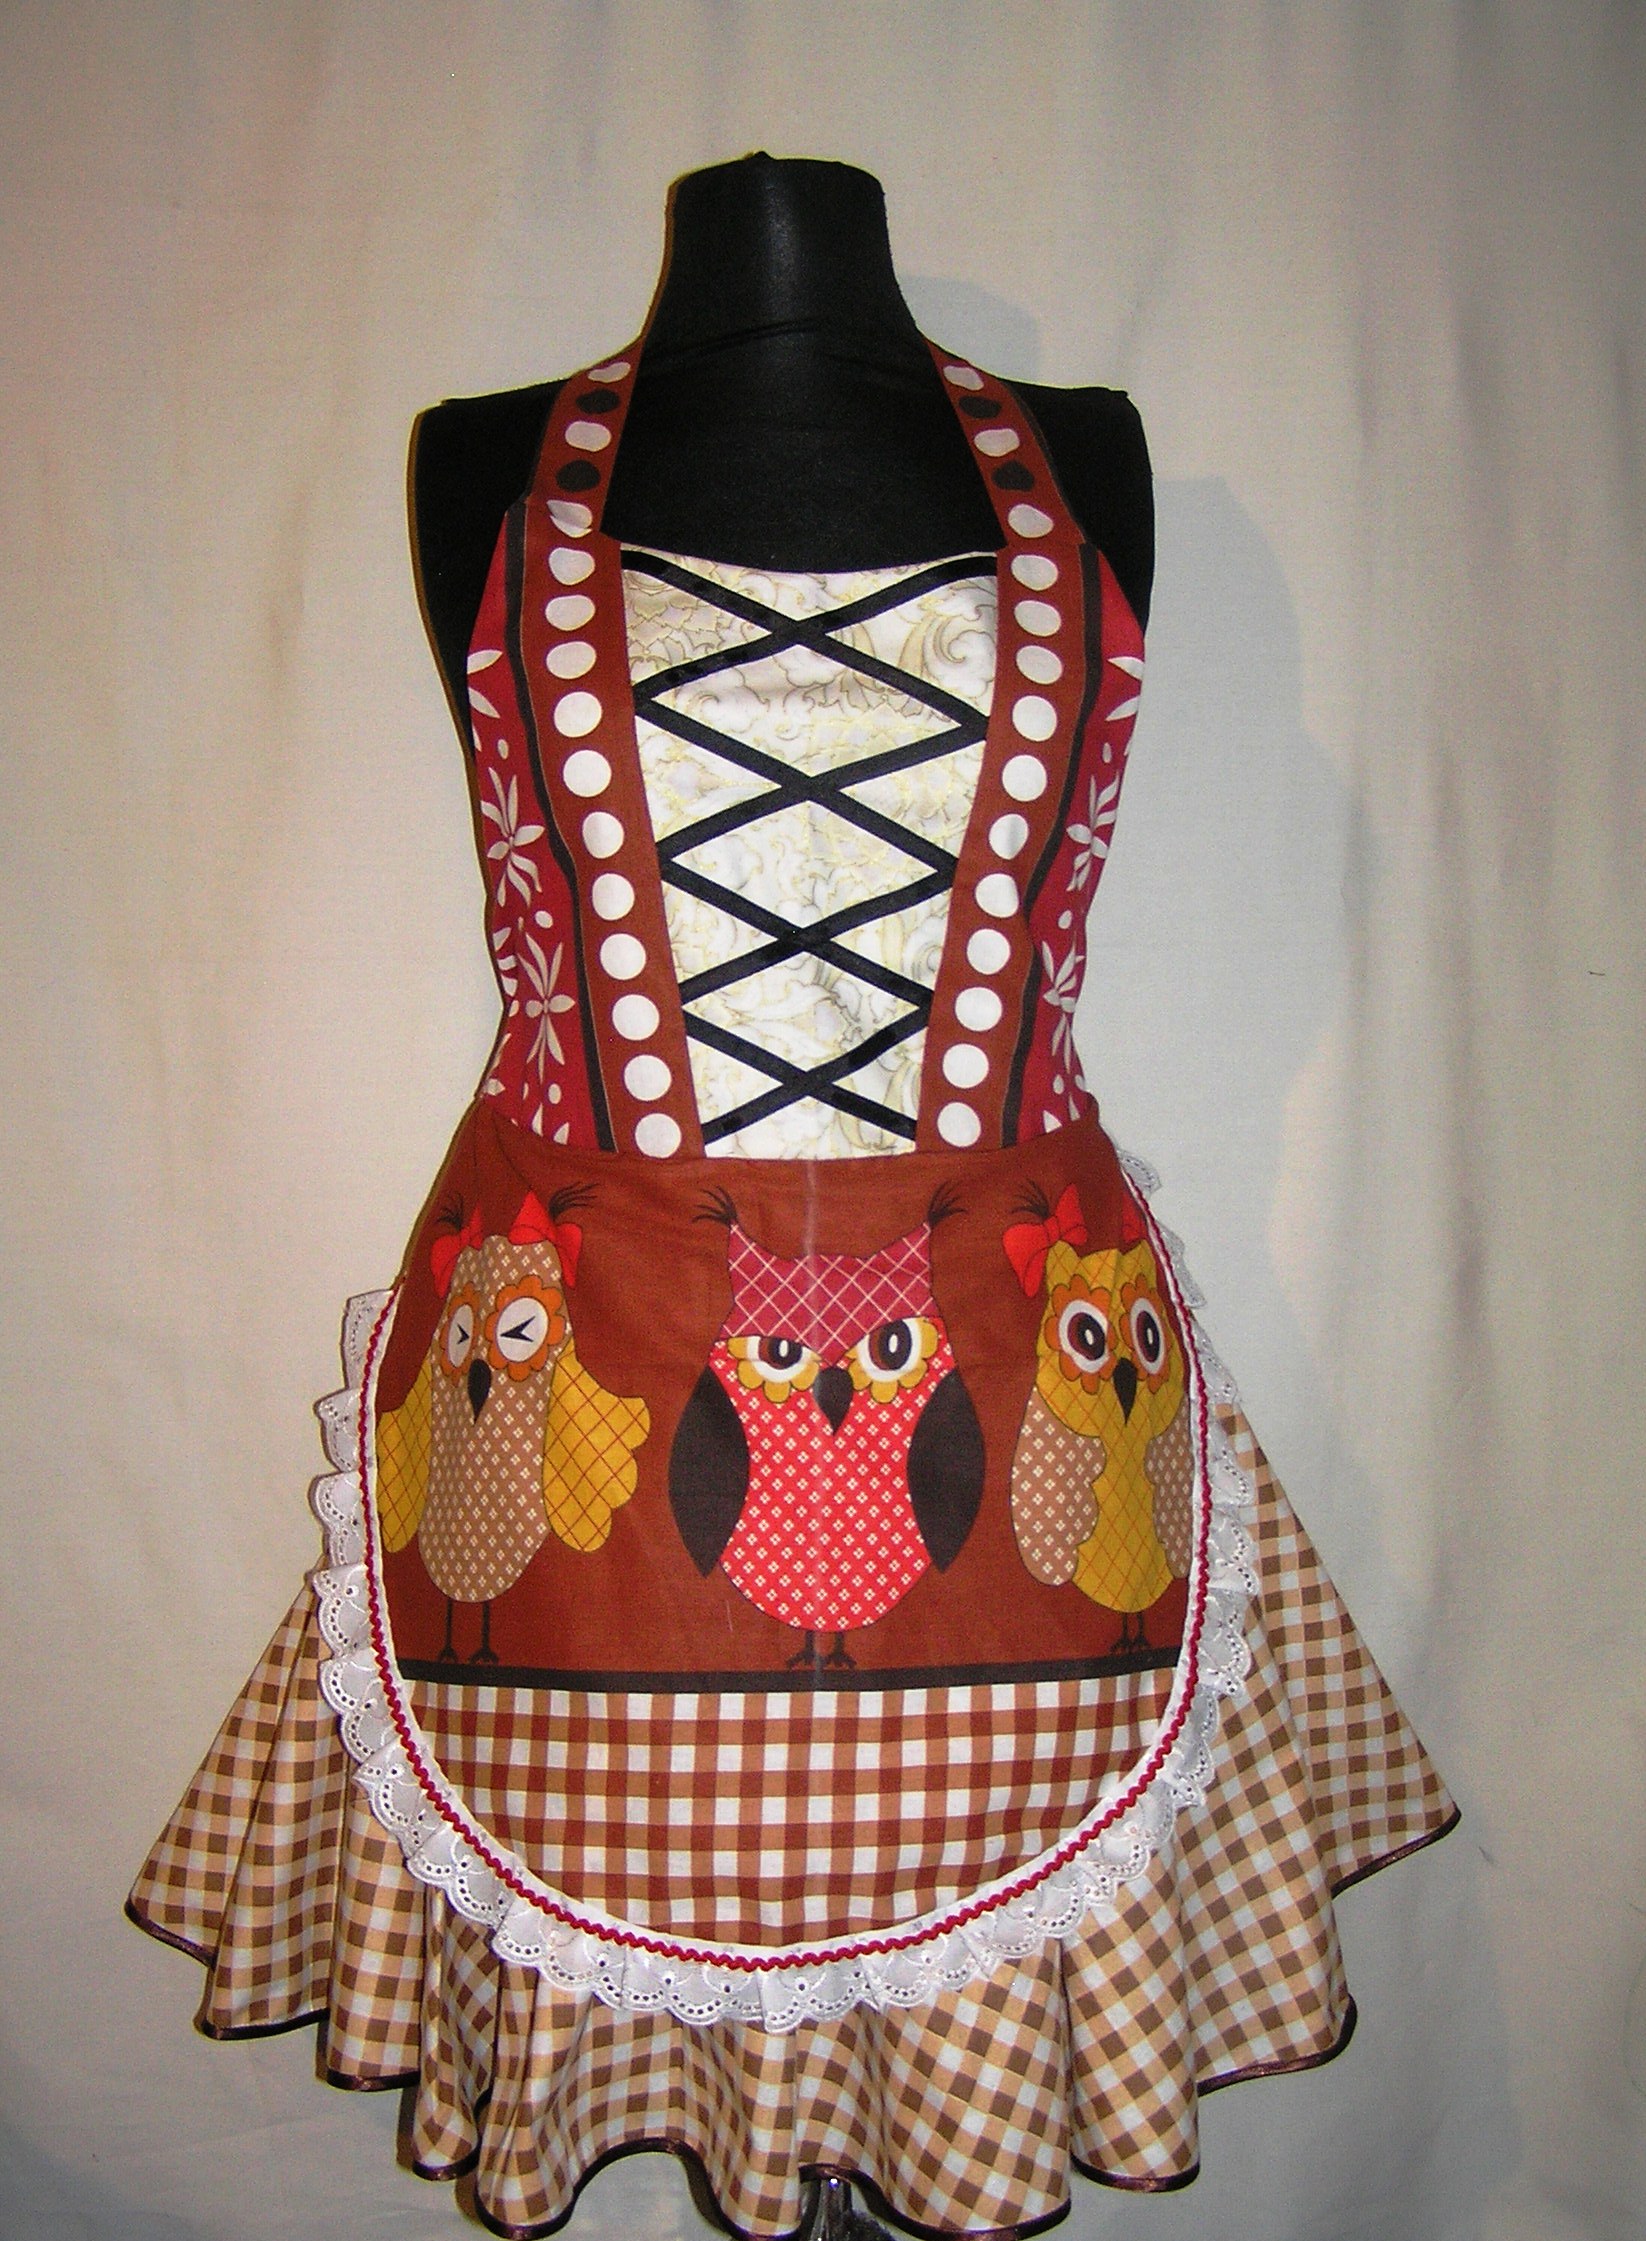
Apron styles are varied: there are models for different jobs and circumstances.. First of all, the products are divided into men's, women's and children's. In turn, all of them can be either with or without a bib. In addition, aprons are offered with interesting decorative elements, funny in design or pattern, as well as with various inserts. Products can be leather and multi-layered, with ruffles and flounces, asymmetrical, on a yoke, in the form of fairy tale and cartoon characters, as well as more classic styles, for example, a pinafore apron. Professional aprons should be singled out separately. They are worn by people of the corresponding professions: maids, florists, cooks, hairdressers, artists and potters. Their aprons are simple and functional.
The style primarily depends on who will wear the apron and for what purpose. Based on the purpose of the product, the color, material and appropriateness of the use of decorative elements are determined.
Materials and tools
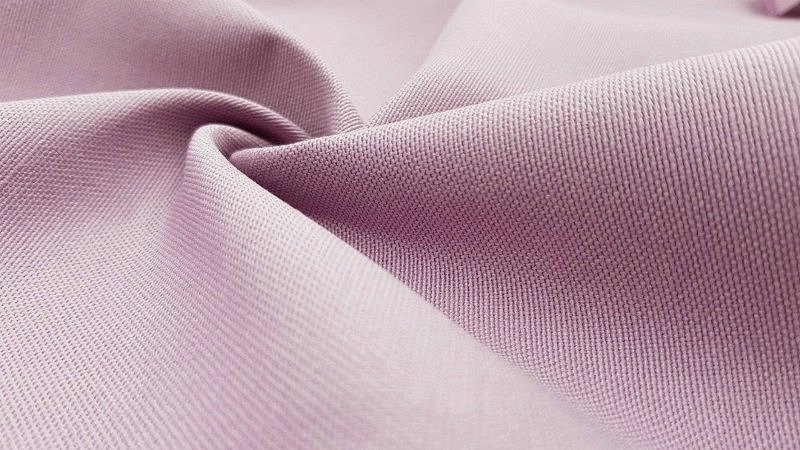
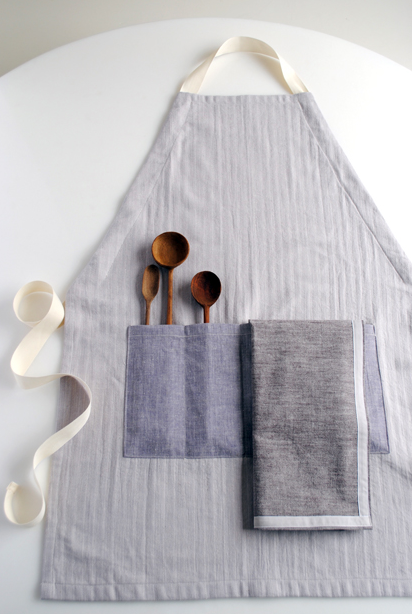
Since the main purpose of a kitchen apron is to protect clothes and the body from dirt and oil splashes when cooking, the fabric for the apron must meet certain requirements, namely, be wear-resistant and durable. But most importantly, it must withstand a large number of washes. Since work in the kitchen is accompanied by high temperatures, it is also worth choosing the most breathable, natural material. The choice of fabric is a responsible moment, because, among other things, the finished item should look harmonious and fit the environment. Do not sacrifice aesthetics in favor of practicality.
The most popular materials for sewing a kitchen apron:
- Teflon is quite expensive, but it does not absorb water or stains, making it much easier to wash. It dries quickly and does not require ironing.
- Cotton is traditional and versatile, very comfortable to wear. It absorbs stains, and therefore requires careful washing, and wrinkles easily.
- Linen - aprons are most often sewn from this material, as it is natural and pleasant to use. Disadvantages: shrinks when washed and requires careful ironing.
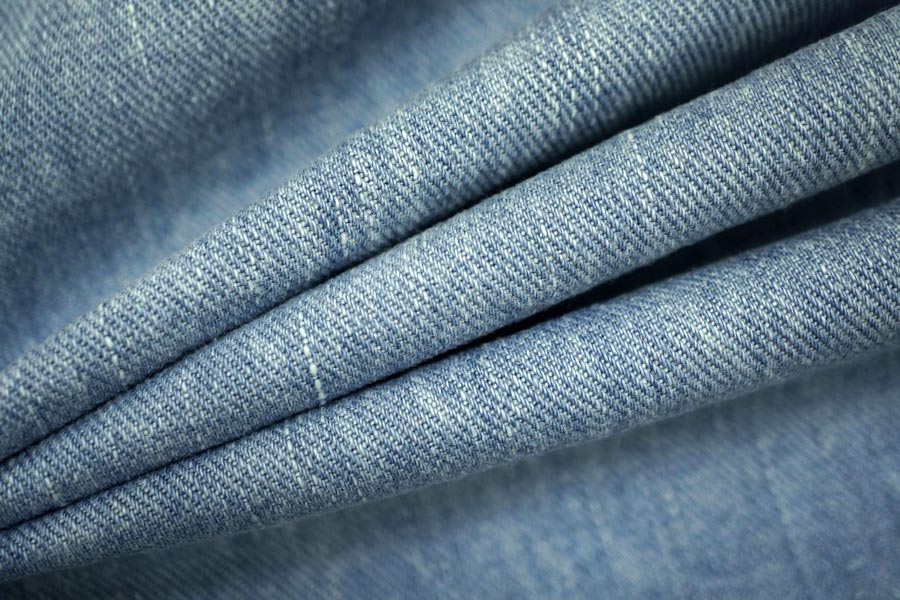
- Denim is a denser fabric, considered less easily soiled and more durable than cotton or linen.
Mixed compositions can be used to sew an apron: adding synthetics to natural materials simplifies washing the product and removing difficult stains. In addition, such fabrics last noticeably longer - they are less susceptible to the influence of aggressive chemicals.
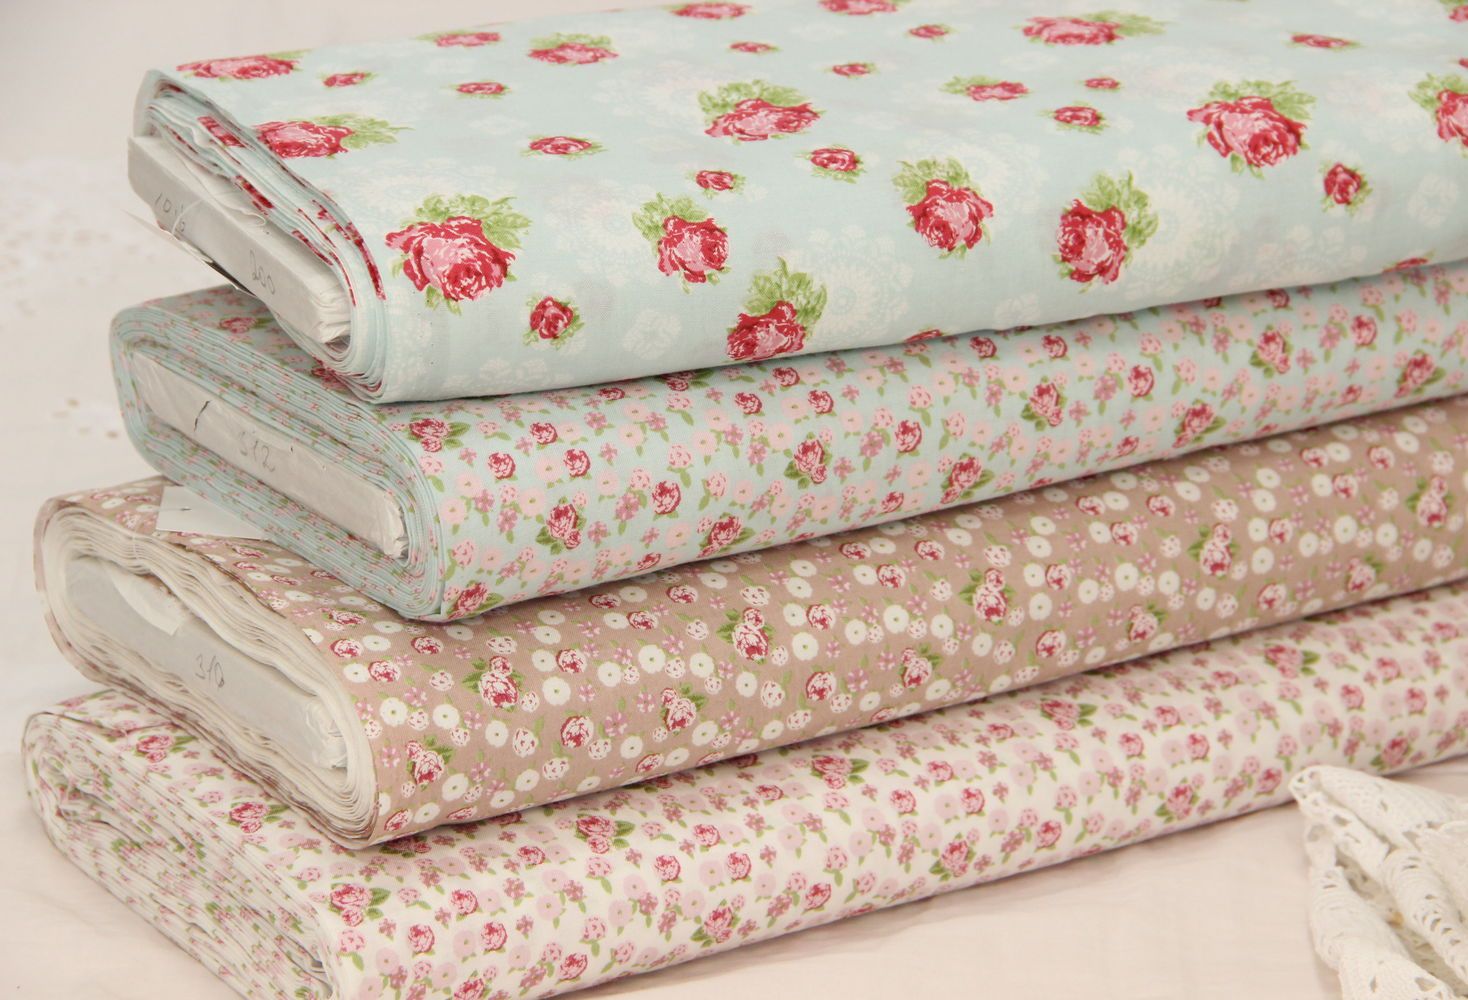
As for the color of the product, it should be universal. Light and plain fabrics are not quite suitable, as even small stains are clearly visible on them. As an option, you can place dark inserts in the center of the apron. But a small print, such as a floral one, is best. Traditionally, these are the aprons that were used in Russia for kitchen work.
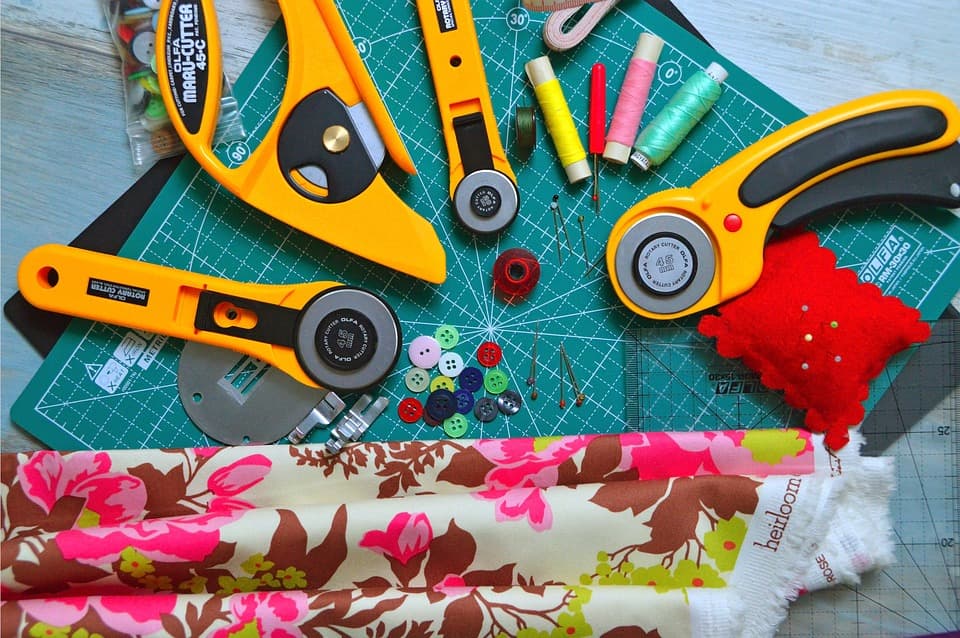
To sew it yourself, you will need a working sewing machine, fabric, matching threads, a ruler, a piece of soap or chalk to make markings. The pattern for the kitchen apron is built on newspaper or graph paper. If you have experience, you can apply the pattern directly to the fabric, if you don’t have it, it’s better to take graph paper, it will be the easiest to work with. You will also need safety pins to fasten the fabric and patterns, to fix the parts during work.

Construction of the pattern
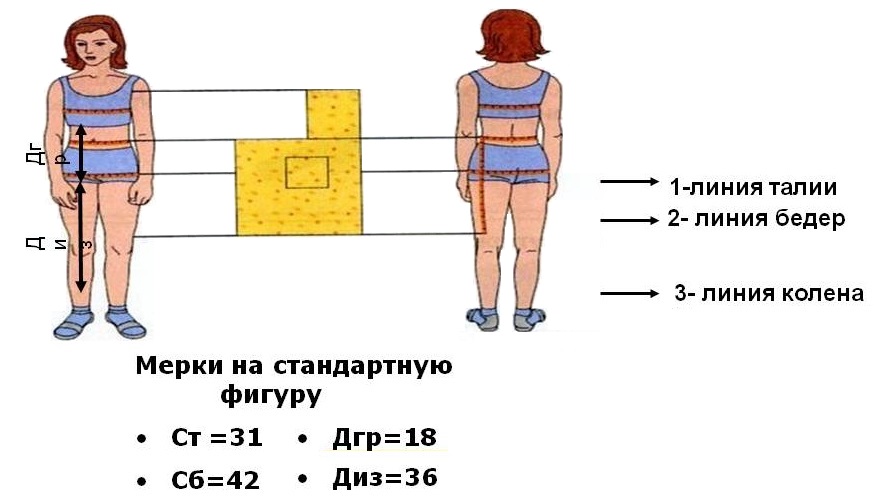
The apron pattern is based on measurements, which it is advisable to immediately write down in a column. The waist and hip circumference, the length of the product and the straps are measured. First, the circumference of the narrowest part of the waist is determined - OT. Next, you need to determine the hip circumference (HC), for this, a centimeter tape is drawn along the most convex points of the buttocks parallel to the floor. The resulting size must be divided in half (Sb). From the waist, you need to measure the length of the product, if desired. This figure is written in full - DNC.
The length of the bib is measured from the waist to the desired height up - DN. This measurement is also indicated in full. In addition, it is necessary to determine the width of the chest part (WCH), for this, the width is measured at the top, where the bib ends. The WCH measurement is written in half size. Another important measurement is the length of the straps.
You can work with one-piece or cut-off models of aprons. Their main difference is the absence of a seam to connect the chest and bottom parts. An apron without a bib is the simplest style to sew, it consists of a minimum number of parts.
Beginners should use a ready-made pattern, it is the easiest way to make a layout on the fabric. To adapt it to your sizes, you need to replace the original data with your parameters. If you have at least some experience in sewing, you can independently create a drawing of the apron according to your measurements:
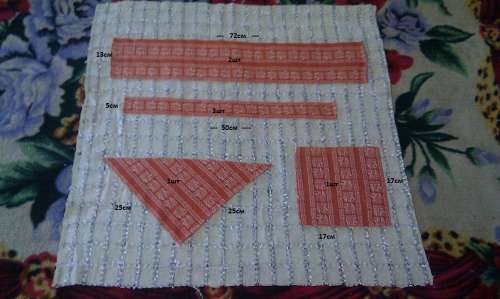
- Cutting out the apron begins with determining the center line; it should correspond to the fold line of the fabric.
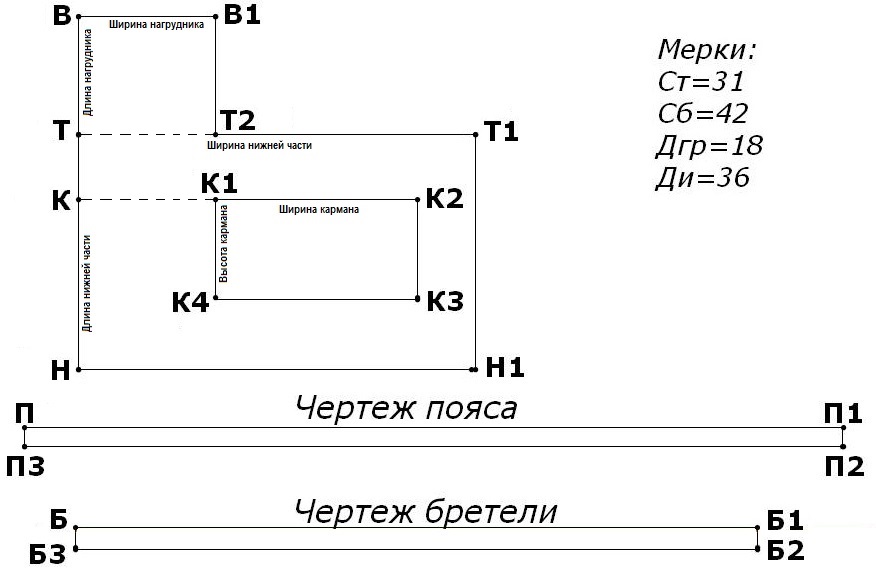
- Next, construct a right angle with vertex B. The length of the bib (DL) is measured down from this point.
- The extreme point will be called T. A horizontal line is drawn from it, and the length of the lower part (LLP) is measured downwards - point H. A horizontal line is also drawn from it.
- The width of the lower part of the apron is measured from T and calculated using the formula: (Sat: 2) + 8.
- The extreme point is T1. From it, a line is drawn down at a right angle.
- To finish constructing the upper part of the product, measure the width of the bib (WB) horizontally from B and mark point A.
- Horizontally from T, we also measure ШН and add 1.5 cm to it. This is point B.
- The edges of the bib, points A and B are connected by a line.
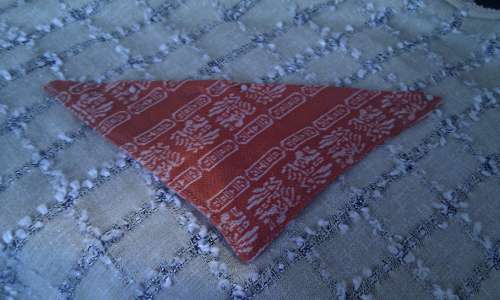
- Next, construct the pocket. From T, measure 9 cm (if it is a children's apron - 6-8 cm) - this is point K.
- Parallel to the waist at a distance of 8-9 cm (for children - 7 cm) mark point K1. It is from this point that the lines of the future pocket will start.
- From K1, measure the pocket width to the right - 16 cm for children and 18 cm for adults.
- Down from the extreme point is the height of the pocket: for children - 17 cm, for adults - 20 cm. Then the lines are connected to form a rectangle.
When the pattern is laid out on the fabric, the pocket is cut out separately, but its position must still be marked on the apron in order to sew the element correctly later.
The strap and belt for the apron are cut out directly on the fabric. The length of the strap is equal to SHN + 6 cm, the width is 6 cm. But the length of the belt is equal to half the measurement OT + 30 cm. The sum must be multiplied by 2. This allowance is made for the ties. There is another way to measure the length of the belt: OT + 60 cm. In this case, you need to make an allowance of 2 cm for processing both at the ends of the belt and on each seam. When making aprons with their own hands, experienced seamstresses usually use a universal belt width of 7 cm.
Step-by-step instructions based on the model
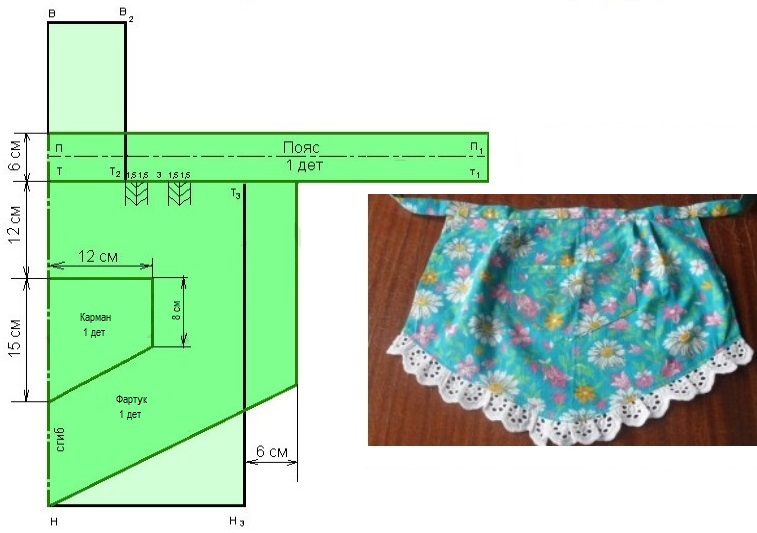
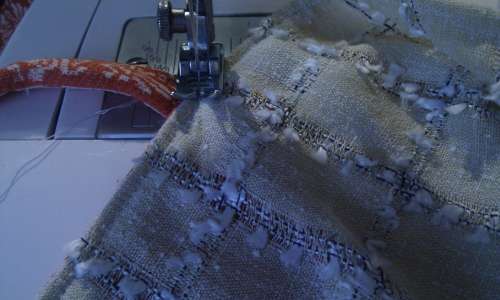
The main types and styles of kitchen aprons are based on a pattern with a cut-off bib. Depending on the model chosen, the sewing technology may differ. The general stage is transferring the pattern to the fabric. You can use tracing paper for this, it is the easiest to transfer the drawing to. The details are fixed with pins on the fabric so that it is convenient to mark the edges with special chalk, soap or pencil, make allowances for seams - 1.5-2 cm from the edge. The last step is to cut out all the details.
A simple apron without a bib
This is the most common model, which is easy to handle for a beginner in sewing. To start working, you need cut out parts. If a pocket is provided, it must be sewn to the main part of the product.
How to sew an apron step by step:
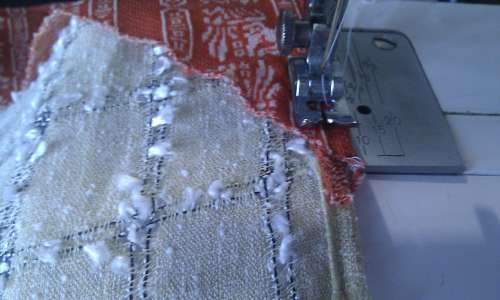
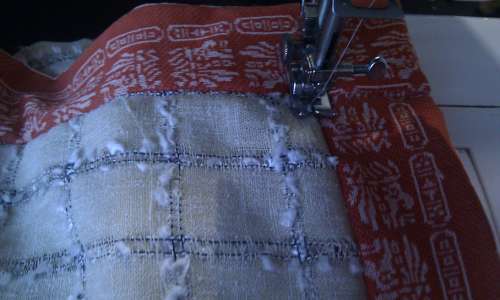
- Finish the edge of the product. This can be done using edging tape or simply by folding the fabric.
- Then we sew on the belt: it is applied with the front side to the upper edge of the apron. The detail can be basted or secured with needles. The seam is made, stepping back 1 cm from the edge.
- Next, fold the belt in half with a 1 cm hem on the free side. It is advisable to baste it to make it easier to sew.
- The width is also folded inward by 1 cm. The seam is made with an indent of 0.1 cm from the edge.
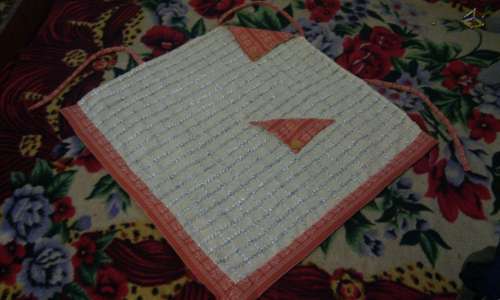
Before sewing on a pocket, it is necessary to think about the convenience and appropriateness of its location. A simple apron is ready.
From the square
This is also an easy-to-sew model, as it does not require special skills or pattern-making. To work, you will need a square of fabric, which will serve as the basis for the entire apron, and another additional piece of material to make ties and decorate the chest part. If desired, such an apron can be made with functional or decorative pockets.
How to sew a beautiful apron from a square step by step:
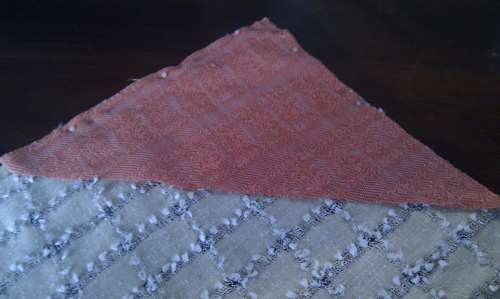
- Place the fabric with one corner facing up - this will be the top part of the apron.
- The corner is folded to the waist, then either cut off or decorated with a triangle of another material. In the second option: cut out a piece of the required size with an allowance of 1–1.5 cm on each side. The hem is made so that it ends up inside, the seam is on the front side or along the overlay line, or with an indent of 0.1 cm.
- The remaining edges of the apron are finished with bias tape or the fabric is simply folded in half by 0.5–1 cm.
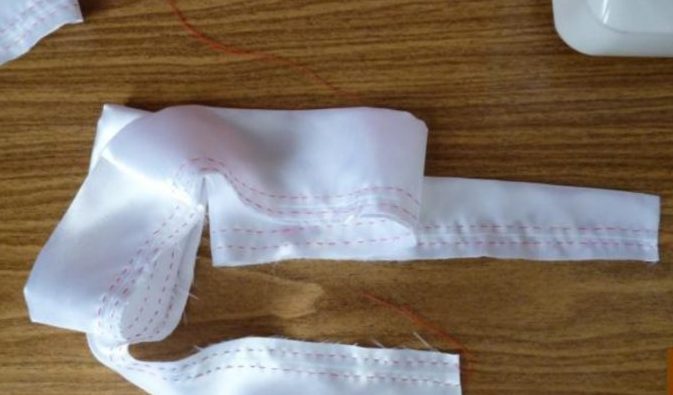
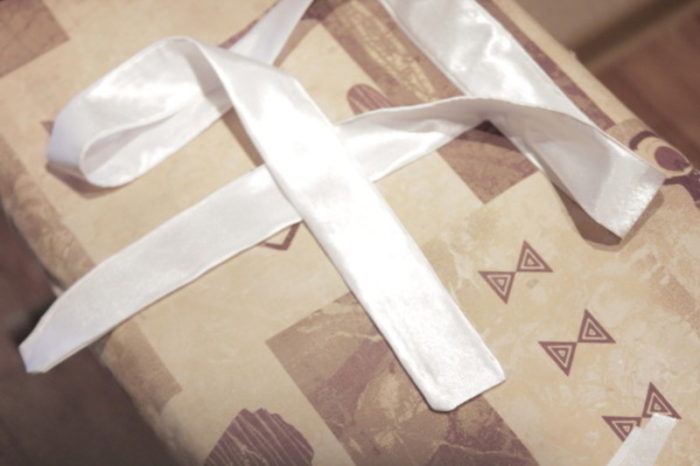
- Next, make the ties. For them, you need two rectangles of fabric 30 cm long and 6-7 cm wide. The parts need to be prepared, stitched, folded in half with a 1 cm hem on each side. The seam is made on the outside with an indent of 0.1 cm from the edge. The upper strap is made in the same way, with its length equal to the width of the upper part of the bib + 6 cm.
The made ties are attached to the apron above the corners by 6-8 cm, the place of fixation is marked during fitting. The apron from the square is ready, all that remains is to decorate it as desired.
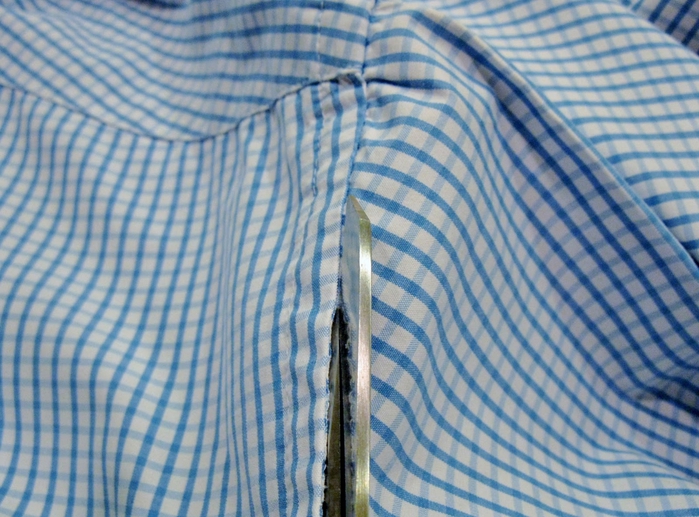
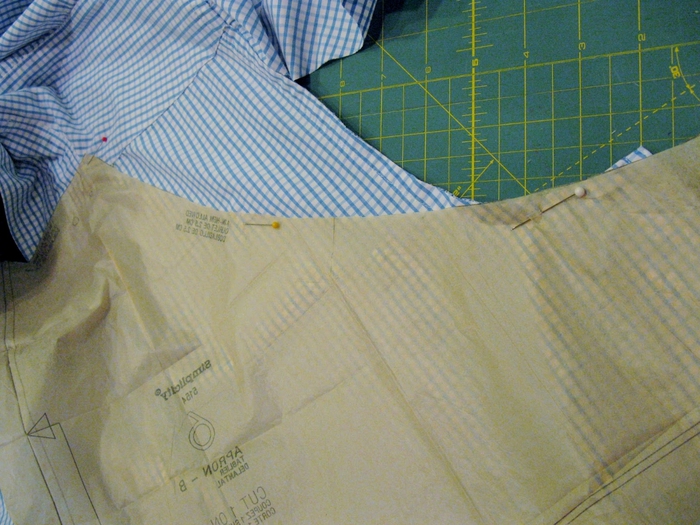
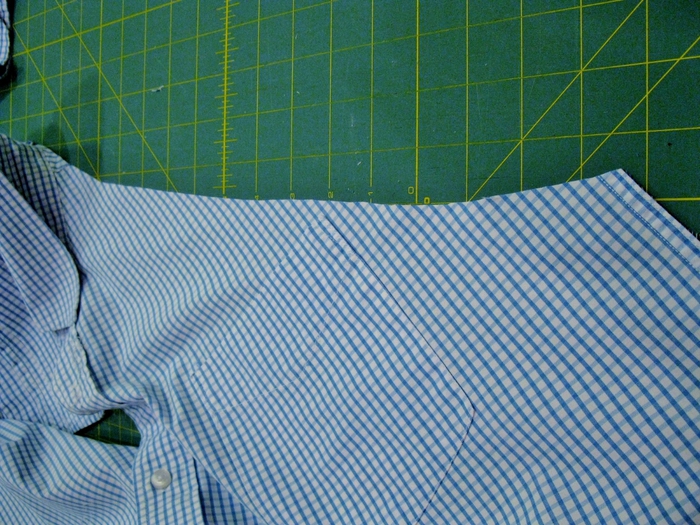
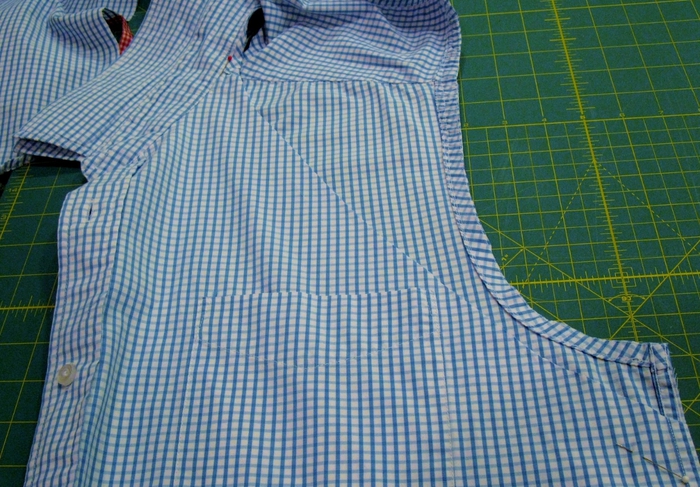
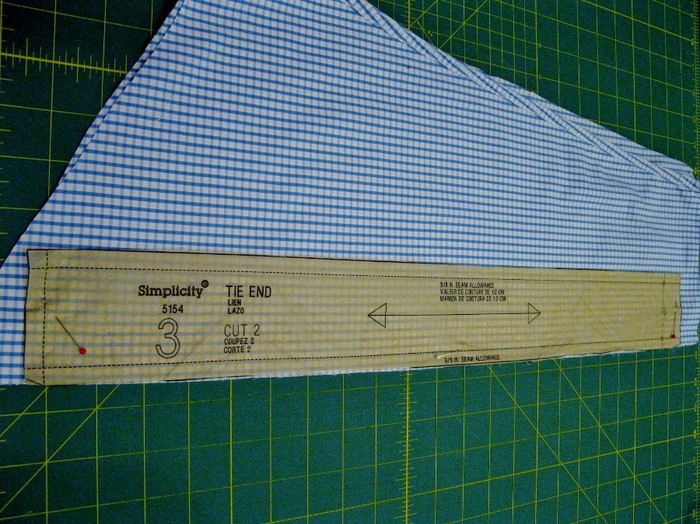
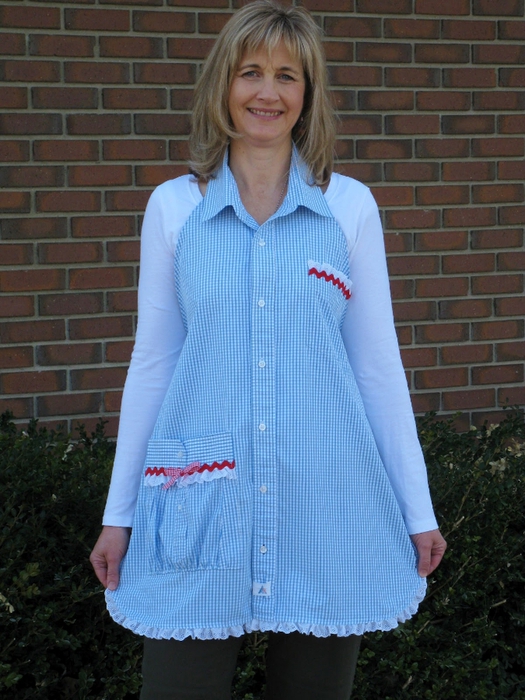
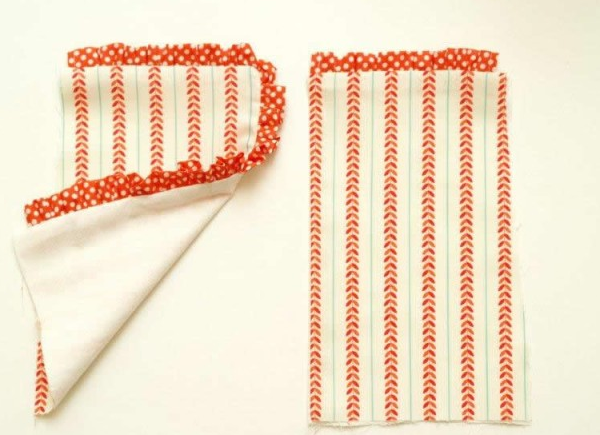
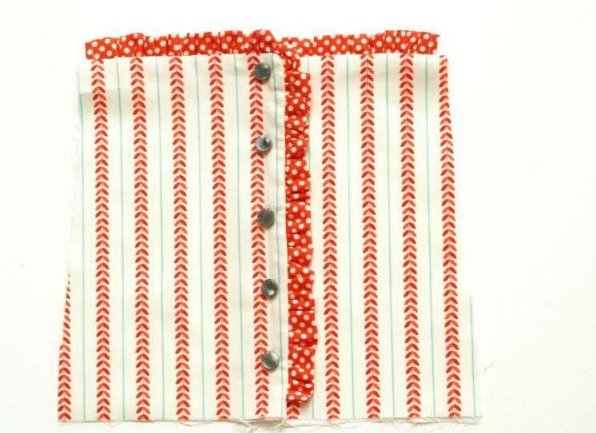
From a man's shirt
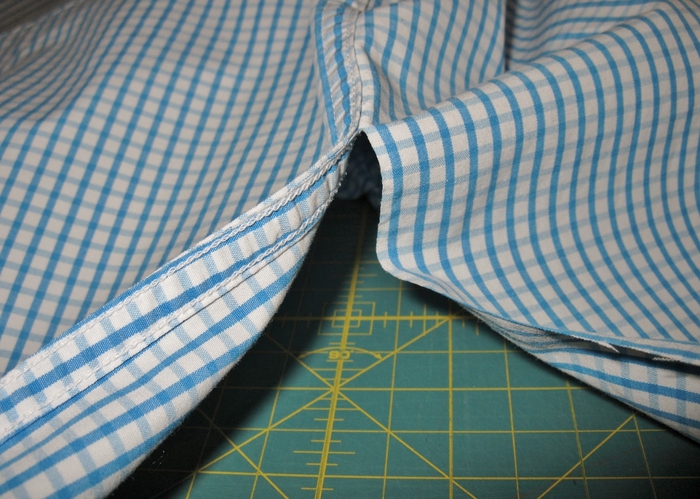
This is a very simple model, you can sew it even without experience. For work you will need a large men's shirt. When wondering how to sew an apron from a shirt, you can consider several options. The simplest is to use the front part of the product. Instead of a strap, the apron will have a collar, and the main part will protrude from the front of the shirt. Here you can do without a pattern, simply cutting off “all the excess”.
To sew a kitchen apron with your own hands, you need to do the following:
- Unsew the seam that connects the front and back of the shirt.
- Remove the sleeves.
- Mark the waistline when trying on. Draw two lines from it to the shirt collar.
- Cut them along the outline.
- Finish the edges with bias binding. You can also make ties from it.
The only drawback of such an apron is the buttons. On the one hand, they perform a decorative function and make the apron stylish, on the other hand, they can be very annoying when hand washing the product.
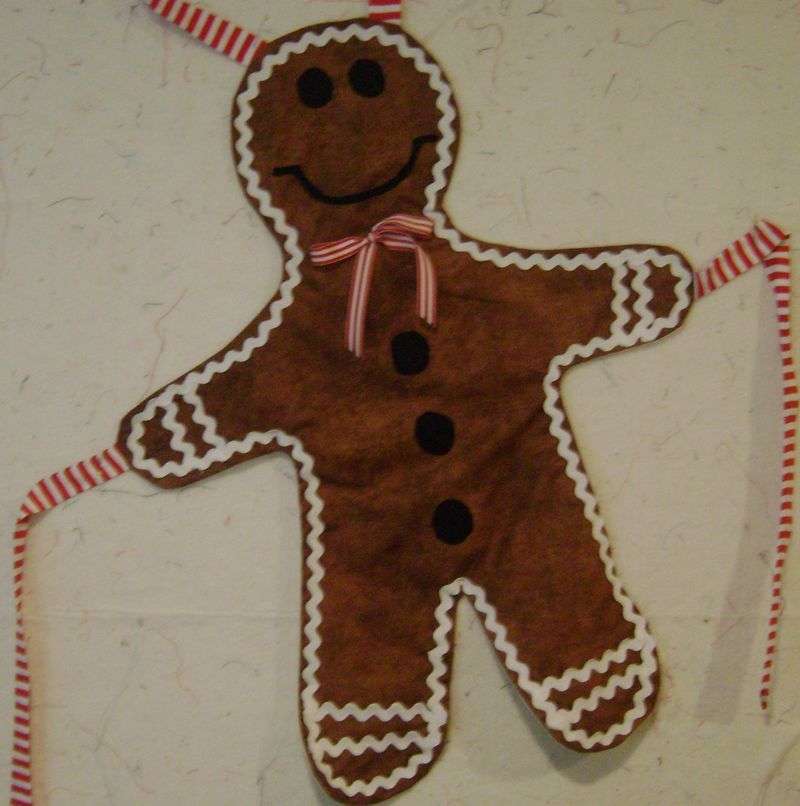
Festive gingerbread man
This very unusual apron shape can also be sewn without a pattern: it is enough to draw the outline of the character on the fabric. To do this, it is necessary to round the chest part so as to give it the shape of a gingerbread man, the arms are located on the waist - ties are attached to them, the legs are also made from the lower part of the apron. Step by step actions:
- The edge of the product is finished with edging tape, which is also used to make ties.
- The top strap can be adjustable. In this case, you will need to cut out a rectangle: width - 7 cm, length can be arbitrary (about 20 cm). You will also need another smaller piece to attach the rings that fix the size.
- The short element is folded in half and sewn to one edge of the chest part of the product. The long one is simply sewn to the other edge. The "gingerbread" is ready.
To make the gingerbread man look more realistic, you can additionally attach button eyes and embroider a smile.
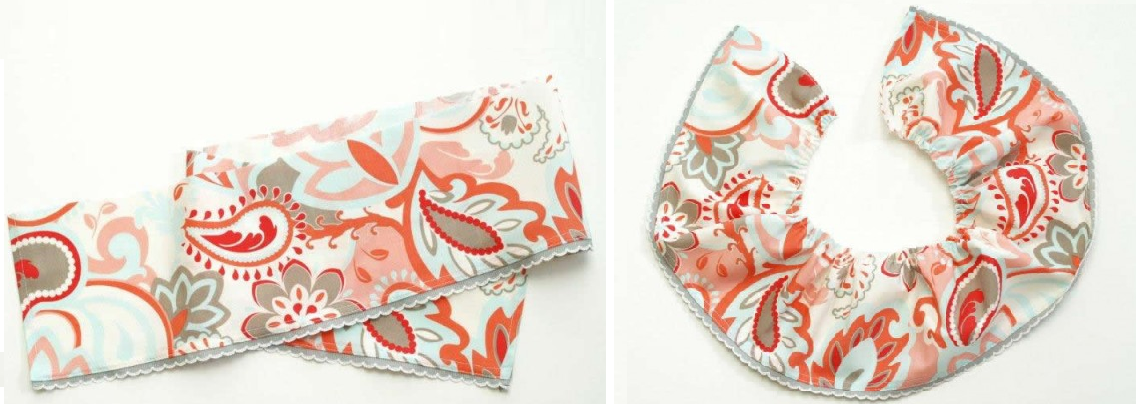
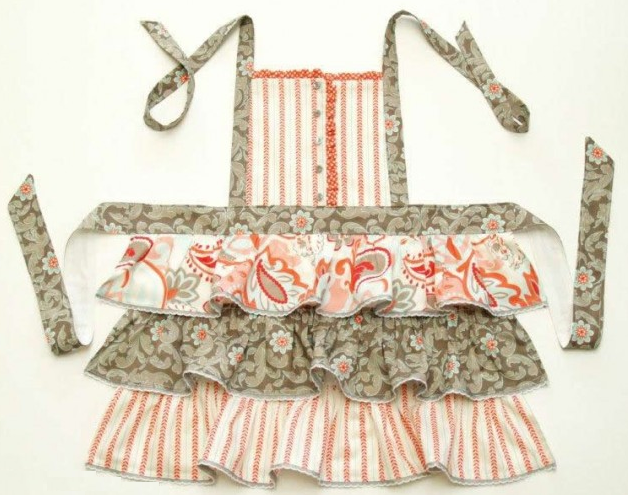
In shabby chic style
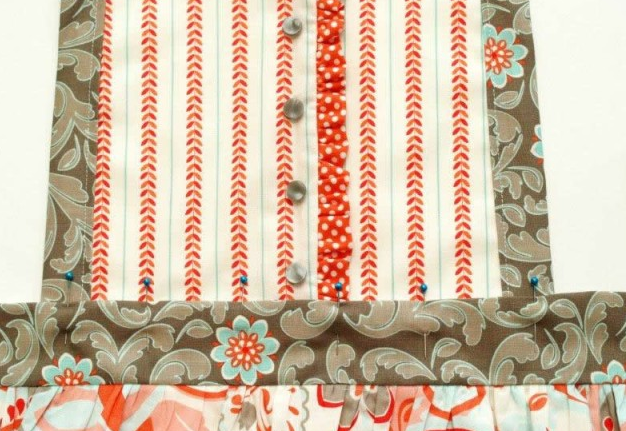
Shabby chic involves using cute and elegant things. Aprons in this style are distinguished by a delicate, slightly faded color scheme. Lace, floral prints and pastel colors are ideal for them. To make a product in this style, you will need the most common pattern for an apron and decorative elements. The main stages:
- Adjust the pattern to your measurements.
- Attach it to the fabric, pin it.
- Cut the fabric along the edge.
- Sew around the entire perimeter.
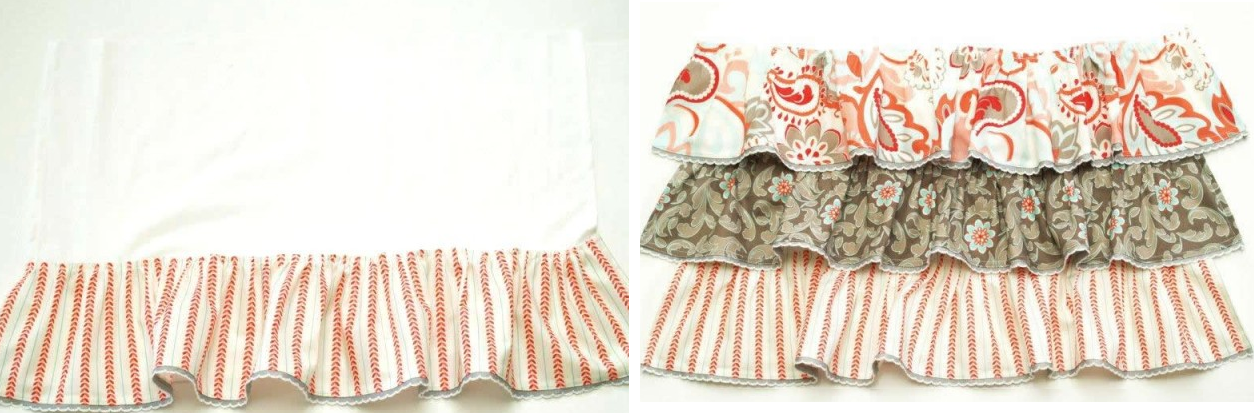
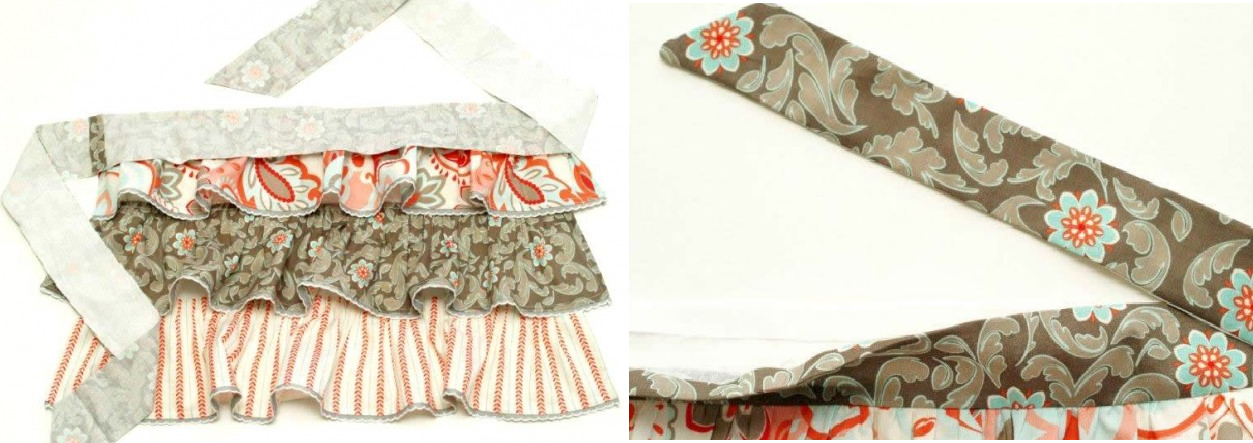
- Sew ready-made translucent ruffles or lace along the hem.
There can be as many frills as you like, it all depends on the craftswoman's imagination. You can also use textile soft pink flowers in a vintage style as decoration.

Men's with leather inserts
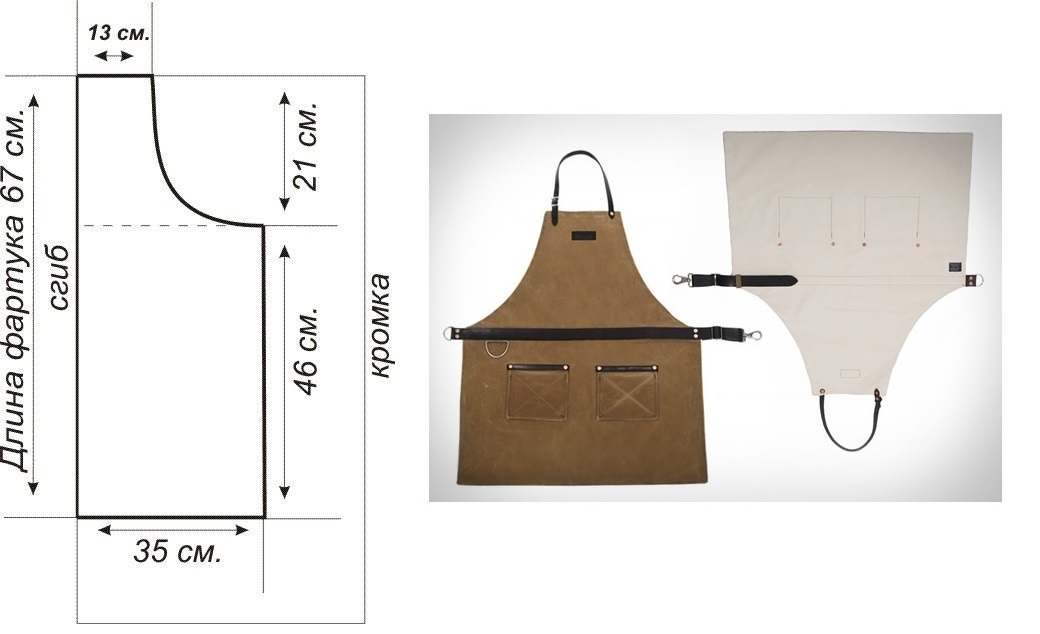
Such aprons can be seen in small coffee shops or cafes where men work behind the bar. The distinctive feature of the products is leather inserts. They can be used as the top strap or apron straps, as ties and material for a pocket. The model is simple and laconic, often based on a one-piece apron with a bib. To make it, you will need nappa leather (can be replaced with artificial). How to sew a men's apron step by step:
- First, cut out the main piece from the fabric – 68 x 35 cm.
- Cut out leather elements for the large and small pockets (56 x 20 and 15 x 12 cm).
- Prepare 4 ties measuring 90 cm x 5 mm. They can be fabric or leather.
- Cut out all the pieces without seam allowances.
- Place a small pocket on top of a large one and stitch it, then sew the resulting structure to the apron.
- Attach the ties.
Sewing a men's apron is not much different from the process of making a product for a woman. The only differences will be in the decor: for the stronger sex, it should be brutally laconic, for example, in the form of rivets or buckles.
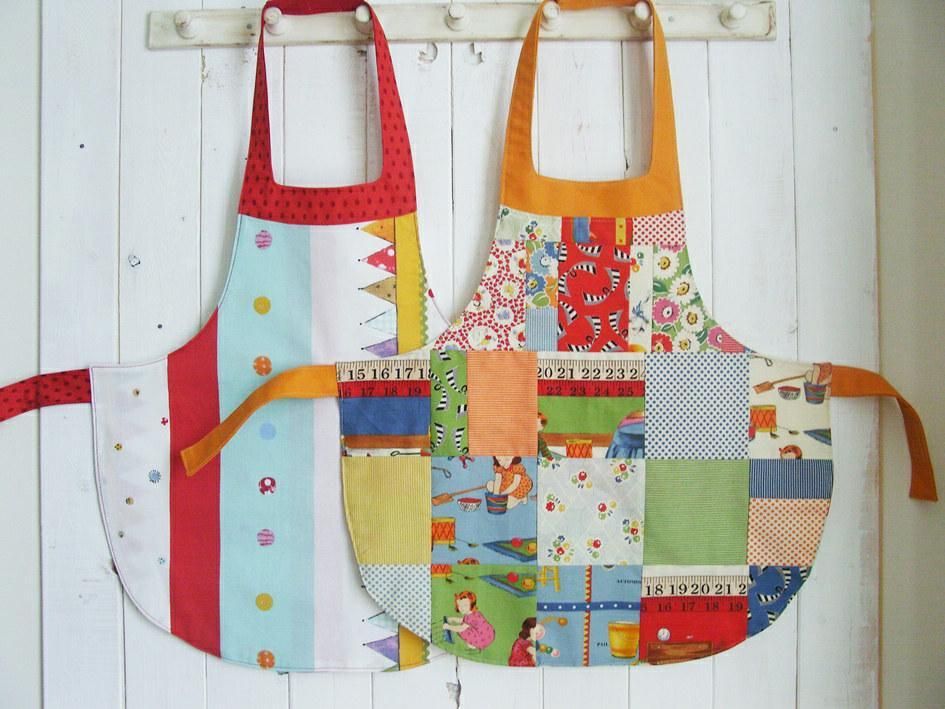
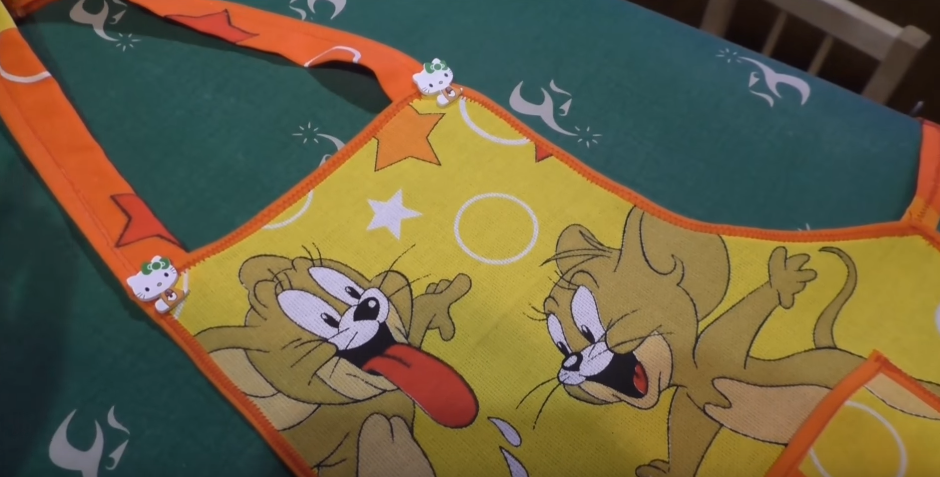
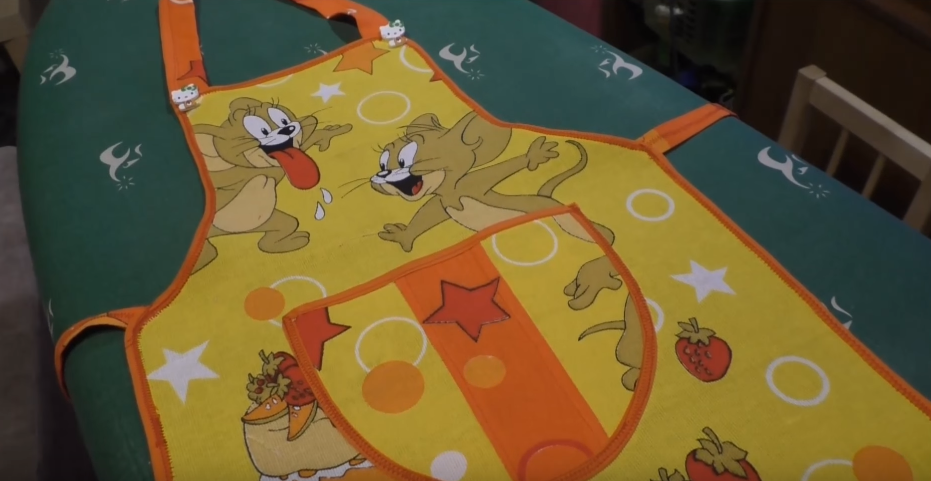
Children's
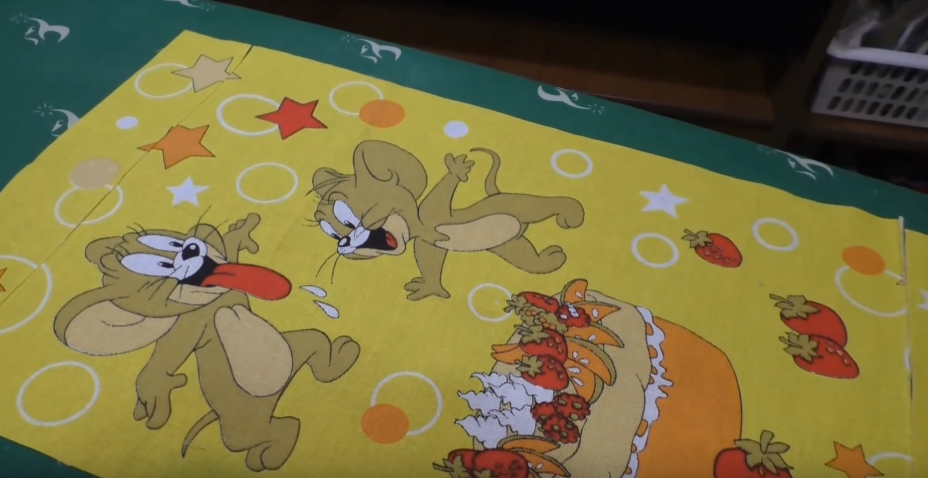
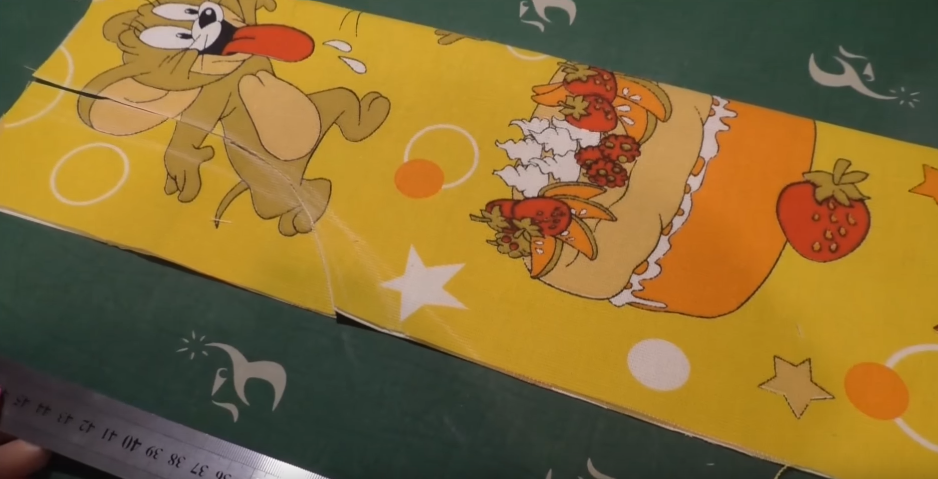
An apron for a child can be sewn using the same principle as for an adult. Of course, it is necessary to take measurements, which can then be used to construct a regular apron pattern. Children adore everything bright and cheerful, so many craftswomen sew aprons from ready-made colored towels with an interesting pattern.
It is very easy to make a children's kitchen apron, you will need:
- Cut out a rectangle 45–60 cm wide (the length is calculated based on the child’s height), taking into account the allowance.
- Fold it in half lengthwise.
- At the top, make a semicircular cutout approximately 10 cm wide.
- Process the edges of the resulting piece with bias tape.
- Sew on the straps. The apron is ready.
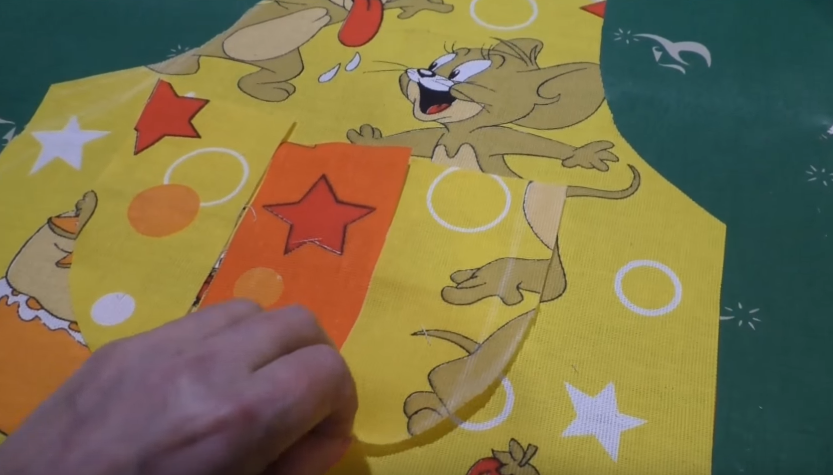
Additionally, you can attach a decorative pocket. If the apron is intended for a girl, it can be decorated with lush frills.
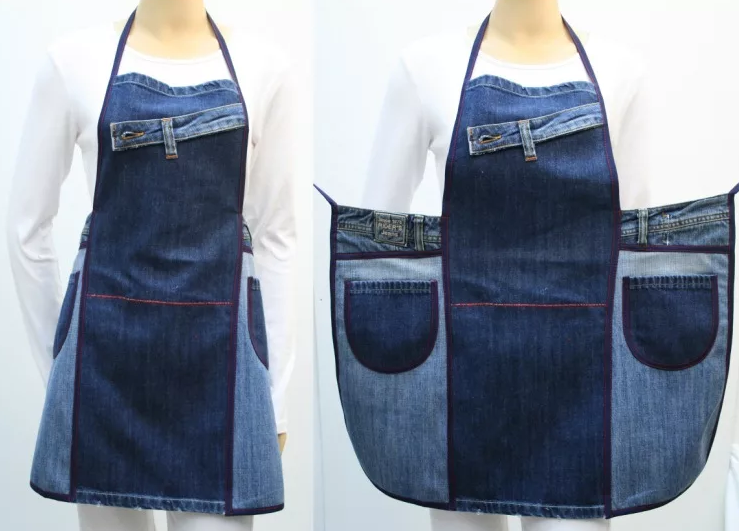
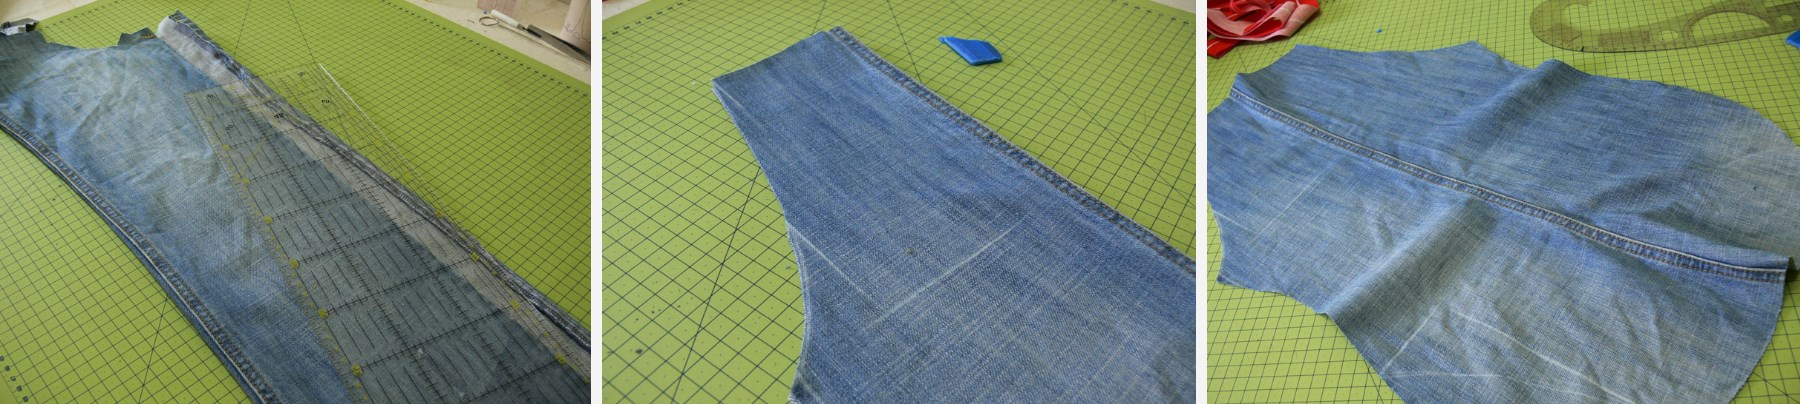
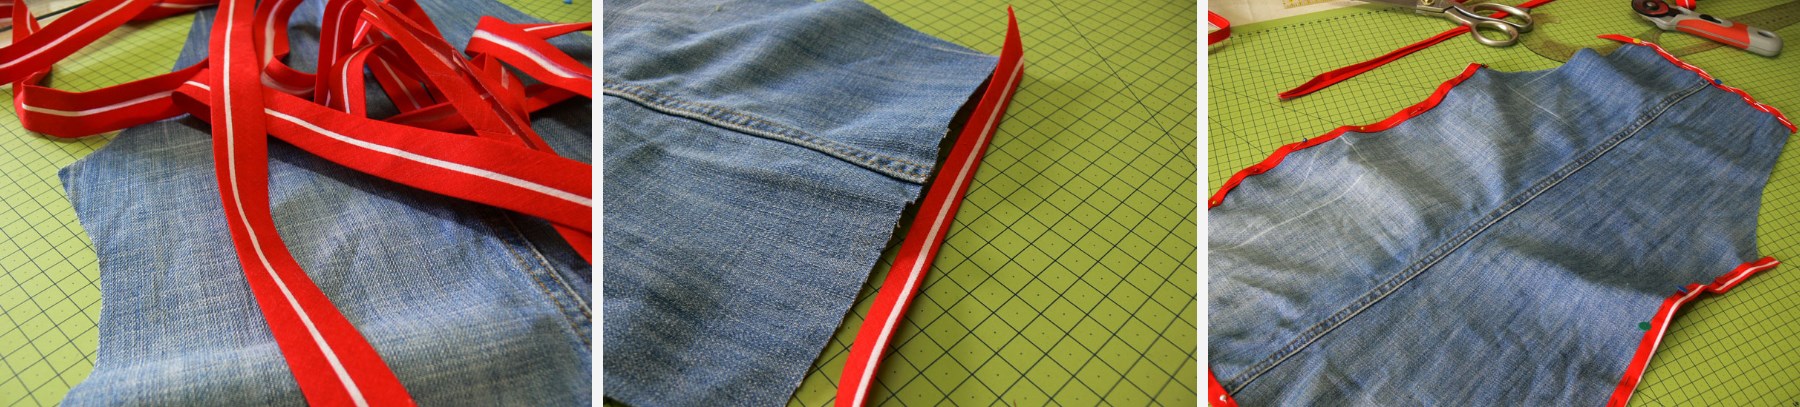
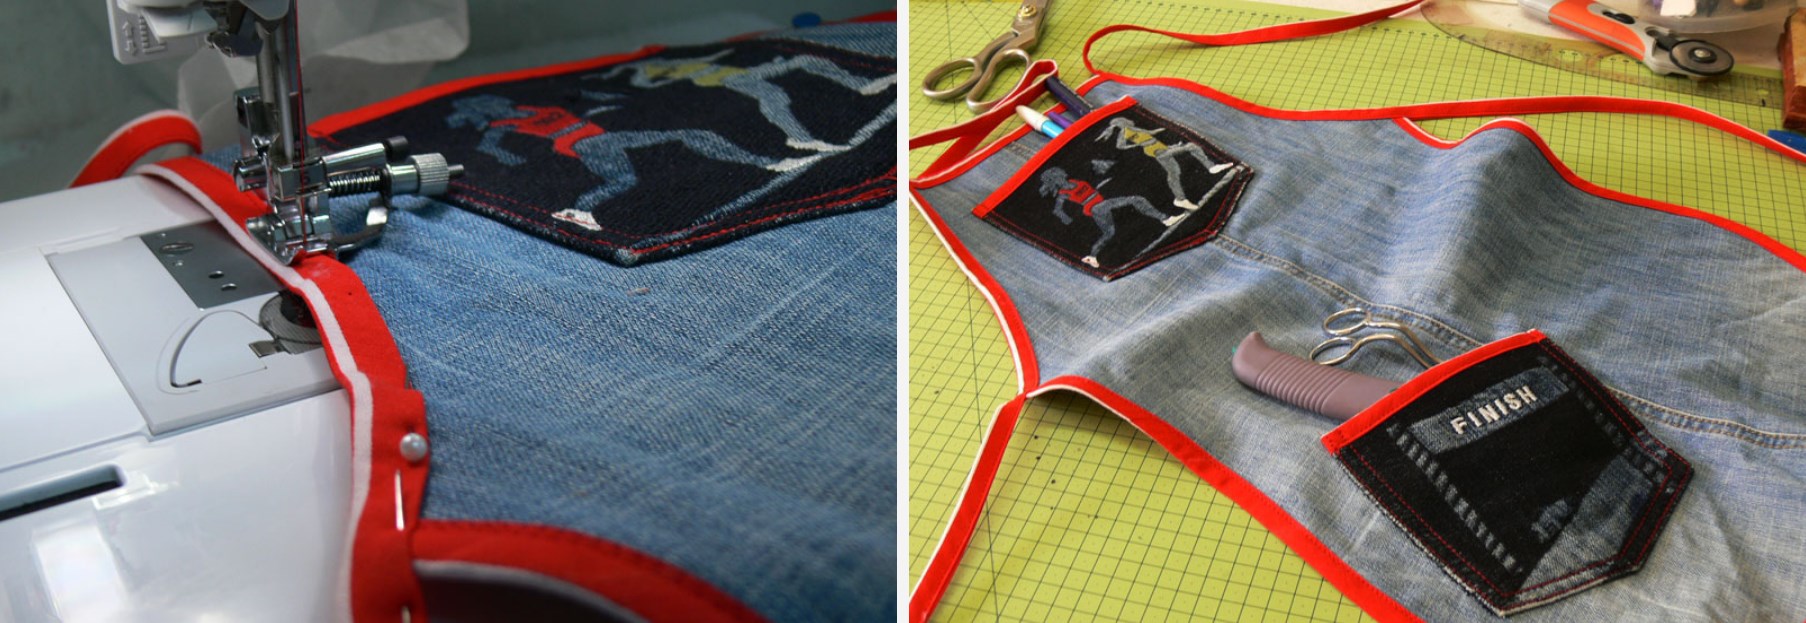
From old jeans
Denim aprons are usually sewn using a one-piece pattern, using universal sizes. To cut out a one-piece model, you will need a pair of large man's jeans, from which you can cut out a decent piece of fabric.
Sequence of actions on how to sew an apron for the kitchen with your own hands:
- Prepare the main part (length - 70 cm, width of the lower part - 50 cm, upper part - 30 cm).
- Carefully process all edges.
- Next, we sew the apron in the same way as the previous models: connect the parts and, if desired, sew on a pocket.
If you only have small pieces of old jeans, you can make a pattern for an apron with a cut-off bib - this will make it easier to arrange the pieces.
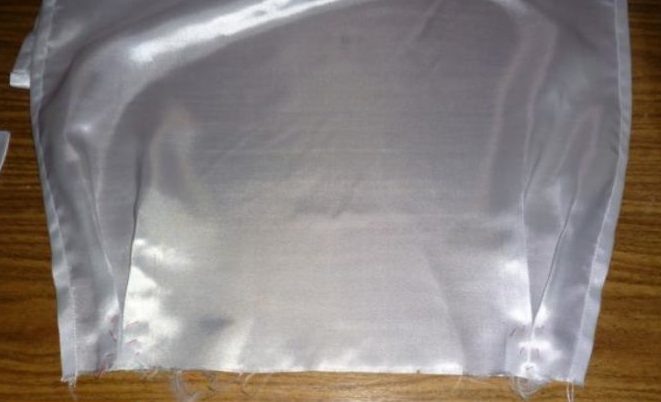
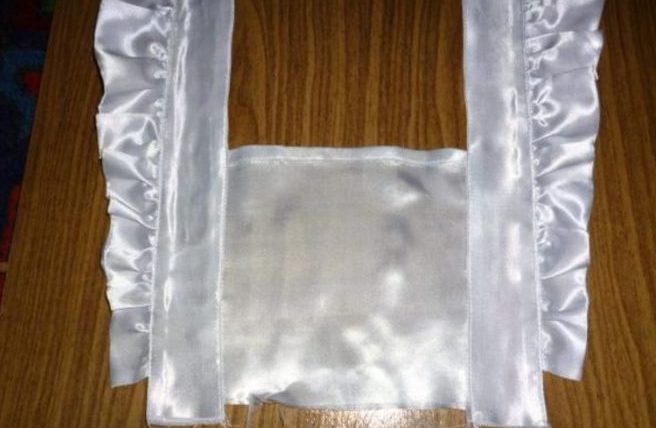
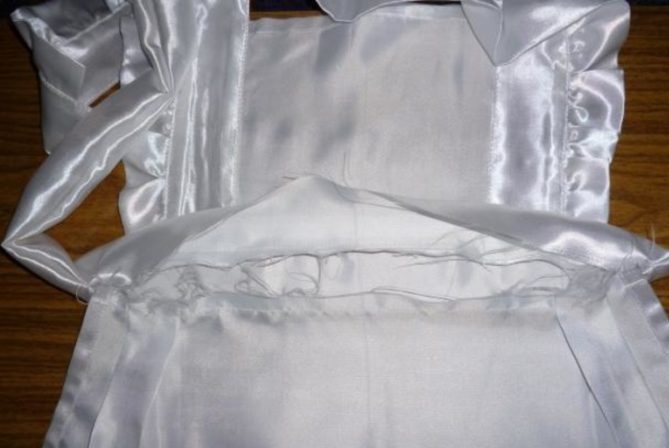
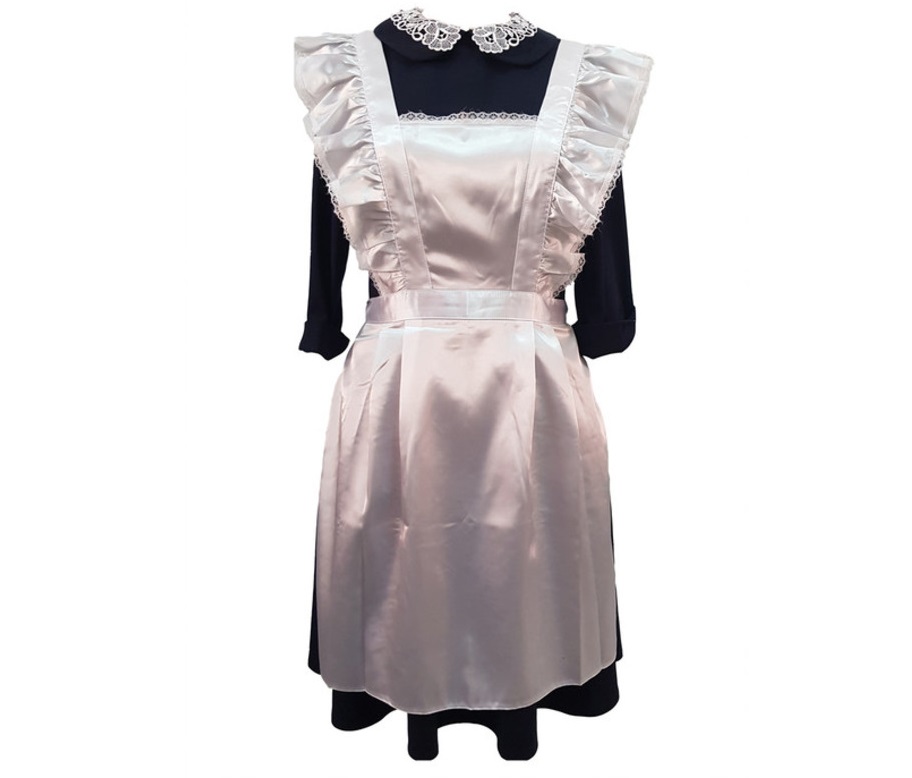
School
Aprons for school celebrations are sewn according to a pattern with a cut-off bib made of guipure or white cotton. Products can be decorated with lace, small gathering at the bottom or folds.
How to make an apron yourself:
- Cut out the top and bottom panels.
- Prepare straps and frills.
- Cut out the piece for the belt: its length should be equal to half the waist circumference + approximately 5–10 cm on both sides for gathering.
- Process the edges of the lower pattern.
- Sew the top and bottom pieces together, gathering the fabric a little.
- Sew straps to the bib.
This is the easiest and simplest model of a school apron. If desired, you can take a more complex pattern, for example, with crossed straps.
Decor
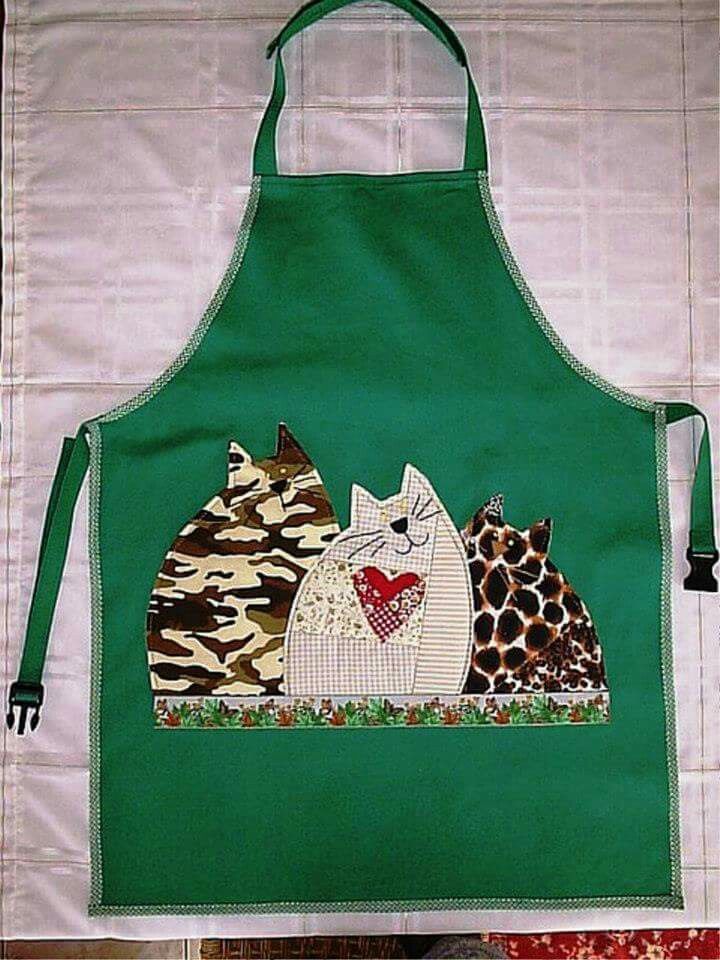
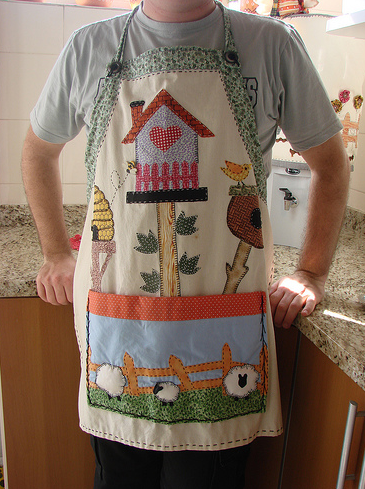
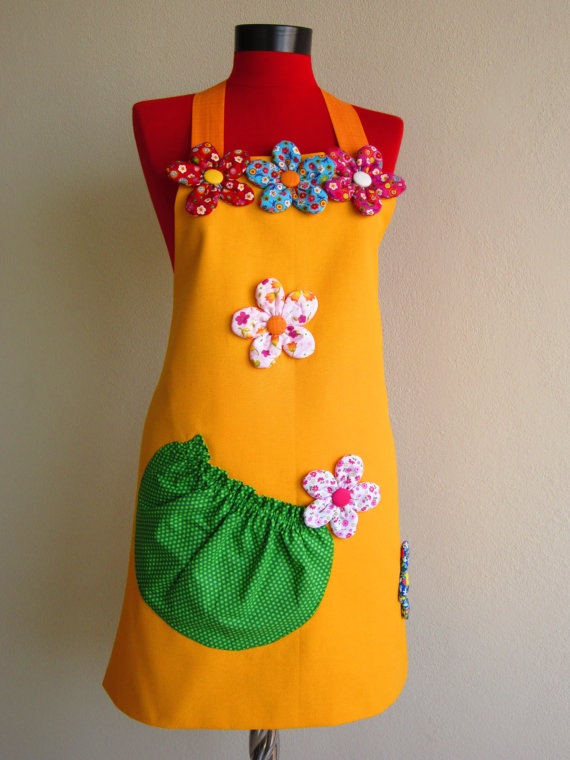
Kitchen aprons are rarely decorated, and if they are, the most practical options are preferred: several different fabrics, lace, ruffles, gathers or ribbons. Also, unusual pocket shapes are chosen as decoration: in the form of a heart, a star, a flower. Men's models can be complemented with belts, metal fasteners, buttons.
For children's aprons, you can use beads, rhinestones, and beautiful fabric appliques. It is worth understanding that products with such voluminous elements will need to be hand washed. Girls are sewn elegant multi-layered aprons, and simple models are decorated with bows, contrasting colored fabrics are used for inserts, they are painted with acrylic or a pattern is applied using decorative stitching. Sometimes embroidery is used to decorate simple monochromatic aprons. Also, to please the kids, chest aprons are made in the form of cartoon characters or funny animal faces.
Video