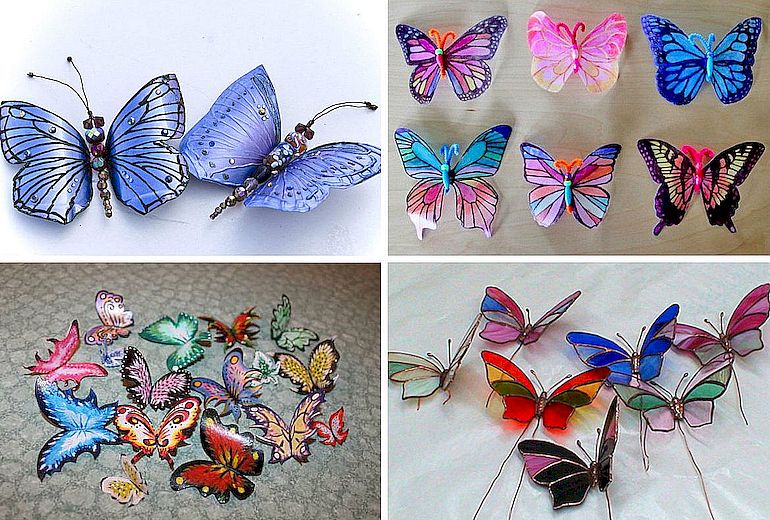
Various handicrafts are not only an educational activity for children, but also a way of self-expression for adults. A simple or, on the contrary, intricate butterfly applique will decorate the interior and bring positive emotions. It can be made using various techniques, the choice of design depends on the amount of free time and available materials.
Materials and tools used
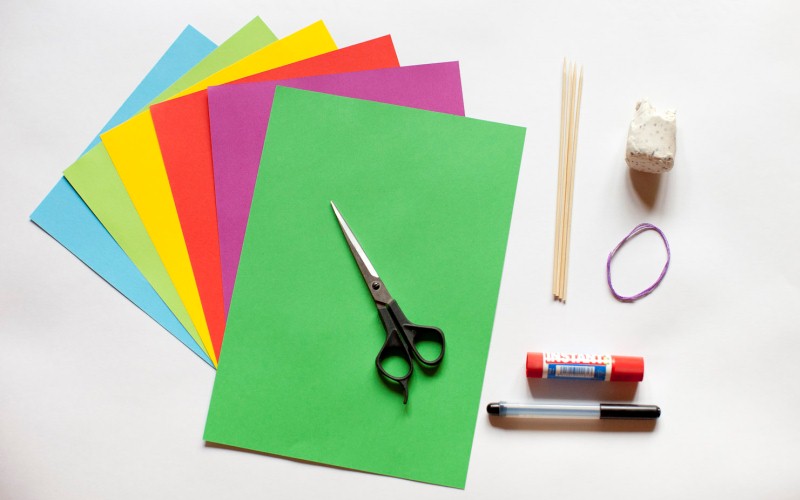
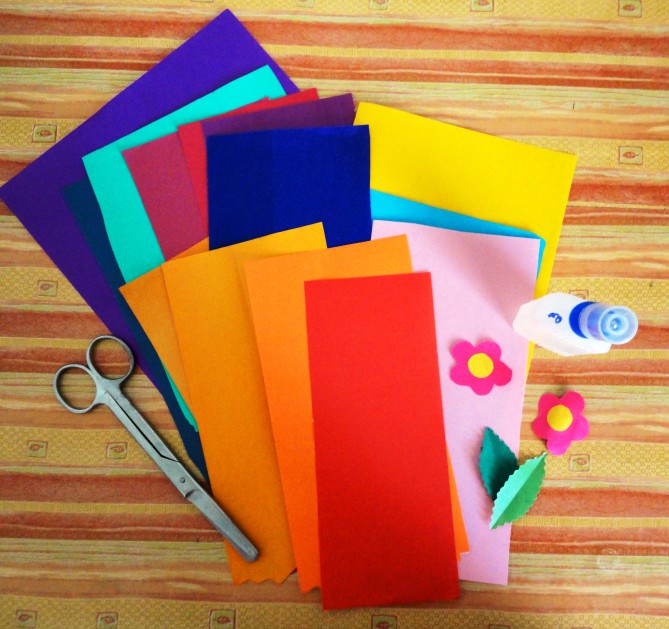
The essence of the applique method is gluing or sewing decorative elements to the base, which can be made of thick cardboard, paper, fabric. Decorative elements are colored paper, buttons, scraps of fabric, any small beads. You can attach them with hot glue or PVA.
The most popular materials for children's applique are cardboard, colored paper and paste. The choice is justified by the fact that it is better to take the safest materials for children. In order to draw and then cut out the necessary parts from paper, you will need a simple pencil and scissors. The adhesive base, such as PVA, is applied with a brush, it is better to prepare two: thick and thin.
Manufacturing methods
The applique is suitable for children of almost any age - a three-year-old can master the simplest techniques, and a teenager will like the complex and interesting ones. Parents can be creative together with their children and get no less pleasure from this process.
Once the applique is made, it can be designed as an individual picture, postcard or other decoration. For kids, materials that are easy to work with are suitable - paper and cardboard. Teenagers can use beads, rhinestones, beads, decorative glass for work.
Simple craft made from colored paper
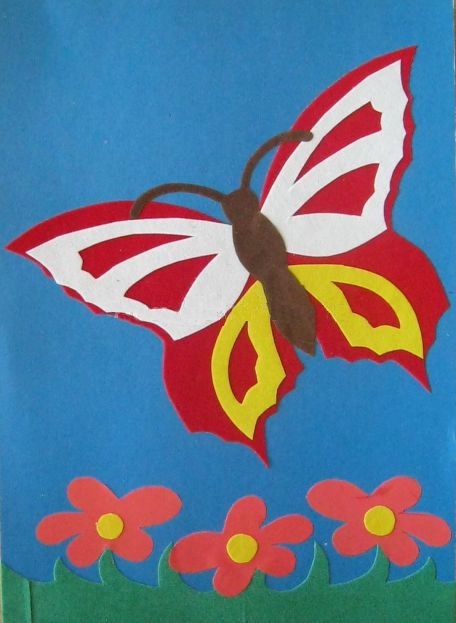
A butterfly applique made from colored paper is the simplest craft, accessible even to kindergarten children. In the senior or preparatory group, children can do it themselves, in the middle group - working with scissors under the supervision of adults, and in the younger group - from ready-made, already cut out parts. More complex options will be interesting for younger students. The craft develops two main skills in children - the ability to combine colors and fine motor skills.
You need to start the work with a reminder of the rules for handling scissors. Usually, ready-made templates given by the teacher are used for children's creativity. They are applied to the paper to cut out the details of the product.
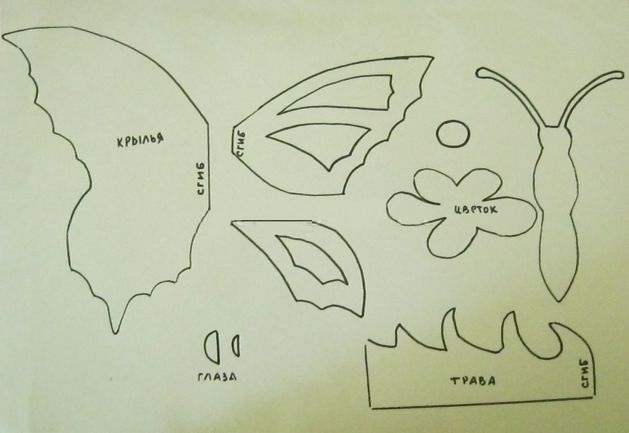
The butterfly template consists of the following elements:
- silhouette of wings;
- wing pattern (1-2 paired templates);
- corpuscle;
- head and eyes.
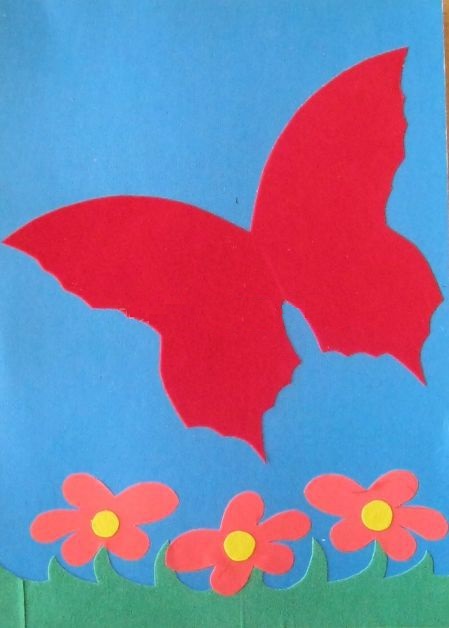
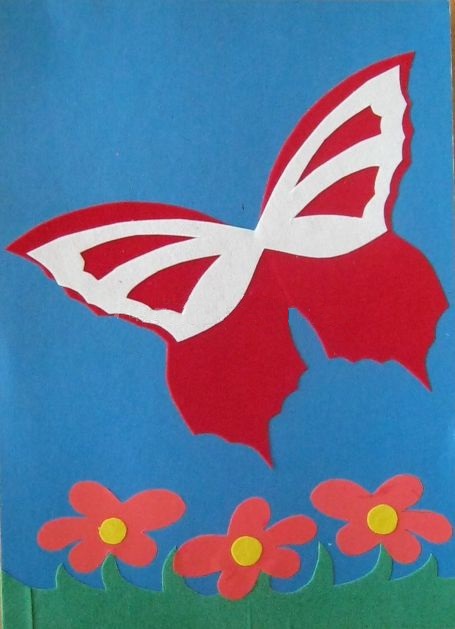
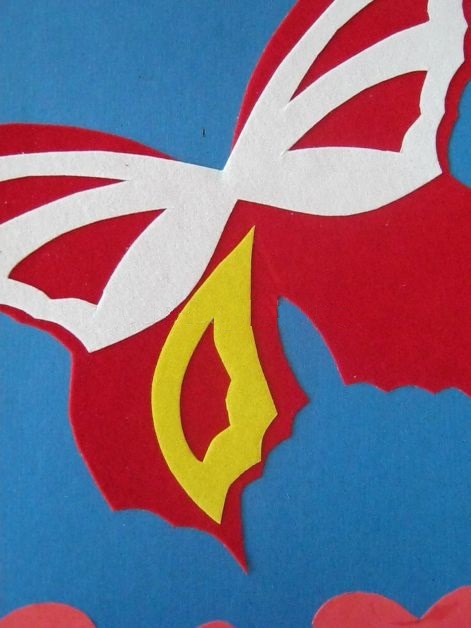
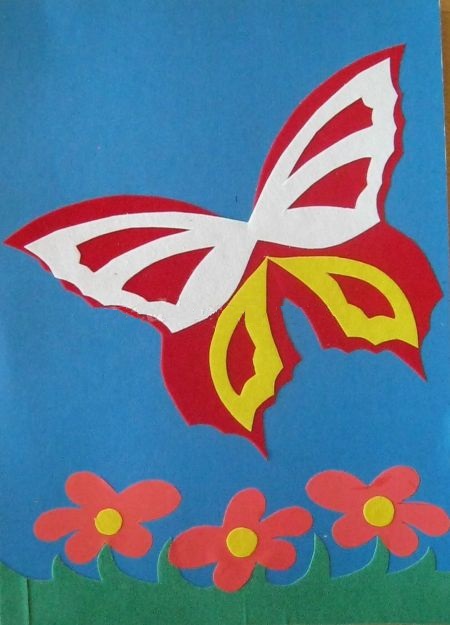
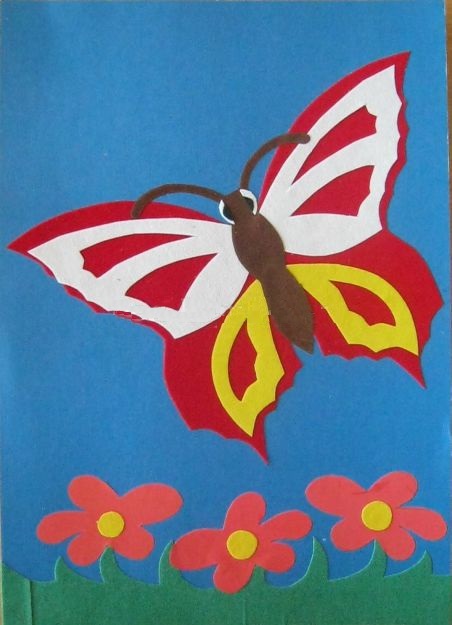
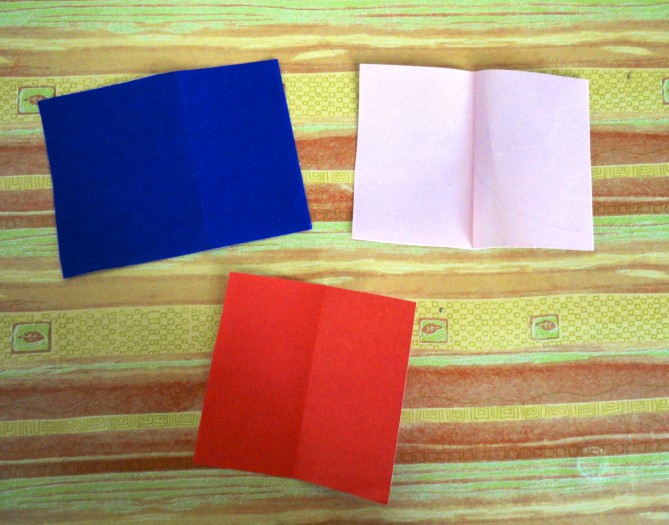
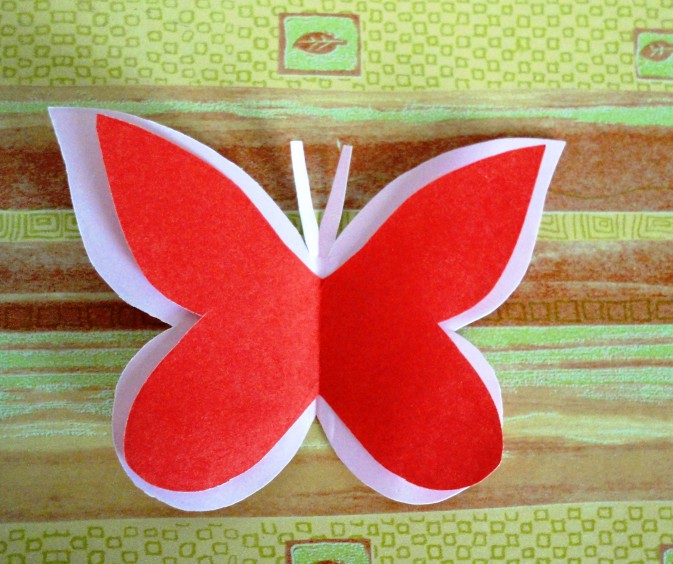
First, you need to cut out the silhouette of the wings. One piece is used as a template, and the paper is folded in half. You get a bright butterfly that needs to be glued to the base. Then you need to take paper of a different color, cut out a pattern on the wings. Several templates can be used, but the finished pattern is always cut out of paired pieces of paper. The resulting parts are glued to the wings. The last step is to cut out the body and small details - the head and eyes - according to the template, they are glued to the silhouette of the butterfly.
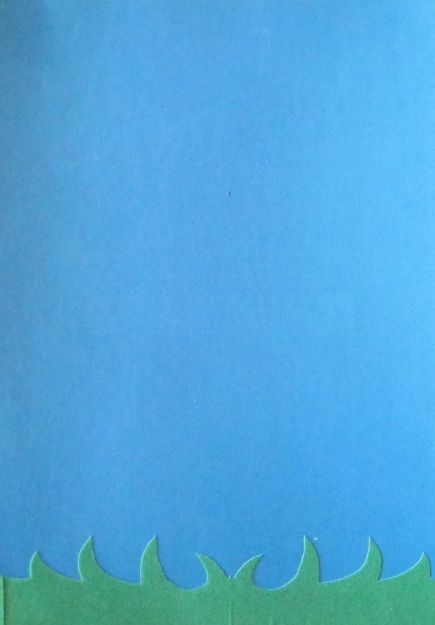
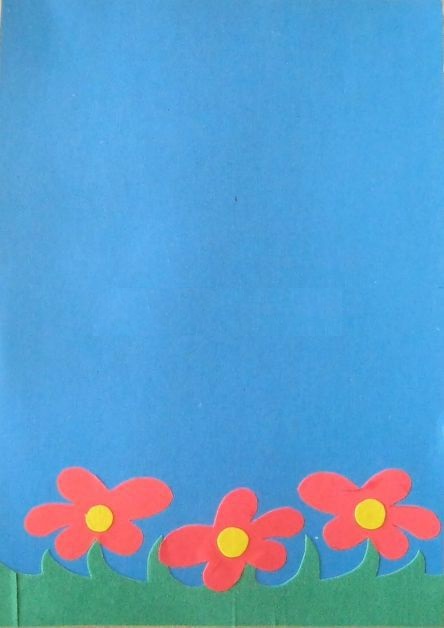
In addition to the butterfly, there may be other elements on the colored paper applique - grass, flowers, other insects. The child can add whatever he likes to the drawing if he wishes. It is important that the child chooses the color of the elements himself - this is how he develops artistic taste.
Volumetric
The master class is suitable for younger schoolchildren and preschoolers. Children will have to make templates for themselves. The technique develops spatial thinking and the ability to draw.
Stages of making a butterfly:
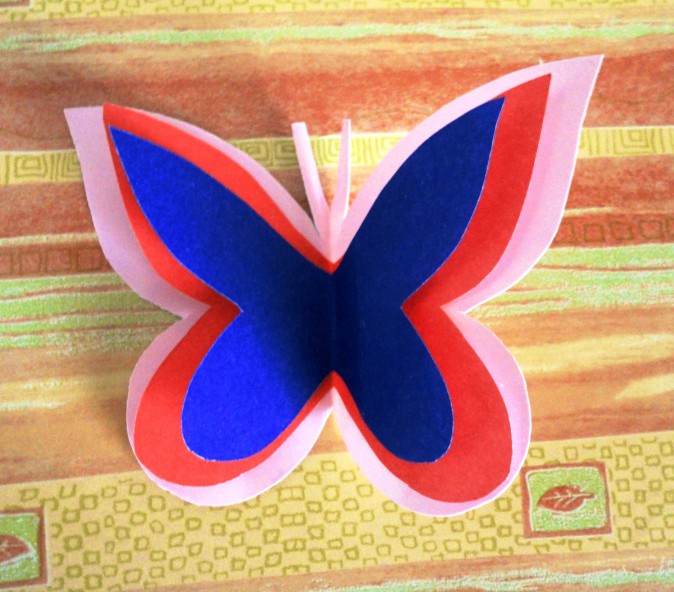
- trace the main template onto white paper;
- mark the next element on it - the same butterfly, only smaller in size;
- repeat the procedure several times;
- using each template, cut out a butterfly from paper of different colors;
- glue the largest butterfly onto the base behind the body;
- glue the remaining butterflies in decreasing order.
The result is a three-dimensional drawing of a butterfly that can move its wings. By changing the surface area on which different butterflies are glued to each other, you can achieve interesting color effects. It is important to watch the symmetry.


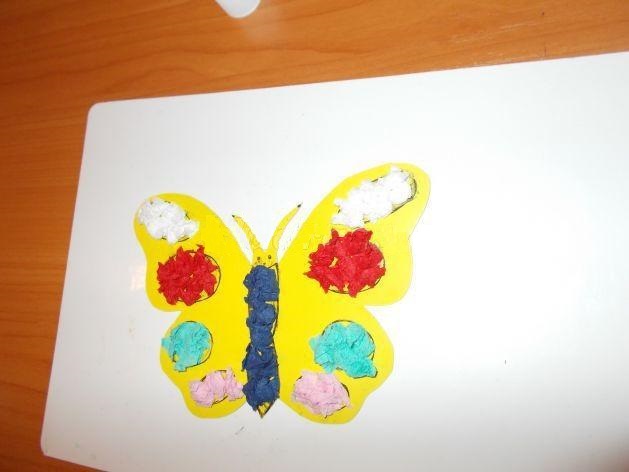
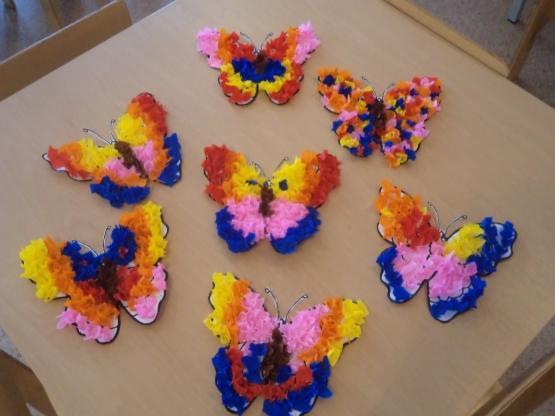
Tear-off felt applique
This is another simple option for a toddler who is not very good at using scissors. An older child, using this method consciously, will be able to achieve quite interesting results. The point is that the fabric or paper is not cut, but small pieces are torn off and glued to the base within the drawn pattern. Felt is best suited for this purpose.
Stages of work:
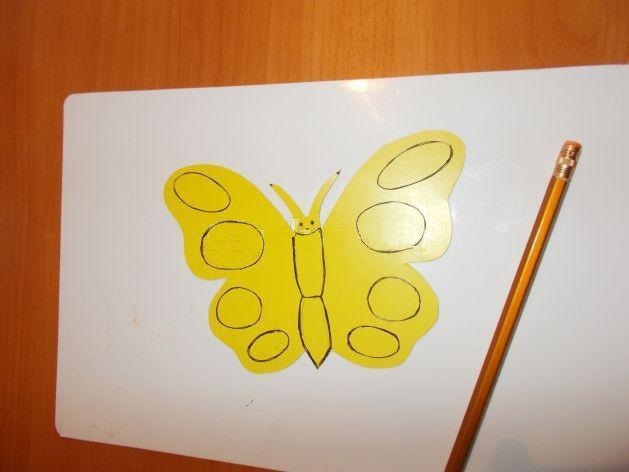
- draw a butterfly template on the basis;
- prepare felt of different colors, glue;
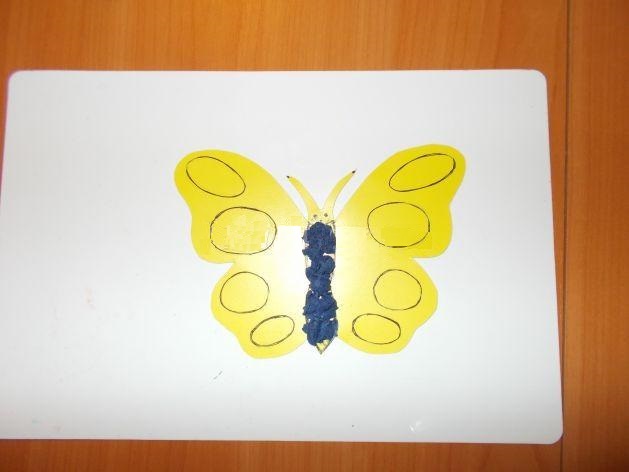
- tear off small pieces of felt with your hands, dip them in glue and attach them to the template in the way the child wants.
Fabric applique does not require working with scissors, and if you use flour paste, the process is completely safe for the child. Suitable for children over 3 years old under adult supervision. Develops the ability to combine colors, a sense of symmetry.
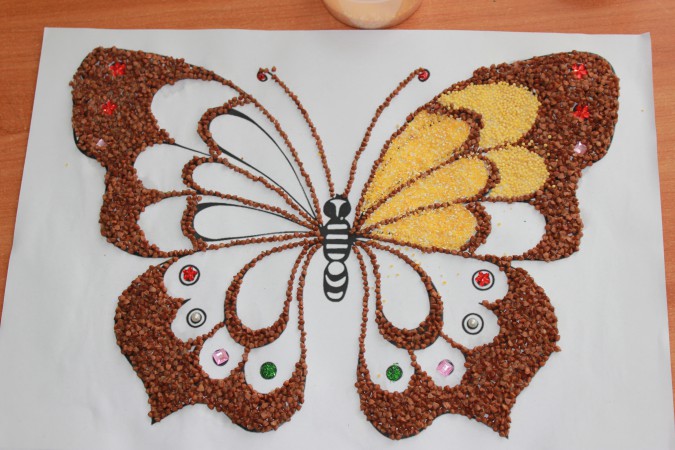
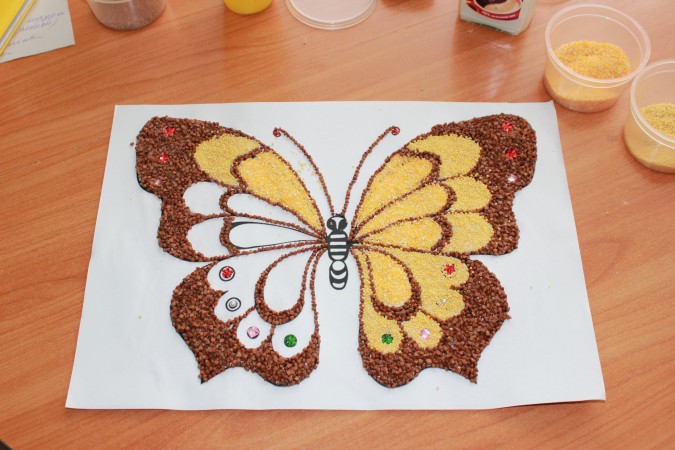
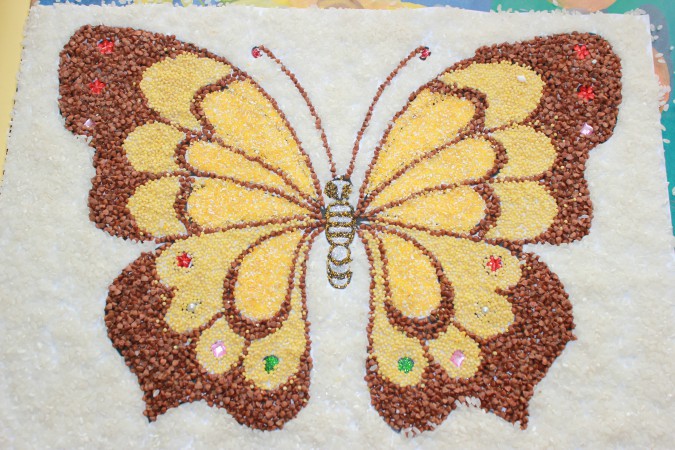
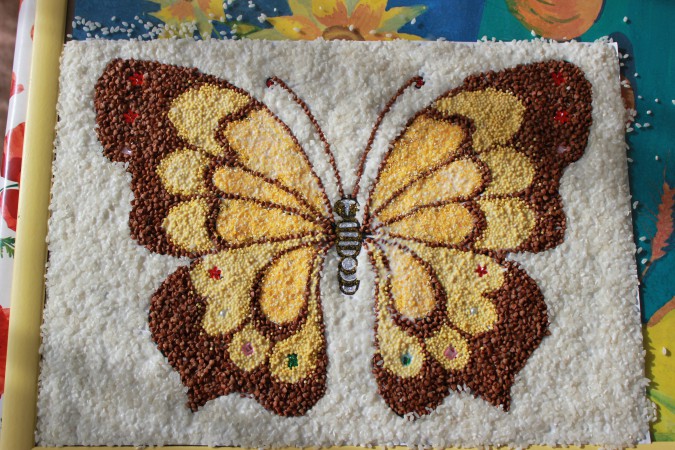
Picture from scrap materials
The materials at hand are small buttons, beads, leaves, feathers, and cereals. Before you start working, you need to make sure that your baby already knows how to handle small objects. Usually this technique is recommended for schoolchildren.
Stages of work:
- select materials of different colors;
- draw a template on the base (the difficulty depends on the child’s skills);
- Glue the selected parts one by one onto the base.
The result will be an applique with an interesting texture and a wide variety of colors. The method develops fine motor skills, artistic taste, and the ability to combine colors. You can buy a special children's set for your baby, which contains ready-made elements.
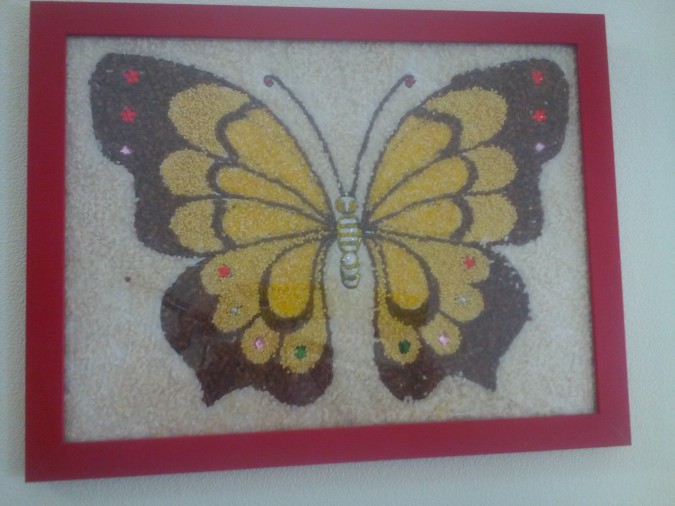
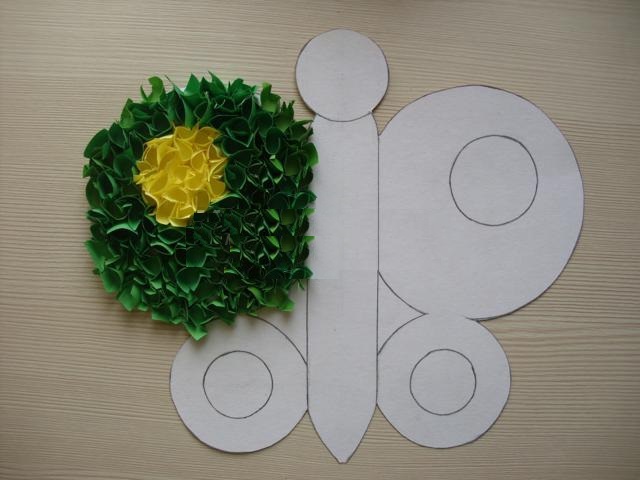
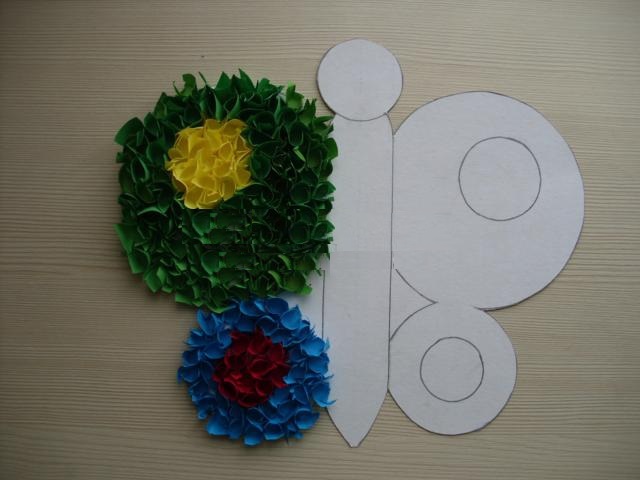
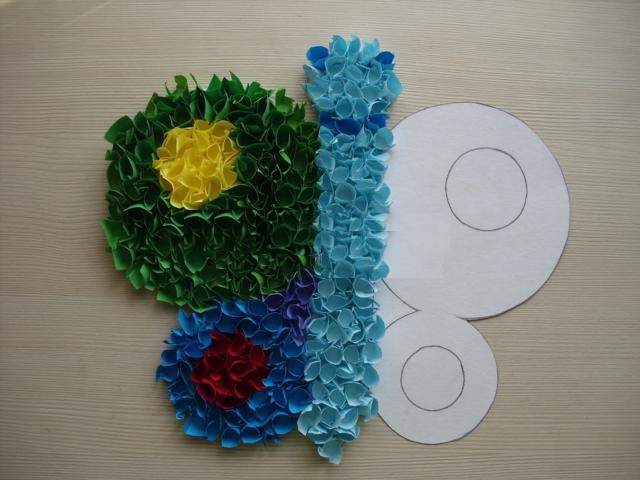
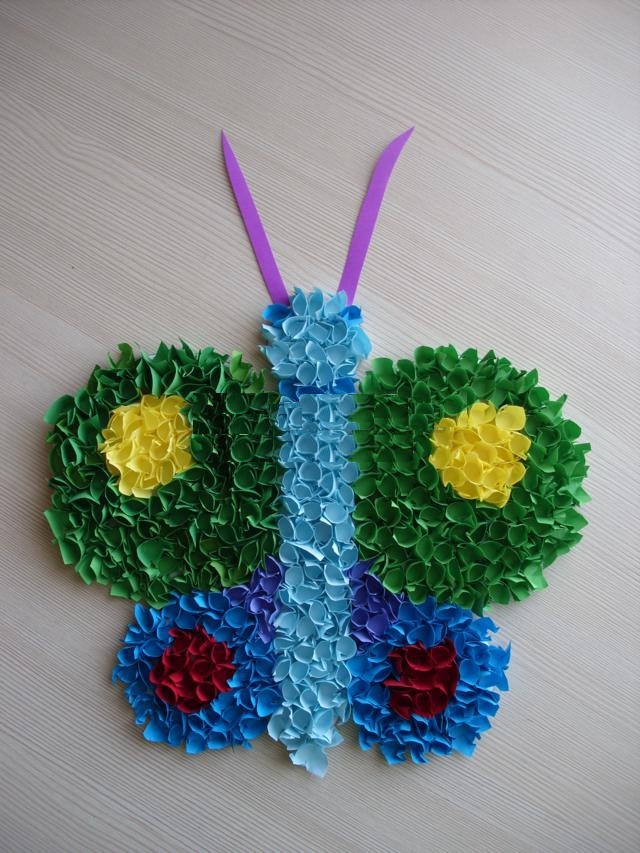
In the technique of end-graining
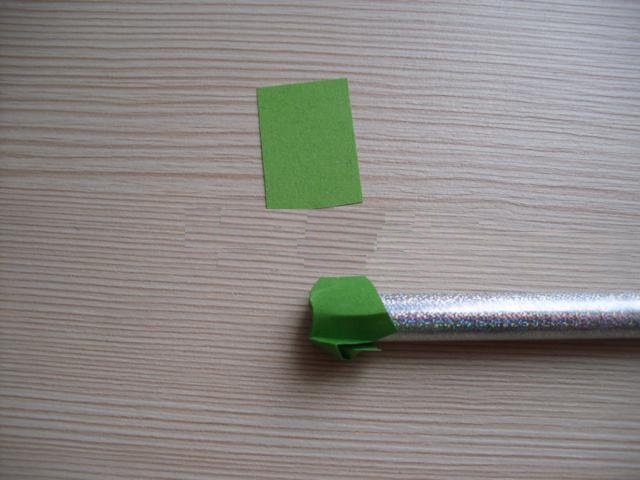
The method requires patience and developed fine motor skills. The technique is similar to the previous method, only the material used is end grain. Making end grain:
- take a square of corrugated paper 1 x 1 cm;
- place the tip of a simple pencil in the center and press the edges to it (you will get a cone);
- Place the end grain on a base coated with glue and press firmly;
- remove the pencil.
The method helps develop fine motor skills and perseverance. The process is quite long and labor-intensive, so it is better to choose small drawings for a start. After gaining some experience and with sufficient interest, you can make a real mosaic canvas.
Video