A robe dress is a comfortable and practical item. It suits any body type. This model can be worn to work, an evening event or a walk. It is precisely for its versatility and simplicity that this model is so loved by girls all over the world.
For those who have no experience, the robe dress pattern is a great way to "get the hang of it" and still get an original, beautiful thing. Based on it, you can come up with a unique model, adding fasteners or decorative elements, playing with the choice of fabric.
Pattern options
- One-piece – in this case, a drawing is not required: the fabric is cut out immediately. Therefore, a large piece of cloth is required. The dress looks quite simple, reminiscent of a robe, but made of higher quality fabric. This model is usually complemented with a belt and decorations (brooch, necklace).
- Basic pattern – this dress is assembled from the pattern of the front, back and sleeves. Usually, most models are sewn according to this option. They only change the type of fabric, its texture and color. This option will look great with any sleeve length.
- Pattern with raglan - in this version, the sleeves are cut out together with the back and front of the dress. Usually there is no shoulder seam, but there may be an upper sleeve seam. This model will require more fabric than the basic pattern.
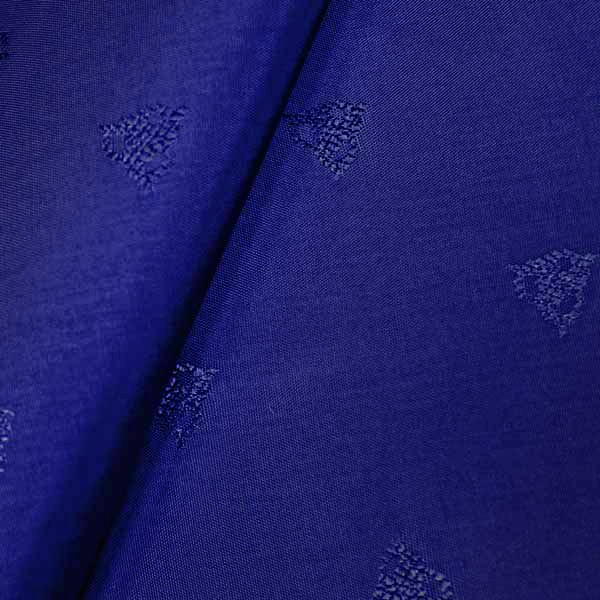
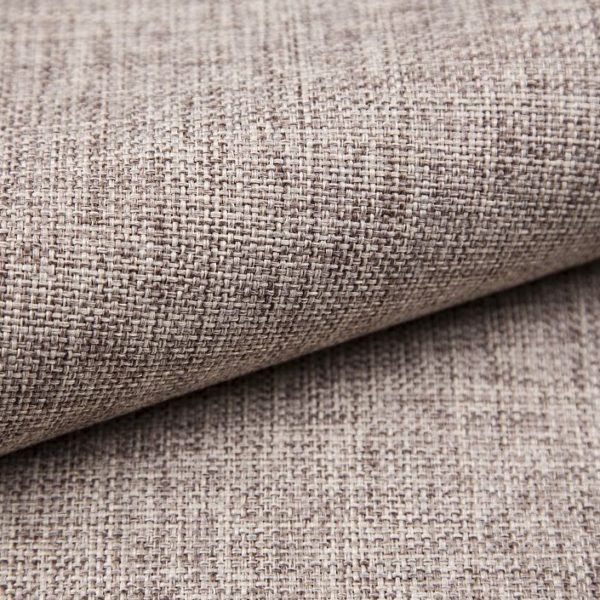
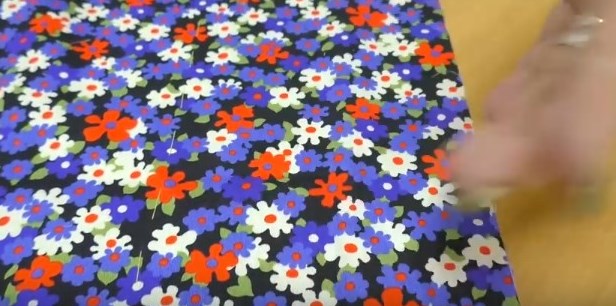
Choice of fabric
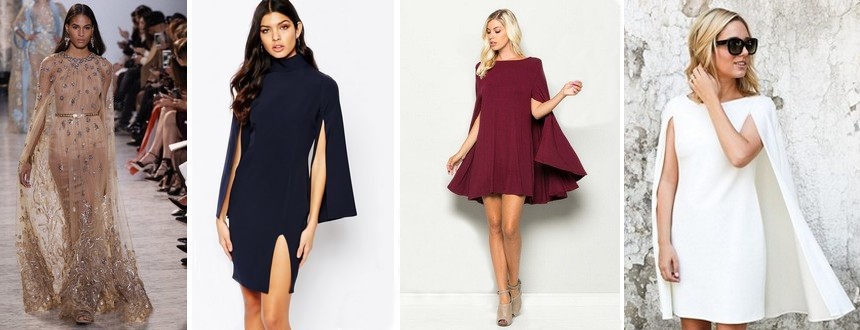
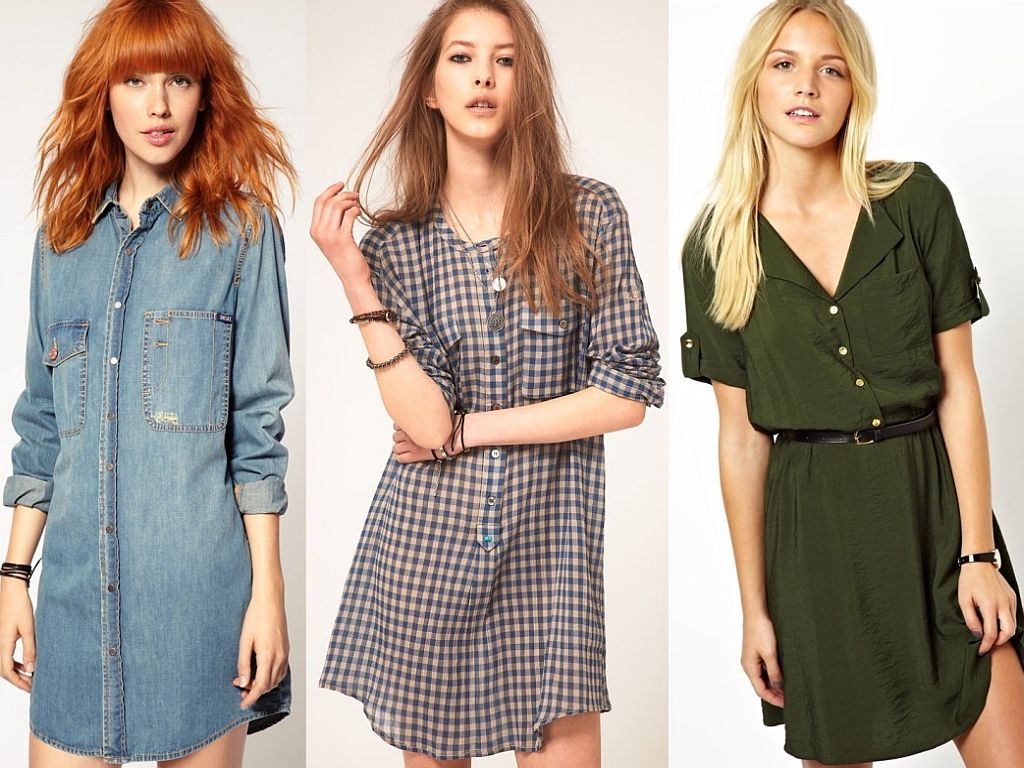
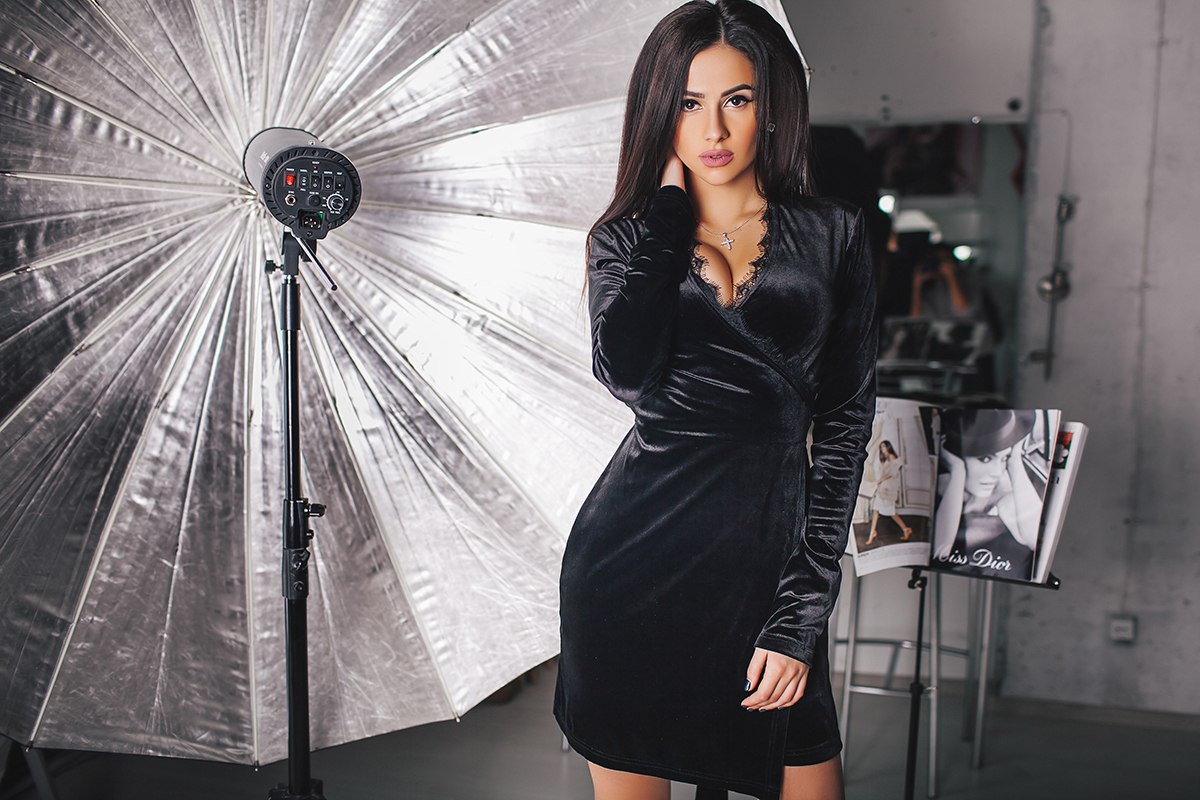
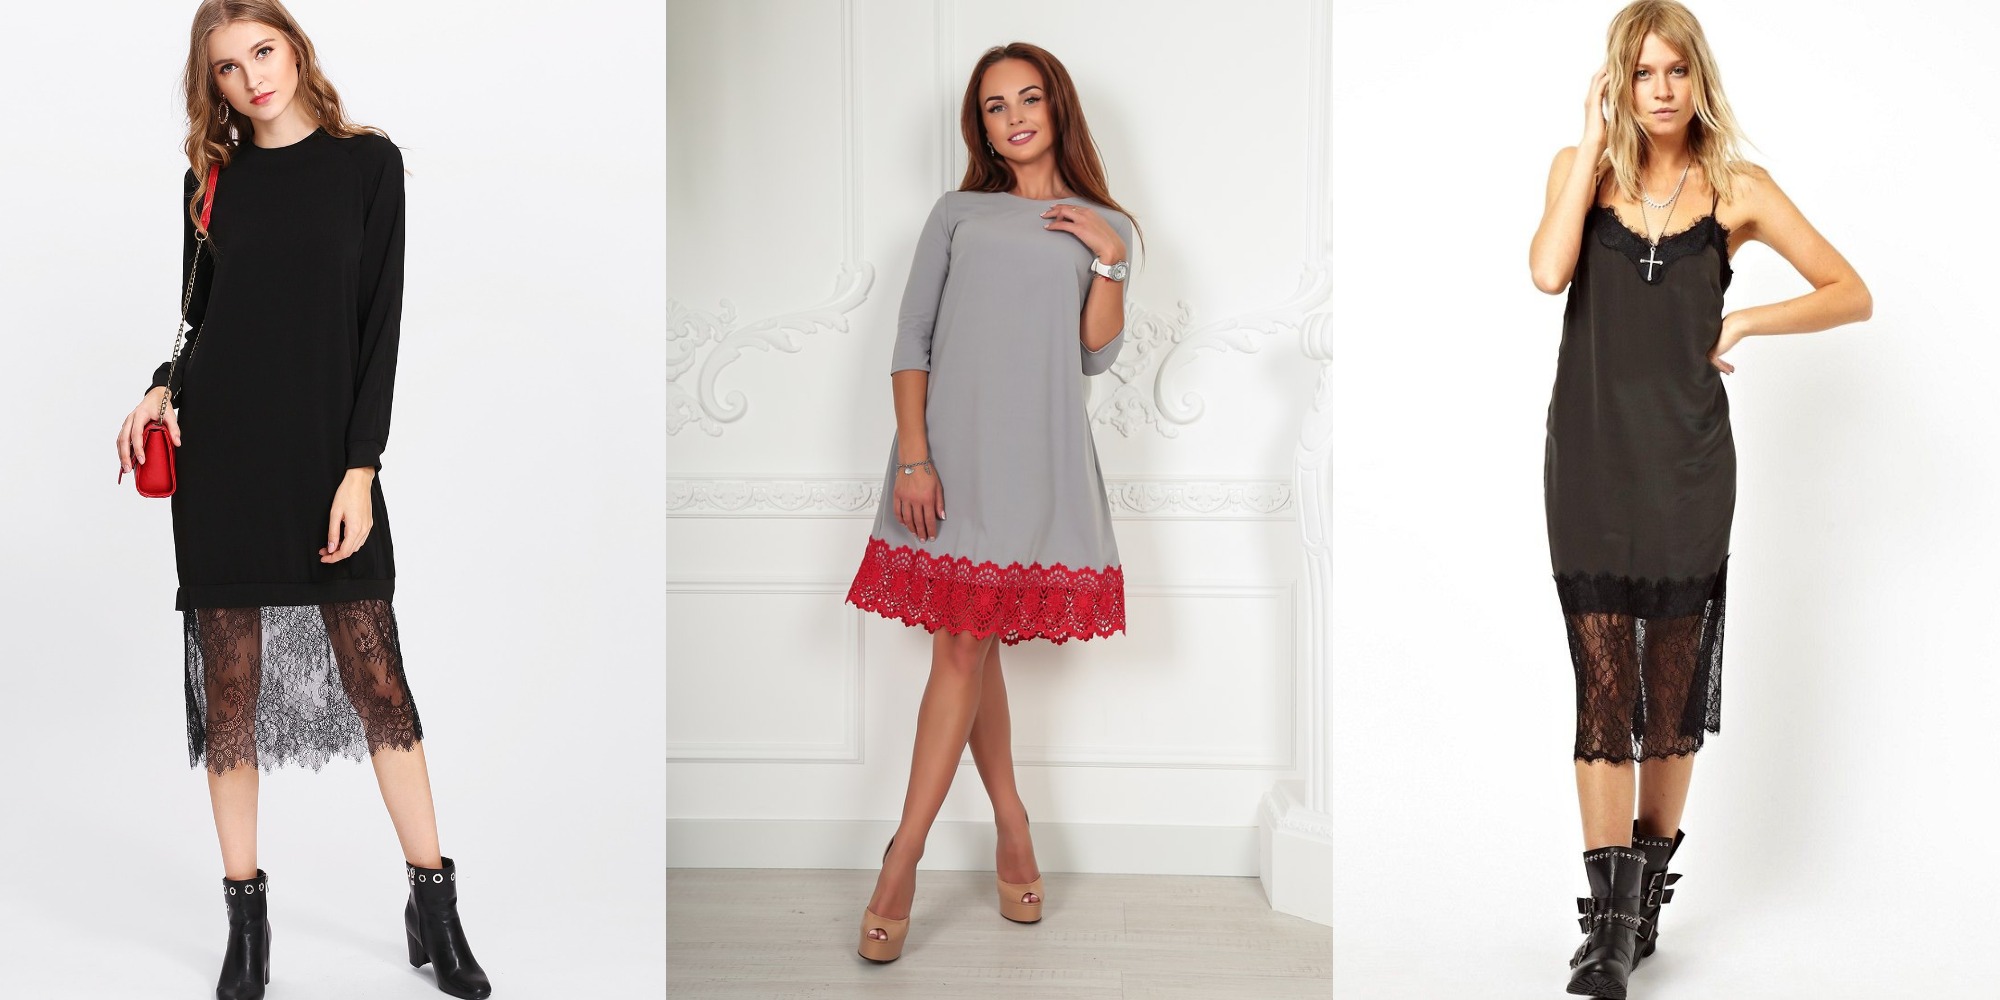
The sewing material is determined by the occasion for which the dress is intended. For creating an evening, romantic look, materials such as silk, velvet, gauze, and lace guipure are suitable. For a meeting with friends or a casual look, denim is suitable. For the office – jacquard, crepe georgette. For warm summer days - airy linen and chiffon. A knitted dress is suitable for home, everyday and office wear. You can sew a dressing gown dress with your own hands from almost any fabric. The belt is usually a strip of fabric from the same material as the dress. But when you get tired of it, it can be replaced with a belt, a decorative chain, a strip of leather. Another option: make the belt a contrasting color to the dress.


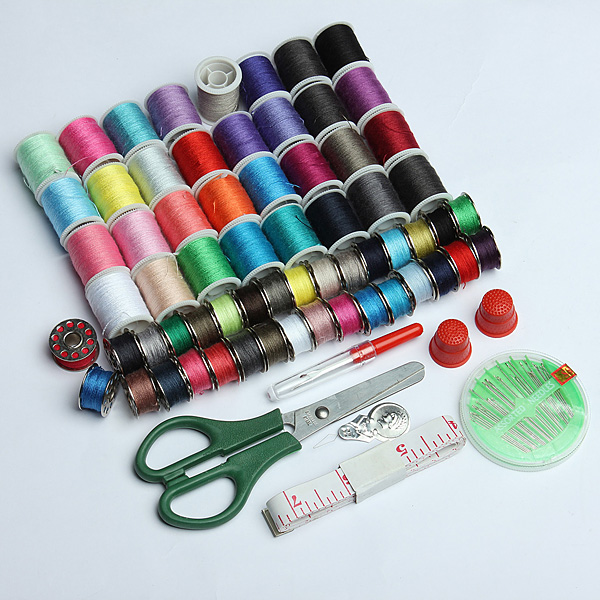
Necessary materials and tools
- Textile;
- Threads in tone;
- Needles;
- Scissors;
- Sewing machine;
- Measuring tape;
- Ruler;
- Chalk.
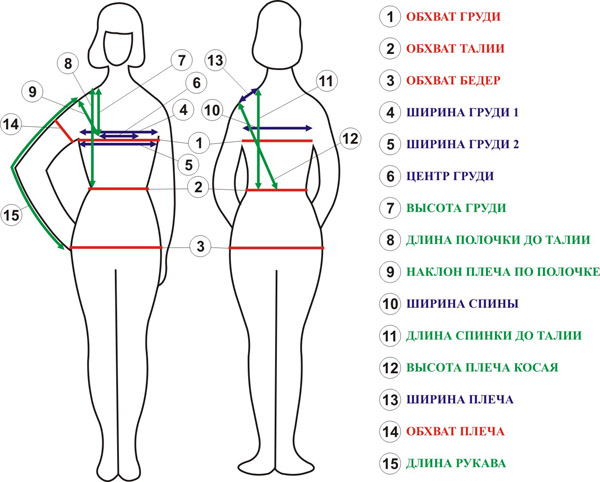
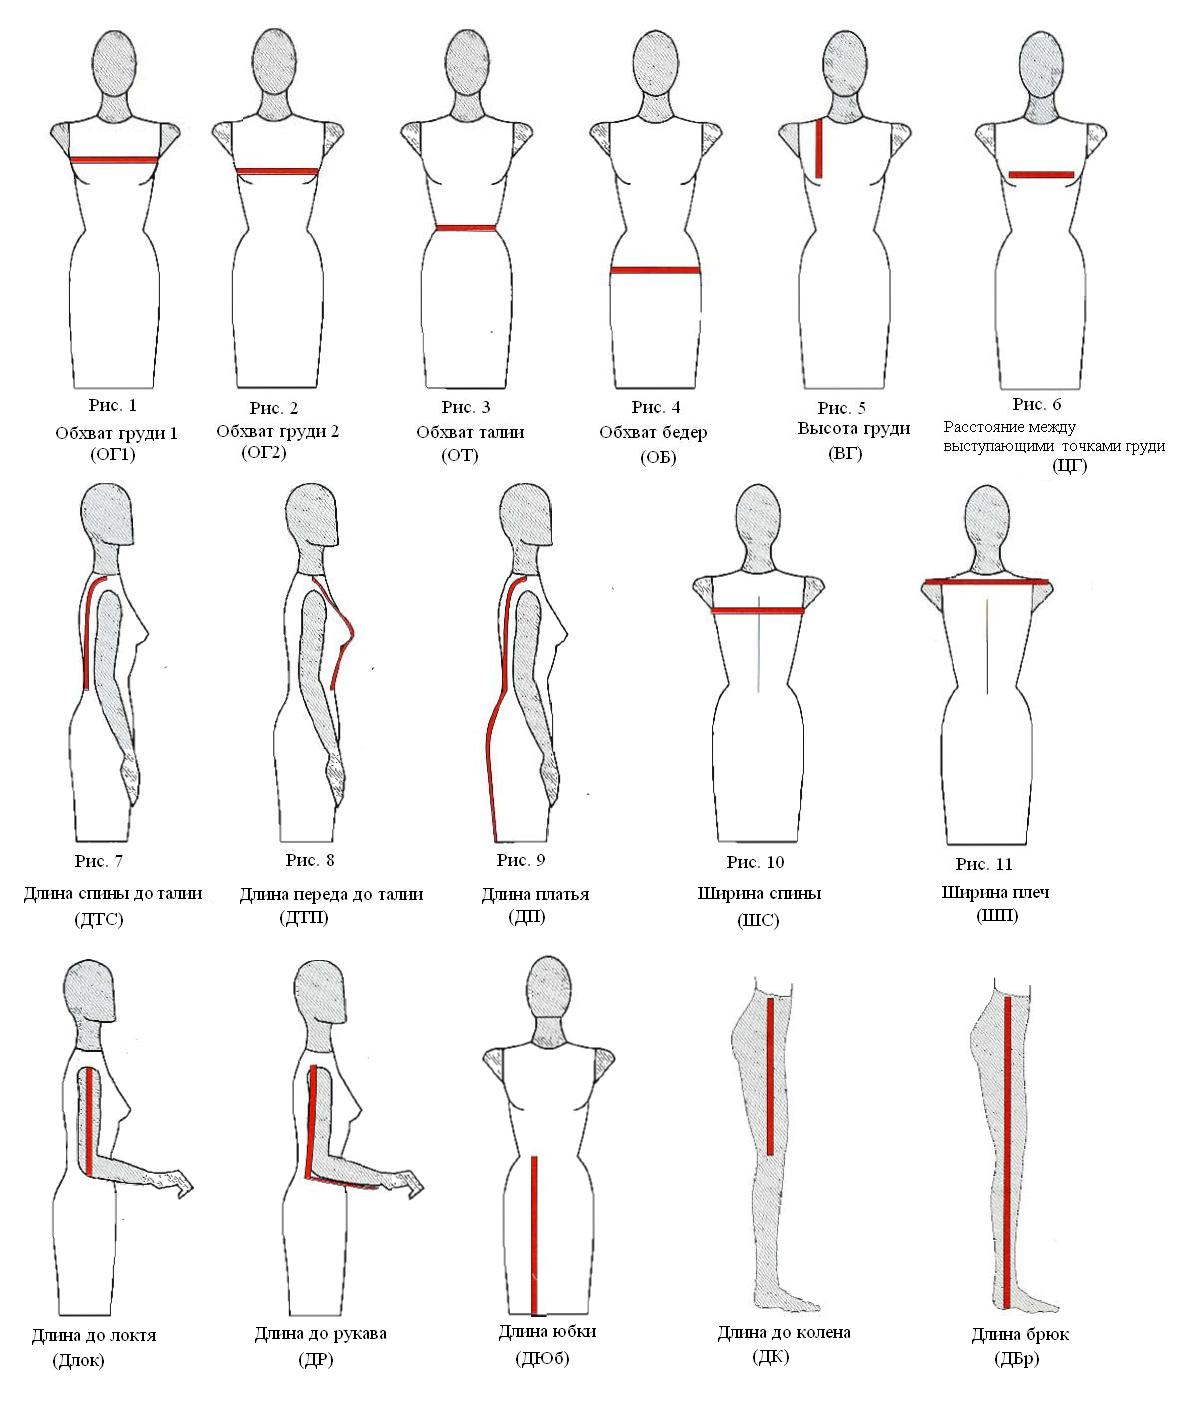
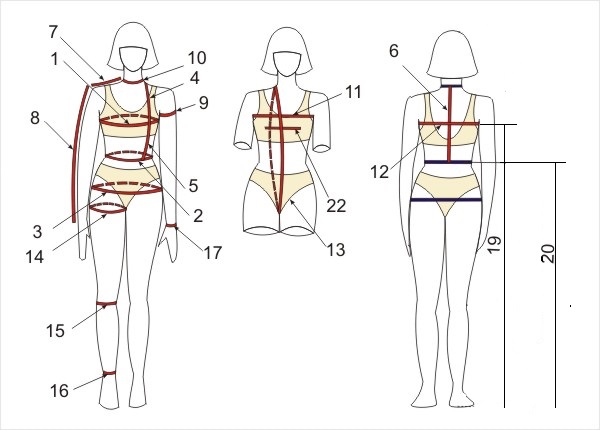
Taking measurements and calculating fabric
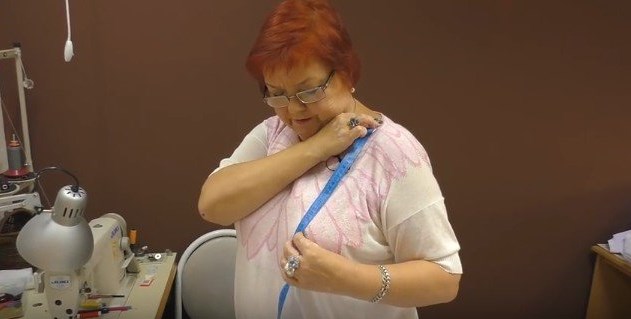
The measurements are taken with a measuring tape, which must not be stretched or loosened. The person stands straight, relaxed, with arms directed along the body. It is better to do this in thin, tight clothing or underwear, so that the folds of the fabric do not distort the readings.
Paired indicators are measured on the right side.
To create a drawing and cut out the product, you will need to measure:
- Waist circumference (WC);
- Chest circumference (OG);
- Hip circumference (HC);
- Back length (BL);
- Shoulder width (SW);
- Back width (BW);
- Dress length (DL);
- Sleeve length (SL);
- Arm circumference (AC);
- Back to waist length (BWL).
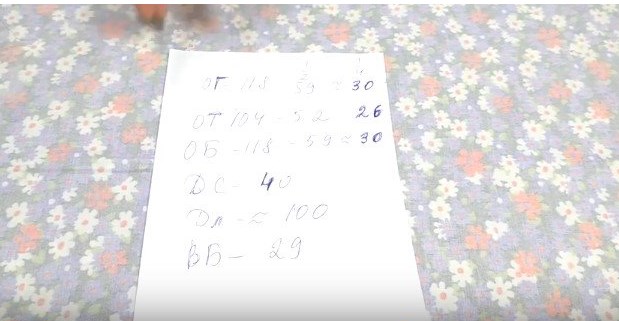
To calculate the fabric for a dress with a pattern, measure the hip circumference and add half or a quarter of the length (depending on the size of the wrap fabric). Compare the resulting value with the length. Allow 10 cm for processing.
For a one-piece dress, you need to measure the length of the garment and the width of the shoulders + the length of the sleeve. Plus 10 - 15 cm.
Cutting and assembly
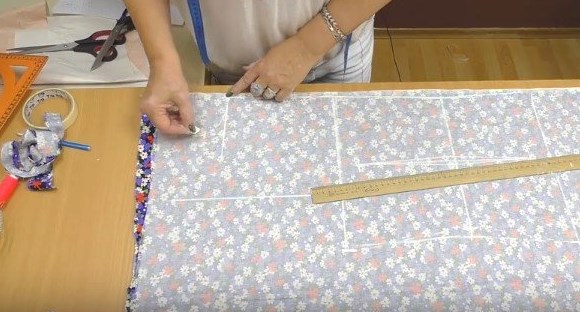
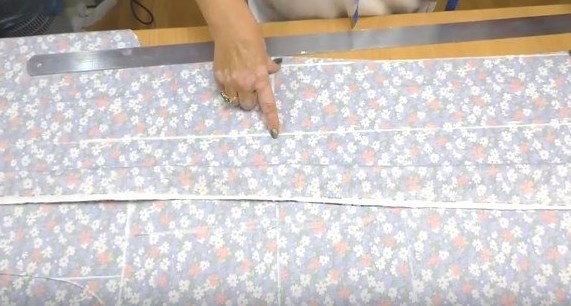
- Measure the length of the dress directly on the fabric and cut off the excess. Measure the width by (shoulder width + sleeve length) + seam allowances (1.5-2.5 cm);
- Fold the fabric in half;
- Measure about 30 centimeters from the top. Put a mark;
- Measure the length of the sleeve on the sides and put a mark. The distance between these points is equal to the width of the back + the depth of the smell;
- Connect these dots, draw a line down;
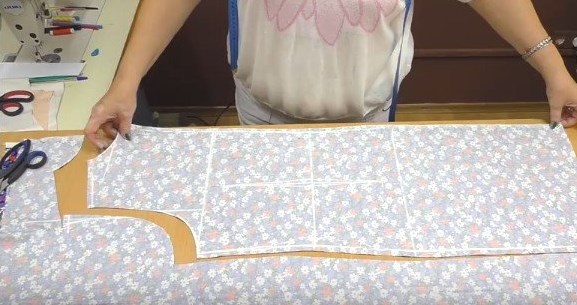
- Cut out the product along the lines. You will get something similar to a large shirt, only without a neck;
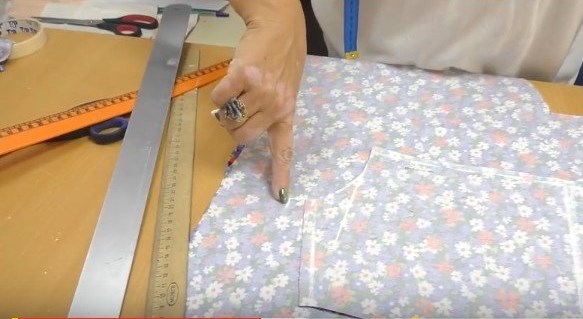
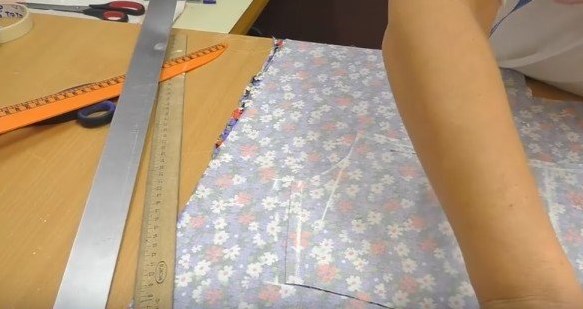
- Now draw a line exactly in the middle of the shelf. (Front part);
- Cut one shelf in half;
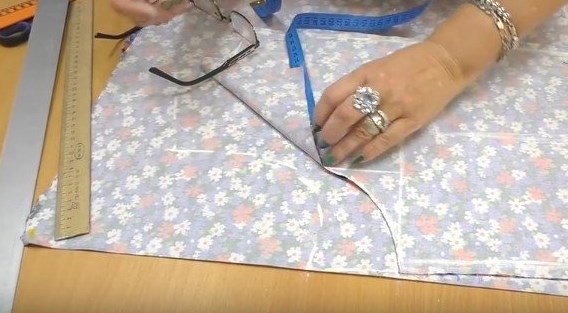
- Draw the neckline. Determine the size based on how deep you want the neckline to be. Round the neckline slightly on the back;
- Sew the side seams, process the edges;
- Fold the edges of the sleeves and bottom and sew;
- Fold the slit on the front by 0.5 cm and stitch it.
The dress is ready. It is quite simple and therefore instead of the usual fabric belt, it can be worn with a belt. This will give the image a more original look.
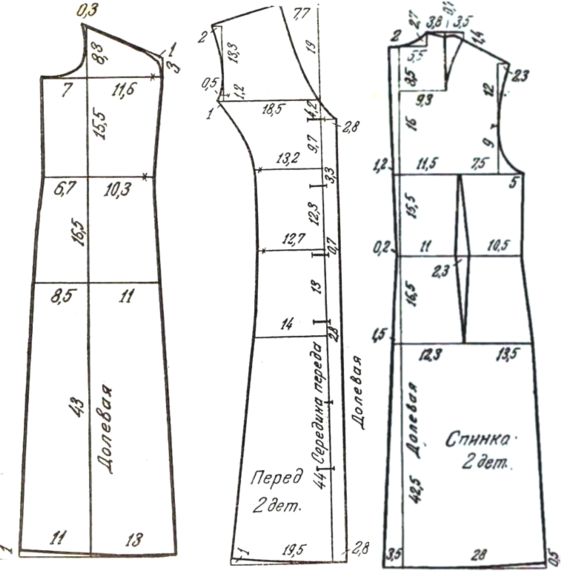
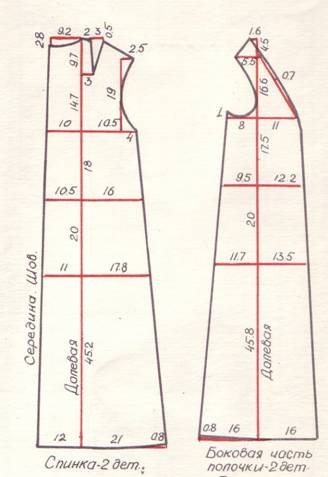
- To cut out the back of the garment, mark a point and measure 2.5 cm down from it (the length of the back neckline);
- Divide the chest circumference by 6 and add 2.5 cm – draw this segment from the resulting mark down (chest line);
- From the top point, set aside the measurement of DP. On this interval, measure from the top of the DST (waist line);
- Horizontally from the first point, measure approximately 6-8 cm – the width of the back neckline;
- From this point, measure a length equal to OG/4. For the back armhole, connect this mark with the top of the previous segment, divide the line in two;
- From the corner, draw a height to the side and divide the line in half;
- From the waist line, measure the waist circumference divided by 4;
- From the bottom point, draw 45 cm to the side and connect it to the waist;
- From the formed line, measure 50 cm from the waist;
- Make smooth lines at the bottom, neckline, armholes by connecting the dots. Use a pattern;
- The drawing of the back is ready;
- To cut out the front, mirror the drawing from the bottom to the chest line;
- Measure a distance along the chest line equal to the SHG measurement (start from right to left);
- From this point, measure up 5 cm;
- Accordingly, mark the armhole points for the back as well;
- From the waist line to the right, measure the front length upwards;
- From the resulting point, measure 7 cm (the width of the front neckline) + the width of the shoulder.
- Measure down 3.5 cm;
- From the waist and bottom, draw 10 cm to the right (wrap line);
- Connect all the obtained points. It is advisable to use a template;
- The front pattern is ready;
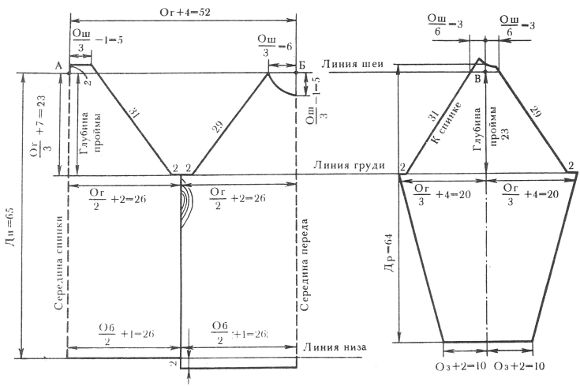
- To cut out the sleeve, place a point and draw down a distance equal to OG/6 – 1.5;
- On both sides of it, twice set aside a value equal to the arm circumference/4 + 1;
- From the central point on the left, draw up 7 cm, on the right 5 cm. Connect the resulting marks with the extreme horizontal ones - you will get a kind of triangle. This is necessary to construct the armhole;
- Divide the resulting line on the right into 2. From the middle of the straight line, draw a line to the corner and also divide it in half;
- Divide the hypotenuse of the triangle on the left in two. From the central mark draw a perpendicular 1 cm long;
- From the middle of the sleeve, measure the length of the sleeve down;
- Measure 1/2 the width of the arm circumference on both sides of the point (measure where the sleeve ends);
- Connect the dots found;
- Now cut out the patterns from paper and pin them to the fabric, outline them with chalk;
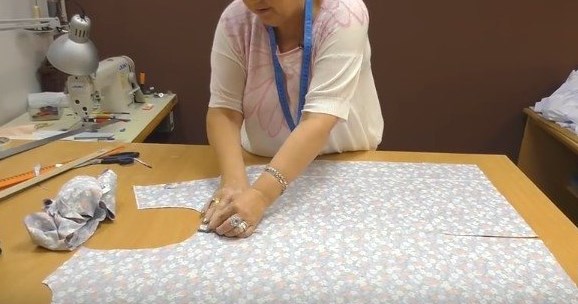
- Cut out the pieces from the fabric;
- Pin the front to the back, leaving the right side inside;
- Sew the seams on a four-thread overlock and press them to the front side;
- Fold the sleeve in half and pin along the edge. Stitch, iron towards the back;
- Turn the sleeve inside out and place it into the armhole of the dress from the inside;
- Fix the sleeve, sew it on an overlock and iron it;
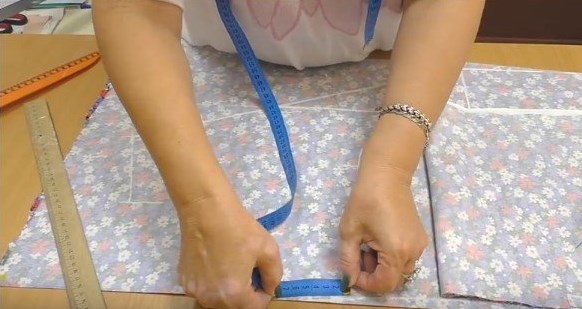
- Pin the edge cut 2-2.5 cm from the edge;
- Set the machine to two needles and topstitch the seam allowance from the front side. Do the same for the neckline and other edges.
The robe dress is very similar to a regular dressing gown, so you can sew it using the pattern for this home wardrobe item as a basis. If you experiment with the pattern: change the length, add fasteners, ribbons, trim the edges with piping - you can make an incredibly original model that will have no equal. But you need to take into account that for thick fabrics you need to choose an additional fastener.


Video