Shirts are considered a basic item in a woman's wardrobe. Despite the fact that manufacturers offer a wide variety of models, not everyone can find something worthwhile. Knowing how to sew a shirt, you can create a thing that will satisfy all the owner's requirements. In order for the result of the work to be successful, you need to take measurements correctly and construct a pattern according to the instructions.
Choice of fabric
Nowadays, it is not difficult to buy the necessary fabric; stores offer a wide range of materials in different price segments. The following are most often used for sewing women's and men's shirts:
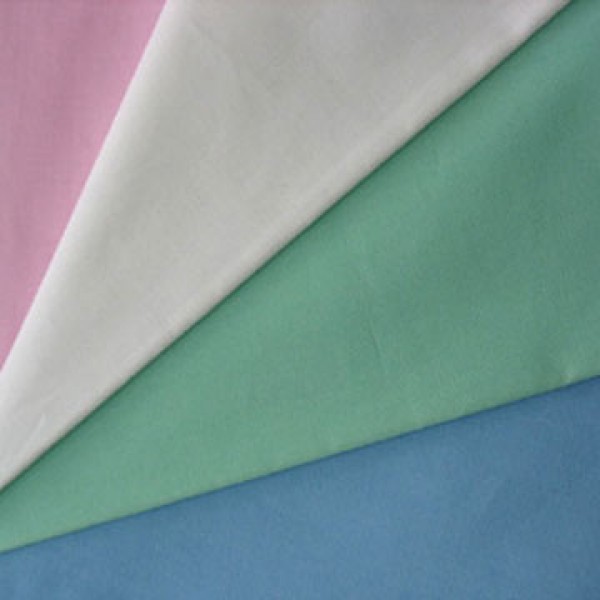
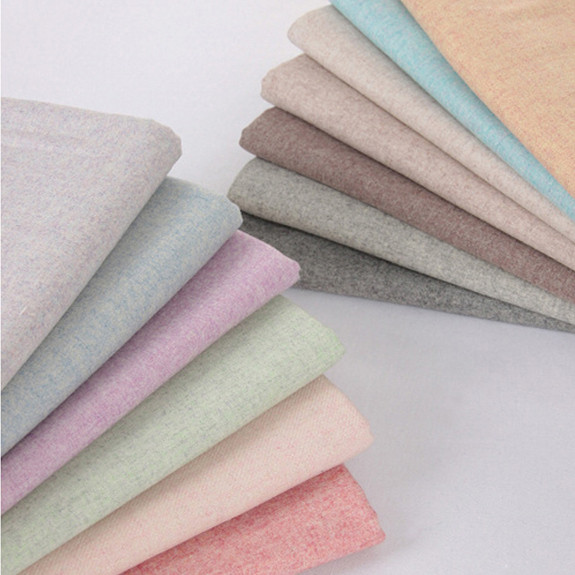
- Cotton. It is of natural origin, conducts heat well, removes moisture, is durable, and is easy to iron. The main disadvantage is that it shrinks after washing.
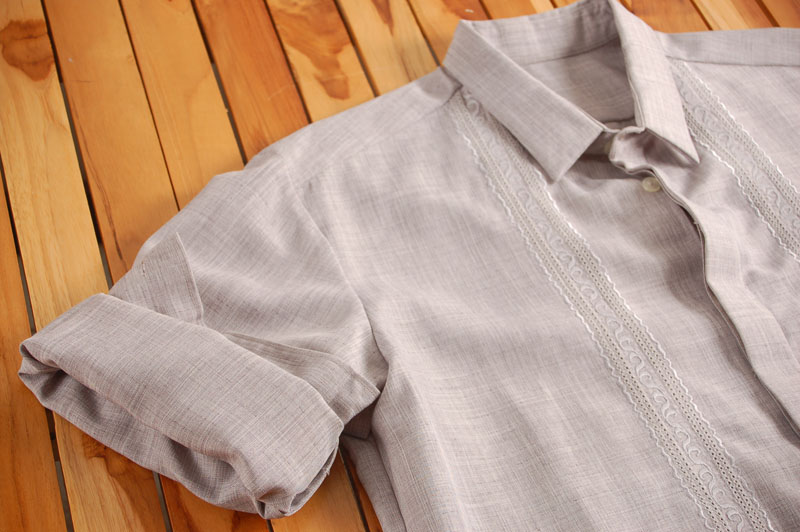
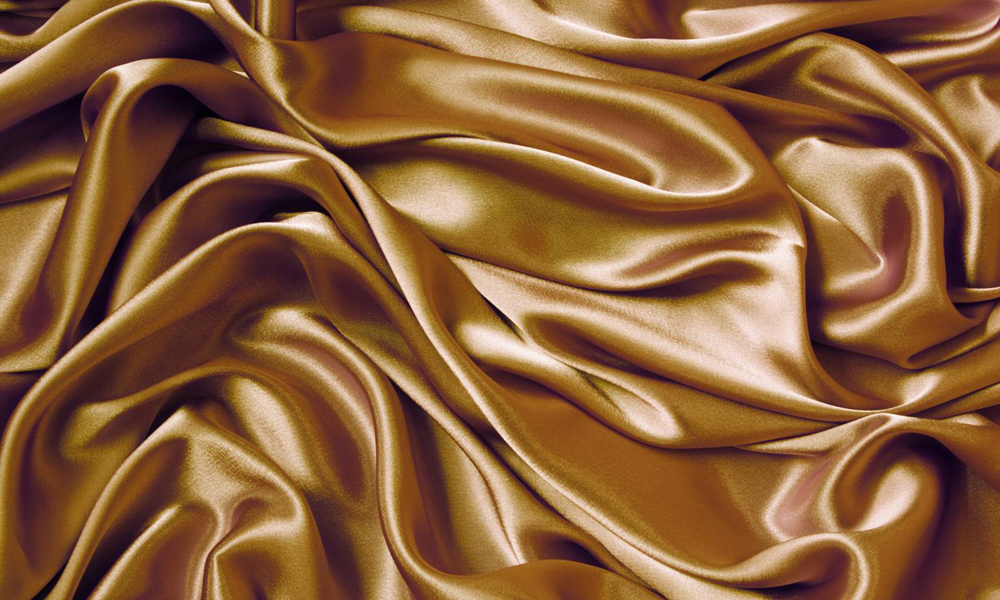
- Silk. The fabric is able to pass moisture and air. It looks elegant and expensive.
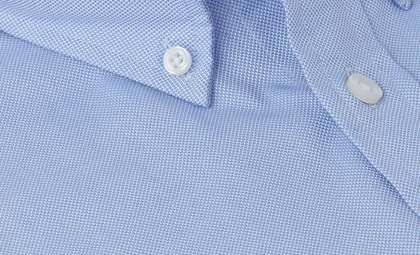
- Oxford. A dense material made with a burlap weave.
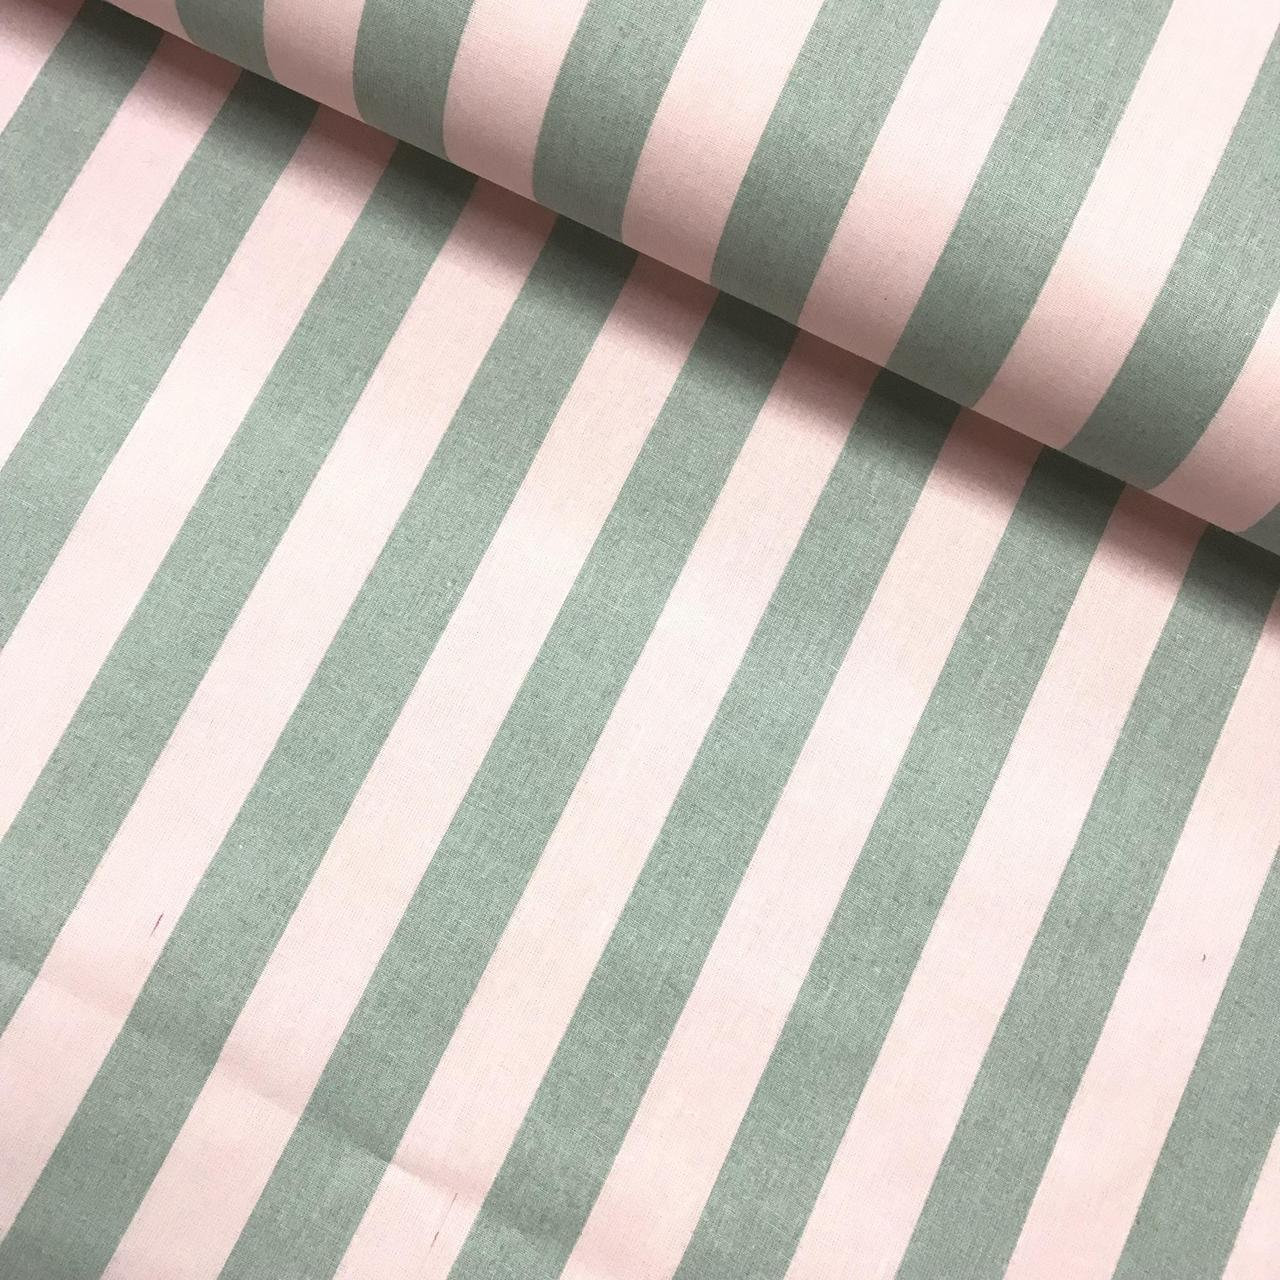
- Poplin. A dense fabric characterized by the silkiness of its fibers.
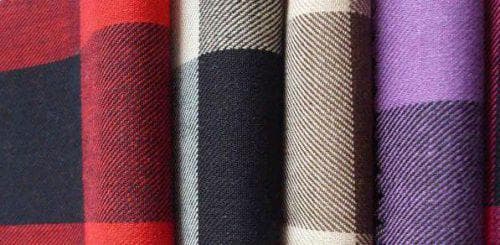
- Flannel. Medium-weight fabric, soft to the touch.
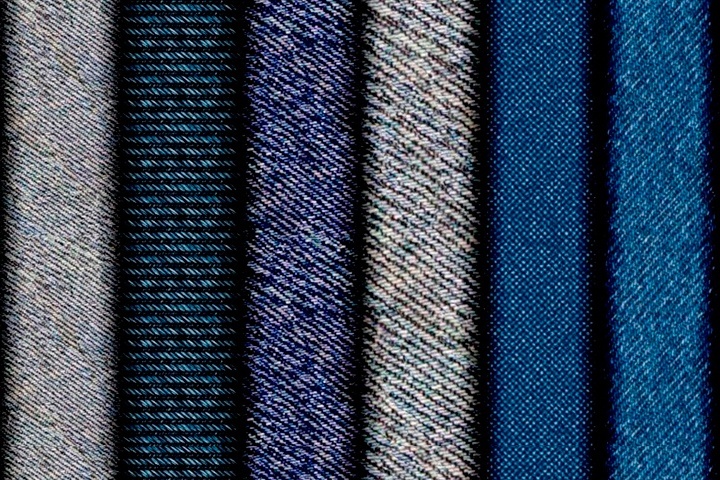
- Denim. A stylish material made from cotton or semi-synthetic materials.
- Twill. It is characterized by air permeability, wear resistance, and dust resistance.
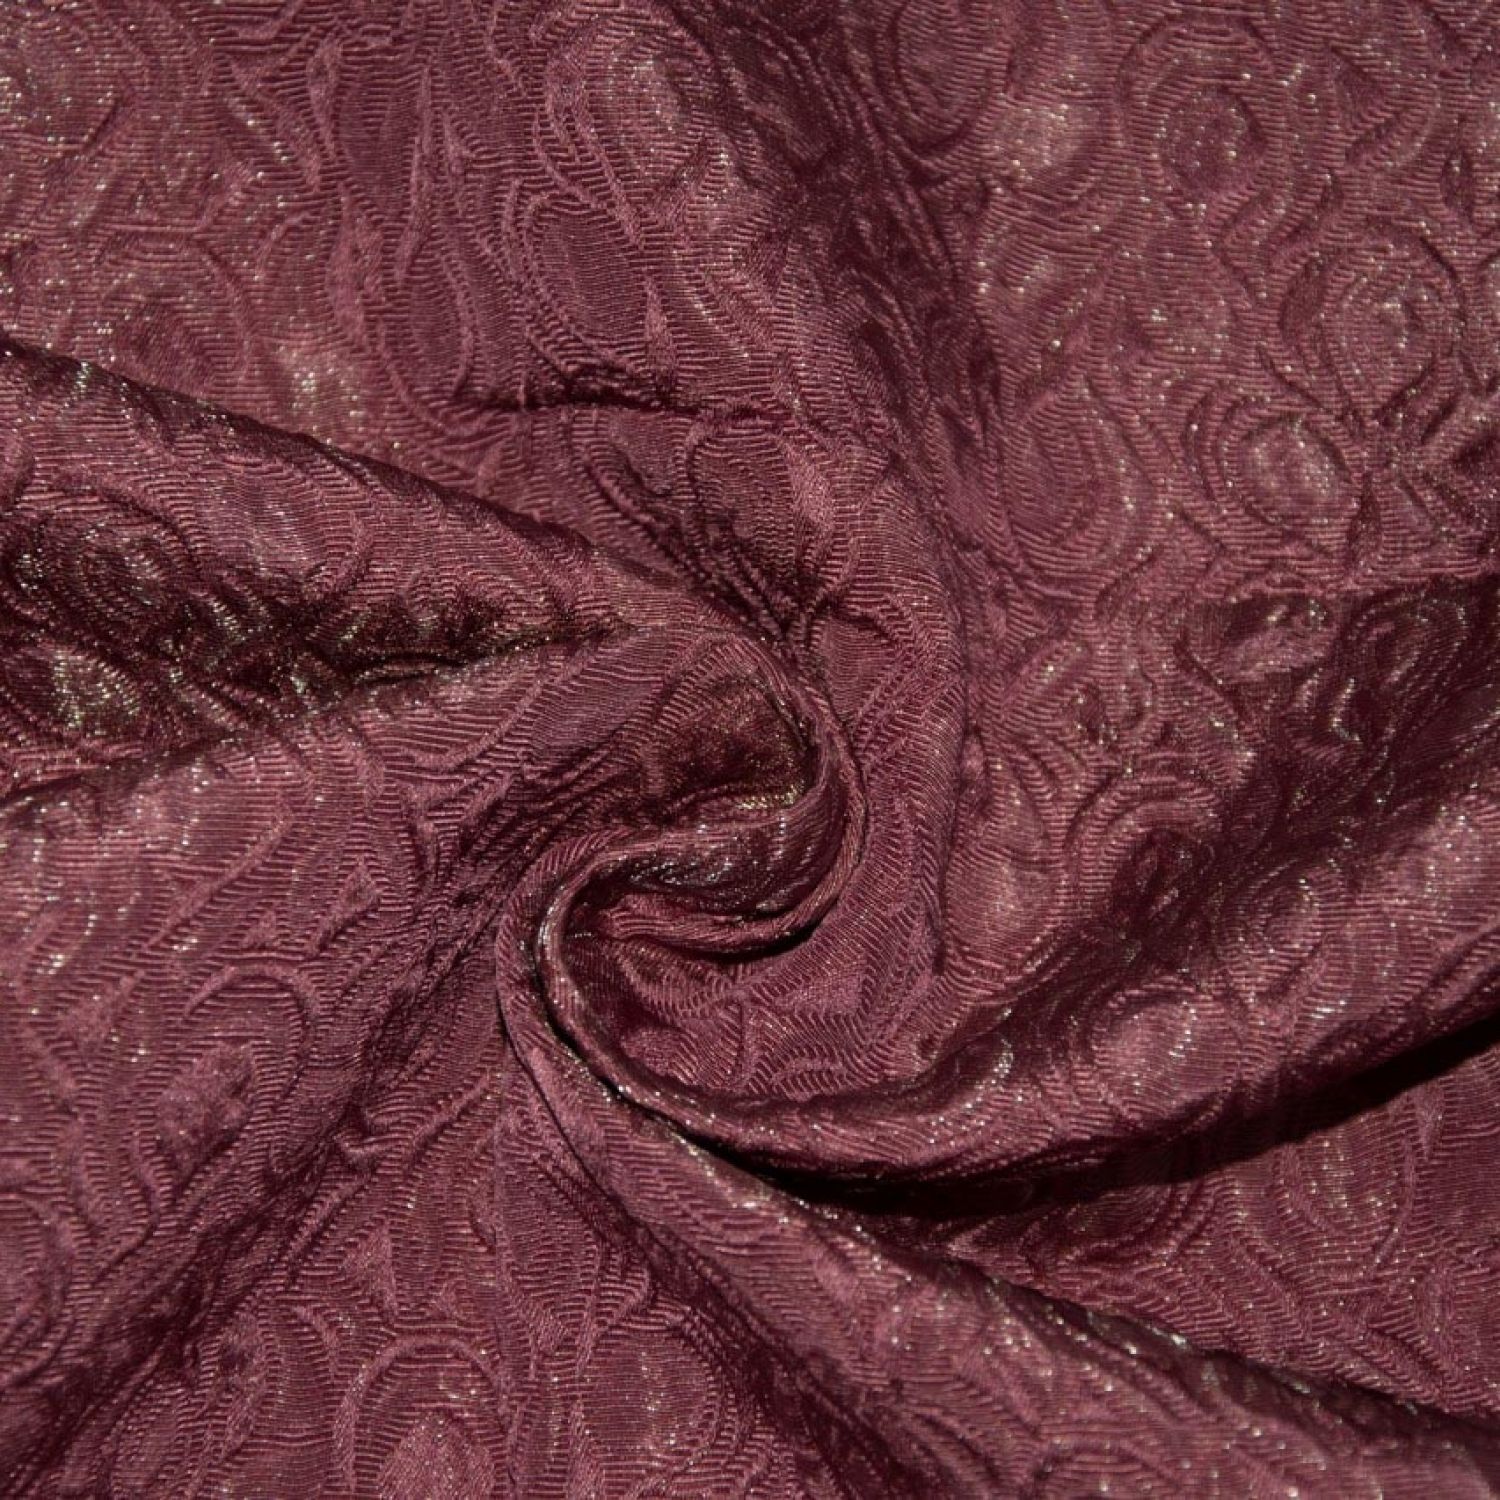
- Jacquard. Wear-resistant material with a relief structure.
Tools and consumables
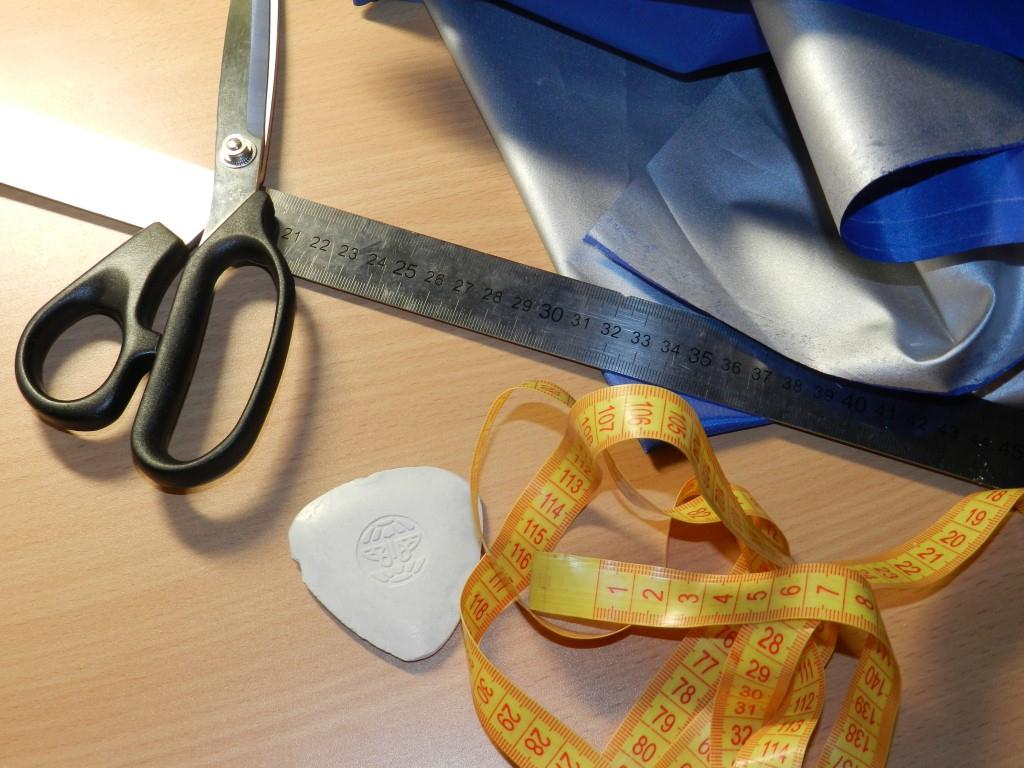
To sew a shirt you need to have the following sewing tools:
- measuring tape;
- tracing paper;
- tailor's chalk;
- set of pins;
- scissors (sharp);
- needles of different lengths and thicknesses;
- seam ripper (for cutting through seams and also for unpicking unsuccessful seams);
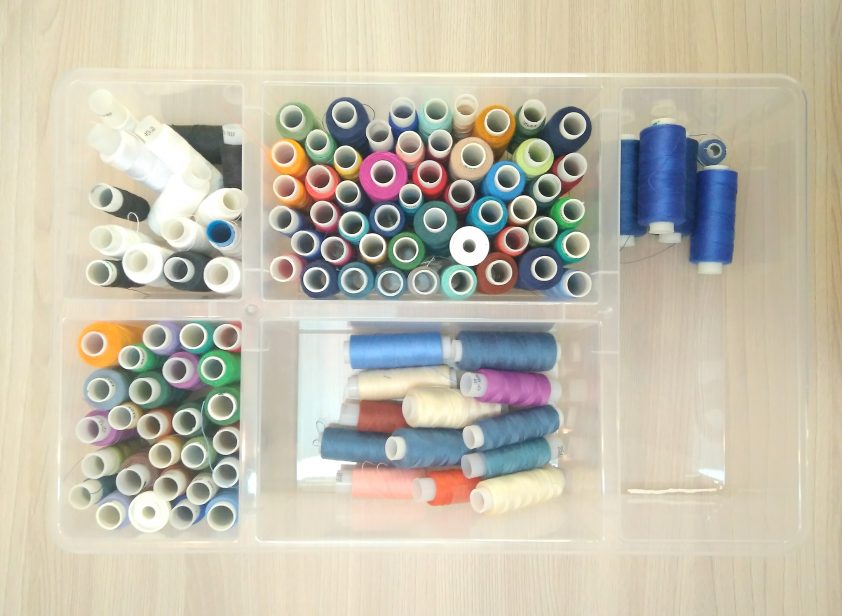
- threads;
- iron;
- ironing board;
- sewing machine;
- a set of feet for various operations;
- overlock to process seams (a three-thread machine is required);
- Set of sewing machine needles.
When going to the store for threads, you need to take a piece of fabric with you so as not to make a mistake in choosing the color and thickness of the thread.
When sewing men's and women's shirts, various fittings are used: buttons, zippers, loops, hooks, Velcro, tape and buckles. The full list depends on the selected model.The finished shirt can be decorated with lace, ribbons, sequins, beads, feathers.
Necessary measurements
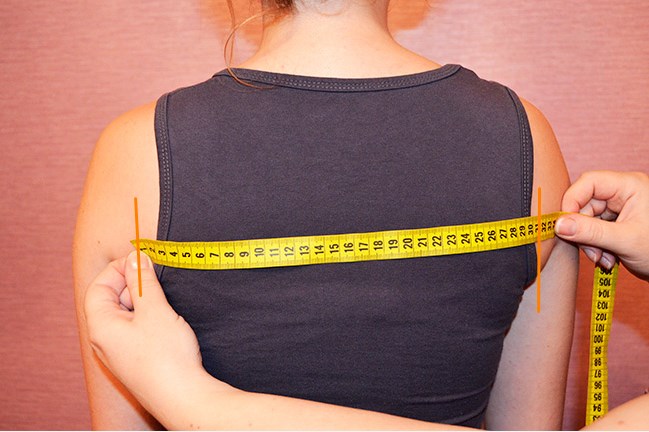
Before constructing a pattern and sewing a product at home, it is necessary to take measurements correctly. During measurements, a person should maintain a straight body position, without changing his or her inherent posture. The person being measured should be wearing light clothing that is not capable of giving a large increase in calculations. This is the only way to draw a correct shirt pattern.
Before you start taking measurements, you need to slightly tie the waist with a ribbon. When taking measurements, do not tighten the tape. The list of mandatory measurements for sewing a shirt is given in the table.
|
Measurements |
Instructions for taking measurements |
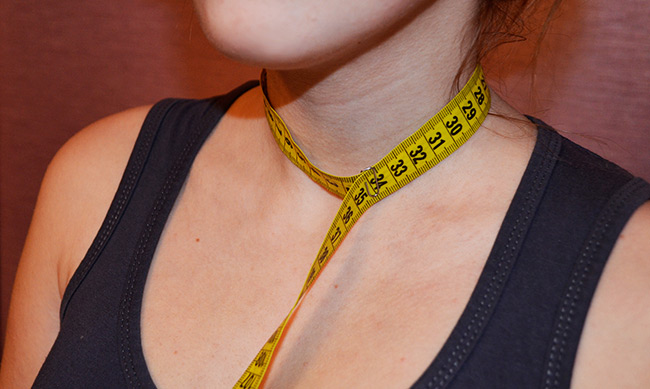
| Neck circumference (NC) | Measure the circumference of the neck where the collar will be. |
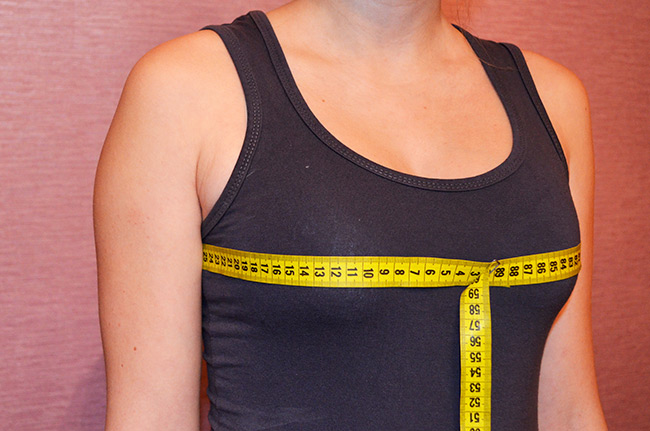
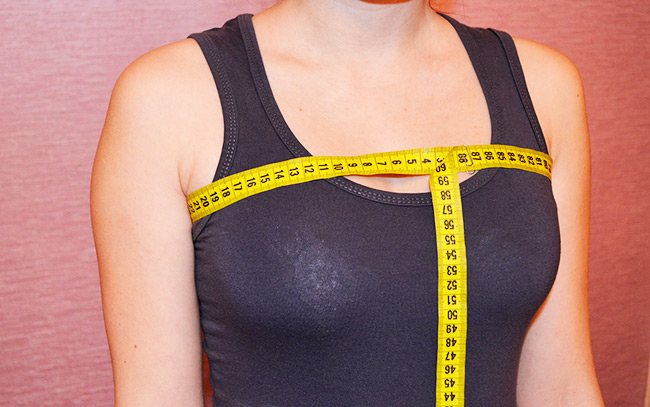
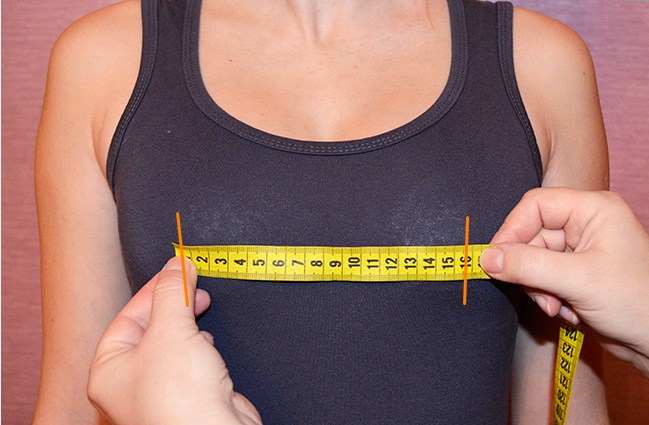
| Chest circumference (OG) | The tape should be placed horizontally, the measurement should be taken in the armpit area, at the widest point of the chest. |
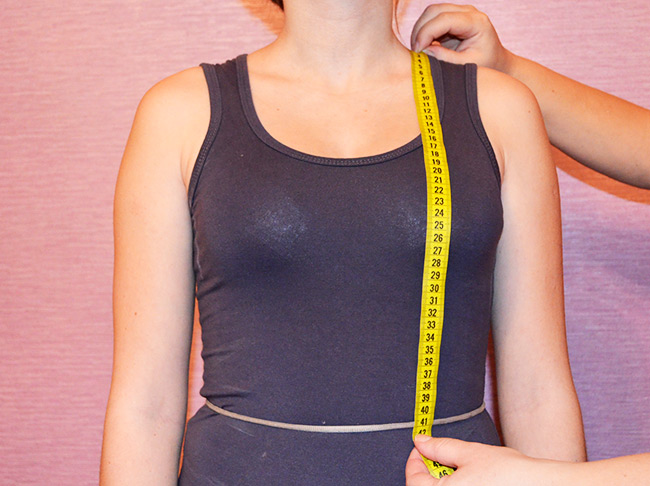
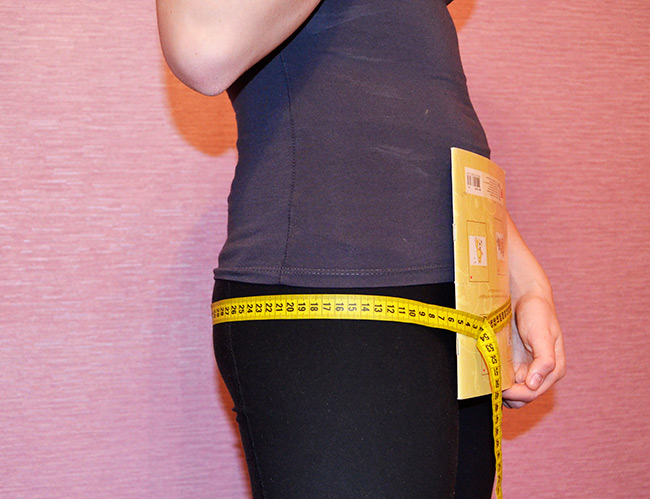
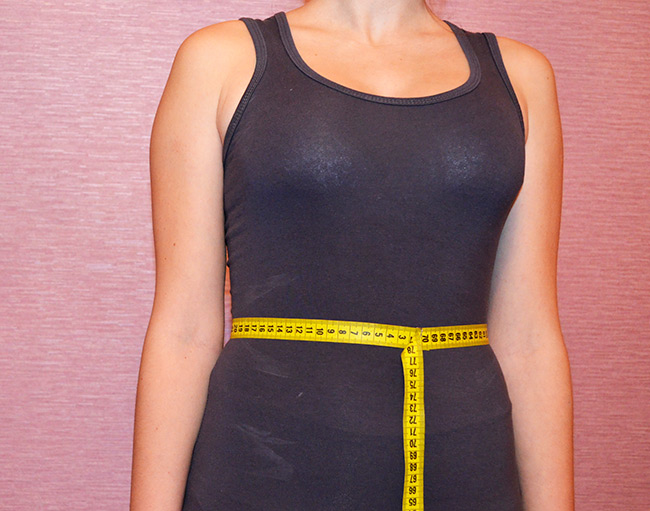
| Waist circumference (WC) | The tape measure should be placed directly along the waist line. |
| Hip circumference (HC) | The measuring tape should be placed horizontally across the buttocks and torso. |
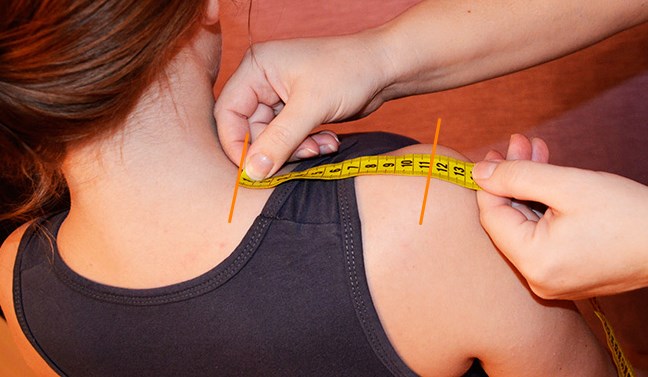
| Shoulder width (SW) | You should take measurements at the center of the shoulder - from the beginning of the neck to the bottom of the sleeve. |
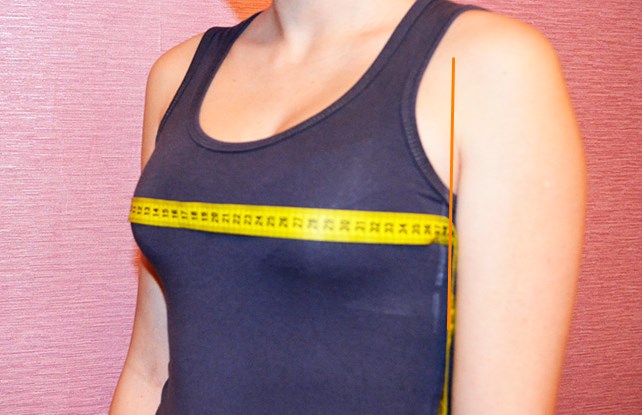
| Chest Width (W) | The tape measure should be placed 2-3 cm above the front corners of the armpits and this distance should be measured. |
| Back width (BW) | The measuring tape is placed on the shoulder blades to the back corners of the armpits. |
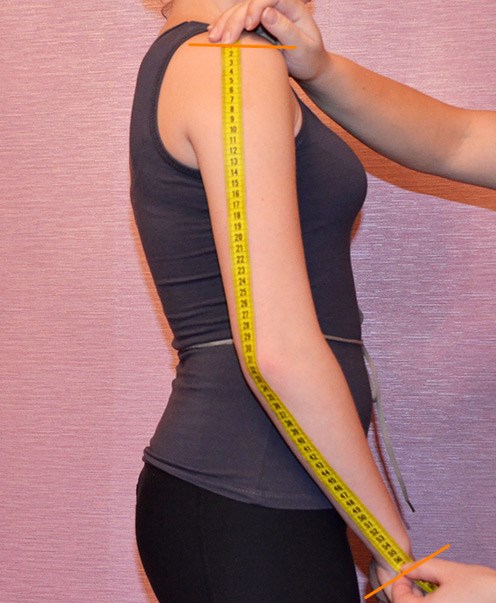
| Sleeve length (DR) | The tape is applied from the extreme point of the shoulder seam to the wrist bone. |
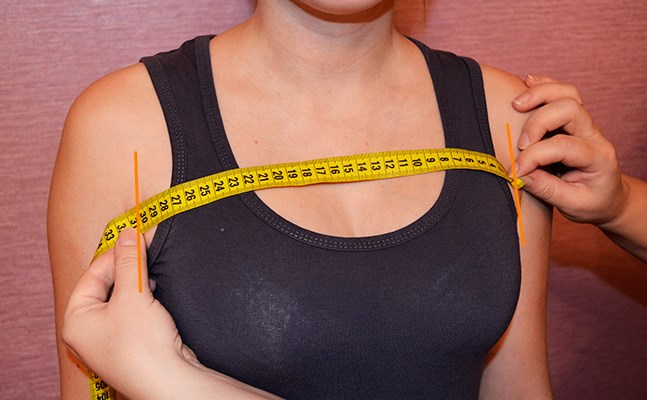
| Shoulder circumference (SC) | To take a measurement, lower your arm. The tape is placed horizontally so that the top of the tape touches the back corner of the armpit. The tape should close on the outer surface of the arm. |
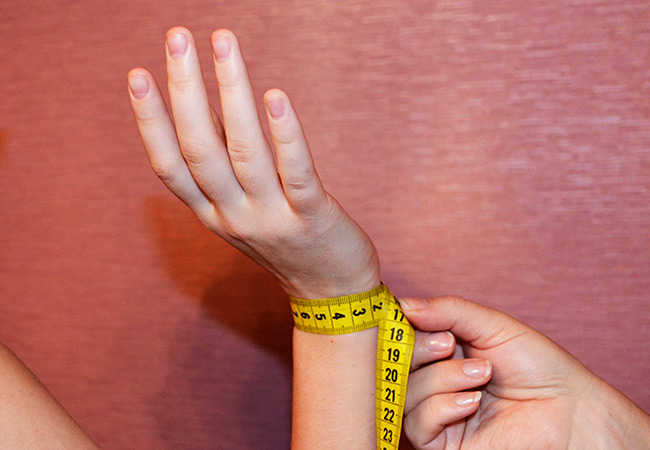
| Wrist circumference (WC) | The tape should be wrapped around the wrist |
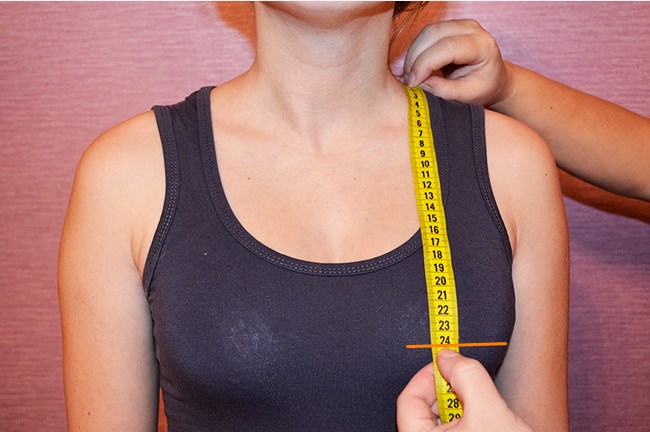
| Length to waist front (DTP) | The tape measure is applied to the neck near the shoulder (where the collar is sewn in). You need to measure along the chest protrusions, parallel to the ribbon, previously tied at the waist |
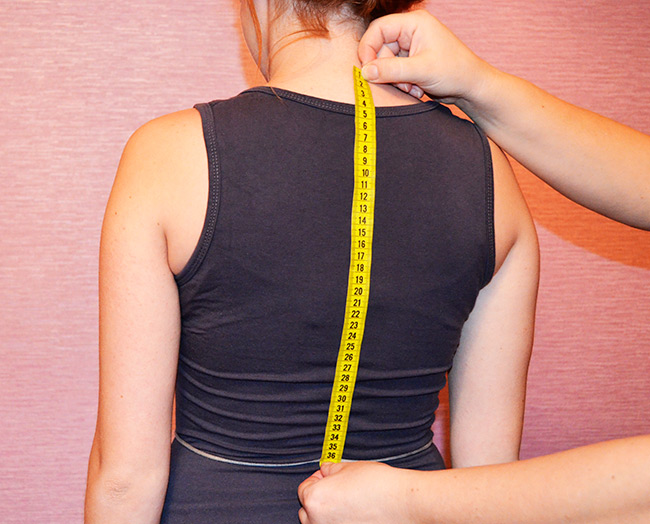
| Length to waist back (LWB) | The measuring tape is placed along the spine line, from the collar to the waist. |


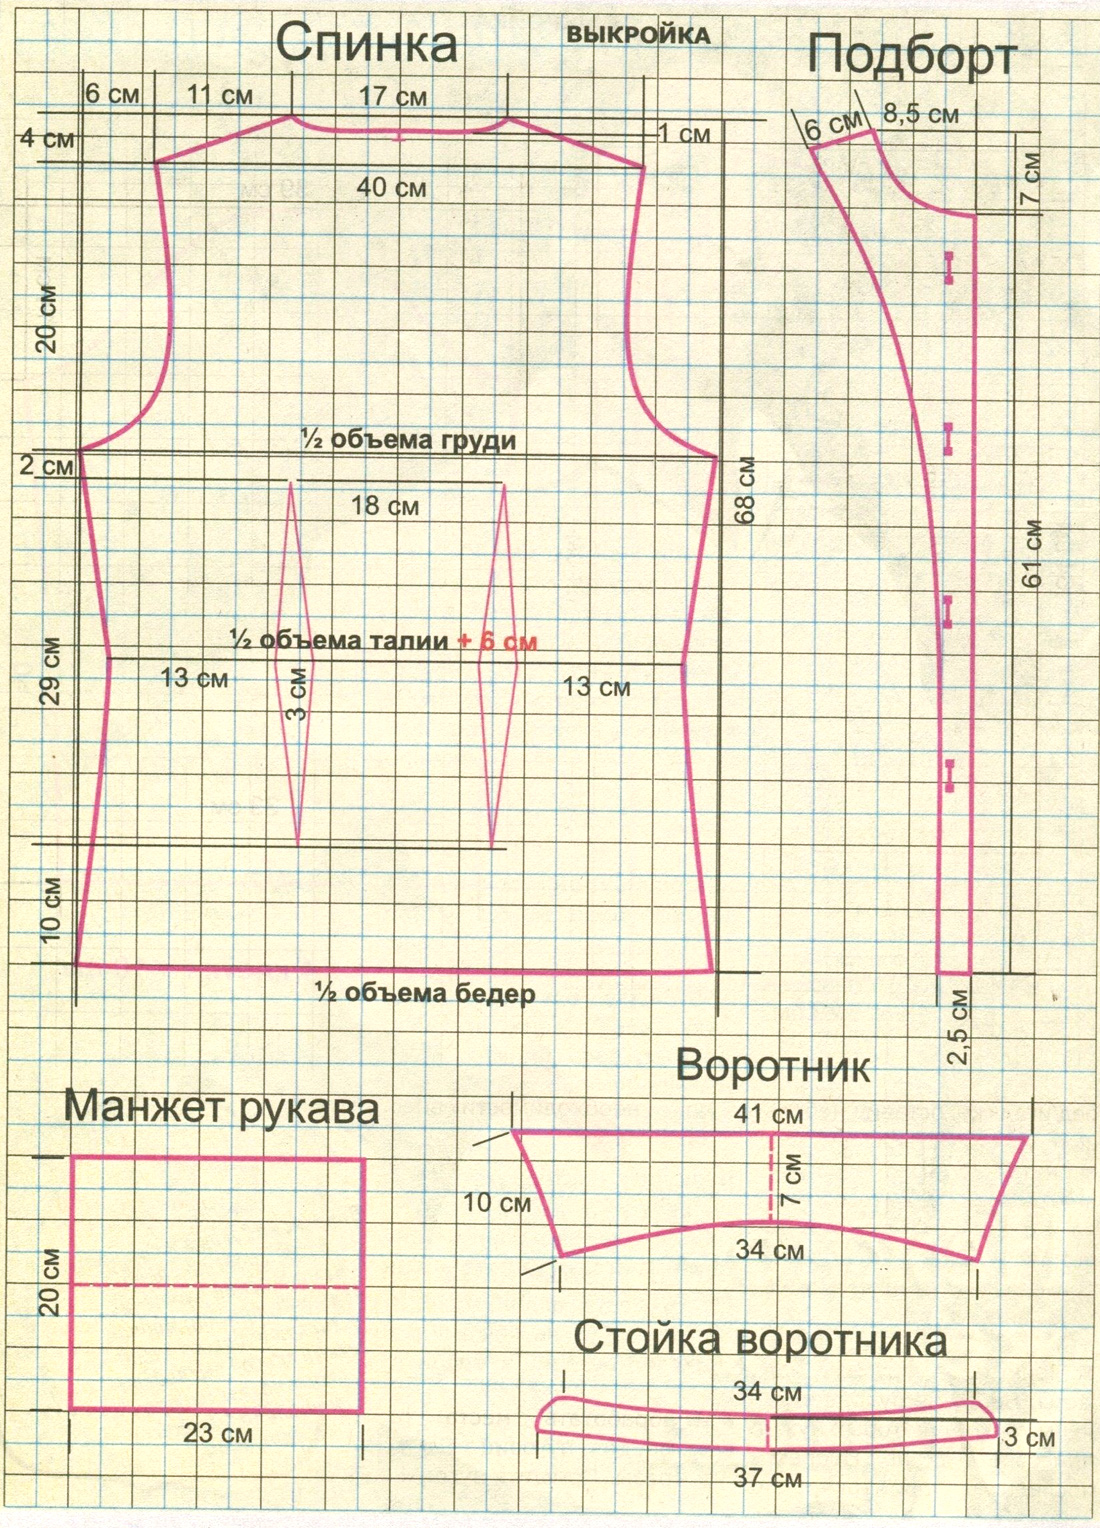
Creating a Basic Pattern
The basic pattern of a women's shirt of a classic (free) cut serves as the basis for sewing any models of shirts. Such a pattern is created once, and then modeled for different styles.
The construction of the pattern of a classic women's shirt is presented on the basis of average parameters:
- neck half-girth (SHG) = 17.3 cm;
- second chest half-girth (СгII) = 44 cm;
- third chest half-girth (СгIII) = 42 cm;
- half chest width (HCH) = 19.1 cm;
- half waist circumference (W) = 31.7 cm;
- half hip circumference (HG) = 46 cm;
- back length to waist (Lt) = 42.7 cm;
- back length (BL) = 40 cm;
- Front length to waist (FLW) = 42.6 cm;
- chest height (CH) = 24.6 cm;
- oblique shoulder height in front (OSHF) = 23.2 cm;
- oblique shoulder height from the back (Bpx) = 42.3 cm;
- side height (Side) = 22 cm;
- hip height (HH) = 20 cm;
- shoulder width (SW) = 12 cm.
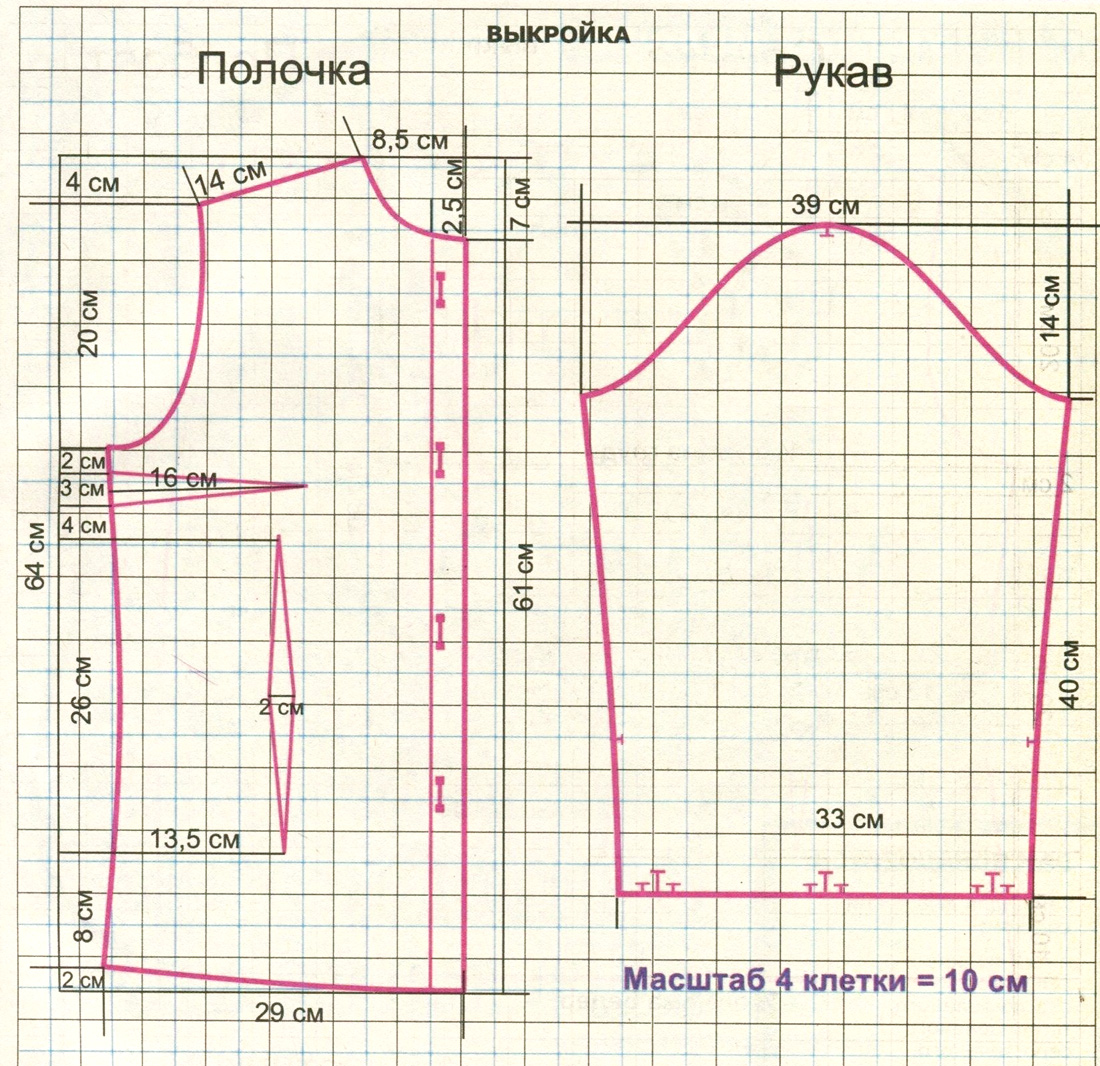
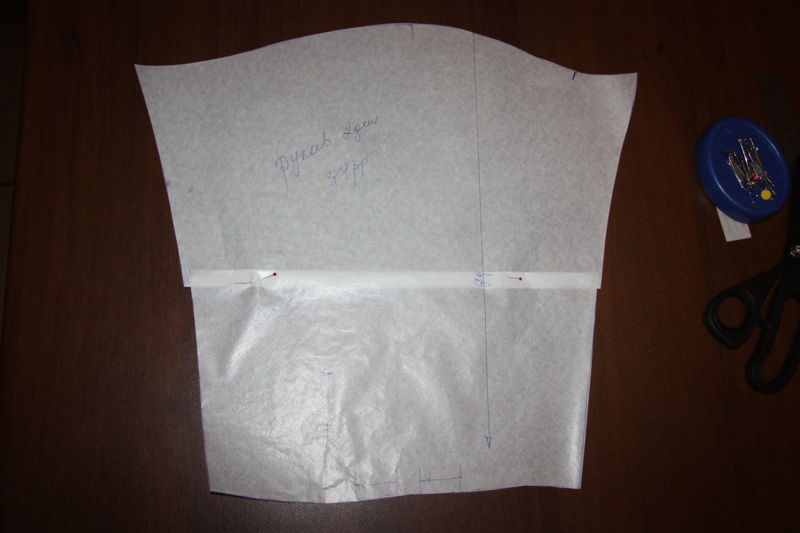
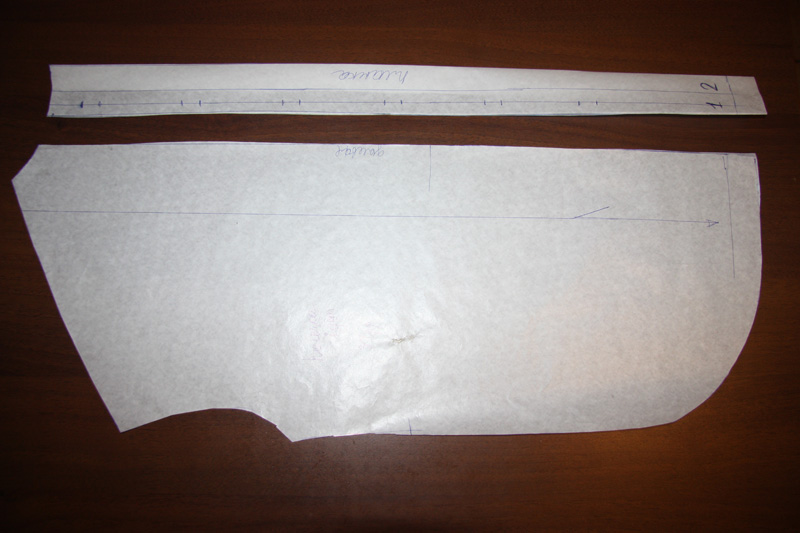
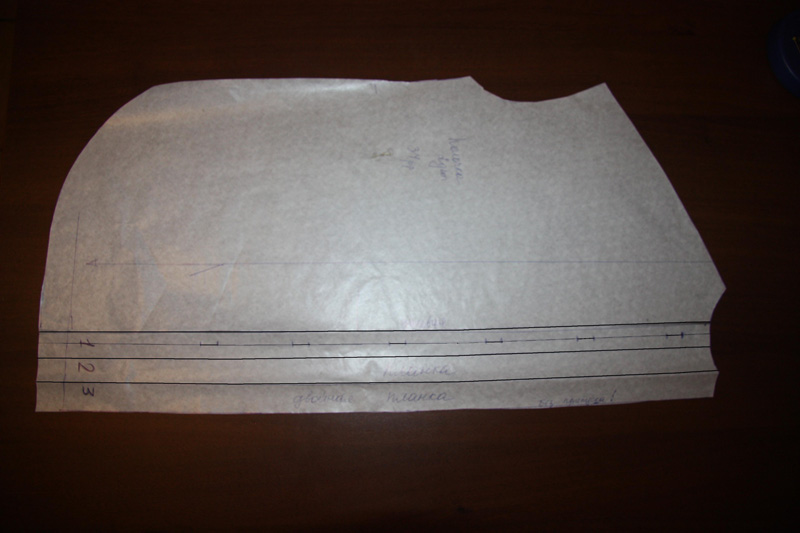
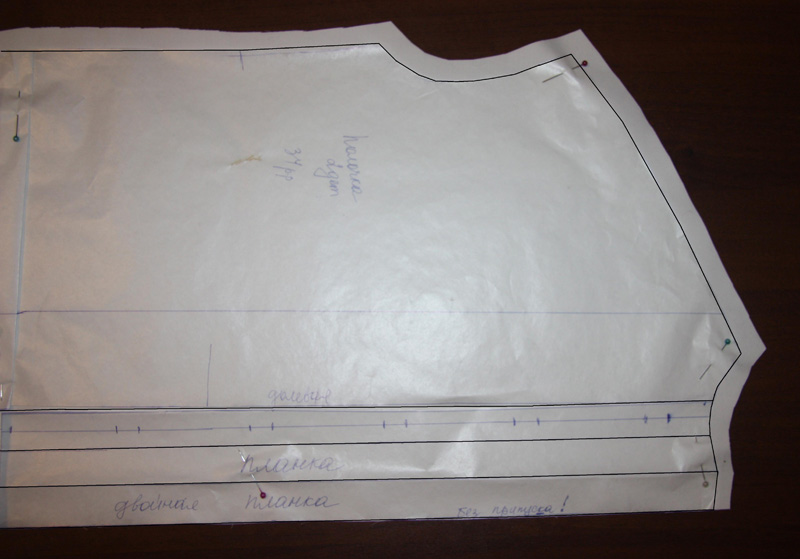
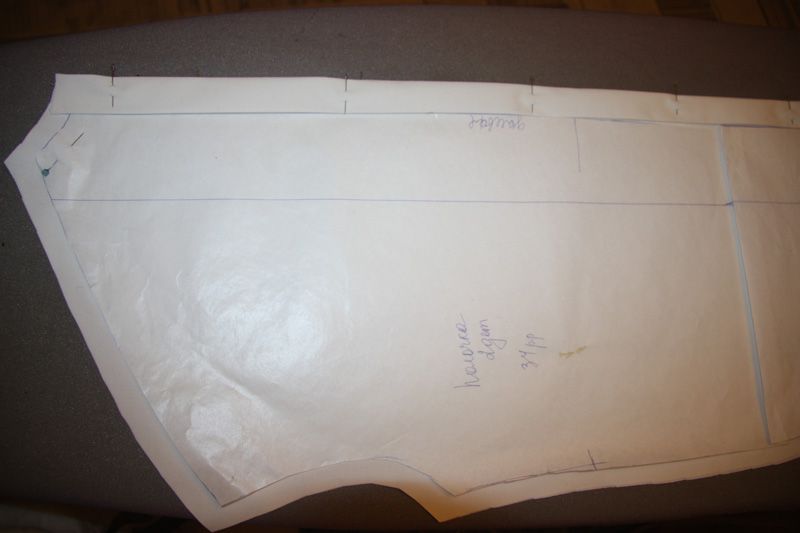
The pattern of a shirt of any size is built according to a standard scheme. Let's consider the algorithm for creating a pattern using the example of a fitted women's blouse:
- In the left corner of the paper cut, about seven centimeters from the top, mark point A. From this point, draw a vertical line down - we get the line of the middle of the back.
- Next, on this vertical line, set aside the segments: AT = Ds; TB = Vb = 20; TG = Vside – (1.5 divided by 2) = 20; GP = (2 divided by 3). From points T, B, G, P, draw horizontal lines to the right – we will get the lines of the waist, hips, chest and armhole level.
- Then from mark A to the right, put aside AP = СШ : 3 + 1 : 0.7 = 6.4. From mark Р upwards РР1 = Дст – Дс = 2.7. Connect A and Р1 with one line – we get the line of the back neckline.
- From the mark P to the right, put aside PP3 = CgII + 1 + 4 = 49, where 4 is the allowance for free fit. From PZ, draw a vertical segment - we get the line of the middle of the shelf. In the place where it intersects with the horizontal lines, put marks: GZ, TZ, BZ.
- On the armhole segment, mark PP1 = Shs = 16.8; P3P2 = ShgI = 19.1. Draw verticals upwards. Divide the P1P2 fragment equally and mark P4. Then draw a vertical segment downwards.
- From P1 draw an arc with radius P1Pl = Shpl + 1 onto the lowered sleeve = 14 and an arc with radius TPl = Bpx = 42.3. At the place where the arcs intersect, Pl is marked, we get the shoulder point of the back.
- Let's start constructing the shoulder undercut on the convex scapular area: on P1Pl, mark P1P2 = 4. From point P2, set aside P2P3 = (8 divided by 9) down; to the right of P2P4, set aside P3P5 = P2P3, connect points P5 and Pl.
- On the line of the middle of the shelf mark T3B = Dpt = 42.6. From point B to the left put off BB1 = AP – 1 = 5.4. From point B down put off BB2 = AP = 6.4. Then build an arc B1B2 – this is the line of the neck of the shelf.
- On the line of the middle of the shelf mark ВЦ = Вr = 24.6. From point Ц to the left set aside ЦЦ1 = Цr = 9.3.
- From point B1 draw an arc with radius B1Pl1 = Shpl + 1 to the lowered sleeve = 13 and an arc with radius C1Pl1 = Bpkp = 23.2. At the intersection of these arcs, point Pl1 is the shoulder point of the shelf. Connect B1 and Pl1.
- Measure 7 cm upwards from P1. Draw the back line Pl – 7 – P4 using the pattern. This line should be perpendicular to the back shoulder line. Point 7 is a reference point. If you cannot draw the pattern line through it without breaking it, then you need to draw it next to it. Measure 5 cm upwards from P2. Draw the armhole line of the front Pl1 – 5 – P4. It should be perpendicular to the front shoulder line and more curved toward point P4 than the back armhole. This will give freedom of movement of the arms horizontally.
- It remains to check the width of the shirt in the hip area (BBZ = 49; Sb = 46). Accordingly, the hip circumference will be (49 – 46) x 2 = 6. For the basic cut of a women's shirt, such an allowance for freedom of fit at the hips is quite enough.
Based on the basic pattern, it is easy to model various styles, introducing structural and decorative elements into the shirt.
Modeling
Modeling and sewing of a women's shirt is based on a basic pattern. At the request of the craftswoman, the following features of the cut can be changed:
- front neckline and collar design;
- transformation of darts into cut-off yokes, relief seams and undercuts;
- the width and length of the blouse at the bottom;
- changing the length and design of sleeves (shirts with long sleeves, short sleeves, three-quarter sleeves);
- location of fasteners: zippers, buttons, hooks and Velcro.
If the technology for constructing a basic pattern was taken into account and executed correctly, then it is easy to obtain absolutely any shirt model from it.
Opening
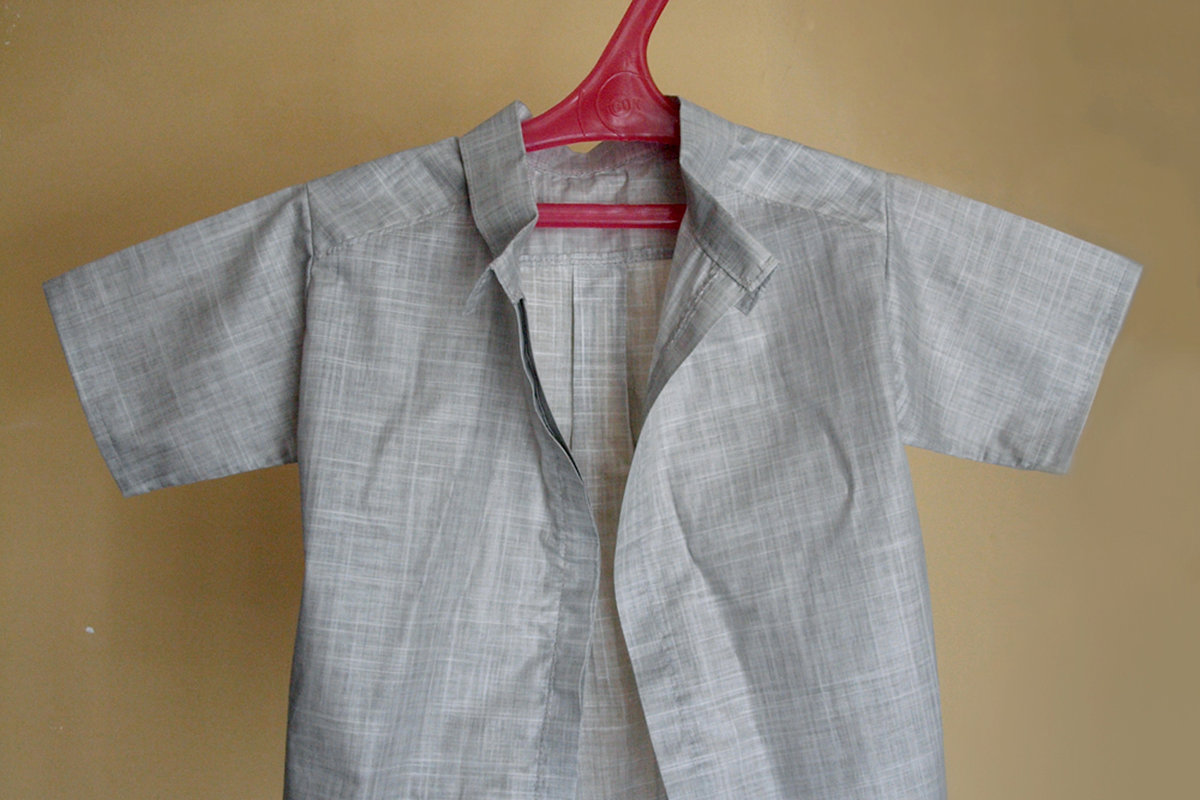
To cut out a shirt for a woman, you need to take 1.5-2 meters of fabric 150 mm wide. Do not forget about the seam allowance. The collar, placket and cuffs of the product are usually glued with interlining.
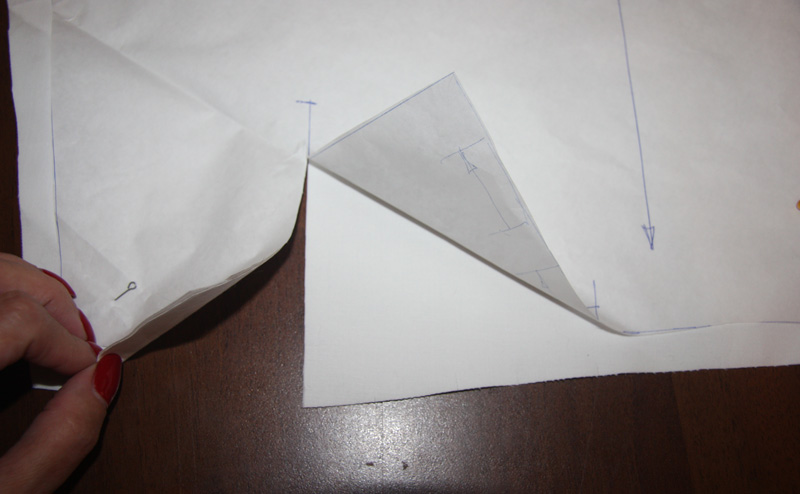
In the case where you are working with a blouse pattern taken from a fashion magazine, it will already have marks indicating what kind of cut the details of the item require: longitudinal, transverse or bias.There are arrows on the drawings that should be transferred to the patterns. But if there are no such indicators, you need to adhere to three principles of shirt patterns for beginners:
- The main parts of the blouse, such as the front, back and sleeve, should be cut along the grain.
- The yoke, stand and cuffs are cut along the cross thread.
- When cutting, plain fabric should be folded lengthwise, matching the edges.
Before sewing a women's shirt, novice seamstresses should familiarize themselves with the basic rules of cutting:
- you should transfer the pattern onto the fabric, not forgetting to make seam allowances of 1.5 cm on the sides of all cuts;
- the smallest details of the blouse should be cut with an allowance of 1 cm, these are the collar, stand-up collar, pockets, cuffs, strips, facings of sleeve cuts;
- if the fabric is striped, then the piece must be folded so that the edges of the stripes match, not the selvages;
- Seam allowances may vary depending on the level of fraying of the fabric.
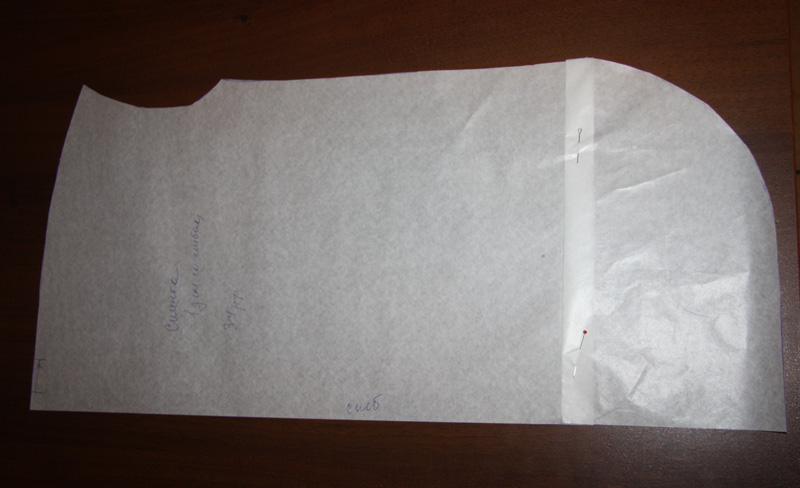
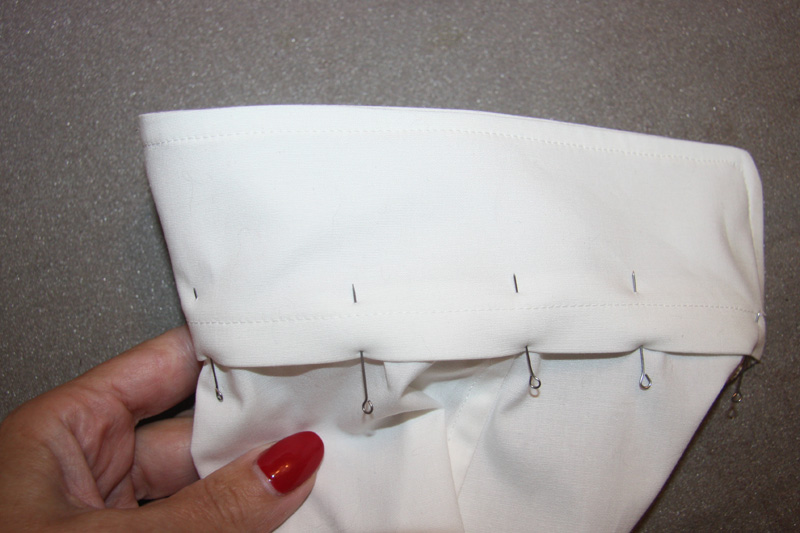
Preparing the parts
Before the final stage of sewing, all parts of the product should be prepared:
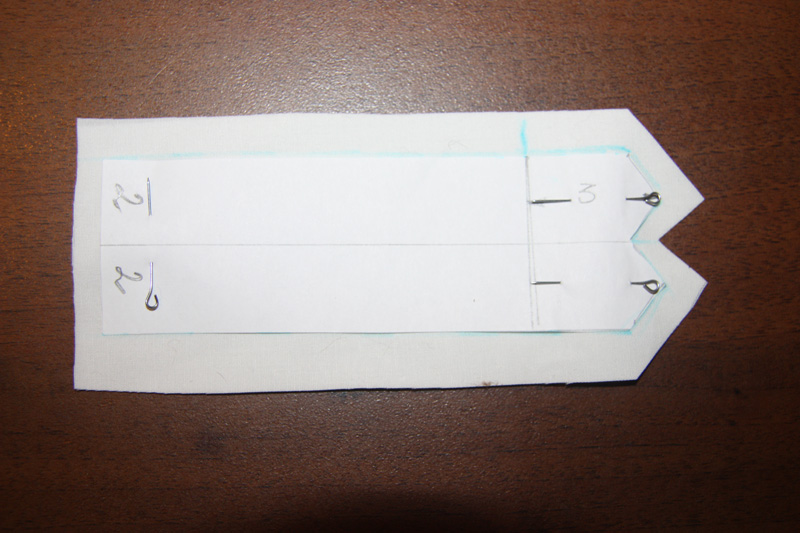
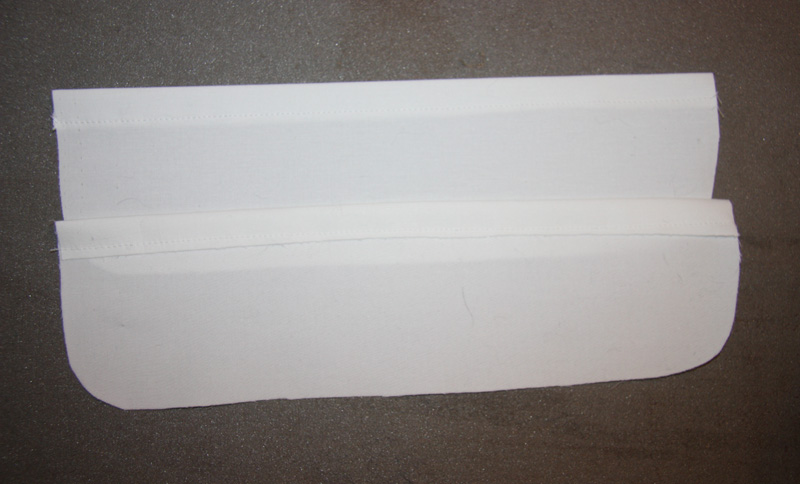
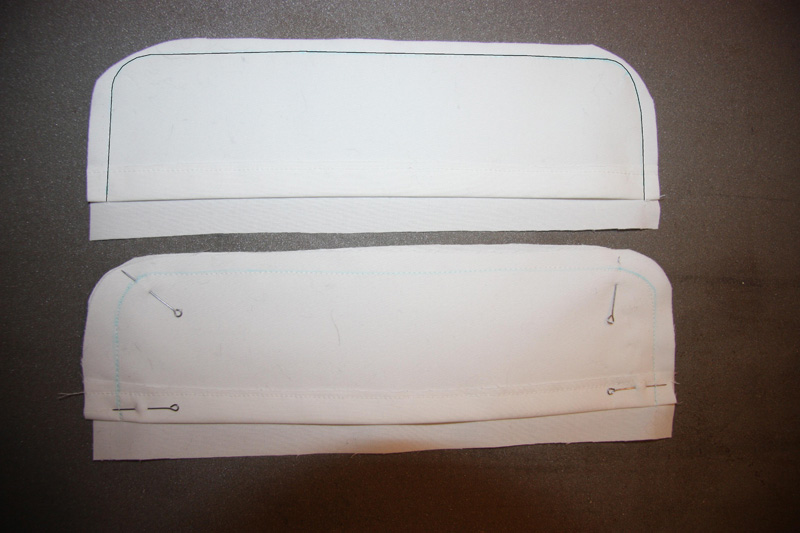
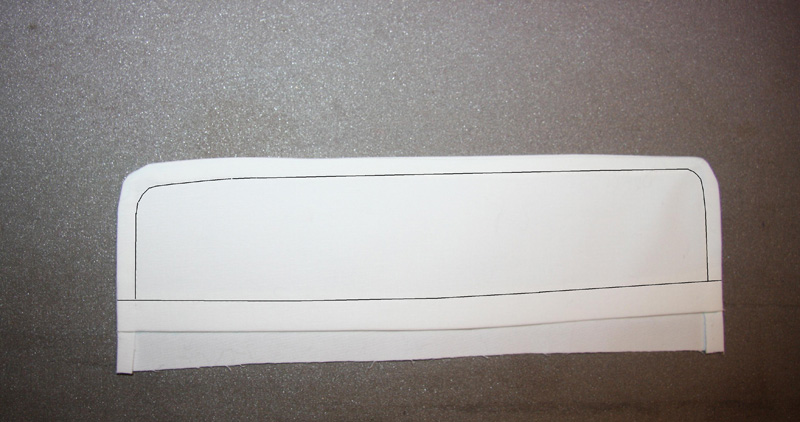
- First, it is necessary to check the quality of the cut, for this the details are placed on the template. All discrepancies and inaccuracies are eliminated by cutting along the marked lines.
- All symmetrical and paired parts of the shirt must be adjusted according to the pattern (they are cut out with a mandatory allowance for adjusting the pattern).
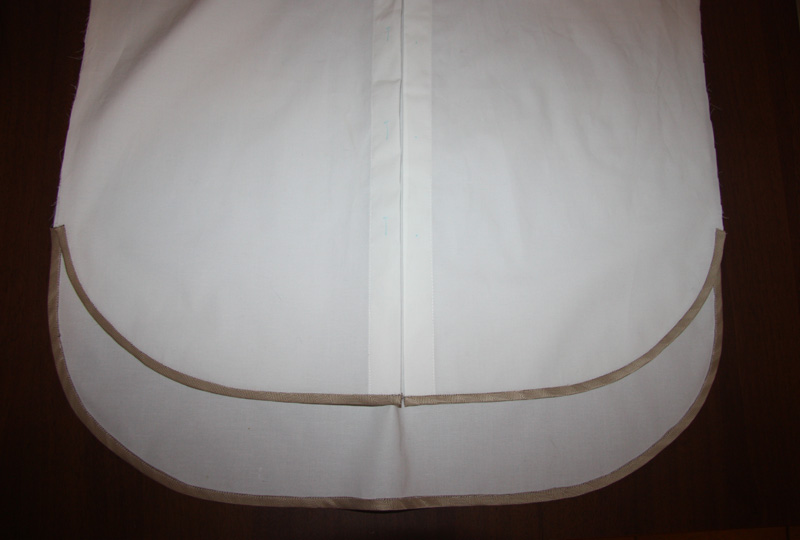
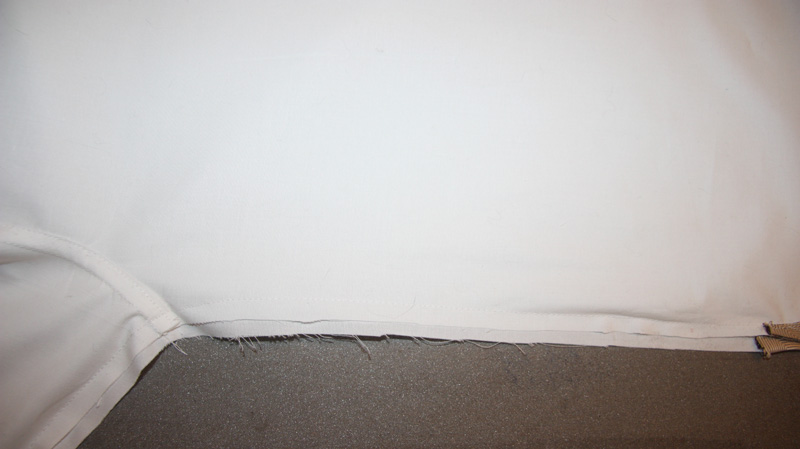
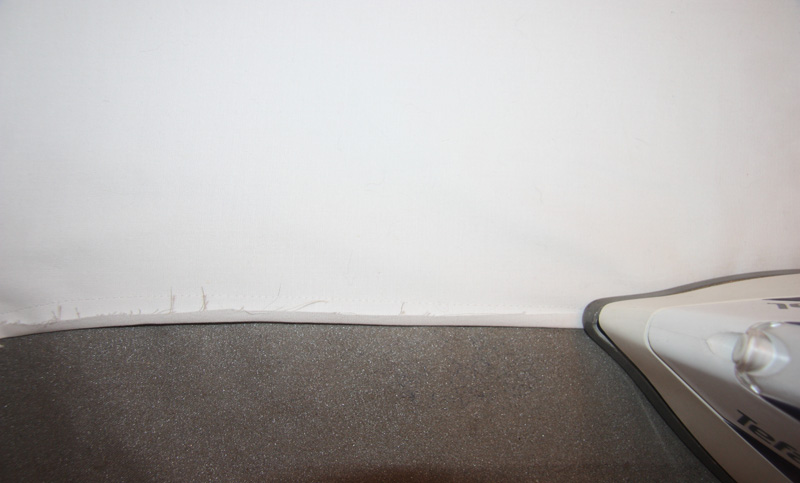
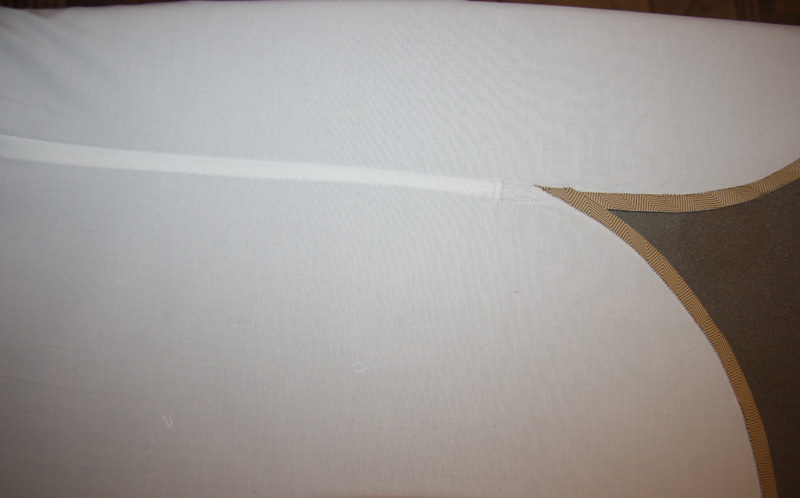
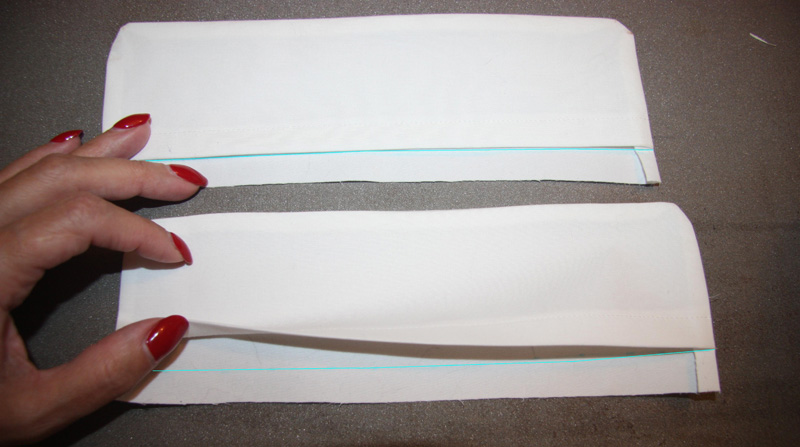
- The cuts along the bottom of the product are sewn with a hem stitch.
- If the fabric stretches a lot, the edges should be secured with additional stitching.
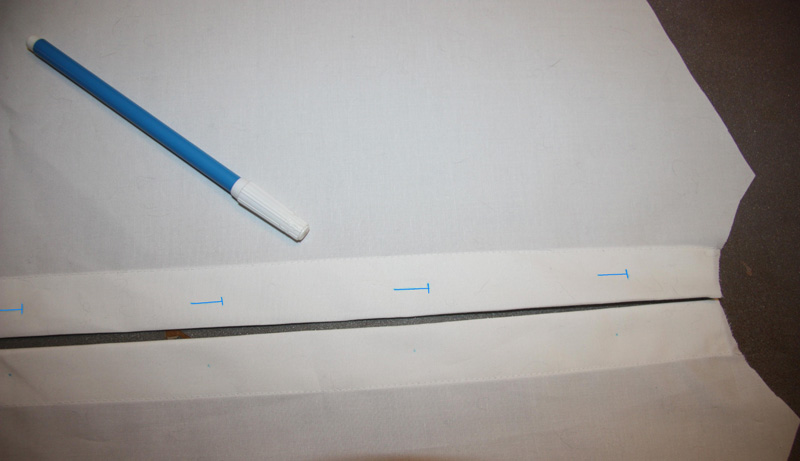
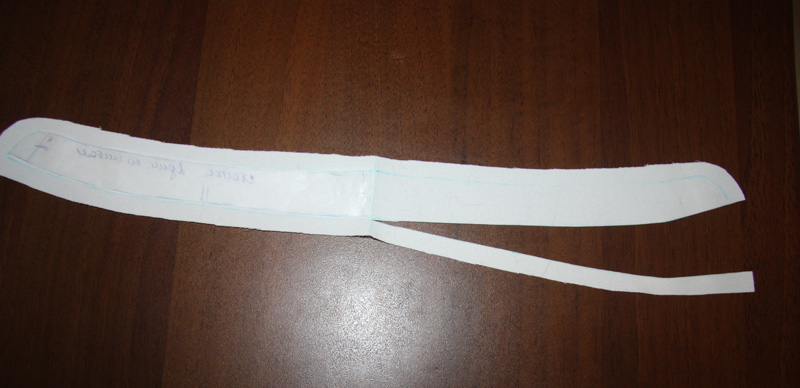
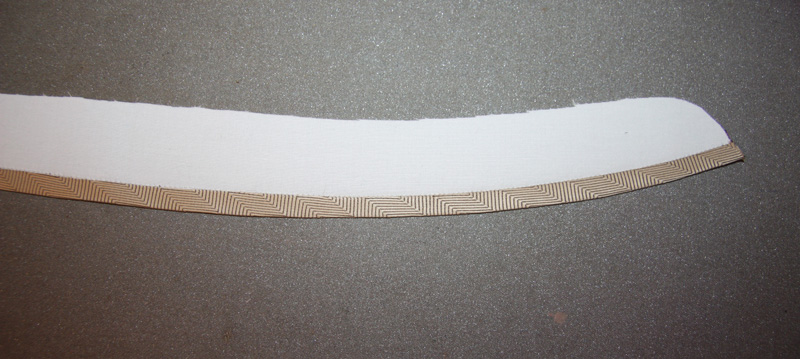
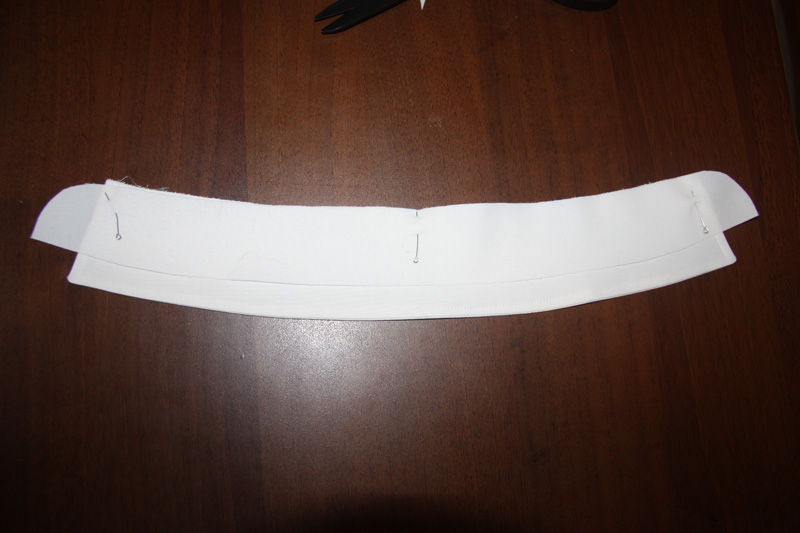
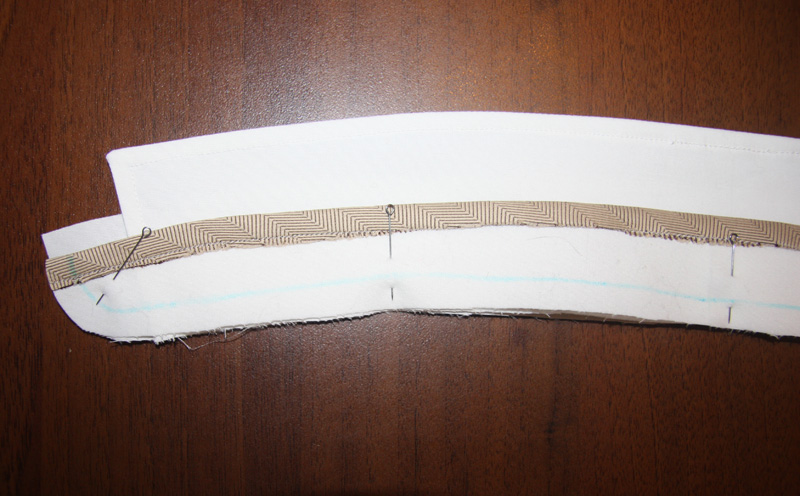
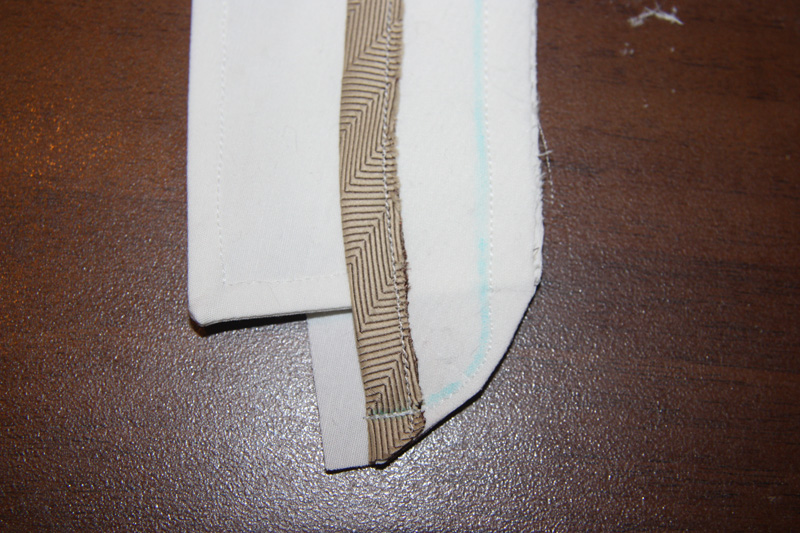
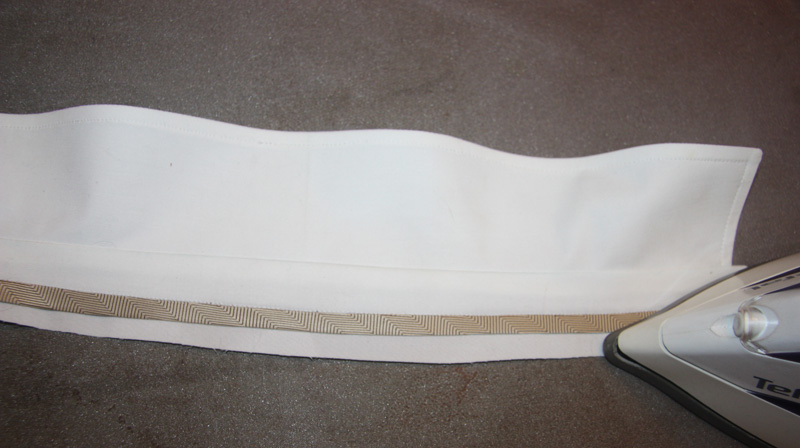
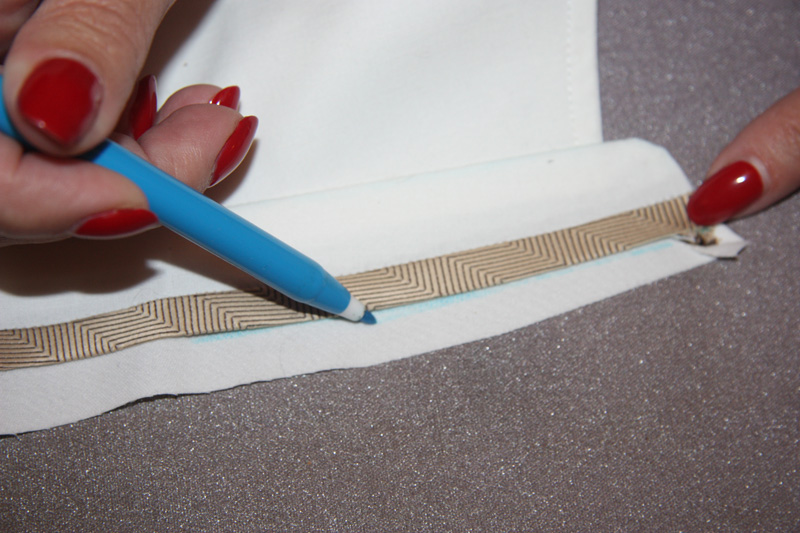
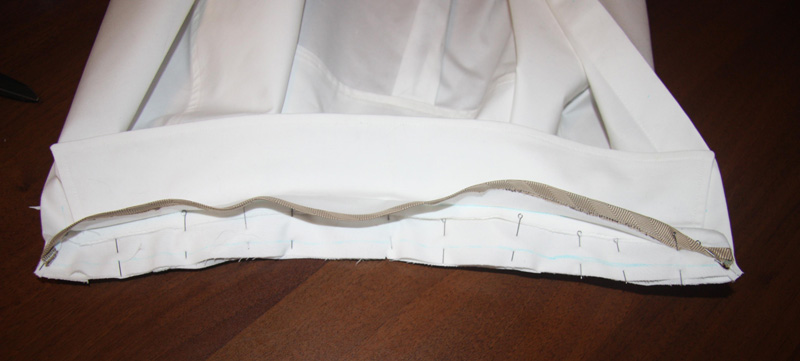
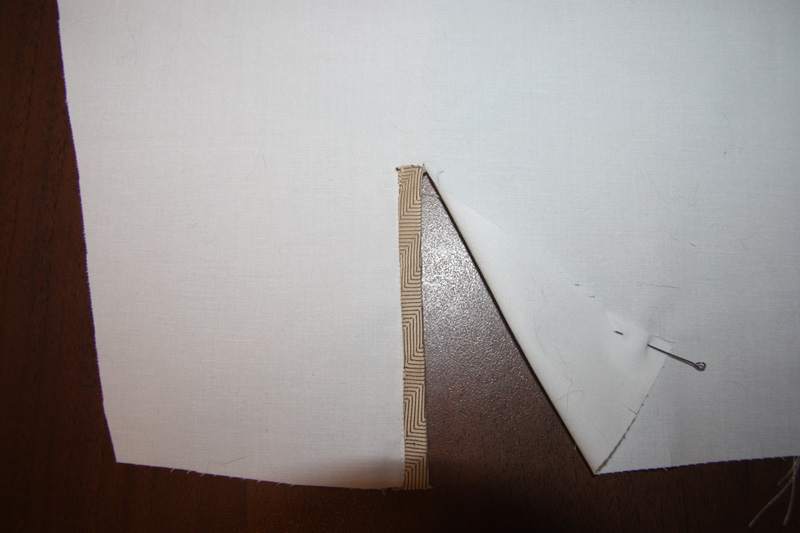
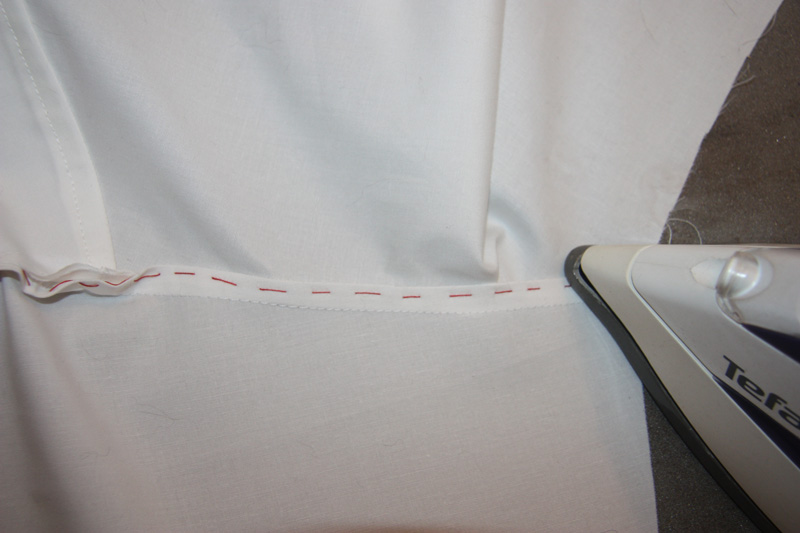
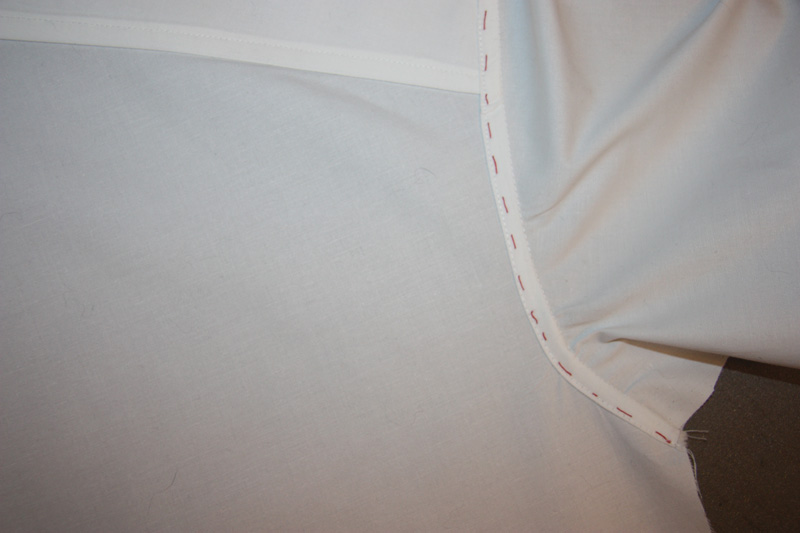
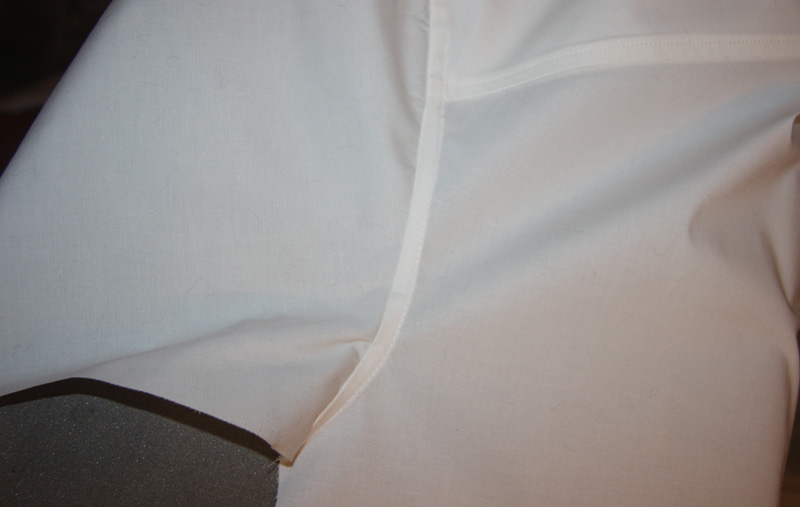
To protect the cuts from stretching on the most important parts (armholes of the front and back, neckline, shoulder cuts), it is necessary to lay an adhesive tape, which is ironed at a distance of 3-5 mm from the cuts.
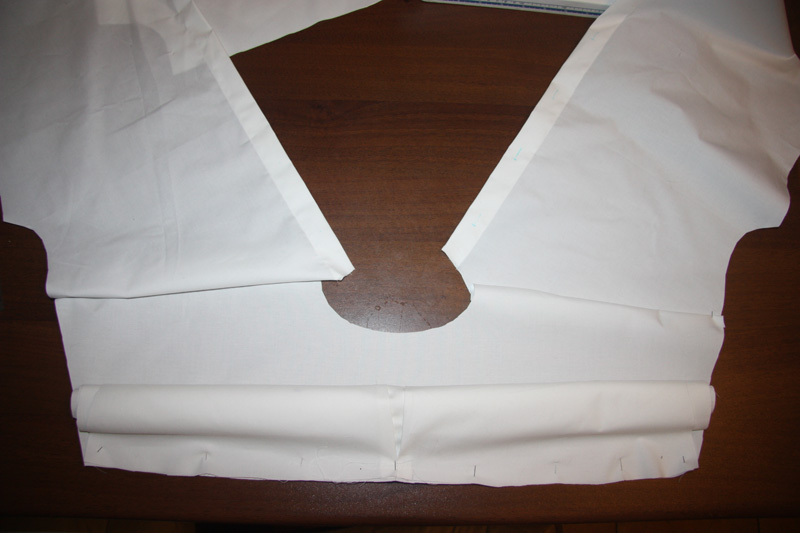
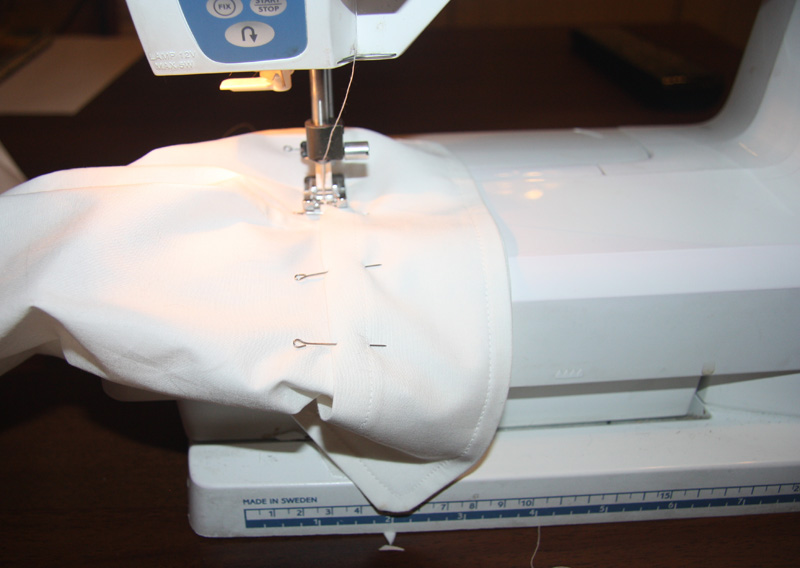
Assembling the product
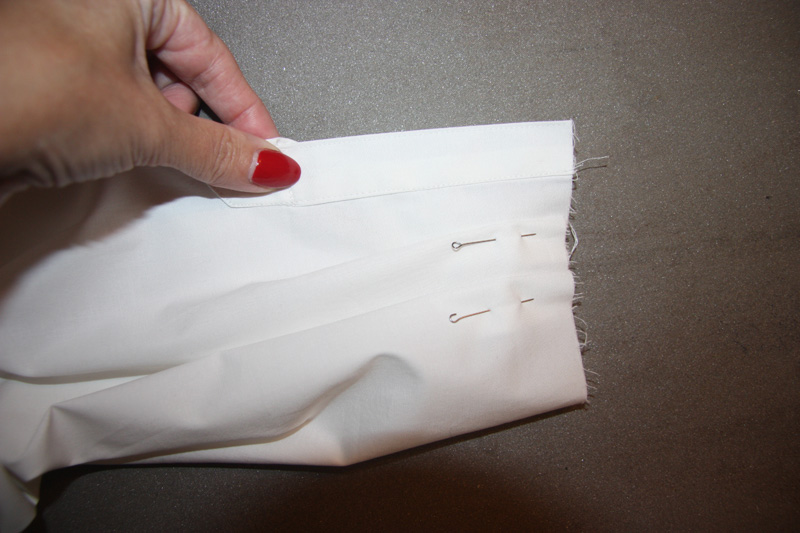
After cutting out the pieces, you need to mark the main seams manually and try on the garment. There is a specific order of actions for this:
- We sew a shirt starting with darts.
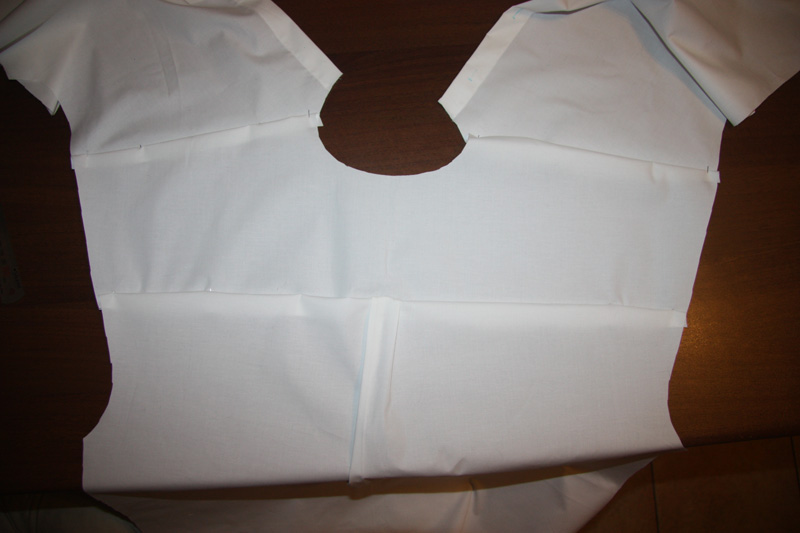
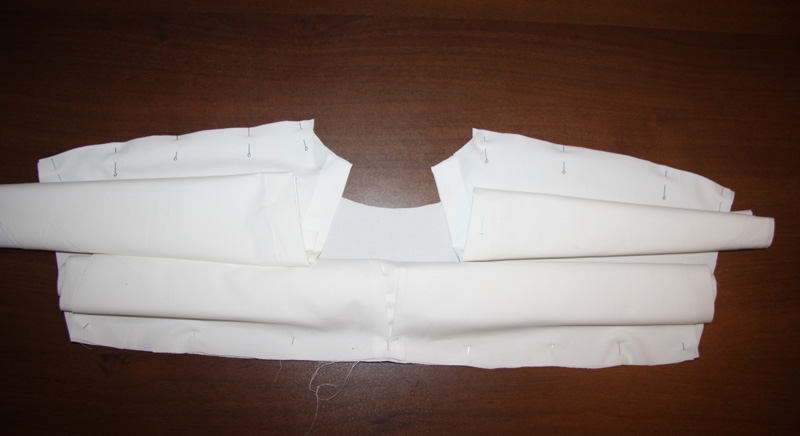
- Then we sew the shoulder seam of the front of the bodice with the shoulder cut of the back. In this case, the shoulder cut of the back requires a small fit (gathering).
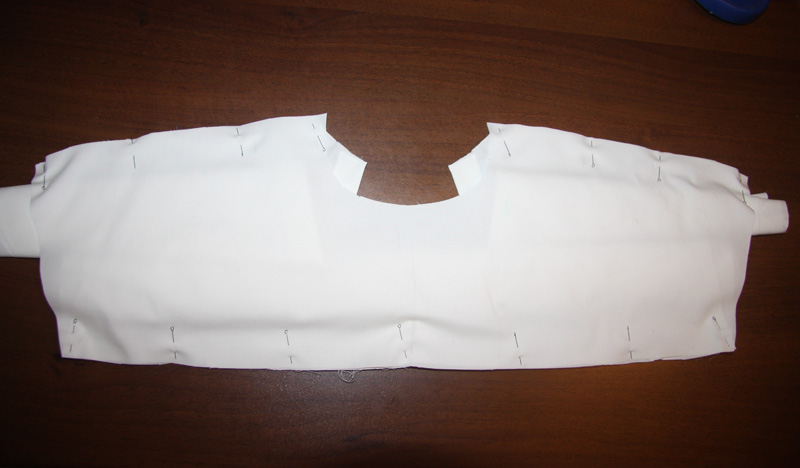
- Then we start basting the side seams.
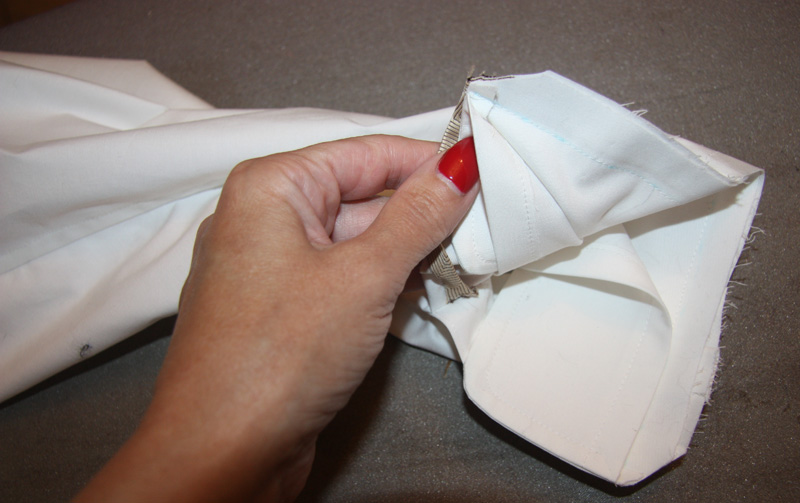
- We sew the blouse sleeve in such a way that its middle deviates from the shoulder seam towards the front part of the bodice by 2 cm.
When trying on a blouse, all adjustments are made on the right side.
When finalizing a women's blouse, you need to check the following:
- are the darts, relief seams, and folds positioned correctly;
- Are the back and shelves symmetrical?
- does the product fit loosely around the body;
- Are the side and shoulder seams even?
- Are the neckline and armholes symmetrical?
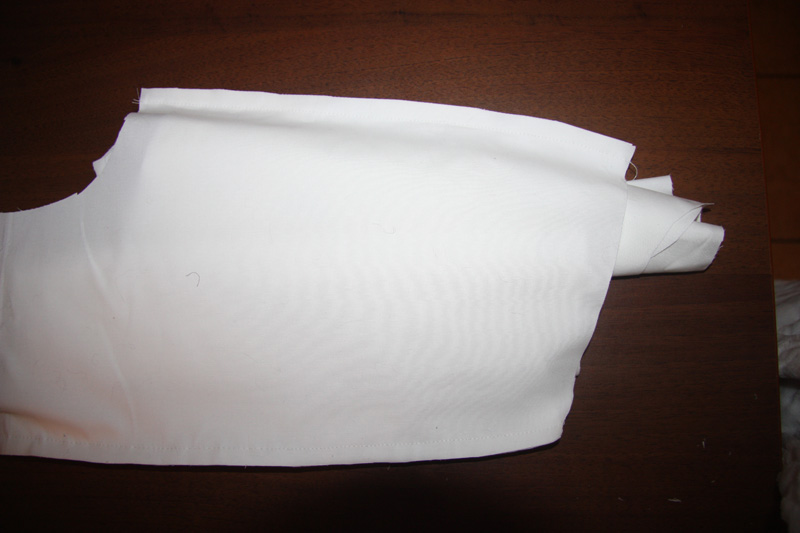
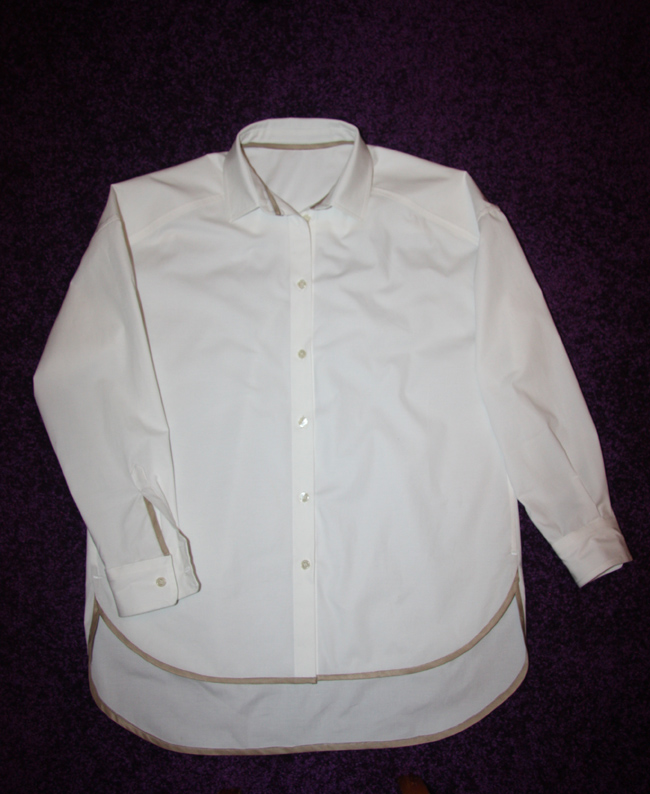
The final order of stitching the elements to obtain the finished product:
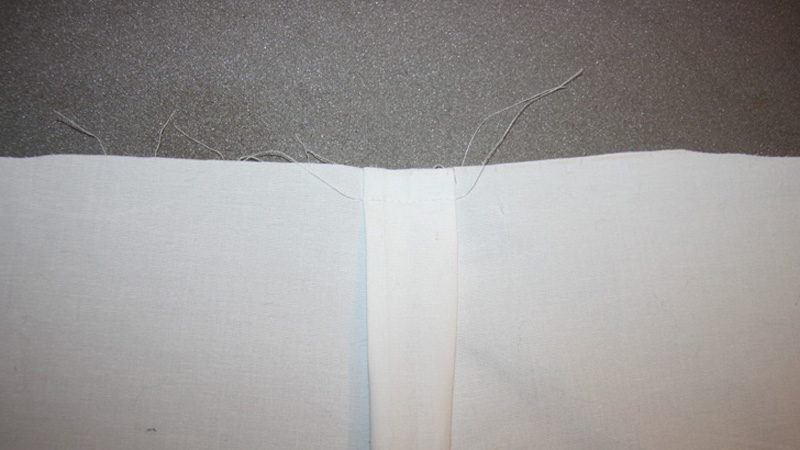
- first, all the darts are sewn;
- then straight shoulder and side stitches;
- the collar and cuffs are sewn on separately;
- lay side seams on the sleeves, sew on the cuffs;
- then the sleeves are sewn in;
- sew on the placket and collar.
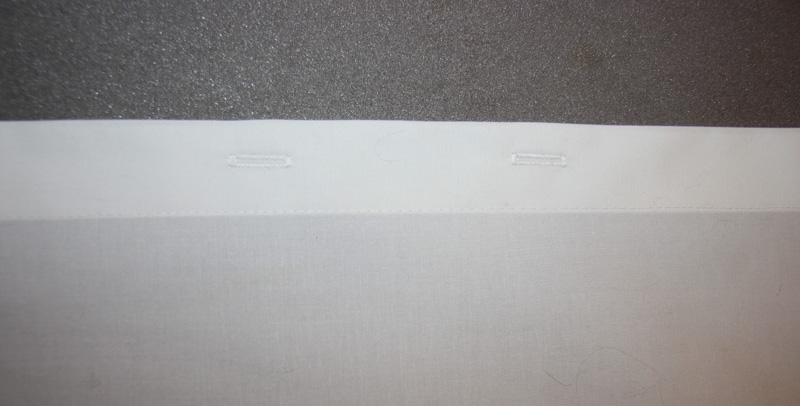
The final touch of the final assembly of the finished product is punching the loops and sewing on the buttons. The women's shirt is sewn with the loops on the right, and the men's - on the left.
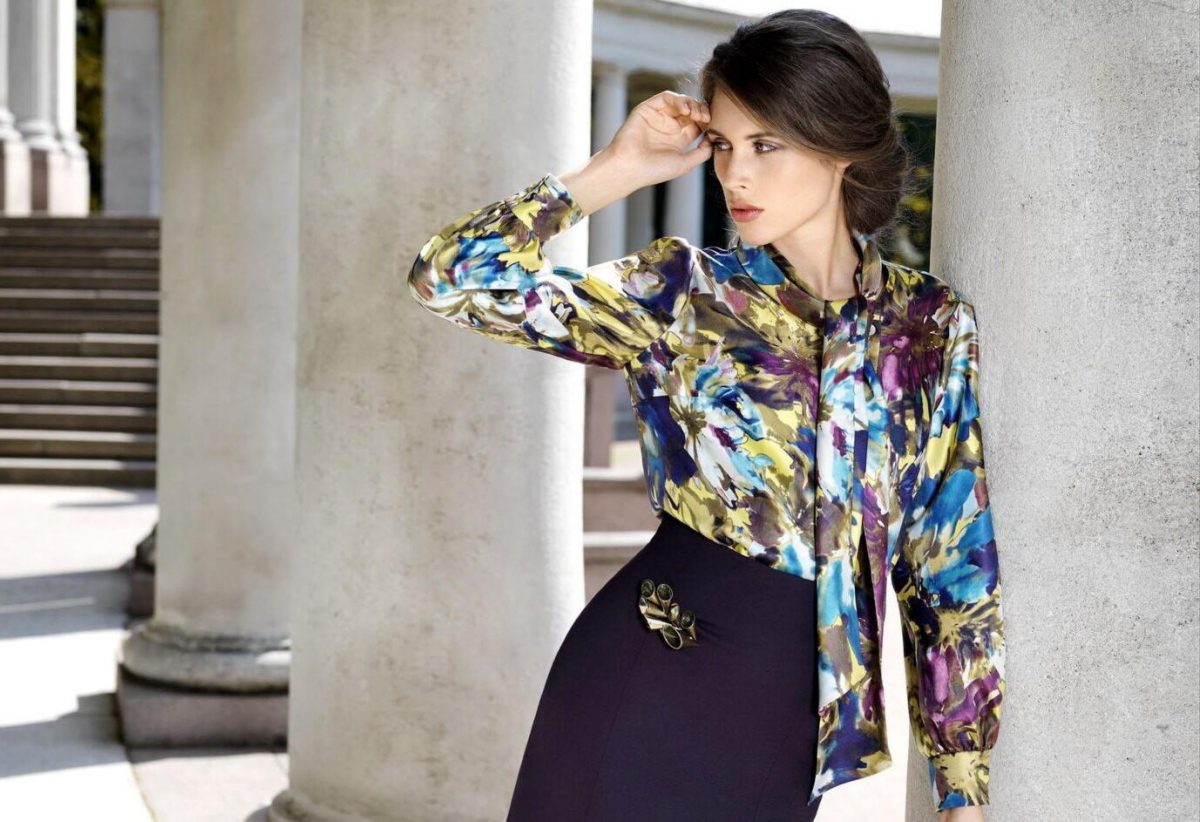
A blouse is a basic wardrobe item, it can be made in any style, have any size, color, cut, pattern and decor. A shirt created by yourself will certainly become a source of pride for the craftswoman.


Video