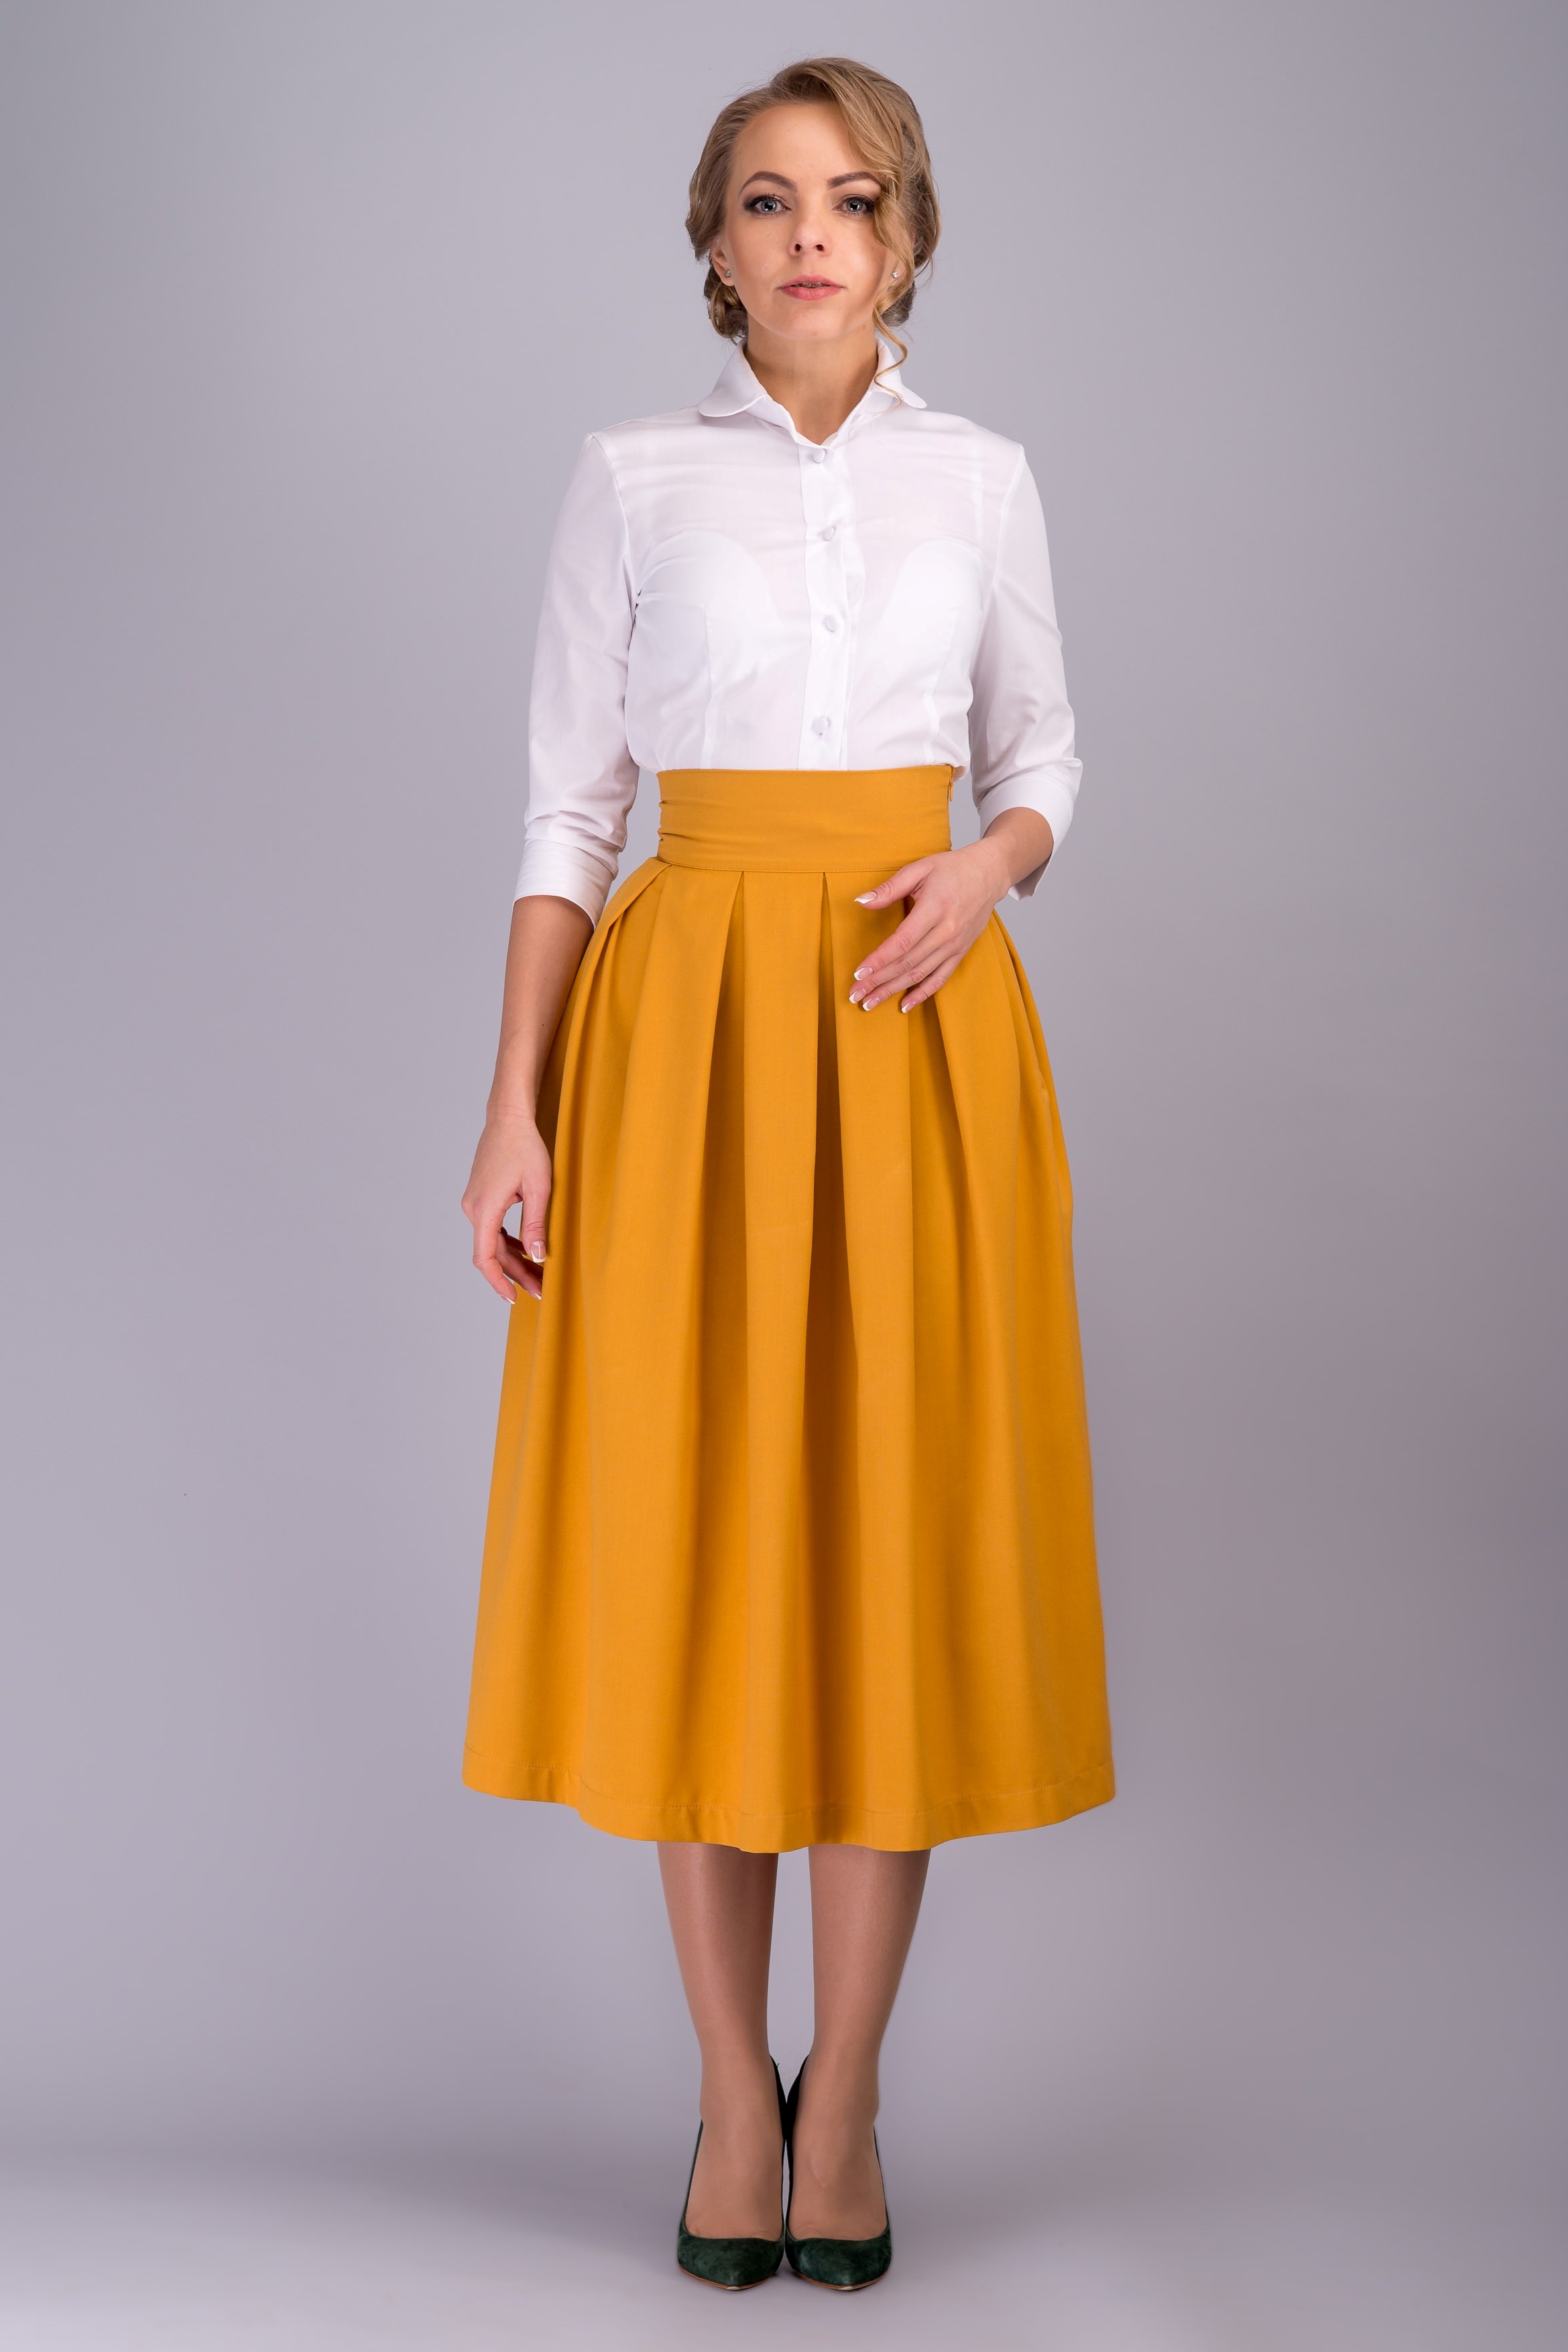
Skirts are the most feminine item of clothing. There should be several of them in the wardrobe, in which case it will be easy to change images depending on the situation. However, purchased items do not always fit well on the figure, especially if it has non-standard parameters. Therefore, many women wonder how to sew a skirt of the style they like on their own. A model created with your own hands will undoubtedly have many advantages over ready-made clothes - exclusivity, ideal compliance with the type of figure taking into account all its advantages and disadvantages, the ability to create a unique style and organically fit the item into an existing wardrobe. The complexity of implementation depends on many factors - the style of the skirt, the chosen material, the skills of the craftswoman, the ability to correctly take measurements and construct a pattern. In any case, self-sewing clothes is a fascinating task and a useful life experience.
Choice of style
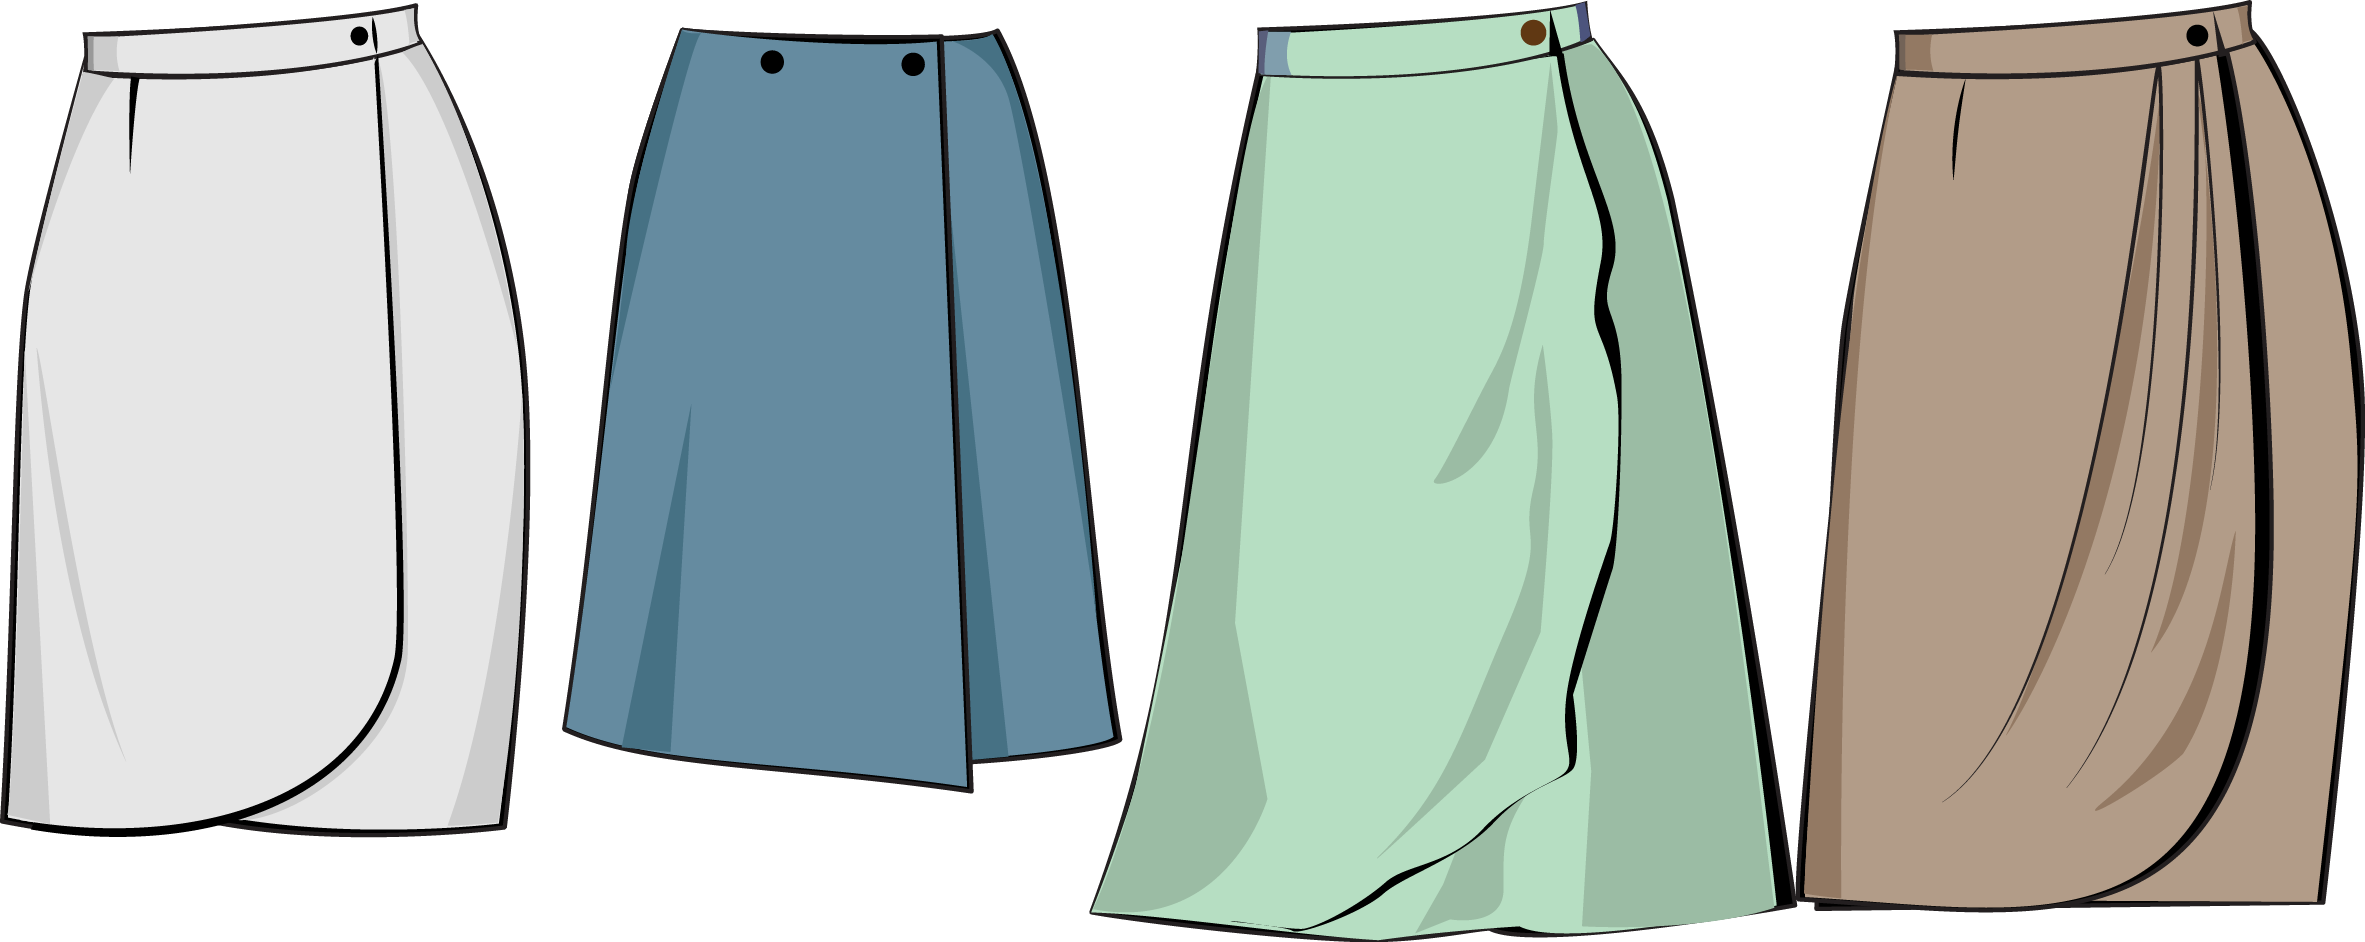
Choosing a style is the first step towards creating the skirt of your dreams. It is worth approaching the task with maximum responsibility, evaluating the available skirt models from different angles. The choice depends on the type of figure, season, style of clothing, situation. Each style has its own characteristics:
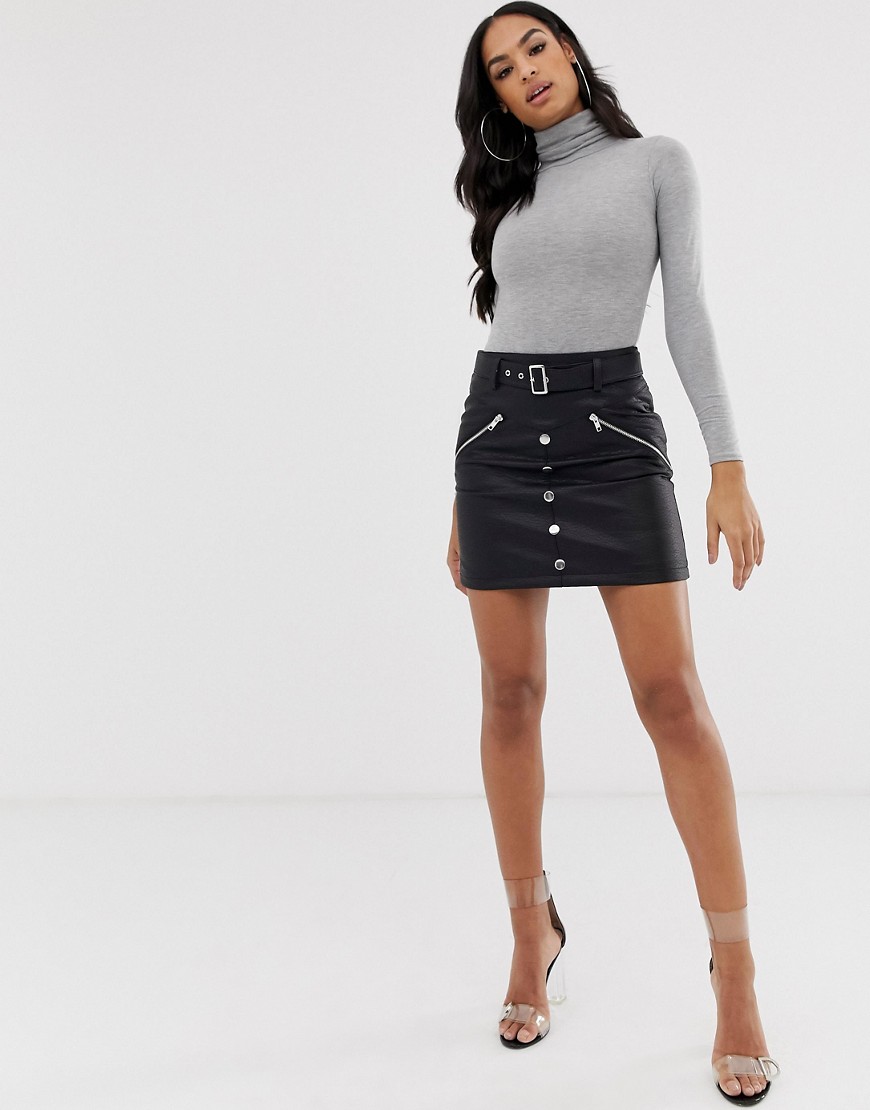
- A miniskirt almost completely reveals the legs, visually lengthening them, so it is not recommended for tall people, and it also highlights all the flaws of the figure.
- Straight to the knee - universal. This is a classic style that suits almost every woman. But such a skirt should fit the figure well.
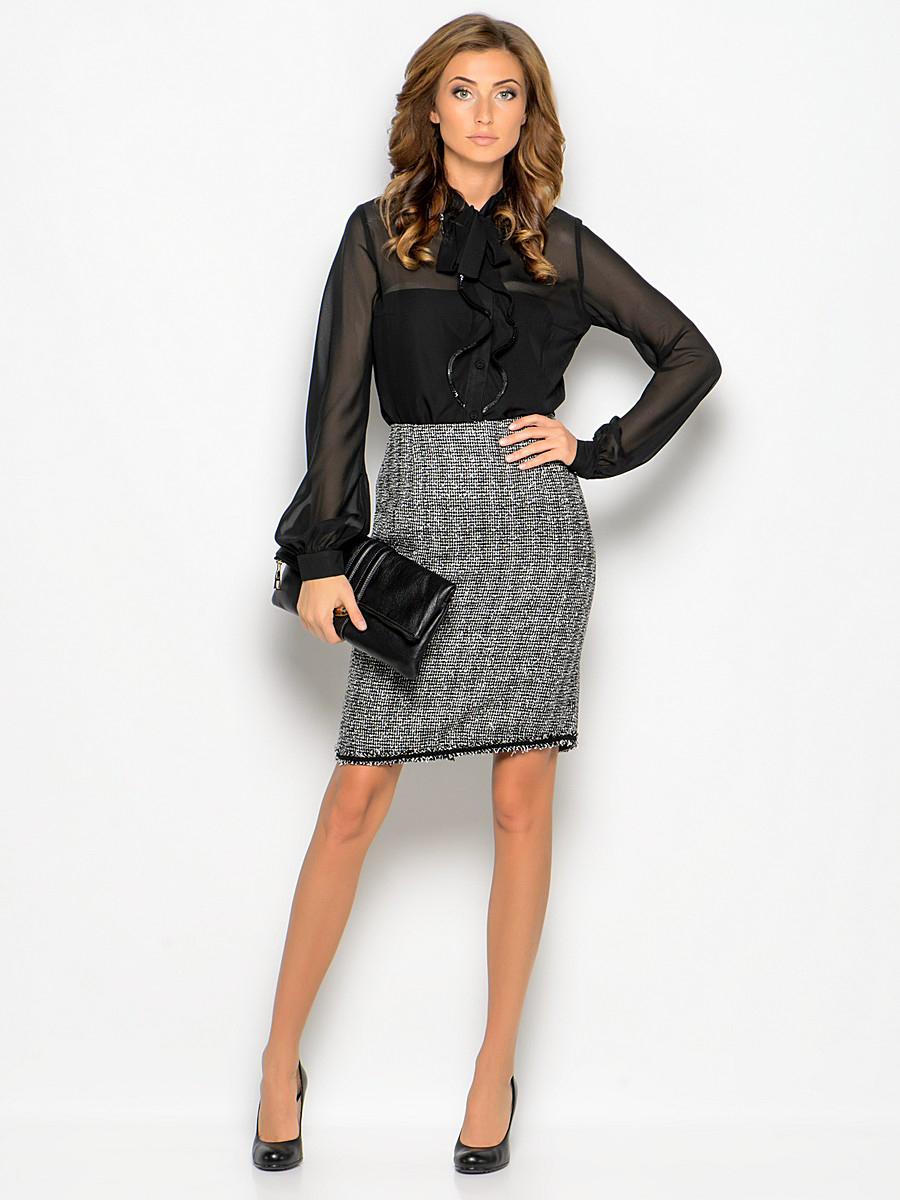
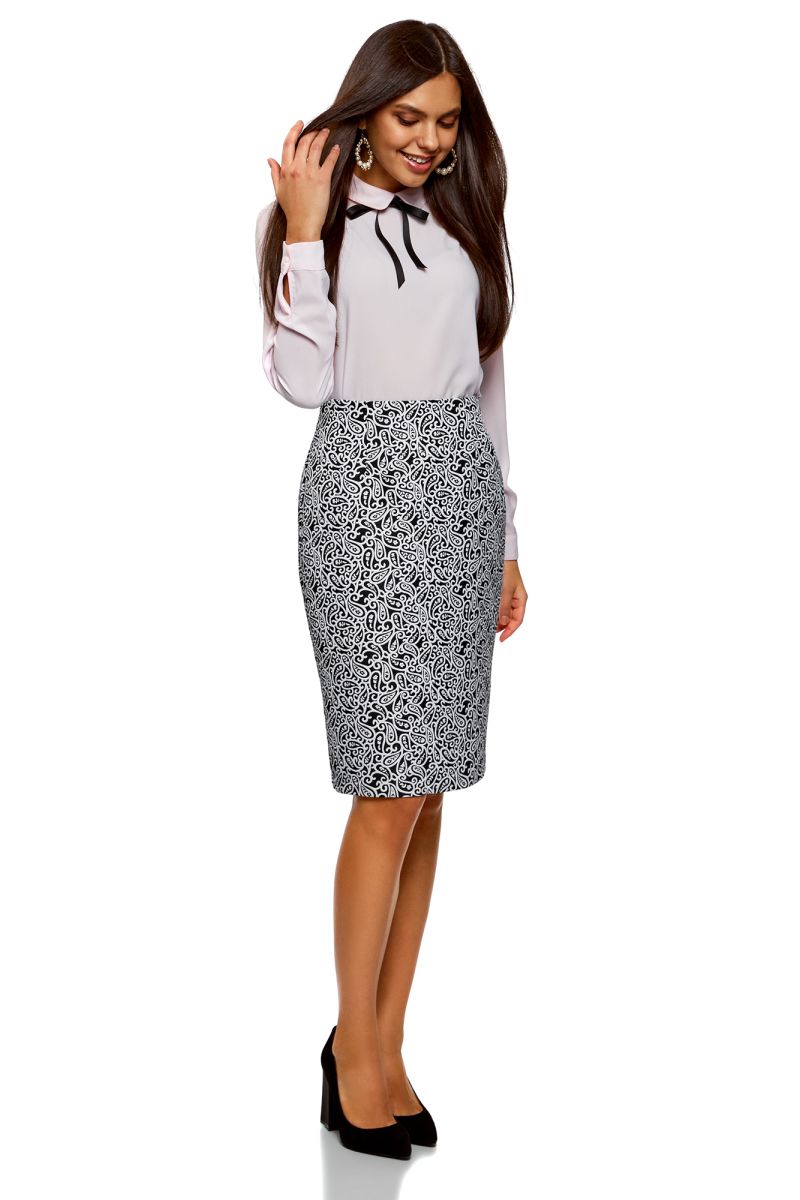
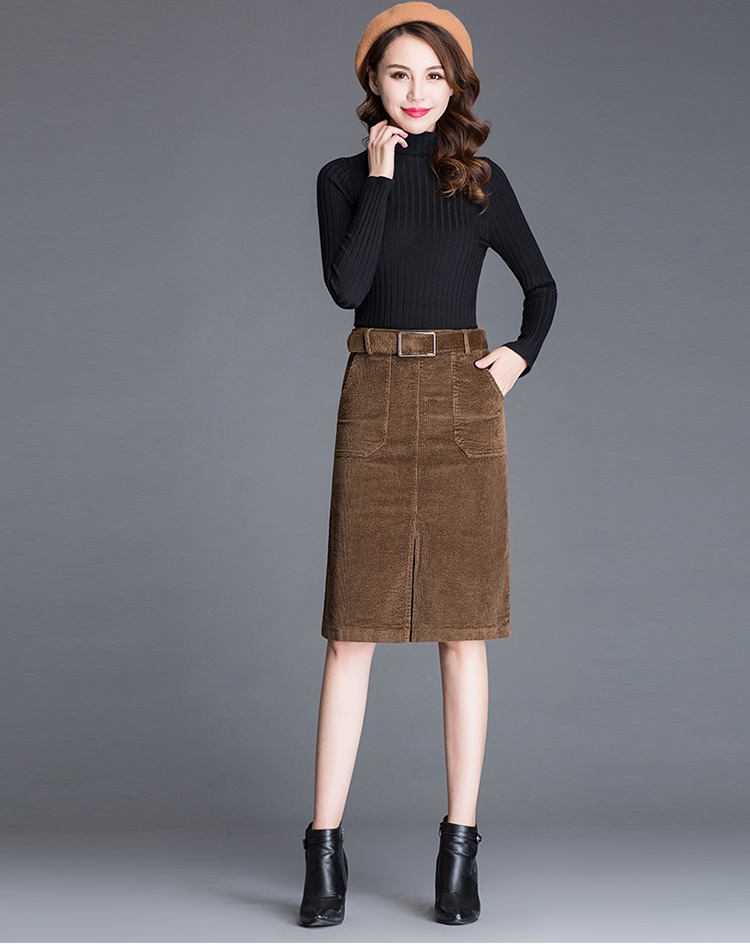
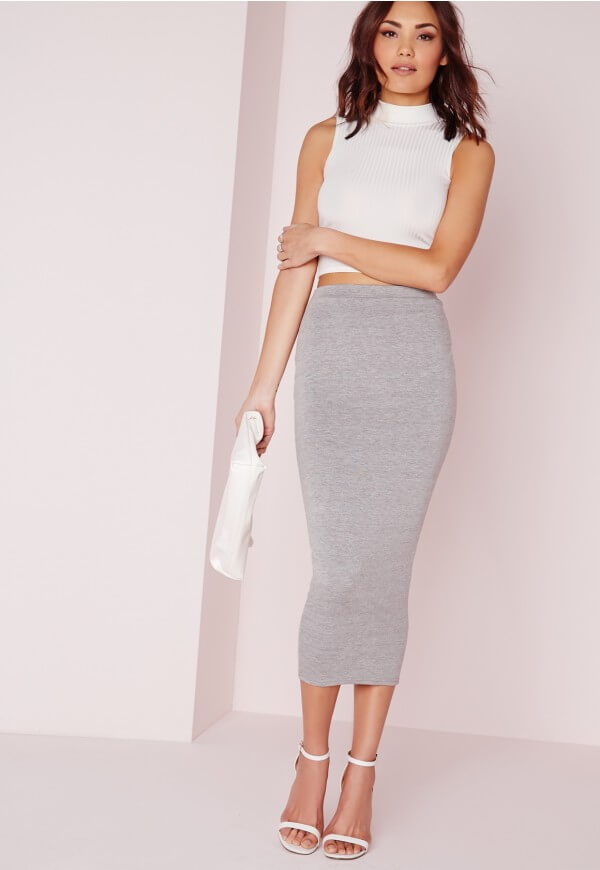
- Pencil - length below the knee, which can "shorten" the height. It emphasizes the calves, so such skirts are not recommended for full or too thin legs.
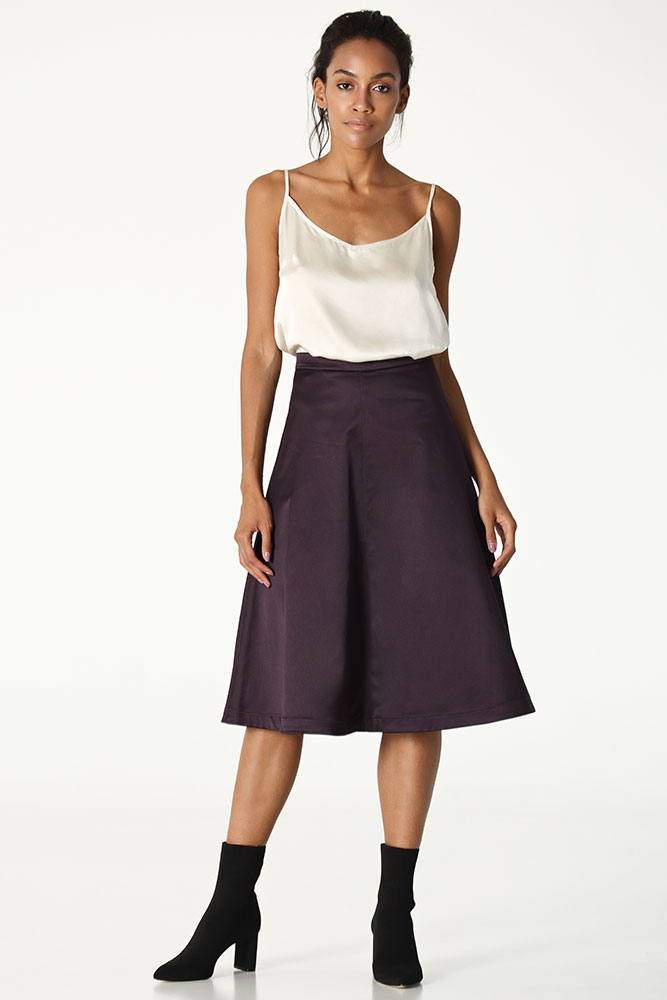
- The A-line model balances the proportions of the figure and makes the legs look slimmer. It comes in different lengths, a maxi skirt of this model can visually reduce height.
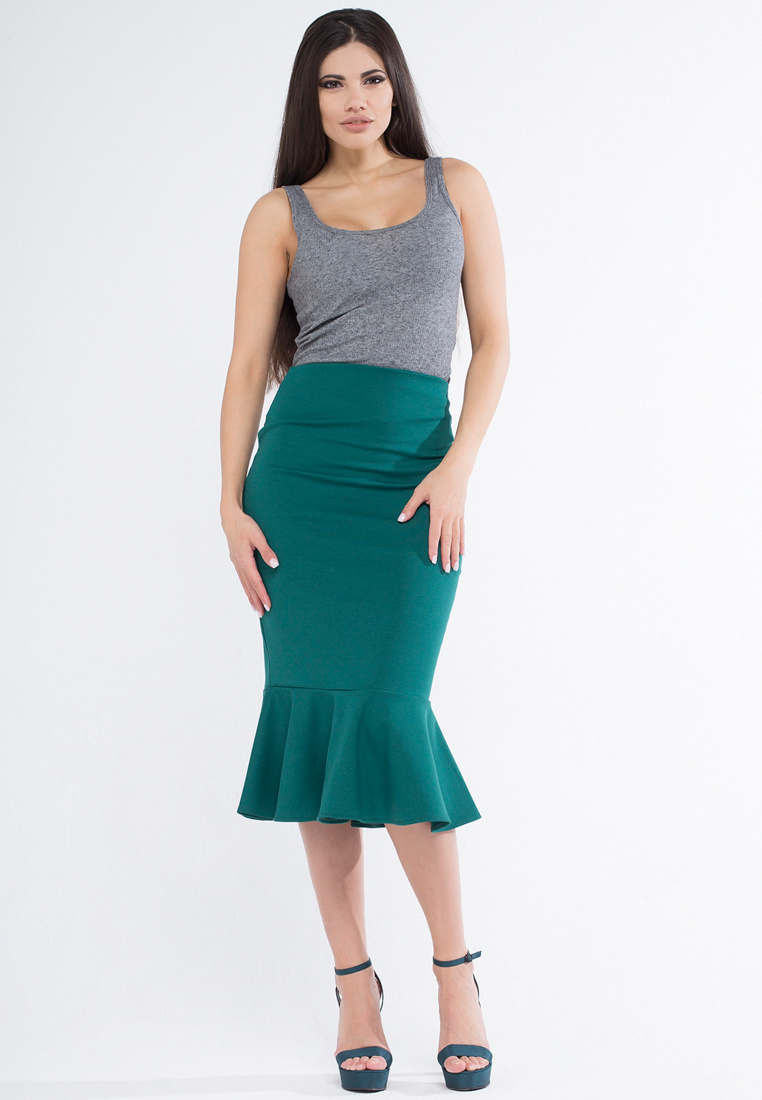
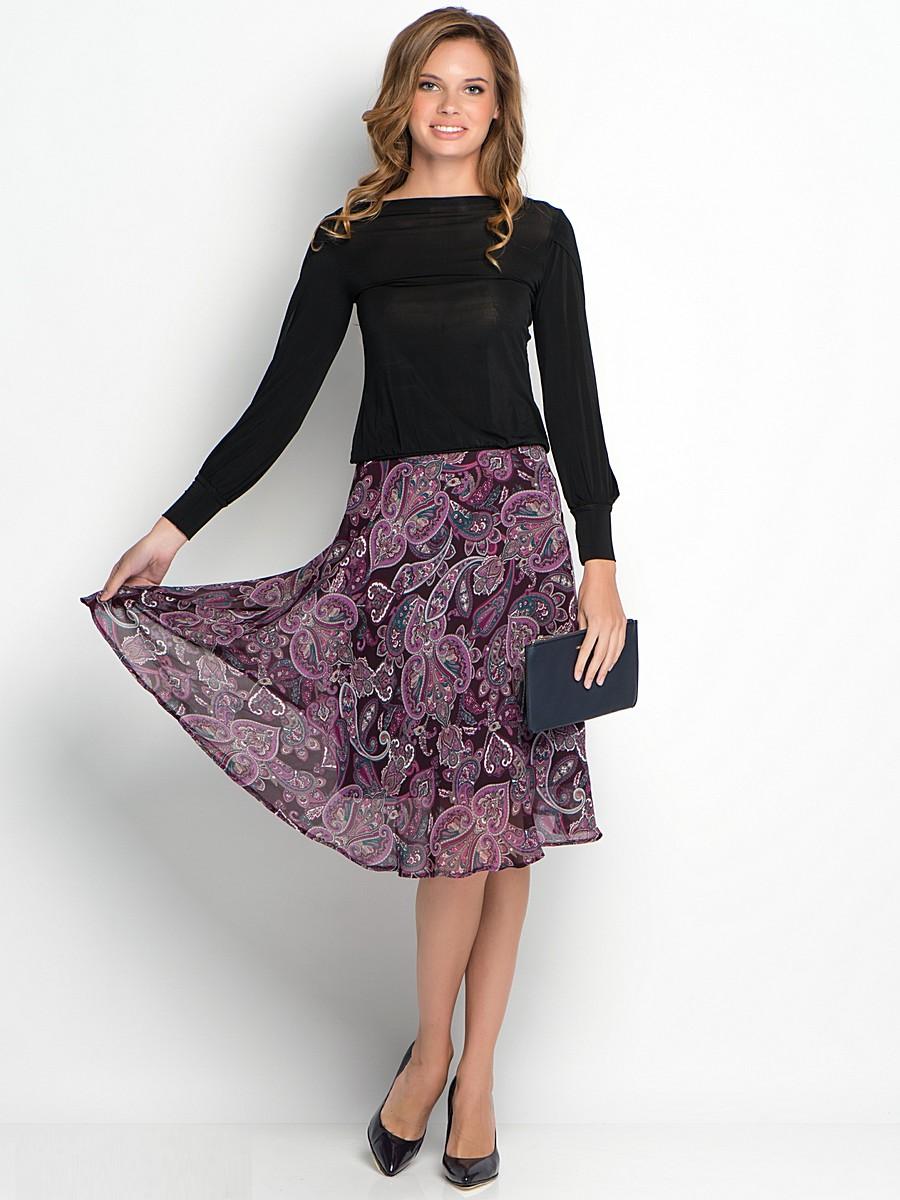
- The godet balances the hip line and makes the figure slimmer.
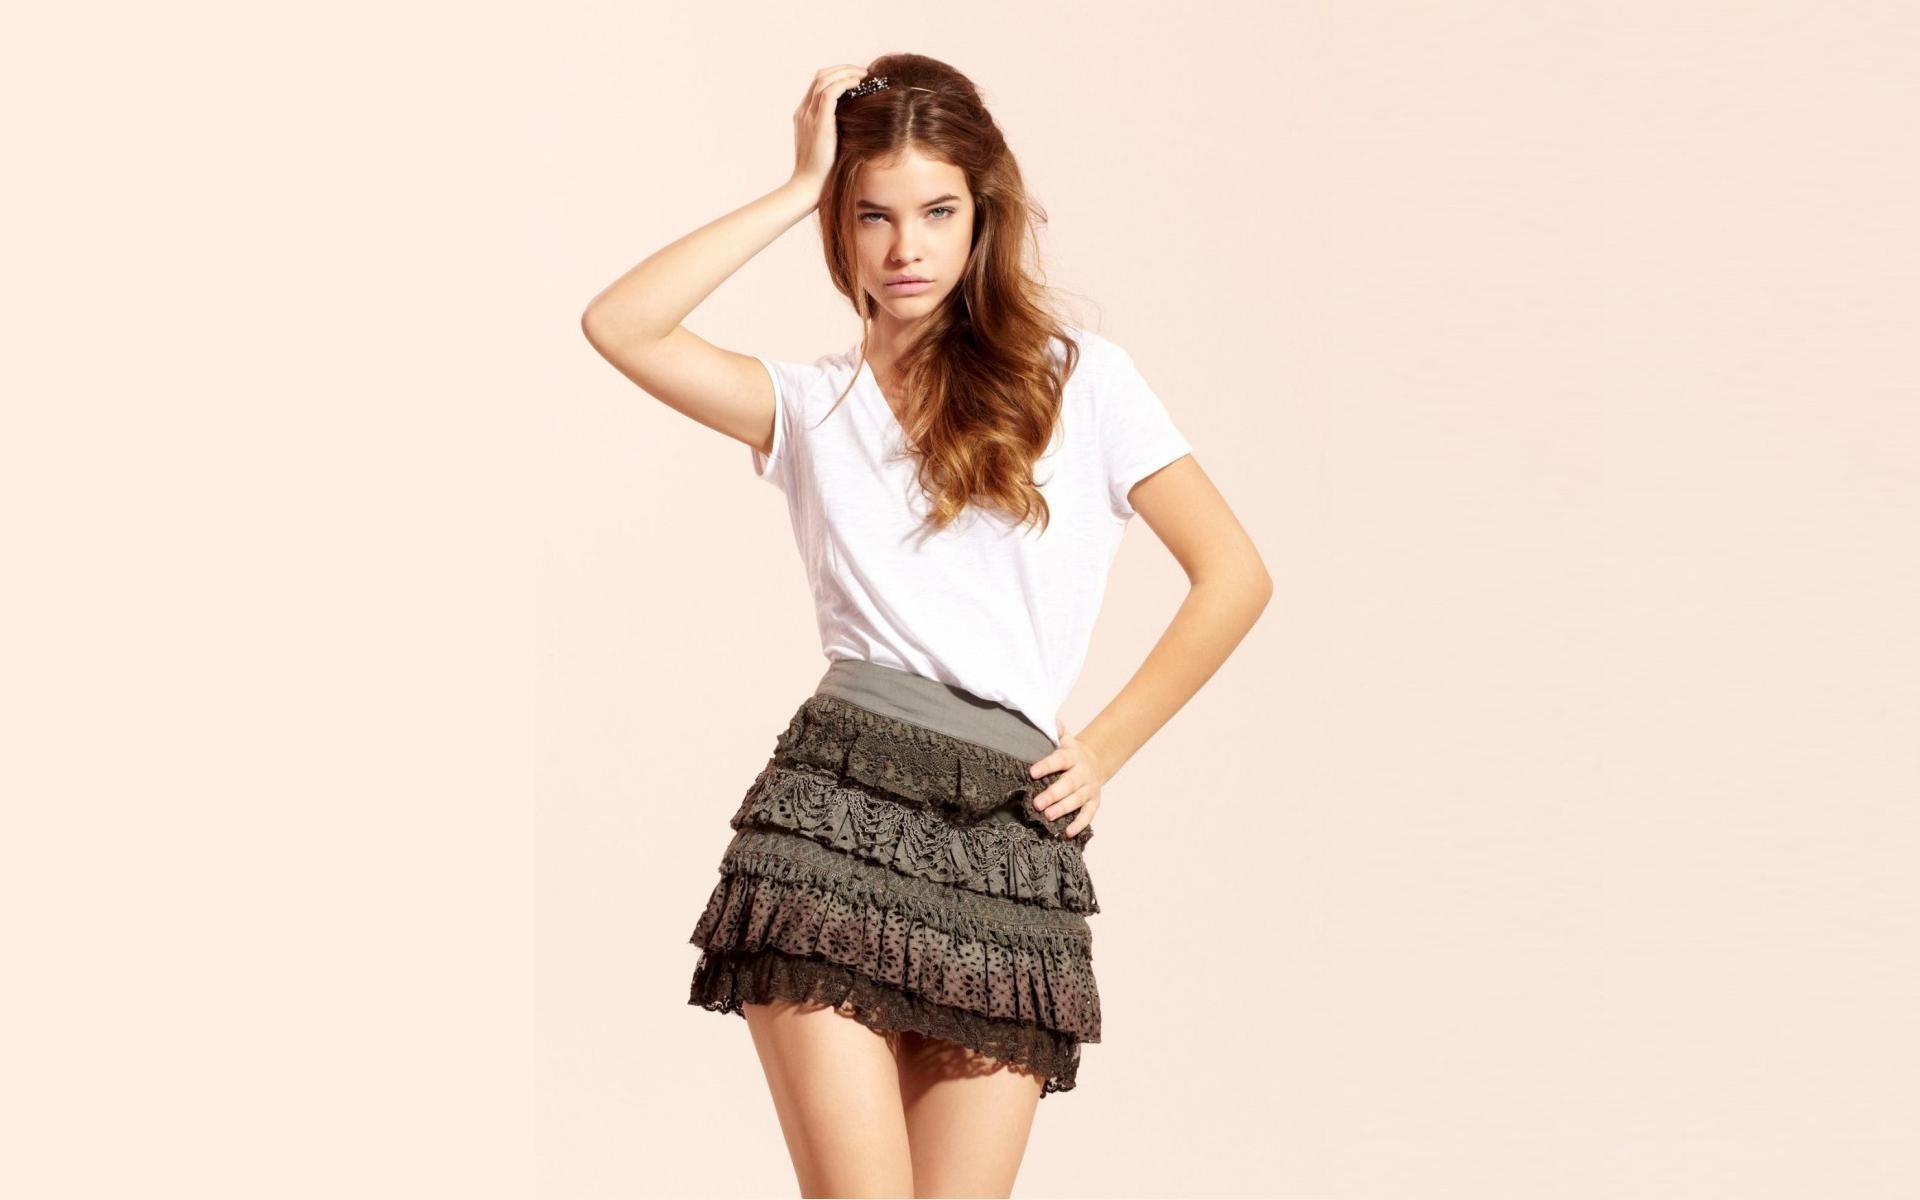
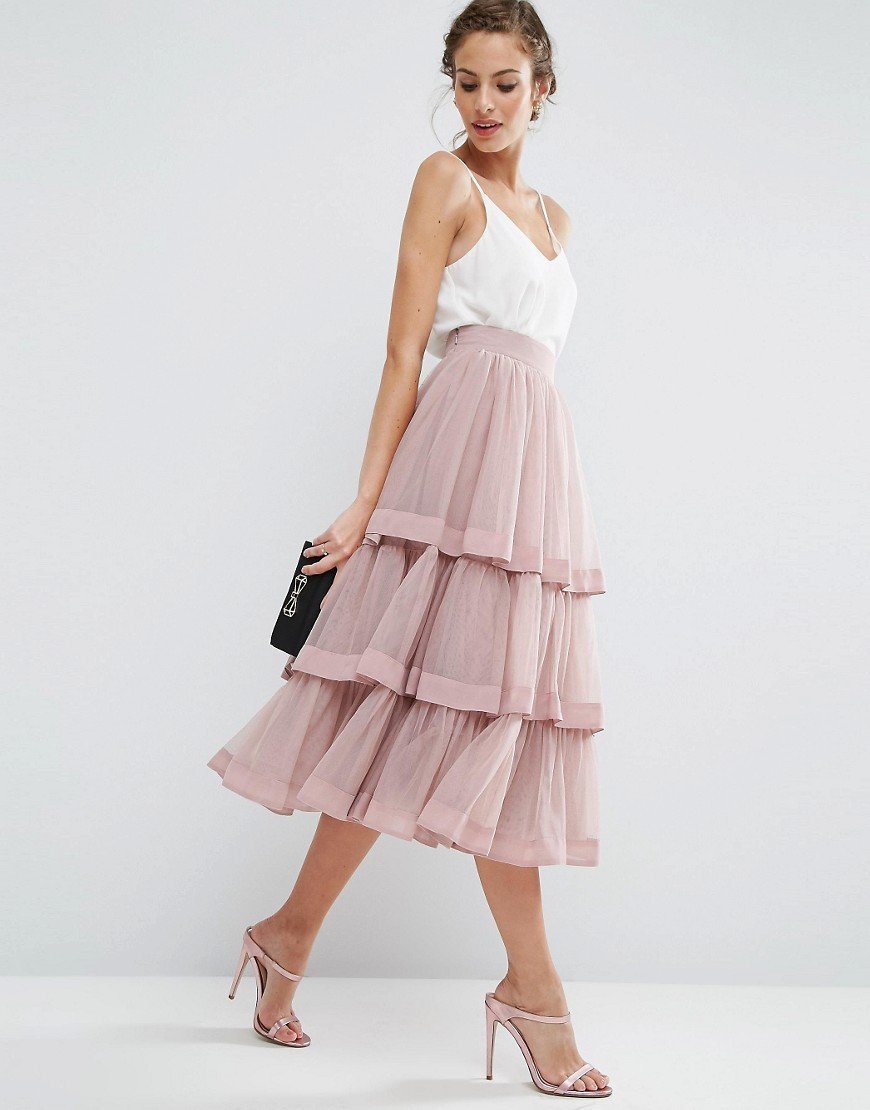
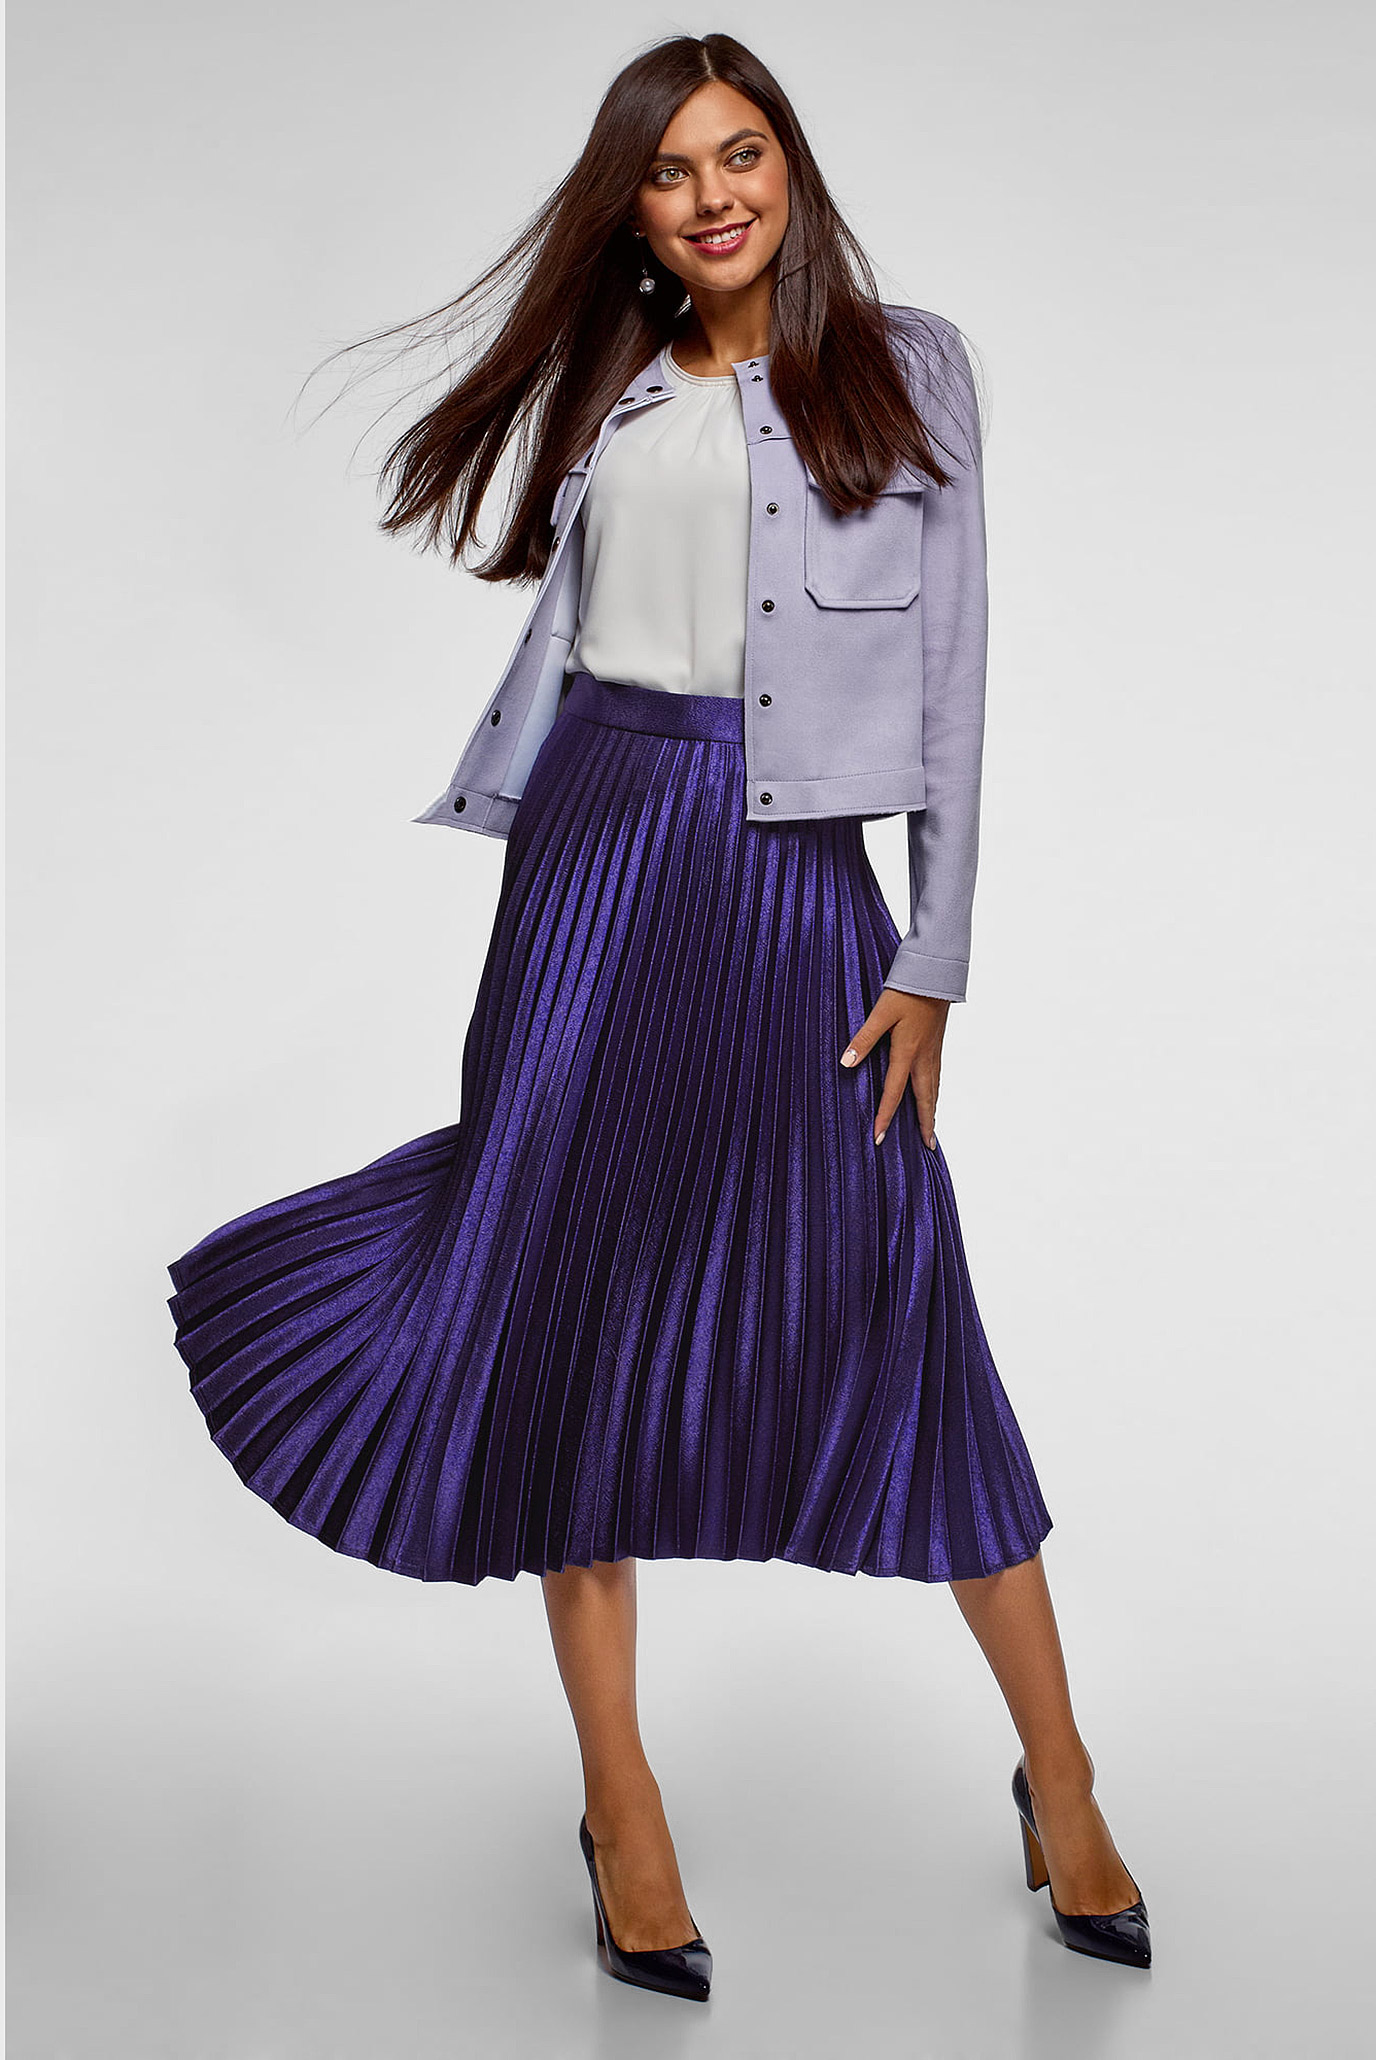
- Layered skirts with folds, pleats or flounces are not suitable for overweight women.
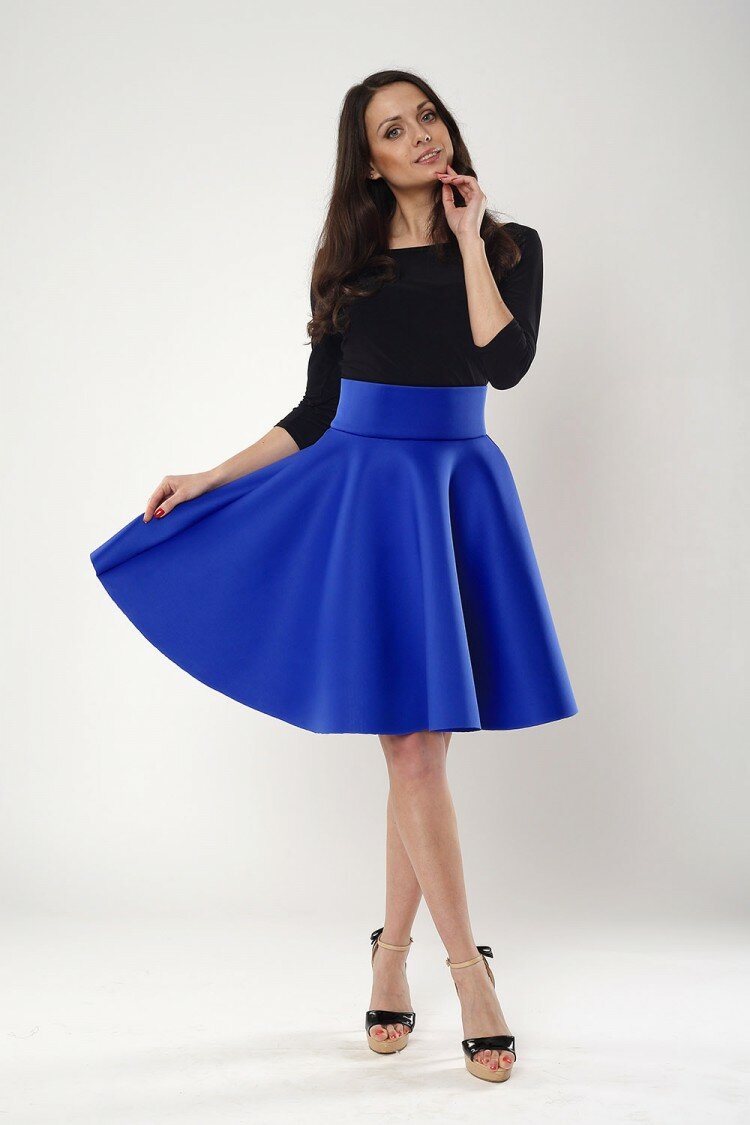
- The sun model emphasizes the waist, but is more appropriate in the wardrobe of slim women.
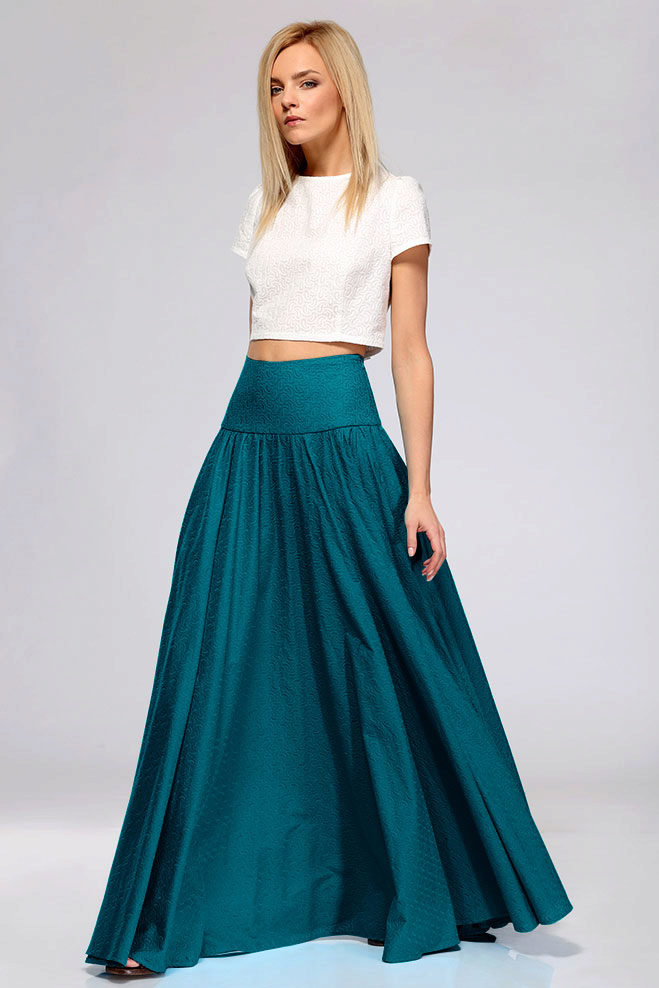
- A full-length skirt perfectly hides leg flaws and slims the figure. The straight shape of long products is not recommended for short women, and wide or flared ones are more suitable for thin and tall women.
In order to sew a skirt with your own hands, you need to not only determine the advantages of your figure, but also understand the features of making each model. Some of them require sewing skills. These are styles such as godet, balloon, bell. It is also very difficult to sew a wrap or multi-layered skirt; for beginners, such work may be beyond their capabilities. Therefore, they are recommended to start with simpler models. This can be a straight silhouette, trapeze, tutu, Tatyana or sun skirt. Some of them are easy to cut out, even without sewing skills.
Fabric options
Having chosen the style, the next step is to choose the right fabric for sewing the skirt. Since they all have different properties, it is necessary to ensure that the selected material is comfortable, practical, retains its shape and creates the desired silhouette. It is also worth considering the features and ease of working with a particular fabric. Inexperienced craftswomen are better off starting with cotton, viscose, silk, denim, gabardine or knitwear. It is more difficult to work with chiffon, jacquard, velvet, corduroy, and wool.
When choosing fabric, you also need to consider the style and model of the skirt so that the finished product does not stretch or wrinkle, and the folds hold their shape well. What materials are suitable for different models:
- sun and half-sun skirts made from chiffon, silk, cambric, and fine wool will look great;
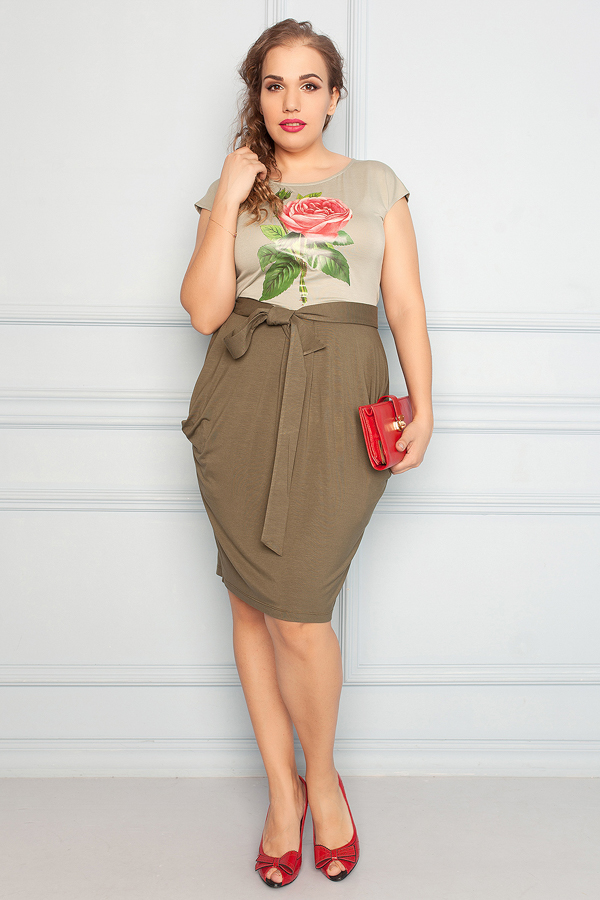
- The tulip model is made from soft fabrics that drape well, such as viscose, satin or silk;
- It is better to sew a straight skirt from a dense material that holds its shape, this can be tweed, corduroy, wool, linen, cotton, knitwear;
- for tight-fitting models, elastic knitwear and elastane are suitable;
- pleats and folds are perfectly held by suit fabrics containing synthetics;
- Floor-length skirts are made from lightweight materials.
The choice of fabric also depends on the season in which the finished product is intended to be worn. Winter short and long skirts are made of wool, gabardine, corduroy, velvet. Cotton, linen, silk, and chiffon are more suitable for a summer model.
How to take measurements correctly
Correctly determining the size of the finished product is an important stage of work. The task seems simple, but there are some nuances, failure to observe which can negatively affect the results. It is important to remember that measurements should be taken:
- in the underwear or tights that will be worn under the finished product;
- with a measuring tape, pressing it tightly against the body without tightening it too much.
The results will be more accurate if measurements are taken by another person, since you need to stand straight, without bending or slouching. Don't suck in your stomach or downplay the results out of a desire to appear slimmer - you won't feel comfortable in such clothes.
Skirt patterns vary, but there are basic measurements that are required for all models. These are the waist circumference (WC) and the length of the product (LP). For some styles, you also need to know the hip circumference and height (HH). Since many women have fat deposits in this area, the hip circumference is measured in two places - across the buttocks and slightly lower. The larger value is used to construct the pattern.
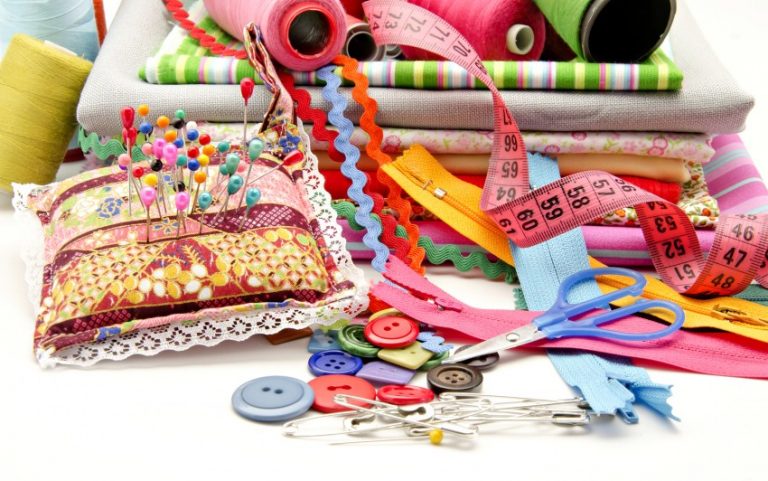
Tools and consumables
Before starting work, you need to prepare everything you need. Experienced needlewomen have sewing kits, beginners will have to assemble everything from scratch. You will need:
- Sewing machine. It is desirable that it has a speed controller and a seam processing function.
- A good iron. Necessary for steaming seams and ironing the finished product.
- Scissors. It is better to buy special ones for cutting fabric. You will also need a separate tool for paper and small scissors for cutting threads.
- A tape measure and several rulers for constructing a pattern.
- Tracing paper or ready-made pattern.
- Tailor's pins for fastening parts, safety pins for threading elastic.
- Tailor's chalk, a piece of soap, or a special disappearing marker to transfer the design onto the fabric.
- A seam ripper or a narrow knife for removing poor quality seams.
- Needles of different lengths and thicknesses for hand and machine work.
- Threads of different colors and thicknesses.
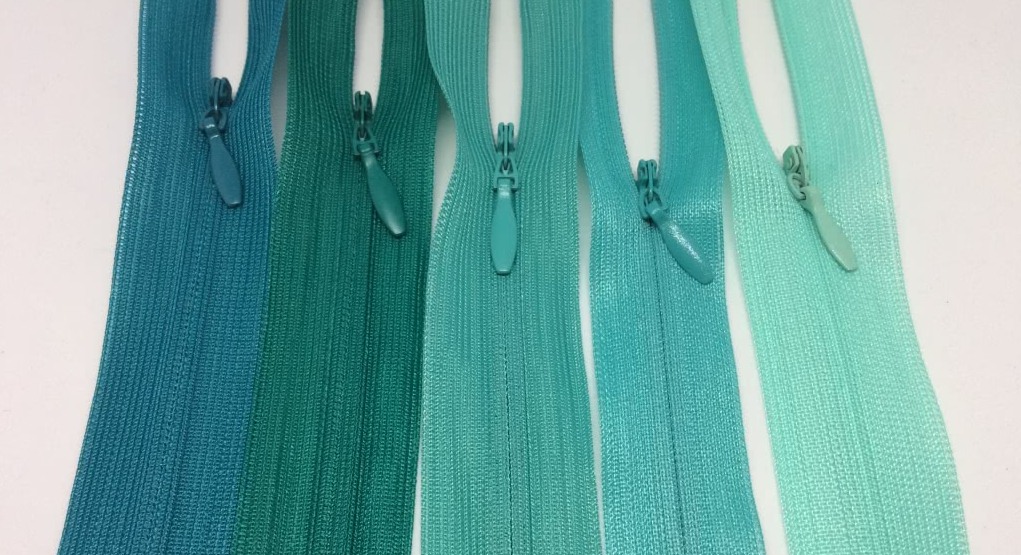
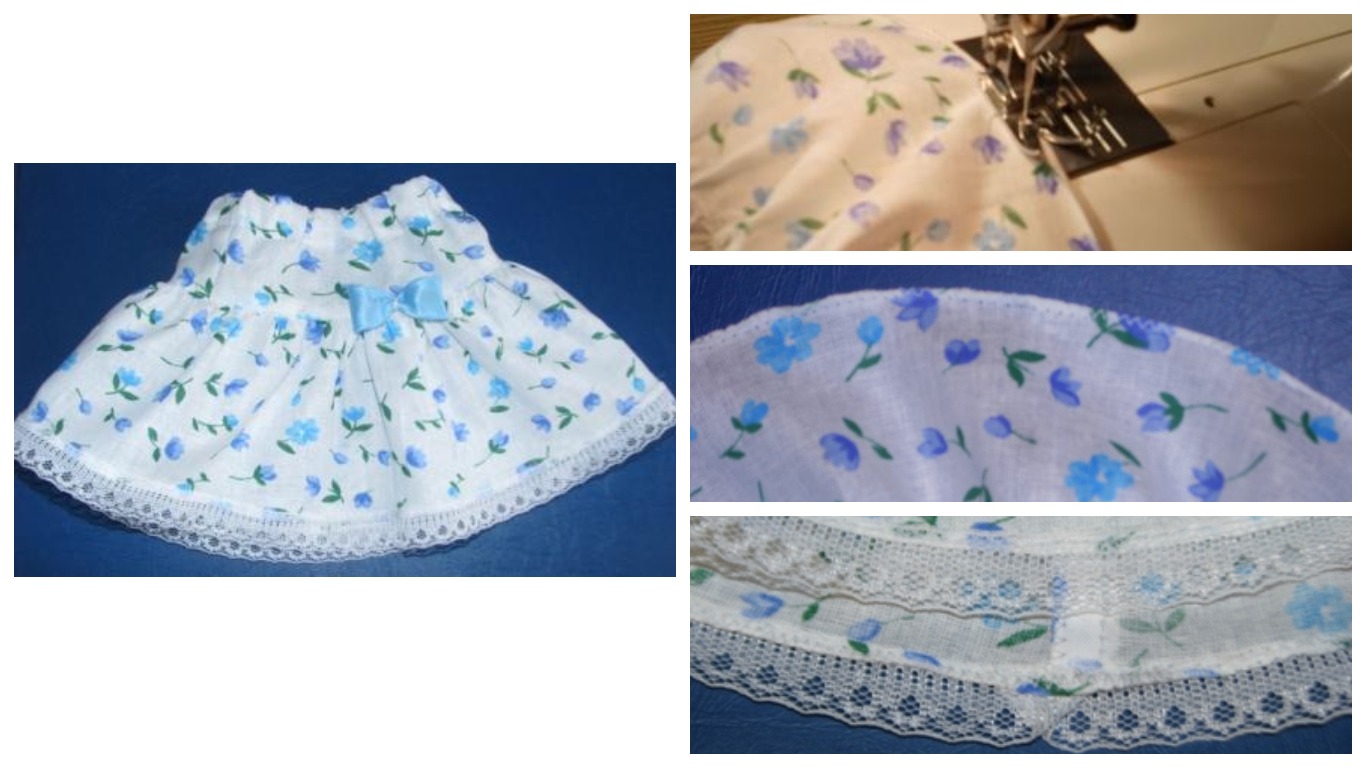
In addition to fabric, you may need zippers, buttons, elastic bands, braid, lace and other decorative elements to decorate the finished product.

Stages of work
Often, a beginner does not quite understand in what order the work should be performed. Before you sew a floor-length skirt or any other model with your own hands, it is very important to study the instructions. The correct sequence of actions is:
- Take measurements.
- Create a pattern (if the dimensions allow, you can use a ready-made one).
- Transfer the drawing onto the fabric, make seam allowances.
- Cut out the details.
- Sew the pieces together using a basting stitch.
- Try on the product and make any necessary adjustments.
- Sew everything together using a sewing machine.
- Treat the seams.
- Iron the finished product.
Depending on the complexity of the style, the number of details and decorative elements, there may be more stages. Sometimes it is necessary to try on the garment several times to adjust it to the figure. On some models, it is necessary to sew up darts, sew in wedges, and flounces.
Construction of the basic pattern
A basic pattern is a universal basic drawing, based on which you can create different models of clothing. It can be built on graph paper, tracing paper. Most often, it is made immediately in natural size, all that remains is to transfer it to the fabric. To take into account all the features of the physique, you can make a pattern from unnecessary material, sew the details and adjust it to the figure. Then rip and transfer the resulting elements to paper.
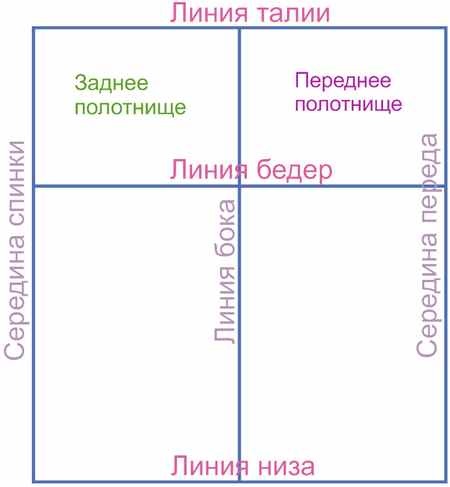
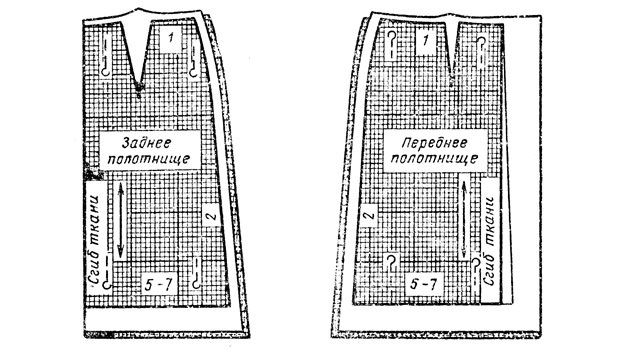
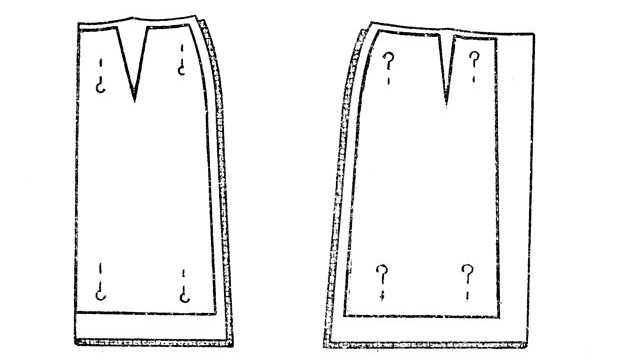
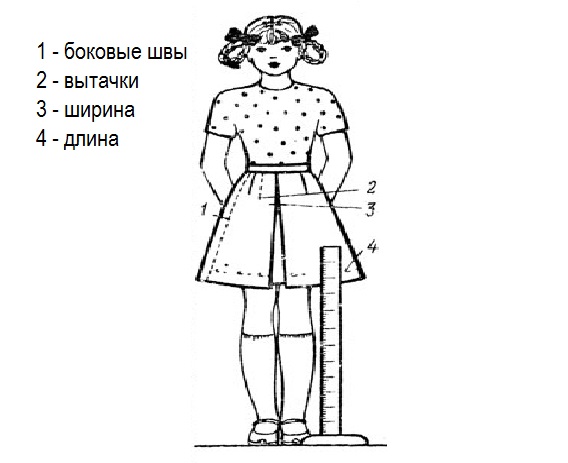
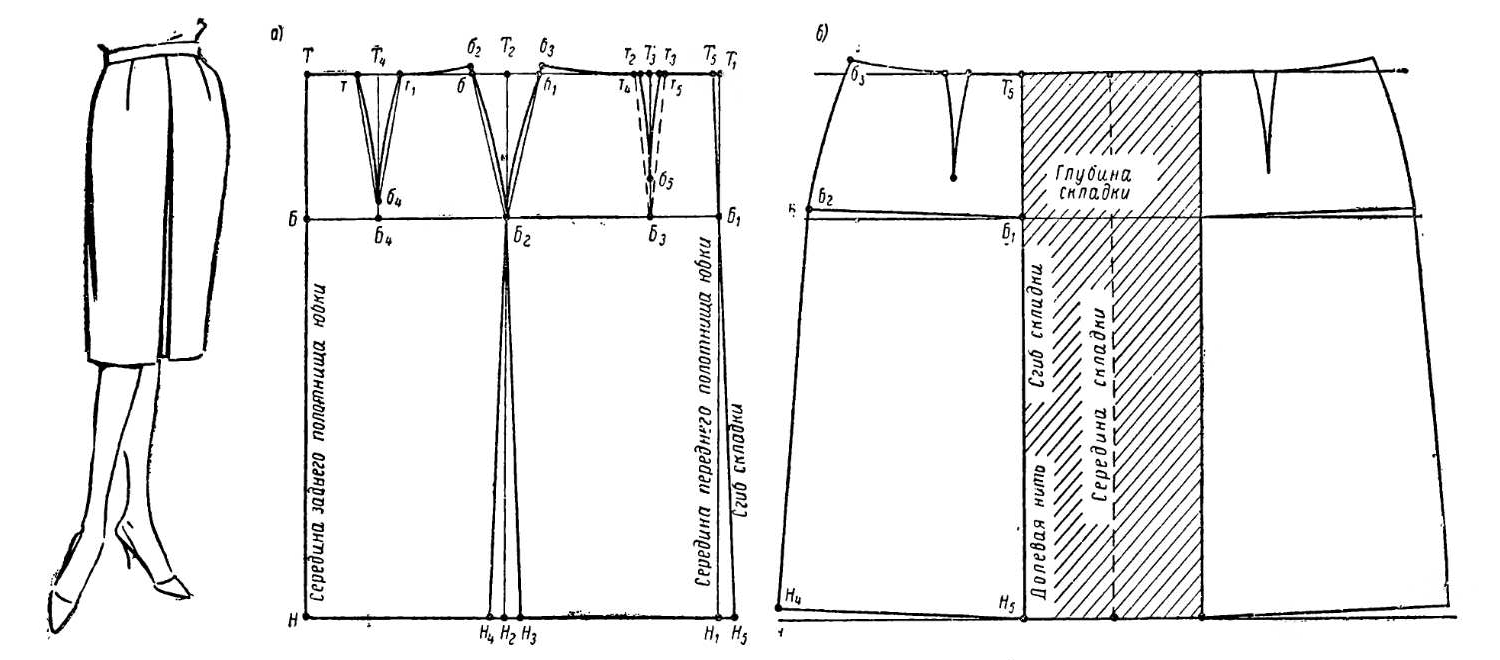
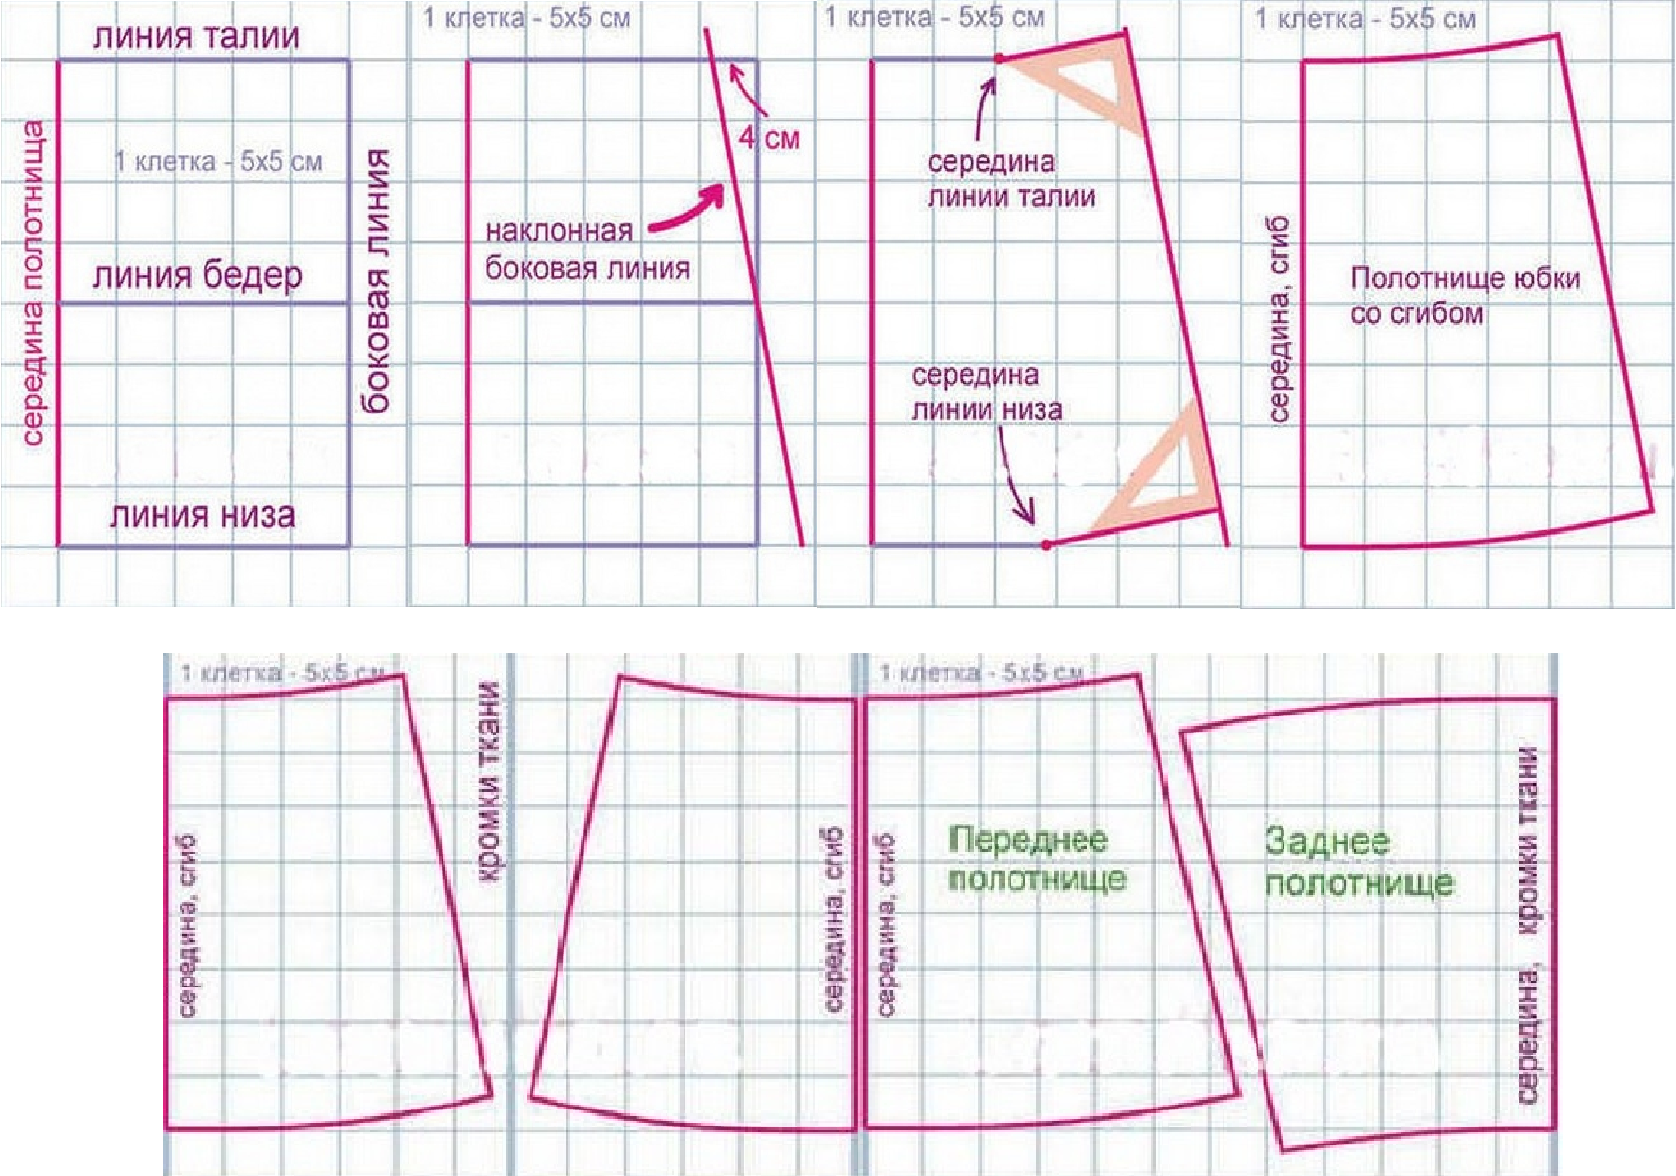
The base is a regular pattern of a straight skirt with two side seams. It usually has 4, sometimes 6 darts. In some models with a back slit or vent, the back piece is divided into two parts. The pattern is constructed as follows:
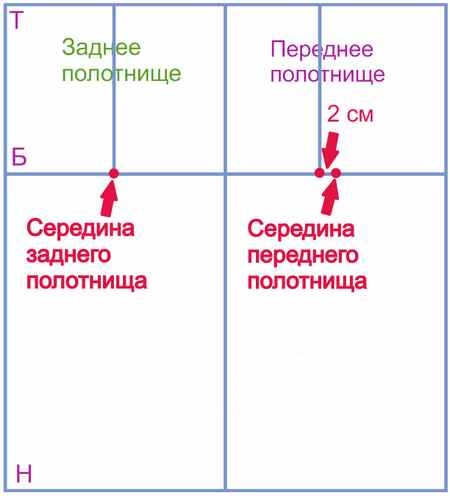
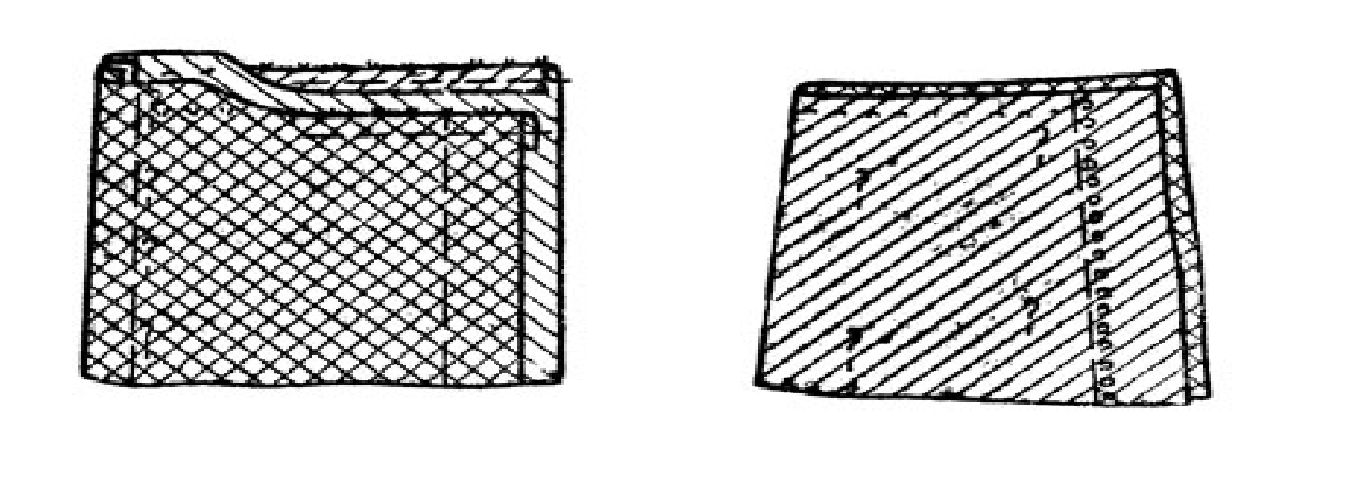
- The main grid is made. This is a rectangle, the height of which is equal to the length of the product (L), the width is half the hip circumference (HC). From above, you need to step back the distance of the hip height (HH), in the middle it is vertically divided in half by the side line.
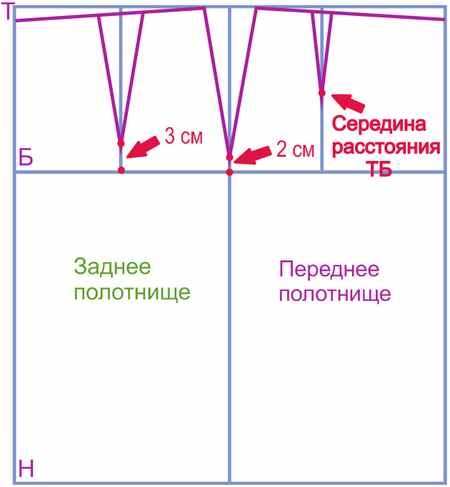
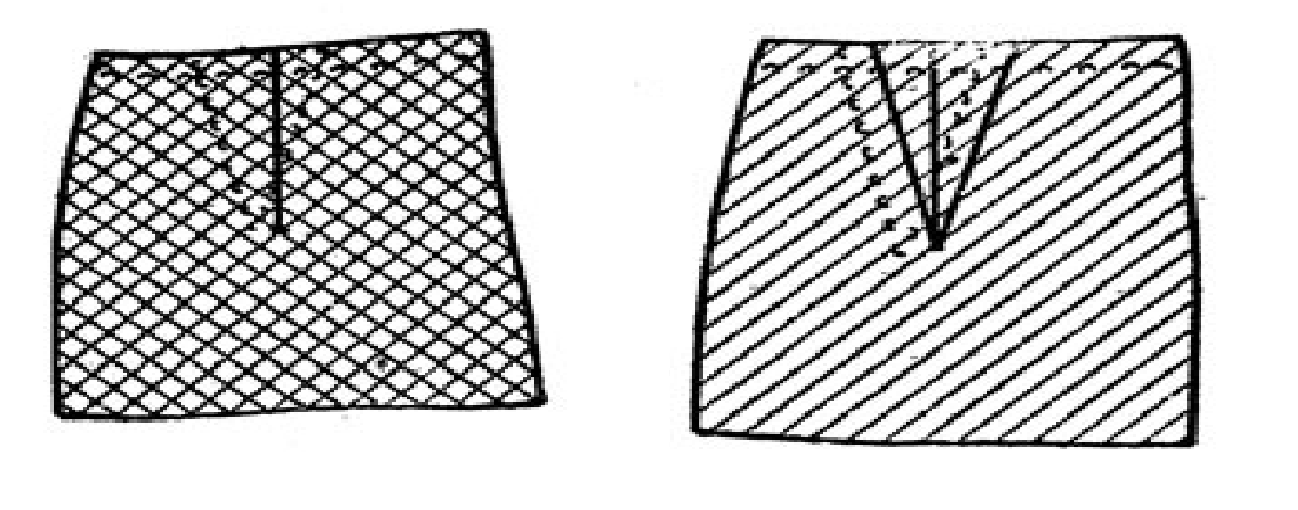
- Next, you need to find the right place for the darts. On the back panel, they are located symmetrically, at the same distance, and on the front, they are shifted to the side by 2 cm.
- A correctly constructed skirt pattern has a waistline that drops to the middle.
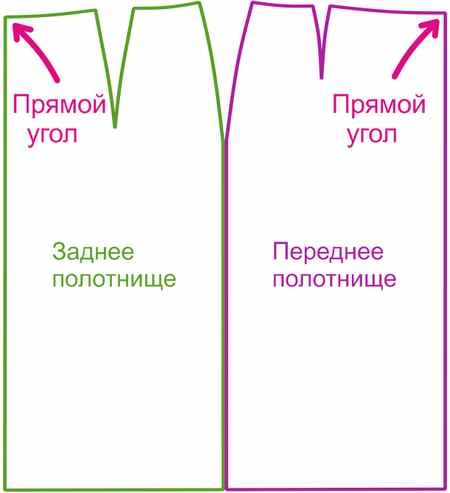
- Both sides of the darts should be the same length, the side line should be slightly convex, and the top edge should be concave. There should be a right angle at the top of the middle line of each piece.
When constructing a pattern, allowances for a loose fit should be made. At the waist, this is 1–1.5 cm, along the hip line — 2 cm. They can be excluded if a narrow skirt is sewn from elastic fabric.
Opening
Using simple patterns, you can sew many different models. It is important to know how to correctly transfer the drawing to the fabric and cut out the details. To do this, first determine the front and back surfaces, all lines are drawn from the back. The fabric must be laid out correctly, taking into account the direction of the grain and the location of the pattern.
The easiest skirt to cut is one made of chintz or other similar material that does not fray. Beginners should follow the step-by-step guide:
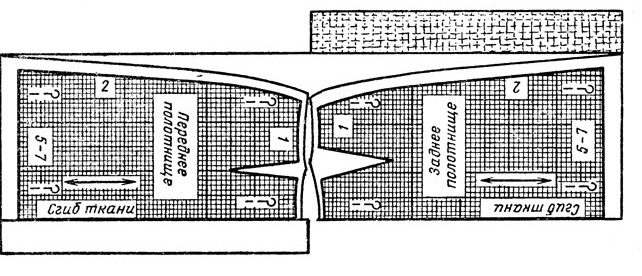
- Fold the fabric in half along the grain line.
- Place the pieces on the fabric and pin them.
- First draw along the pattern line, then again, leaving 1–2 cm for the seam.
- Cut along the seam line.
- Remove pins and remove pattern.
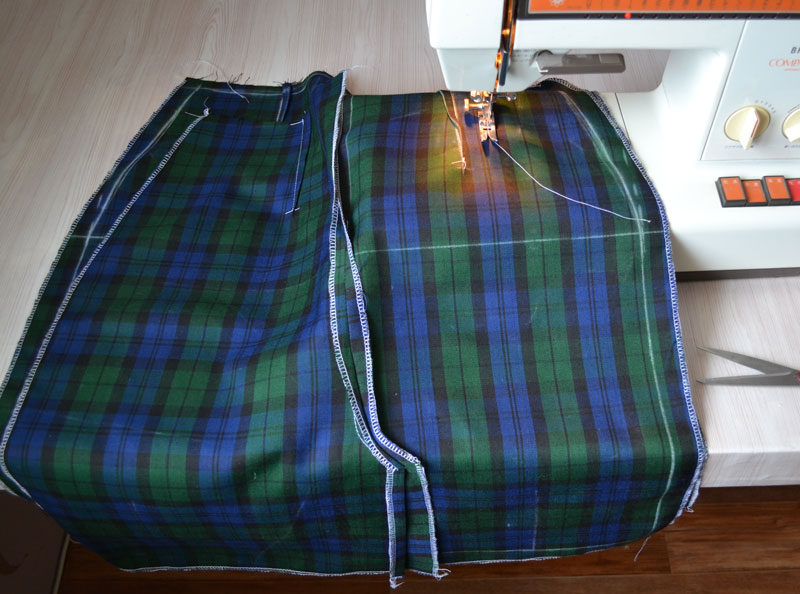
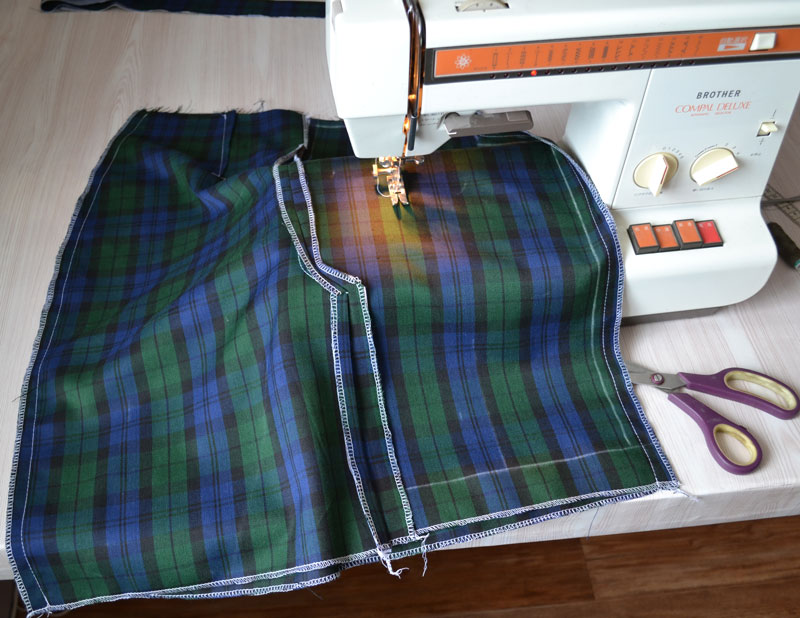
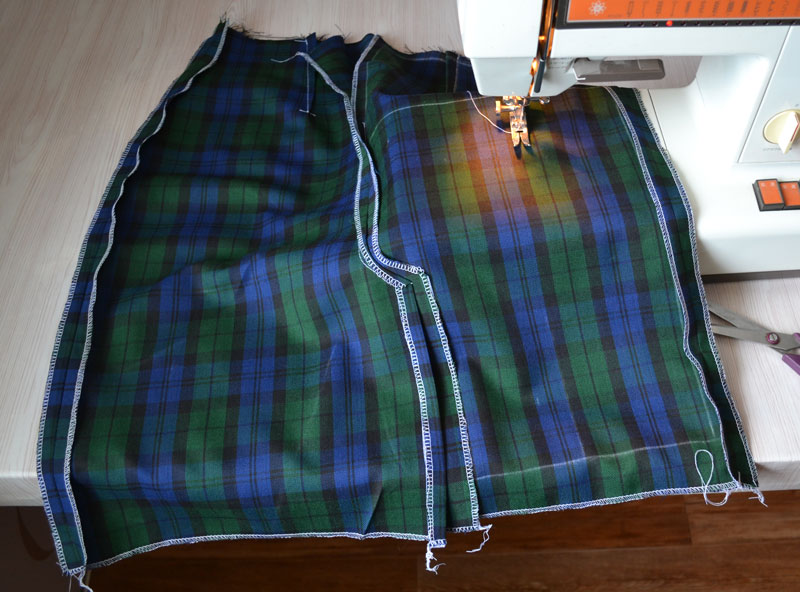
If there are stripes, geometric figures or other coloring details, the patterns of the front and back panels should be placed on the fabric with the lower edges in one direction. The checks and stripes should match at the seams. If the pattern is very large, it should be in the most visible place.
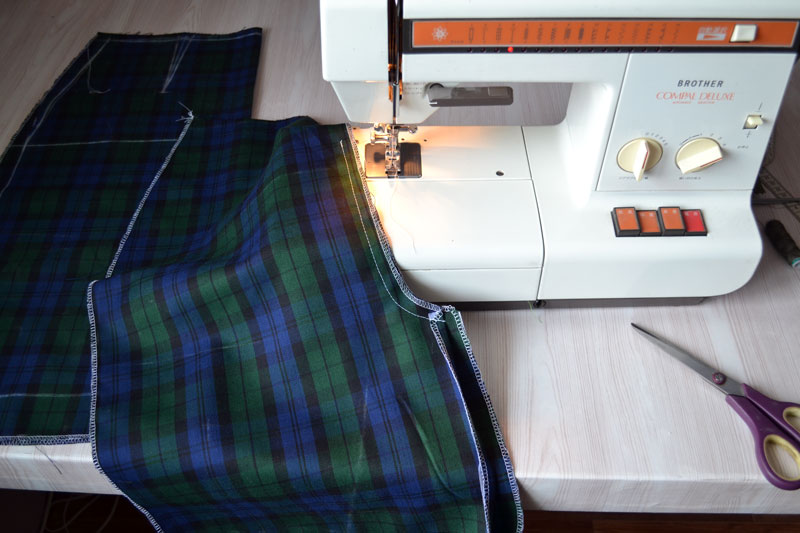
Stitching the parts together
Before starting sewing, it is advisable to finish the edges with an overlock or a zigzag stitch. It is not recommended to sew even simple models directly on a sewing machine. First, you need to stitch the pieces together with a basting stitch. They are placed face to face, carefully matching all edges. After that, they are sewn together by hand, following the following sequence:
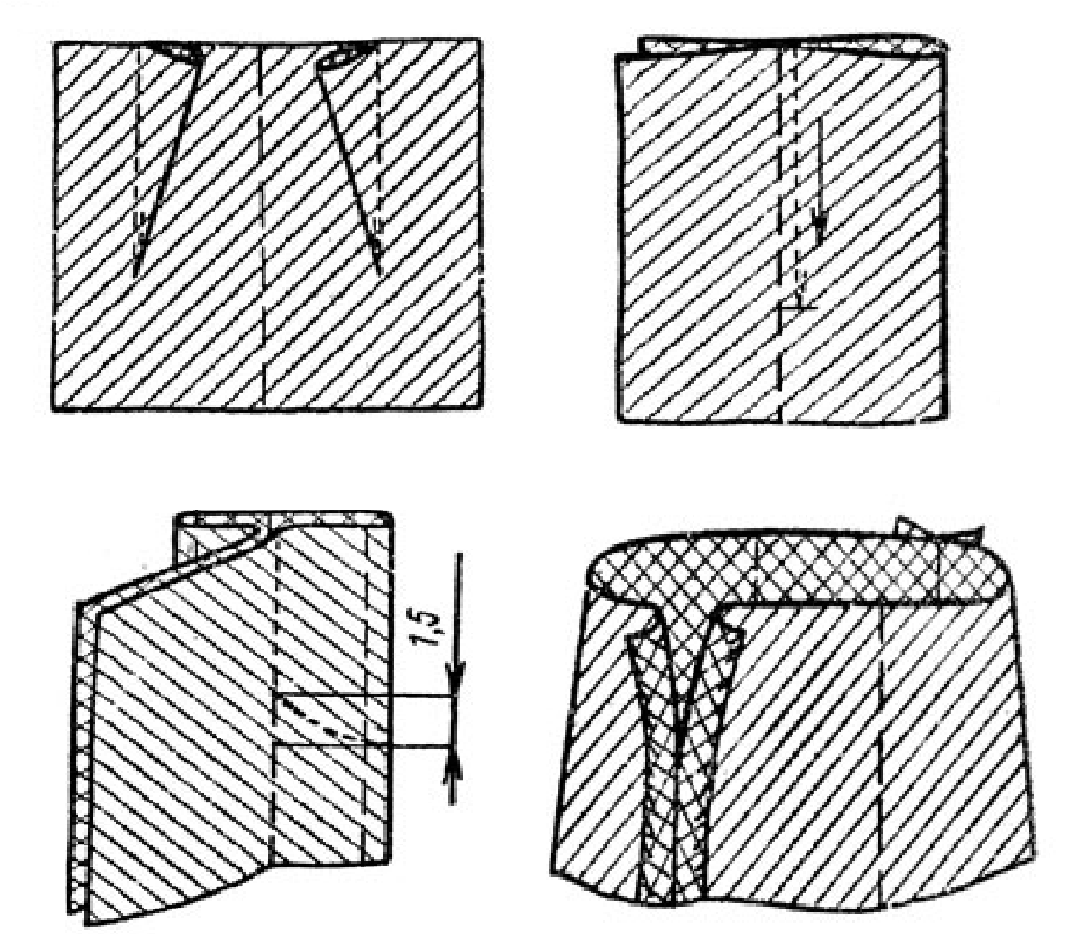
- start with darts, which are sewn from the narrow edge upwards;
- then they baste folds, cuts, and other details;
- sweep the side seams, carefully aligning all the pattern lines, this is done from the waist line down from the side of the front panel;
- bend and sweep the top and bottom edges.
When basting, the width of the stitches should not be more than 0.5 cm so that they do not diverge when trying on.
Fitting the product
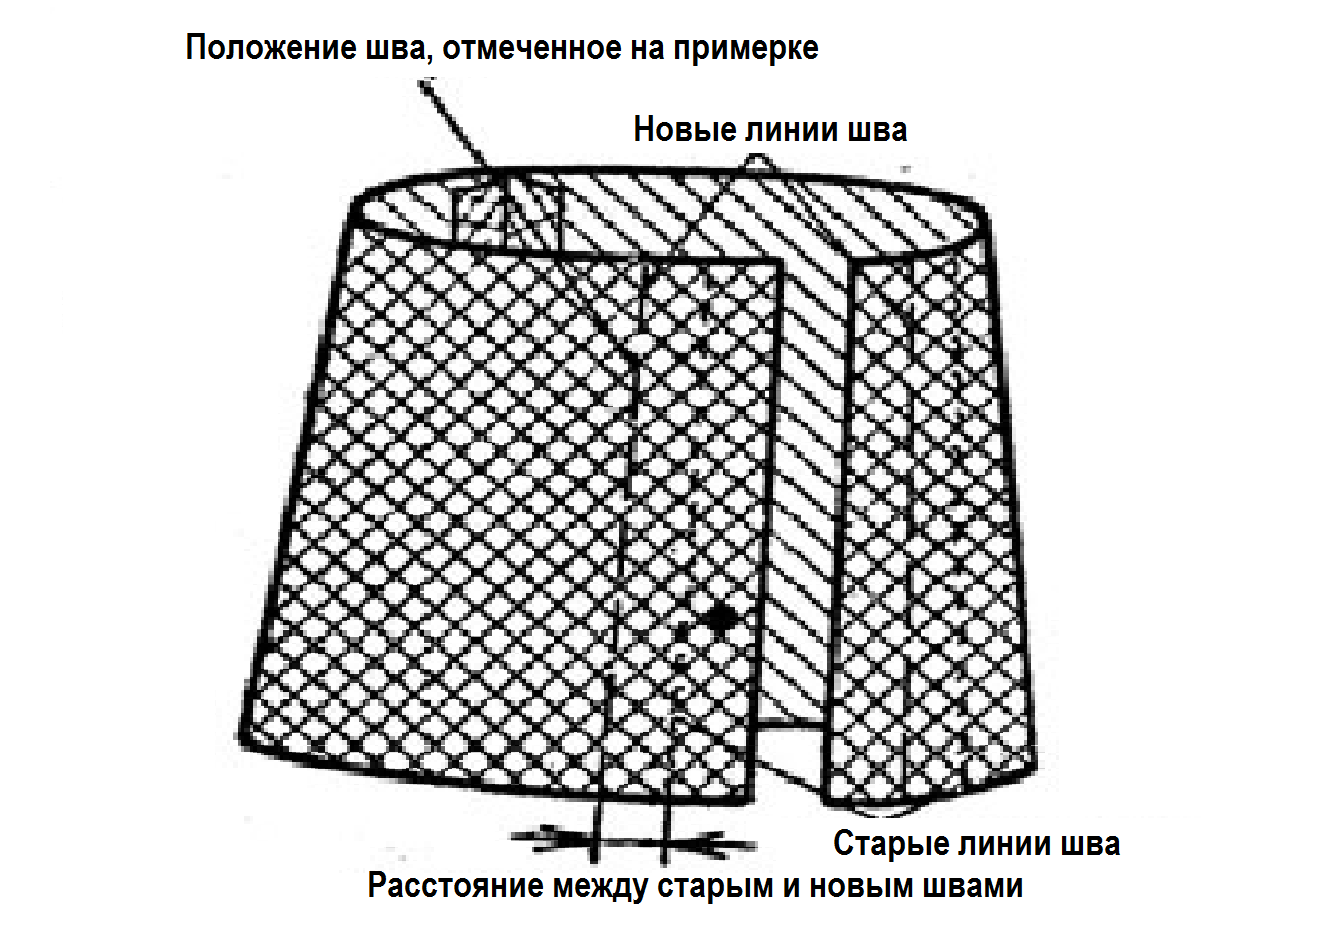
Before sewing the pieces together on a machine, it is necessary to try on the product. It will help to adjust it to the figure. Even if this step seems unimportant, it is necessary. How to adjust:
- put the skirt on without turning it inside out, pin the clasp;
- position the side seams accurately;
- if the width of the product is larger than necessary, remove the excess;
- if the skirt is too narrow, rip the seam and sew it up taking into account the correction;
- check the size and location of the darts, if they are incorrect, rip them out and put them back in.
All corrections are made on the right side of the product, then transferred to the left. If there are many changes, a second fitting is necessary.
Final assembly
After all the corrections have been made, we sew the skirt finally. To do this, you need to choose the right strong threads for the color of the fabric, set the stitch width on the machine. When stitching, it is recommended to apply the pieces so that the front side is on top. The step-by-step instructions for assembling a straight long skirt are simple:
- The machine stitch should be laid 1 mm from the basting seam towards the cut.
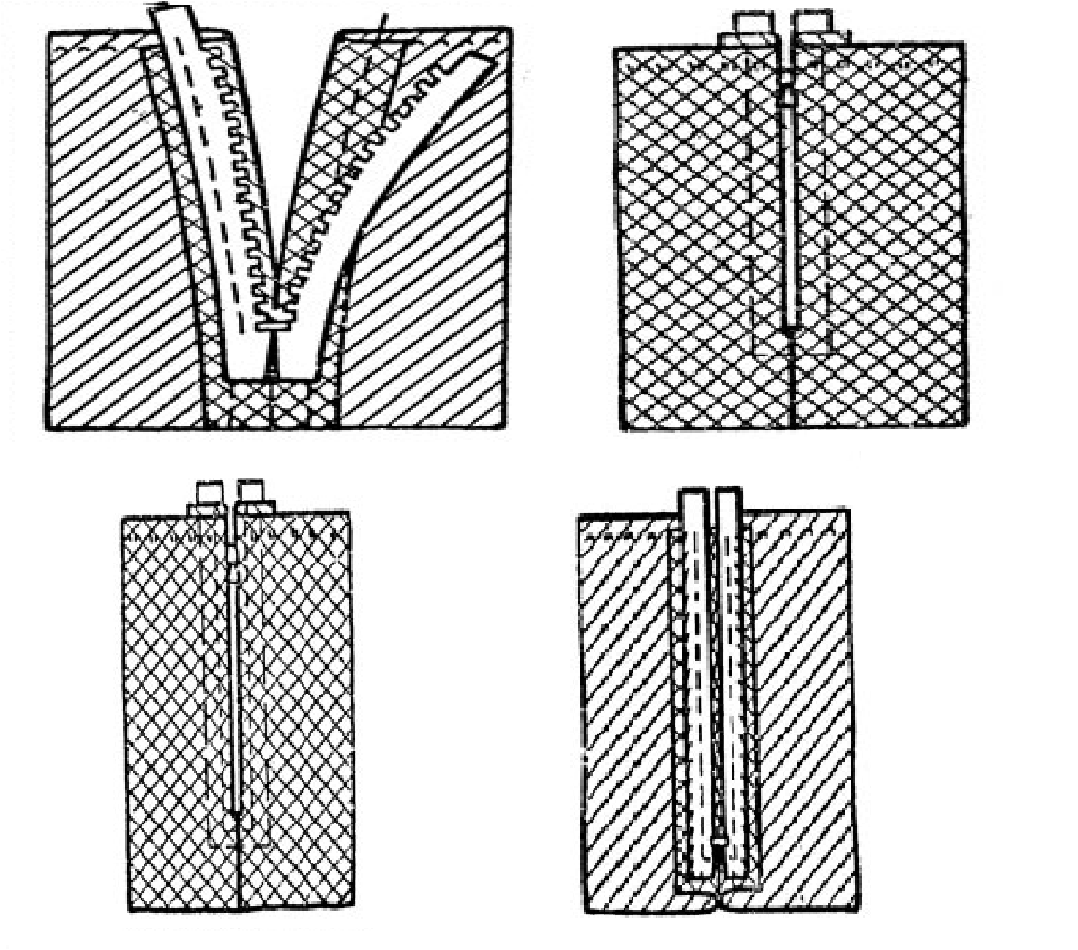
- The middle seam at the back is sewn, if there is one. If necessary, a cut is made immediately and the zipper is processed.
- Then you should stitch the darts on both pieces.
- Only after this are the side seams of the garment connected. You need to start from the waist line.
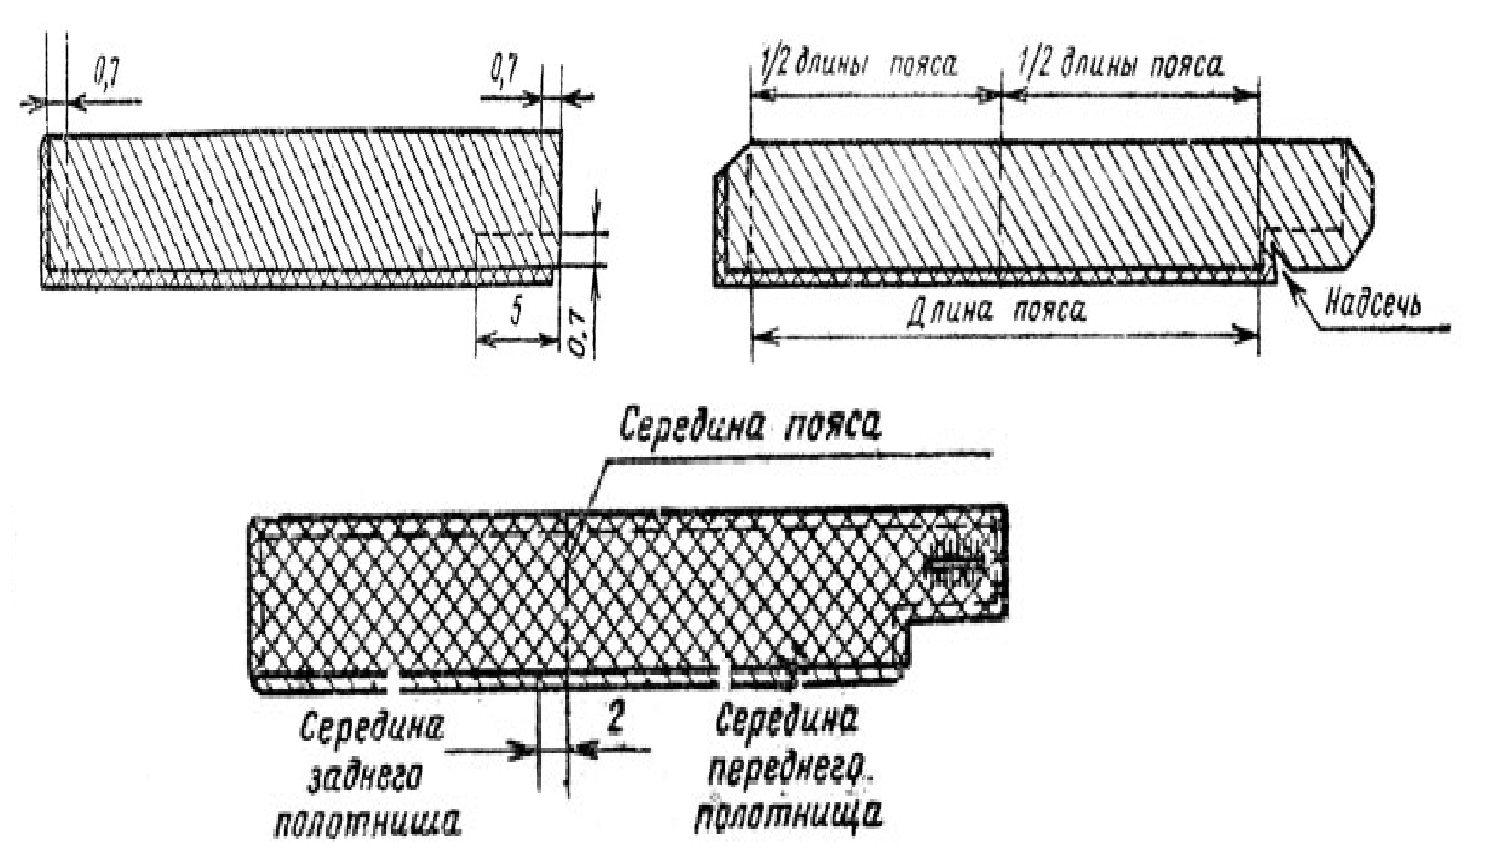
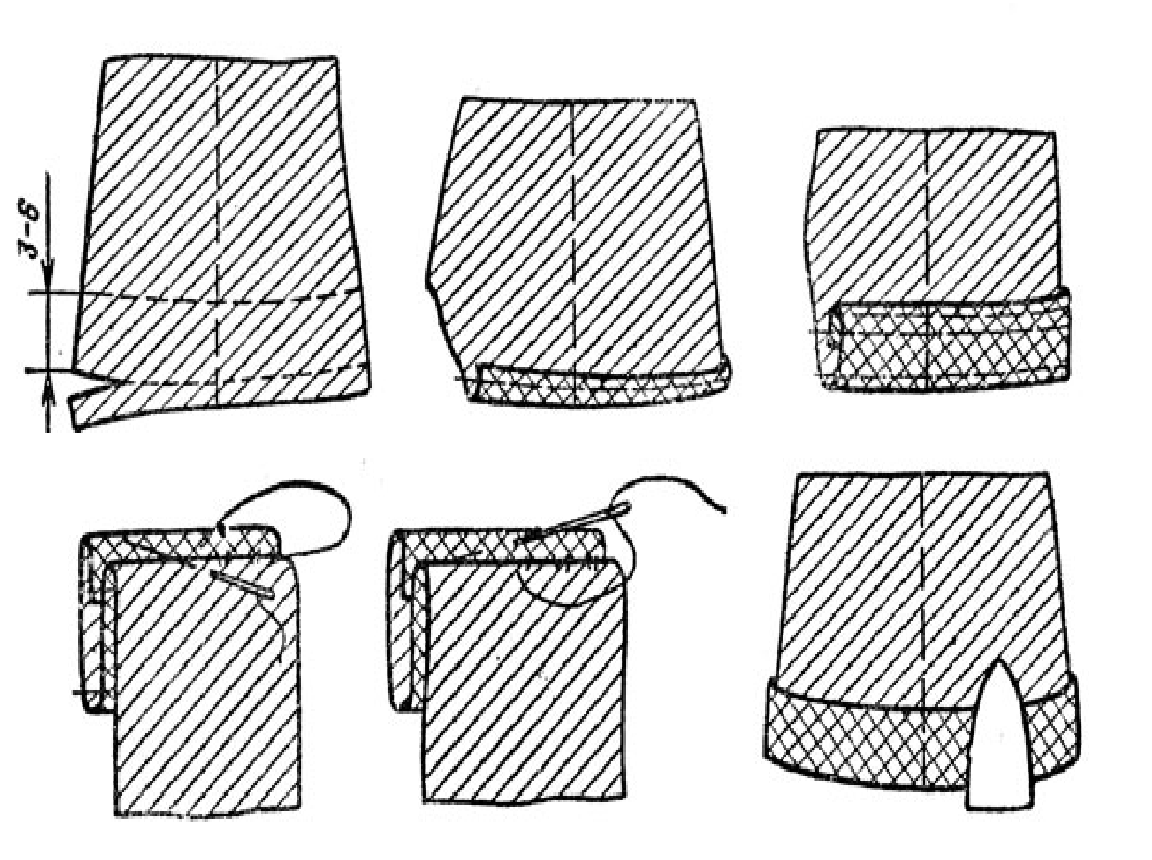
- The belt is sewn on or the top edge is processed for elastic.
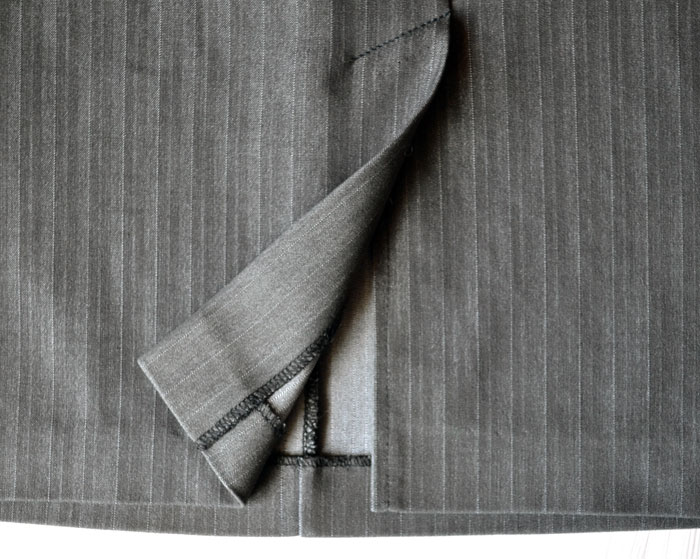
- At the end, you need to hem the bottom edge of the product.
It is advisable to iron each seam after it, this will make the following steps easier.
Manufacturing nuances taking into account the model
Based on the basic pattern, you can create many different models. For example, a sewn long skirt can be wide or narrow, with or without a slit. Each style has its own manufacturing nuances that need to be taken into account:
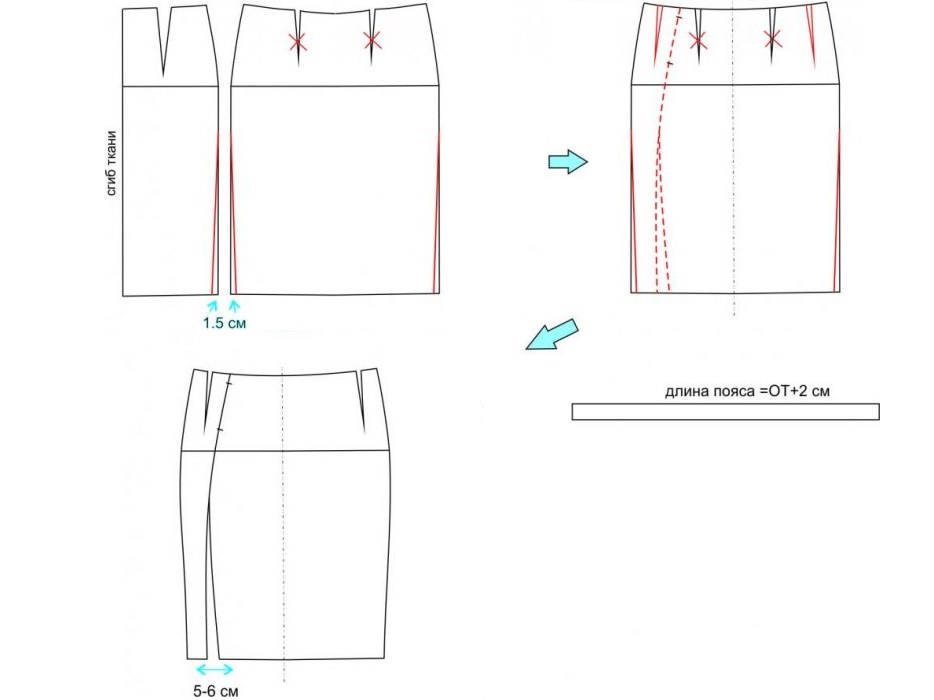
- The straight model is the easiest to sew. It requires a basic pattern, which usually does not need to be altered. The product is adjusted to the figure using darts and fitting. The pencil skirt pattern is slightly different. Its feature is the presence of additional darts under the buttocks and narrowing downwards.
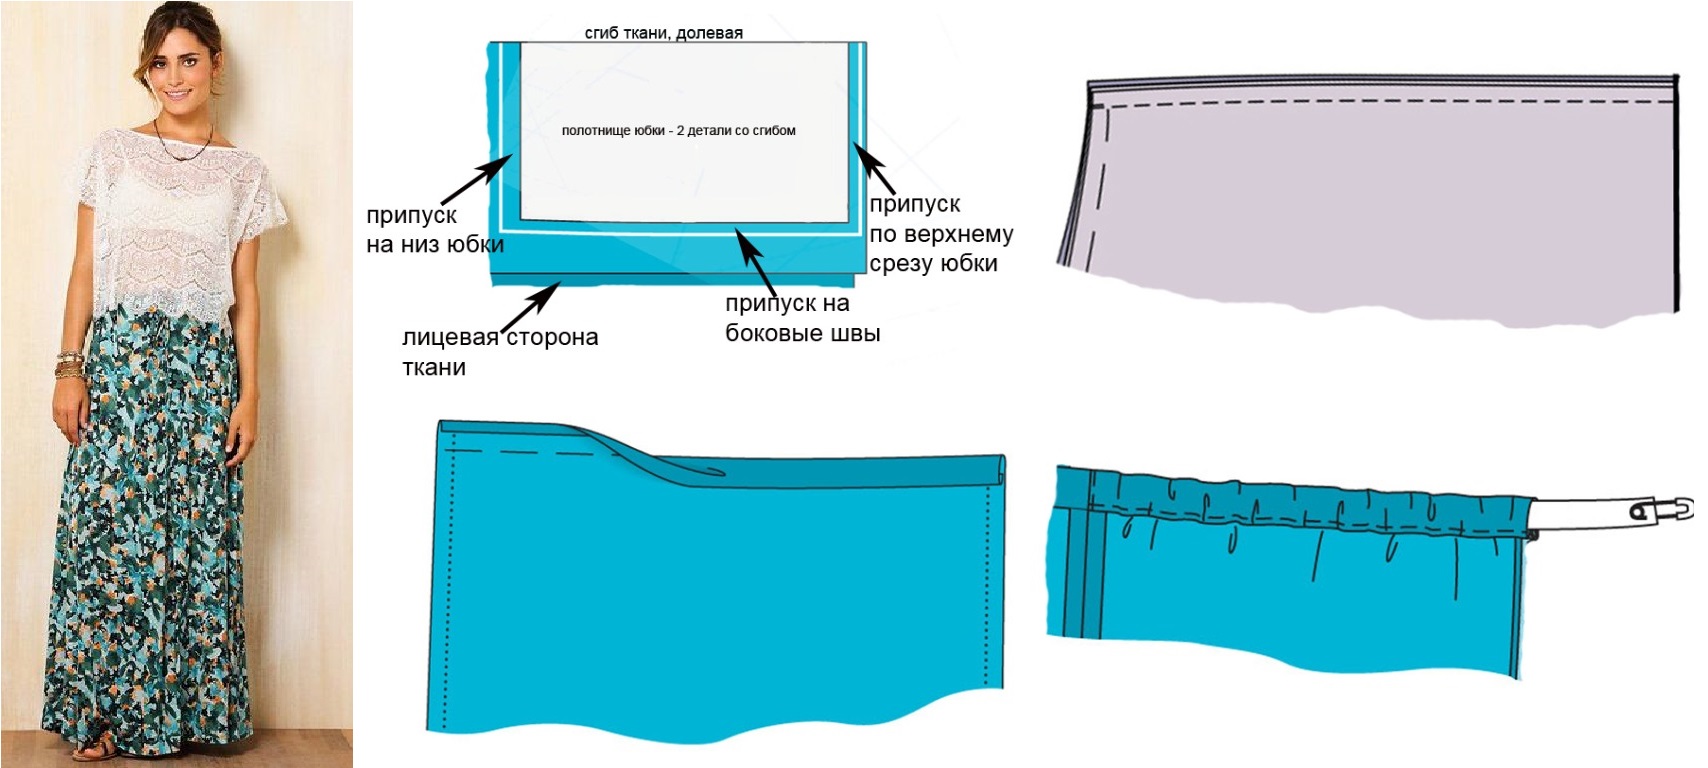
- It will be easy for beginners to figure out how to sew a summer skirt with an elastic band. Most often, it is made long, since a shortened version looks good only on a slim figure. The fabric should be dense enough, but light. The pattern should be adjusted at the bottom depending on the desired width of the product.
- A summer tiered skirt looks beautiful. It can be cut from any number of stripes, alternate contrasting colors or combine the same shades. It is best to sew such a model from cotton, silk or chiffon. The pattern of the product is constructed simply: these are separate rectangles, different in length, and sometimes in height. When sewing, the top of each tier needs to be gathered a little. An elastic band is sewn on top, and a bright frill can be sewn on the bottom.
Inexperienced craftswomen should start with models that are sewn without a pattern, for example, a sun or a tatyanka.
More complex models are: tulip with several diverging folds, tulip on a yoke with gathers, bell, godet, skirt with wedges, with folds, pleats. Only experienced craftsmen can do such work.

How to sew without a pattern
Women often wonder how to quickly sew a skirt without a pattern. All you need is a piece of fabric and a sewing machine for a few simple seams. Such updates are available even to beginners, you just need to choose the right style. There are several models that are quite easy to make:
- The simplest skirt is a sun. For it, you only need to know the waist circumference and the required length. It can be made from staple, silk, cambric. You need to lay out a large piece of fabric on the floor, draw a circle in the middle, the radius of which is equal to the waist circumference, divided in half. Step back from the circle a distance equal to the length of the finished product. You need to cut taking into account the seam allowance. After this, all that remains is to process the edges and sew on the elastic band on top.
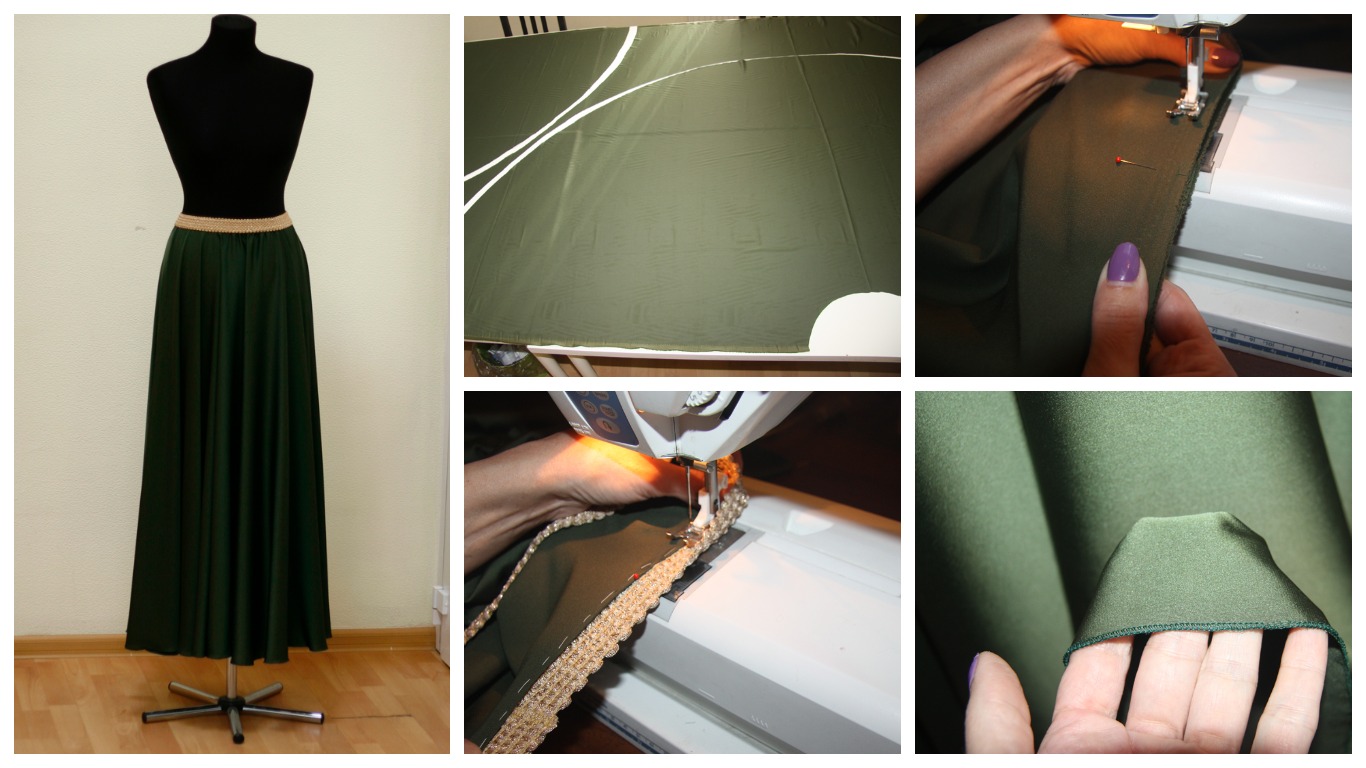
- It is very easy to sew a long skirt with an elastic band. This is an ideal option if you need to hide the imperfections of your legs. The fabric is cut into two rectangles. The width is the hip circumference multiplied by 1.3–2 (depending on the fullness of the finished product). 5–6 cm are added to the desired length for seams. After sewing the parts and processing the seams, all that remains is to insert the elastic band on top.
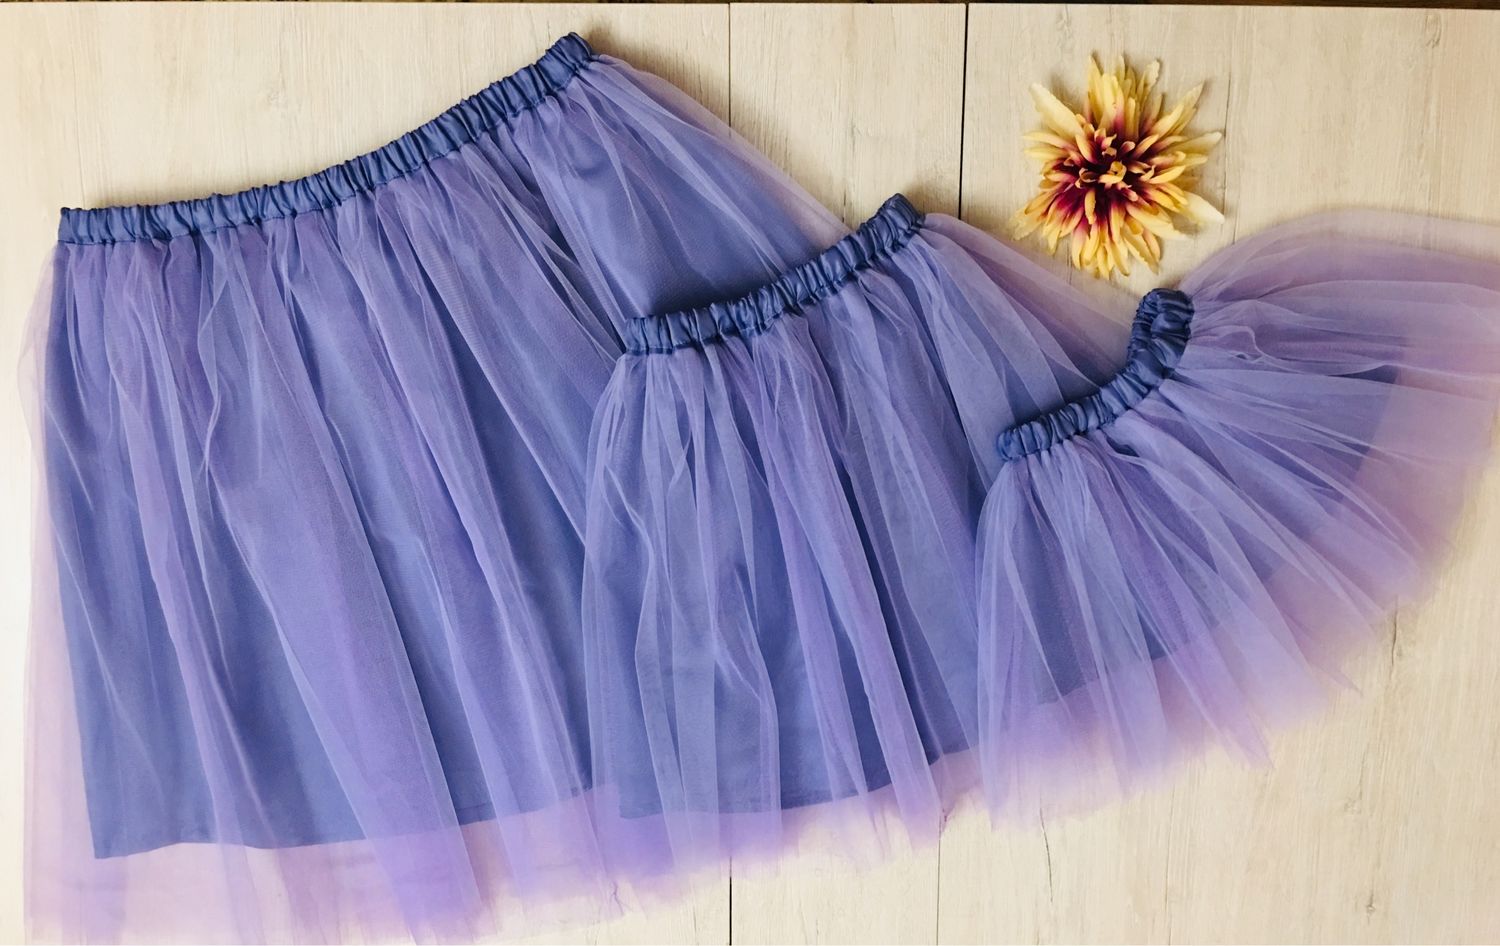
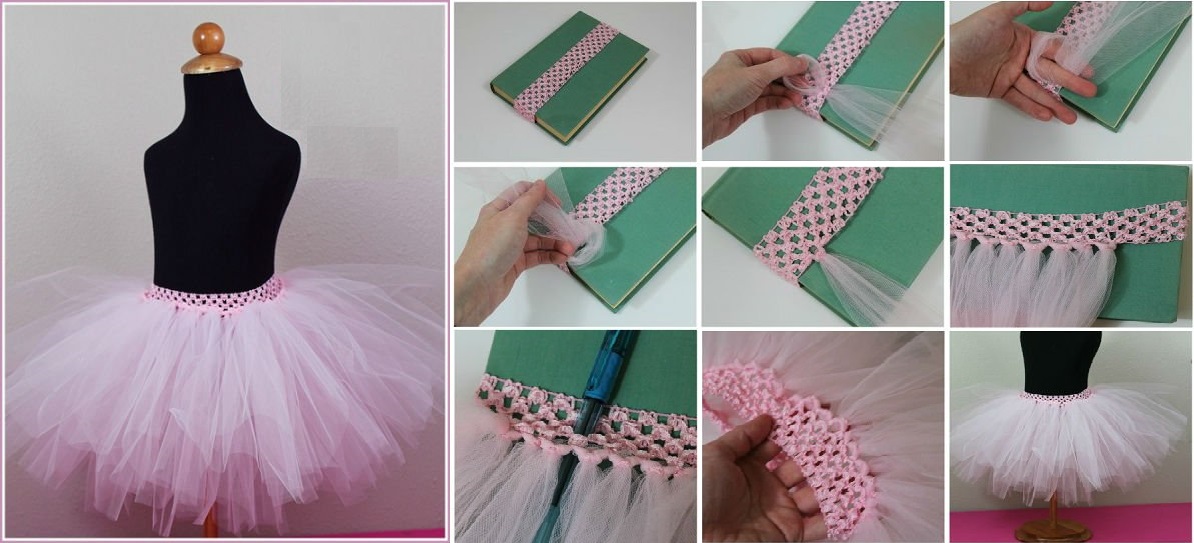
- Making a simple tutu skirt is also easy. It is more suitable for a little fashionista, although young girls can also wear it to a party or holiday. You will only need tulle and a wide elastic band. The fabric is cut into pieces 30 cm wide and 2 times longer than the length of the finished product. In total, you should get 40-50 strips. They need to be secured to a belt made of wide elastic, wrapped around it and fixed. After distributing all the strips, the fabric needs to be fluffed.
- A simple skirt without a pattern is a straight mini. To avoid it looking too boring, it is recommended to make it from strips. Each of them is 7-8 cm wide and the length is half the hip circumference. After sewing the strips together, you need to connect the halves so that the seams match, process the edges and insert an elastic band on top.
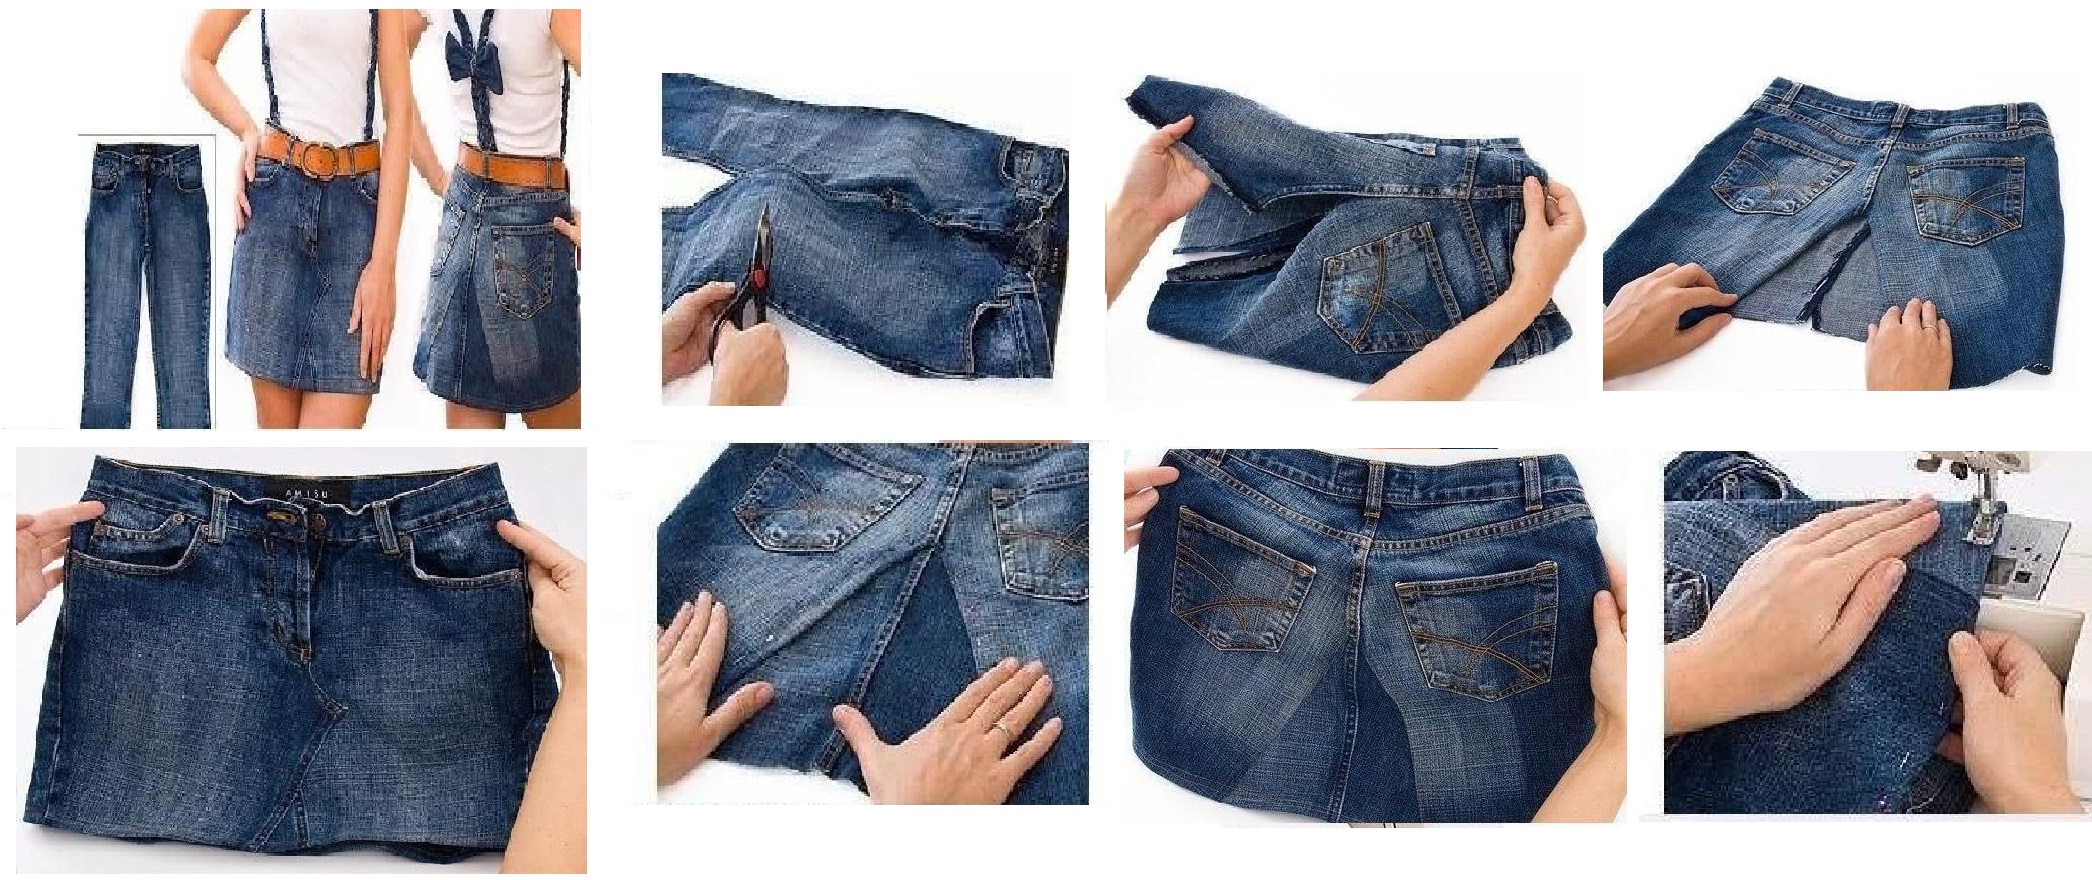
For those who do not know how to sew on a sewing machine or do not want to mess around with cutting out fabric, it will be easiest to figure out how to sew a skirt from denim pants. They should fit in size, then you will not have to adjust anything. You need to cut the legs to the required length, rip the inner seams. If the jeans were wide and straight, you can simply sew these seams. Otherwise, you will have to insert wedges into these places, perhaps from another material.
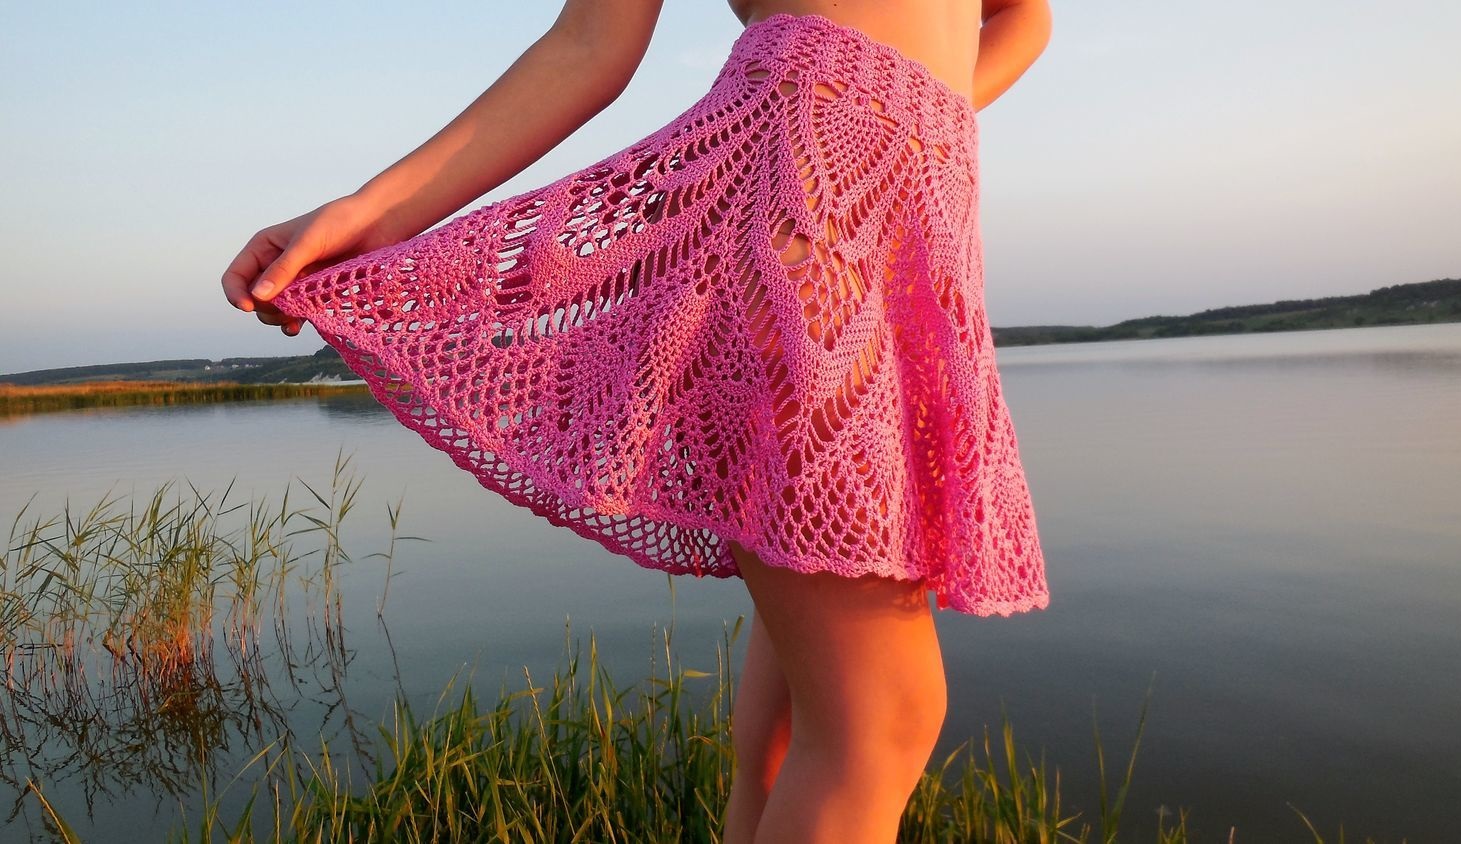
Any clothes made with your own hands look original and add individuality to your image. Even a simple cotton skirt can become a stylish decoration. And having learned to sew more complex models, correctly select fabrics and styles, you can completely diversify or even completely update your wardrobe.
Video