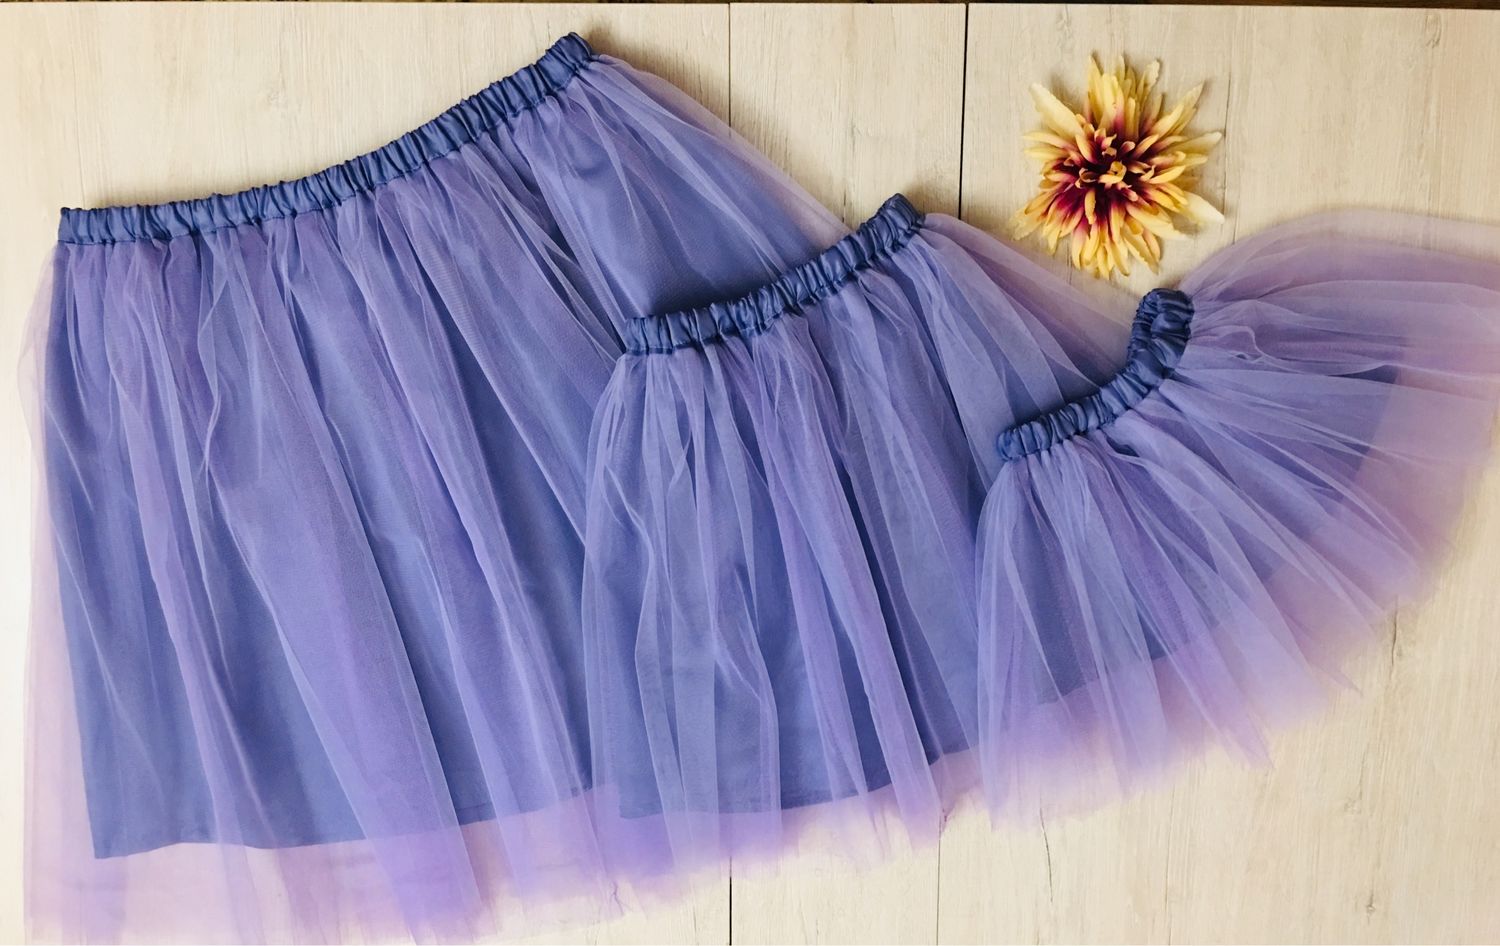
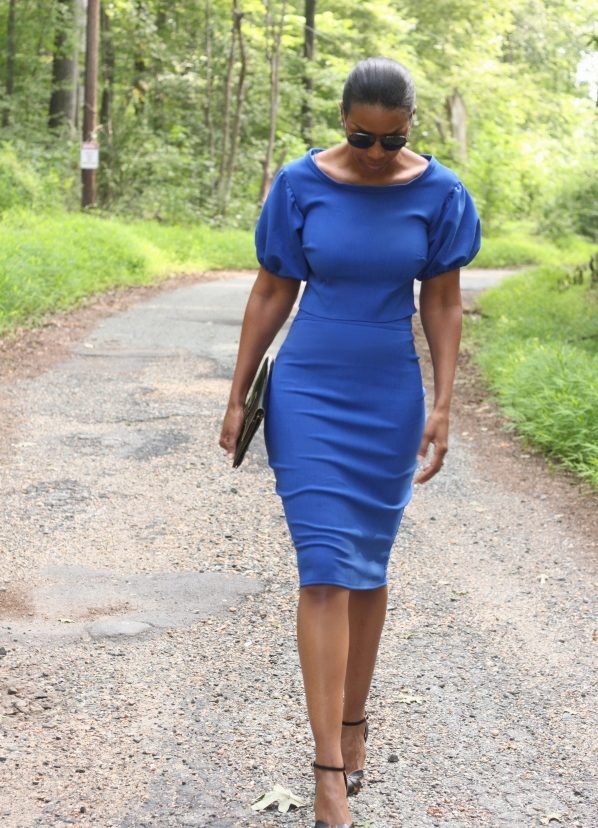
Elegance and a sense of style are relevant at all times. A woman's wardrobe should always include classic clothes. They are irreplaceable for all occasions. A striking example is a strict skirt, the fashion for which will never pass. If you know how to sew a pencil skirt with your own hands, you can replenish your wardrobe with a stylish new item and save the family budget. The manufacturing process is quite simple for those with basic knowledge in the field of cutting and sewing.
Selection of material
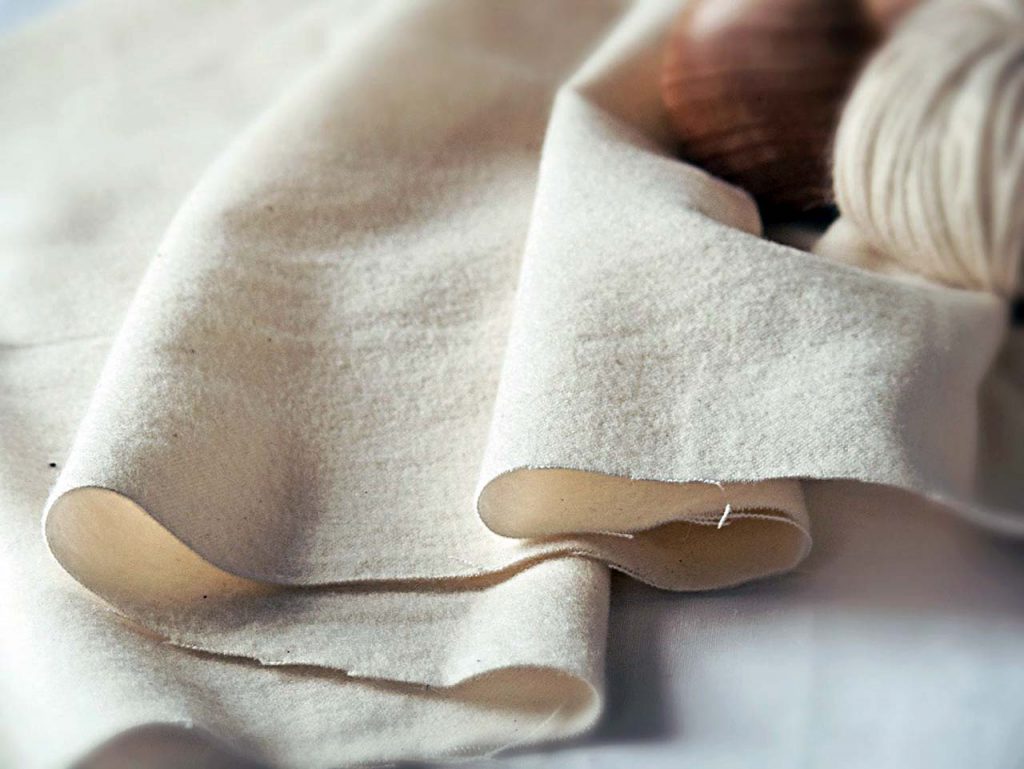
Almost any material is suitable for sewing a straight skirt. However, there are certain recommendations for choosing fabric for a pencil skirt. First of all, the connection with the event to which the product is planned to be worn is traced. The skill of the seamstress is also important.
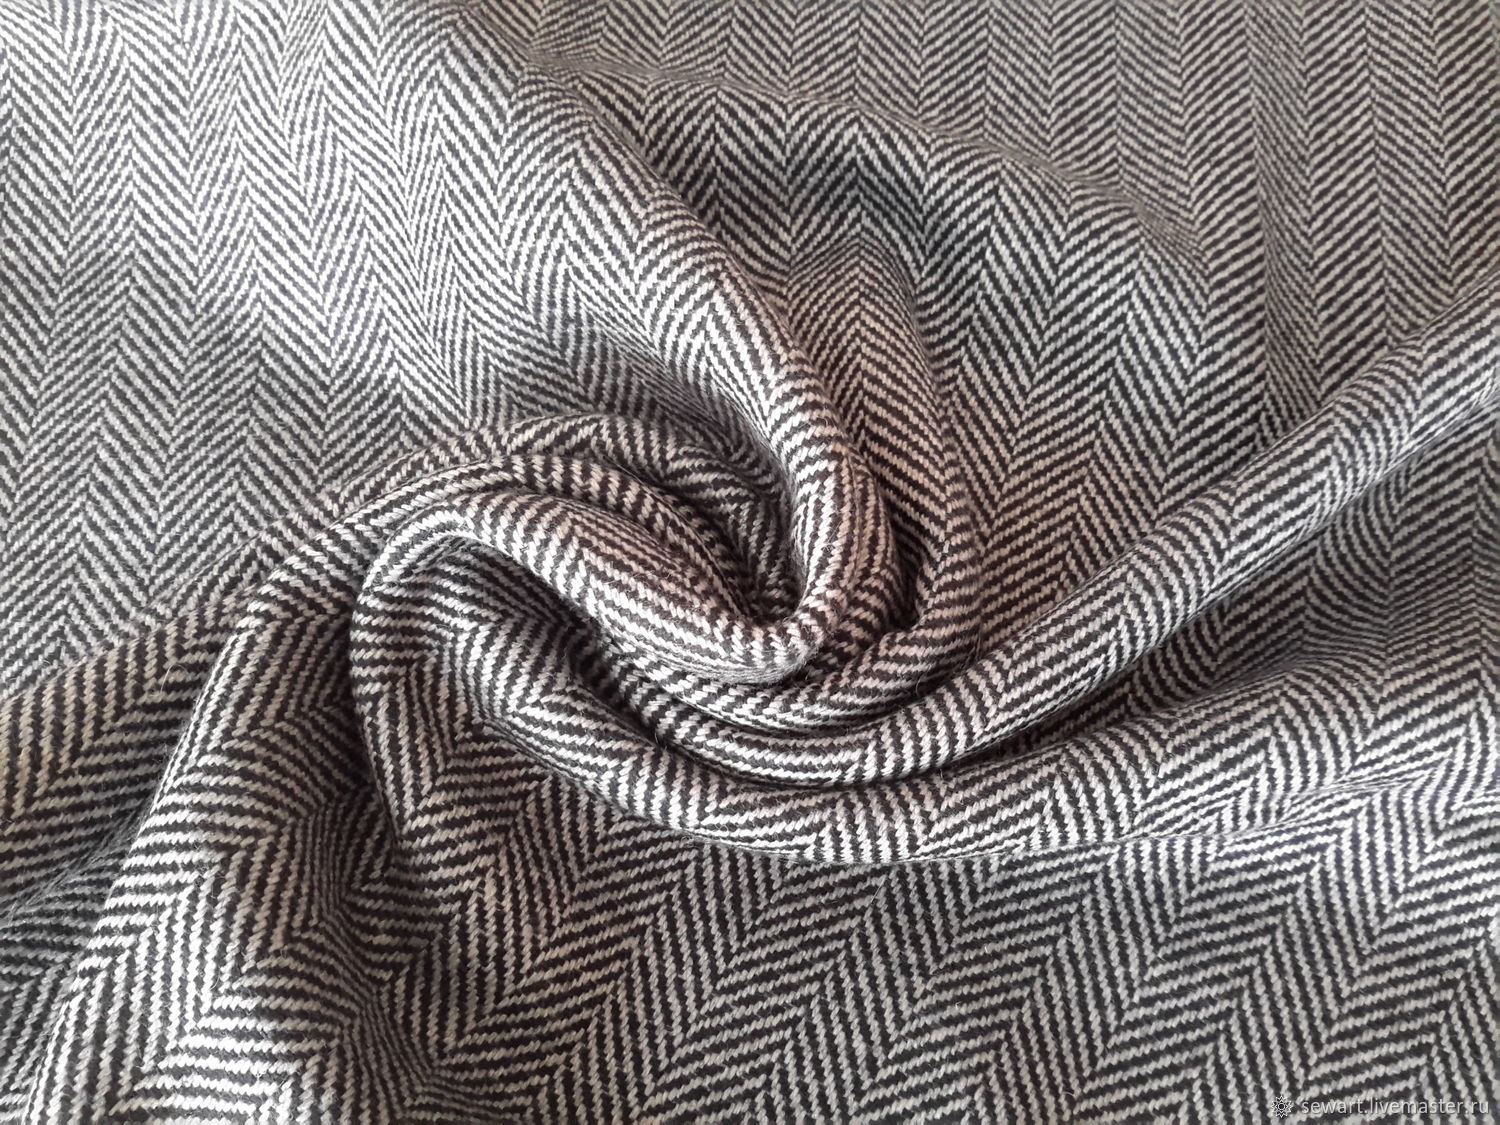
For a business style, it is preferable to choose crepe, loden, tweed, jacquard or gabardine. Any suit fabric looks appropriate. A model with a slit in the front will look especially original. The image will be elegant and strict.
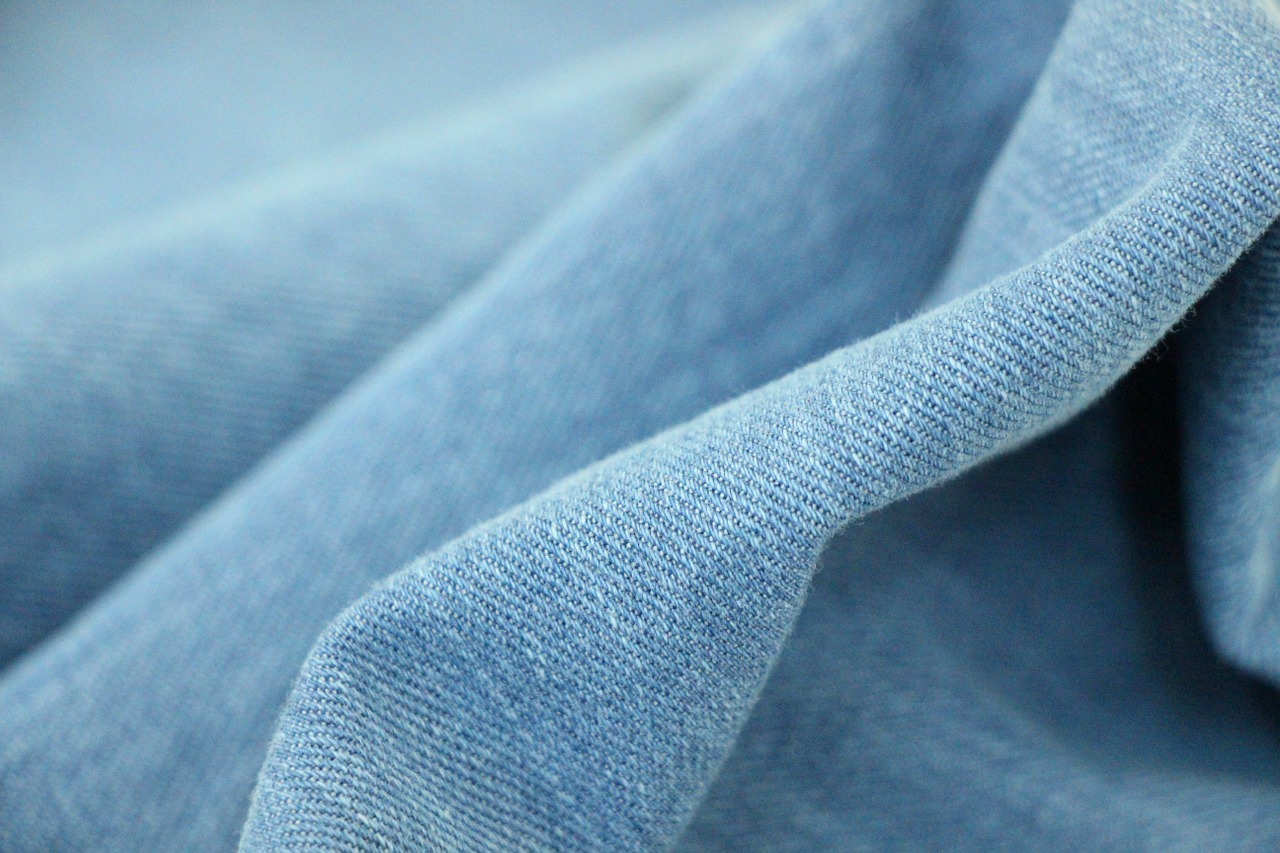
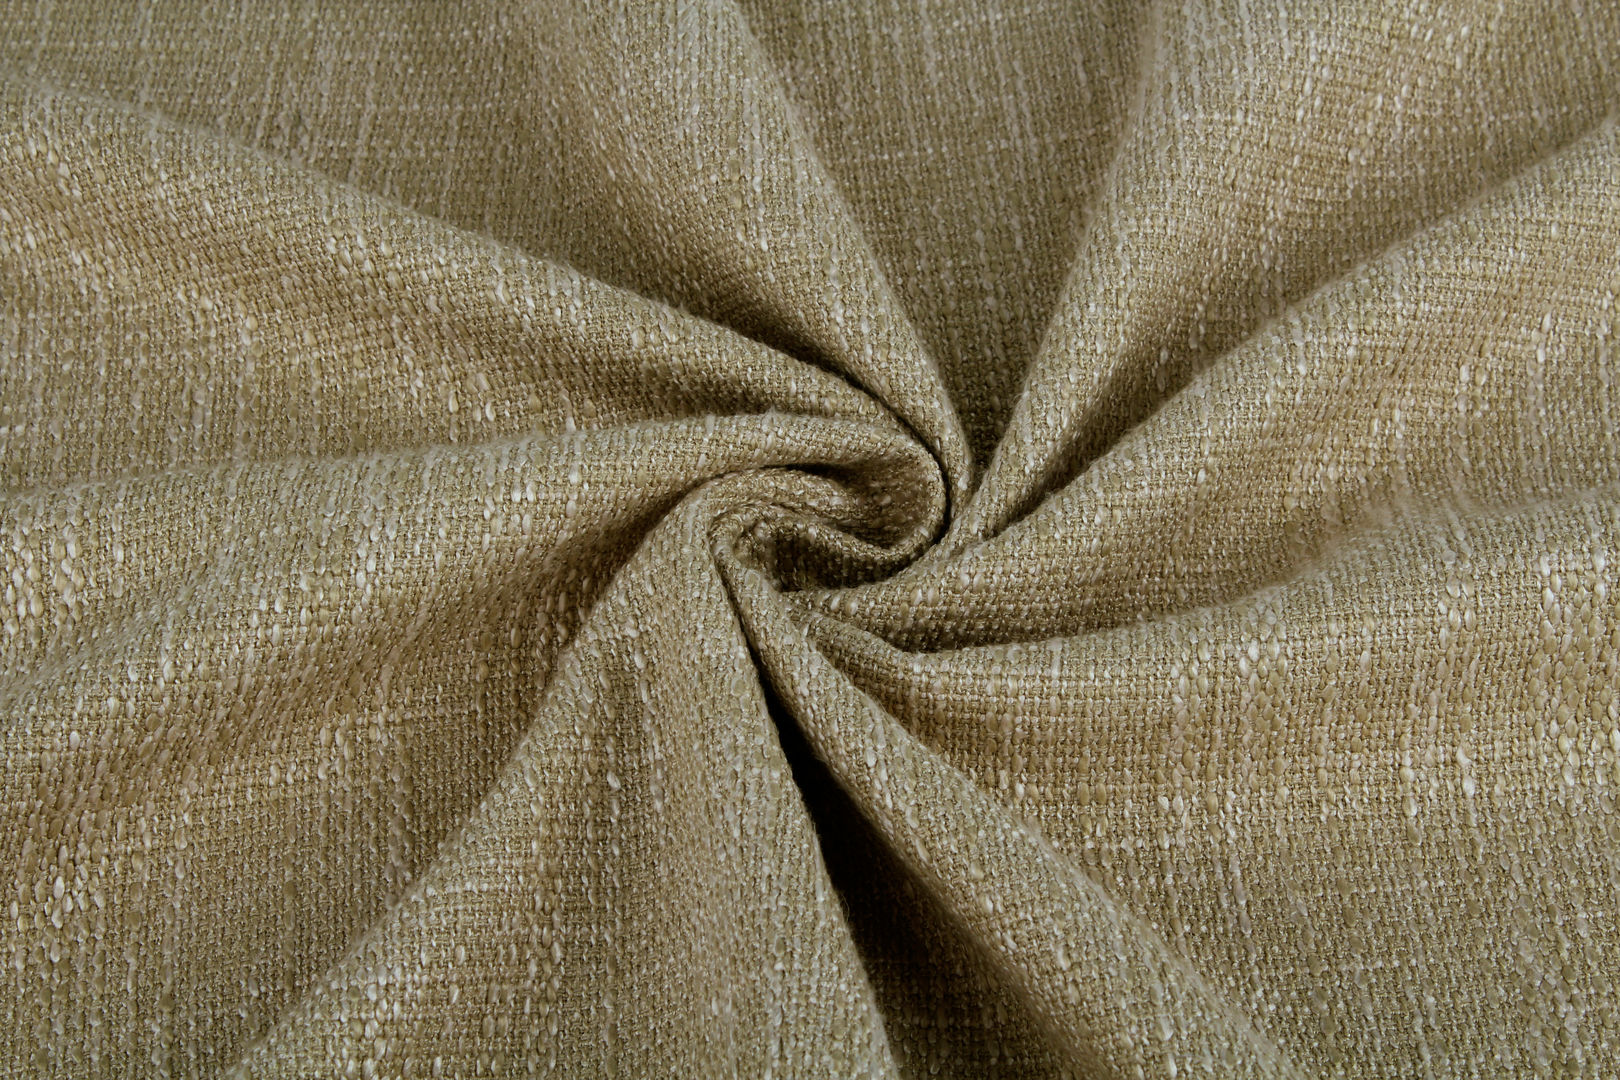
If you plan to wear a skirt every day, stylists recommend using denim, knitwear, cotton, linen or georgette. The most popular is knitwear. However, do not forget that this material very accurately conveys all the flaws of the figure. Therefore, only those with ideal shapes can afford a knitted pencil skirt. Otherwise, the use of shapewear is mandatory.
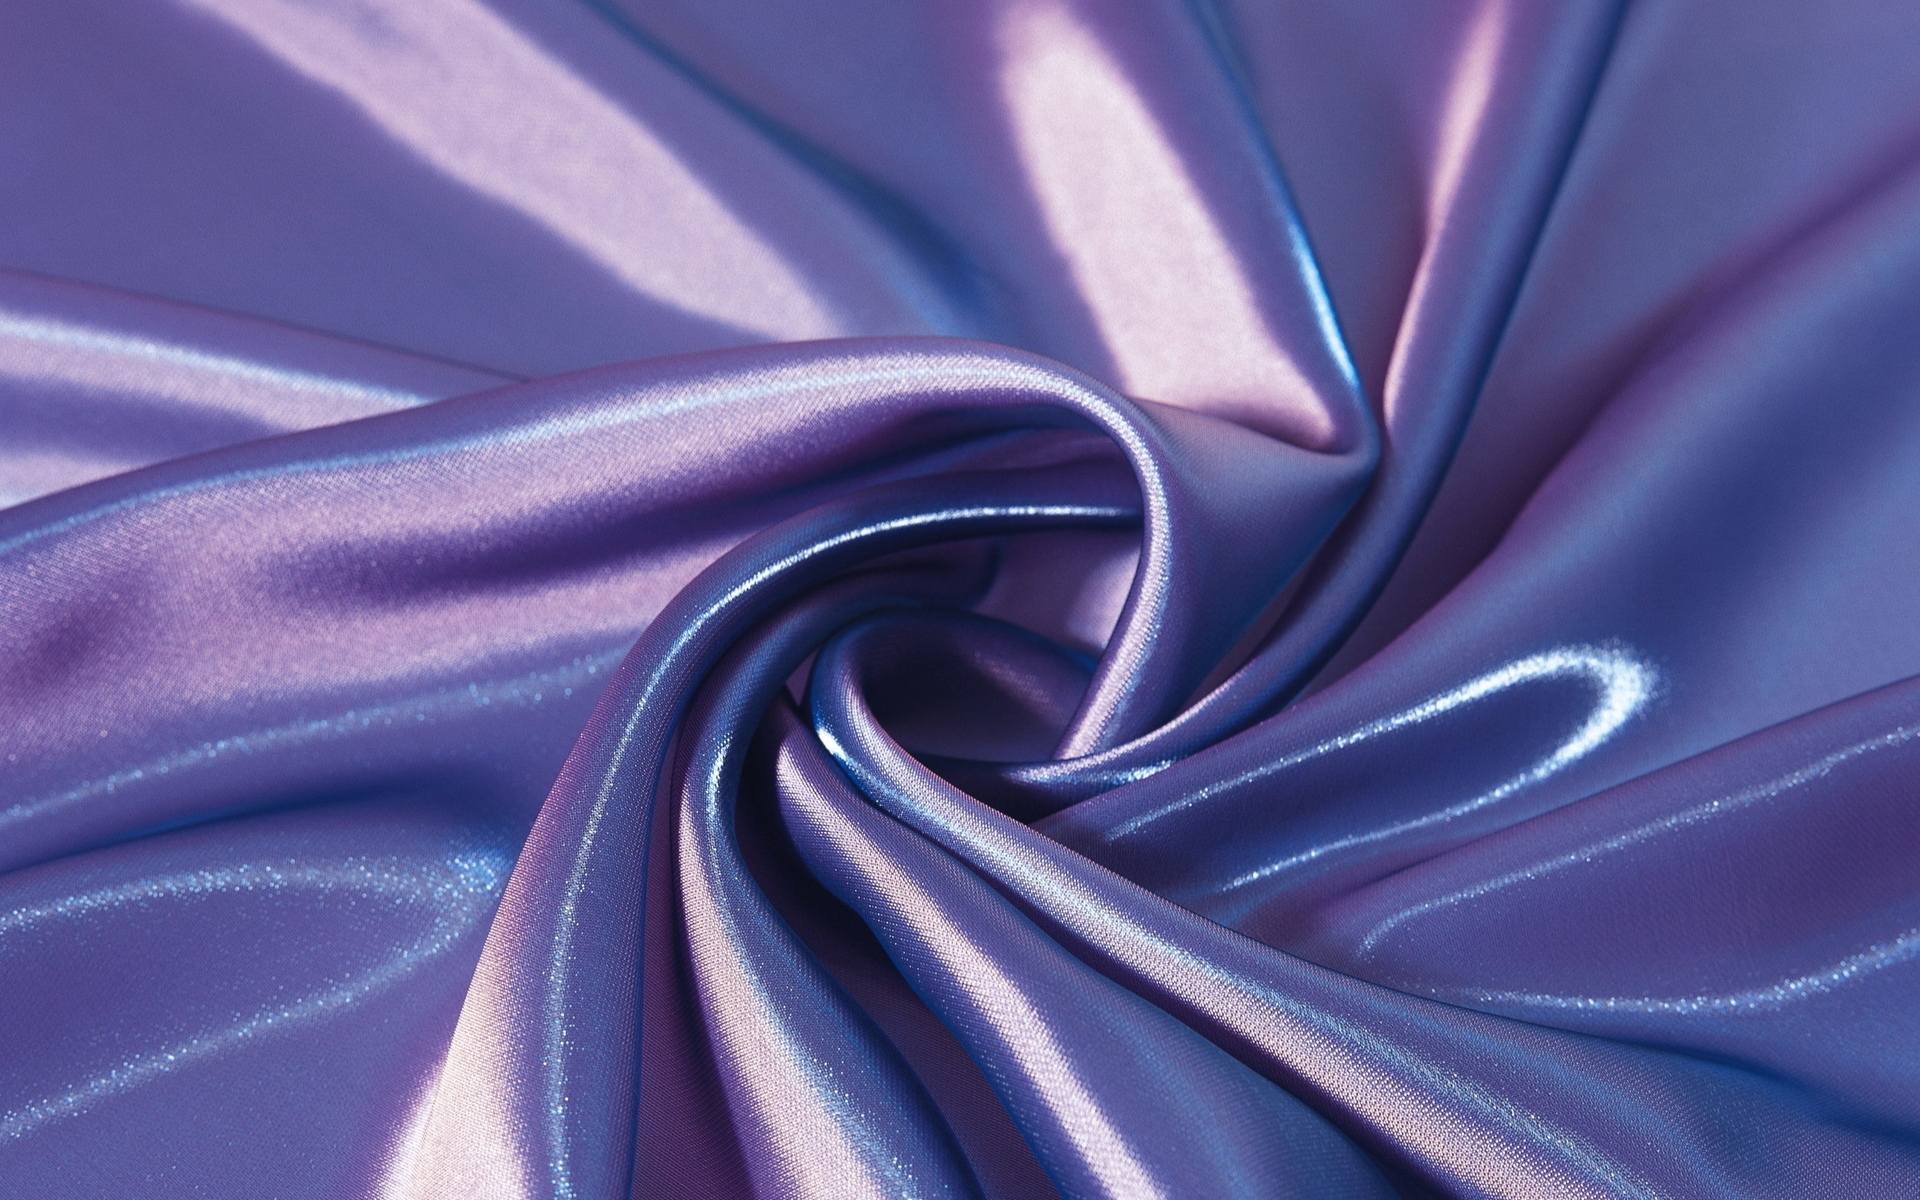
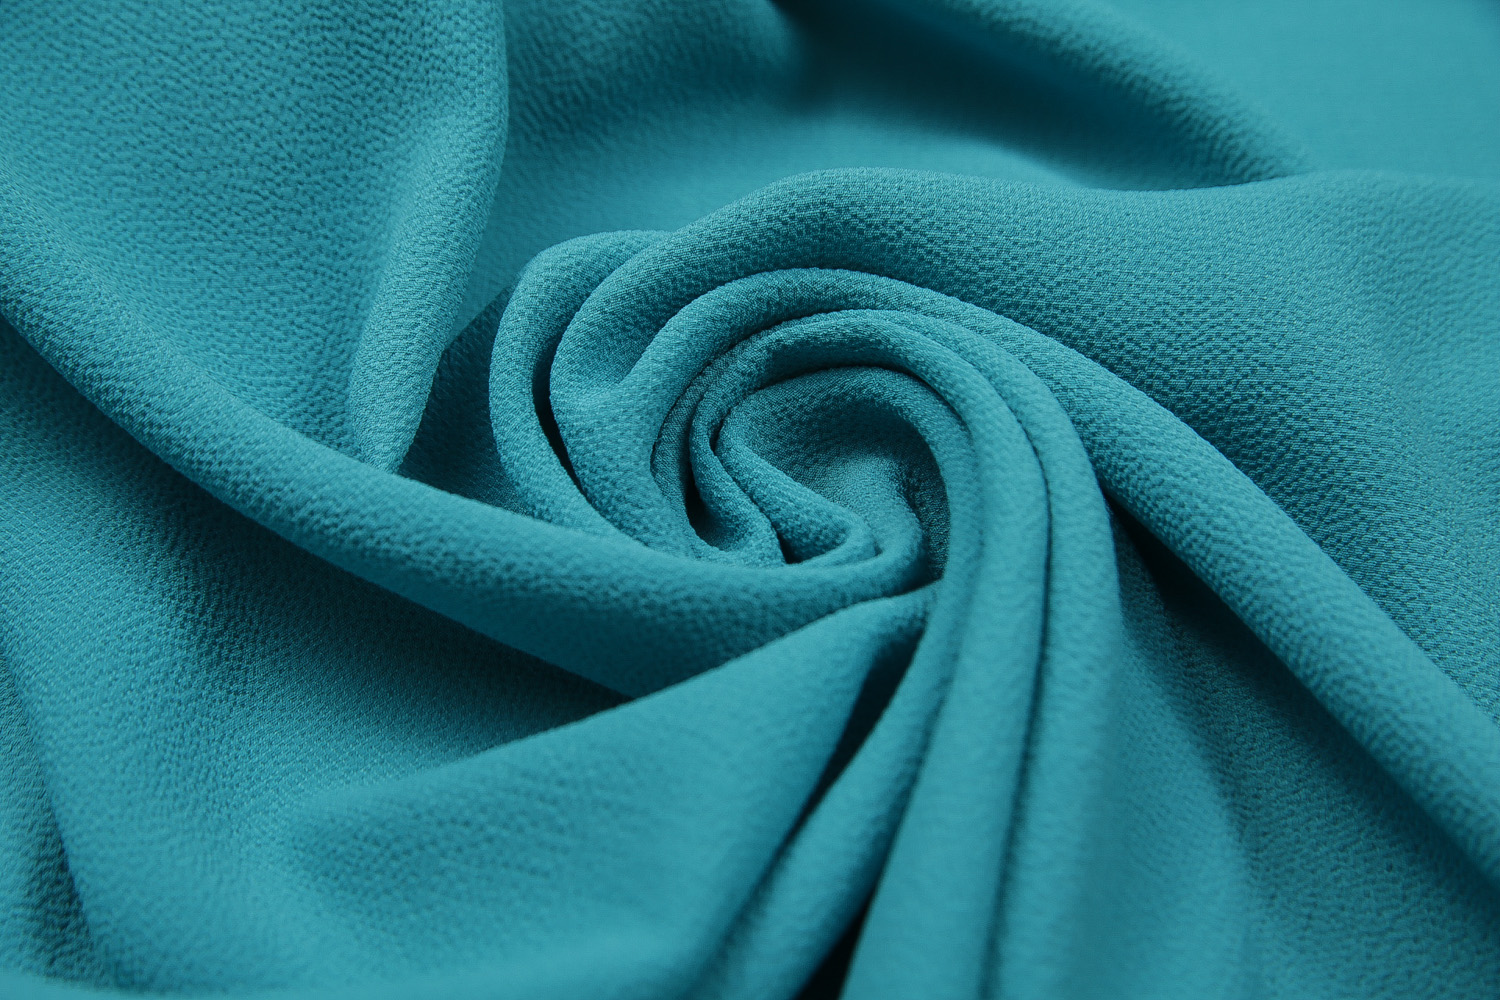
For evening events, materials such as velvet, lace, velour, suede, satin, and leather are suitable. The fabrics are quite complex and capricious, and are recommended for more experienced dressmakers. However, the result can amaze with its sophistication and inimitability. And a pencil skirt with a slit will add sexuality and mystery to the image.
There are separate recommendations for beginners. They should be followed to avoid troubles during sewing. To achieve the ideal result, you should choose fabrics that:
- light and easy to process;
- do not contain elastane;
- do not crumble when cut;
- have no pattern;
- relatively inexpensive.
Based on the above criteria, it is better for beginning dressmakers to choose crepe, linen, thick cotton, denim, suit fabric. Material that contains synthetic additives is also welcome. In addition, such fabrics are easier to work with.
Necessary tools
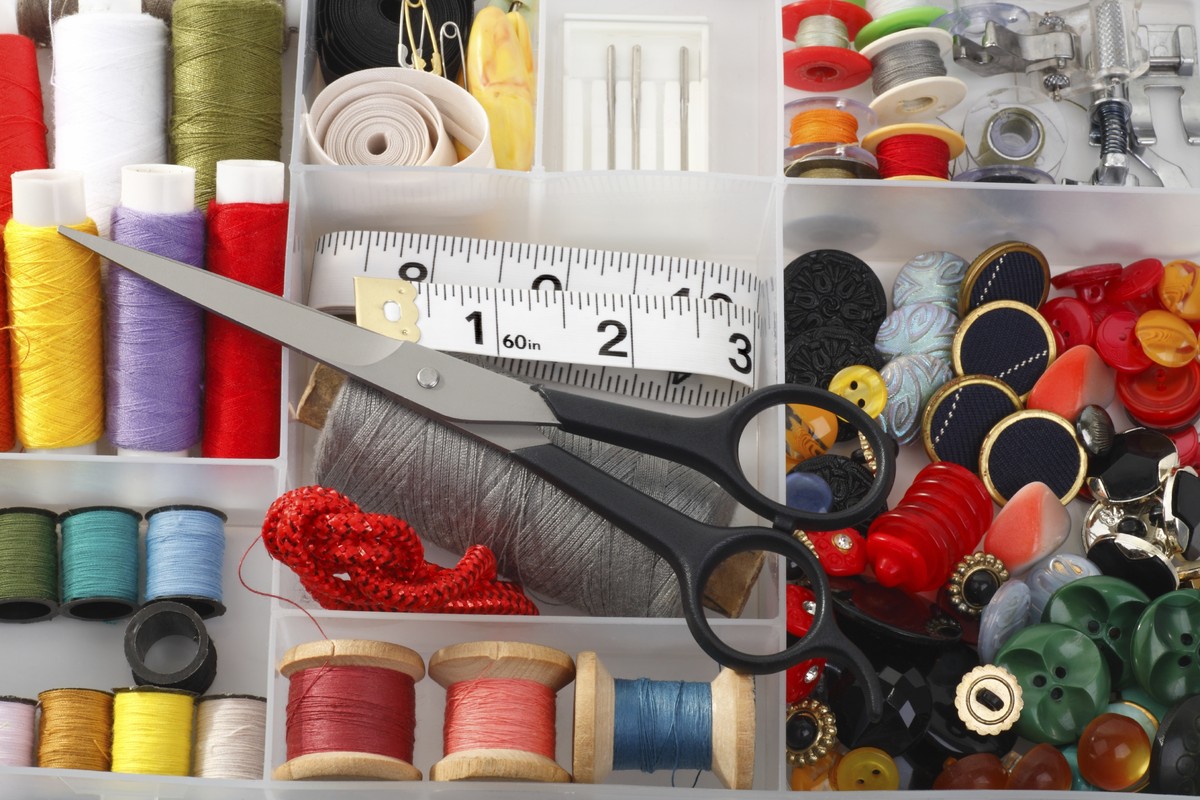
Before sewing a pencil skirt with your own hands, you should acquire all the necessary tools. Only in this case can you confidently begin the creative process. Regardless of the material and model, you must have:
- correctly selected fabric in accordance with your skills and abilities in sewing clothes;
- threads;
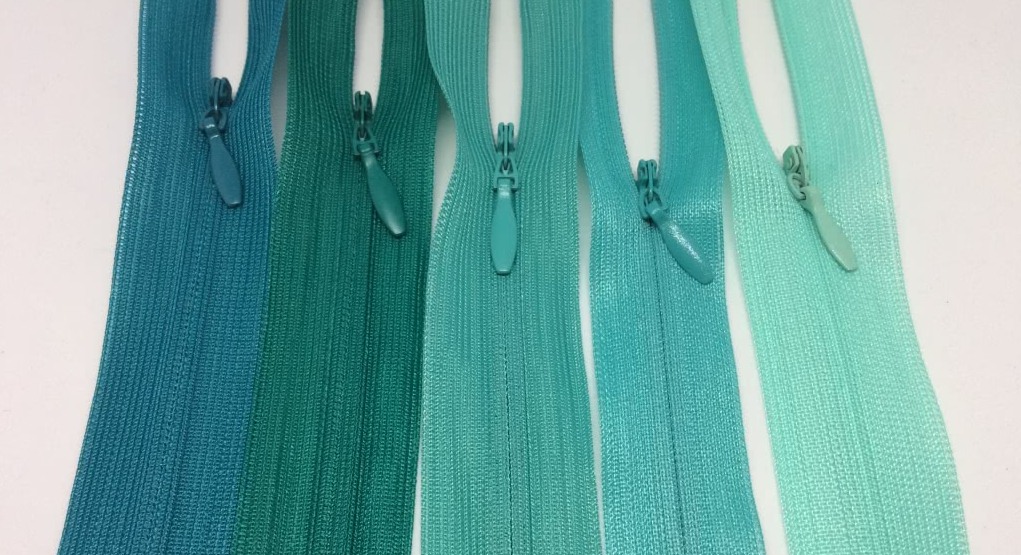
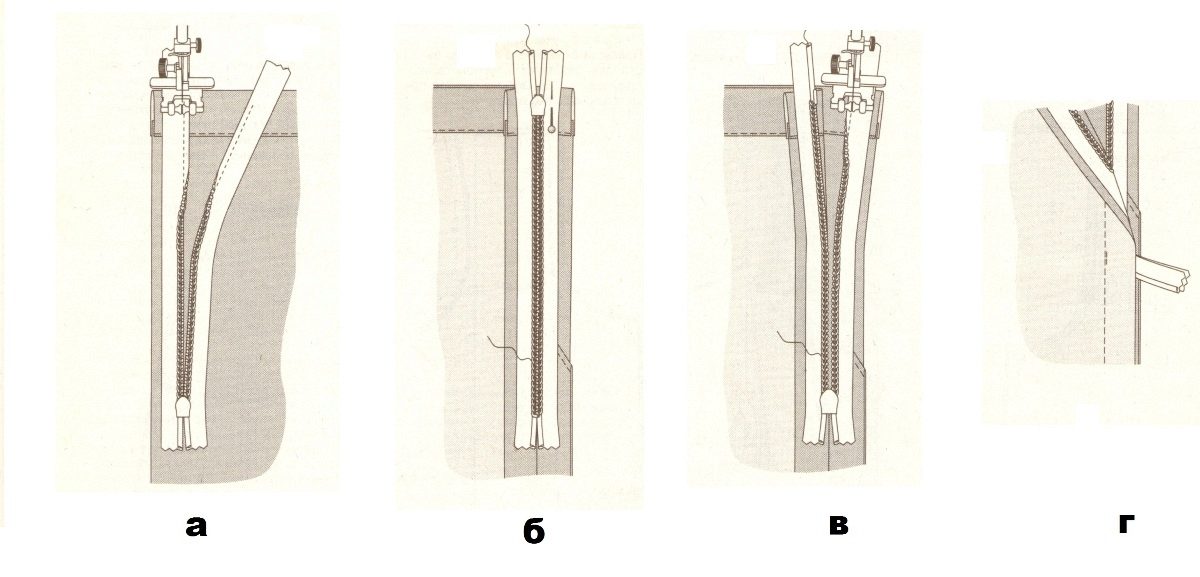
- a zipper of a suitable shade and size;
- needles, pins;
- centimeter;
- pencil, a small piece of chalk or soap;
- iron;
- paper for creating a pattern;
- scissors, it is advisable to have two types - with a thin tip for working with small parts and large ones for cutting;
- sewing machine
The choice of tool should be approached with all responsibility. It is necessary to give preference to high-quality products. Then the technological process will proceed quickly, without complications. Otherwise, you can ruin the thing.
Measurements and calculations
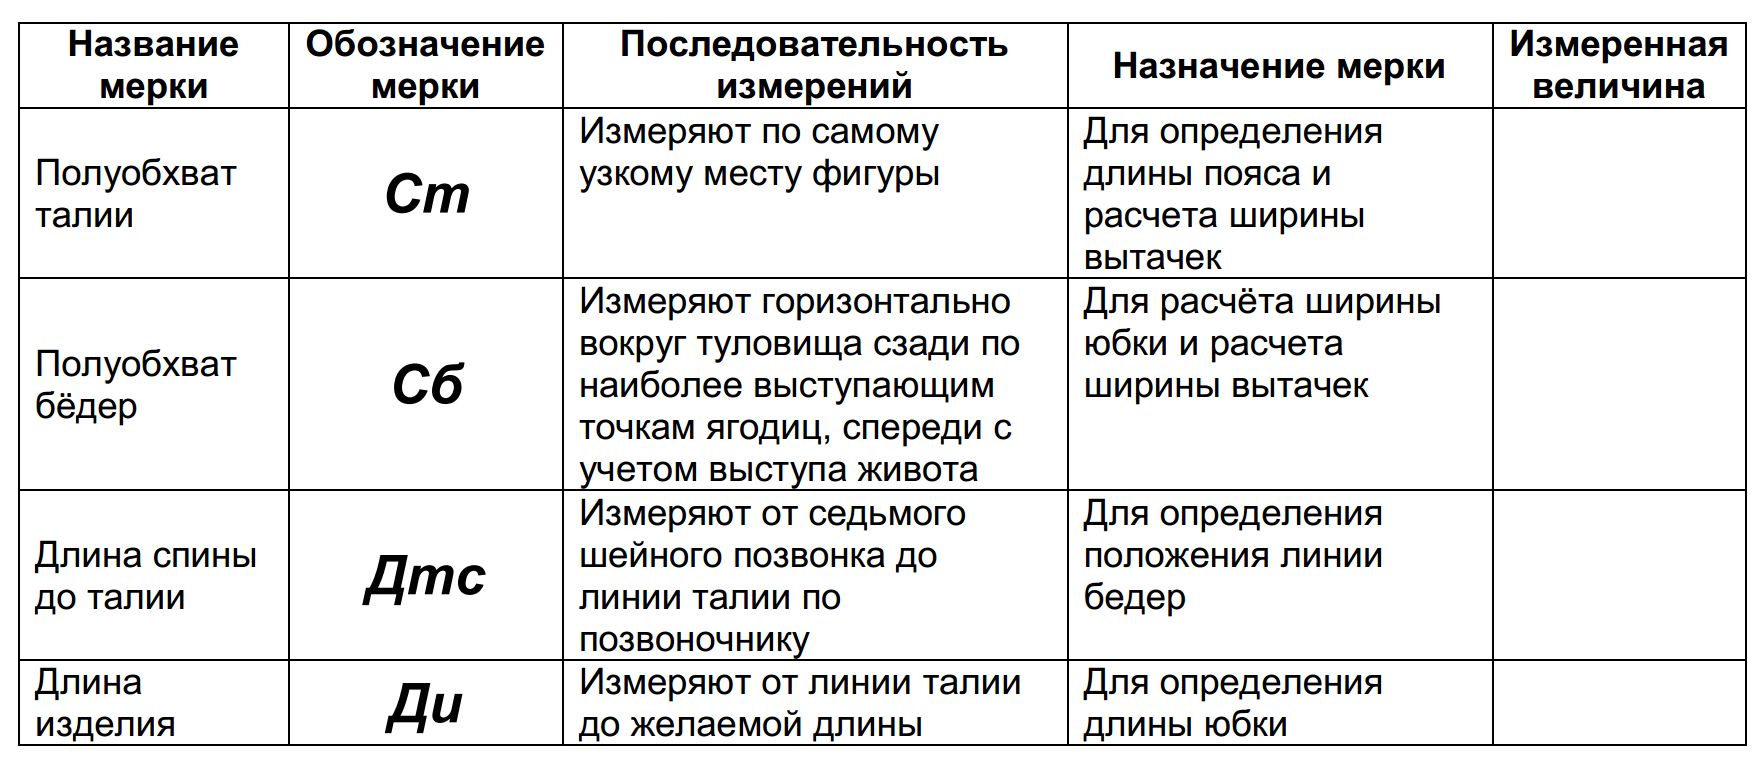
In order to sew a pencil skirt correctly, without experiencing a shortage of fabric, you should first make competent measurements and calculate the fabric. You will need the following measurements: waist size, hip circumference and length of the product.
The waist is measured along the smallest trajectory so that the waistband of the skirt fits tightly to the body. The hip circumference must be measured through the protruding points of the body parallel to the floor. The length of the product directly depends on personal preferences. The calculation of the fabric includes a combination of several criteria:
- Hip volume. If it does not exceed 140 cm, then about 15-20 cm is added to the length of the product. They are necessary for seams and hems. If this indicator is more than 140 cm, then you should take double the length with an addition of 20 cm for seams. This principle works with a standard width of the fabric.
- Desired length when finished.
- Fabric width. You should take into account the factory parameters. Usually there is a size of 1.5 meters. But some manufacturers produce material of 1.1 meters. You should pay special attention to this.
- The presence of a pattern. If it needs to be adjusted, then the fabric should be purchased with a significant margin.
After taking into account all the recommendations, the measurements are recorded on paper. This is necessary in order to correctly construct the pattern later. For convenience, it is recommended to use abbreviations: OB (hip circumference), OT (waist circumference), DI (product length).
How to construct a pattern
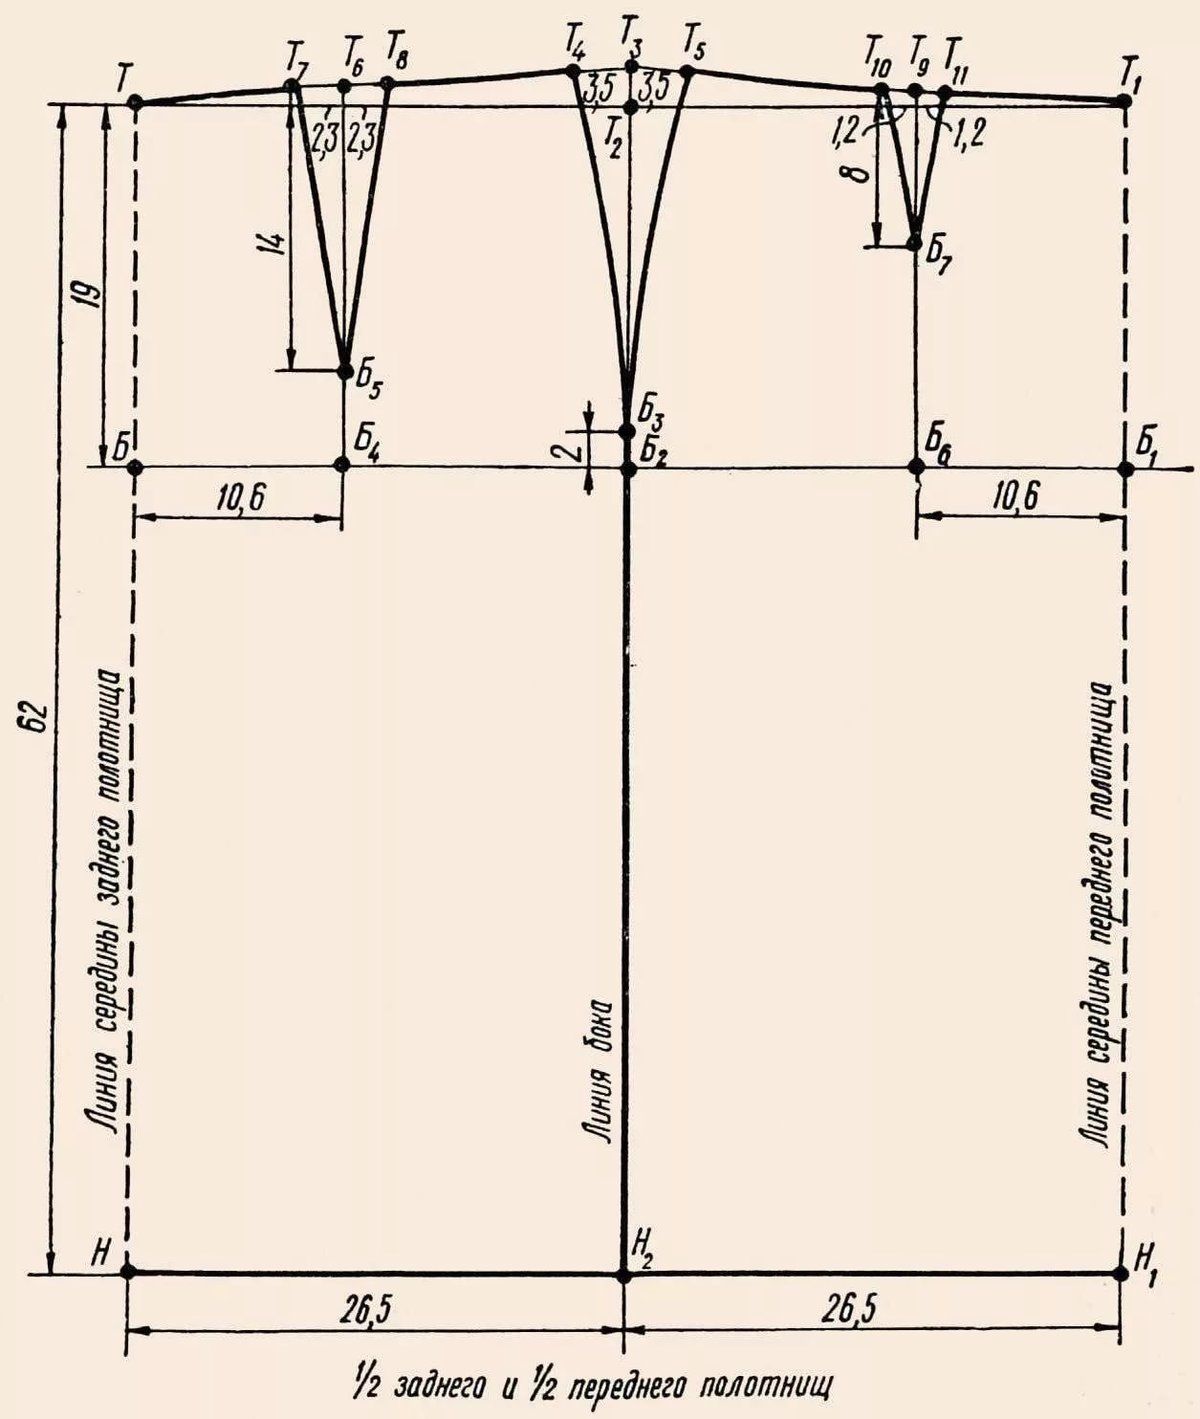
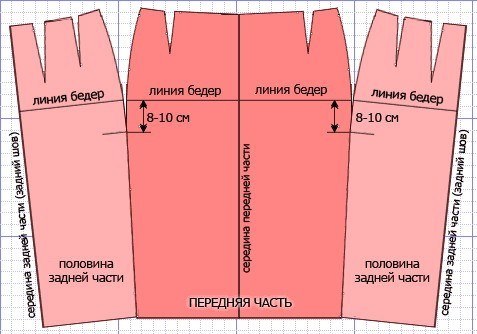
The basic step-by-step pattern of a pencil skirt for beginners involves taking into account all measurements and fabric features. Two rectangles are drawn on paper - the front and back parts of the product. To the desired length of the product, 12 cm are added for the waistband at the top and the hem at the bottom. To the width - 2 cm for seams. Excess parts of the paper are cut off.
The next stage is modeling the pattern. It includes drawing the narrowing zone of the product. To do this, mark the center on the bottom line. Then step back from it by 1-2 cm in both directions and apply marks that need to be connected to the center point of the hip line.
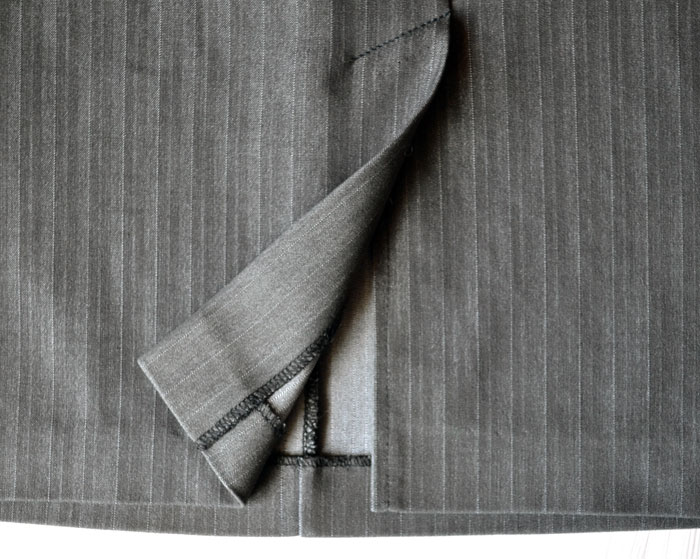
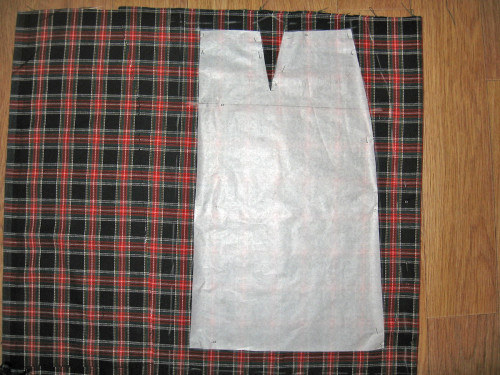
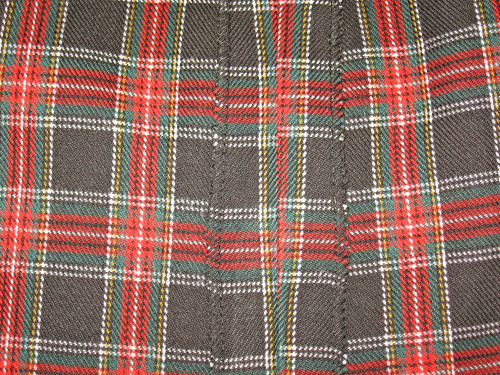
The finished template is placed on the fabric and outlined with chalk or a piece of soap. This model is a basic option. There are seams only on the sides, where a zipper is sewn in later if necessary.
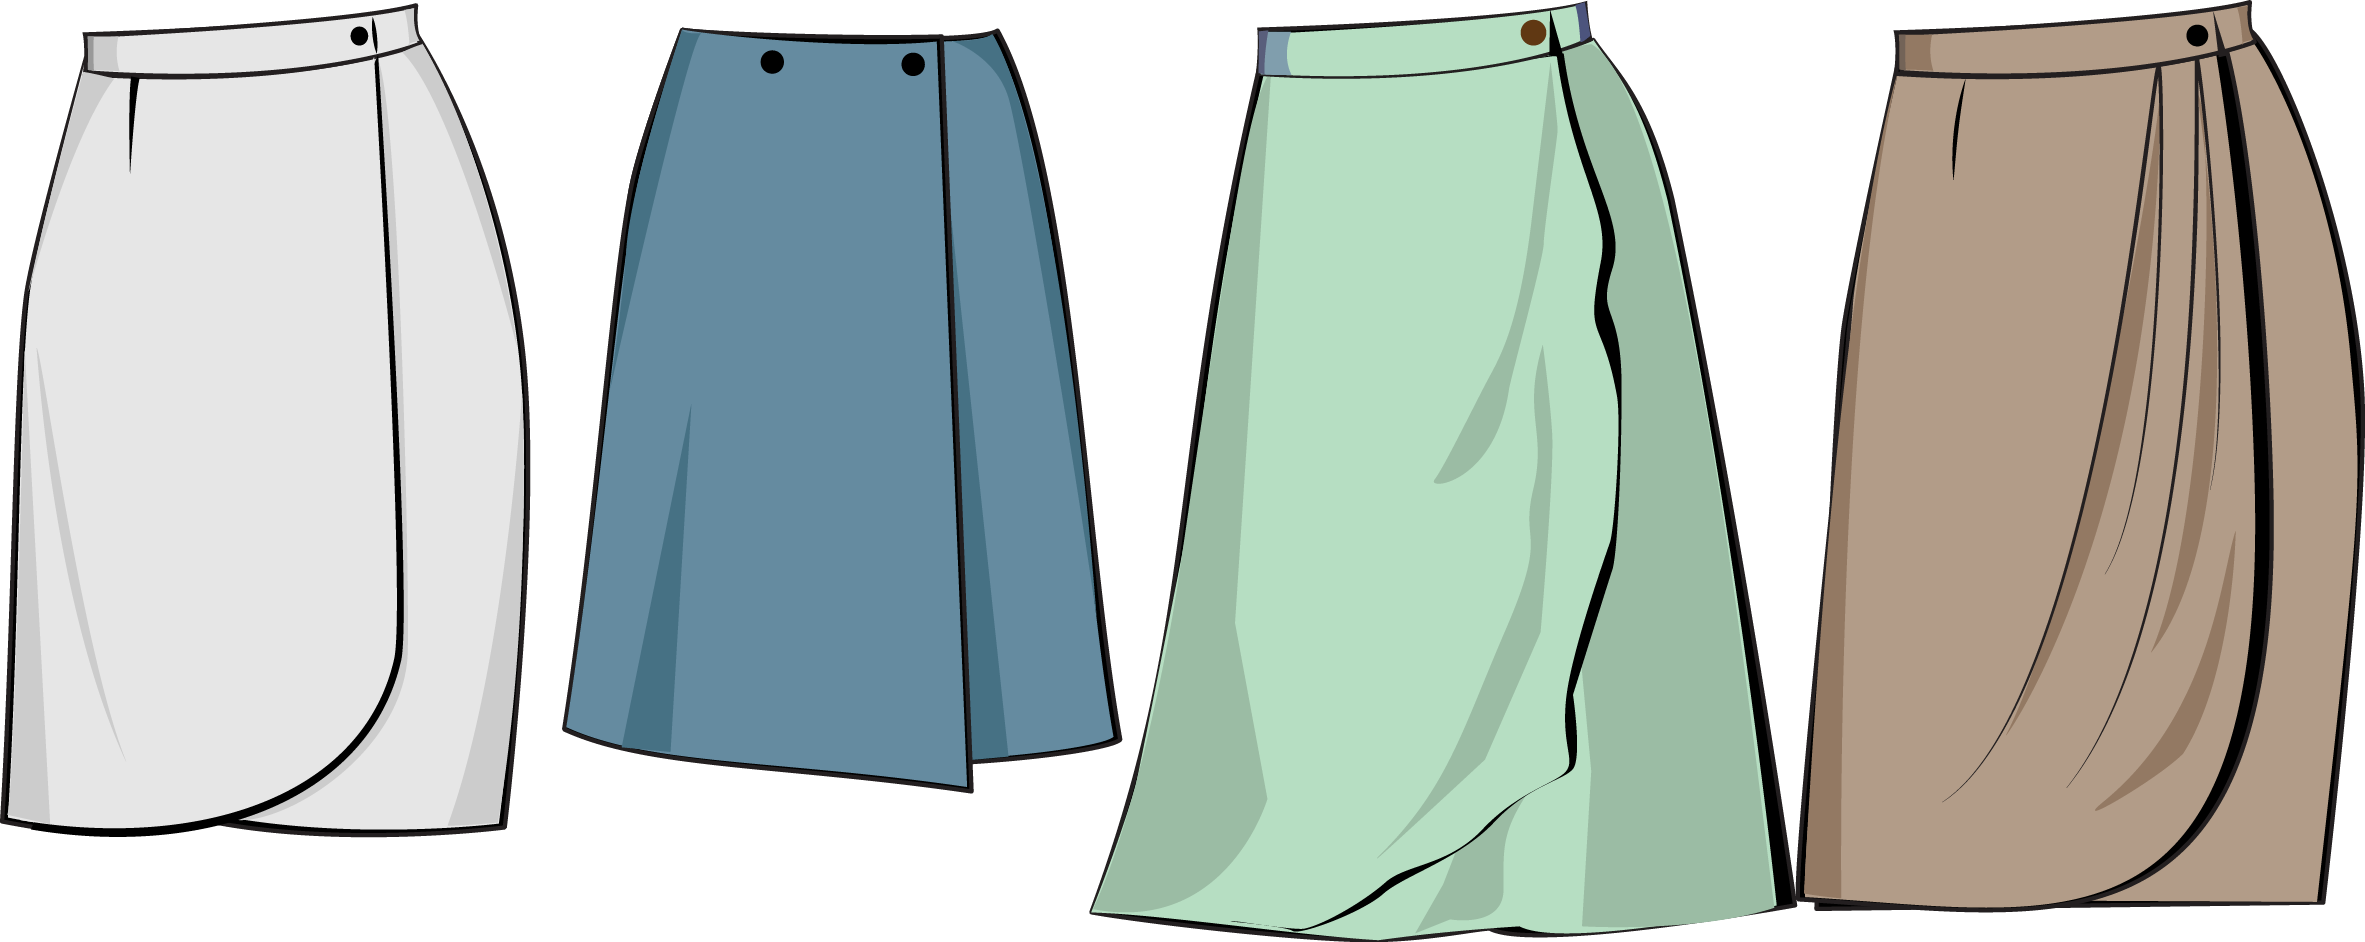
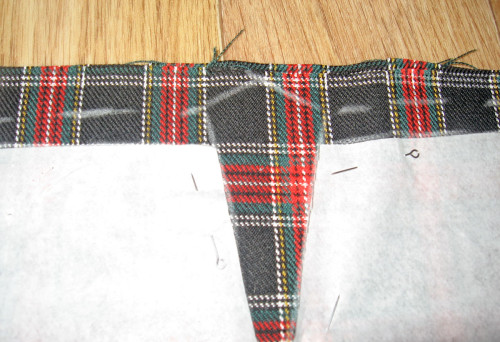
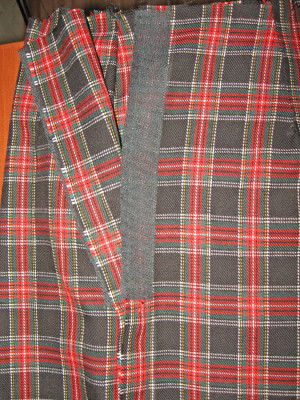
If you plan to have a slit, you should modify the existing pencil skirt pattern. For this purpose, the location of the cut in the form of a triangle is marked on the template of the back of the product. Its standard dimensions are 4-5 cm at the base, 16-20 cm in height.
Sewing stages taking into account the model
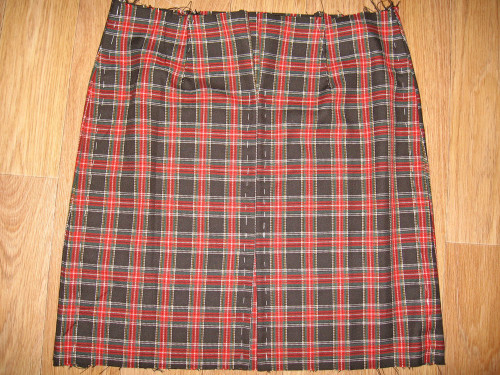
After the construction of the pencil skirt pattern is done, you should proceed directly to sewing the product. Each specific selected model has some distinctive features. They should be taken into account in the sewing process.
Without a belt
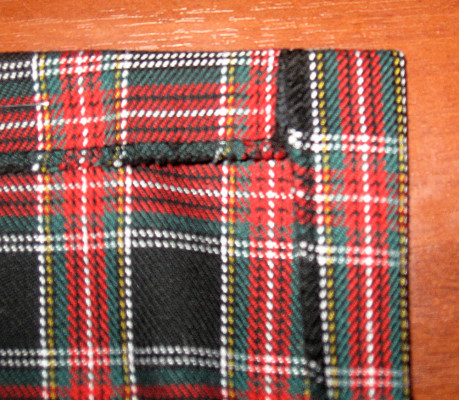
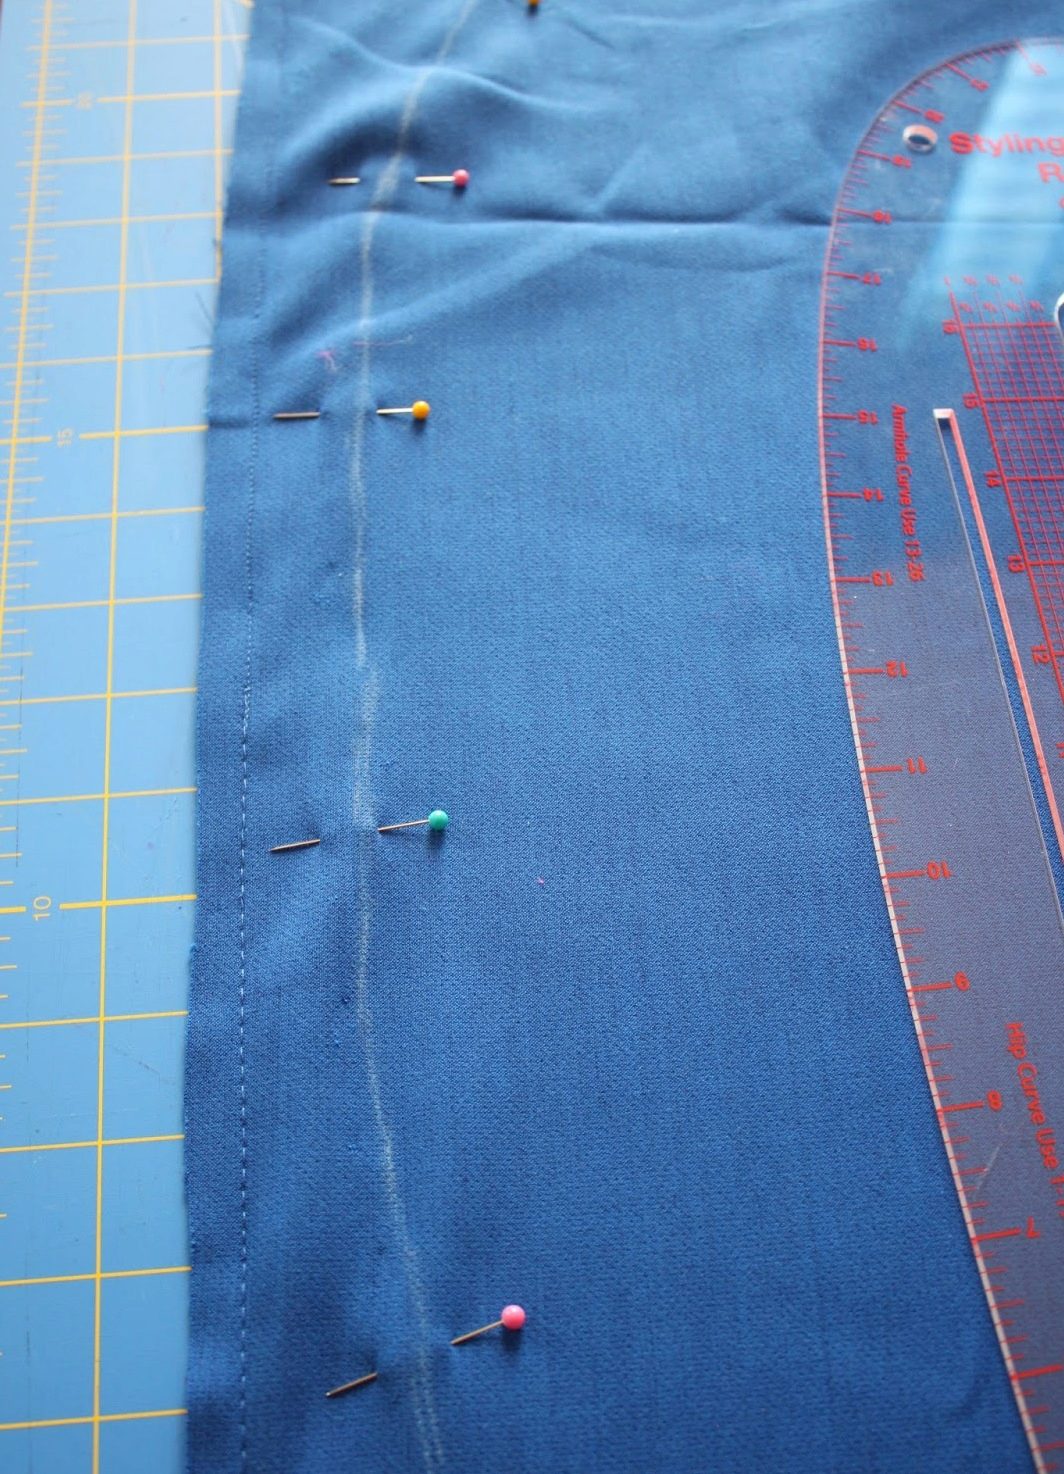
There is a step-by-step instruction for creating a skirt without a belt, which includes several stages. The primary work with the fabric is its cutting. First, you need to make a skirt pattern, which is then placed on the wrong side of the material and outlined with chalk or a piece of soap. Do not forget to leave a reserve for seams: at the top - 1 cm, at the bottom - 3 cm, on the sides - 2 cm. After applying the template, the product blank is cut out.
Next comes the basting. The parts are connected using needles and pins. After that, the fabric is stitched manually. It is advisable to use a thread that is significantly different in color from the material.
The direction of the basting should be from the narrow to the wide part of the dart. The process begins with the back seam and ends with the side seams. In this case, you should first connect the control points of the hip line. Lastly, the bottom of the product is basted.
After the product is assembled, it should be tried on. It is necessary to pay attention to the correctness of the connection of all seams, check whether there is any distortion of the fabric. If any defects are found, they must be corrected.
The next stage is directly sewing the product on a sewing machine. The sequence is the same as when basting. The only deviation from the algorithm is ironing the free edges of the darts for the convenience of further processing on an overlock.
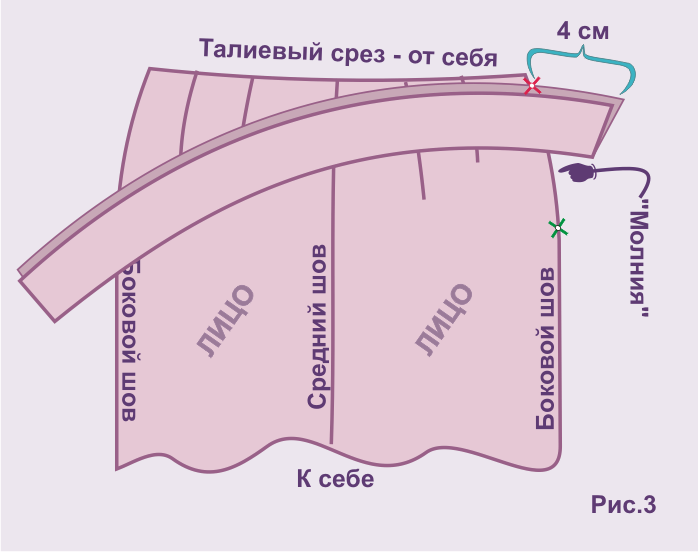
The final stage of the entire process is the processing of the upper part of the product. Since we are talking about a model without a belt, a facing of 4 cm in width and 4 cm in length is used to add to the waist volume of the finished product.
The facing is duplicated from the wrong side, then overcast along one edge. The raw side is combined with the upper part of the skirt, fixed with stitches. After this, the overcasting place is sewn on the machine, the seam is turned inward. A line is laid along the edge of the seam, which fixes the facing on the wrong side of the product. The pencil skirt is ready for use.

High rise
A high-waisted pencil skirt is recommended for women with curvy shapes, as it allows you to successfully disguise flaws. The main feature is that the waistline is 5-7 cm higher than in a standard product. This is worth paying attention to when creating a pattern. In order to make this model yourself, you should adhere to a certain algorithm. First, you need to cut out a template. Then fold the fabric in half so that the front side is inside. Place the pattern on top and outline it with chalk or a piece of soap. Add 2 cm to the free edges for the back seam, 4 cm for the bottom and 6 cm for the top.
After this, the workpiece is cut out. The fabric layout is folded in half. The front side is inside. The product is overcast along the back seam. Next, it is recommended to try on the resulting version to avoid inaccuracies. After this, the seam is stitched on a machine.
To decorate the top and bottom parts, they are folded twice by 3 cm and 2 cm respectively. Then it is secured with a zigzag stitch. The high-waisted pencil skirt is ready.
Without a pattern
Not everyone knows how to sew a pencil skirt without a pattern. To do this, you will need an old item that fits well. A worn skirt can be ripped open or simply copied from it. In this case, you should ensure a sufficient supply of material, the excess of which will be removed after trying on.
To avoid making a mistake with the size, you should cut out two rectangles at the most protruding points. The resulting pieces of fabric are folded with the right side inward and fixed with overcast stitches. Then it is recommended to try on the product.
After this, you should cut out two halves of the future skirt according to the designated silhouette, adding 2 cm for seams. The resulting parts are sewn together on the sides by machine. The lower edge is folded and also fixed.
It remains to make a belt. To do this, take a rectangle with a length plus 2 cm to the waist size. The width of the workpiece should be twice as large as the finished belt. The fabric is folded in half lengthwise with the right side outward. The short edges are fixed with a seam from the inside. After this, the finished belt is sewn to the main product from the wrong side. The pencil skirt without a pattern is ready.

Video