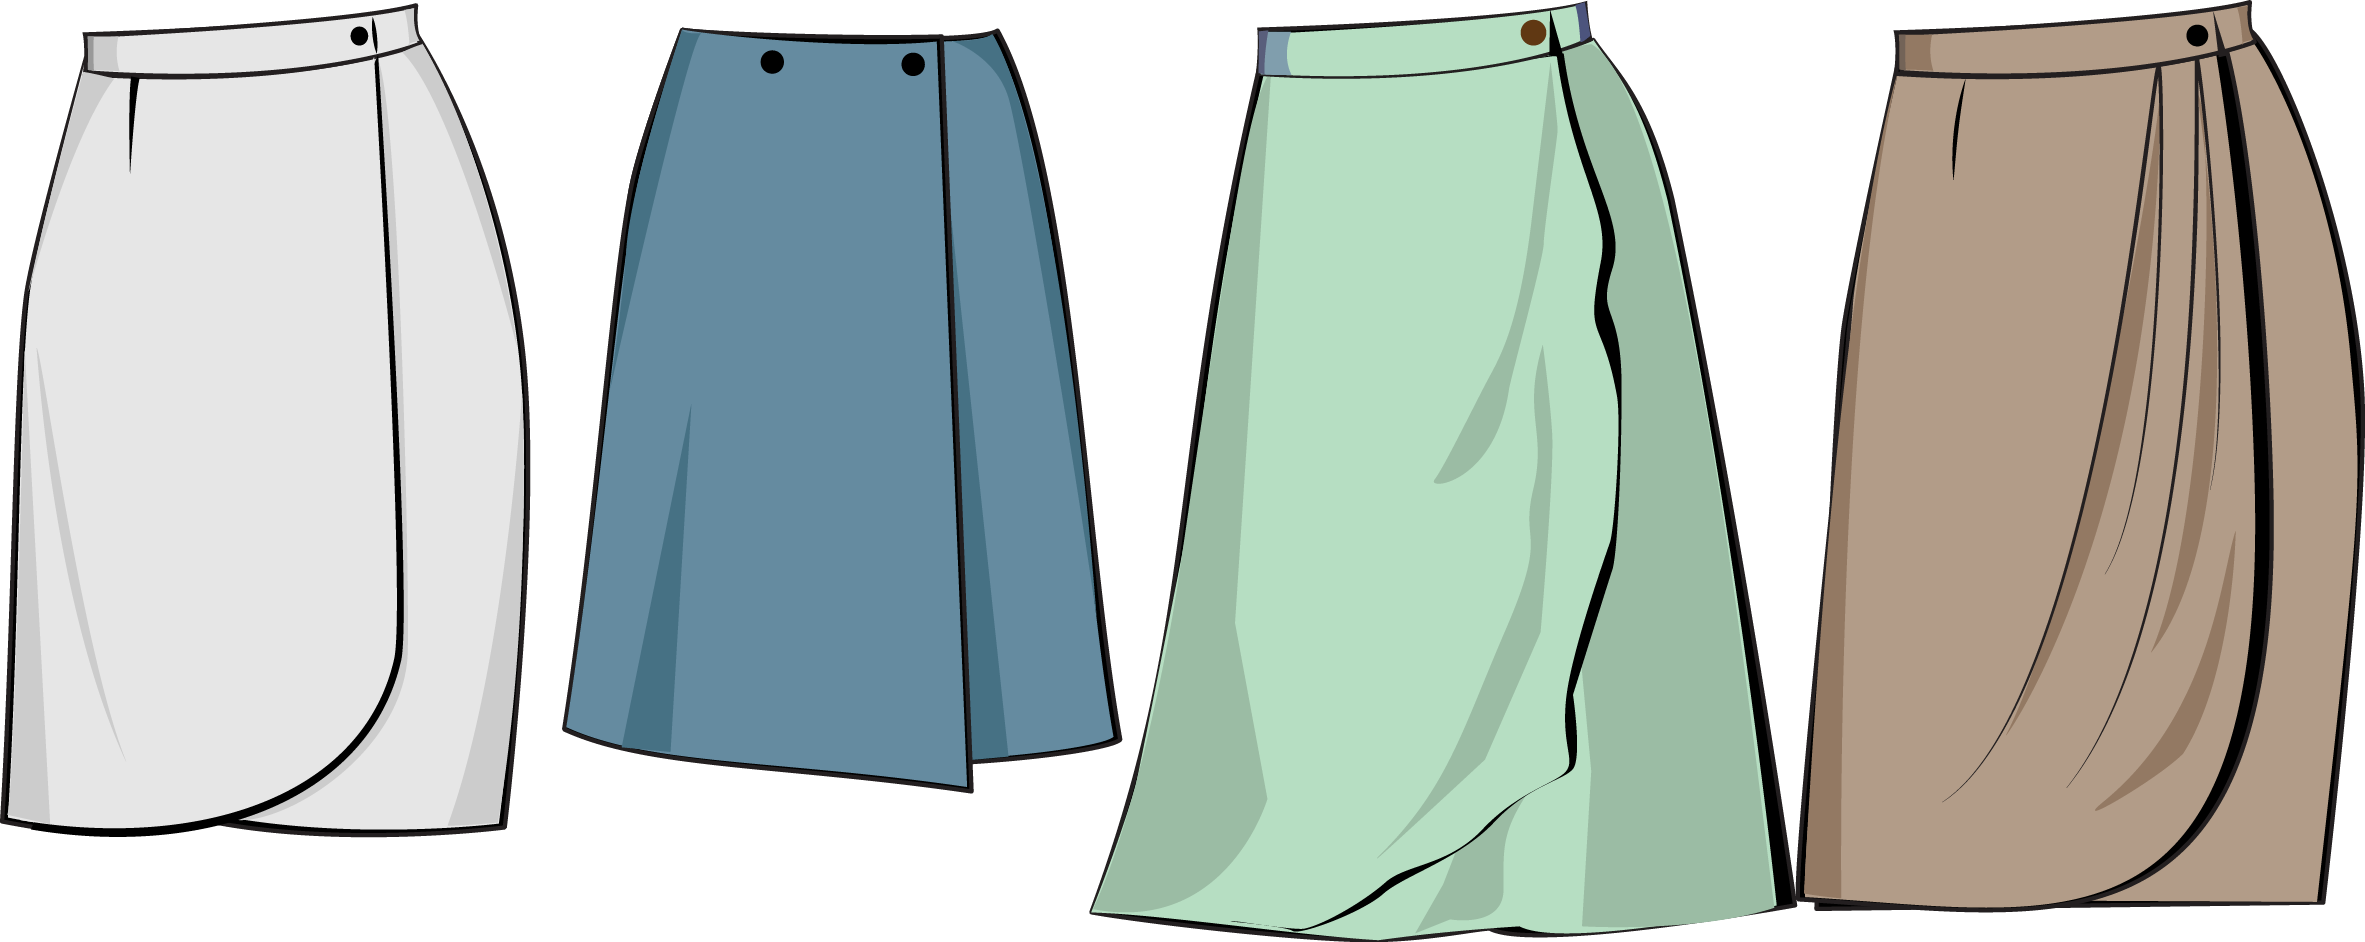
When sewing a skirt yourself, it is important to insert the zipper correctly. The most common option is a hidden zipper. It looks neat and unnoticeable, as it merges with the seam. If you figure out how to sew a hidden zipper into a skirt, you can avoid deforming the product or tightening the fabric. Certain tools are required for the work, they should be prepared in advance.
Materials and tools
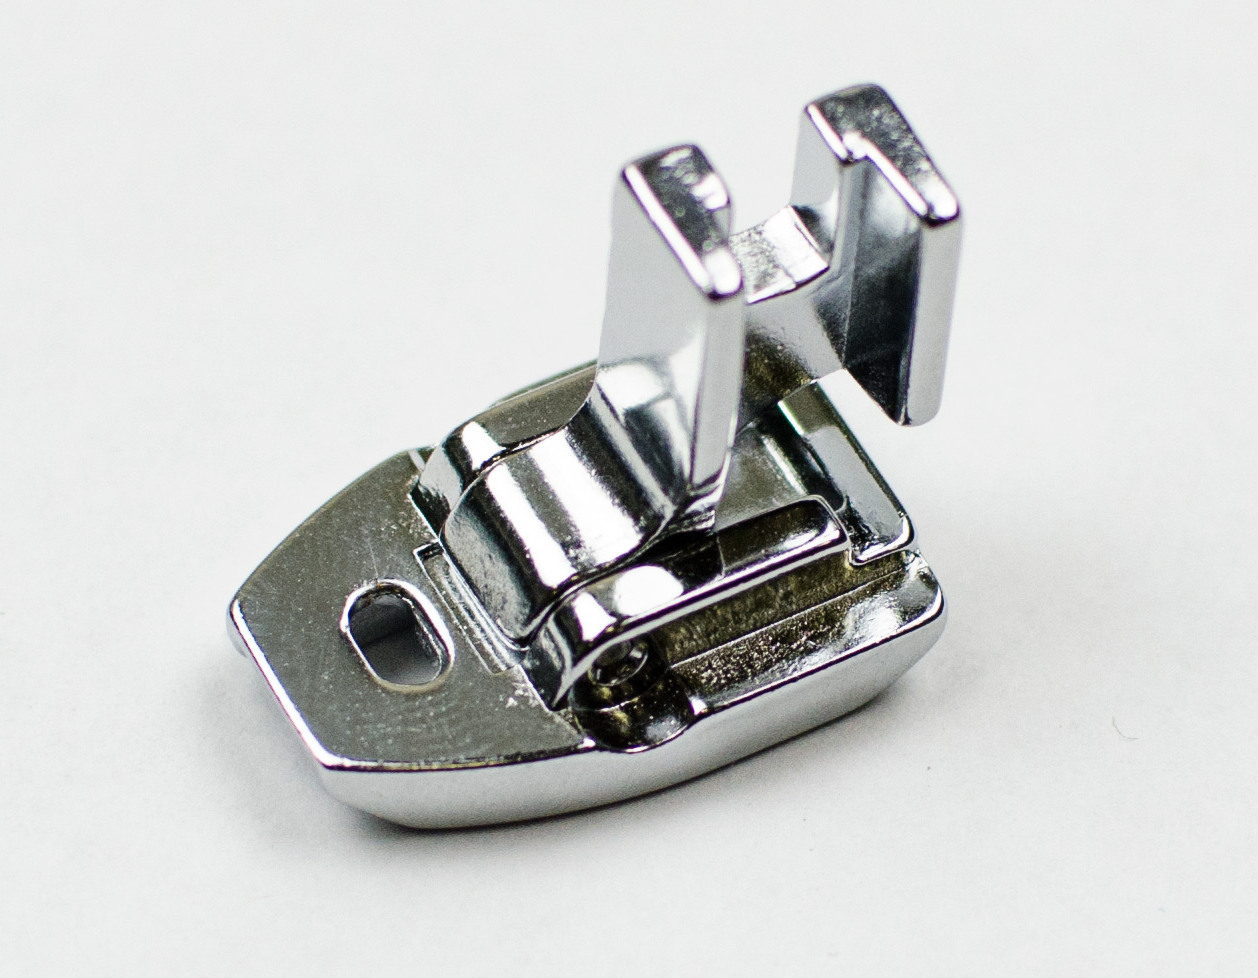
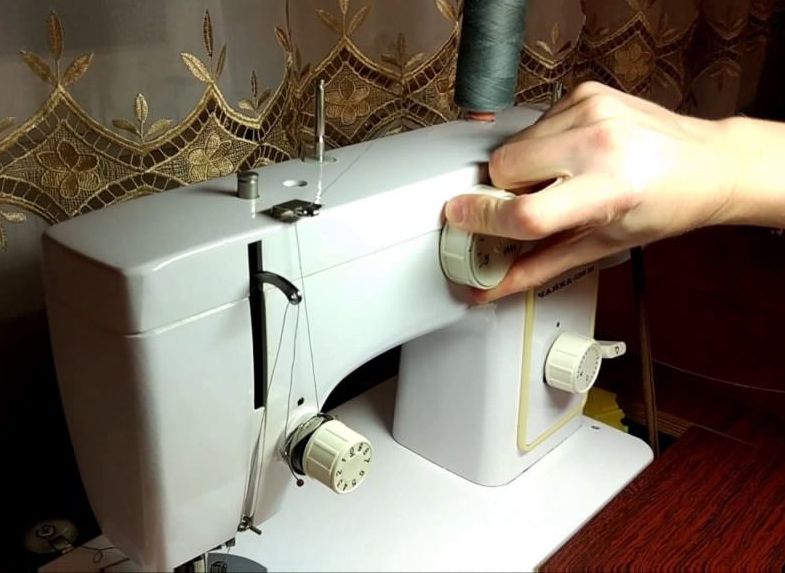
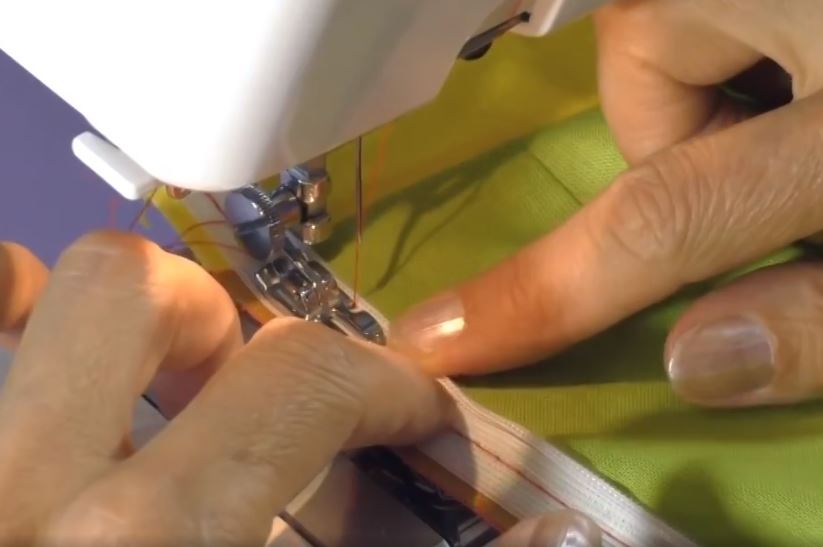
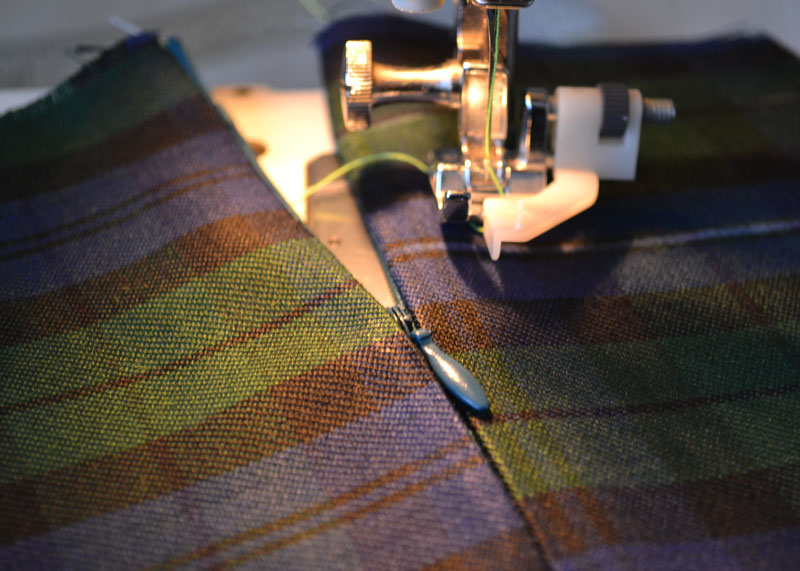
Before sewing a concealed zipper into a skirt, you should prepare all the necessary tools and materials. Most often, a sewing machine is used for the work. For an ideal result, it is better to purchase a special foot. It simplifies sewing in a zipper and makes it possible to sew the seam as close to the teeth as possible, because there are special grooves on the "sole" of this tool. Without such a foot, there is a risk of damaging the teeth and getting a crooked seam.
It is best to buy a metal foot, as it glides over the fabric more easily and is not damaged by the needle. A plastic one is not durable, but will do if the work is a one-time thing.
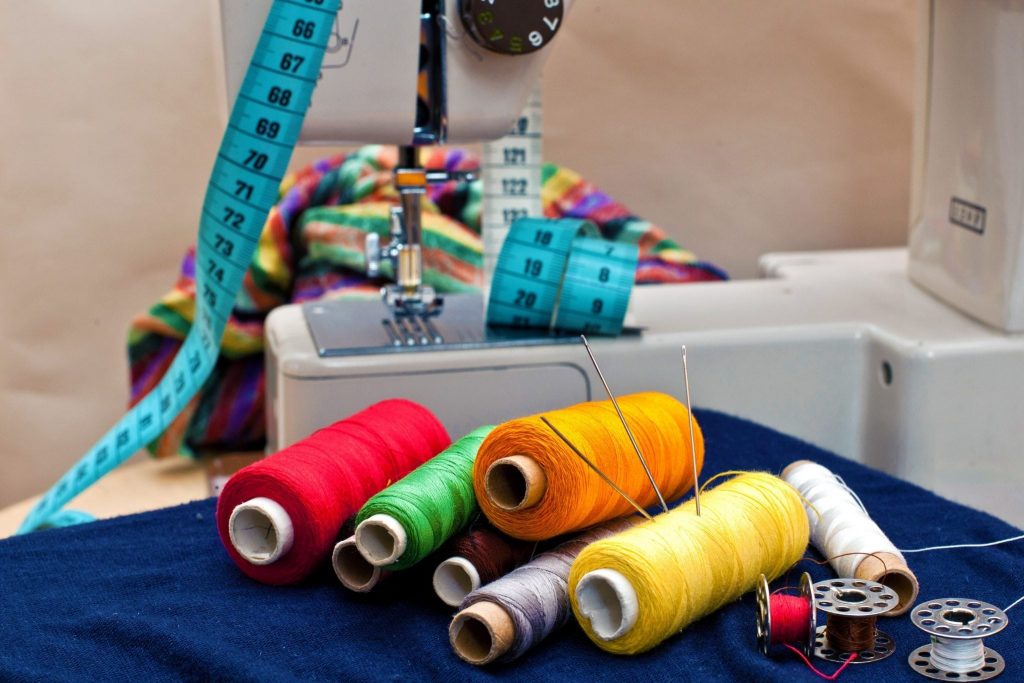
In addition to the special foot, you will need the following tools:
- tailor's pins;
- thin threads to match the color of the fabric;
- thin needles;
- chalk;
- ruler.
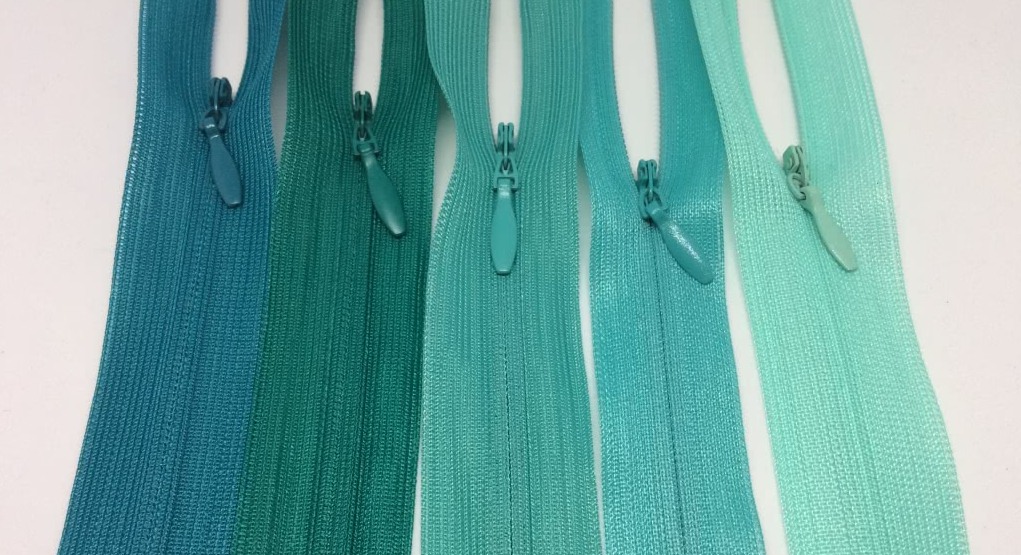
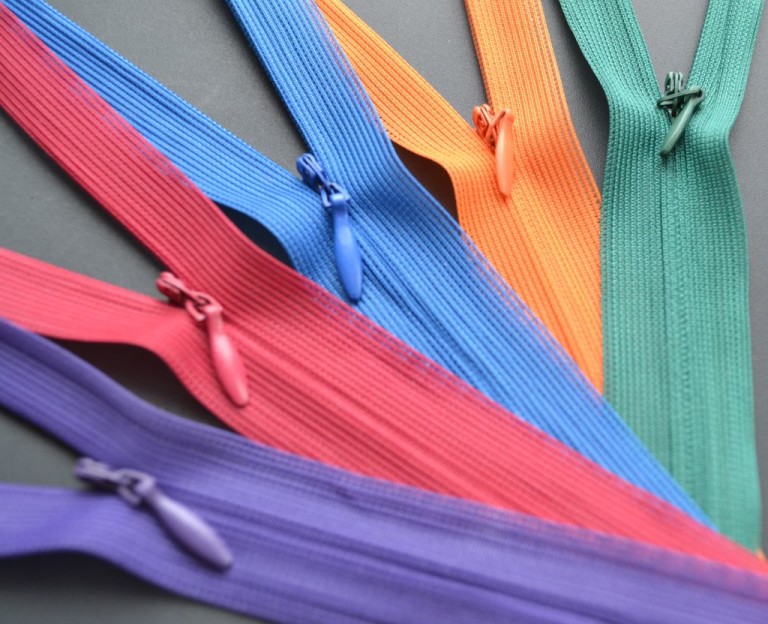
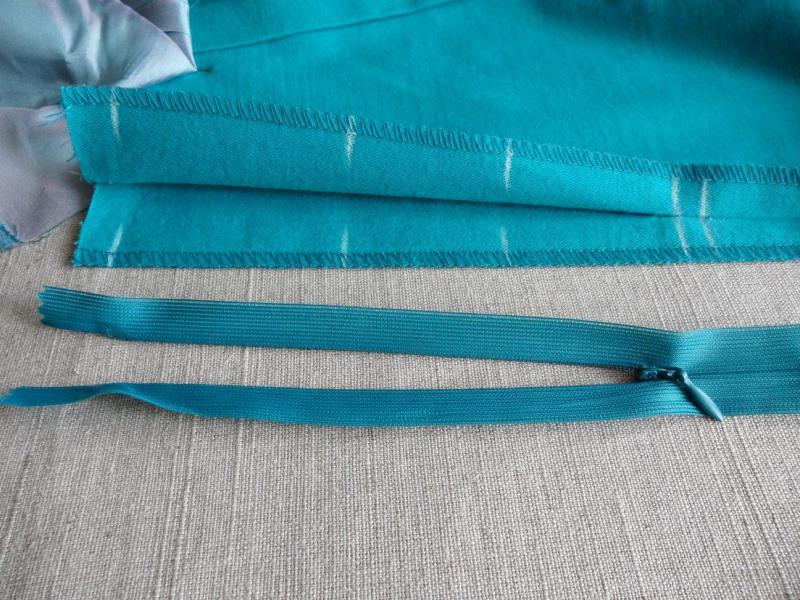
To make the zipper invisible, it is important to choose it correctly. A hidden zipper differs from a regular one - its slider is located on the other side of the teeth, so it is not visible when fastened. They are almost the same in price. In addition, when fastened, the teeth of a hidden zipper can be easily bent back.
When choosing a concealed zipper, it is important to consider the color and features of the skirt material. To make the fittings invisible, their color should match. It is important that the runner matches the tone, as it will protrude slightly from the seam. It is difficult to choose a zipper for a product made of delicate or stretchy material. In this case, you should try to choose one with small teeth and on a thin base. For a skirt, you can use metal and plastic zippers. The latter are more recommended for sewing clothes from thick fabrics, natural and artificial leather.
The zipper should be 2-3 cm longer than the cutout intended for it. It is better to cut off the excess part and secure the teeth manually. Before sewing the zipper into the skirt, it is recommended to iron it. If it is on a cotton base, it is better to steam it, then after washing the finished product it will not shrink, and the fabric will not deform.
Preparing for work
Before sewing the zipper into the skirt, you need to adjust the sewing machine. If the thread tension is too strong, the fabric may shrink and the product will have unsightly folds. It is recommended to use thin needles, then the seams on the skirt will not stand out.
Usually, the zipper is inserted into the side seam of the product, less often - into the back. This is done at the last stage of work before sewing the belt into a specially unstitched place. Some craftswomen recommend not stitching this seam at all, it is believed that this will make it easier to insert the zipper.
The main thing you need to do before you start sewing the zipper into the skirt is to process the edges. This is done with an overlock or by hand. If the fabric is not thick or stretches, it is necessary to use a lining. This is a thin material on an adhesive base, which is attached to the place where the zipper is sewn in along the entire diameter of the product at the waist. It prevents stretching and the appearance of needle marks. Most often, interlining is used as a lining; its adhesive side is applied to the fabric and then ironed. You can also take strips of interlining formband or contenband instead. This must be done before processing the edges with an overlock.
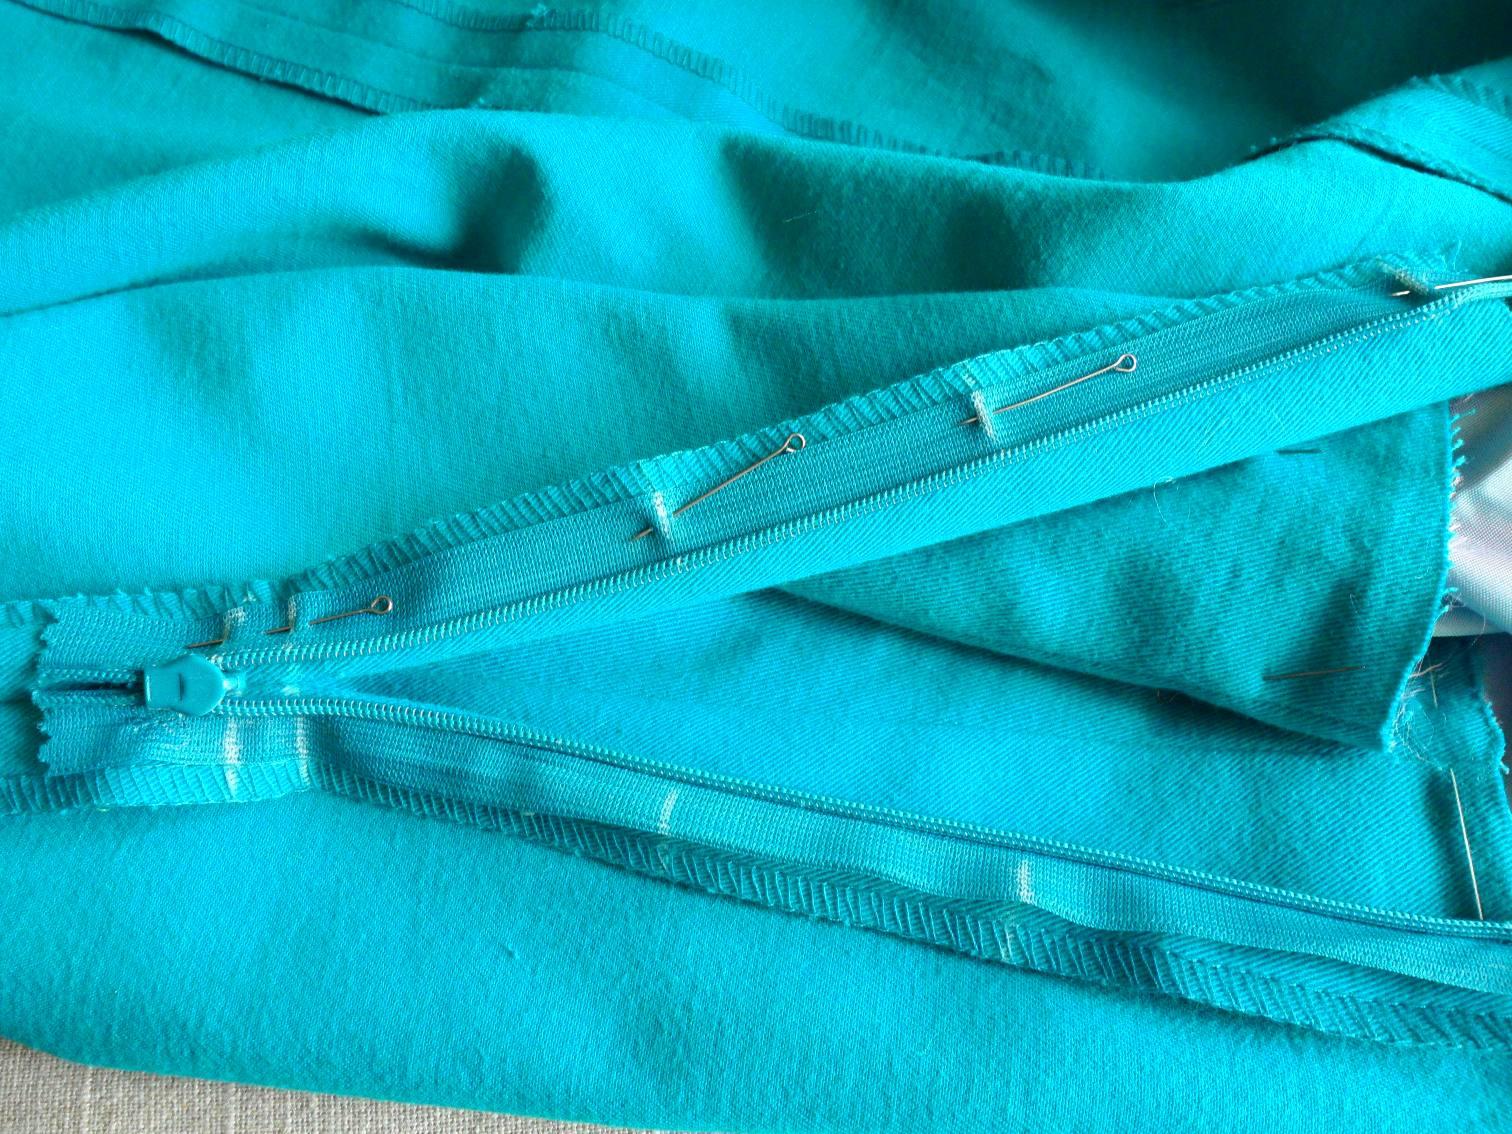
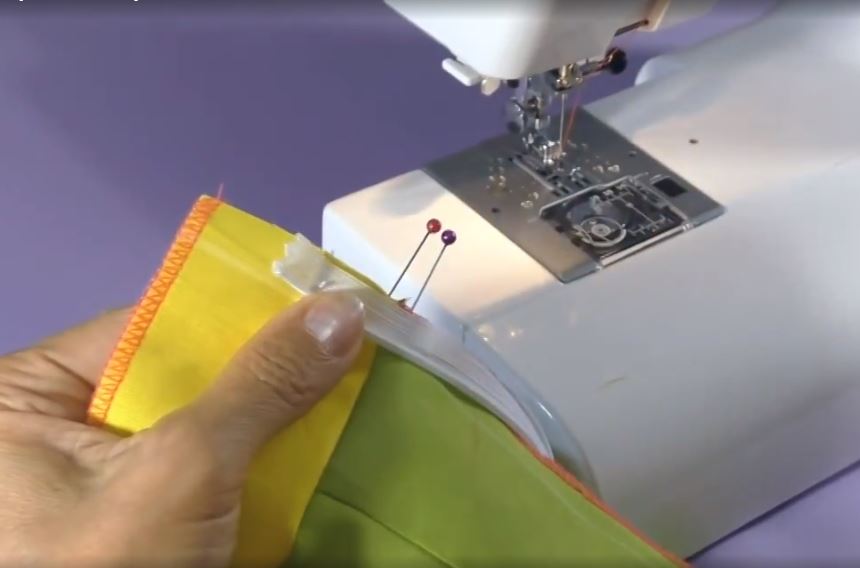
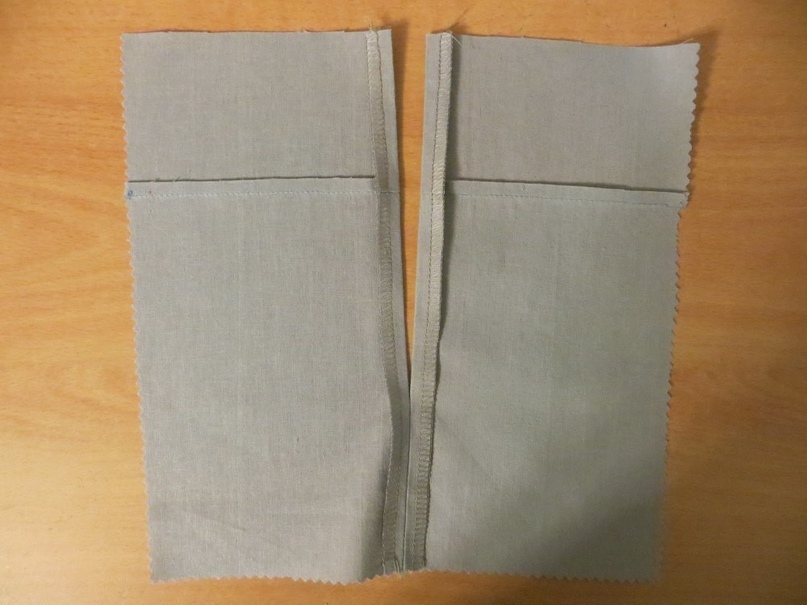
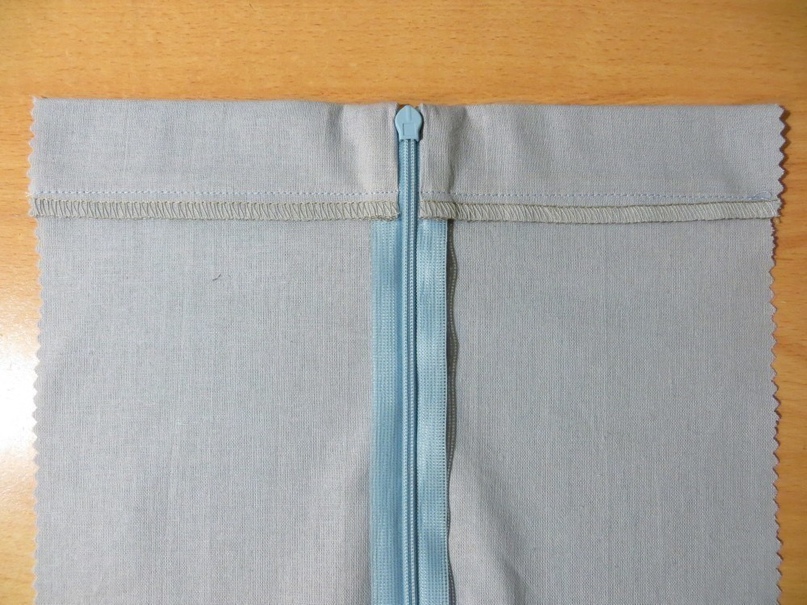
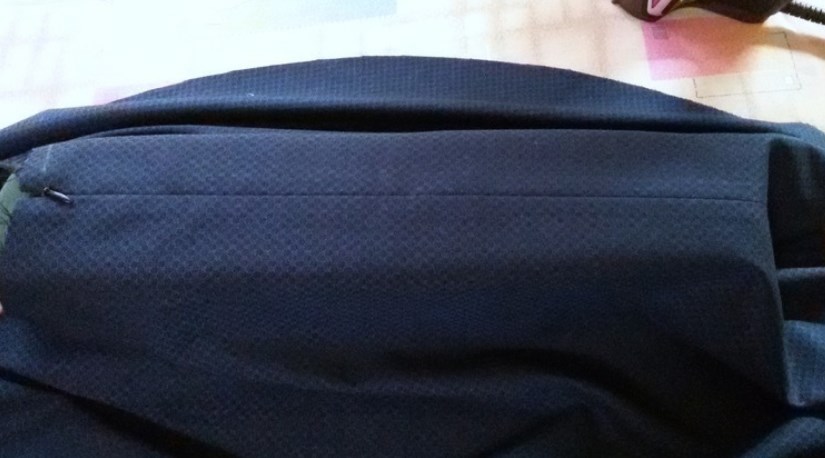
Before sewing a concealed zipper into a skirt, it is important to correctly determine the place for it. To do this, the product must be laid out with the wrong side up, at a distance of 1.5 cm from the edge, mark the place of the seam with chalk. Then you need to fold the fabric and press it lightly.
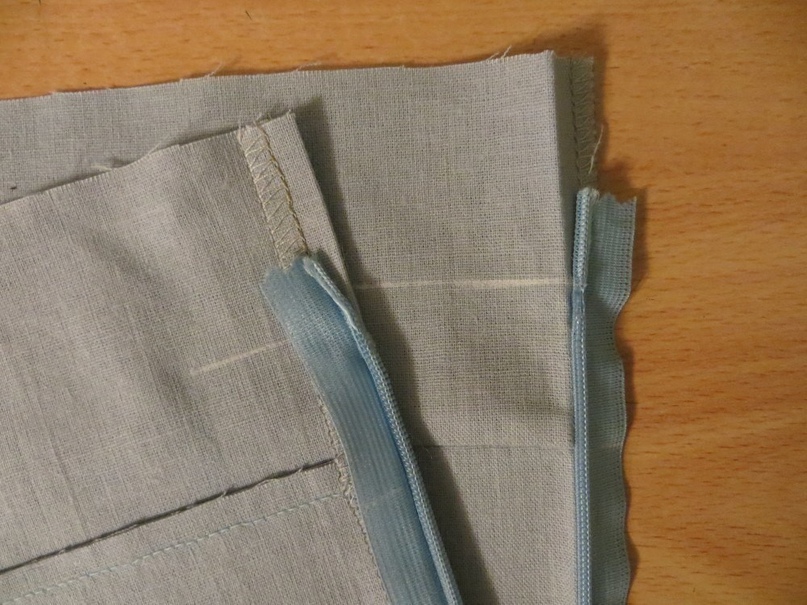
Next, you need to attach the closed fastener face down. The teeth should be located at the junction of the two parts. The top of the fastener should not reach the edge by 0.5-1 cm. This is the place for processing the upper edge or sewing on the belt. Then make 2-3 marks on the zipper and on the fabric. This is necessary so that when sewing in, the fastener does not shift and the skirt does not skew. Next, you need to carefully pin the parts across the seam with pins and baste. In this case, only the fastener tape and hem are pierced.
It is better to use a contrasting thread for basting, then it will be easier to pull it out later.
Algorithm for sewing in zippers for different skirt models
Experienced craftswomen do not ask questions about how to attach a fastener, how to stitch, how to sew a belt to a skirt. But those who have just started doing needlework are better off using ready-made algorithms. They describe in detail how to act step by step. Such instructions will help to avoid mistakes and not spoil the product, especially since different models of skirts have their own descriptions and nuances. It should be noted that when basting and stitching, the direction of the seams should go from top to bottom.
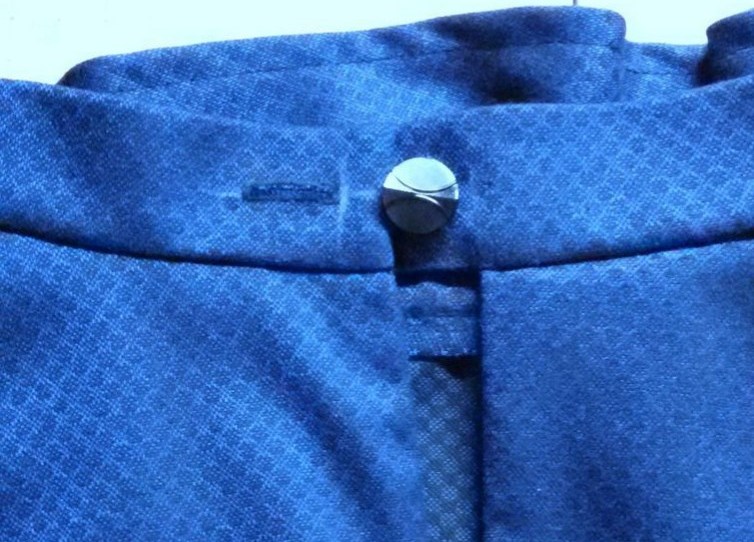
With a belt
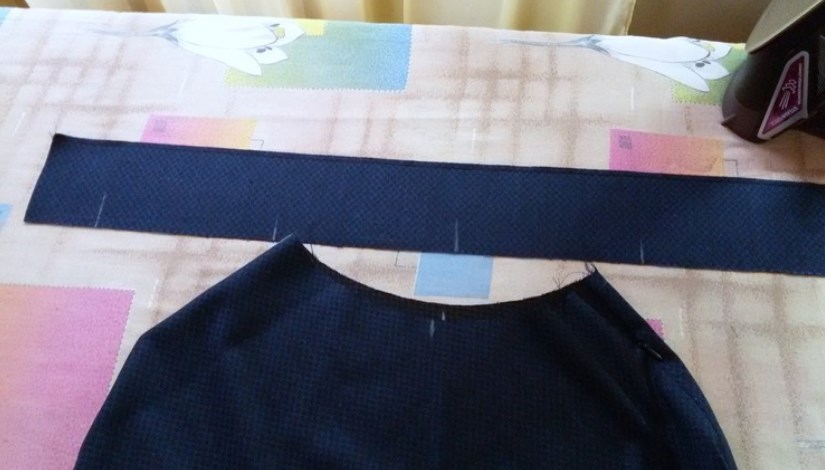
The most difficult thing is to sew a zipper into a skirt with a belt. This must be done carefully, following the instructions. The belt blank is folded in half and sewn on from the front side. The seam is left unstitched. Before sewing the belt completely, sew in the fastener. In this case, you need to follow the step-by-step instructions:
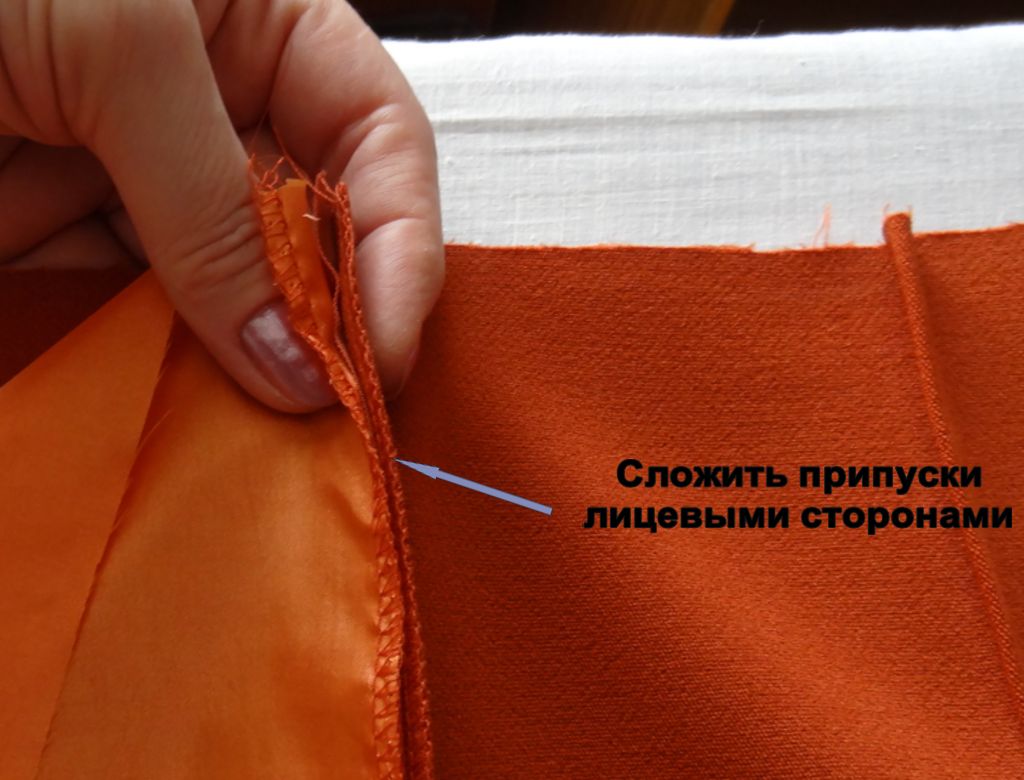
- Fold the seam allowances and press.
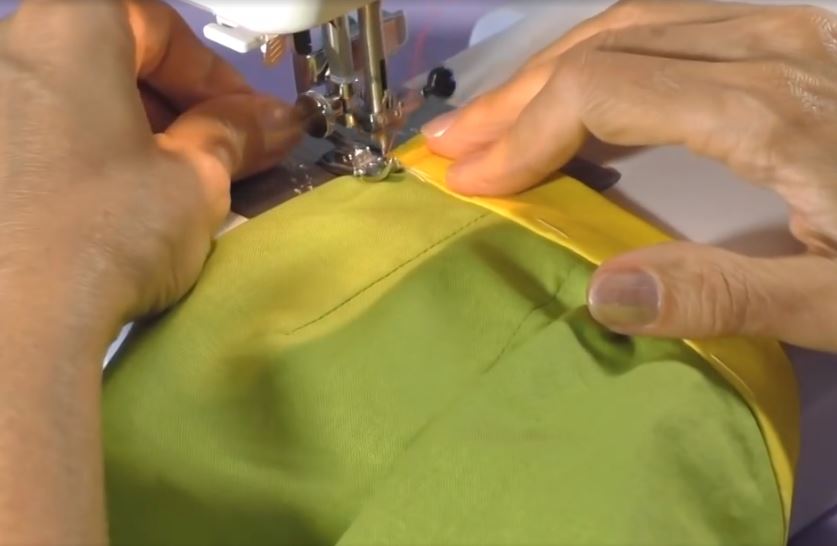
- Attach part of the open fastener to one edge and baste it. Its teeth should match the fold line, and the upper edge should match the edge of the belt.
- Stitch one side, carefully bending the teeth. The stitch should be no further than 2–3 mm from them.
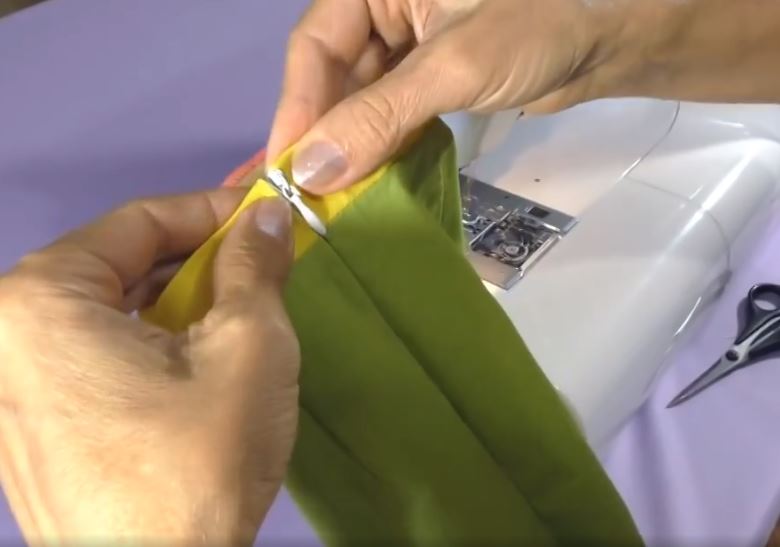
- Do the same with the other side. Before stitching, fasten the zipper, making sure it lies flat.
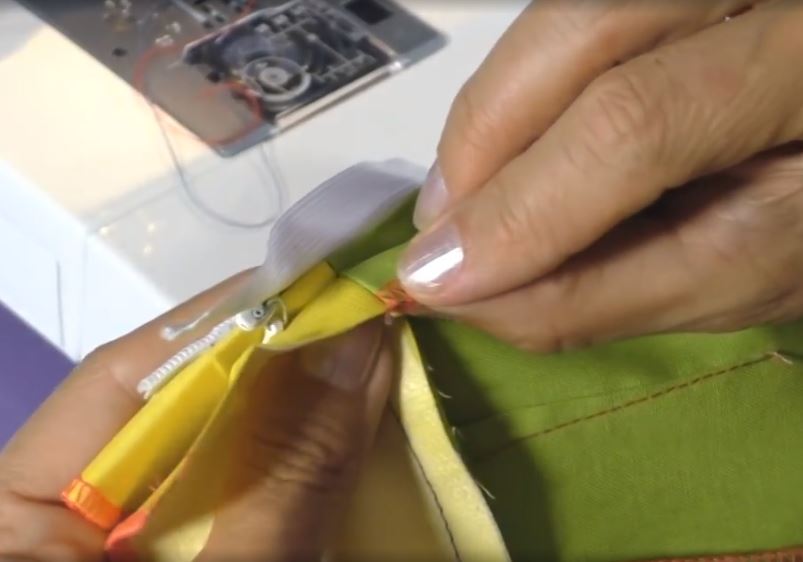
- Pull out the basting stitch and secure the bottom edge of the fastener.
- Close the top part with a belt and sew it on.
If there is a button or hooks on top, the fastening should start lower - in front of the belt. If there are none, it is sewn on from the top line of the product.


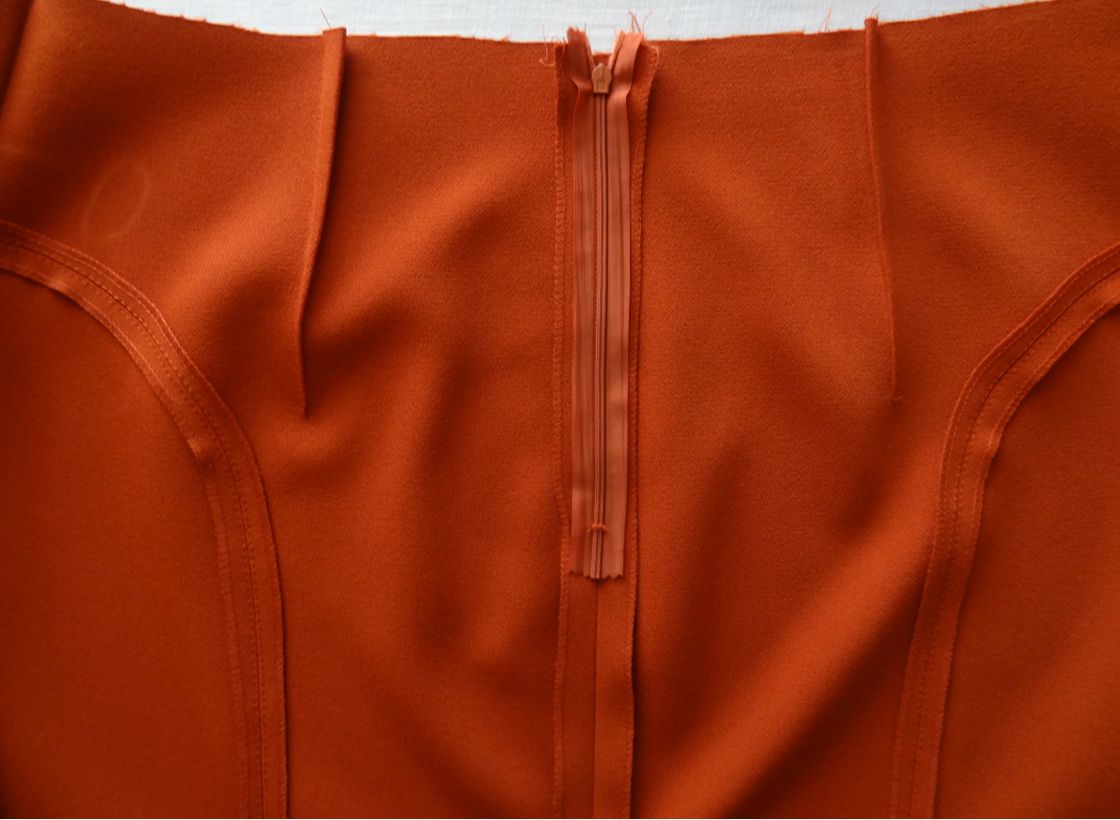
Without a belt
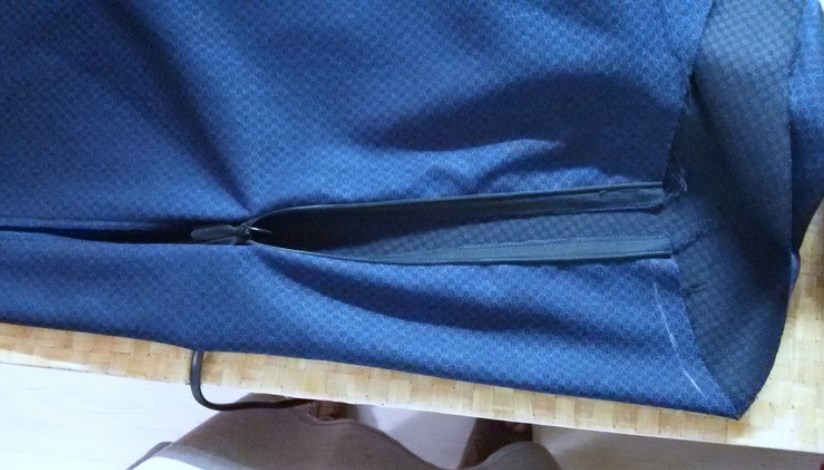
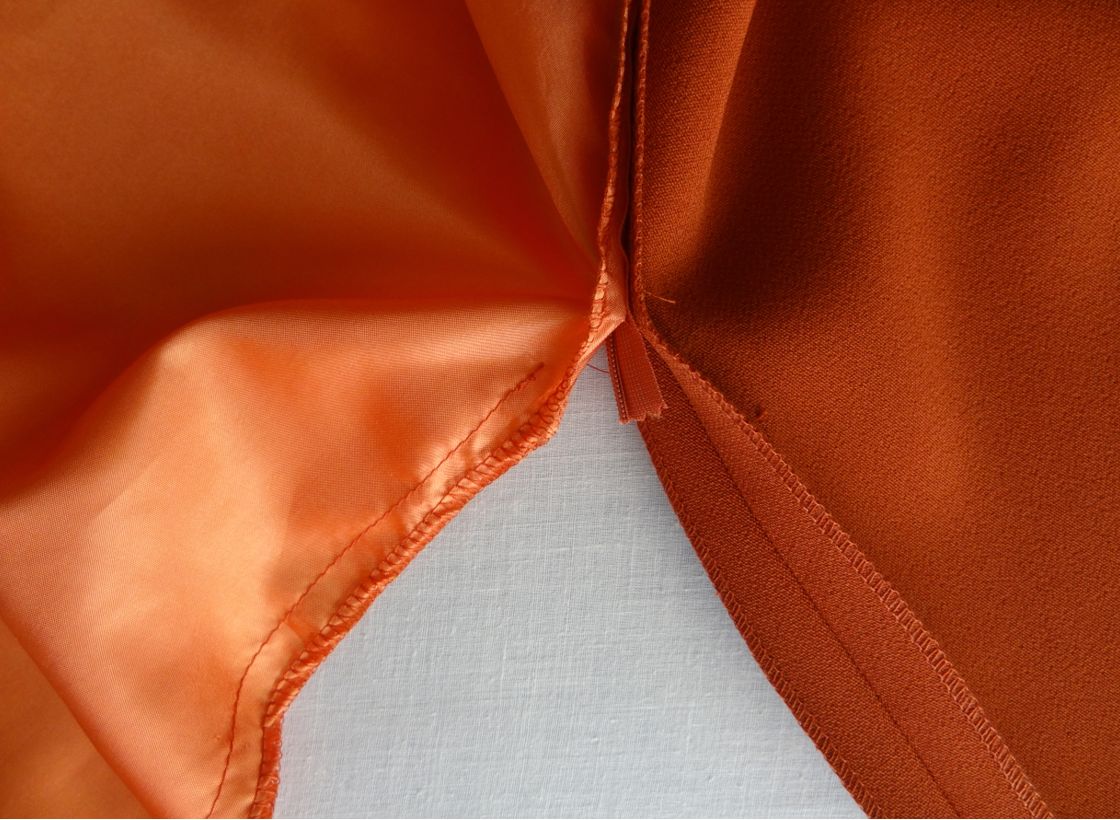
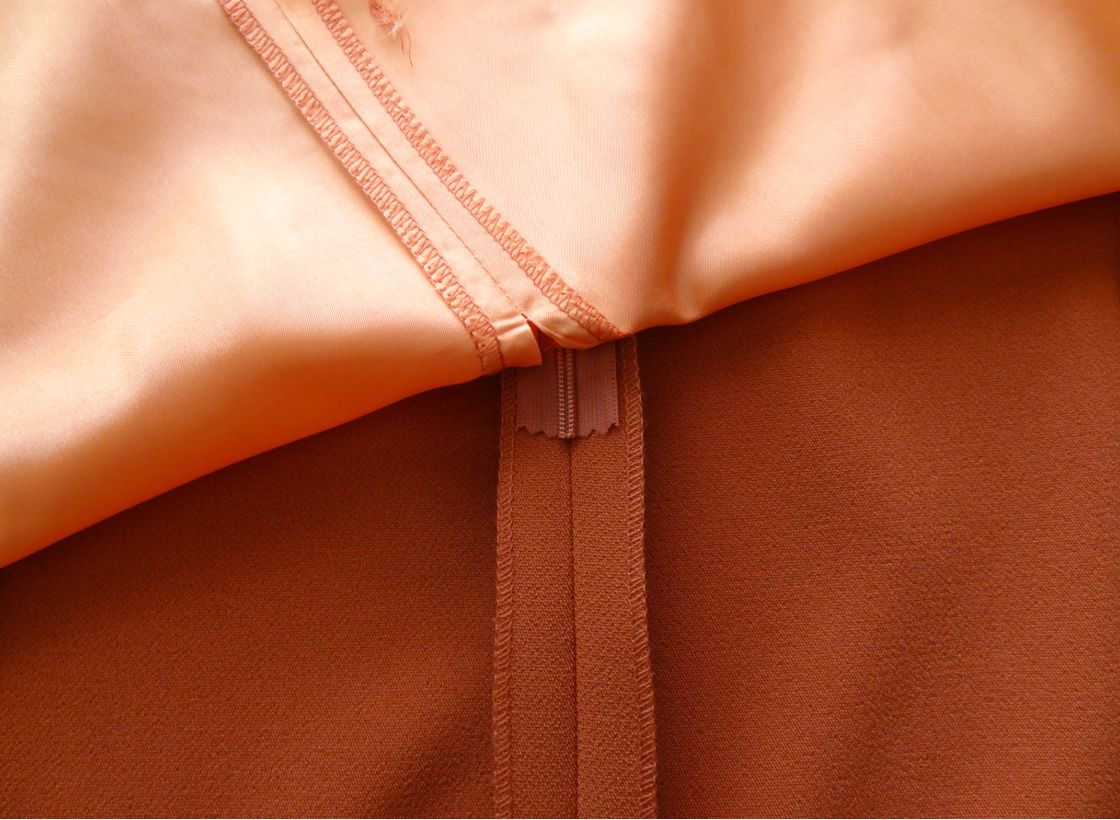
A zipper sewn into a skirt without a belt should be invisible. All seams are hidden, and the joint of two parts should be so small that only the slider works normally. The teeth should not be visible, only the dog. To do this, you need to do everything according to plan:
- It is better to leave the seam where the lock will be sewn in open. Mark the border of the fold with chalk 1.5 cm from the edge. Turn it to the wrong side and iron.
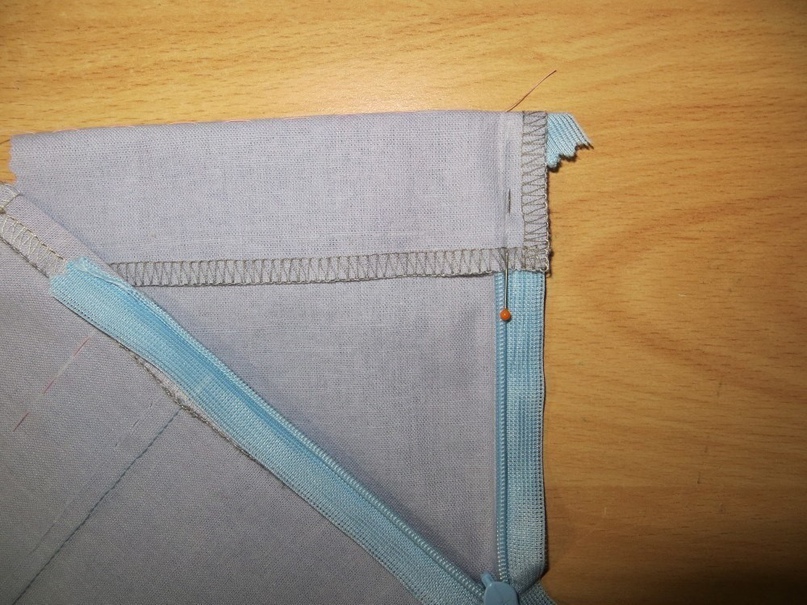
- Place one part of the fastener face down on the fold. The teeth should exactly match the fold, and the end of the fastener should match the top edge of the garment.
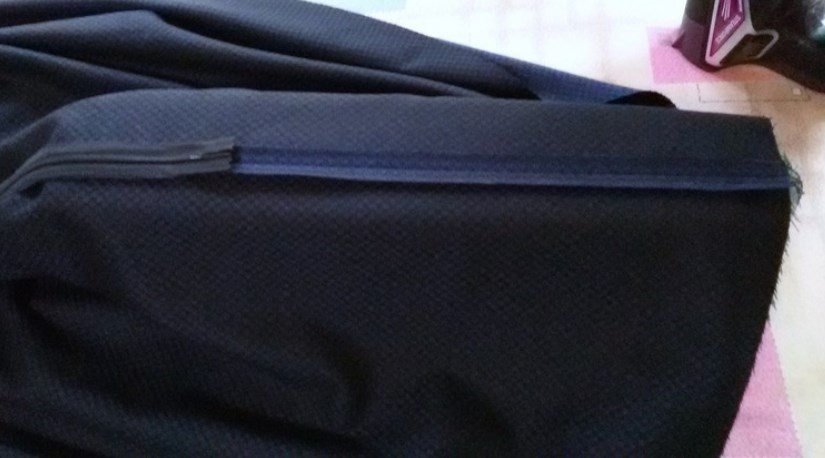
- Carefully baste the lock to the hem, capturing only it.
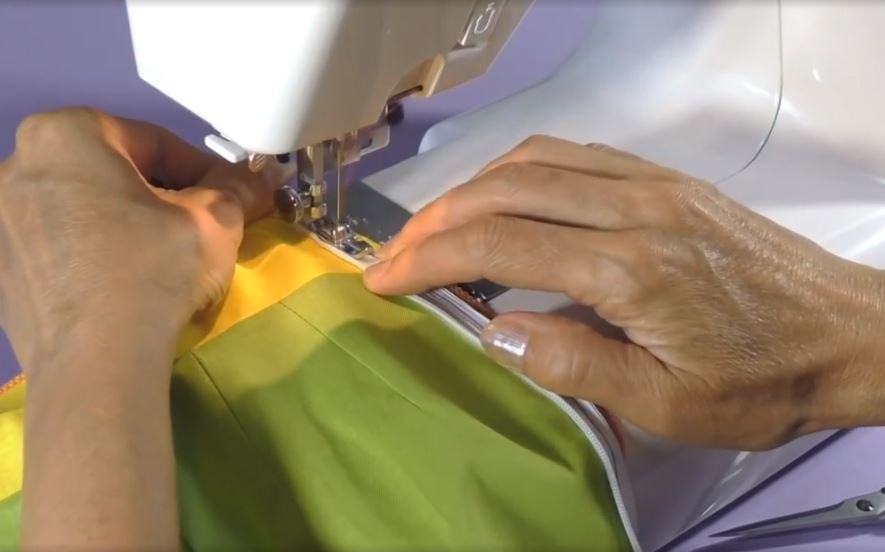
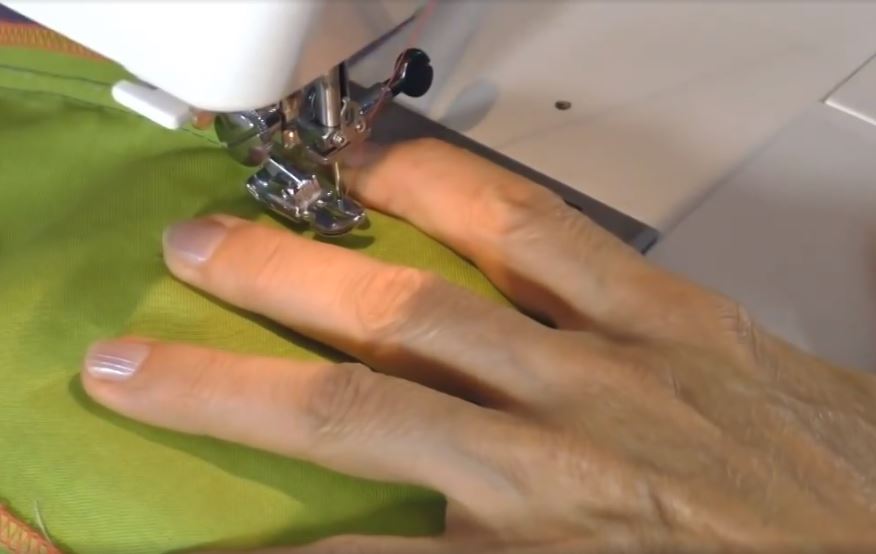
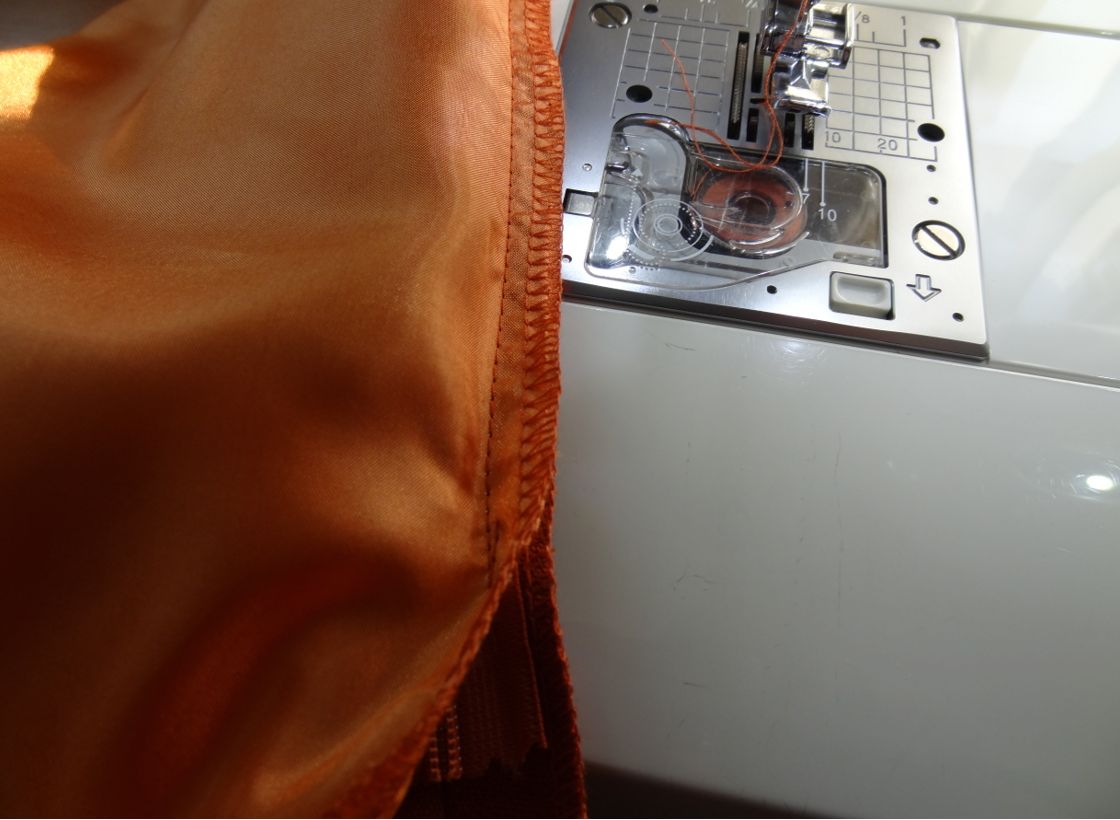
- Turn it over and stitch it using a special foot. Start the seam from the top.
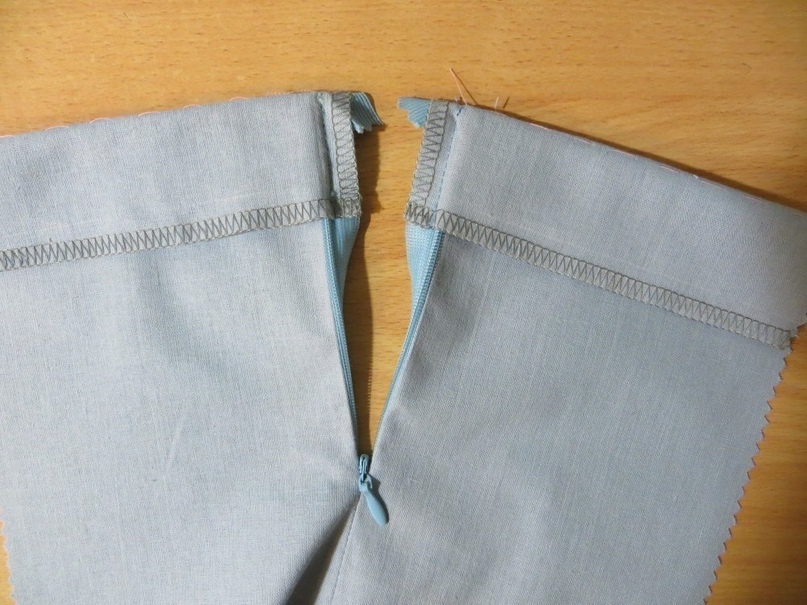
- Sew the second half in the same way and fasten the zipper.
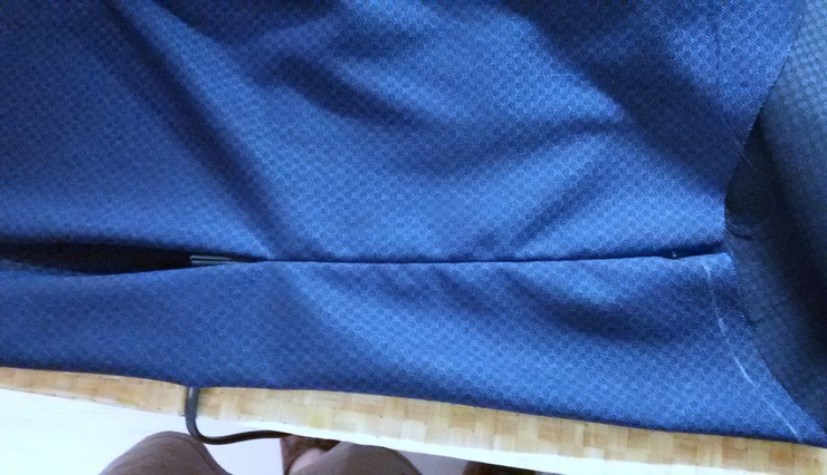
- Bend the edge of the zipper to the side and baste the remaining seam to the bottom, stitch. The seam should go 1 mm to the left of the stitching line of the fastener.
After this, the top edge of the product is folded or processed in another way. The fastener tape should be hidden under the fold. Otherwise, its edges can be cut off and processed with an overlock.


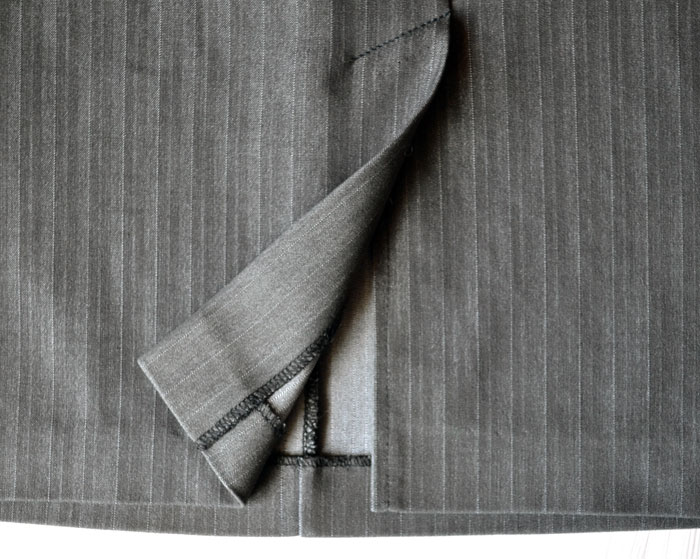
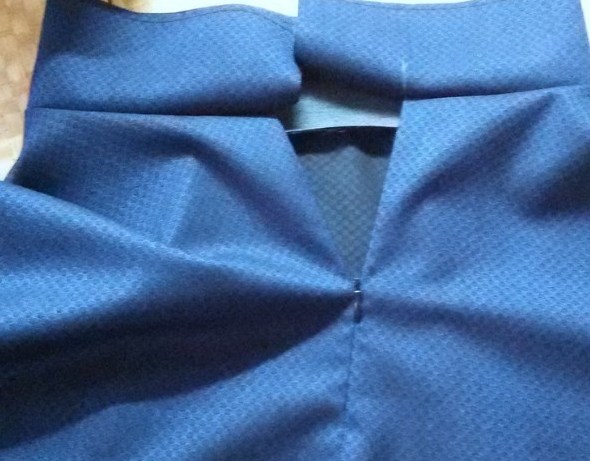
With folds
Even those who know how to sew such a product with folds often have difficulty sewing in the fastener. But if you do everything carefully and according to the rules, it will be convenient and unnoticeable. Instructions:
- Leave an unsewn section of the seam that is 2 cm longer than the length of the fastener.
- Turn the seam allowances under and iron.
- Place the unfastened fastener on one side so that the teeth are close to the fold of the fabric, pin it in place, and baste it.
- The top edge of the teeth should not reach the edge of the product by 2 cm.
- Sew the lock on one side.
- Attach the other side of the fastener, baste and stitch. The seam should be 2-3 mm from the teeth.
- Remove the basting and secure the bottom edge of the fastener.
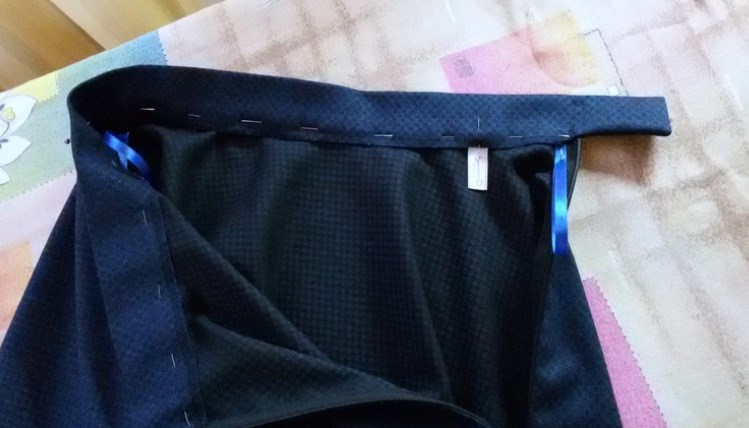
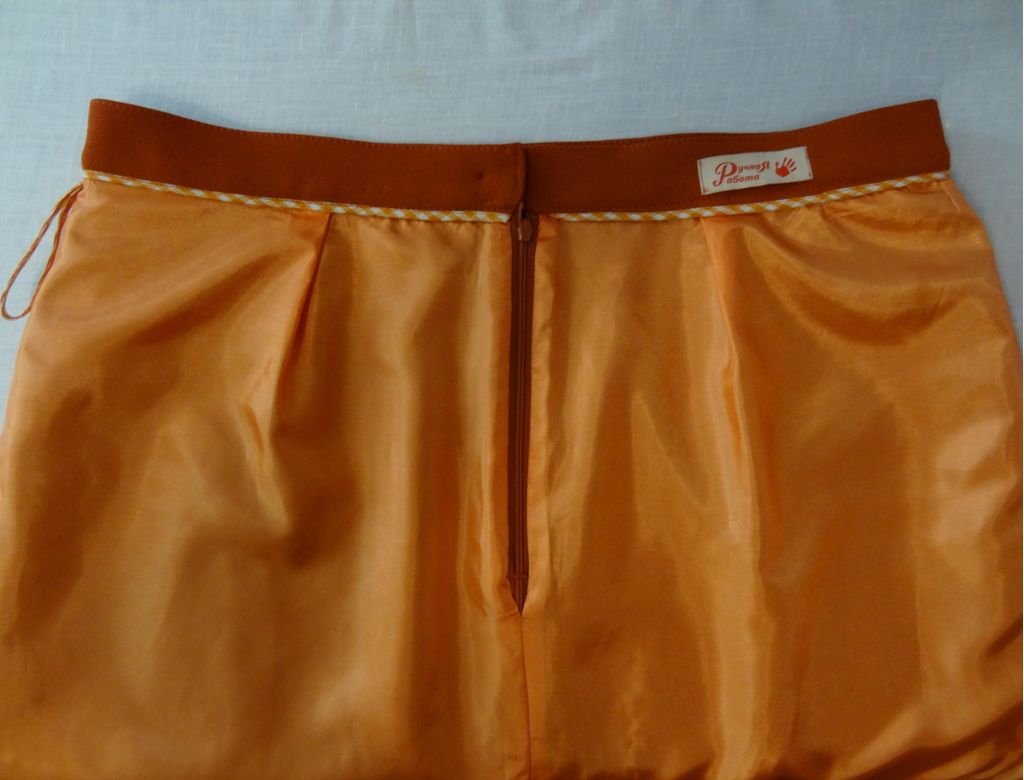
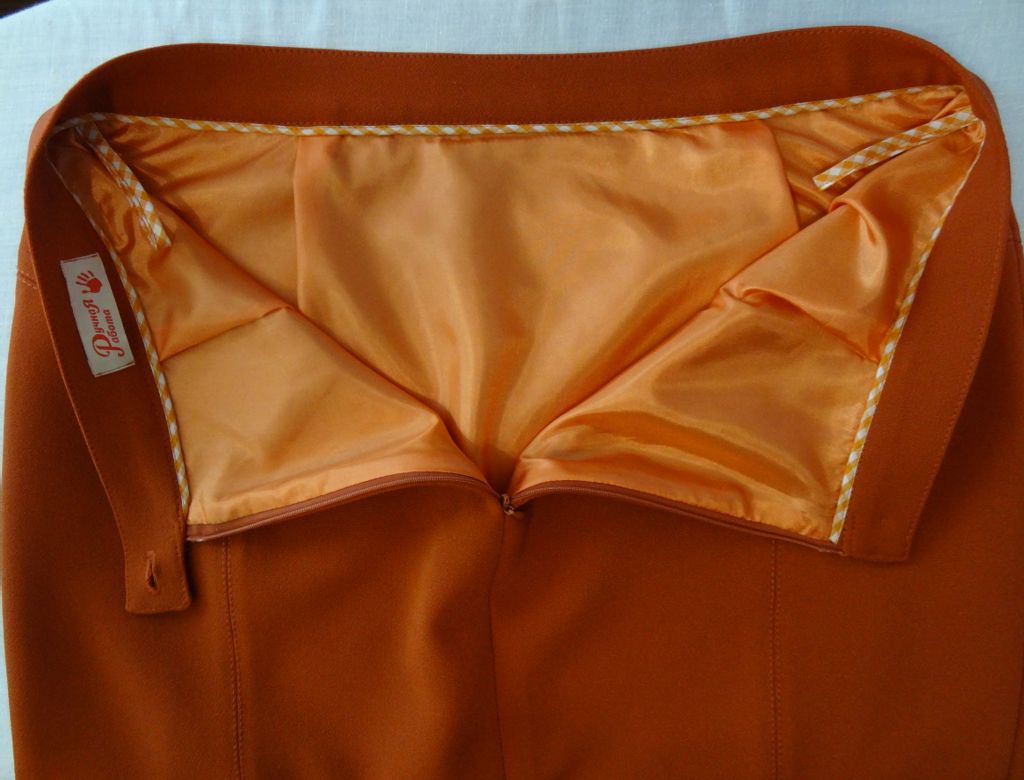
With lining
Many skirts made of jersey or thick fabric are made with a lining. In this case, the order of sewing the fastener is the same as in the previous master classes. But you need to add some more steps:
- process the edges of the lining;
- apply it and baste it;
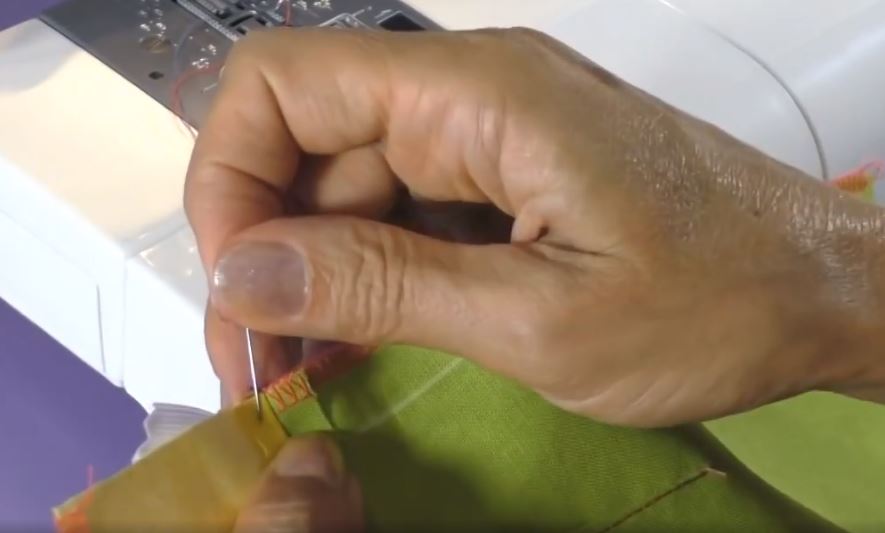
- Sew carefully by hand with a blind stitch, covering all the lines.


Useful tips
If you sew the fastener unevenly, the product may become skewed, the fabric will wrinkle or stretch. Difficulties may also arise if the skirt has no seams. In this case, you need to make a cut 2-3 cm longer than the length of the fastener. Then you can follow the usual algorithm, and sew up the remaining cut.
To properly sew in both a concealed and a regular zipper, you need to follow the recommendations of experienced craftswomen. There are several nuances, failure to observe which can lead to errors:
- If the skirt is made of knitwear or delicate material, then there must be a lining between the zipper and the fabric - interlining or dublerin.
- For knitted fabric, it is better to use special needles with a rounded tip. You need to make sure that the edge does not protrude beyond the teeth, otherwise the threads will get caught in them.
- Before sewing in a concealed zipper, you need to pin it well. To prevent it from shifting during stitching, you should make marks with chalk.
- It is not recommended to use thick needles, as they may leave marks.
- If you need to cut off excess length of the zipper, be sure to secure the edge of the teeth so that the runner does not slip off.
- Do not make large seam allowances. It is best if the edge of the fabric matches the edge of the zipper base.
- If you are sewing in a metal fastener, you need to step back 5 mm from the edge. Its teeth should be completely visible, otherwise it will get stuck.
The hidden lock must be sewn on as carefully and unnoticeably as possible. At the same time, it must move freely, not get stuck or catch on the fabric. If you follow the recommendations, everything will turn out as it should.
Video