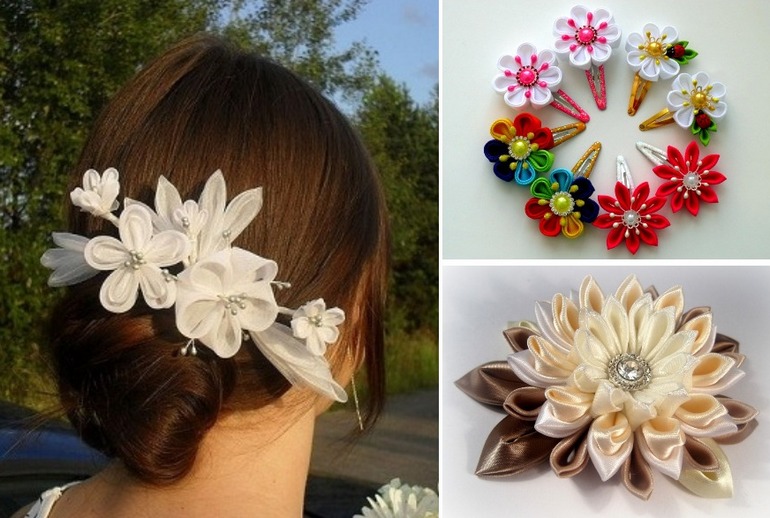
Hair decorations created with your own hands are unique and emphasize the individual style of the owner. Such things never go out of fashion, and making original hairpins with your own hands is quite simple. You just need to be patient and set aside some personal time. Anyone can learn to create elegant decorative elements, the main thing is to follow the prescribed algorithm of actions.
Materials and tools used
Before making a hairpin, you need to prepare everything that may be needed in the process. First of all, you should decide on the accessories; the way you wear the hairpin depends on the base. In specialized stores, you can choose:
- bases for elastic bands with a snap;
- metal crocodile clips;
- automatic clips for adult and children's hairpins;
- banana hair clips;
- tic-tac bases for individual strands;
- invisible;
- all kinds of hair ties;
- spring bases.
To make hairpins with your own hands, use:
- beads and half beads;
- beads;
- sequins;
- rhinestones;
- cabochons;
- tops;
- camellias;
- filigree;
- beautiful buttons;
- buckles;
- pendants;
- lace;
- ribbons and braids made of different materials;
- cords;
- yarn;
- foamiran;
- leather and suede;
- felt;
- any fabric - denim, velvet, organza, tulle, chiffon, satin, cotton, jute.
The range of materials is not limited to this. It directly depends on the imagination of the craftswoman. Even semi-precious stones and Swarovski crystals are used in exclusive jewelry.
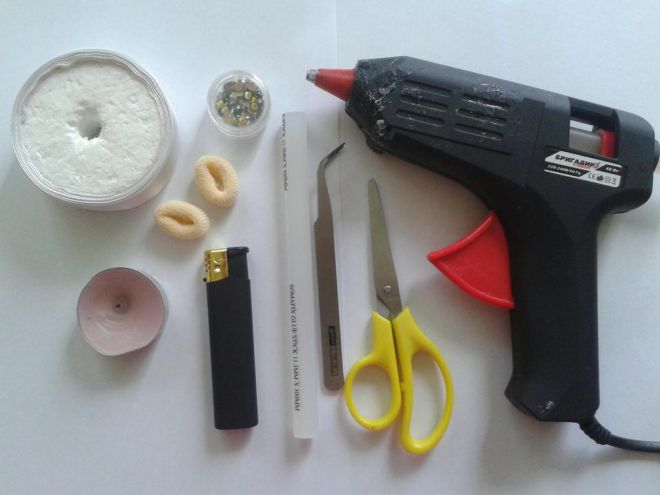
To make hairpins with your own hands, you will need the following tools:
- scissors;
- threads;
- needles - regular and for beading;
- glue gun or glue;
- wire;
- fishing line;
- flat-nose pliers, round-nose pliers, nippers;
- lighter, matches, candle;
- hook;
- ruler and tape measure;
- clamps;
- tweezers;
- awl;
- sharp knife.

Instructions for making
Before starting work, you should decide on the idea, decide what material the hairpin should be made of, and choose a suitable base. Experienced needlewomen make the patterns themselves, but beginners should use a step-by-step master class. We decorate the product at our discretion.
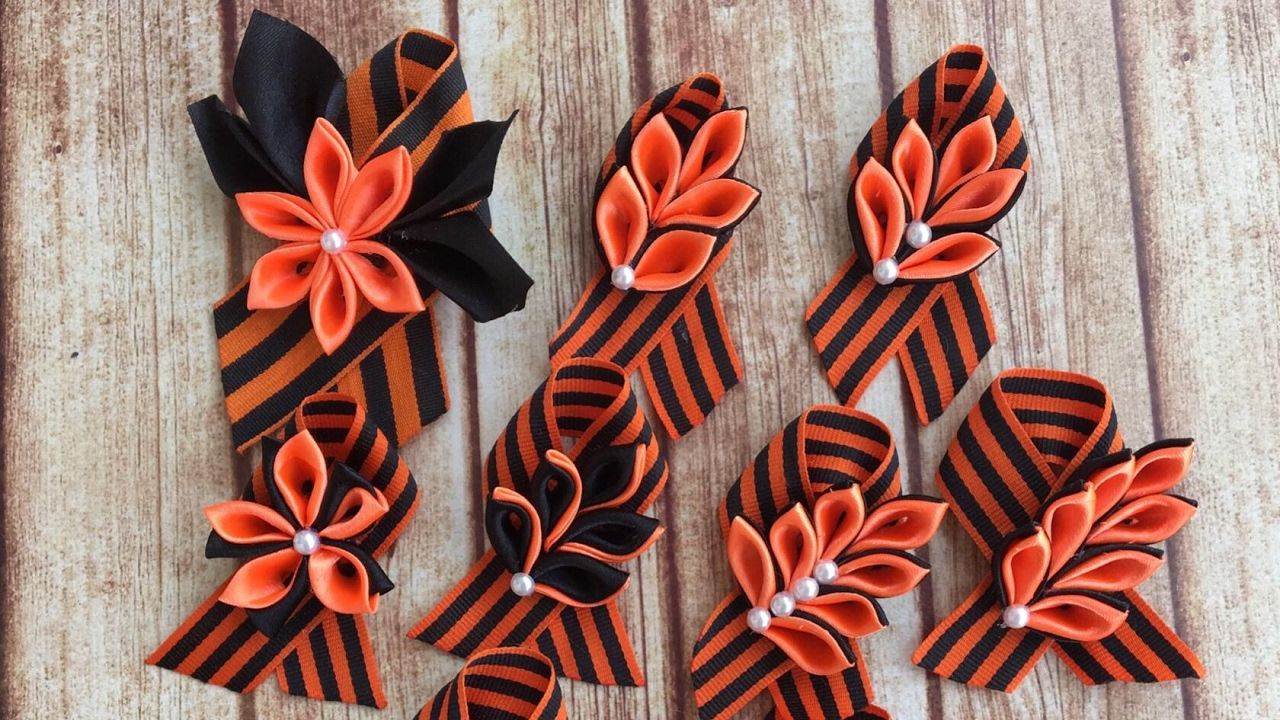
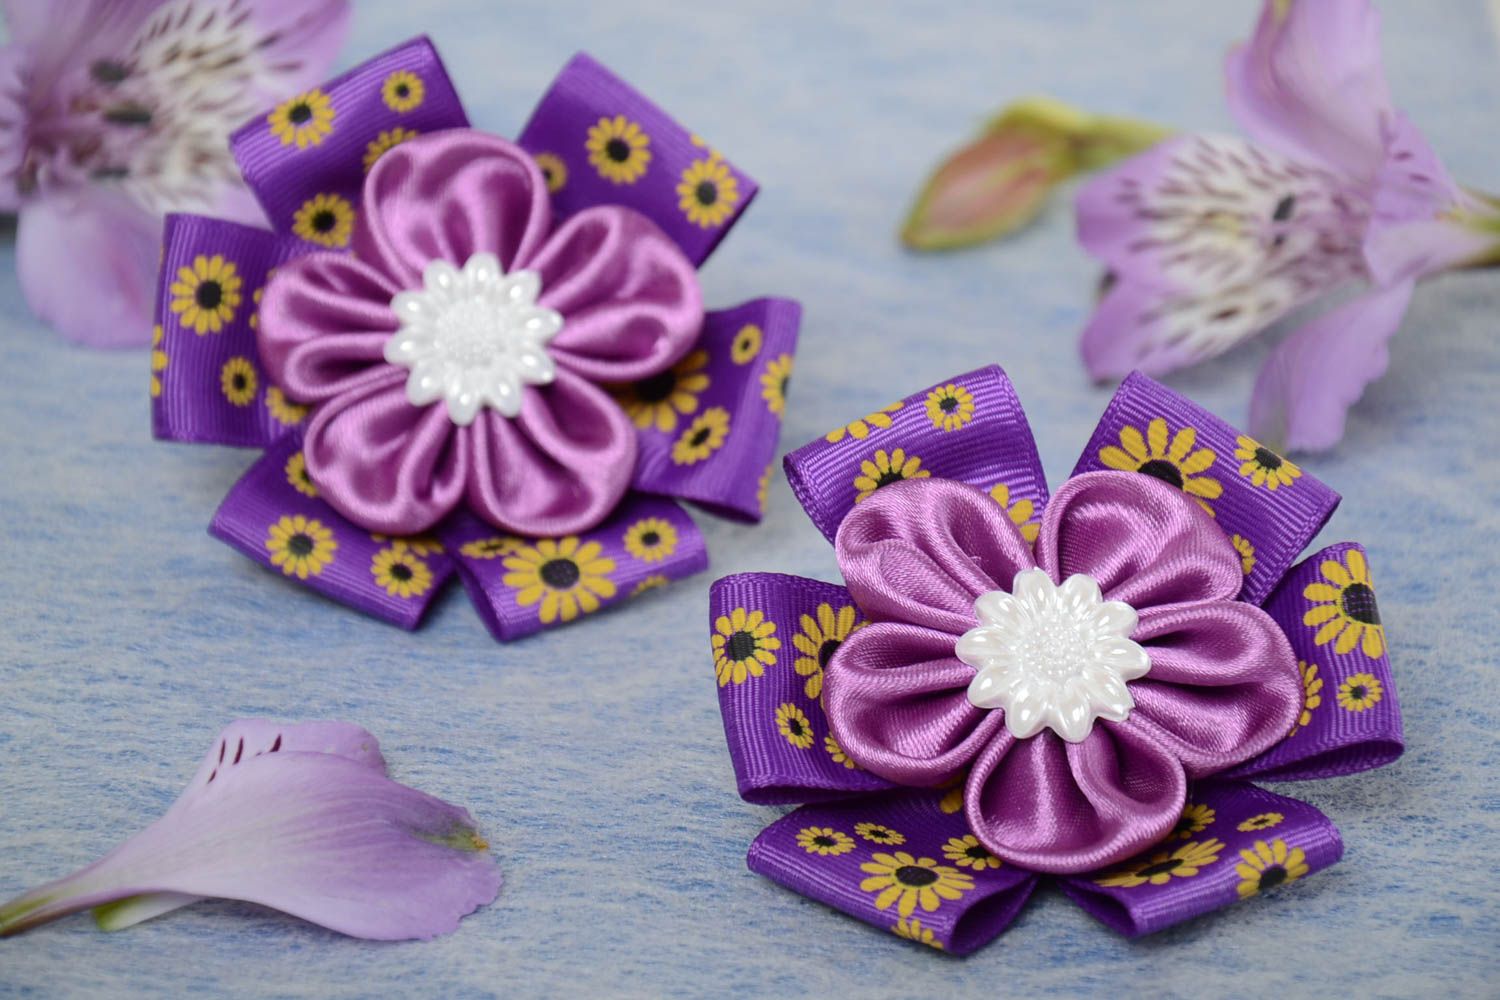
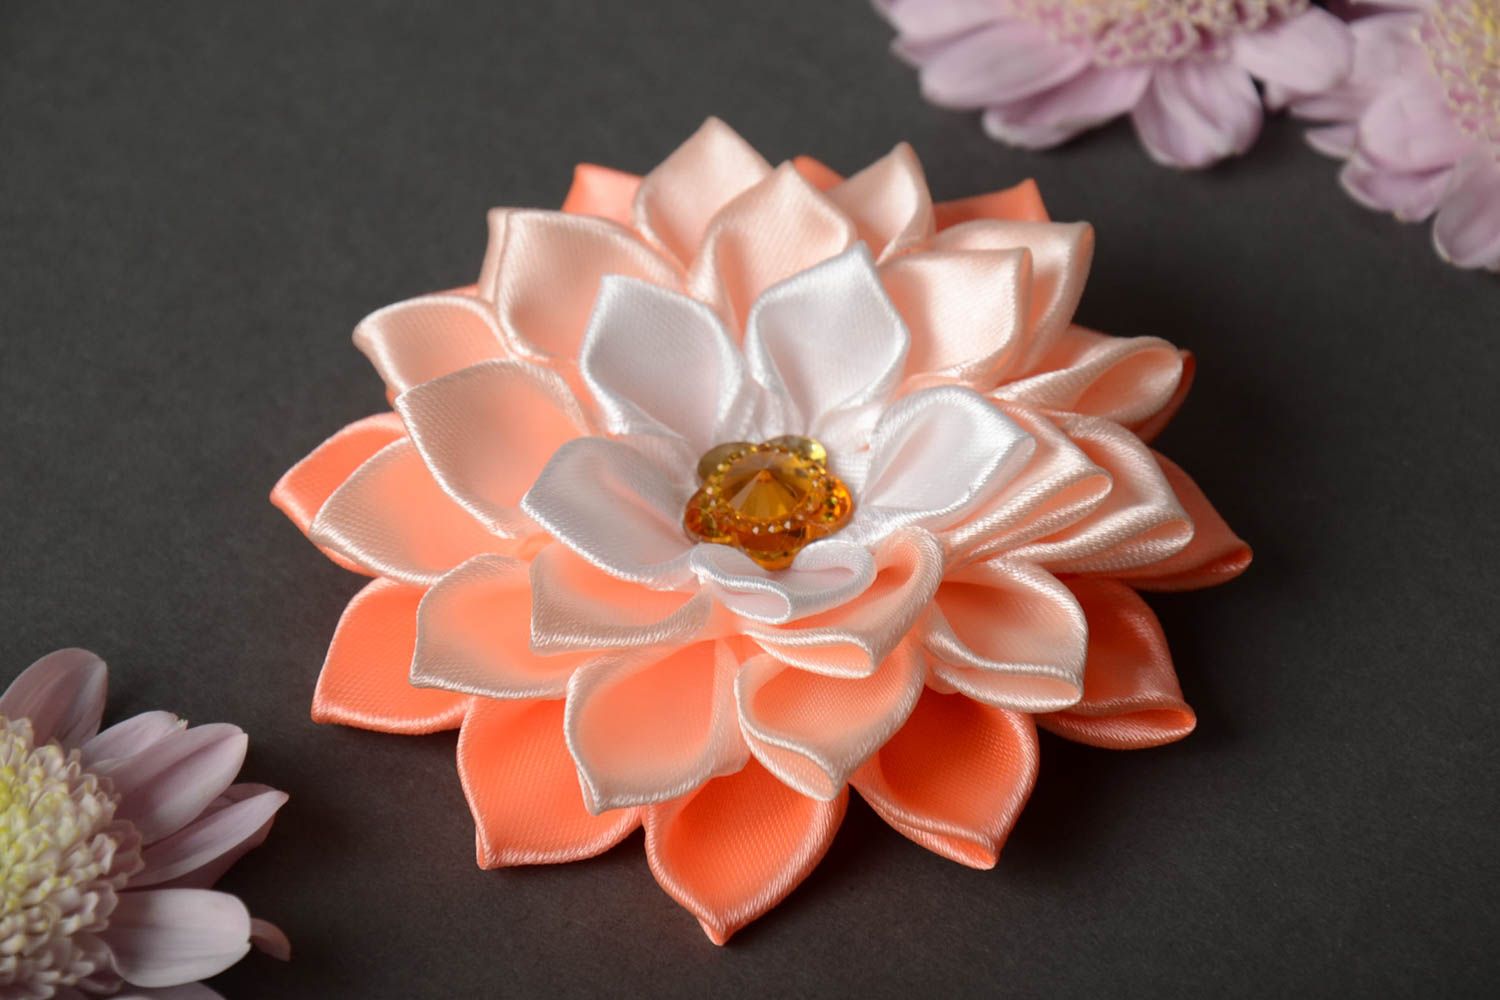
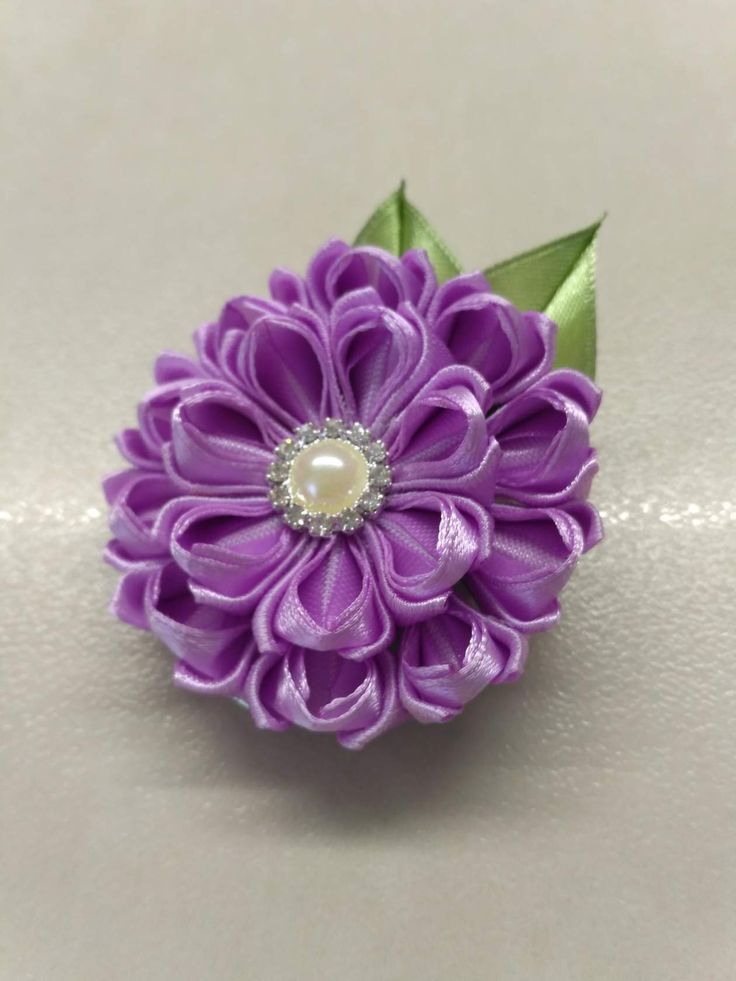
Flower in kanzashi technique
Kanzashi ribbon hairpins only seem difficult to make. In fact, the technique is simple, but requires accuracy and precise following of the instructions. You will need the following materials:
- satin ribbon 5 cm wide – 35 cm;
- base for a hairpin;
- scissors;
- lighter;
- thread and needle;
- glue gun;
- a piece of felt to match the ribbon;
- half bead.
You can make a hairpin using the kanzashi technique from rep ribbons. It will also be beautiful, but will look a little different.
Instructions for making your own ribbon hair clip:
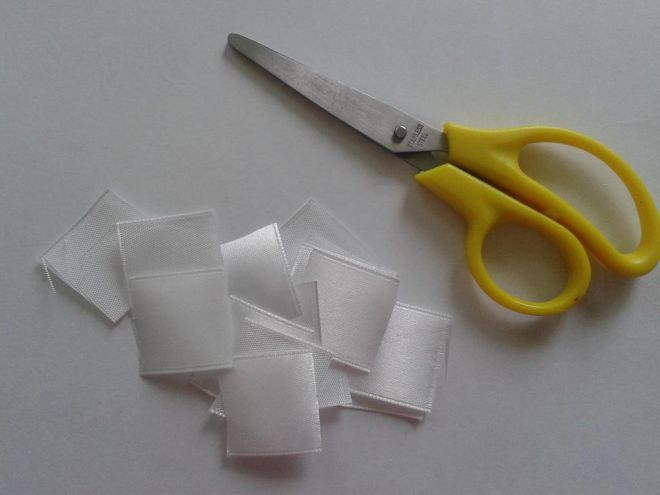
- Take the ribbon and cut it into 5 cm squares to get 7 pieces.
- The edges are burned with a lighter.
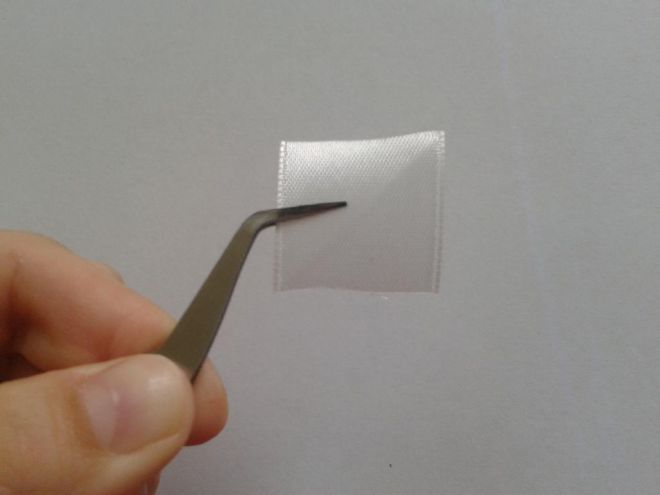
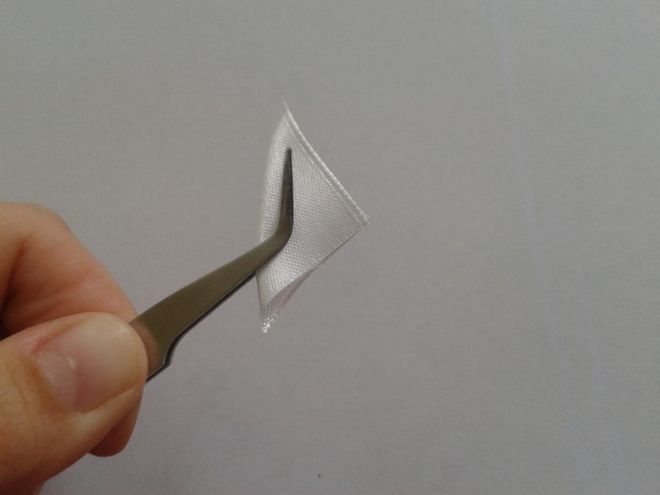
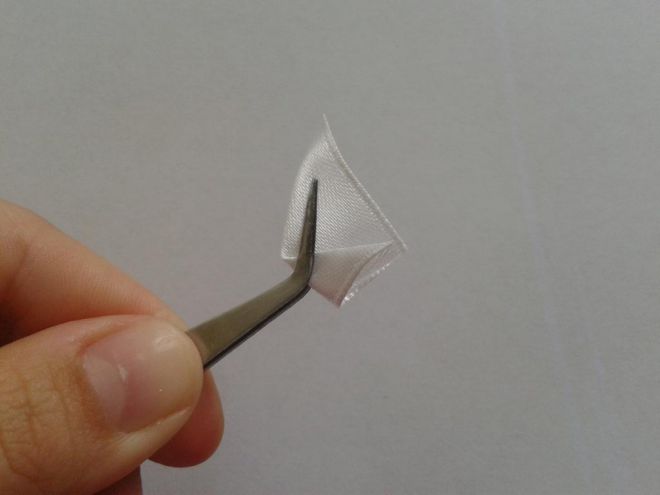
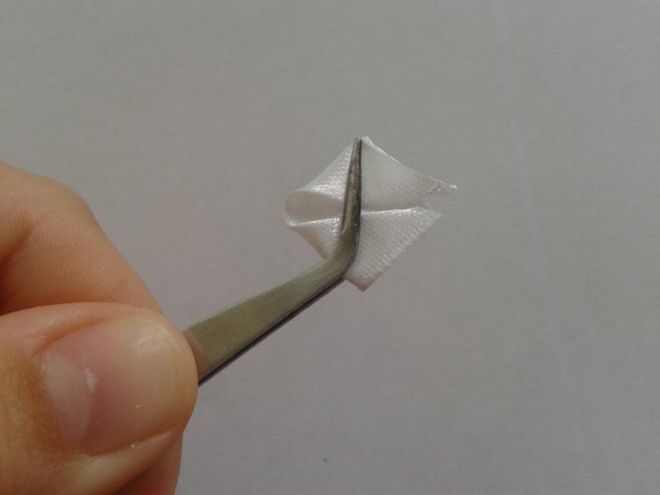
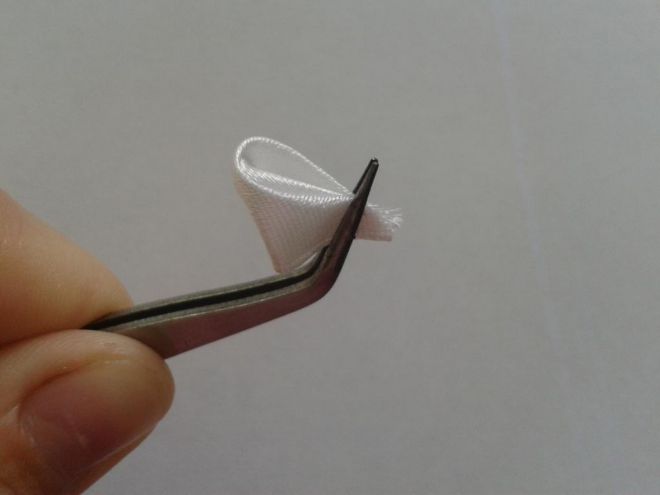
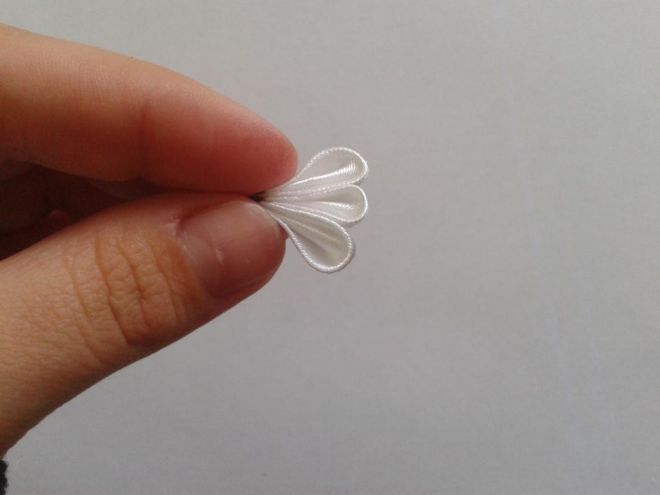
- One of the squares is folded diagonally. The resulting satin triangle is folded in half twice.
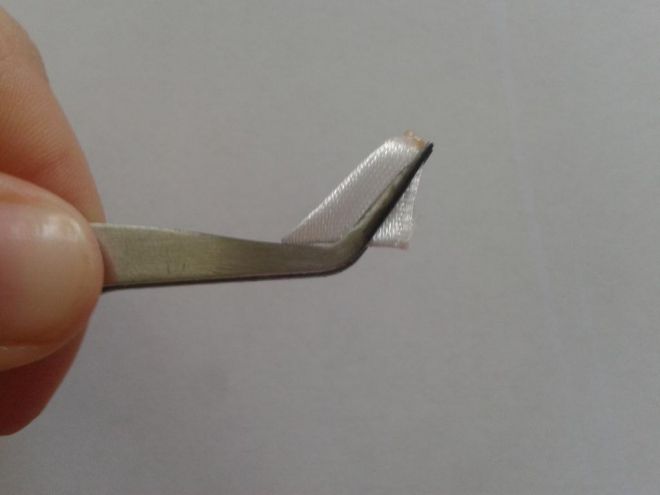
- Sharp corners are chipped in the middle. The ends are cut off and soldered with a lighter.
- You will get a beautiful petal with a bulge on the back side.
- In this way 7 petals are prepared.
- The lower part of the parts is threaded with a needle, pulled together and secured.
- The petals are straightened.
- A circle with a diameter of 2 cm is cut out of felt. The finished flower is glued onto it.
- The center is decorated with a half bead.
- All that remains is to attach the flower to the base.
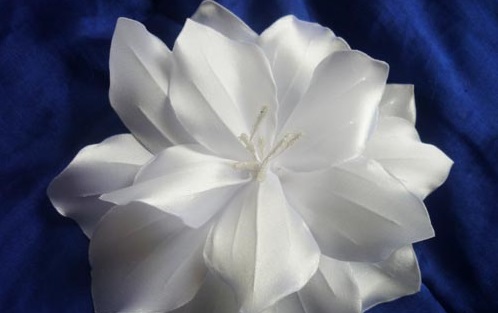
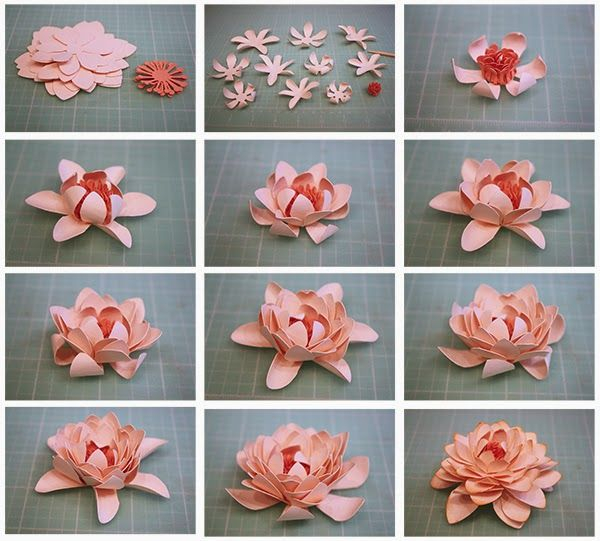
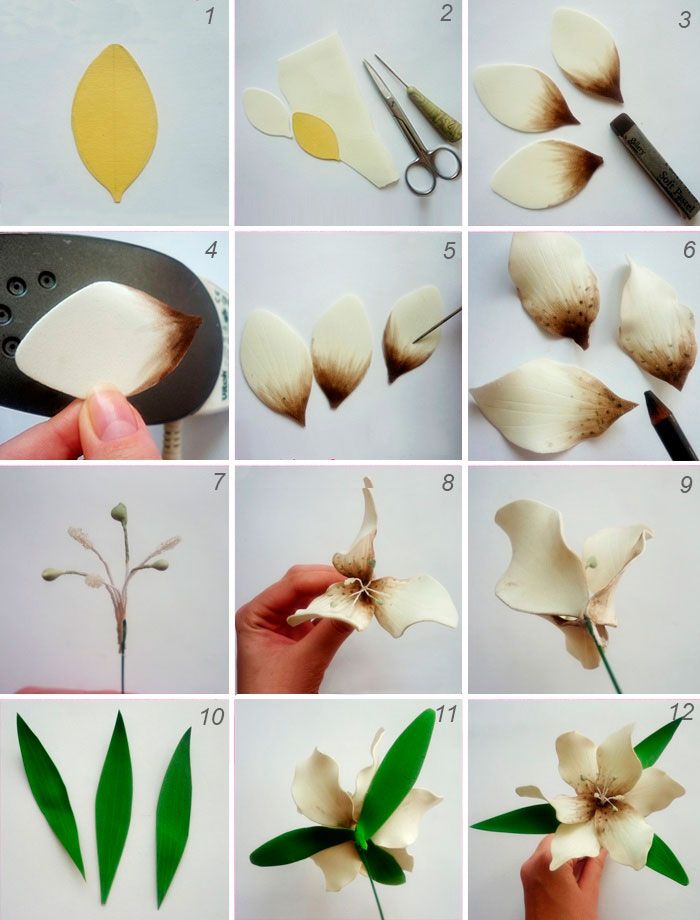
Lily from satin ribbons
A hairpin made of satin ribbons will look beautiful and elegant. It is not difficult to make, you only need accuracy, time and a little imagination. The master class is intended for beginners. To create a water lily you will need:
- wide satin ribbon;
- thick paper for the template;
- pencil;
- scissors;
- glue gun;
- candle;
- hair clip with crocodile mechanism;
- bilateral stamens.
Step-by-step production of a water lily with your own hands from satin ribbons:
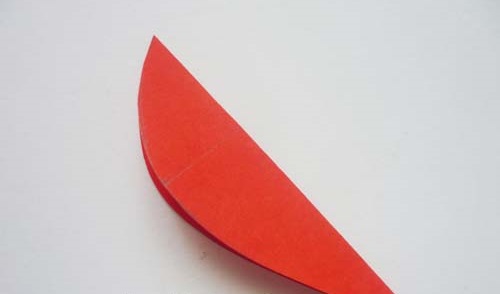
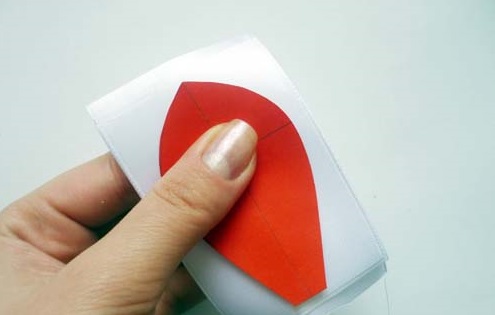
- On a thick piece of paper measuring 4 x 7 cm, draw a symmetrical petal template relative to the central axis and cut it out.
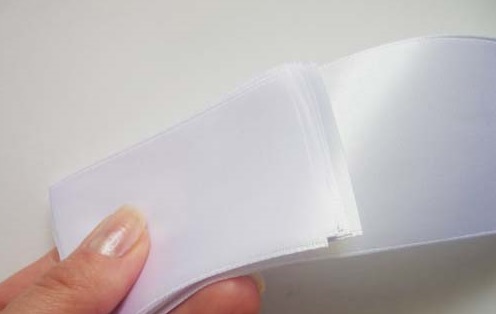
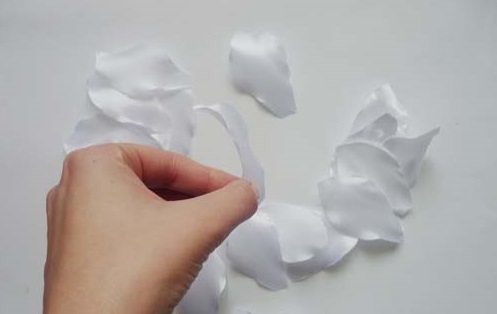
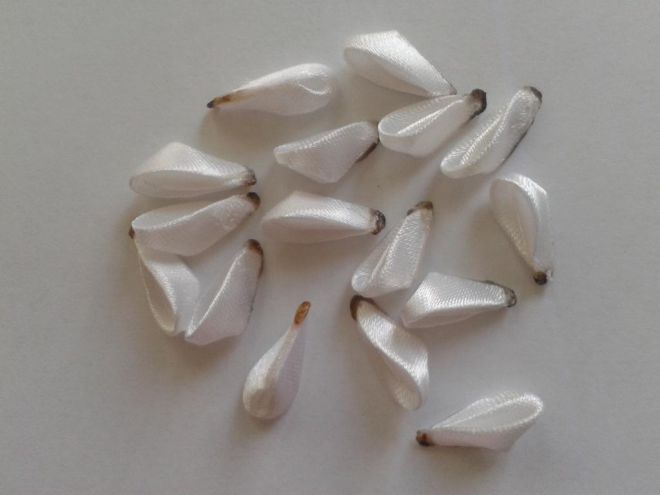
- From a wide satin ribbon, separate 15 strips of 7 cm in length.
- Fold 5 pieces for convenience, place the template on top. Cut along the outline.
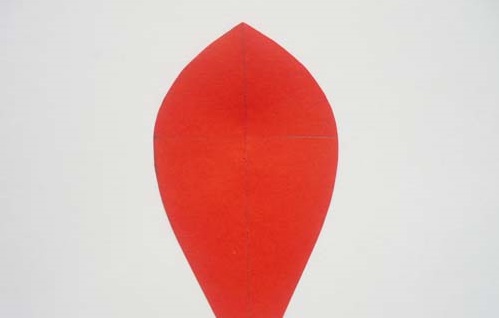
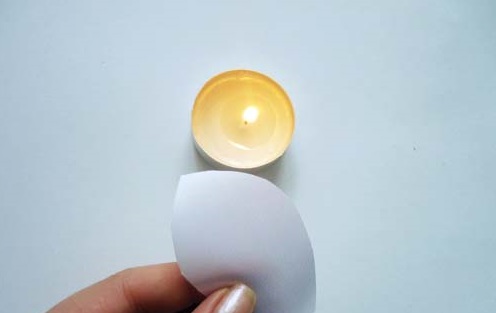
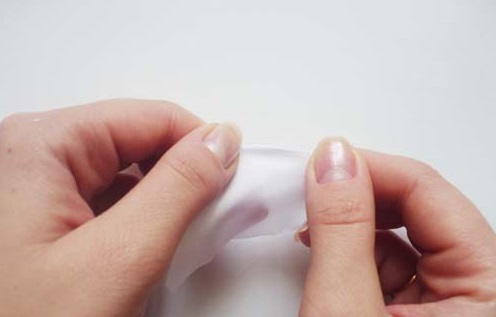
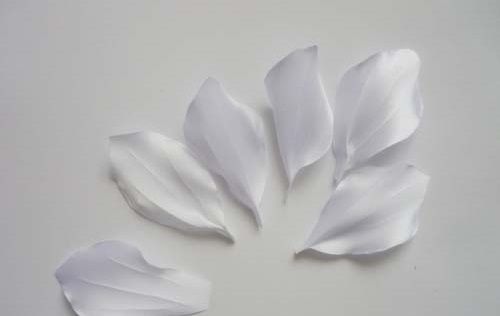
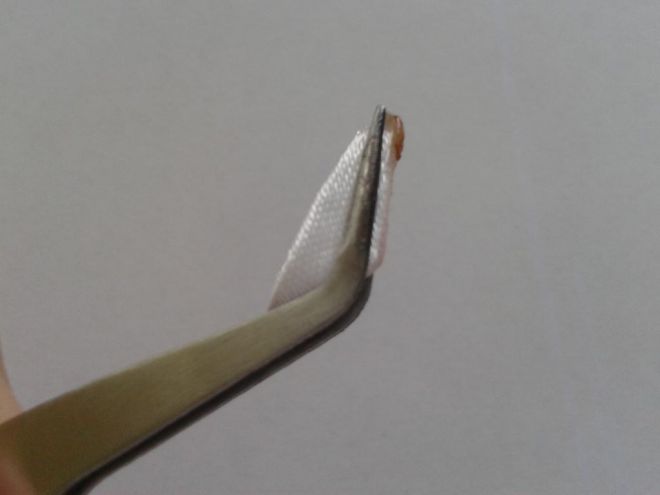
- Each fragment is processed separately. The edges of the workpiece are stretched and carefully burned over the flame of a candle or lighter. The fabric will stop crumbling, and the petals will turn out curved.
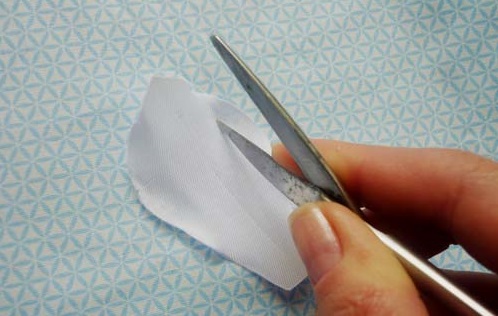
- Heat the tips of the scissors.
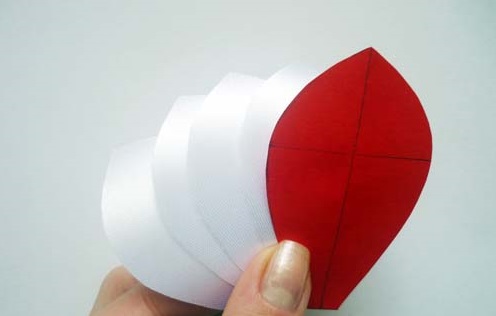
- The petal is placed face down on a thick fabric.
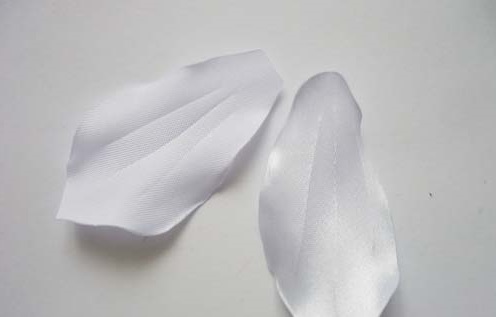
- Using a hot blade, draw three longitudinal stripes.
- Repeat on the remaining petals to create beautiful veins.
- Cut a disk with a diameter of 3-4 cm from the tape and melt the edge.
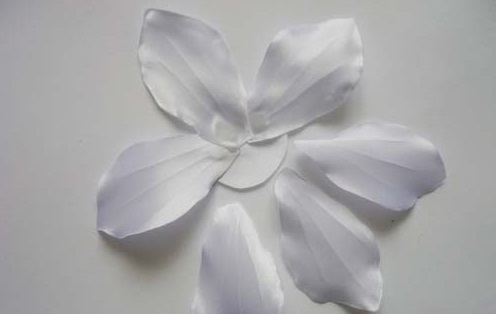
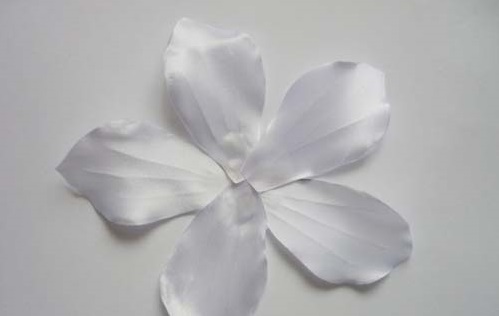
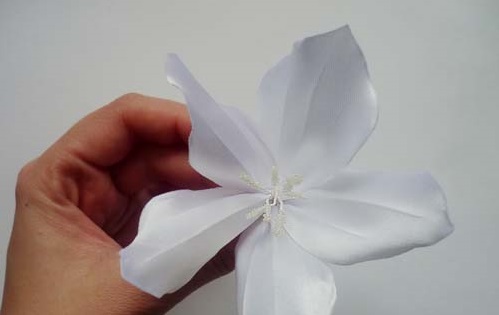
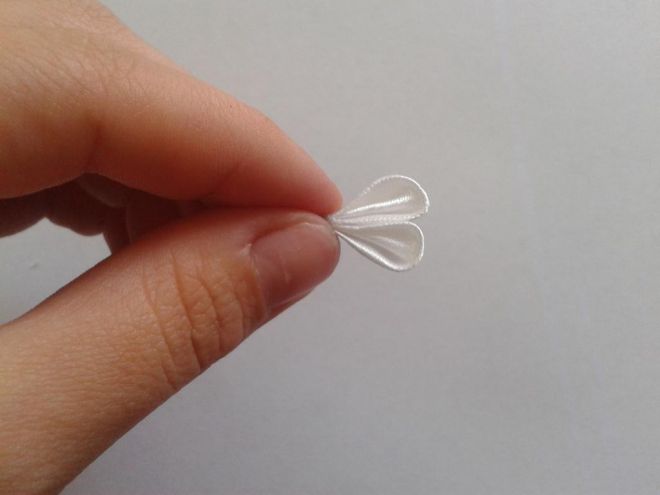
- 5 petals are evenly distributed in a circle on top and glued.
- The second row is attached. Each new piece is placed between two already glued ones.
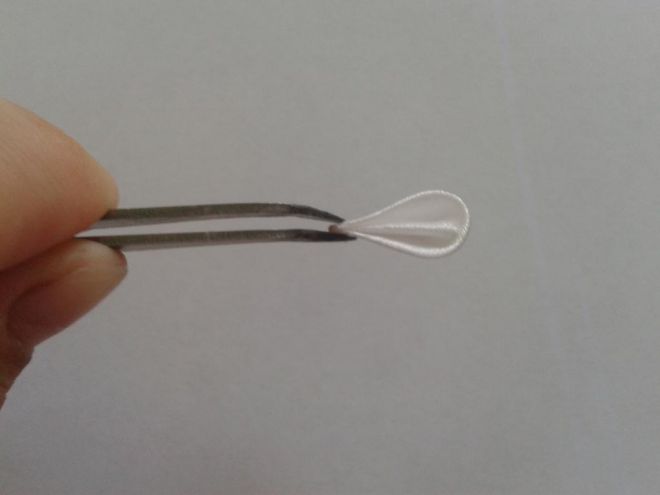
- At the base of the remaining five petals, make a fold and fix it with fire or glue it.
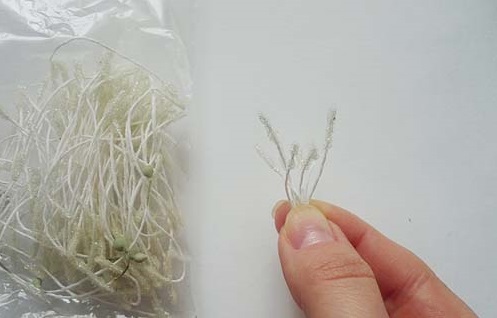
- The finished stamens are bent in half. They are collected in a bunch and fastened at the bottom.
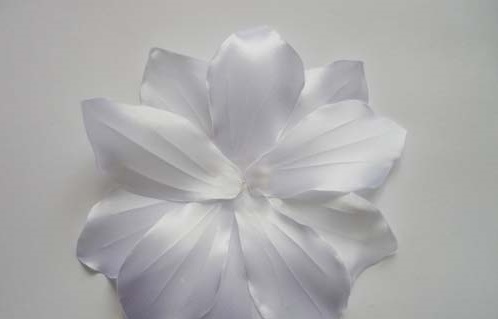
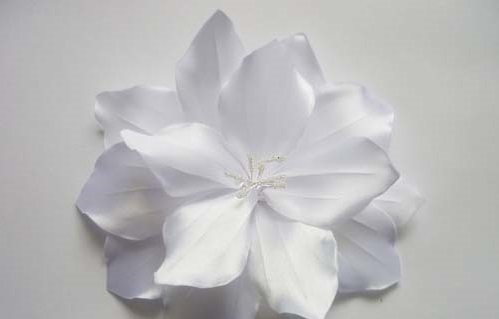
- The last row of petals is glued in a circle at the base of the stamens.
- The convex lower part is cut off.
- Glue the petals with stamens to the main flower.
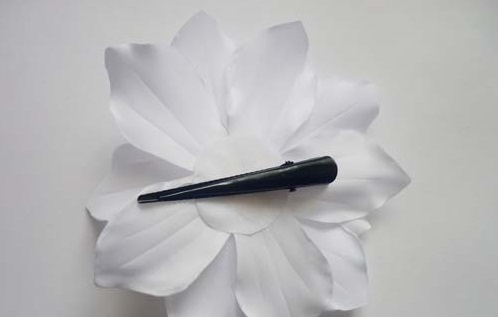
- They attach the lily to the clamp.

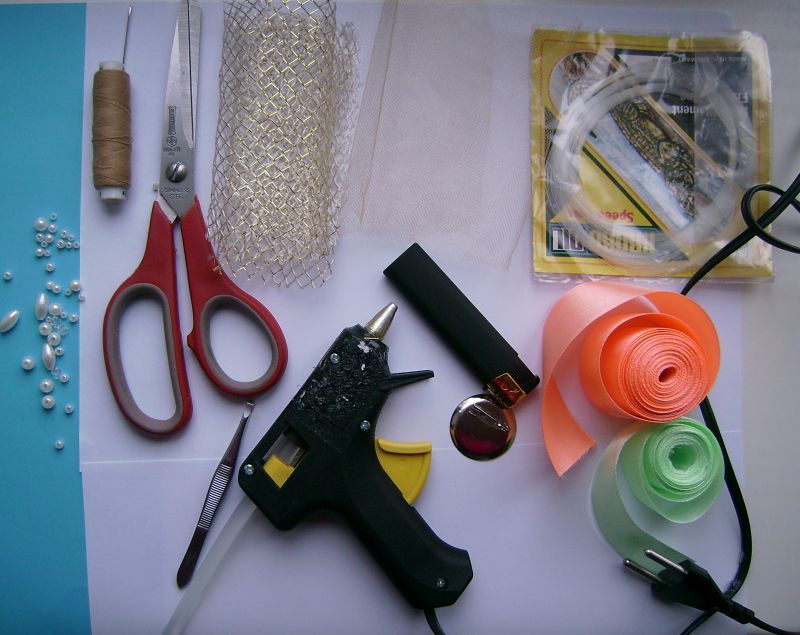
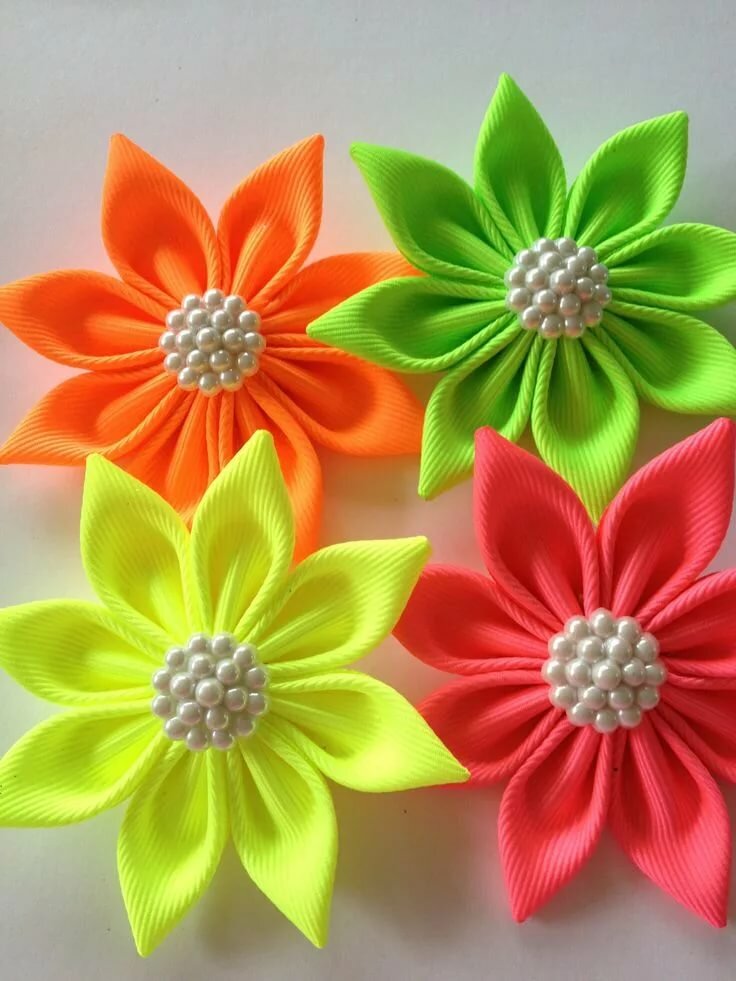
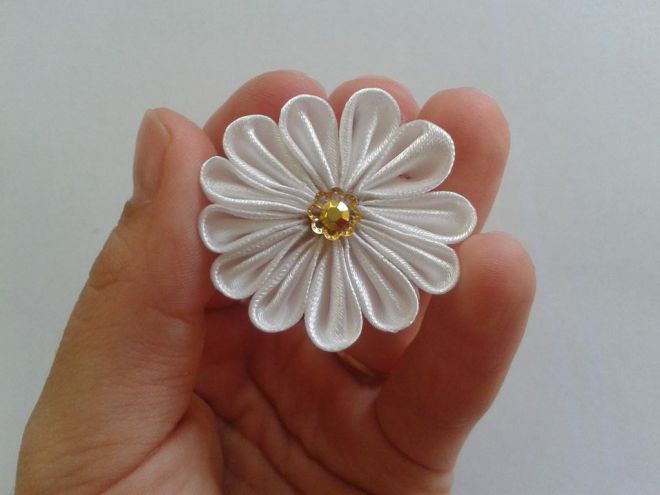
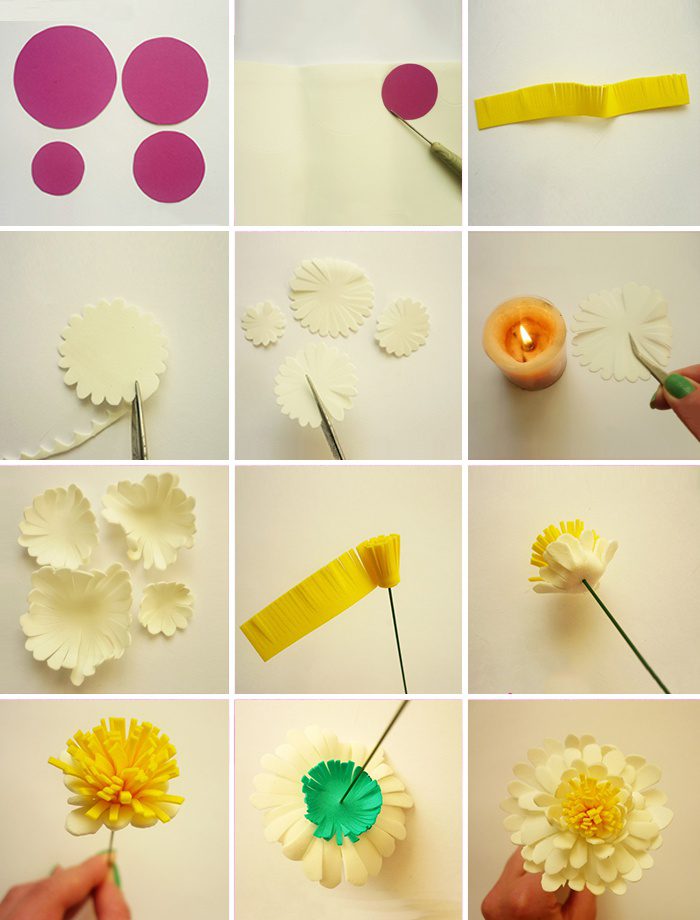
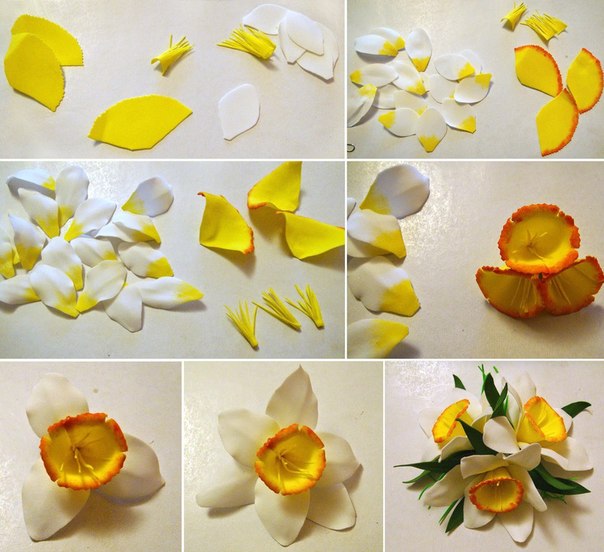
Daisies from ribbons and beads
You can make a daisy from satin ribbons with your own hands. The complexity of the work is low, it will take a little time. The hairpin will be lush and beautiful. From the materials you need to prepare:
- white tape 6 mm wide;
- felt circle with a diameter of 4 cm;
- yellow beads;
- glue;
- scissors;
- compass;
- candle;
- base for the hairpin.
A daisy made of ribbons for beginner craftswomen should be made according to the following algorithm:
- Cut 38 pieces of tape, 8 cm each.
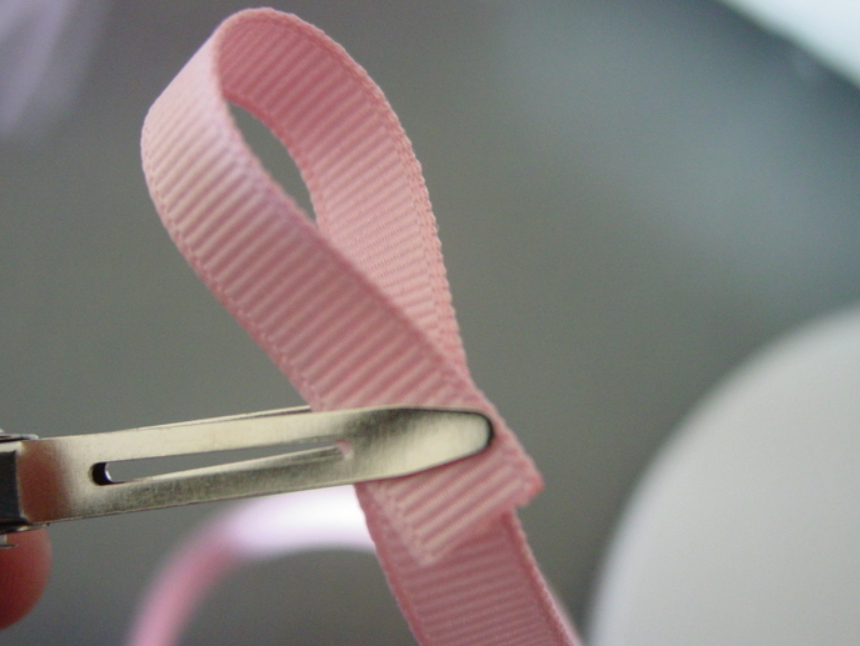
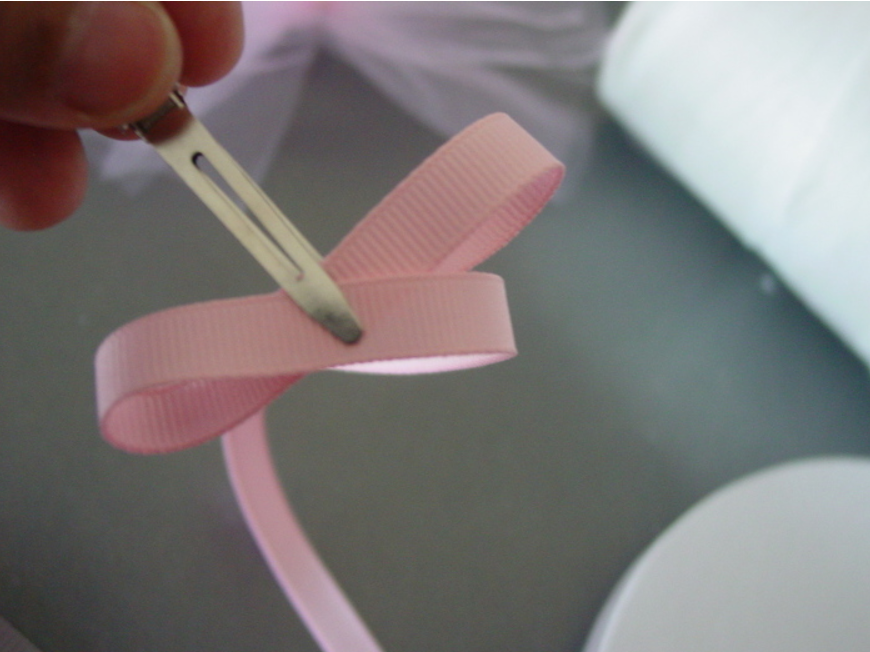
- Each piece is folded into a loop shape and the ends are soldered with fire.
- Inside the felt disk, draw 2 circles with a compass, stepping back 8 mm from the edge of the previous one.
- Glue the petals, distributing them evenly inside the rings in a checkerboard pattern. The two outer rows will need 13 pieces each. The inner row consists of 12 petals.
- The center of the chamomile is generously covered with glue, sprinkled with small yellow beads or large ones are laid out.
- They attach the flower to the hairpin.


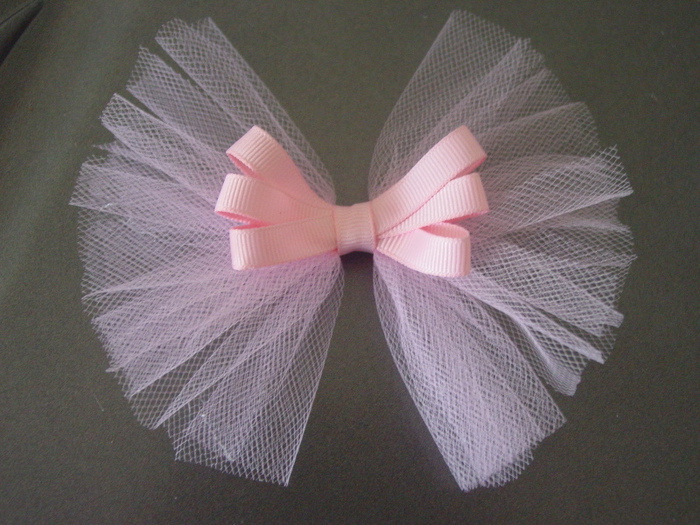
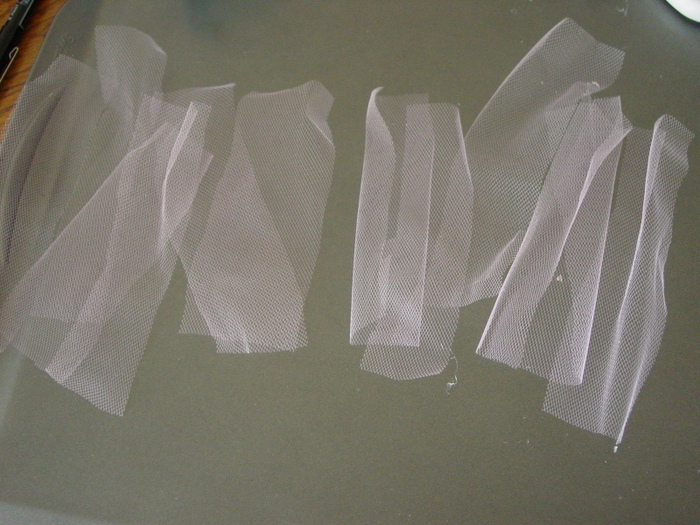
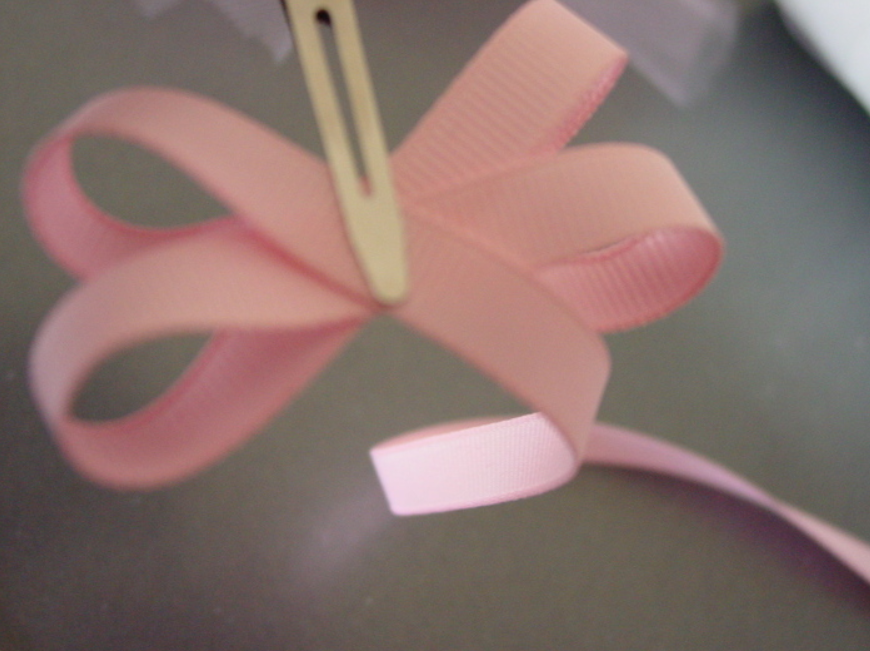
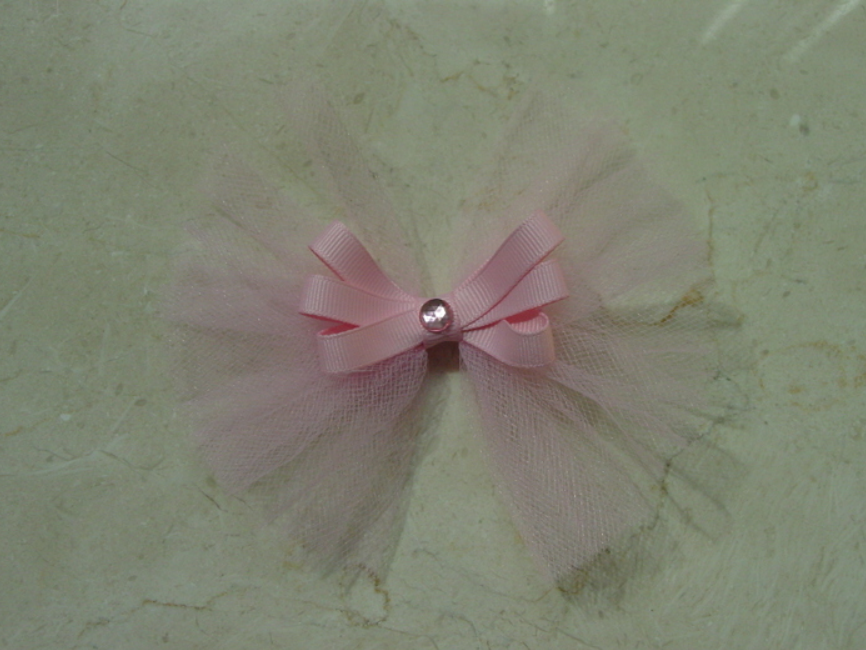
Tulle bow
For girls, beautiful lush bows are made from tulle or organza. A child can easily handle the work. Mom will only have to decorate the resulting bow and secure it with a hair clip or elastic band.
To work you will need:
- tulle;
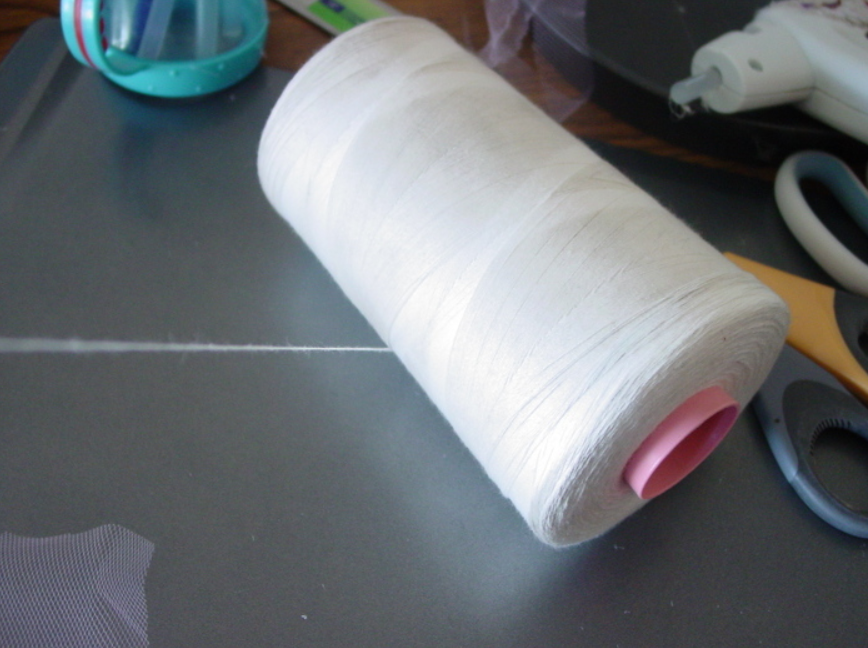
- threads in tone;
- scissors;
- glue;
- decor for the center of the bow: large half-bead, camellia, button, cabochon, tops;
- beads or smaller rhinestones to frame the central element;
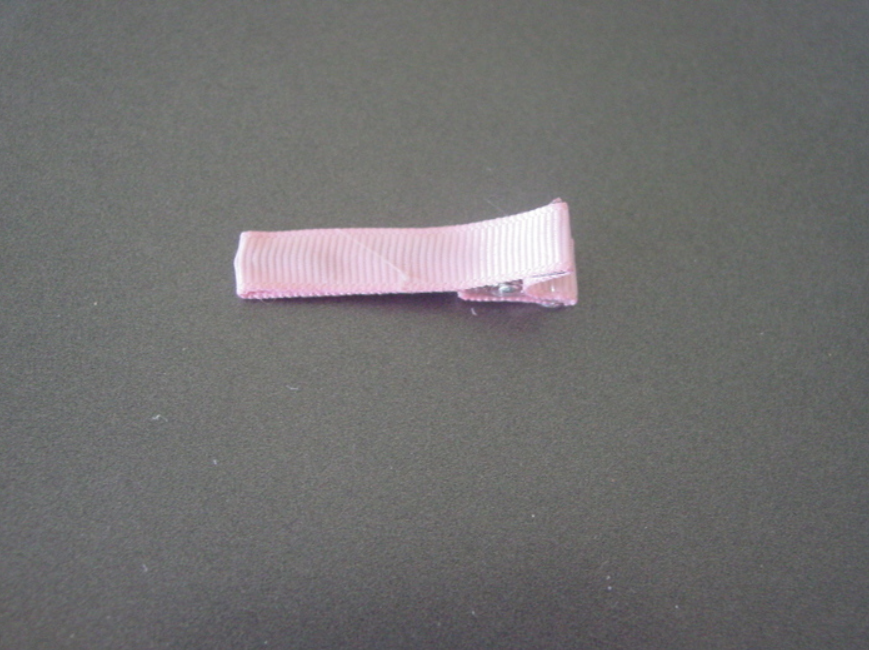
- base for a hair clip (clip, elastic band).
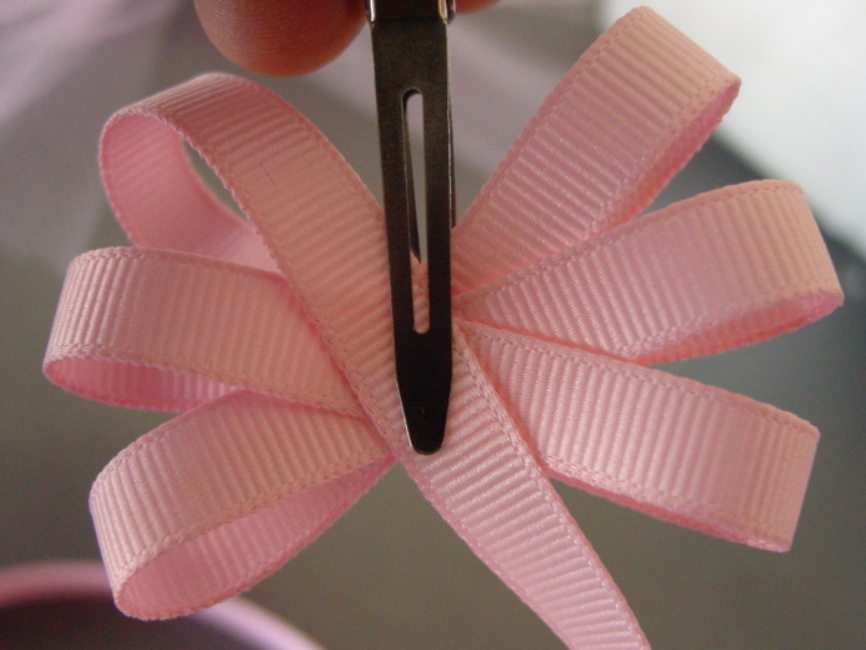
Instructions for making:
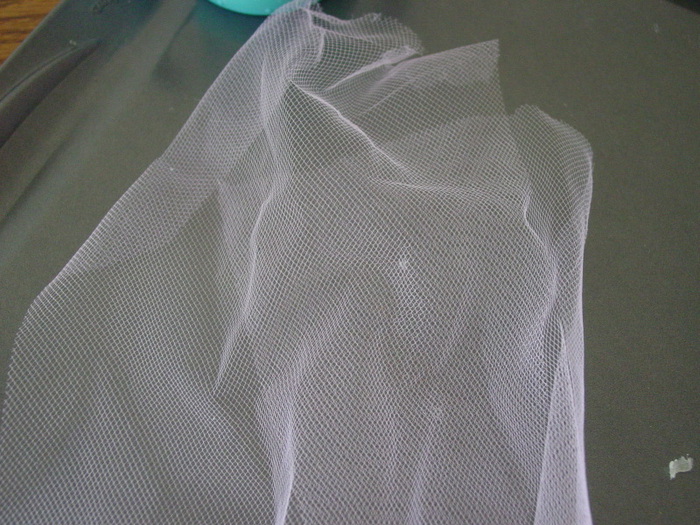
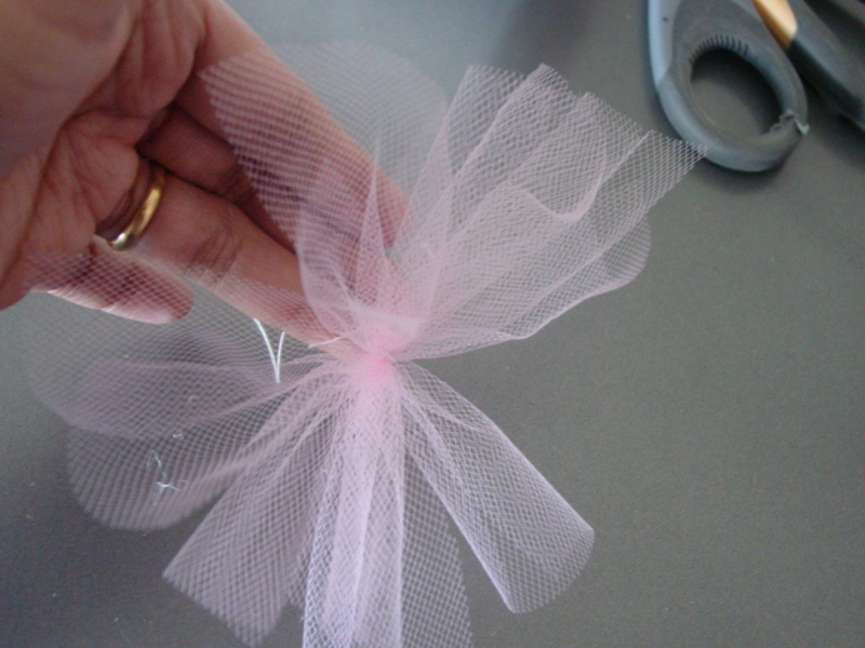
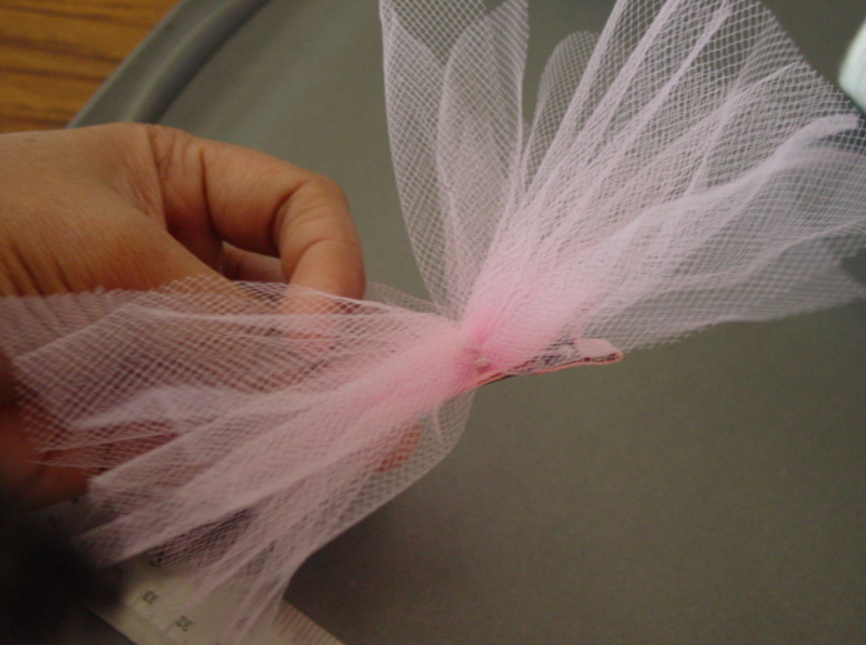
- Cut off 2 strips of tulle, the longer the pieces, the fluffier the bow will be. The width should be slightly larger than the diameter of the decoration.
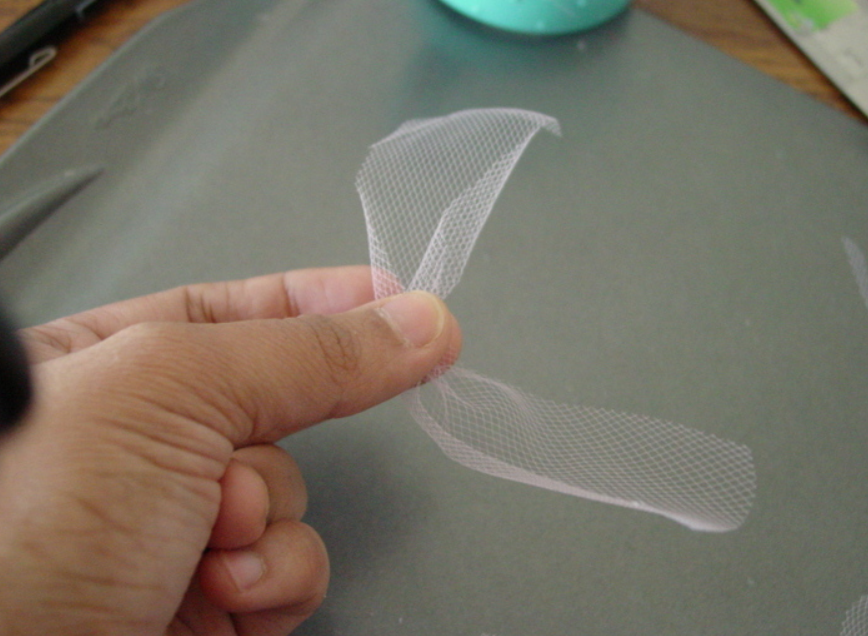
- Sew the middle of the strips along the length with thread.
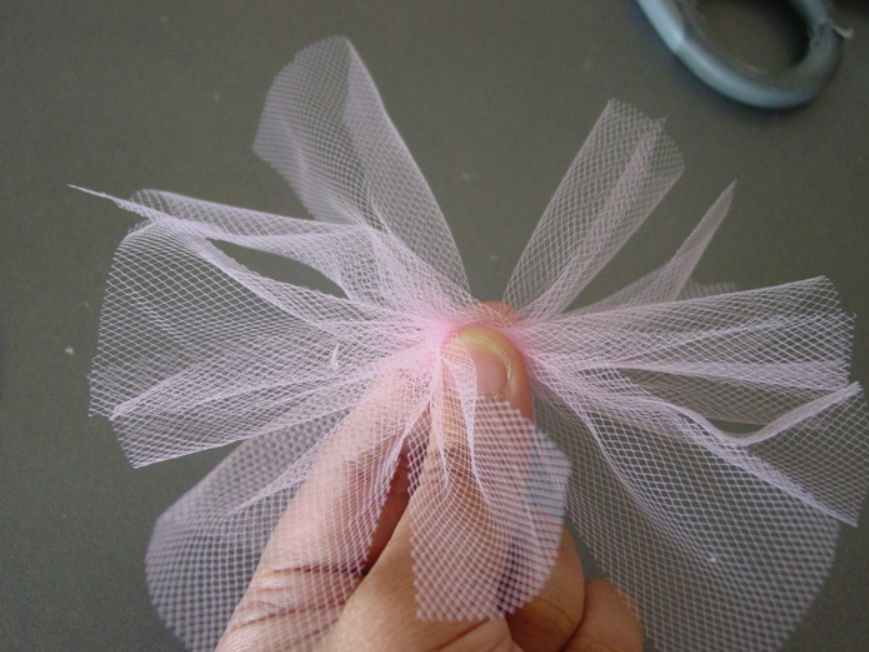
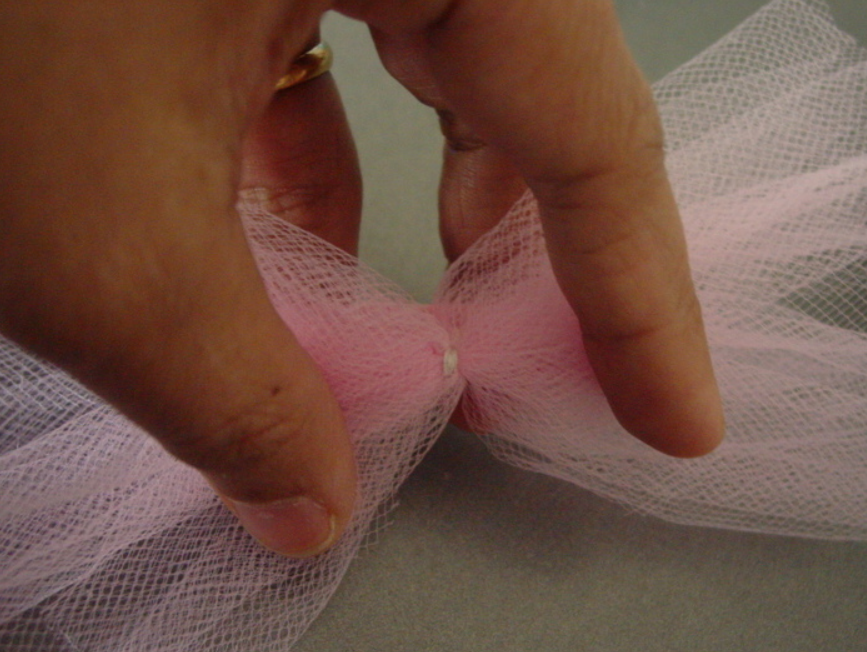
- They pull it tight.
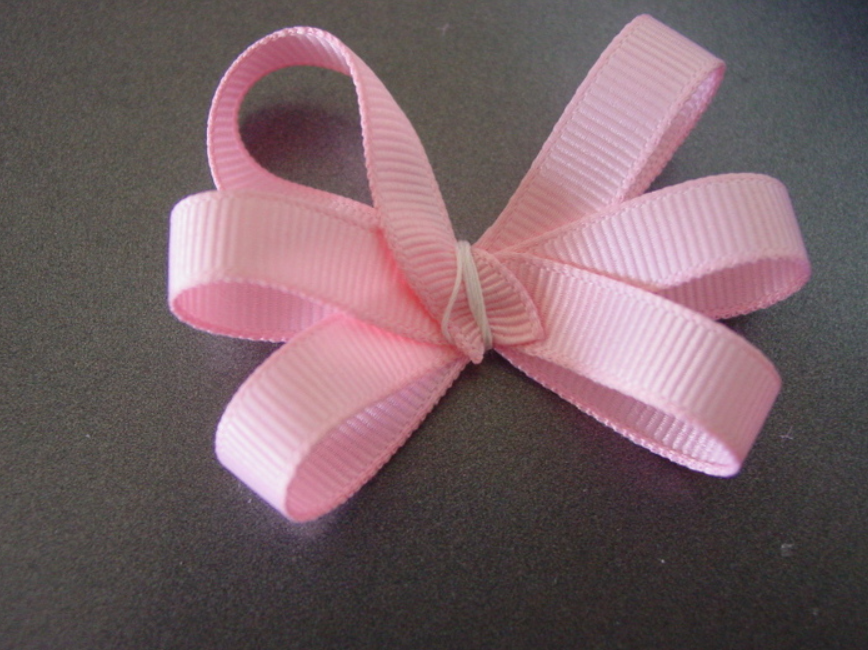
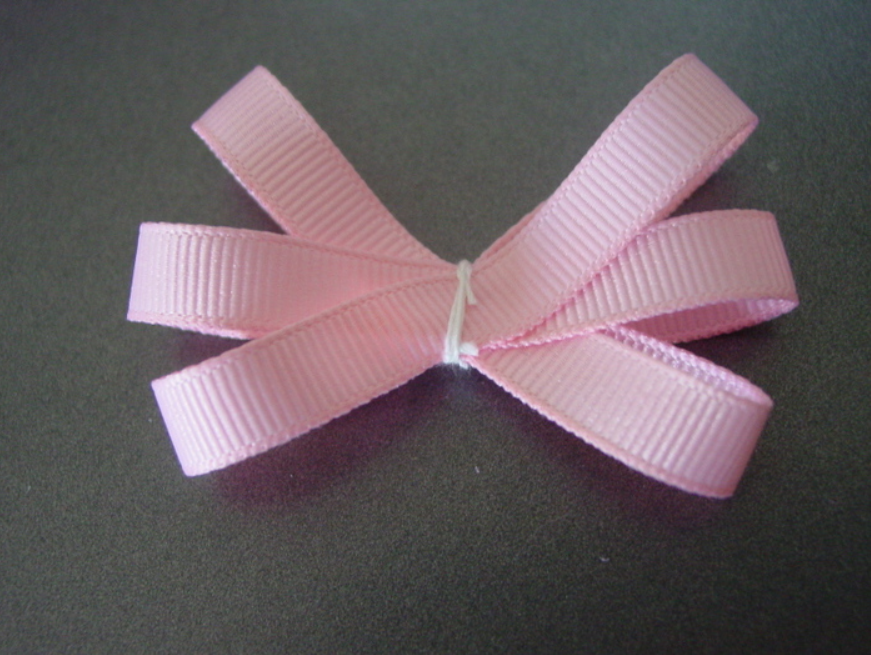
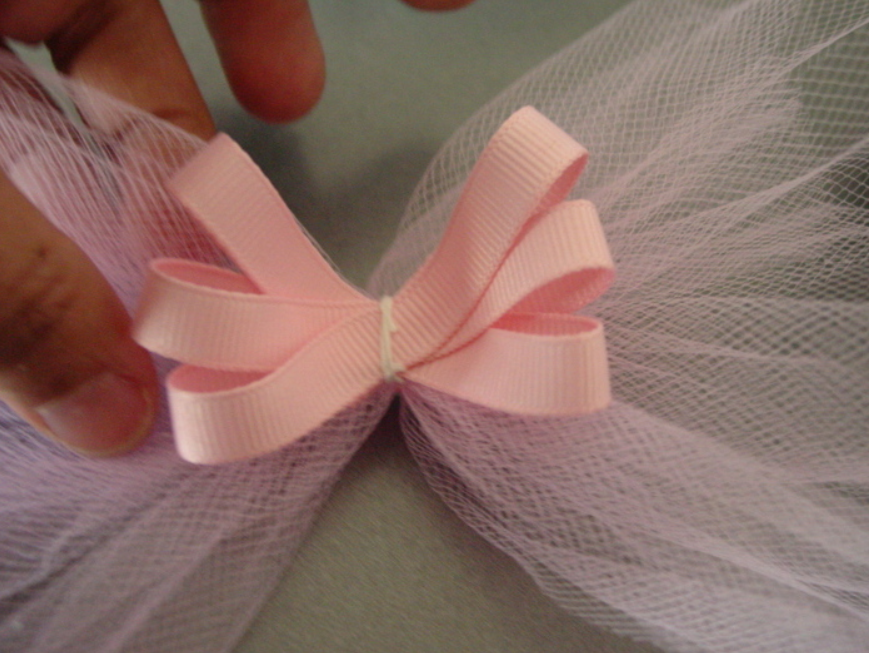
- The bows are folded crosswise and sewn together.
- A large decorative element is glued to the center of the product. Small details are placed in a circle.
- A hair clip or elastic band is attached to the opposite side.


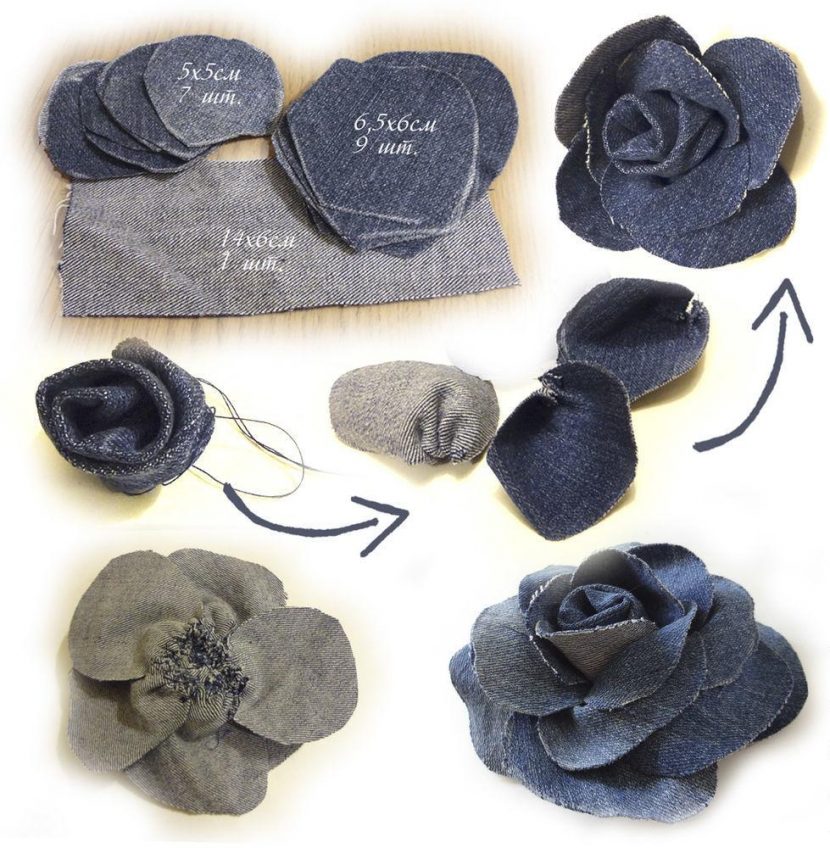
Rose made of denim or leather
Handmade hairpins made from these materials will be voluminous and beautiful, and small flaws will be hidden by the texture of the fabric. The following materials and tools are needed for the work:
- denim;
- scissors;
- glue gun;
- beads for decoration;
- Automatic hair clip.
Instead of jeans, you can take a piece of leather from an old bag or boots.
Manufacturing sequence:
- Cut a narrow piece of denim, the size of the rose will depend on its length.
- The strip is twisted into a rope and rolled into a flat spiral.
- The tip is straightened and glued to the back side.
- Cut off a square piece and attach it to the back of the item for strength.
- Remove any protruding threads and protruding parts of the base.
- Beads are glued to the center of the rose.
- Attach the flower to the base (hair clip, elastic band, pin).
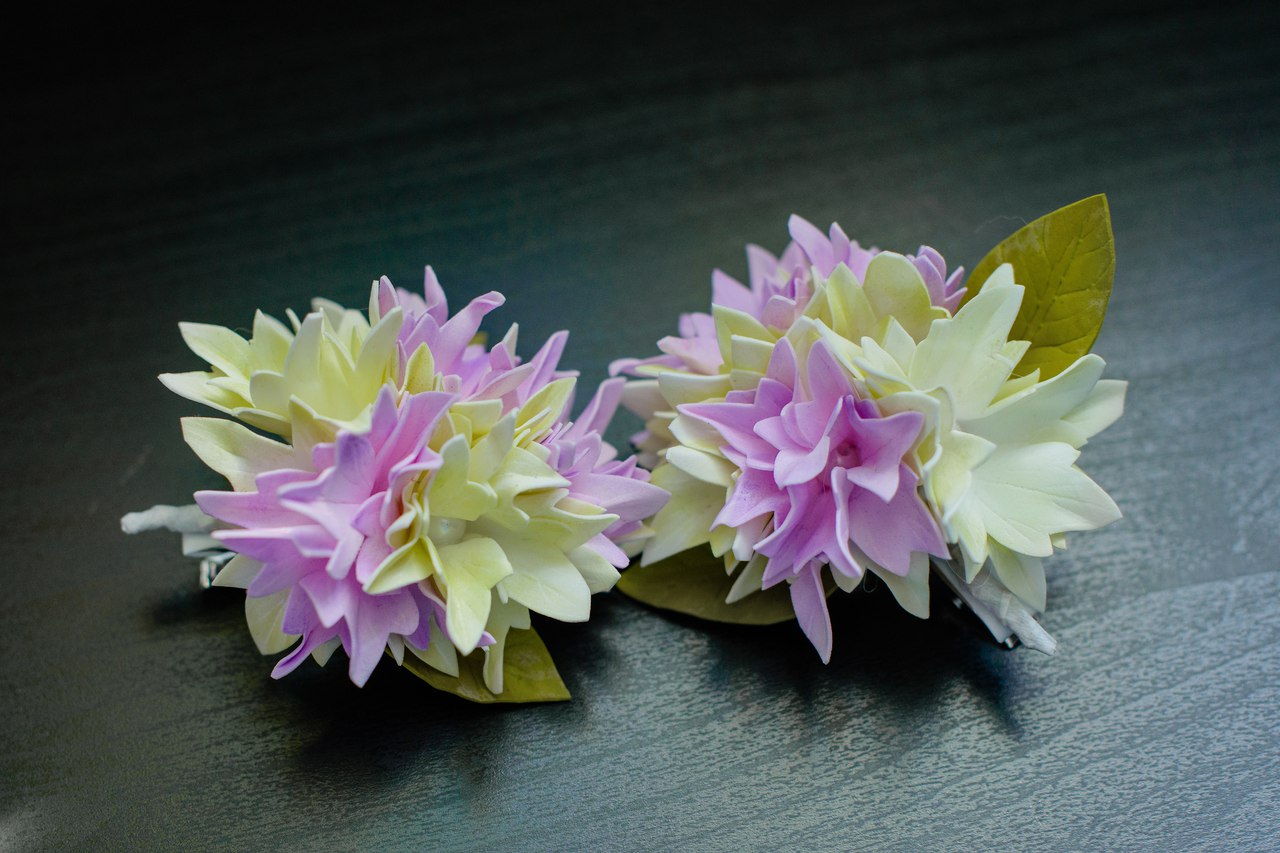
Hairpin with foamiran decoration
Foamiran is a decorative foam material intended for handicrafts. It is easy to make various crafts and decorations from it. With your own hands, beginners can make a hairpin in the shortest possible time. You need to prepare:
- foamiran;
- glue gun;
- scissors;
- a piece of felt;
- base for the hairpin.
Step by step guide:
- A circle with a diameter of 10-12 cm is cut out of foamiran. Small irregularities will make the flower more beautiful.
- The disk is cut in a spiral from the outer edge to the center. The thickness of the strip is 10-15 mm.
- Work begins with the inner part of the spiral. On a small area, the lower cut is smeared with glue and rolled into a tube.
- Continue working until the entire strip is fastened. You need to glue gradually and carefully, otherwise the product will stick together and the flower will not open.
- A base circle is cut out of felt.
- They glue a flower to it.
- They are secured with a hairpin.
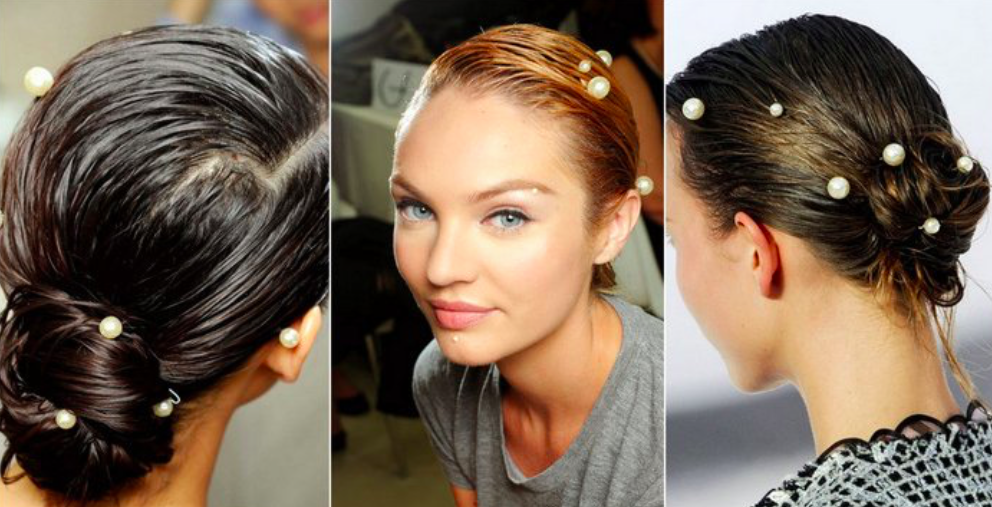
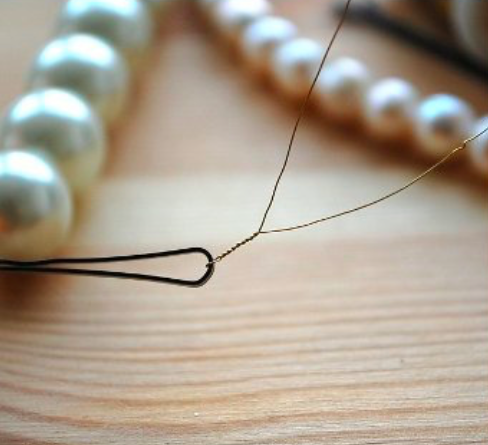
Wire and Bead Decor
It is not necessary to make a hairpin from fabric or ribbons. You can use any materials, for example, beads and wire. They will make excellent decorations. For the simplest product you will need:
- beads;
- wire;
- needle-nose pliers;
- invisible hair clip.
Instructions for making:
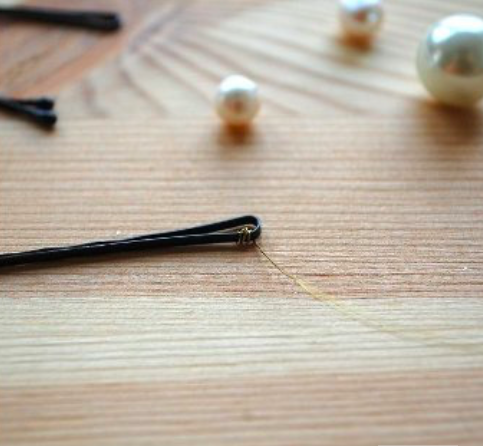
- Cut off a long piece of wire.
- One end is threaded through the loop of the invisible hairpin and twisted with pliers.
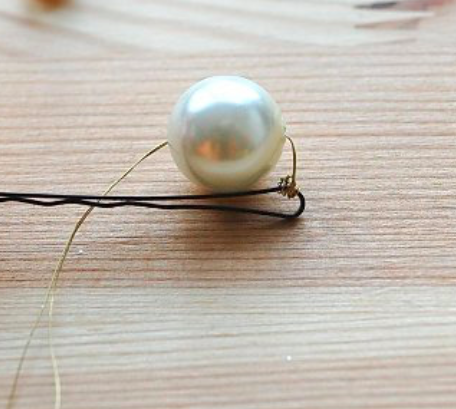
- String a bead onto the wire. Pull it up and screw it to the top of the invisible hairpin.
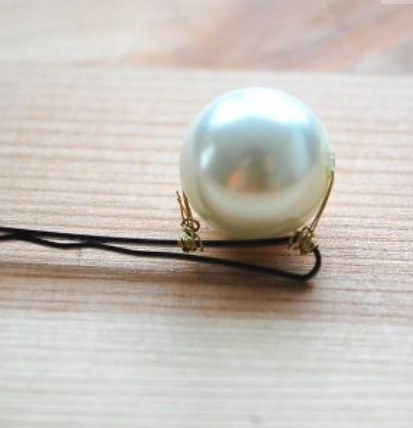
- Repeat until the outer half of the hair clip is hidden under the tightly fitting beads.
- Without reaching the edge of the invisible hairpin (approximately 5 mm), secure the wire with several turns and cut off the excess.
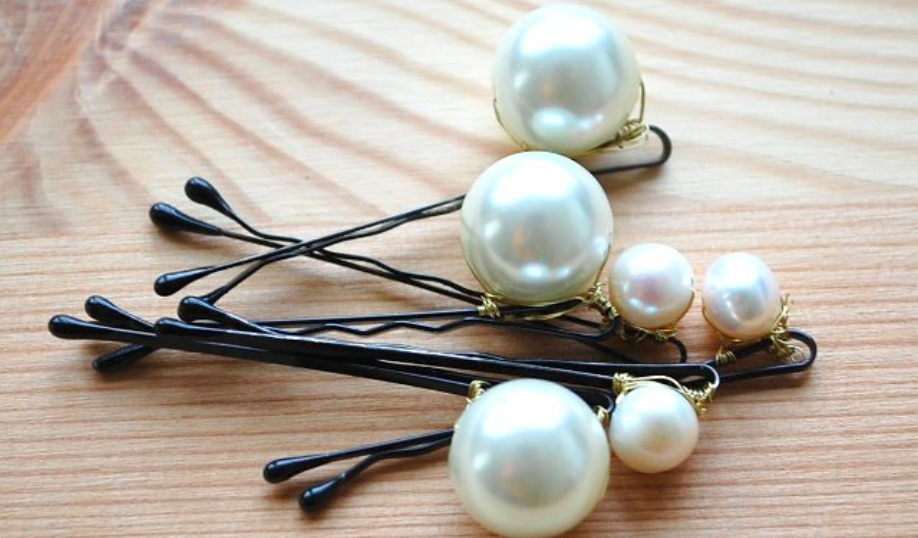
Making a beautiful hair clip is not difficult. You can use any available material – old beads, ribbons or scraps of fabric, ripped jeans. With a little imagination, you can create unique handmade jewelry.
Video