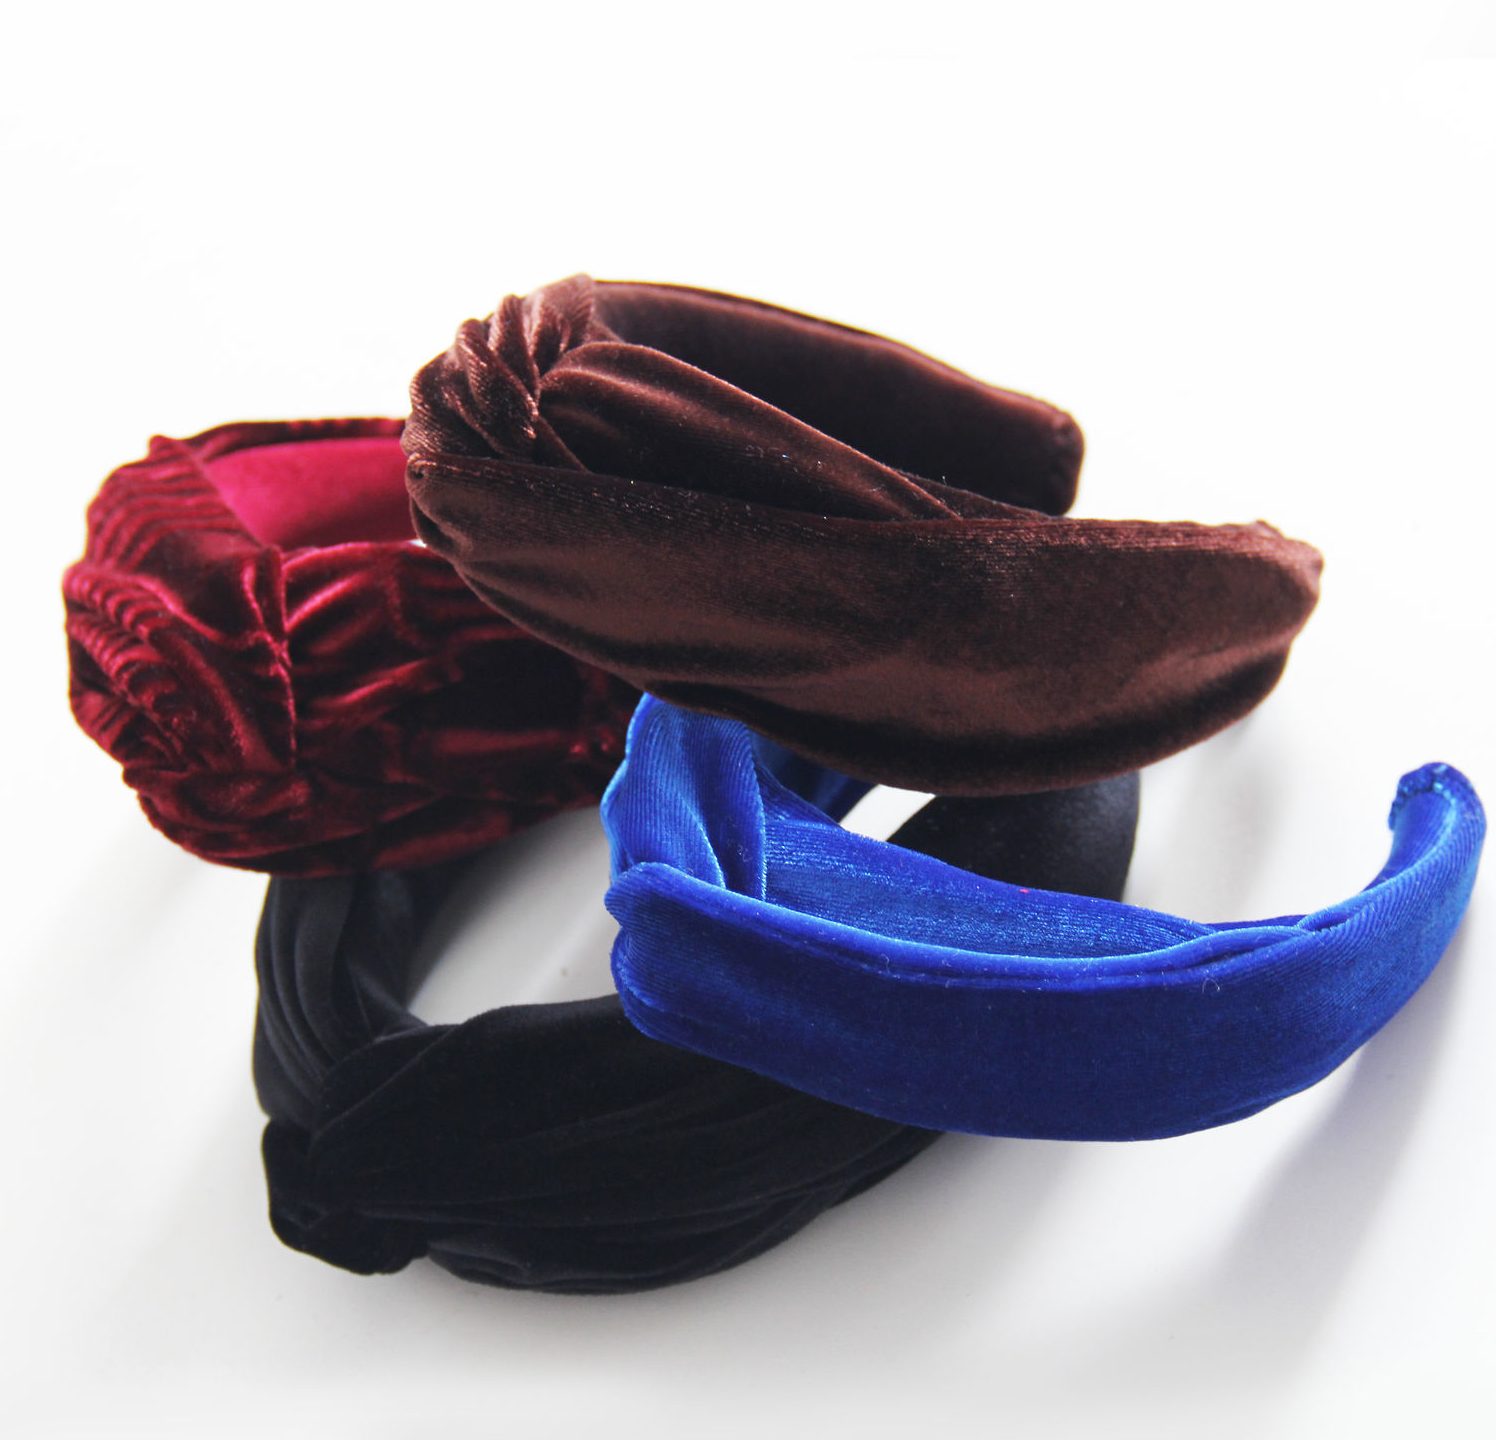
A hair band is an accessory that never goes out of fashion. However, not every girl can buy the model she likes, some items are quite expensive. The best option is to make a headband with your own hands, this will allow you to create a unique decorative item. It is not difficult to make such an accessory. There are various master classes, among which every craftswoman will find the right one.
- Materials and decor used
- Master classes on making accessories using different techniques
- With kanzashi flowers
- With a cute ribbon bow
- From wire and beads
- With felt decor
- Headband with daisies for the little ones
- In the style of Dolce Gabbana
- Fabric turban
- In Greek style
- In the form of a wreath of flowers
- Video
Materials and decor used
A ready-made base for making a headband with your own hands can be purchased at a craft store. In this case, the final product will be smooth and comfortable to wear. It is better to choose a strong metal base, and then wrap it with ribbons, fabric, threads.
Before making a headband, you must first study the master class, and then purchase the components in accordance with the recommendations.
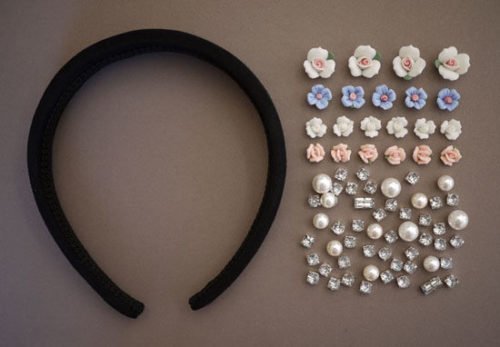
All kinds of fittings in various styles are used for decoration. Fashion dictates its own rules: floral themes are at the peak of popularity. Floral decorations can be purchased ready-made or made independently using the following materials:
- satin ribbons;
- foamiran;
- fabrics;
- leather for covering;
- nylon;
- felt;
- cold porcelain, polymer clay;
- beads.
A beautiful headband is obtained by decorating with beads, colored feathers, lace, fur, tulle, sparkling stones, rhinestones. For a summer accessory, decorations in the form of berries, which can be made of fabric or beads, are suitable. Hoops with decor from multi-colored buttons look bright and cheerful, which, if desired, can be covered with any material.
Master classes on making accessories using different techniques
Before making a hair band, you need to study master classes. In them you can find recommendations, advice on choosing materials. It is necessary to follow the instructions step by step, then the finished result will certainly please.
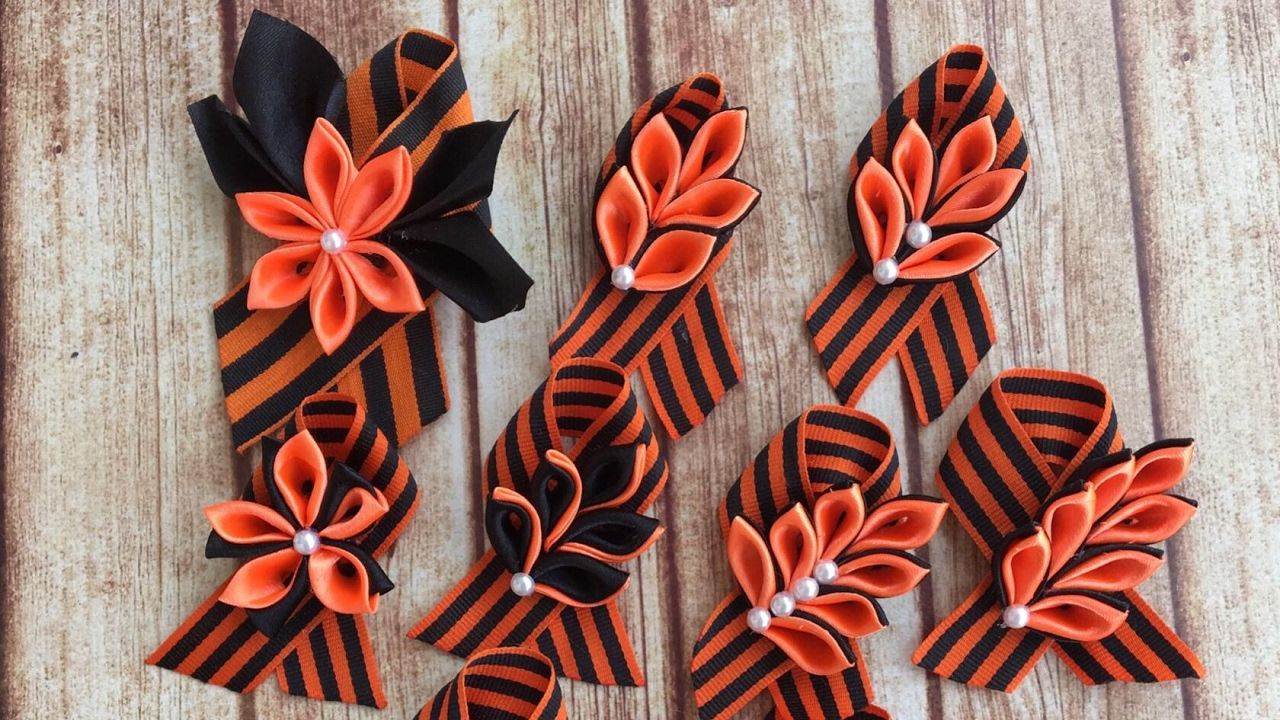
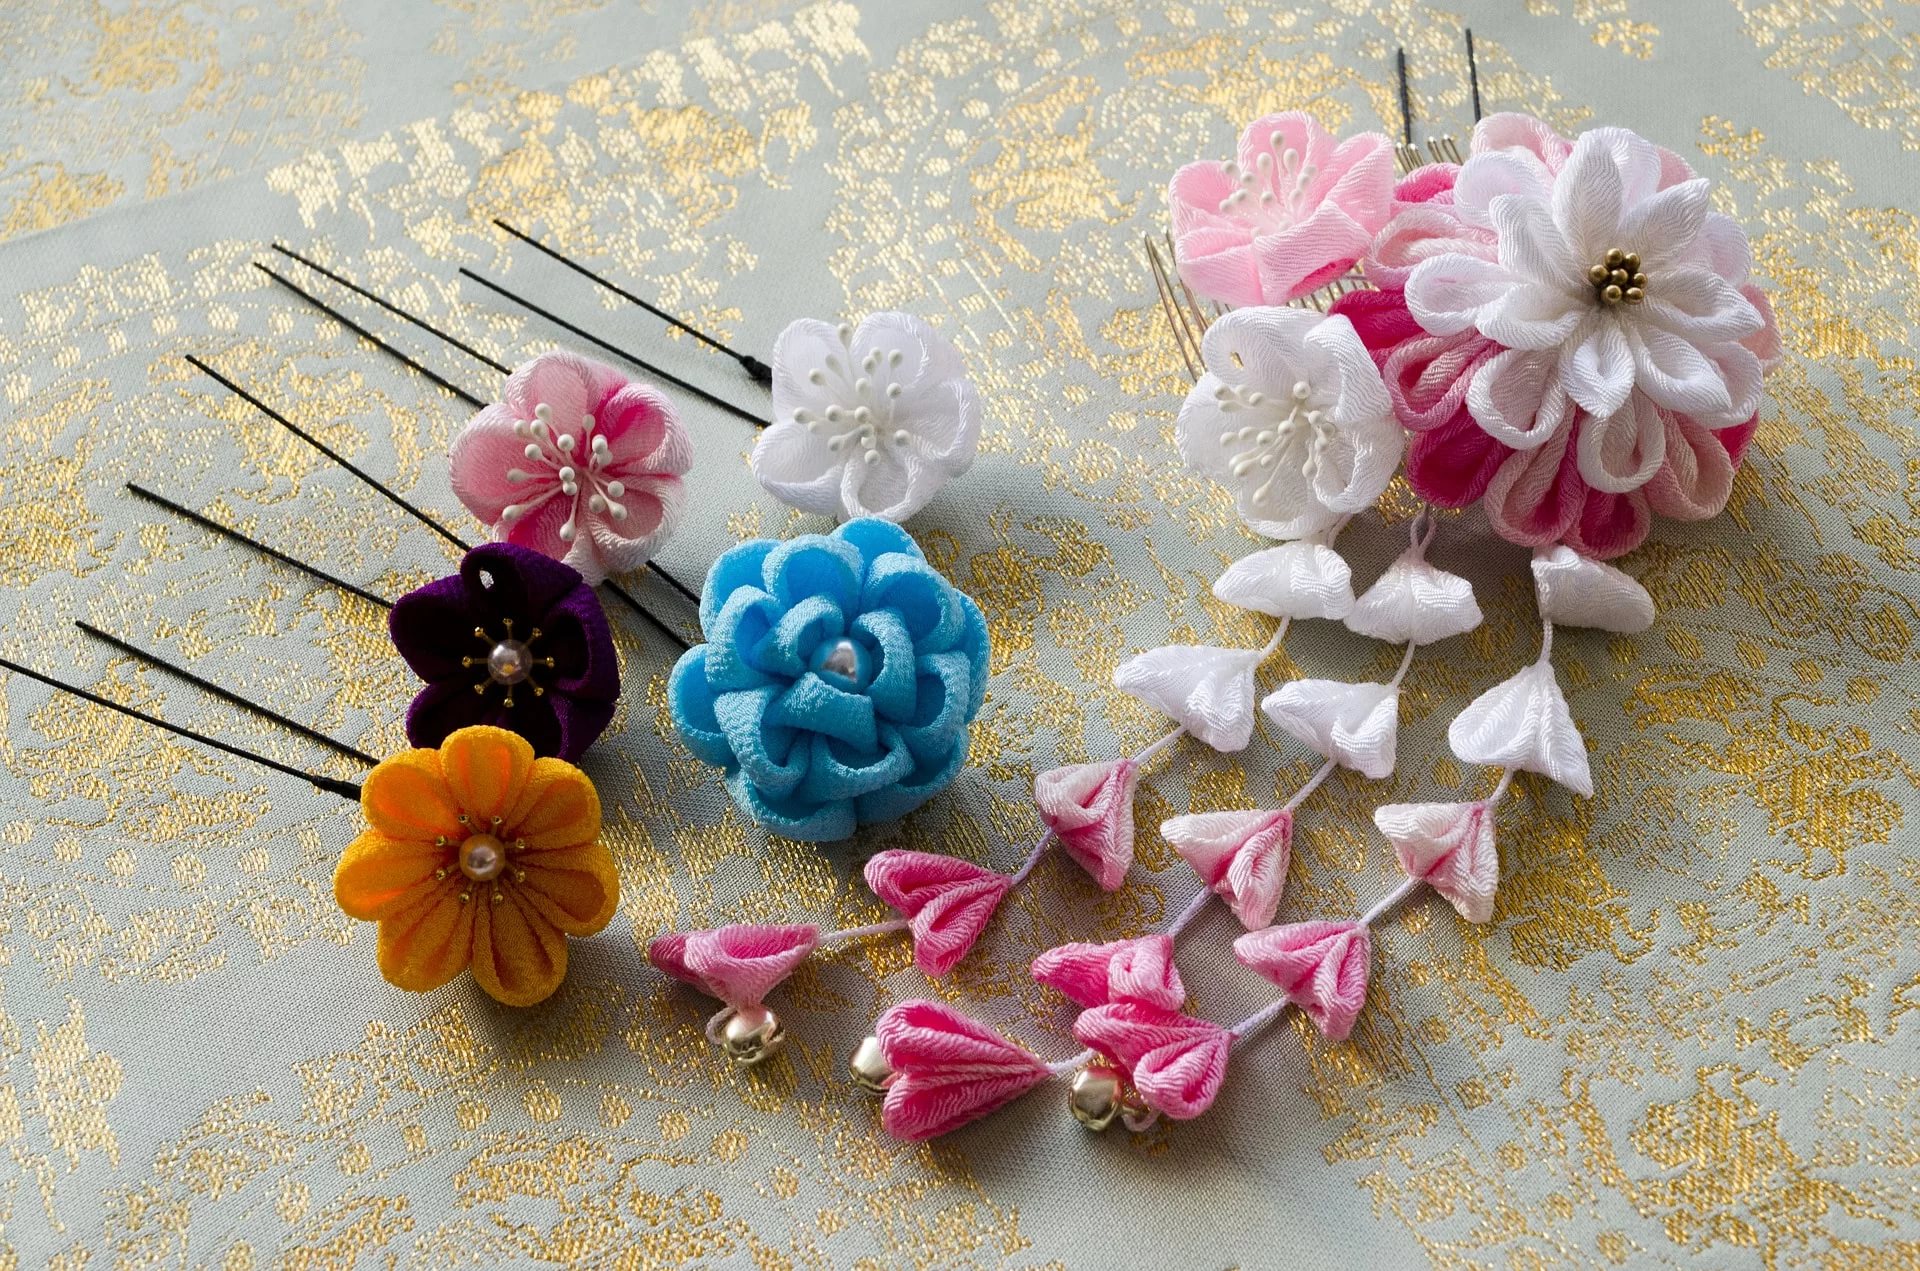
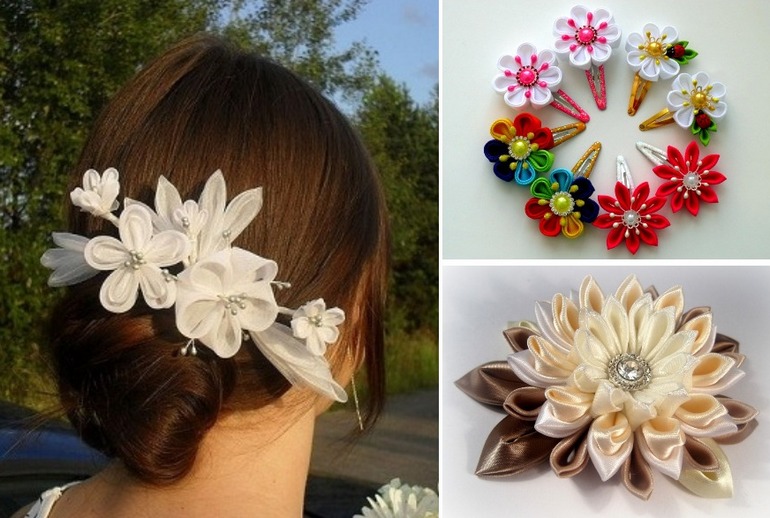
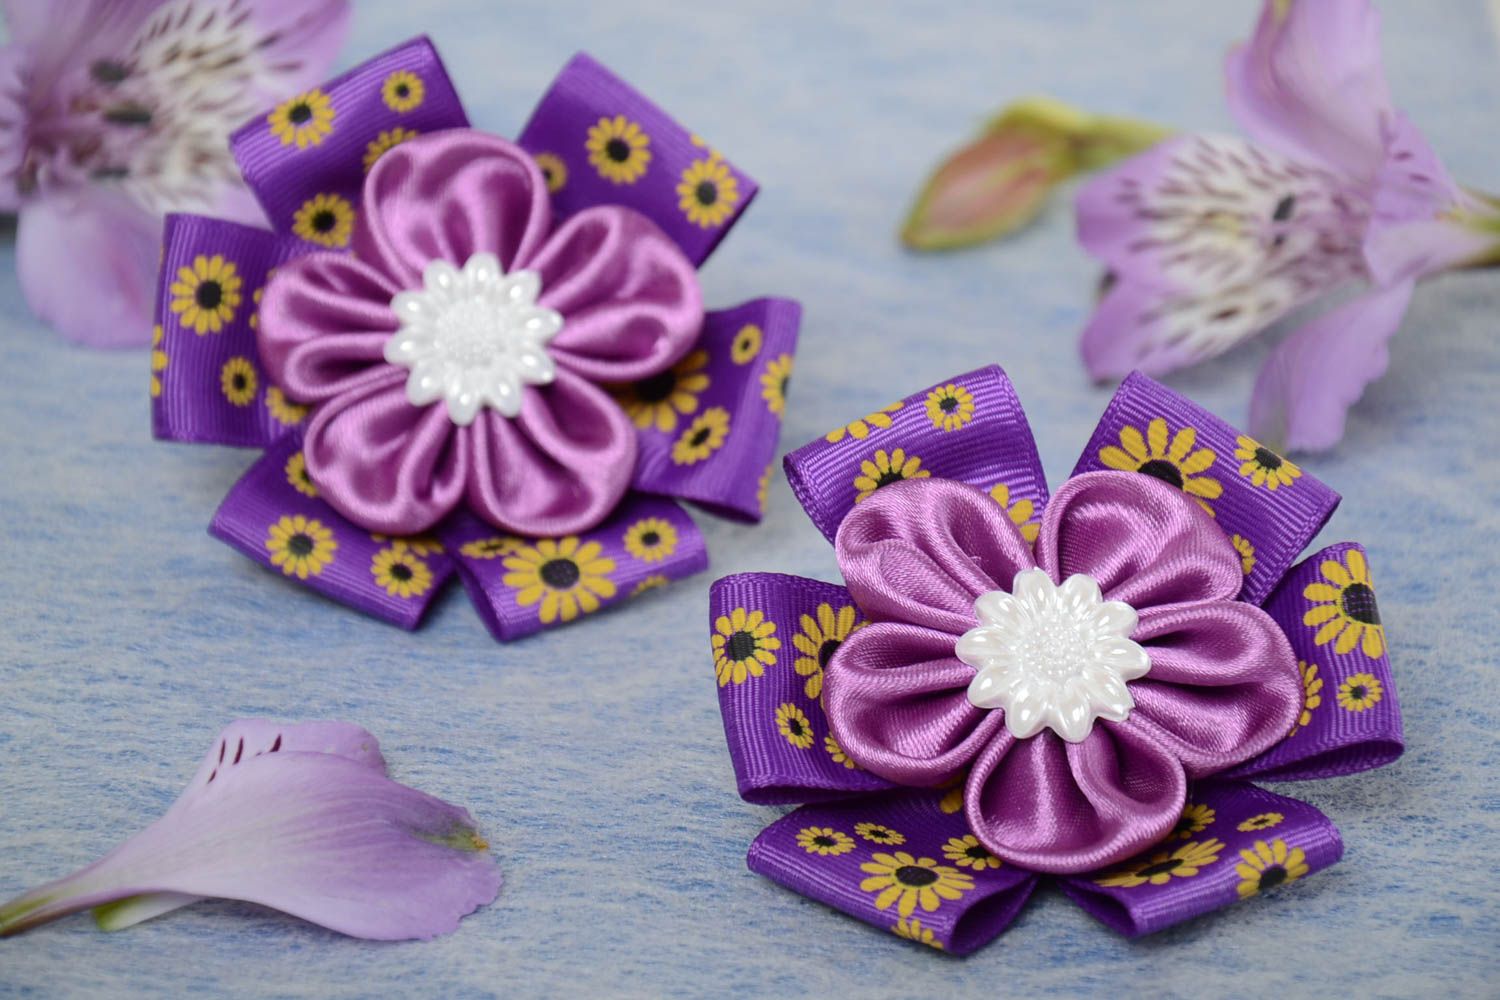
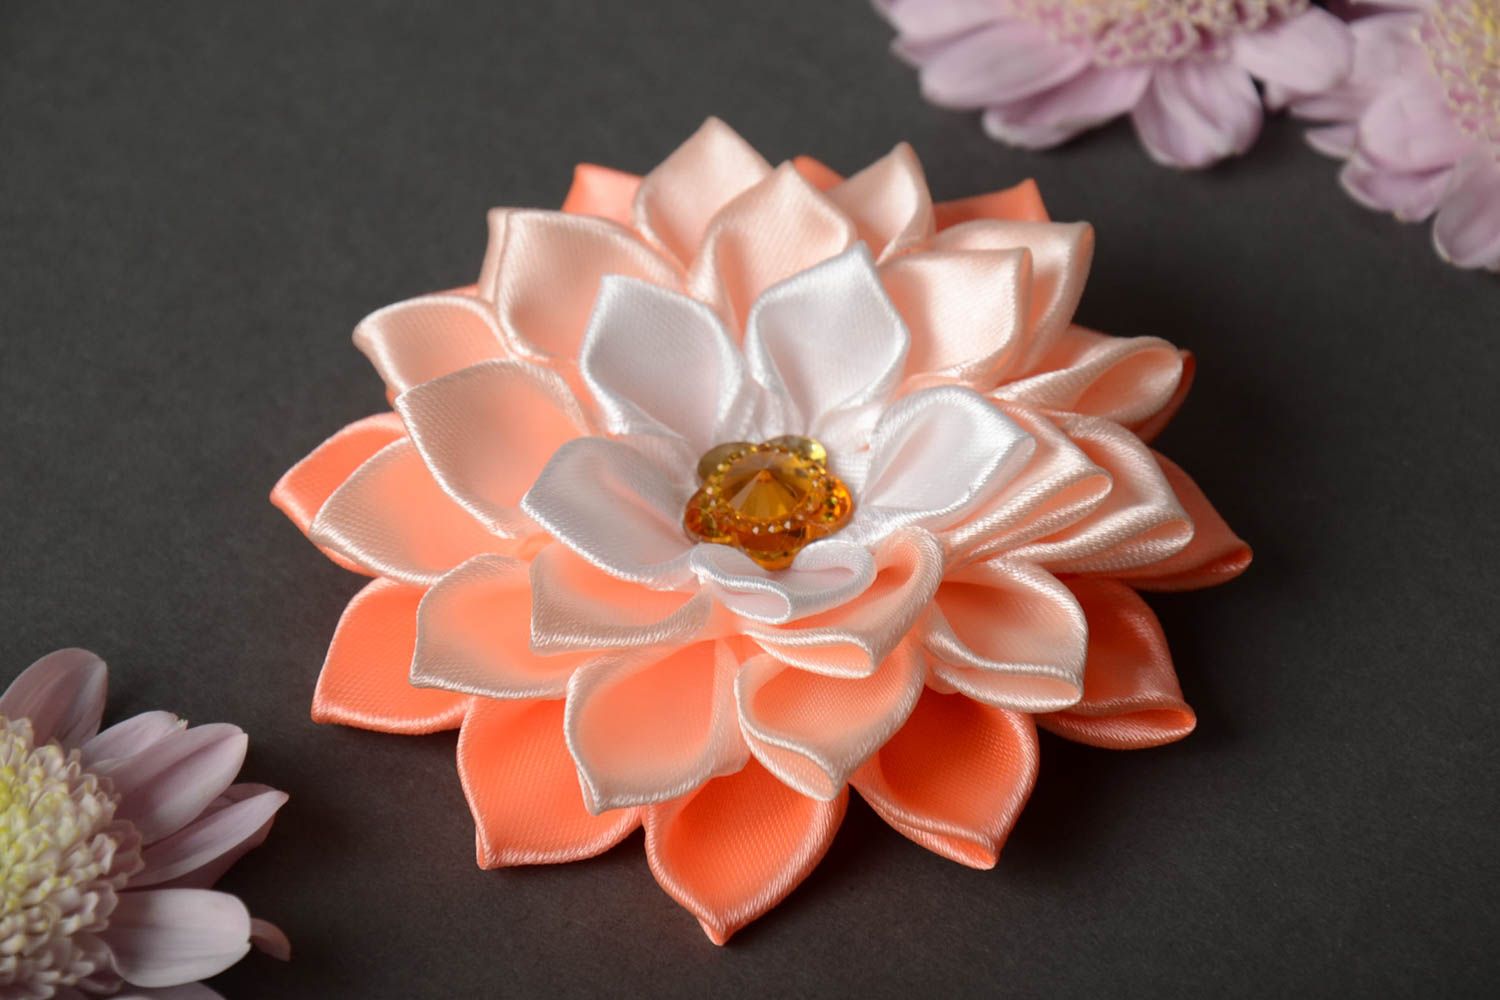
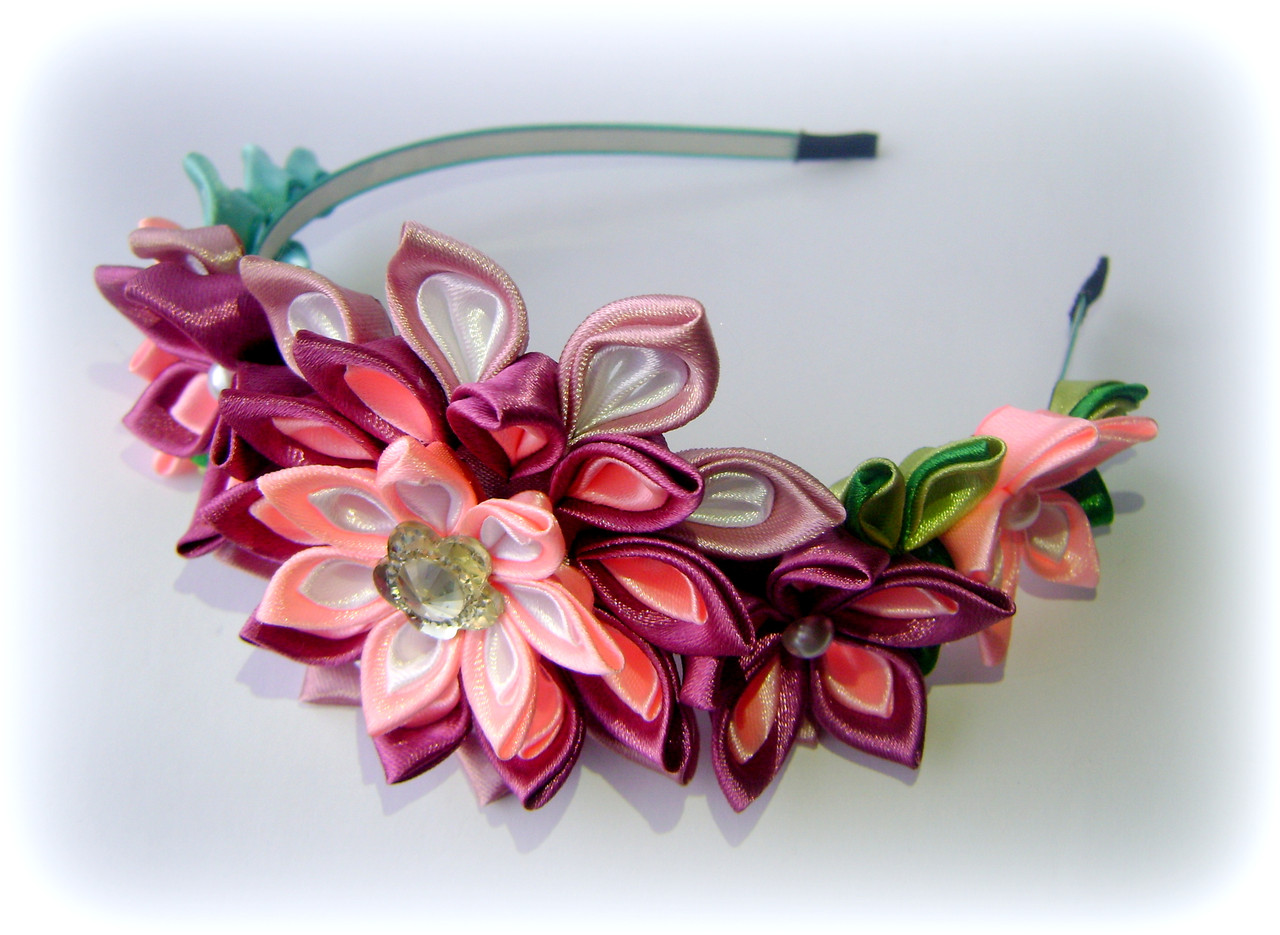
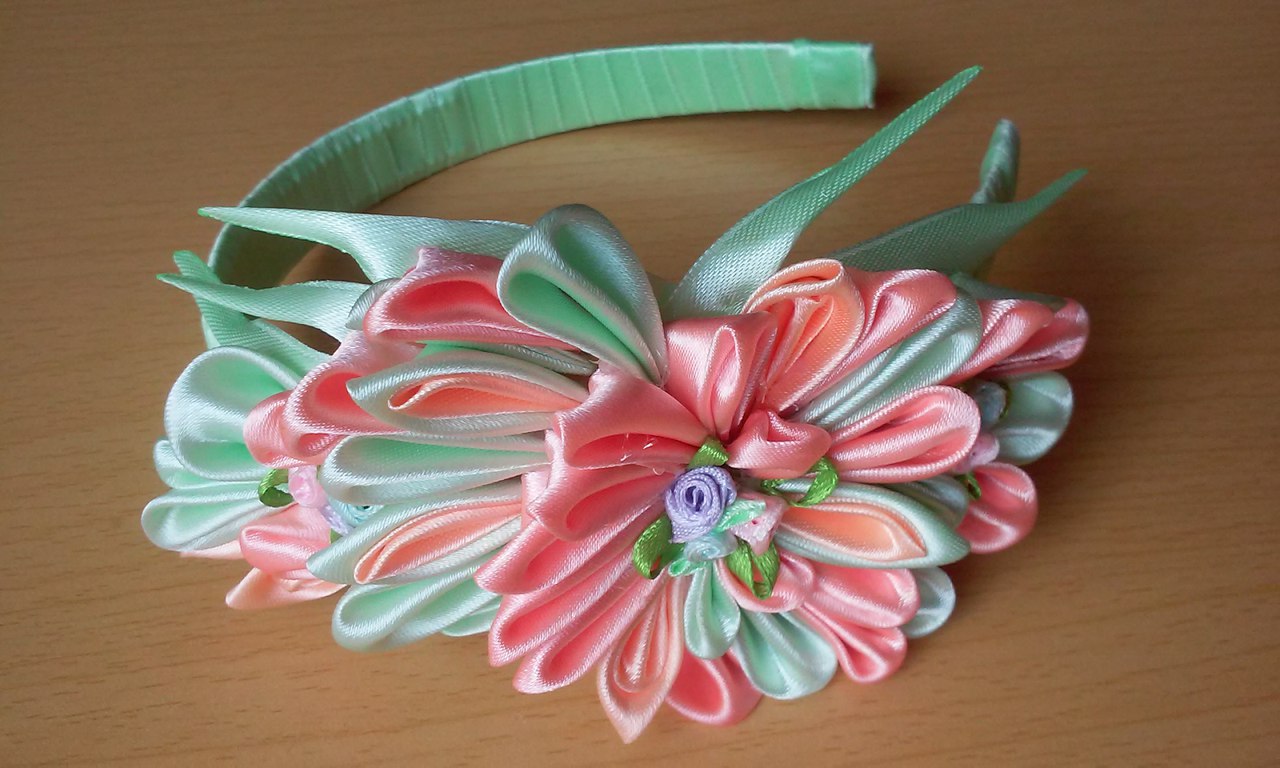
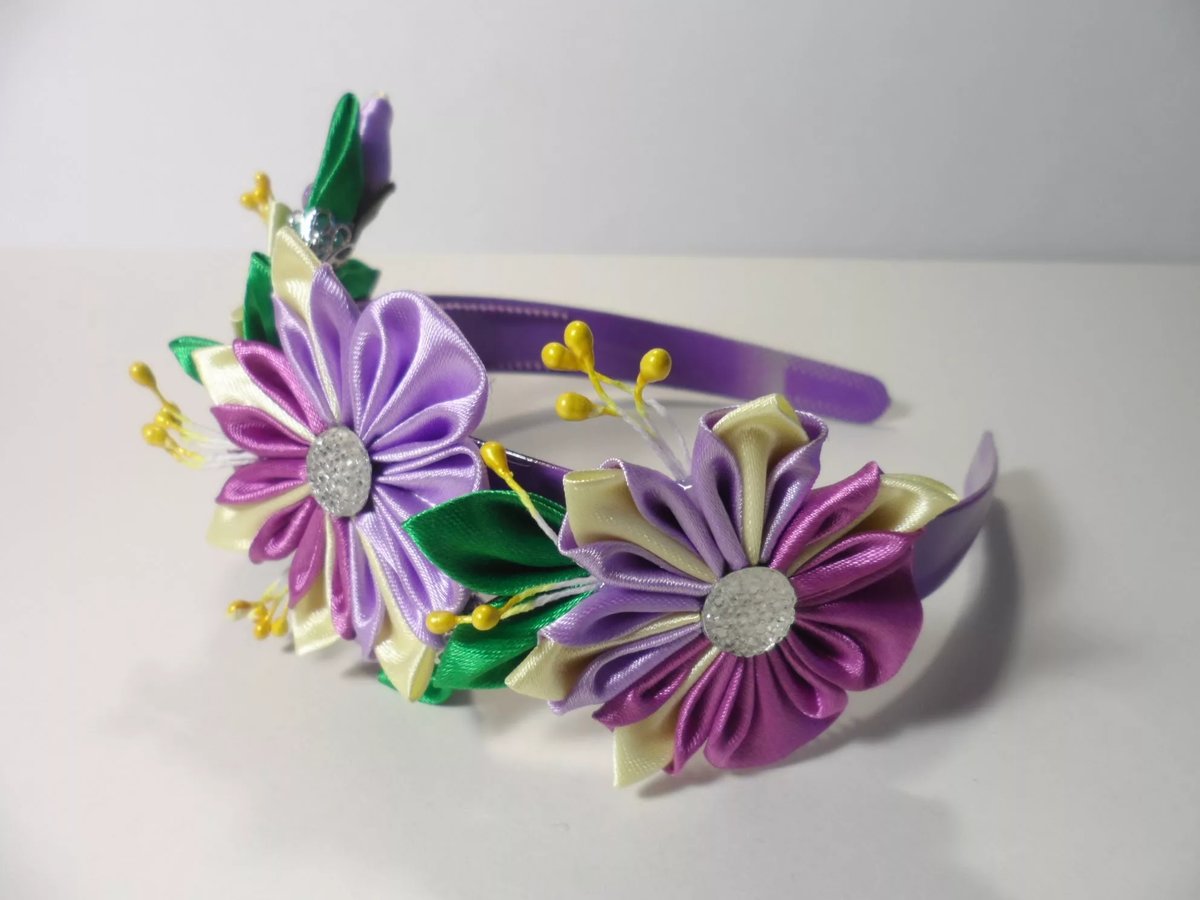
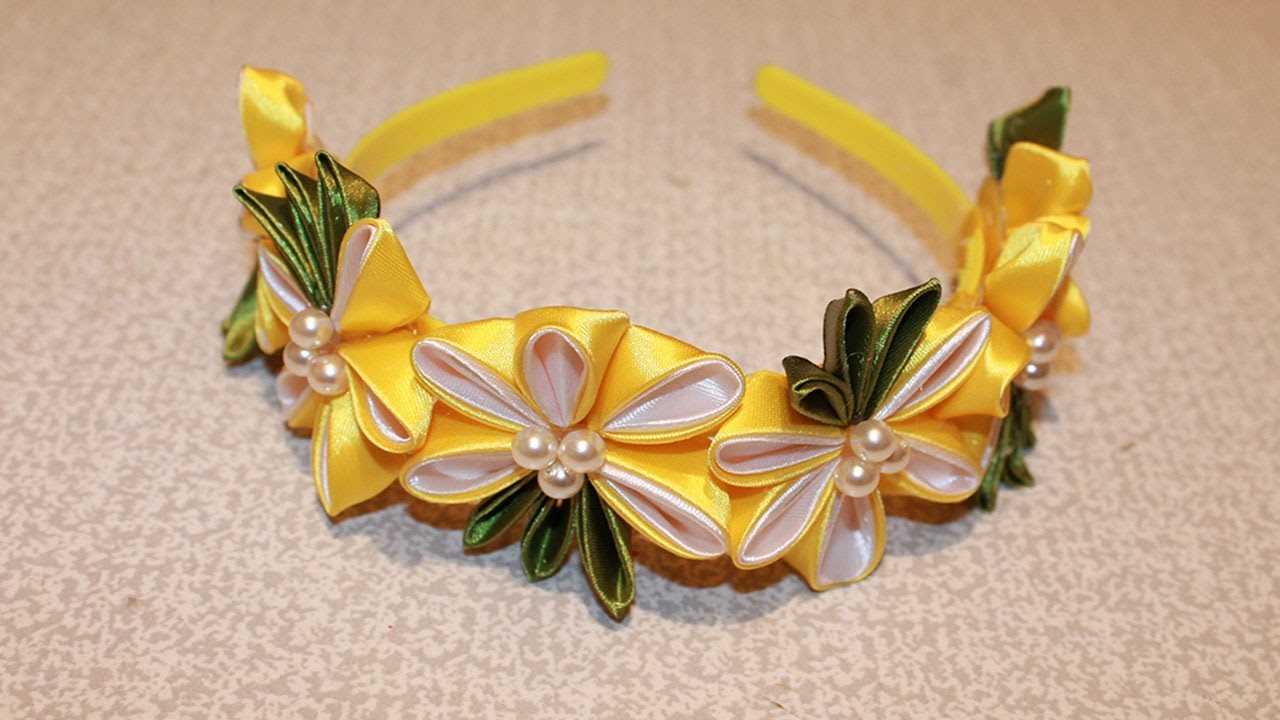
With kanzashi flowers
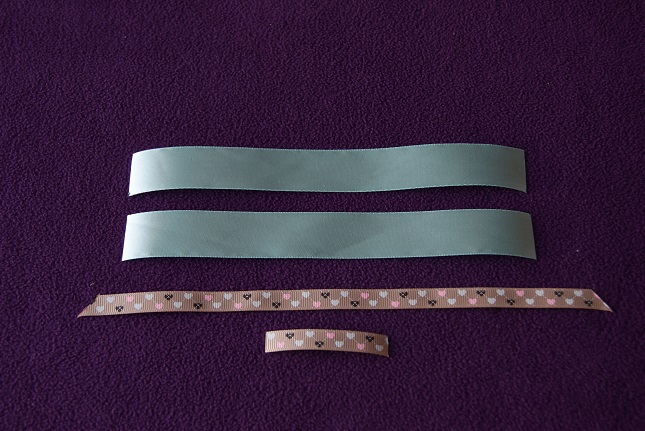
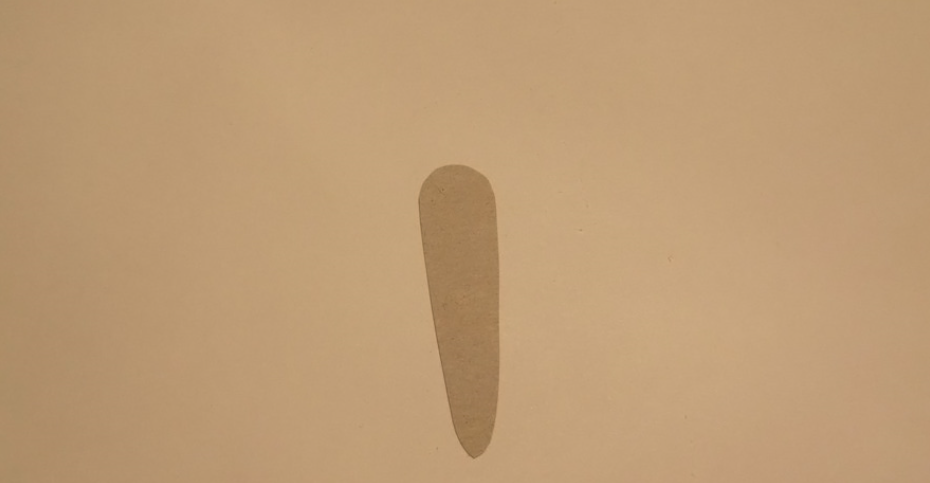
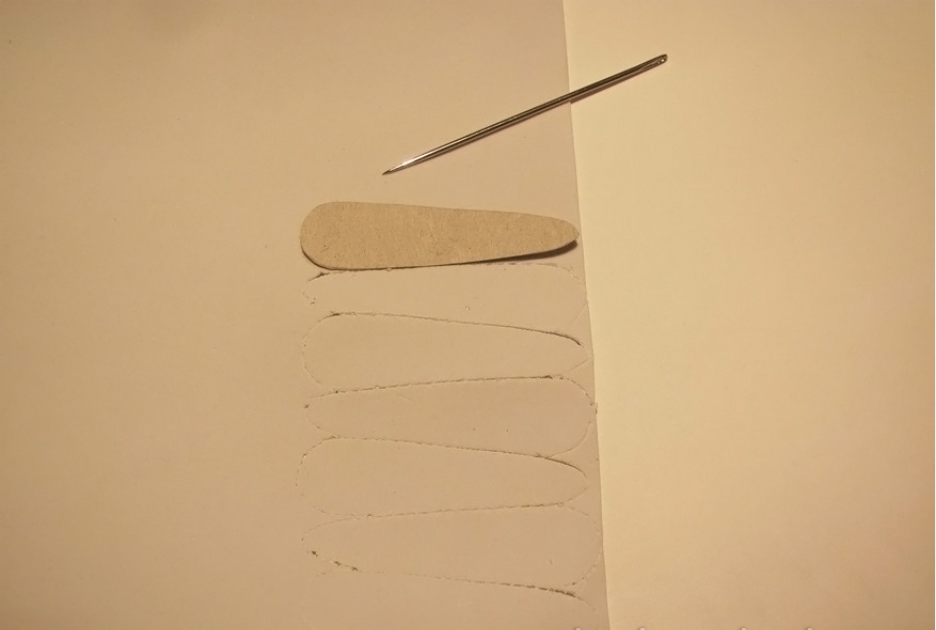
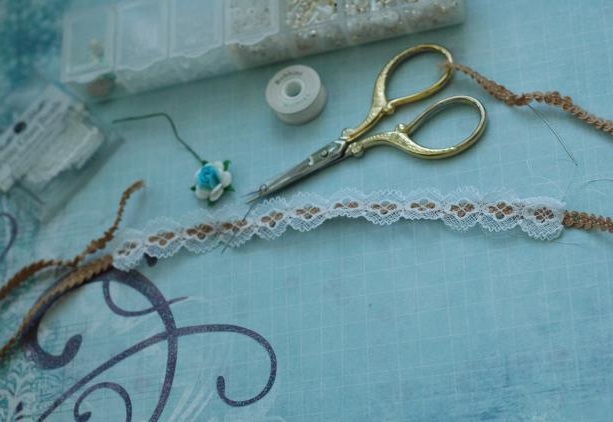
The kanzashi technique is perfect for decorating headbands with flowers made by hand. Decorations made from ribbons look original and stylish. The craftswoman herself will be able to choose the coloring that will be appropriate in this or that case. For work it is necessary to prepare the following elements:
- scissors, pencil, ruler;
- tweezers;
- a lighter or a candle;
- file (or sandpaper);
- glue, you can use a hot glue gun;
- plastic rim 1-1.5 cm wide;
- white ribbon 5 x 40 cm to create a flower, satin ribbon 0.6 cm wide and 1-1.5 m long of any shade to braid the hoop;
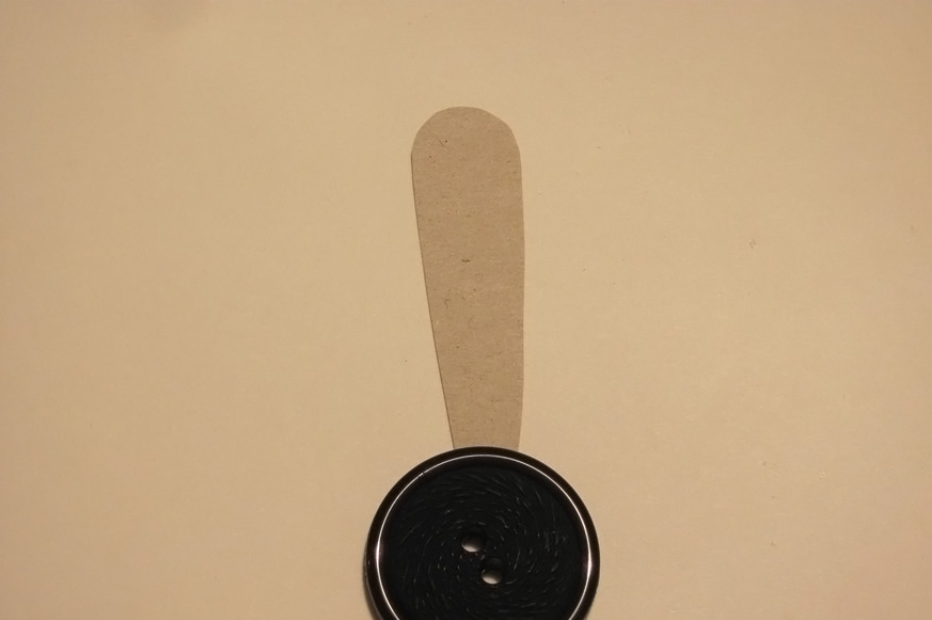
- a bead, button or sparkling crystal to decorate the central part of the flower.
After preparing all the above materials and tools, you can start making the product. A detailed master class on creating a headband with kanzashi flowers:
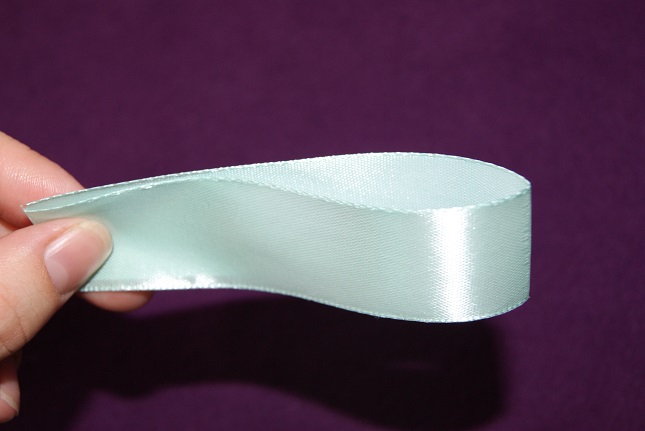
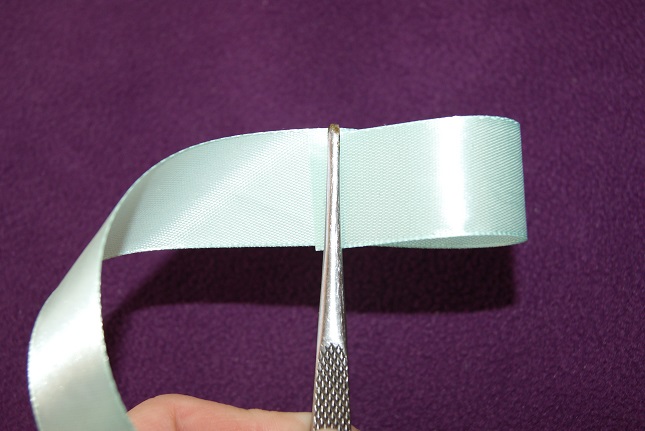
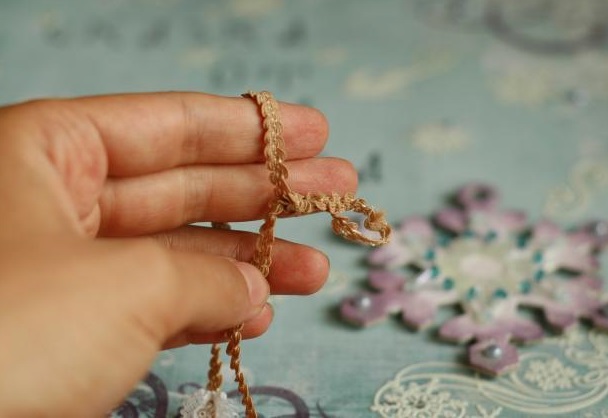
- Cut a narrow satin ribbon into small pieces, singe the ends. Put a little glue on the back side. Connect each piece into a loop.
- Turn the ribbons right side out and pull one into the loop of the other. Then throw the free part of the second ribbon over and pull it into the loop of the first.
- Pull the first ribbon through the resulting loop of the second ribbon until it stops. You should get a braid.
- Next, you need to repeat the steps until the weaving reaches the length of the headband. Do not cut the ends.
- Afterwards, you should process the surface of the rim with a file so that the braid sticks better.
- Carefully trim the ends of the weave, burn the threads. Glue the resulting structure to the headband.
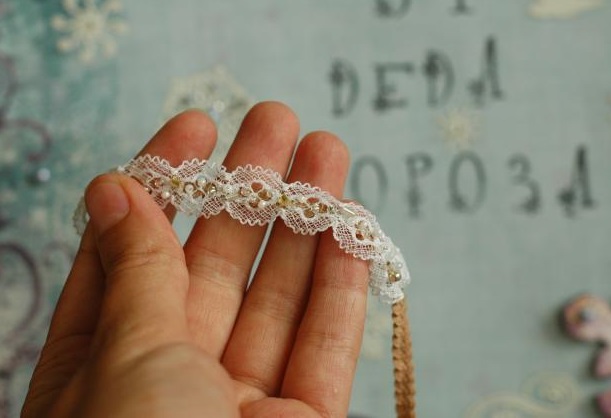
- Cut the white ribbon into 8 squares with a side of 5 cm. Singe the edges of the blanks.
- Bend the squares diagonally with the wrong side inside, repeat the action. Connect the sides, cut and singe.
- The finished petals need to be collected into a flower. Then attach it to the rim, glue a bead to the center of the flower.
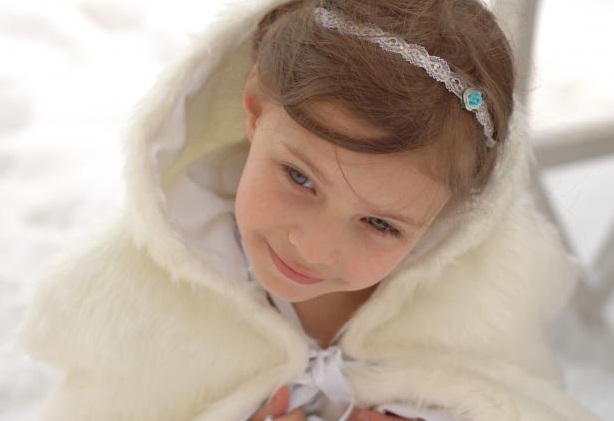
The headband made of flowers in the kanzashi technique is ready. The color scheme can vary according to the needlewoman's wishes. Additional decorations that match the headband in shade will look beautiful.
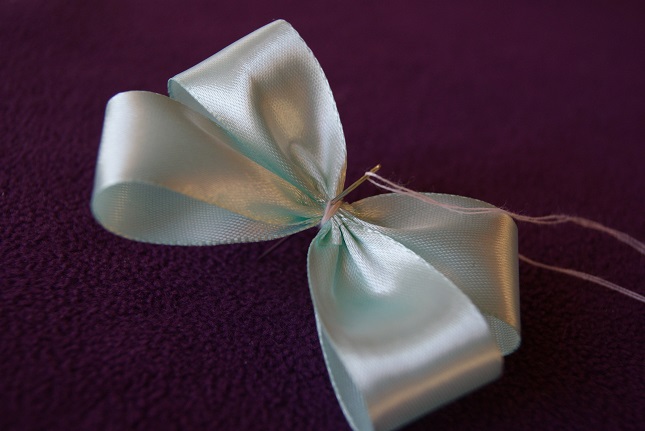
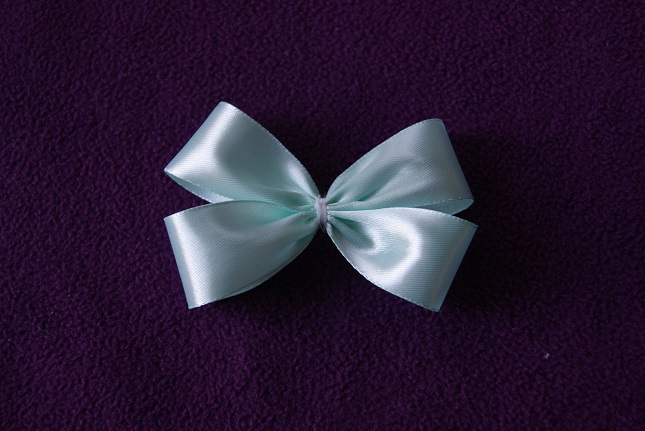
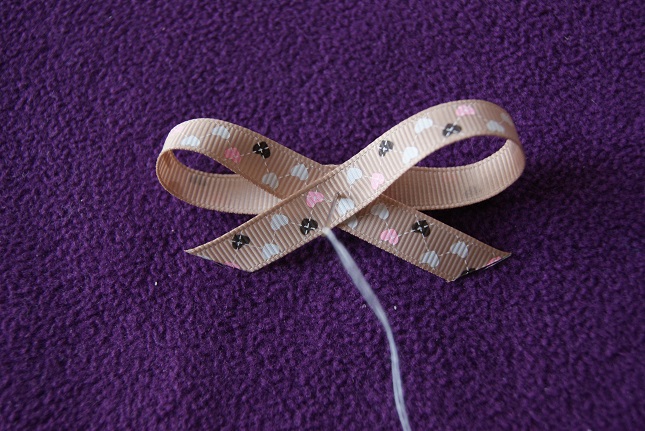
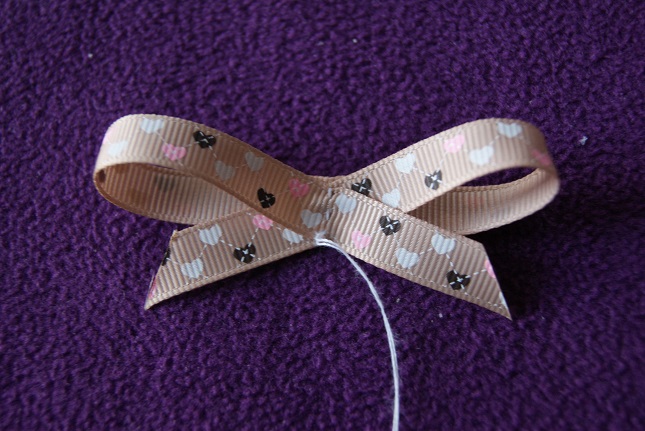
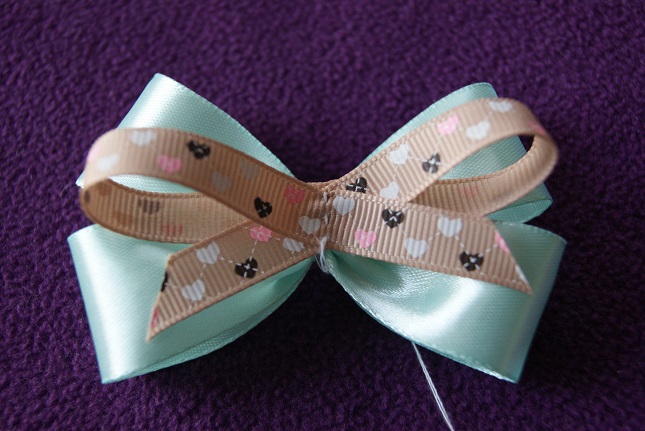
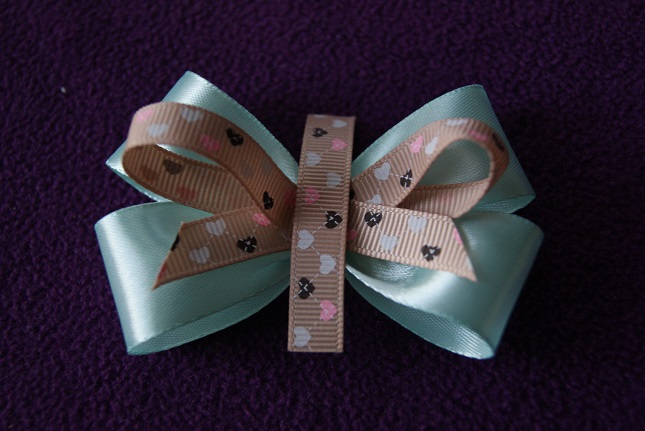
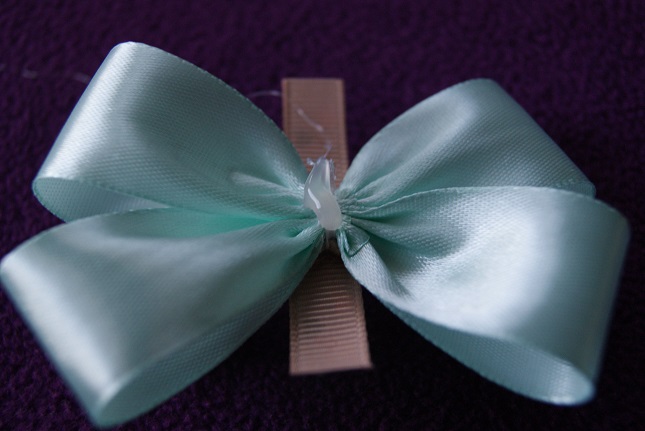
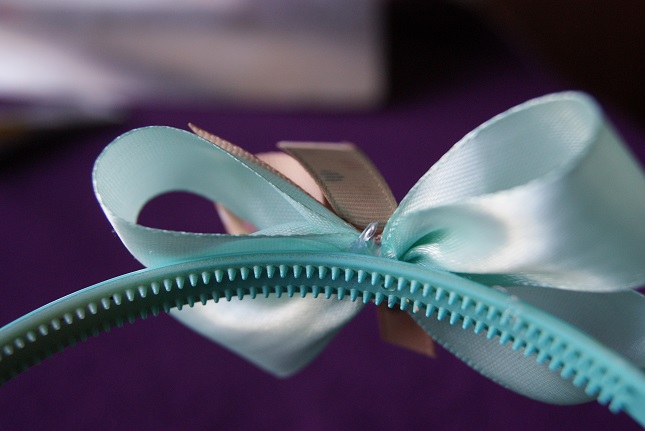
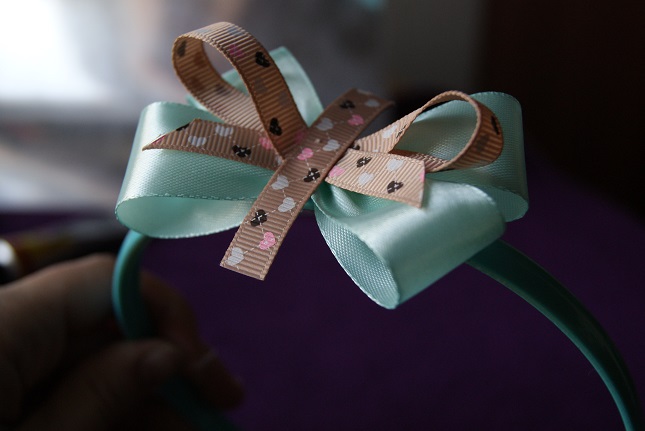
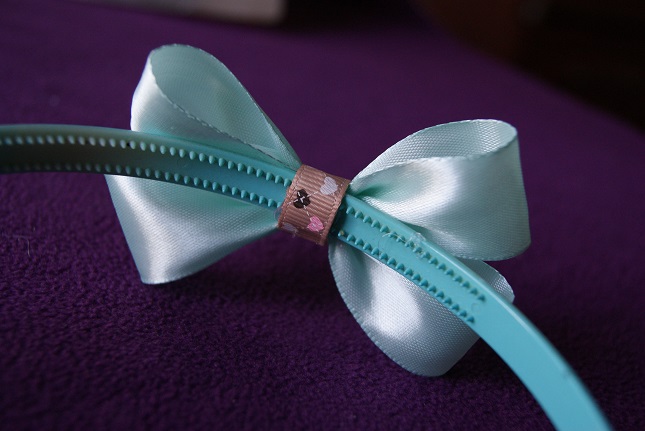
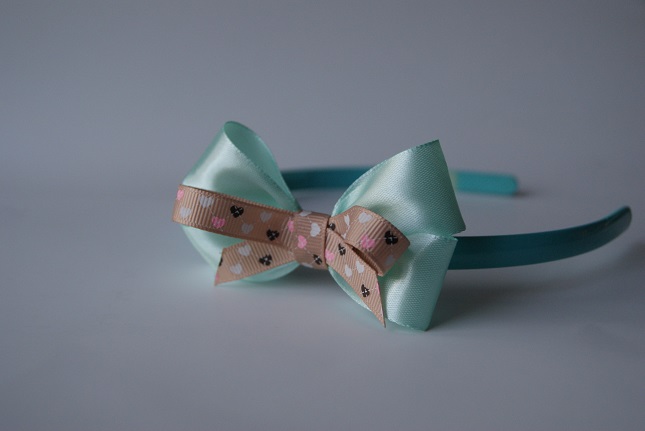
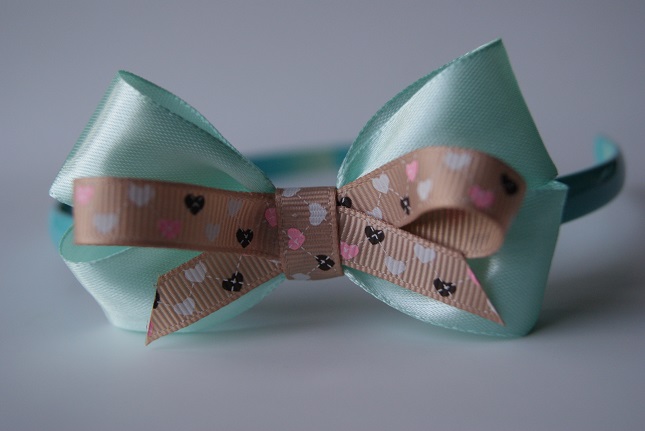
With a cute ribbon bow
A hair band with a cute bow will suit a girl of any age. You can make several options for each outfit. To create an accessory you will need:
- a piece of satin fabric measuring 20 x 20 cm;
- pins, thread and needle, scissors;
- candle or lighter;
- 2 cm wide ribbons for wrapping the headband;
- plastic headband base;
- thin satin ribbons that match the color of the bow - 6 pieces, 20 cm each;
- smaller ribbon for the bow - two pieces 4 x 20 cm;
- glue.
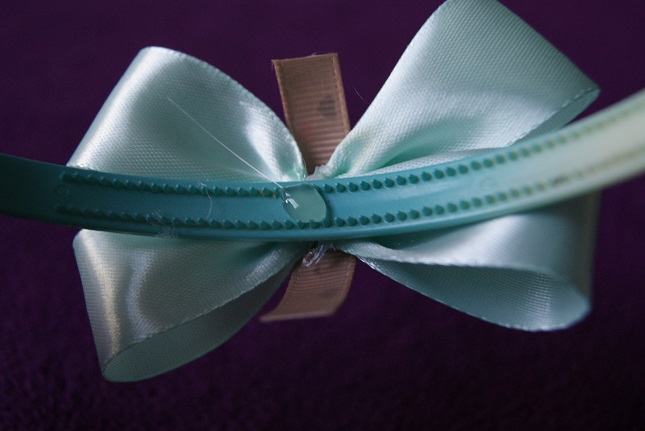
After preparing all the necessary materials and tools, you can start creating a headband with a bow. The master class described below is suitable for both experienced craftswomen and beginners:
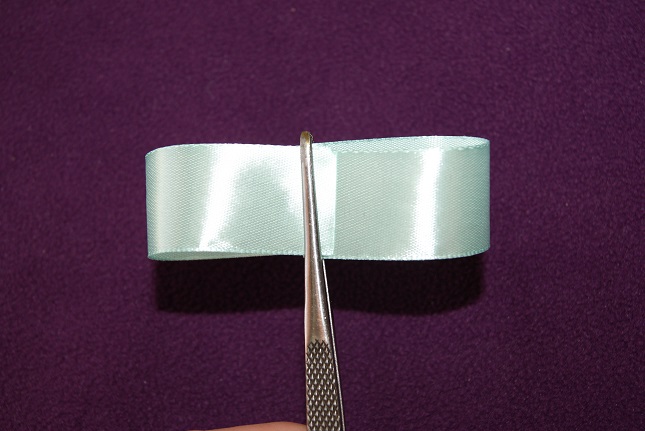
- Fold the fabric in half with the right side facing inward, pin it and mark the rounded corners. Trim and stitch along the edges, leaving 5 cm for turning.
- Turn the workpiece inside out and sew up the hole by hand.
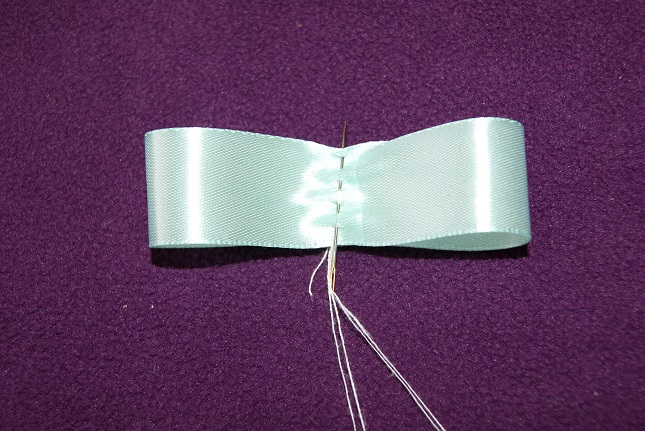
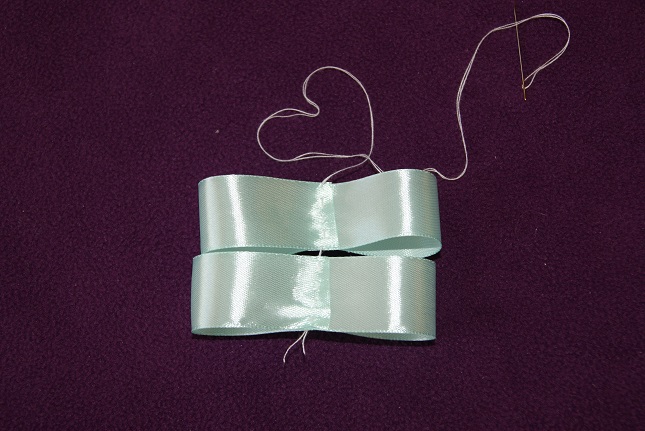
- Gather the thread in the center, tighten and secure the bow.
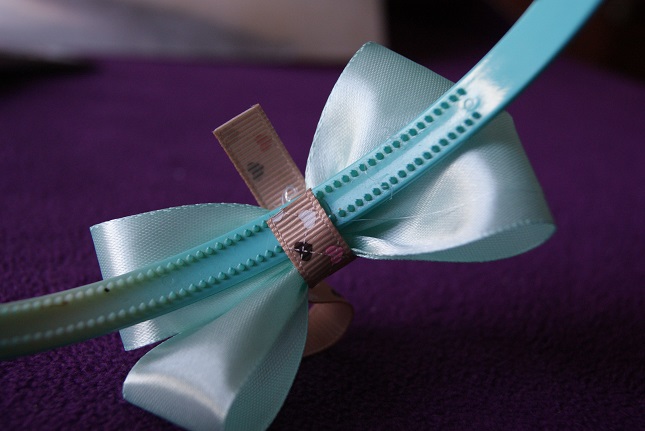
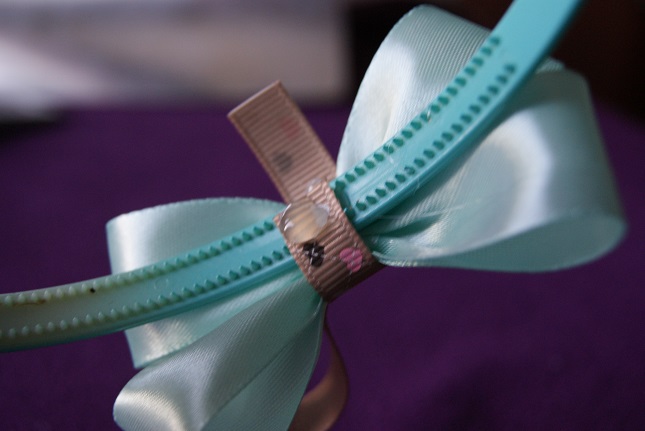
- Carefully cover the headband with satin ribbon.
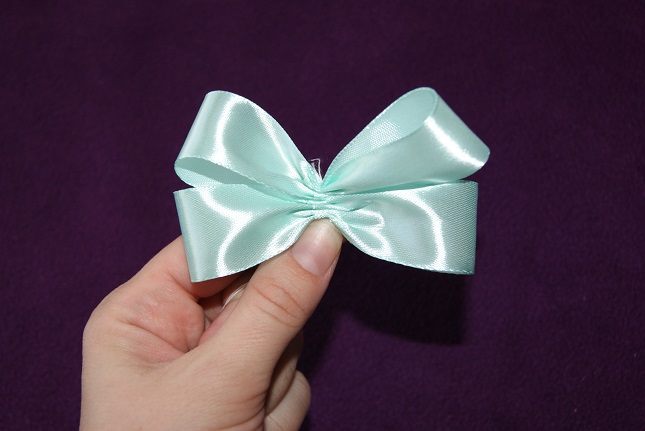
- Singe a smaller ribbon for the bow, fold the edges inward and gather with a thread.
- Glue three thin ribbons onto a large bow, and a small bow with three ribbons on top.
- Cover the center of the resulting structure with a thin ribbon and secure it with glue.
The result is a smart headband for a girl. The number of bows and thin ribbons can be varied as desired. Additionally, the product can be decorated with rhinestones and sequins.


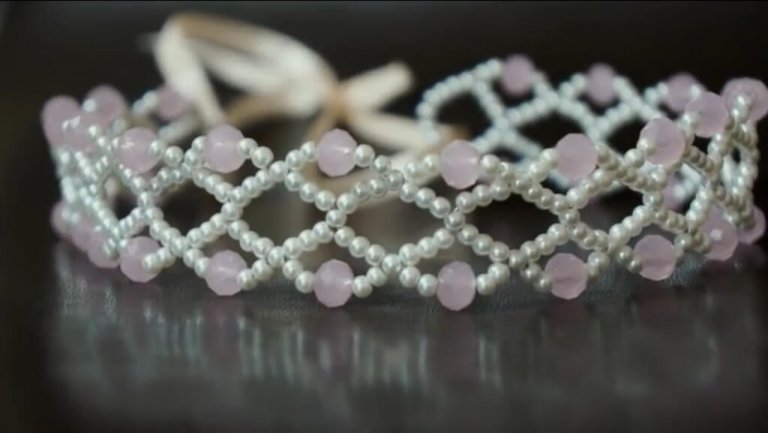
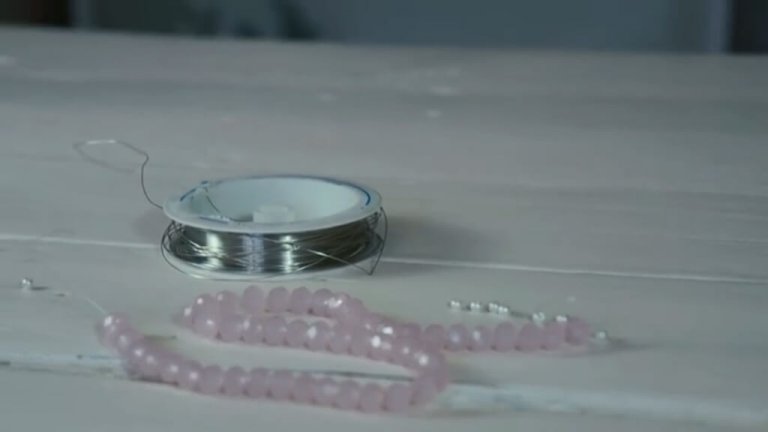
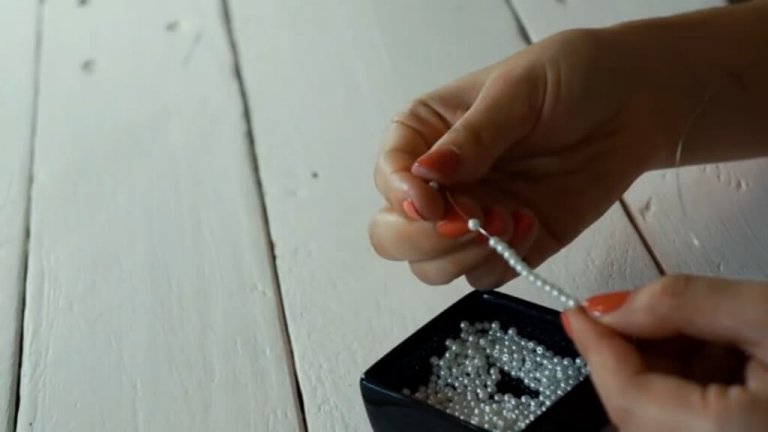
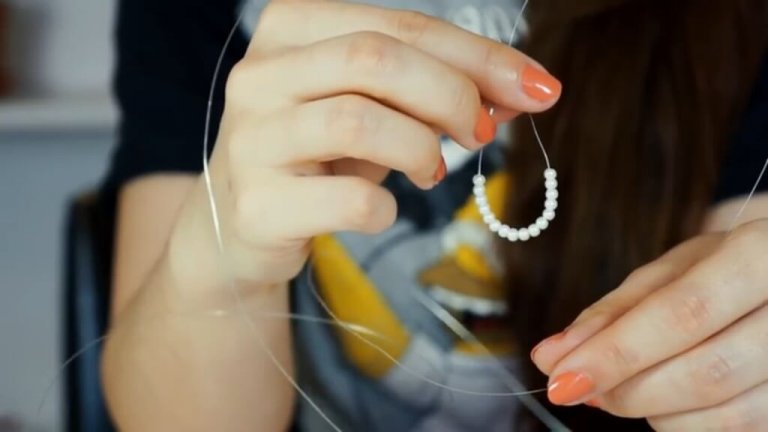
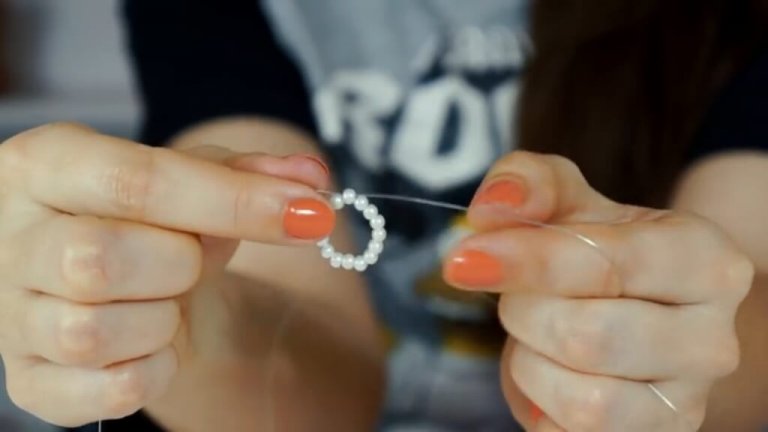
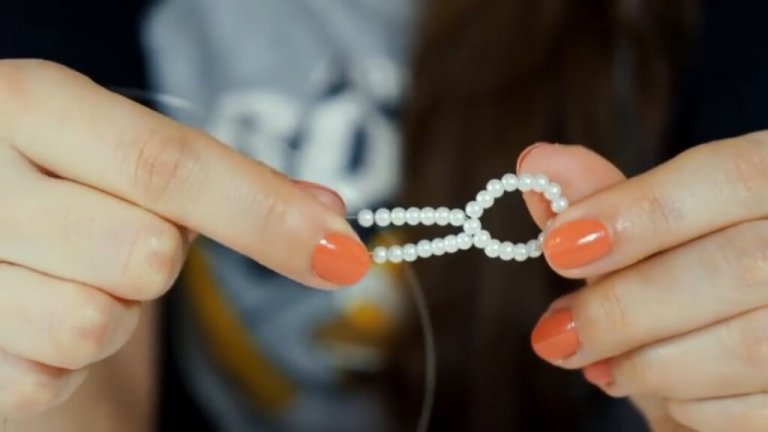
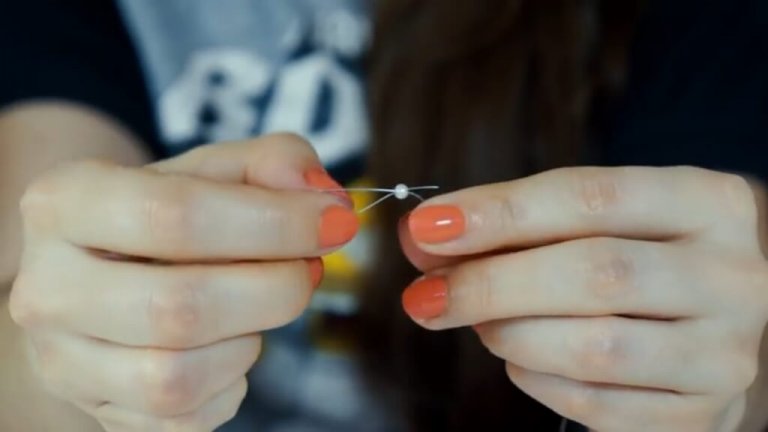
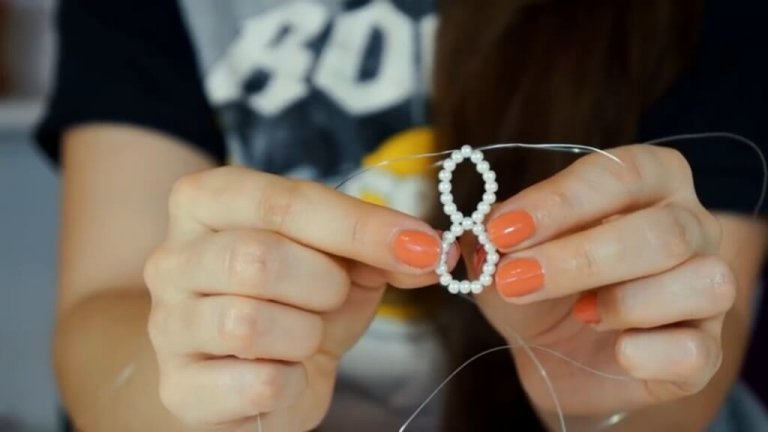
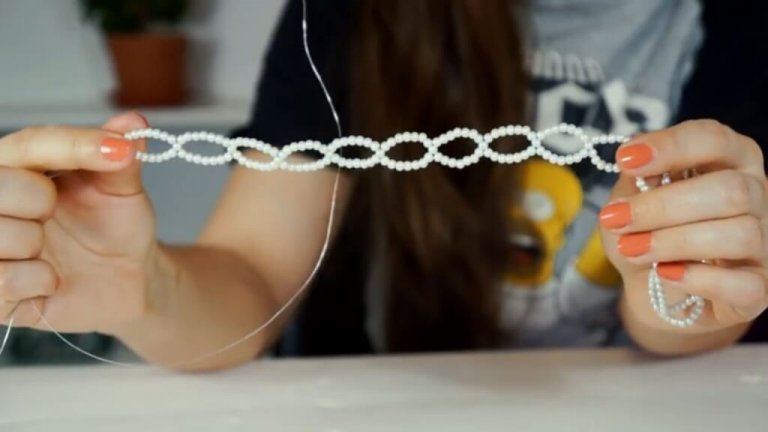
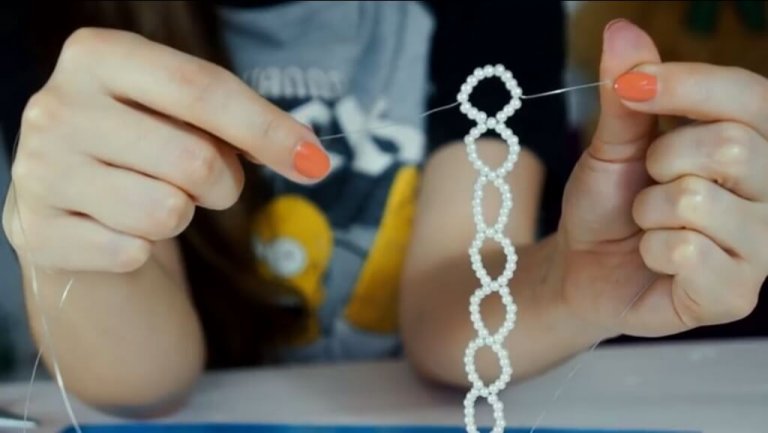
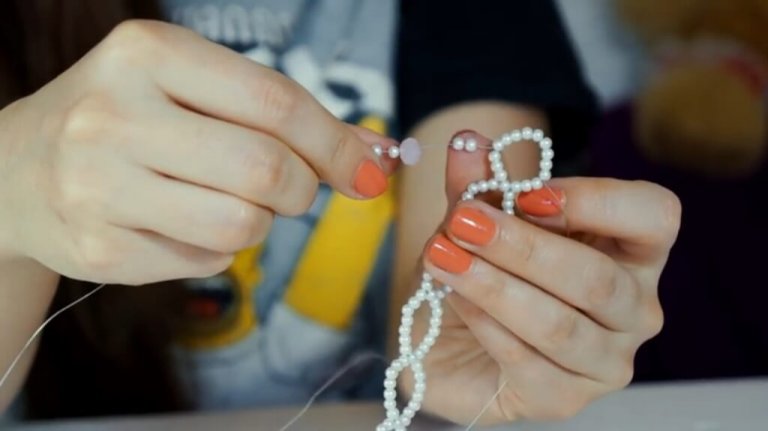
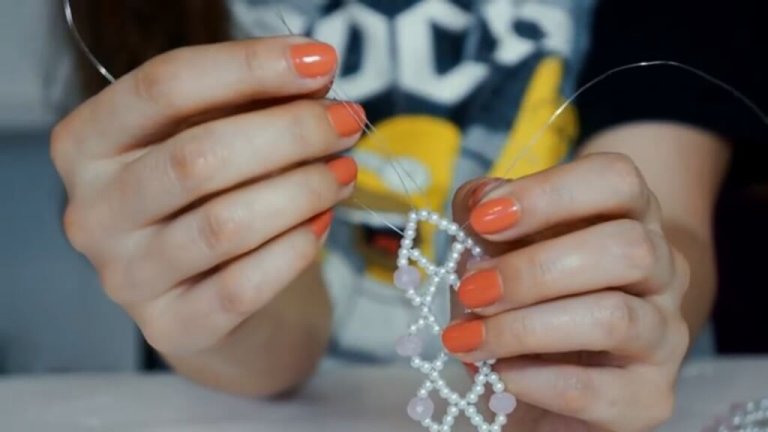
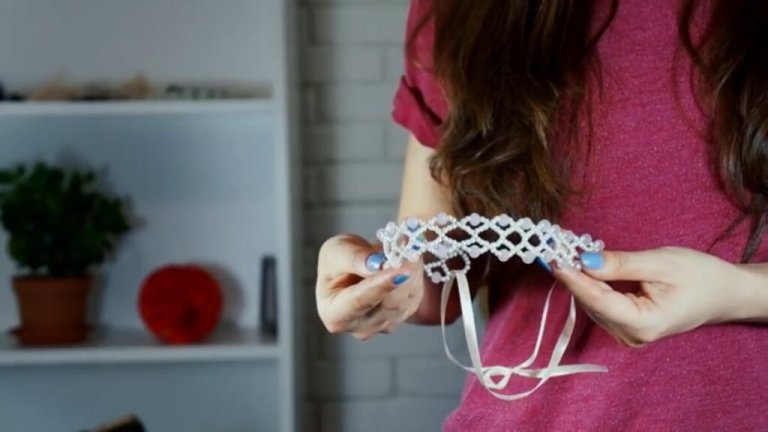
From wire and beads
The most accessible and easy option is to create a headband with your own hands from wire and beads. You need to prepare the following elements in advance:
- beads;
- copper wire 3 mm, 65 cm long;
- thin copper wire for attaching beads;
- nippers;
- round nose pliers.
To create the product, you need to bend a thick copper wire into a hoop shape. Round off the ends with round-nose pliers. The number of curls and their sizes can be varied as desired. The main thing is that the product sits comfortably on the head.
Next, use thin wire to secure the beads to the base. To do this, make 10 turns closer to the end of the headband. Then put the bead on the wire and make 10 turns again. This is how you should wrap the product, adding beads along the entire length. Having reached the end of the second rounding, the wire must be secured. The elegant headband is ready.
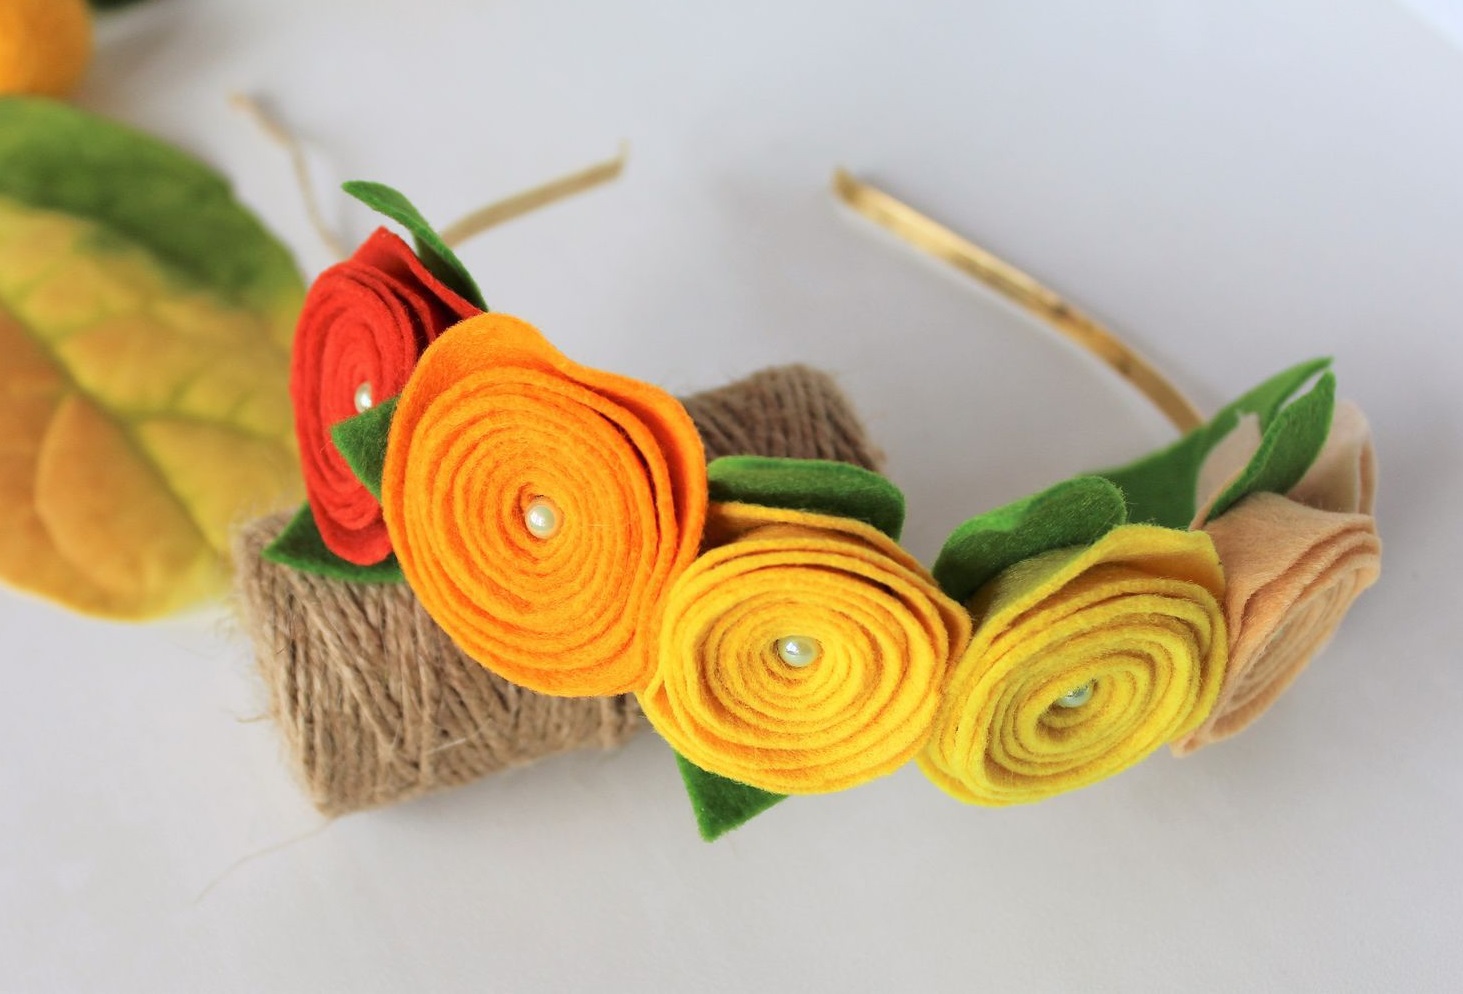
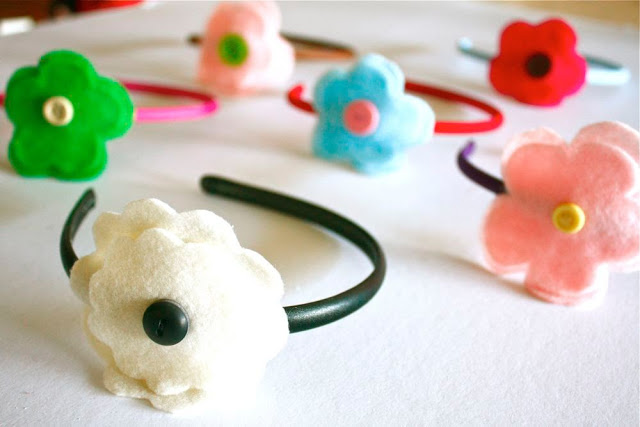
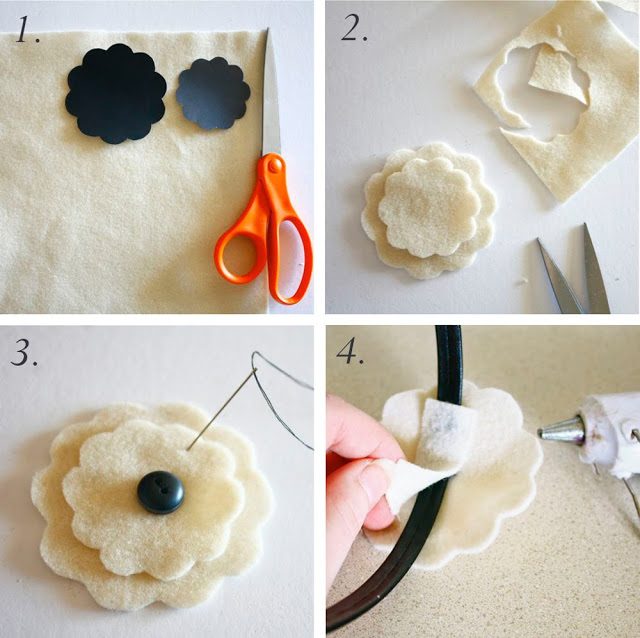
With felt decor
An original, stylish headband decorated with felt flower applique is easy to make with your own hands. It does not require much expense, but looks very cute. To work, you need to prepare:
- felt in burgundy, pink and green colors;
- beads;
- woolen thread and a needle for it;
- rim;
- paper, pencil;
- pins;
- glue.
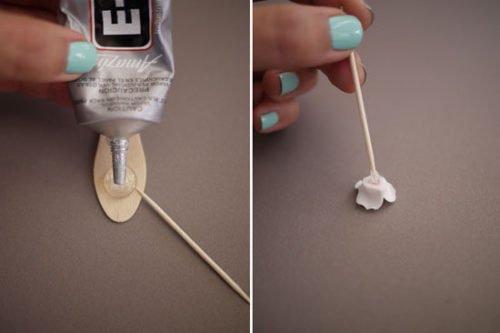
First, draw 2 flowers on paper so that one protrudes slightly from under the other. The patterns should be pinned to the felt and the flowers cut out. Make a circle from green felt for the larger flower and leaves. Then put the leaves on the green circle, then the large flower on top, then the small flower. Sew the entire structure with thick woolen thread. Finally, decorate the middle of the flower with beads, depicting stamens, and attach the decoration to the rim with glue.
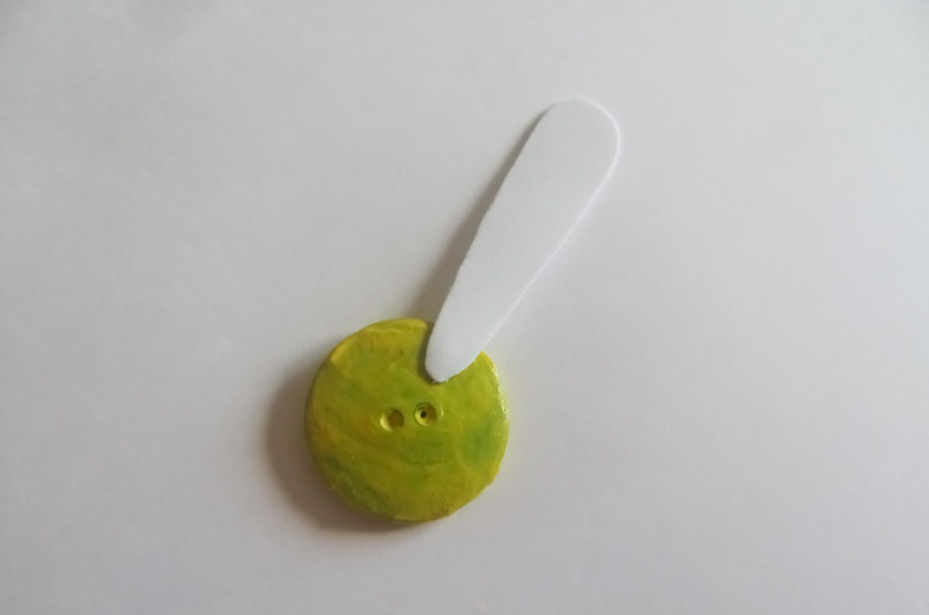
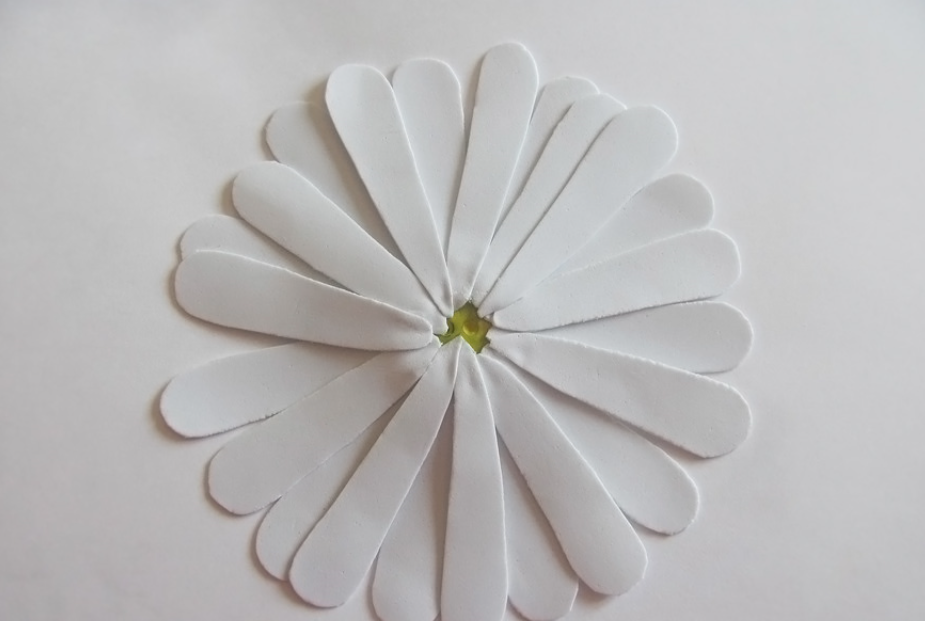
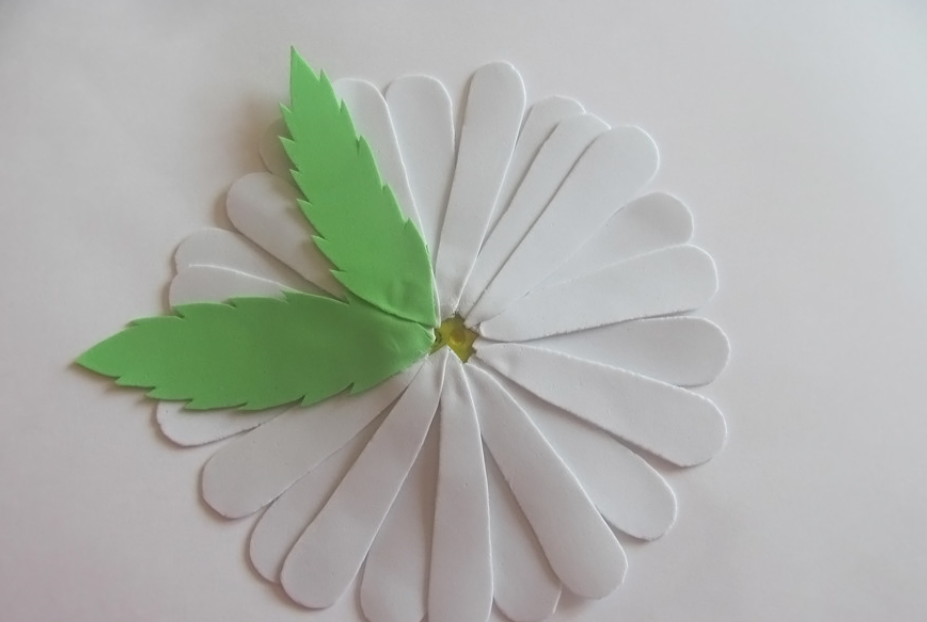
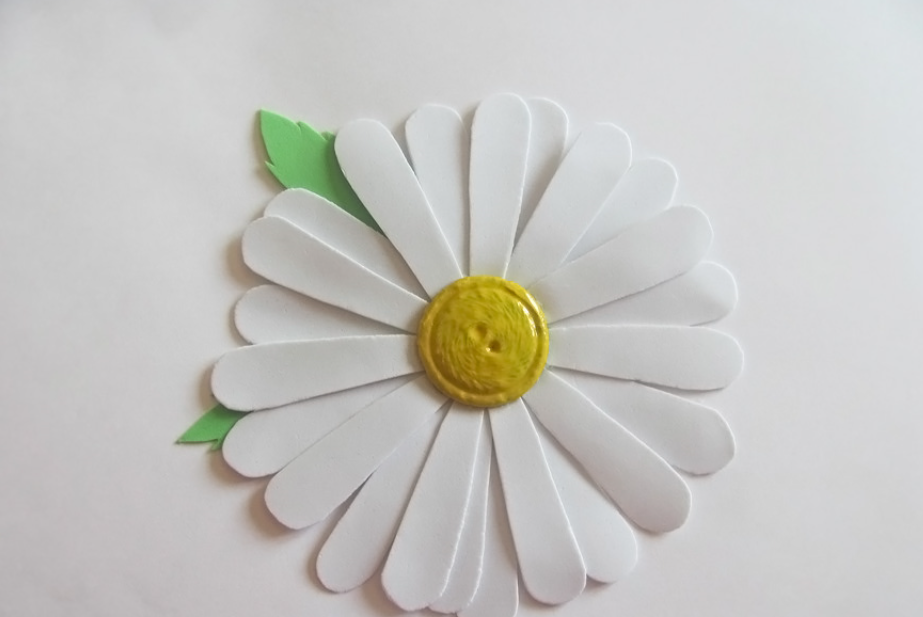
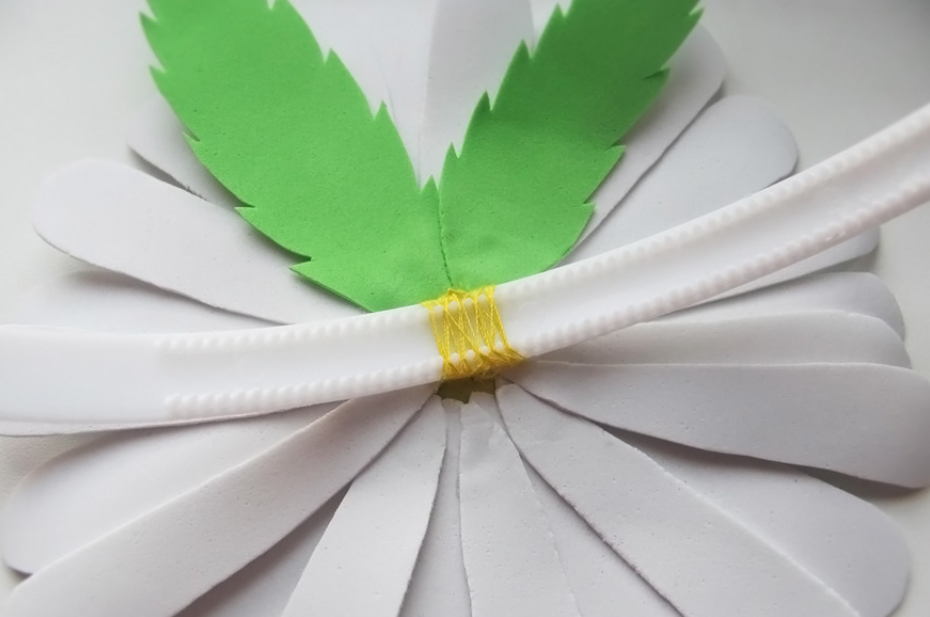
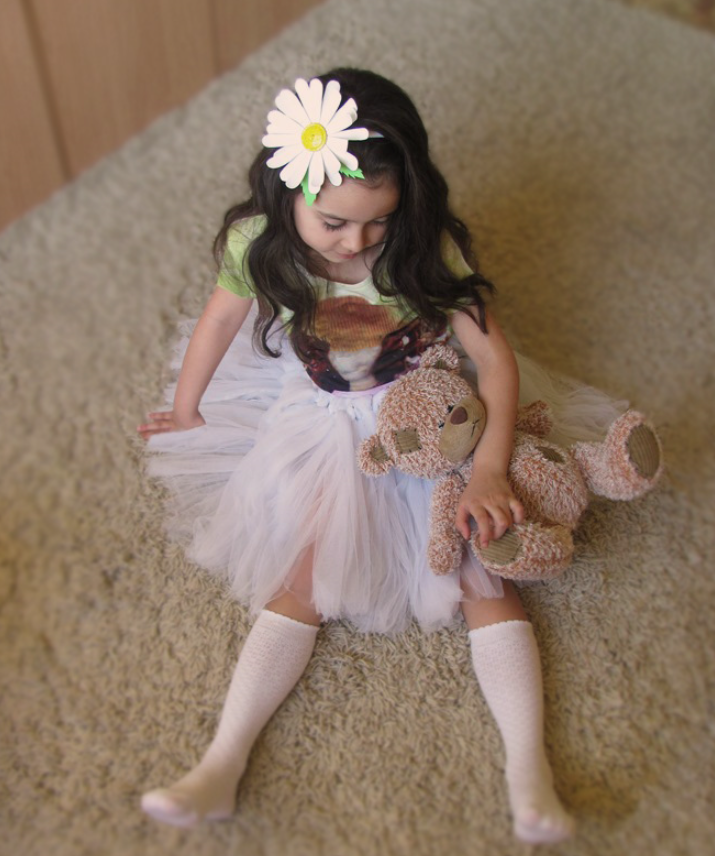
Headband with daisies for the little ones
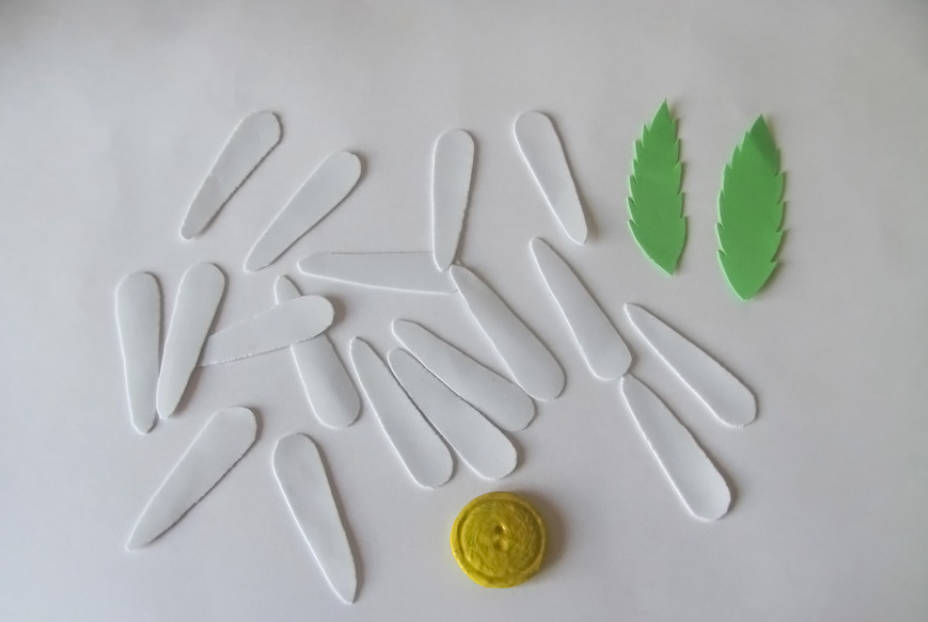
A headband with daisies, made with your own hands, will be a wonderful first decoration for a little princess. To make it, you do not need a lot of materials, you need to prepare:
- ribbon or wide elastic band as a base;
- soft fabric or felt of white and yellow colors;
- needle and thread;
- measuring tape;
- glue.
After preparing all the materials and tools, you can start making the headband. The product is created in literally half an hour if you follow the step-by-step master class:
- Cut out 3 daisies of the desired size from white fabric or felt, and 3 circles for the center of the flowers from yellow. Apply a little glue to the center of the first element and place a circle on top. Let the glue dry. Repeat this with the remaining components.
- Measure the circumference of the child's head, cut off the required length of elastic or ribbon, and sew the ends together.
- Attach the finished flowers to the base with glue or thread.
You can complement the headband with daisies with beads or sequins. They should be sewn on very tightly so that the child does not tear off the decorative elements and does not accidentally swallow them. The use of rhinestones in products for the little ones is strictly not recommended.
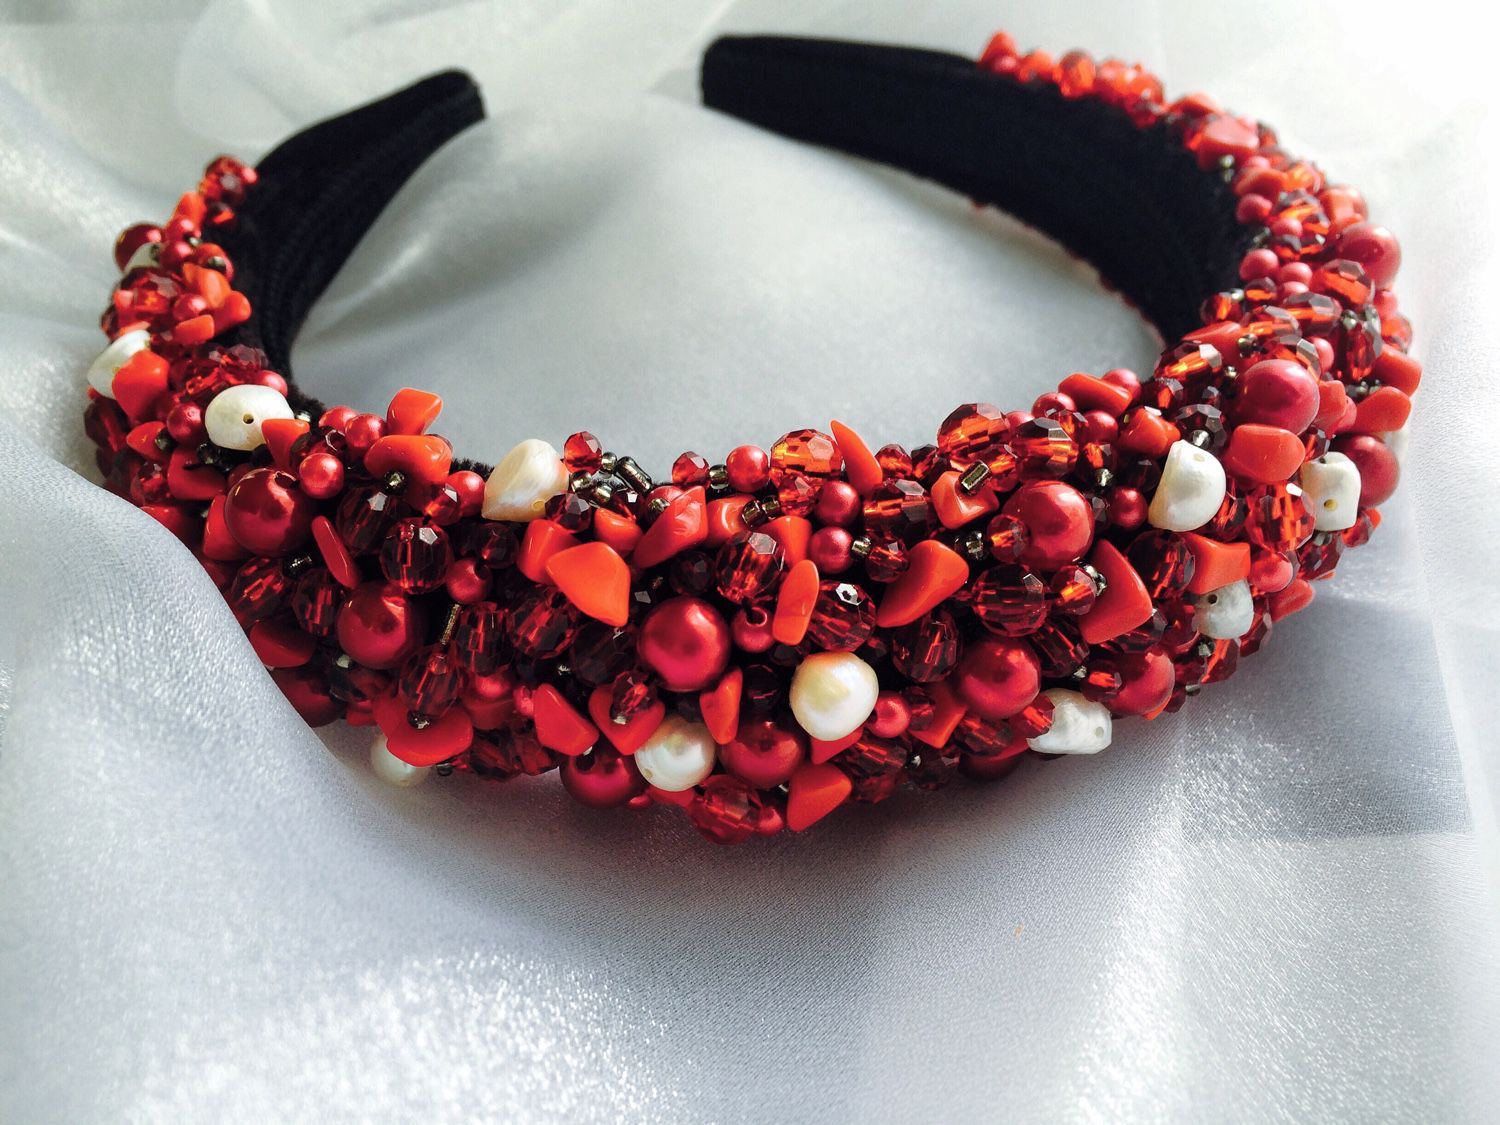
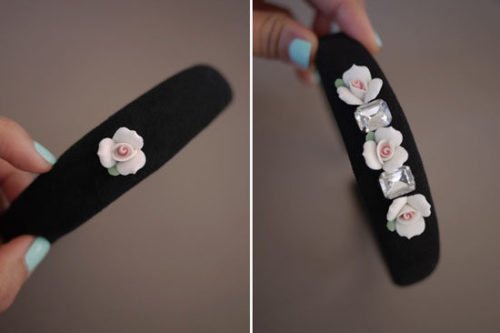
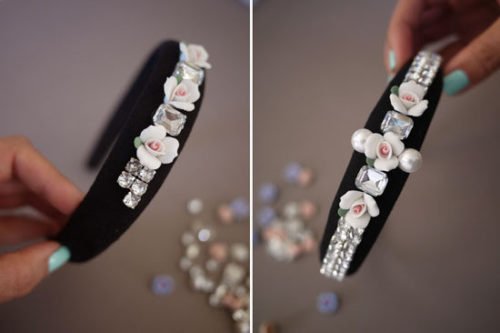
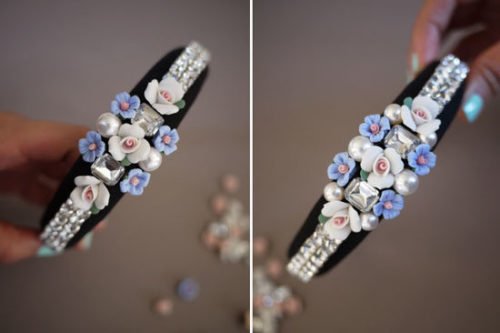
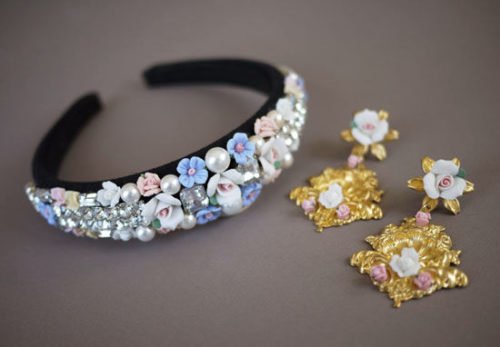
In the style of Dolce Gabbana
Bright, sparkling fashionable headbands in the style of Dolce & Gabbana look very impressive. Their production will take more time than the creation of simpler products made of wire or with felt decor. However, the result is truly impressive. The process itself is not complicated, you only need to follow the master class. It is necessary to prepare in advance:
- wide rim;
- tape or fabric for wrapping;
- glue;
- a needle and strong thread;
- many different beautiful beads, bugles, seed beads.
The first step is to wrap the headband with fabric. This should be done from the end, securing the material with glue. Having reached the middle of the base, start wrapping from the opposite end. Fix the fabric in the center with glue. Next, you need to trim the product with decorative elements.
Beautiful beads, seed beads, rhinestones, and shiny multi-colored stones are suitable for decoration. The headband is sewn on the outside so that there are no empty spaces. The resulting product looks bright and festive. A fashionable headband in the Dolce Gabbana style will be a wonderful festive accessory.

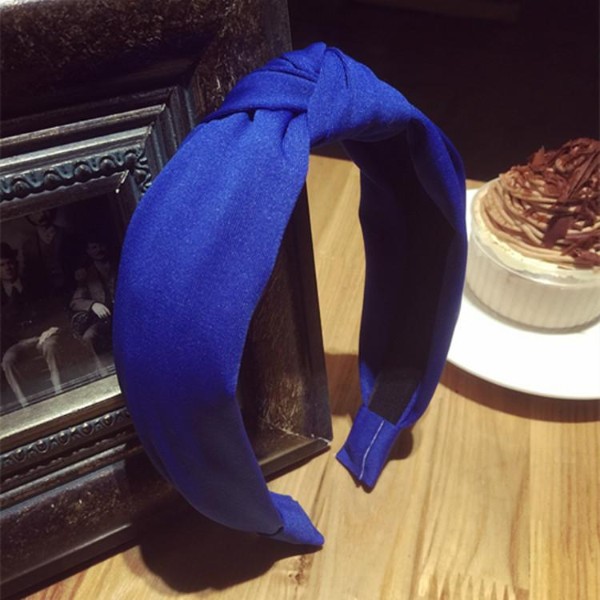
Fabric turban
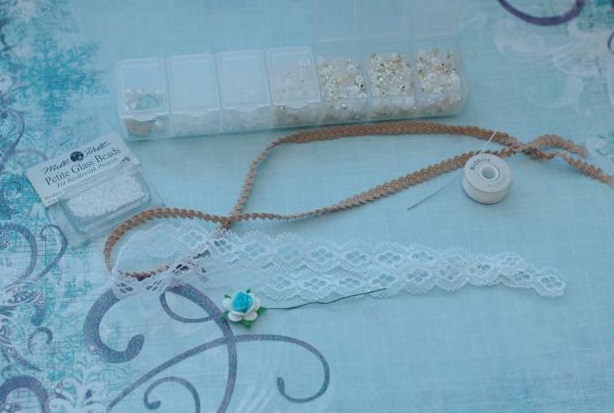
A headband in the form of a turban made of fabric looks very original and unusual. To work, you need to prepare:
- two strips of light fabric 14-18 cm wide, 70-75 cm long;
- measuring tape;
- pins;
- scissors;
- thin wire with a thickness of 0.3-0.5 mm;
- thread and a needle.
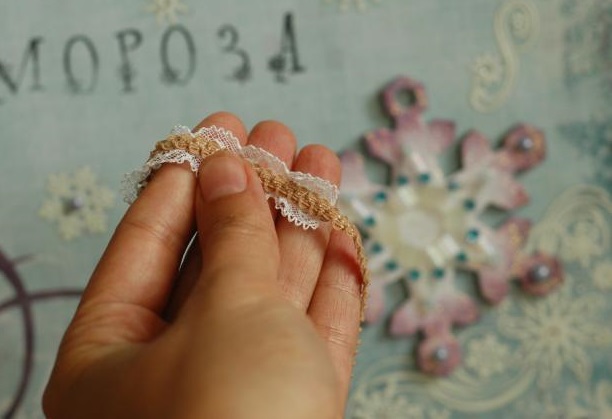
First, you need to measure the circumference of your head. The finished product should be slightly larger than this measurement. The strips of fabric should be folded lengthwise with the wrong side up and stitched, leaving 4-5 cm unstitched. Then turn the blanks to the front side.
The wire must be bent into two loops, pushed inside the fabric strips, and the holes sewn up. Next, you should lay out the blanks, insert one into the other and connect them with threads. A light scarf, the central part of which can be tied in a knot, is quite suitable as a material for making a turban.
In Greek style
A headband for a girl's Greek hairstyle can be made from scrap materials. To create the accessory you will need:
- an unnecessary T-shirt or other item;
- scissors;
- needle;
- threads.
From the bottom of the T-shirt, you need to cut 3-5 ribbons of the same length. They need to be sewn together at one edge, then braid a regular braid until the ribbons run out. When finished, process the ends with a thread and a needle, connect the entire structure into a headband. After that, it remains to cover the joint with a piece of fabric.
Ribbons for a voluminous headband can be purchased ready-made. A thin and elegant accessory for Greek-style hairstyles will be obtained if you use satin ribbons or lace as a material. You can decorate the headband with beads, sequins, rhinestones, and sequins.

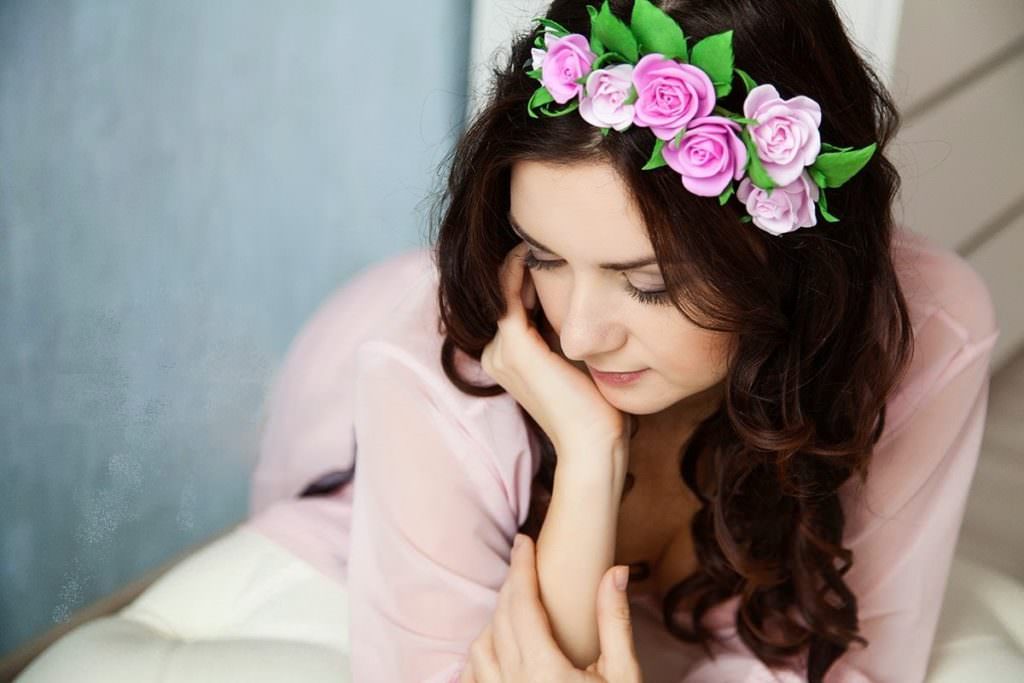
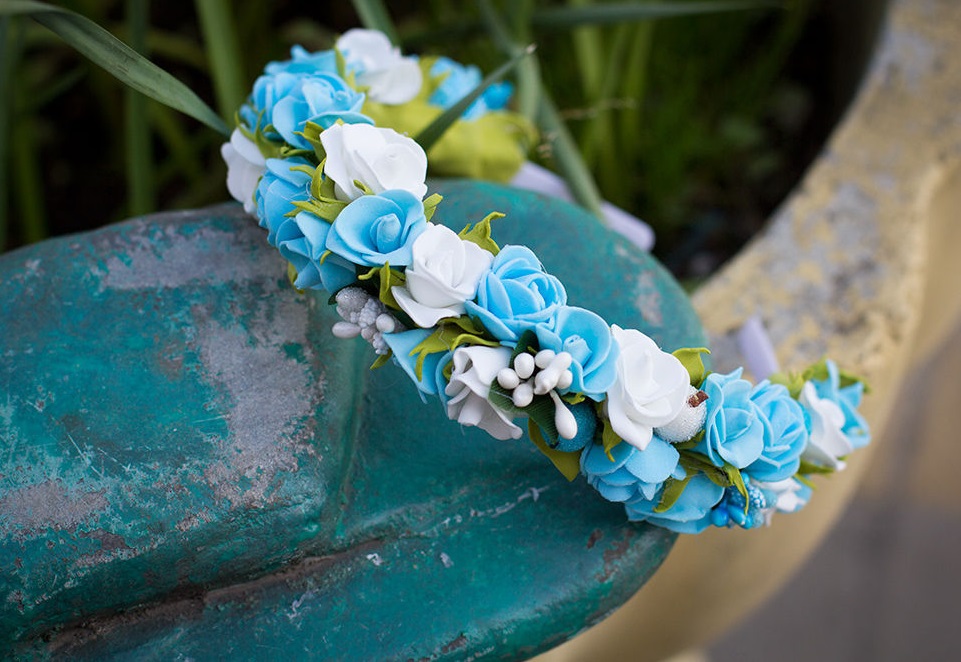
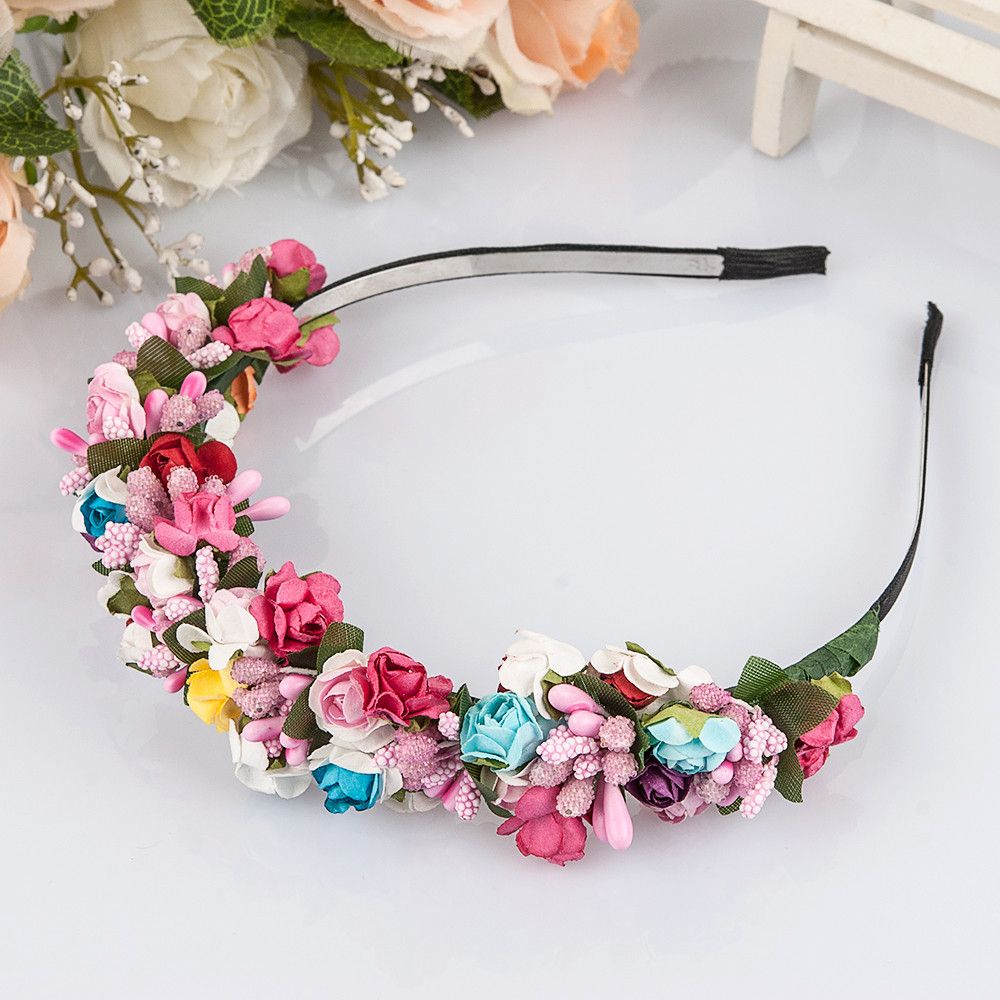
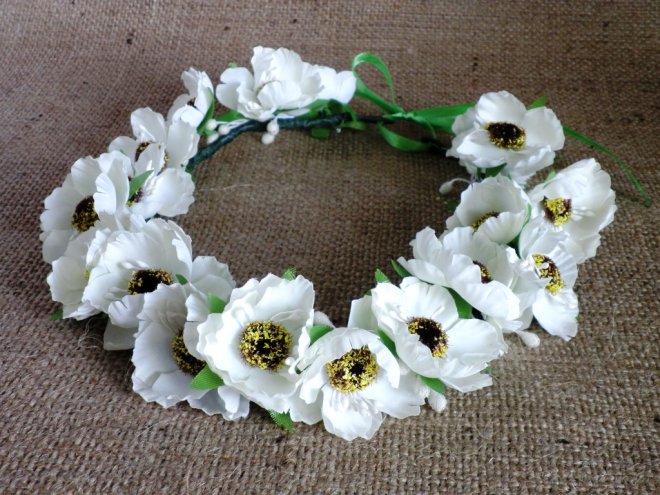
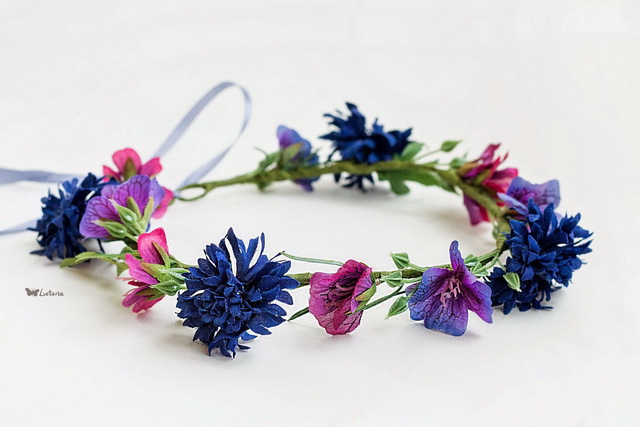
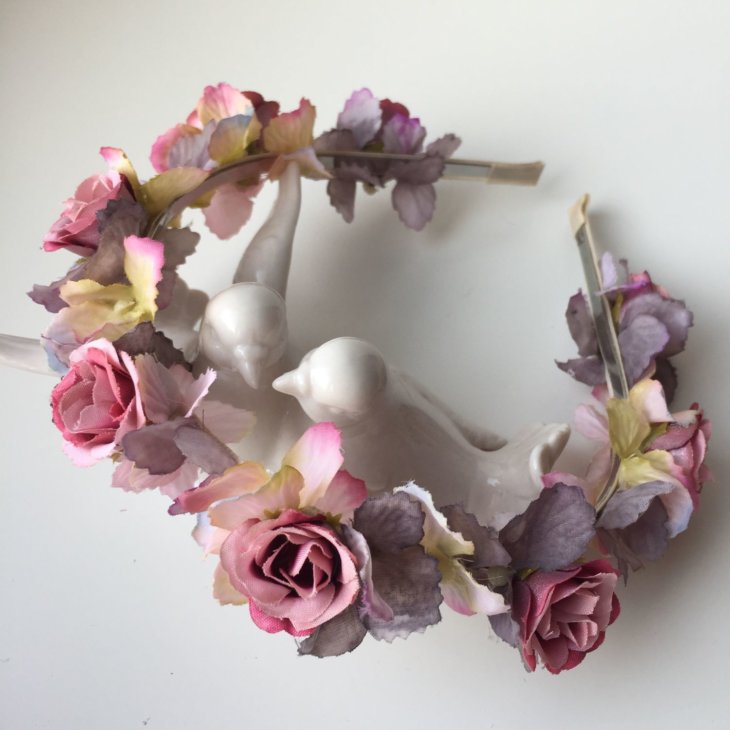
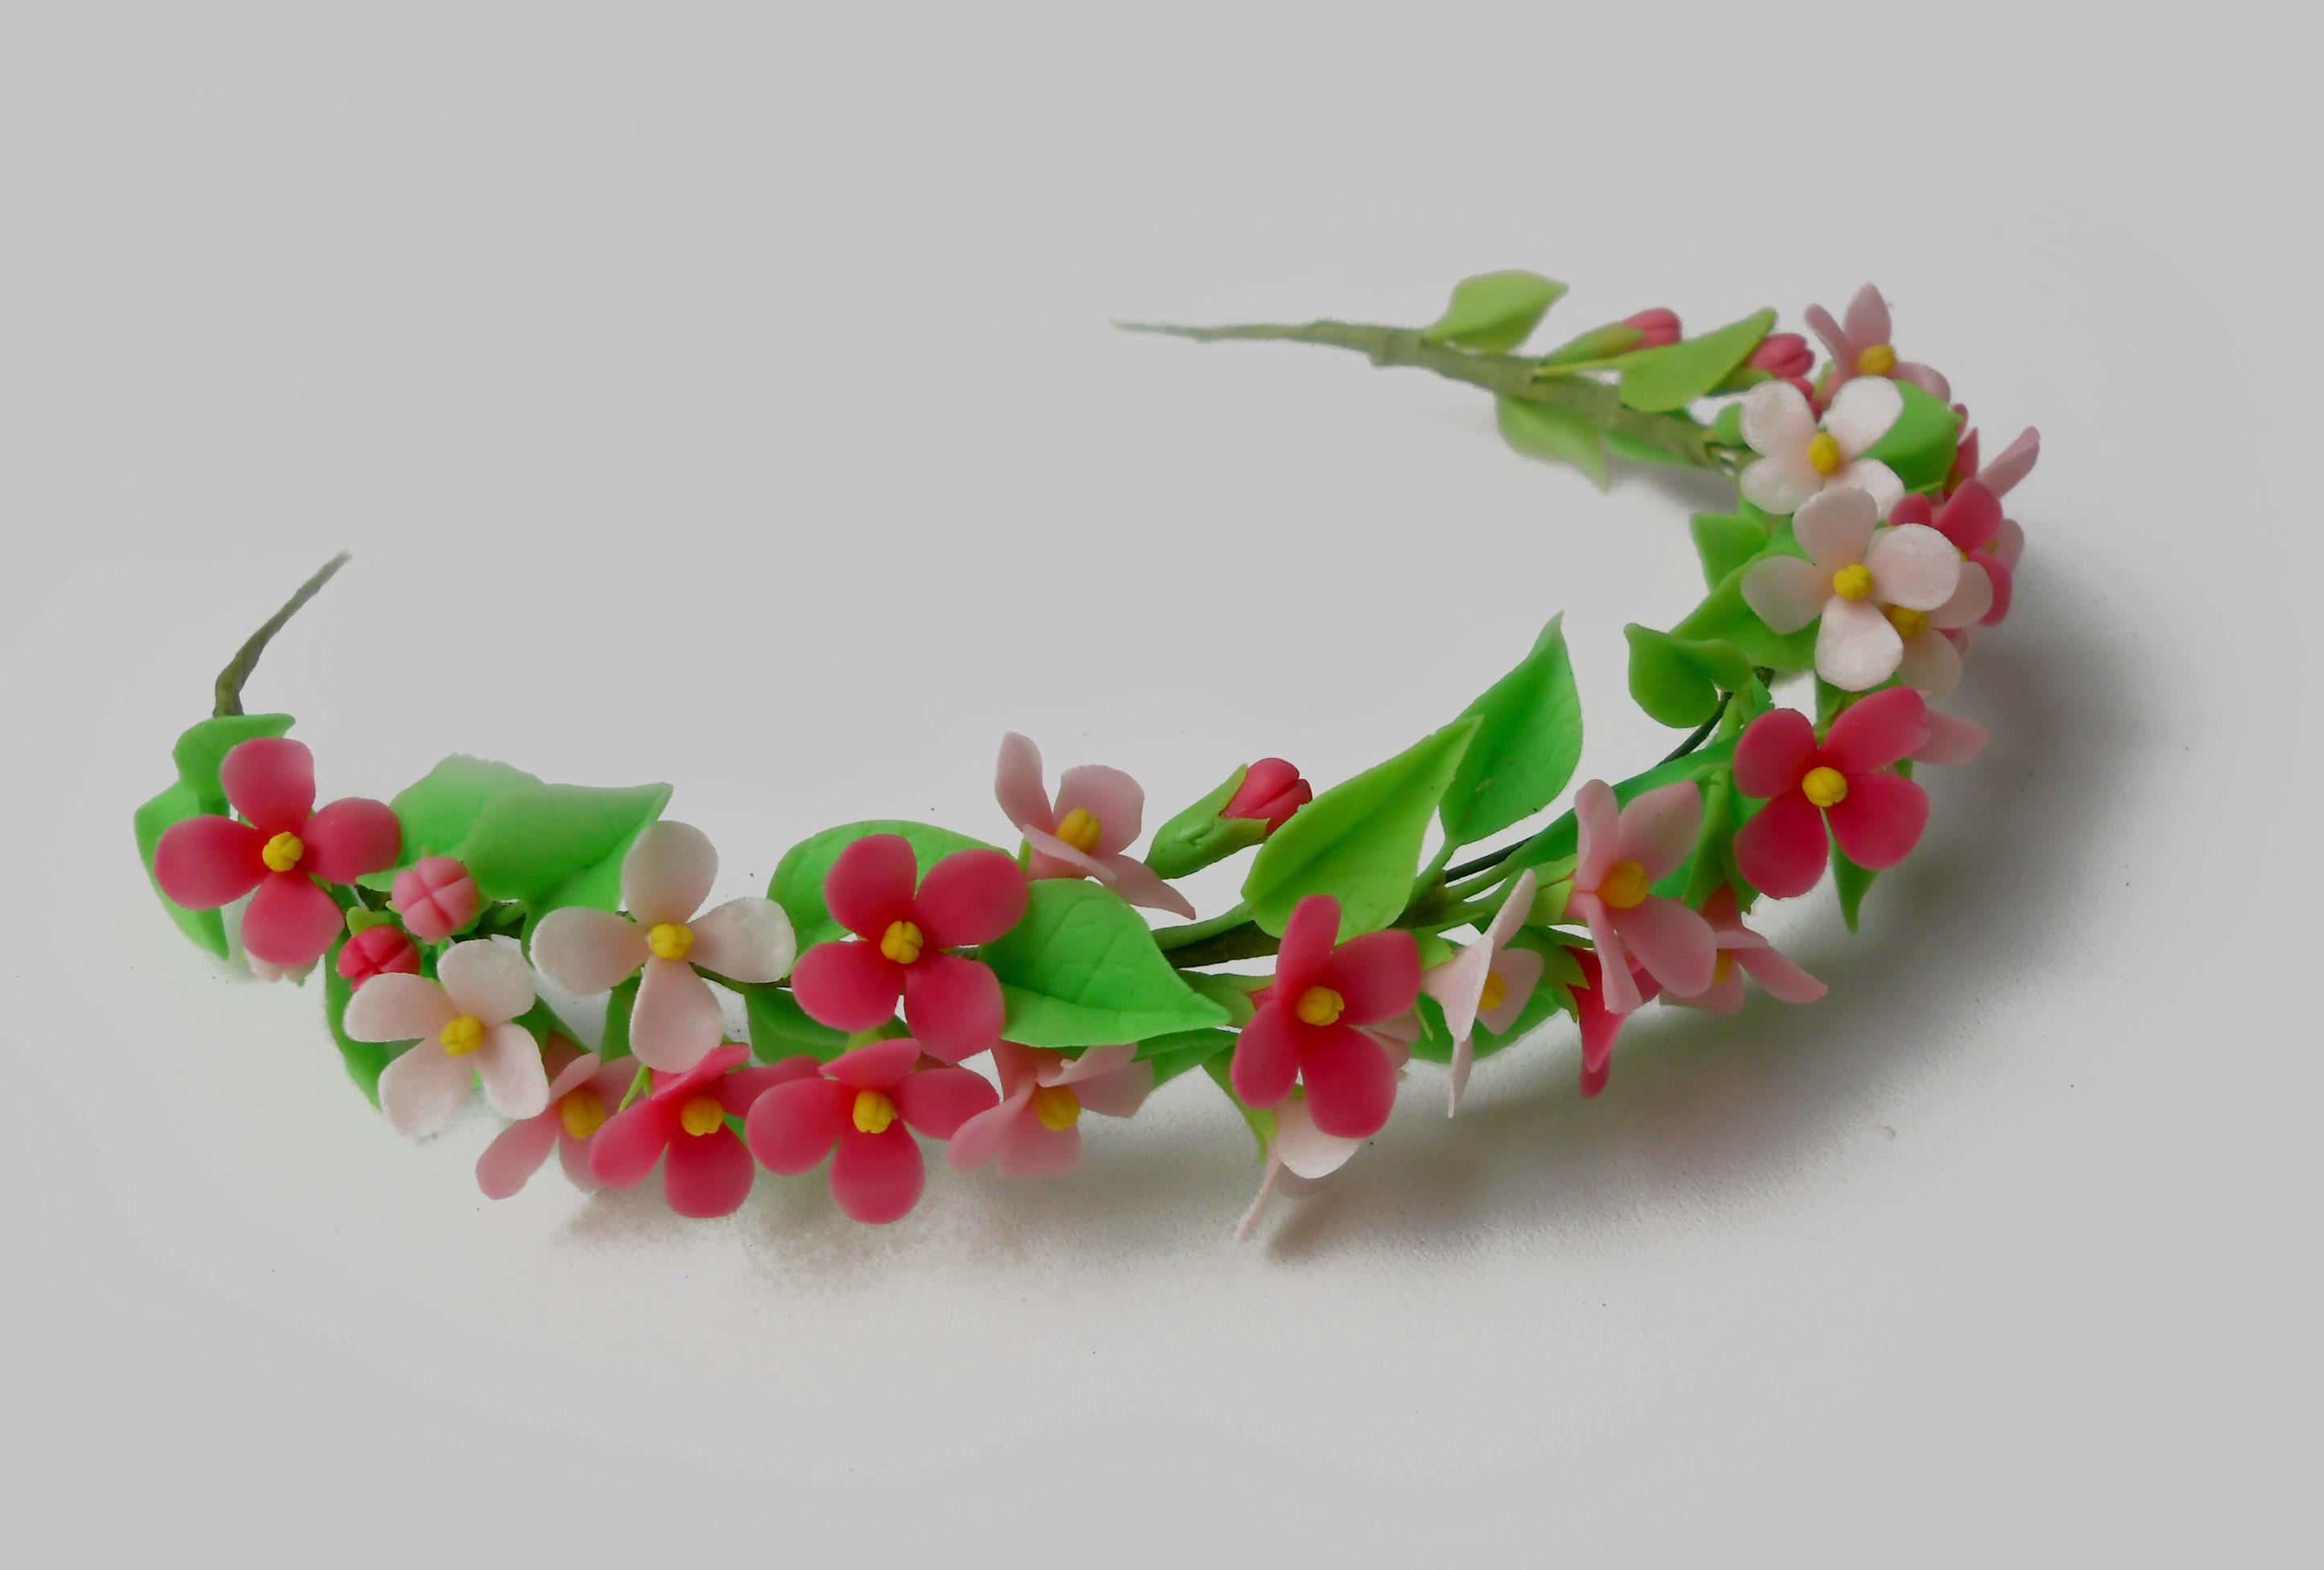
In the form of a wreath of flowers
A wreath-shaped headband is relevant for themed events: parties, weddings, photo shoots. It will be a great alternative to a product made of fresh flowers. To work, you need to prepare:
- tapes of desired shades;
- scissors;
- wire;
- heat gun;
- artificial flowers.
Making a headband begins with measuring the circumference of the head. Then, based on the measurement, a wire frame is made. It is wrapped with tape, the ends of which are fixed with glue. The stems of artificial flowers are cut off, after which the wire is threaded through them. The final stage is gluing the flowers to the headband. To create an original flower arrangement, it is recommended to alternate buds of different sizes, shades and materials.
You can create a decoration for a hoop from artificial flowers made from polymer clay, foamiran, felt, and also made from fabric using the kanzashi technique.
Making fashionable hair bands does not require special skills, significant financial costs, or a lot of time. Any girl can easily create a trendy flower accessory for her head on her own. Products decorated with stones and rhinestones in the style of Dolce & Gabbana are perfect for an evening out. For a daytime walk, a simple headband with a bow, kanzashi flowers or in the form of a turban would be an ideal option.
Video