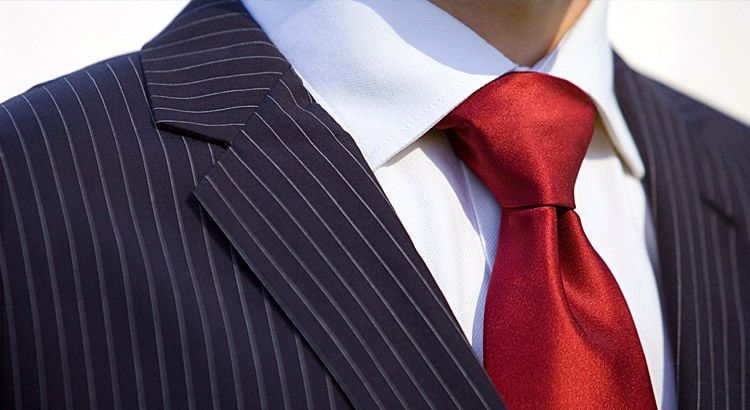
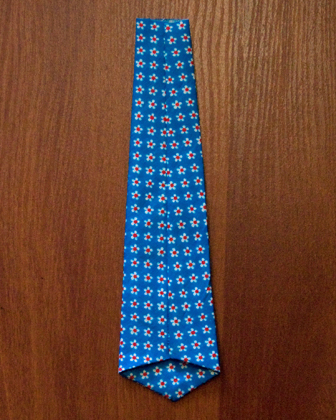
A tie is a versatile and stylish accessory that can be worn not only with a classic suit, but also used to create a bright image. The advantage of this product is that it suits both men and women. If you know how to sew a tie yourself, then in a couple of hours you can make a unique accessory. The result of the work directly depends on the pattern, so it is important to find a suitable pattern and correctly transfer it to paper.
Materials and tools
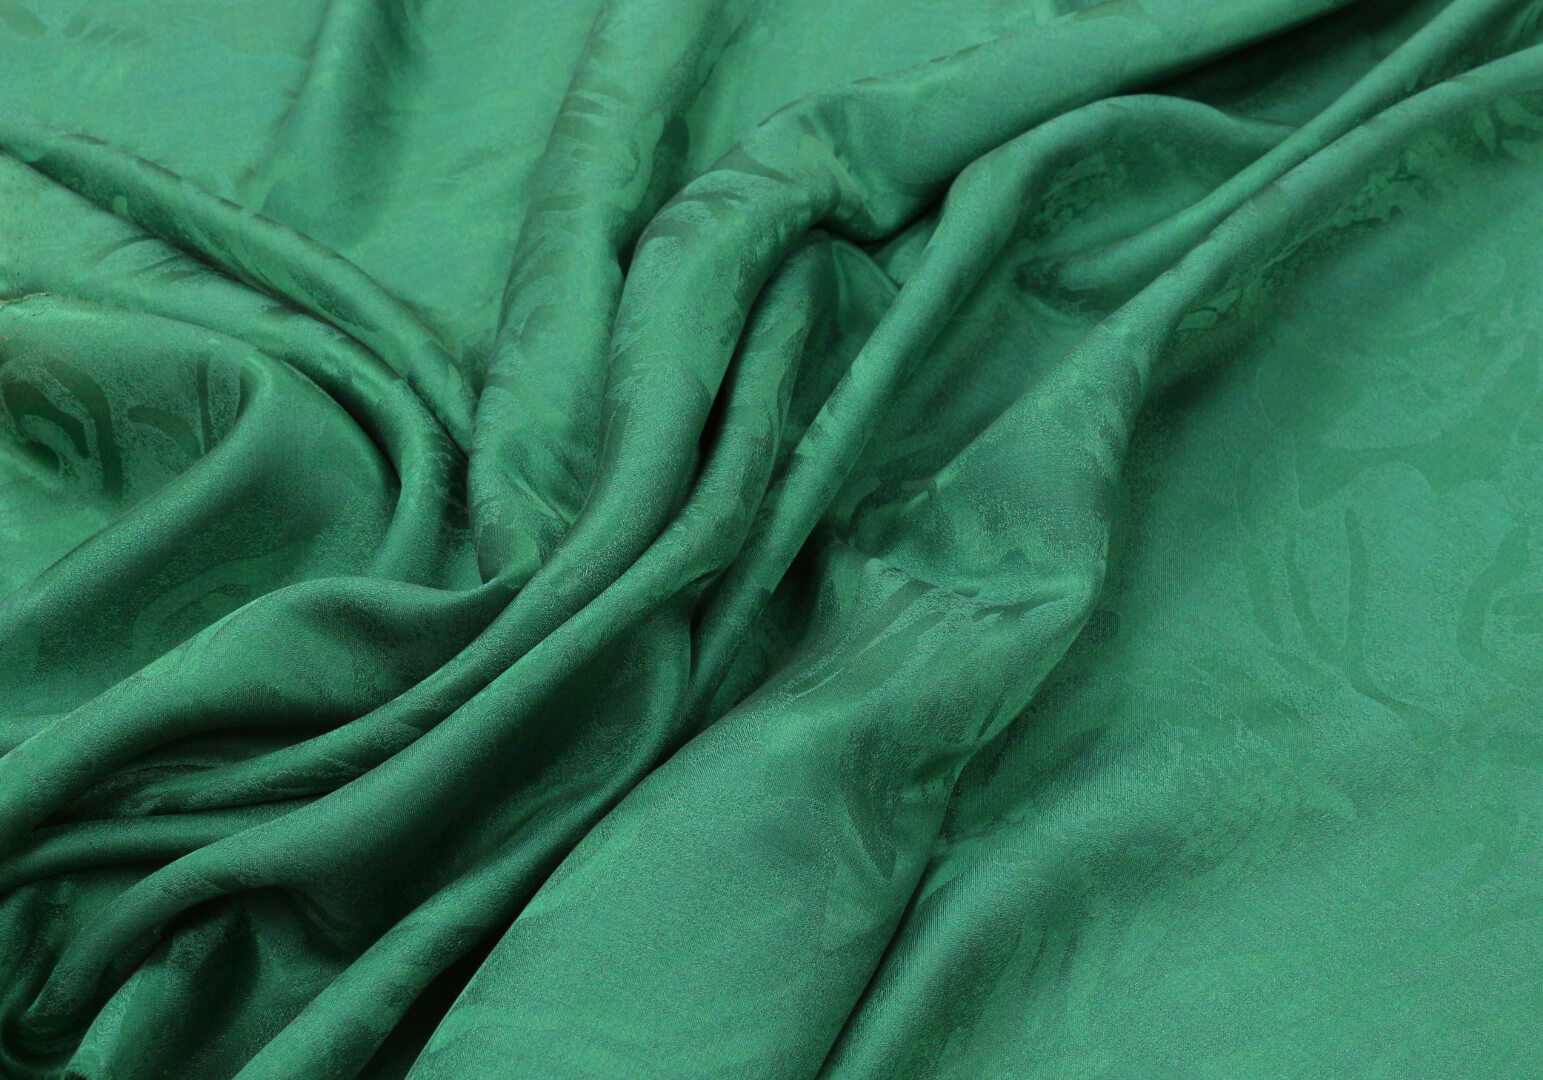
The first thing you need to do to sew a tie with your own hands is to decide on the fabric. You need to select the type of fabric depending on the chosen style, as well as taking into account who the accessory is being sewn for. The following fabrics are most suitable for creating a classic tie:
- jacquard silk;
- flax;
- velvet;
- twill;
- cotton.

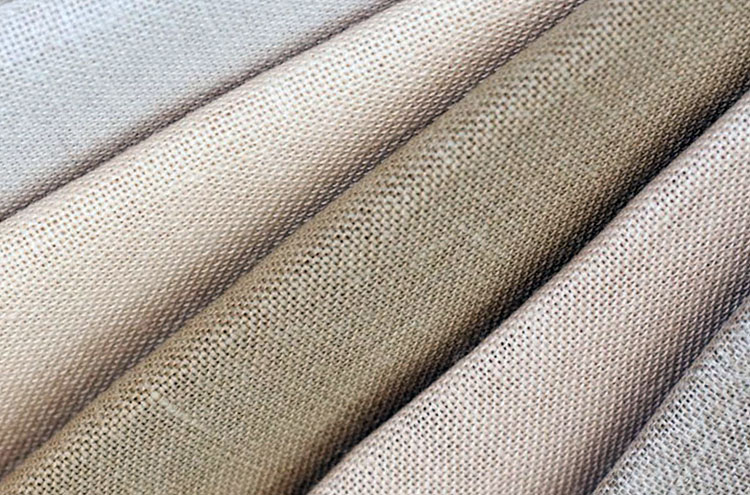
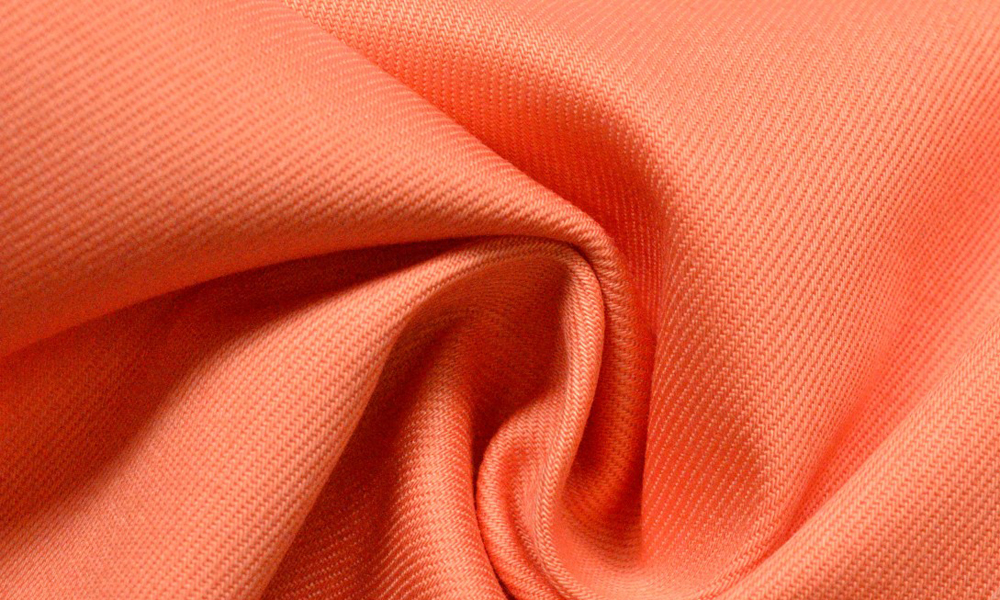
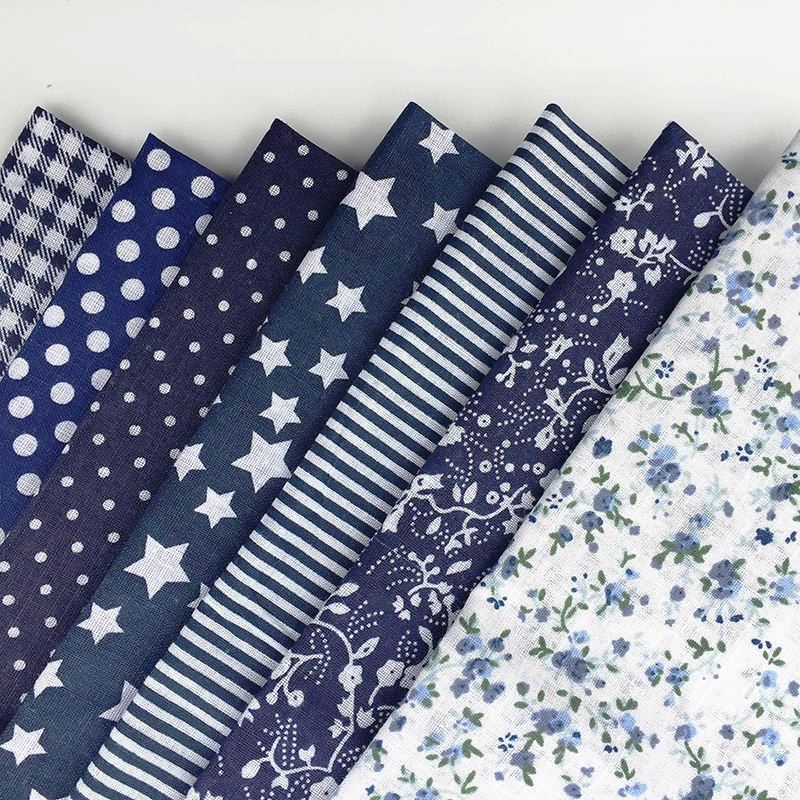
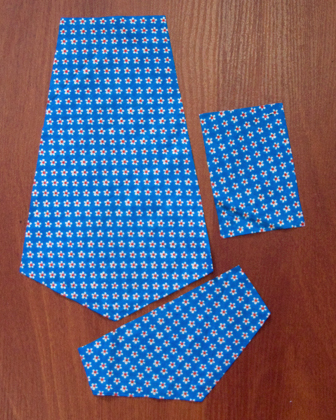
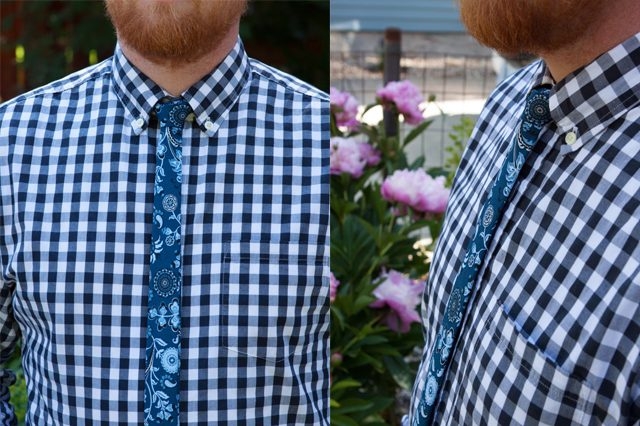
For sewing autumn and winter models of men's ties, you can use thick wool. As for the color, the product can be plain or with a complex print. The second option is ideal for a hipster. In this case, you need to try to cut out the product so that the bright and interesting parts of the pattern are on the front part.
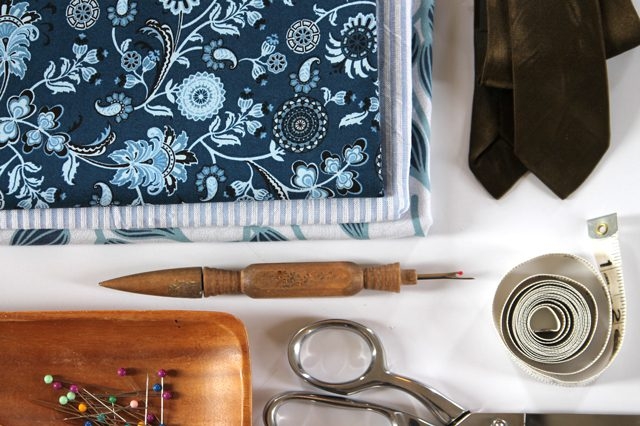
In addition to fabric, sewing a tie requires the presence of:
- patterns;
- lining material (most often satin or polyester is used);
- chalk;
- rulers;
- several pins;
- needles and threads;
- sewing machine.
To make the work easier, the pattern should be printed out or transferred to paper.
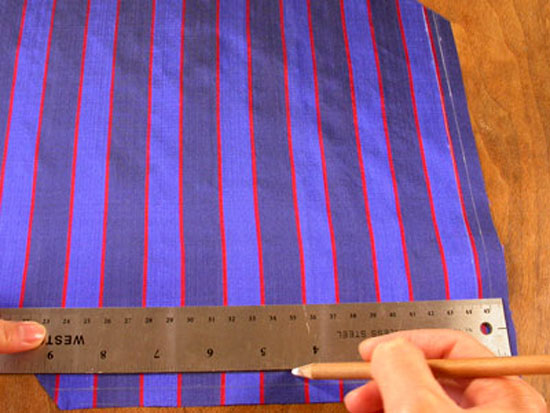
The classic cutting of a tie is done on the fabric at an angle of 45 degrees, that is, on the bias.
Preparatory stage
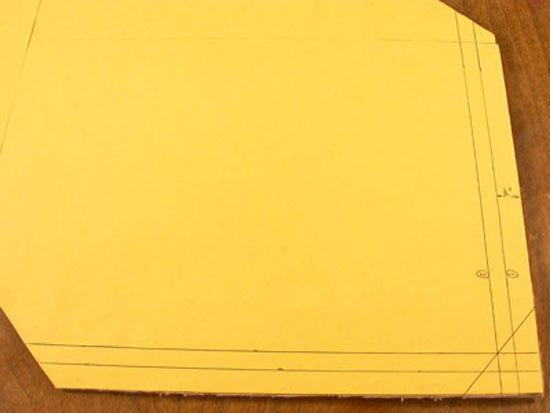
Before sewing a tie, you need to decide on the pattern and transfer it to paper correctly. Manually redrawing a pattern is a rather complicated process, the slightest errors in which can cause the product to turn out uneven. That is why it is much wiser to use a printer.
Tie patterns can be found in the magazines Burda, Moden, Sewing and Cutting, Patrones.
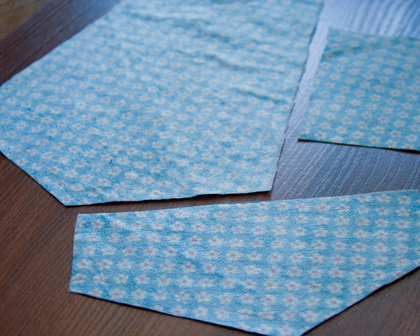
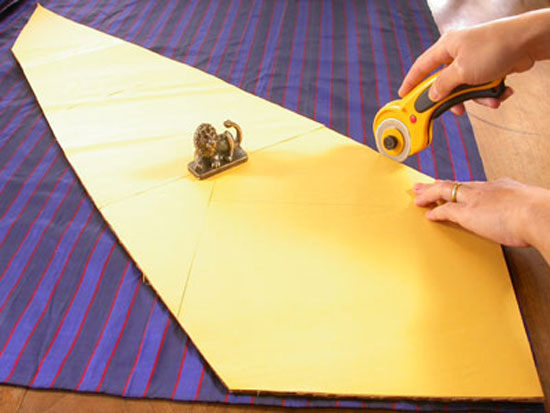
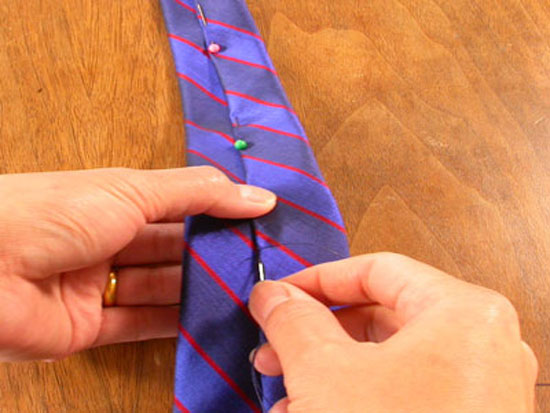
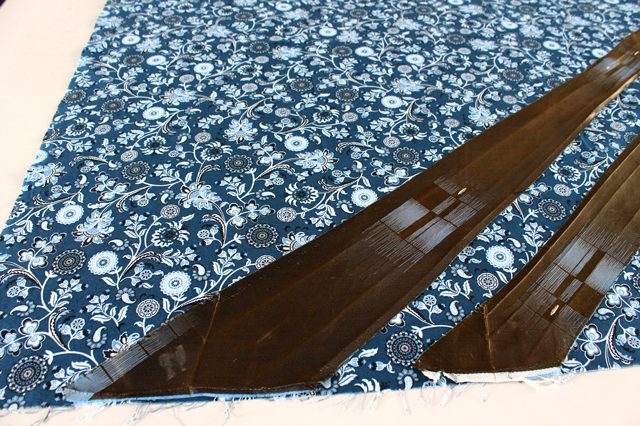
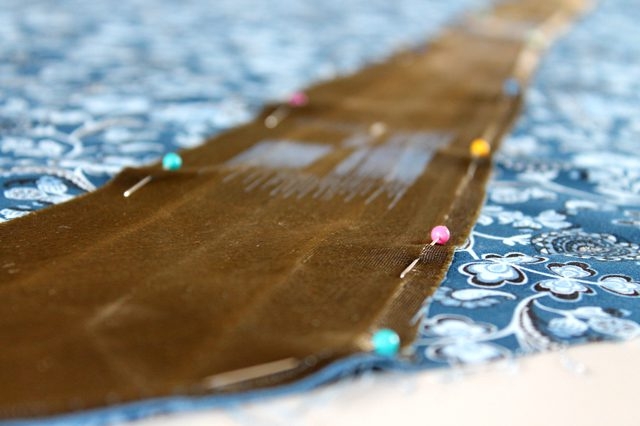
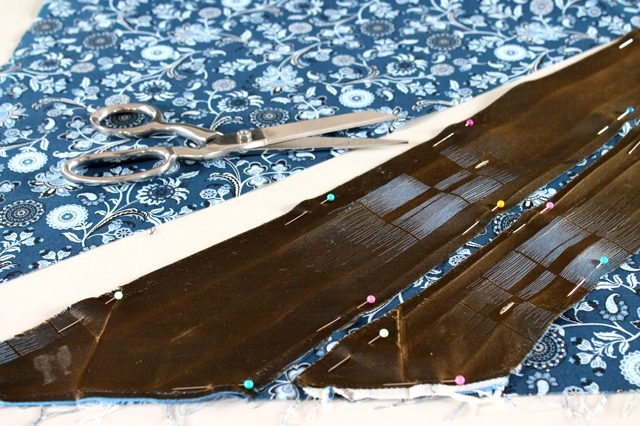
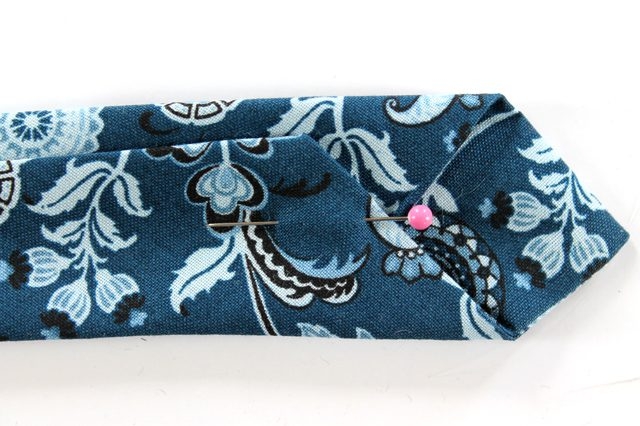
The finished pattern must be applied to the fabric and secured with pins or needles. After that, using soap or chalk, outline the contours, carefully cut out the details of the product, not forgetting to leave a couple of centimeters along the edges for seams. Then similar actions are carried out with the lining fabric.
The nuances of sewing different models
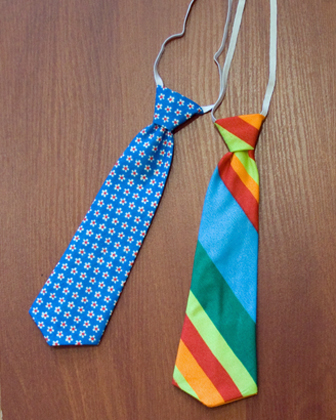
In most cases, a children's tie is practically no different from a product intended for adults. A master class with a step-by-step algorithm will help make the work easier.
Children's with elastic
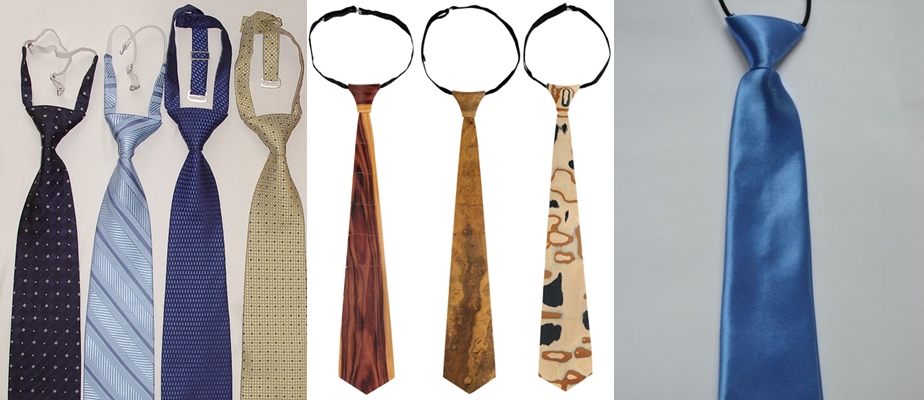
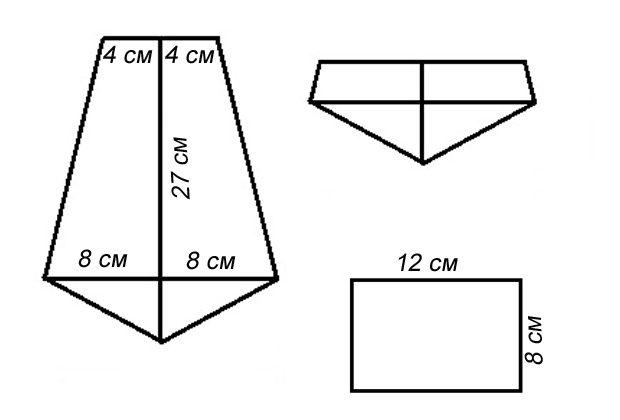
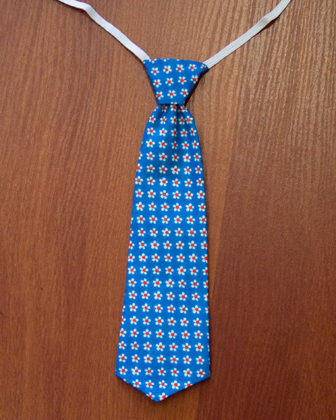
A tie with an elastic band is a convenient accessory that is ideal for a little boy. Such an item will not only give the outfit a formal look, but will also save time, since it does not need to be tied. The pattern of a tie with an elastic band assumes sewing an accessory 25.5 cm long, 7 cm wide. If necessary, the size can be changed.
Algorithm of actions:
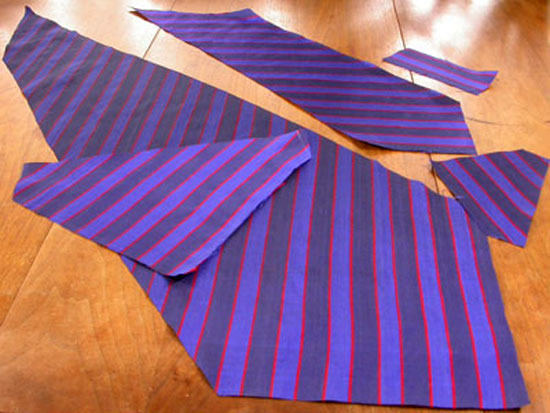
- We cut out 2 pieces (except the rectangular one) from the main fabric and interlining, leaving an allowance of 1 cm. Then we cut out the last piece.
- Next you need to iron the interlining.
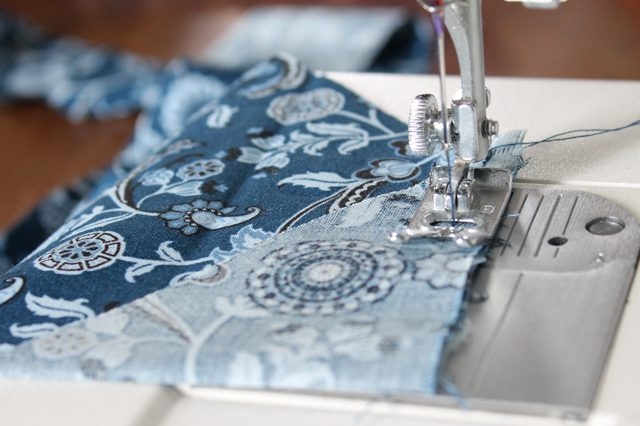
- We fold the main part with the corner on the outside and sew it on the machine.
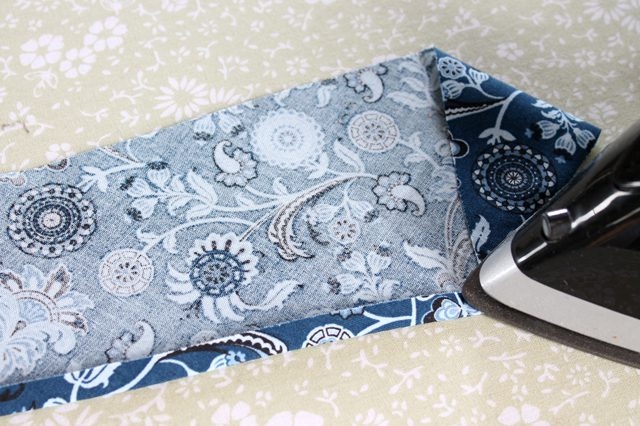
- We cut the corners, turn them inside out and iron them.
- We fold the resulting base lengthwise and stitch it. After that, we turn it inside out, straighten it out, and steam it.
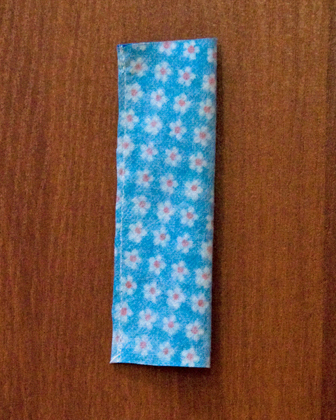
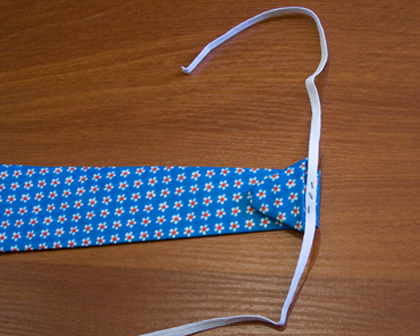
- To create a knot, you need to twist a rectangular piece in half and sew it together to create a tube.
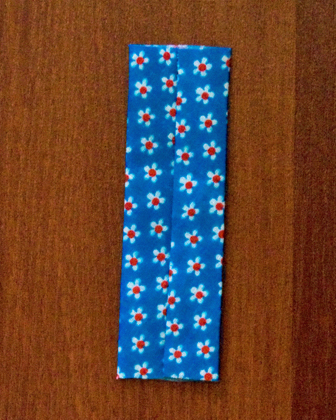
- Now you need to turn it inside out and iron it so that the seam is in the middle.
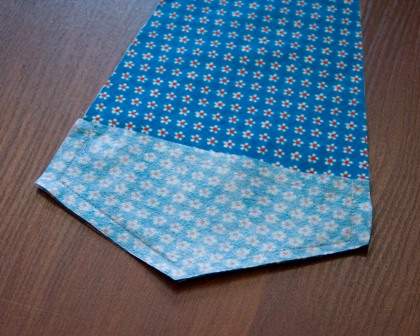
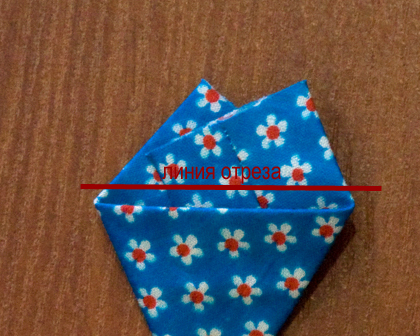
- After this, fold the strip to form a trapezoid and cut off the ends.
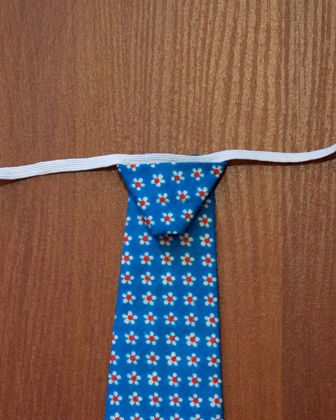
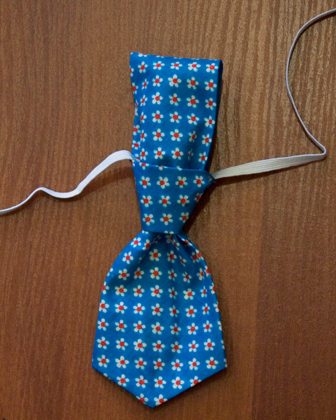
Finally, the elastic is basted. All the elements need to be folded, the main part needs to be threaded through the trapezoid part and the resulting knot tightened.
Men's classic
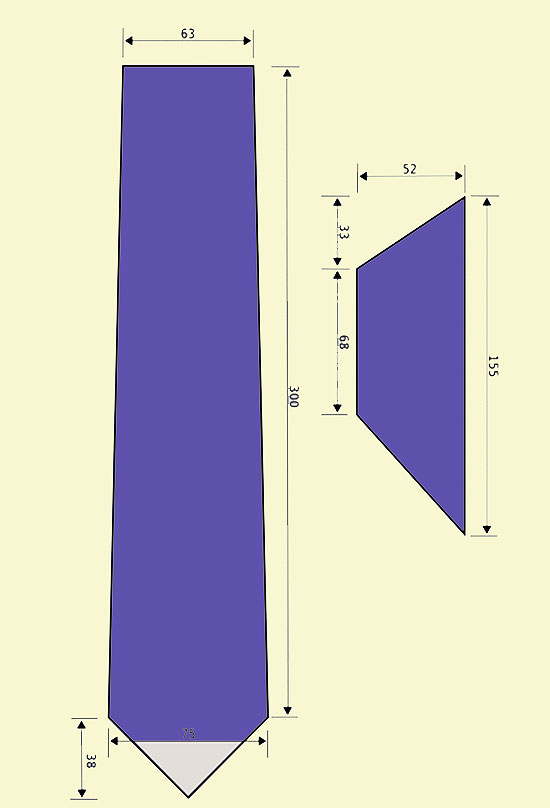
First, you need to decide on the model and size. If we are talking about a standard tie, then its length should be 150 cm, the width at the base is 11, in the upper zone - 4 cm.
A man's tie is sewn according to the following algorithm:
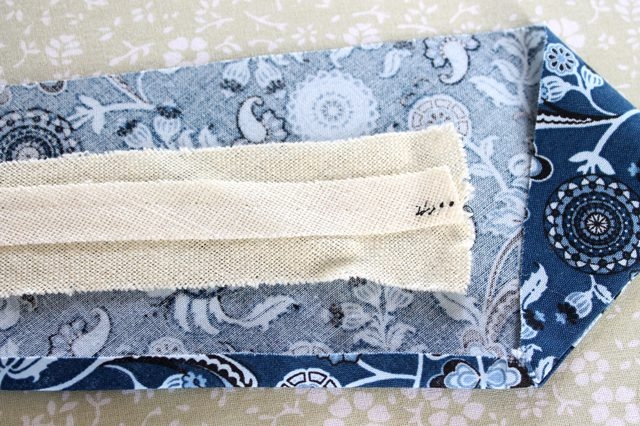
- The first thing you need to do is strengthen the base of the product with interlining.
- Next, you need to fold the sides correctly to get a straight line. Then baste and smooth out the product. If necessary, cut off protruding corners.
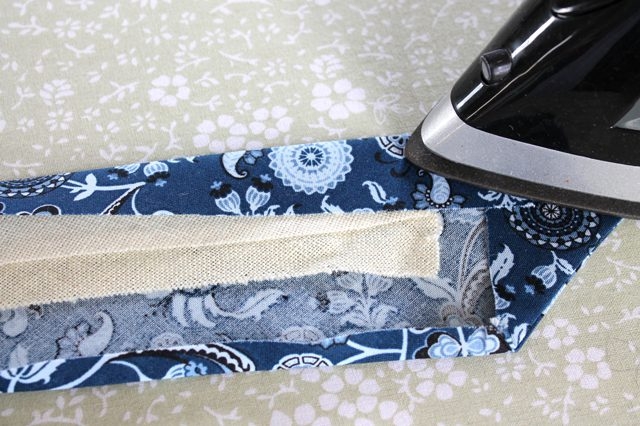
- Next, you should iron the seam allowances of the triangles and the corners of the piece on the wrong side.
- Fold the triangles with the main part and sew by hand.
- After this, you need to iron the seam allowance inside along the length.
- Next, fold the piece in half, secure with pins, and iron again.
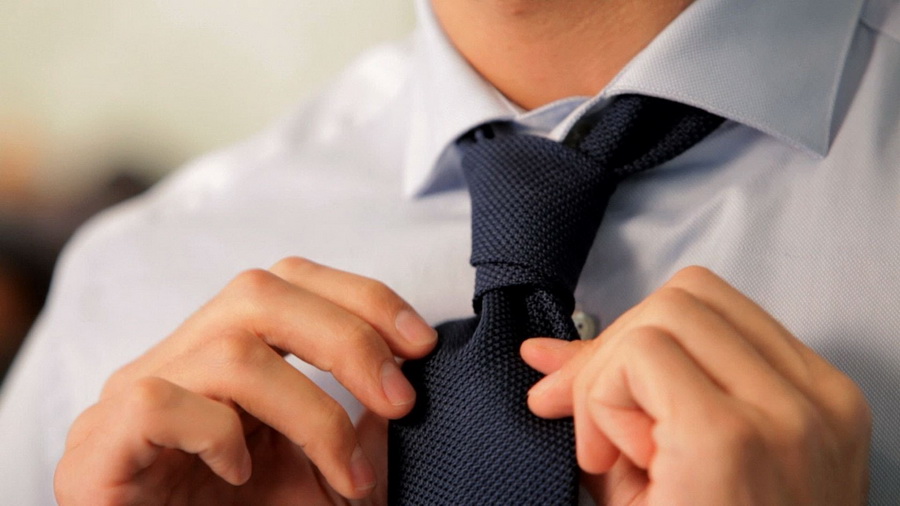
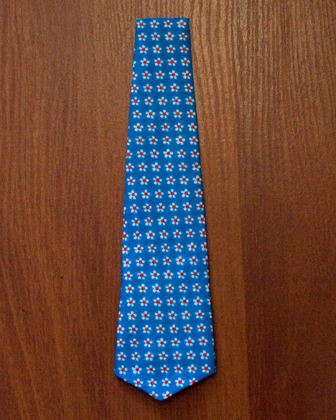
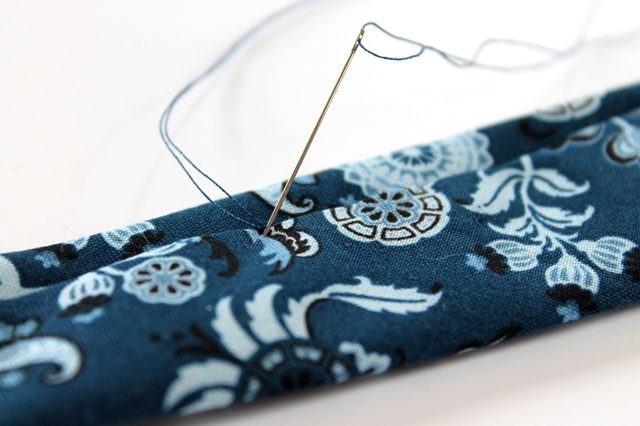
All that remains is to process the tie manually, fixing both edges. When the product is ready, it needs to be smoothed out. After that, the accessory can be worn, tying the usual knots.

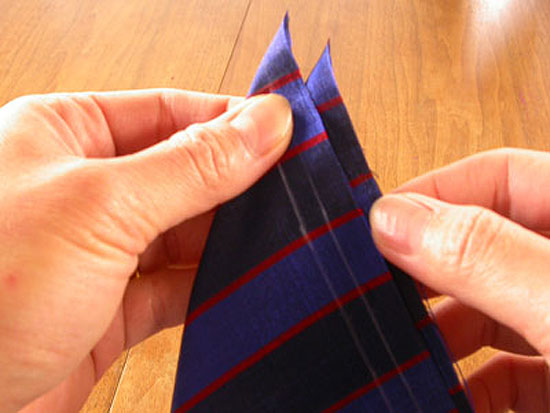
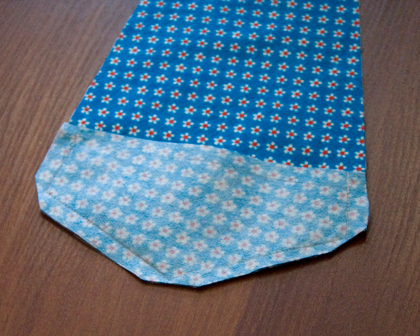
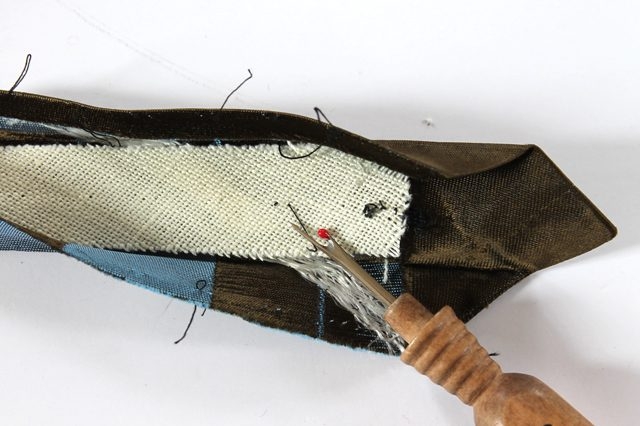
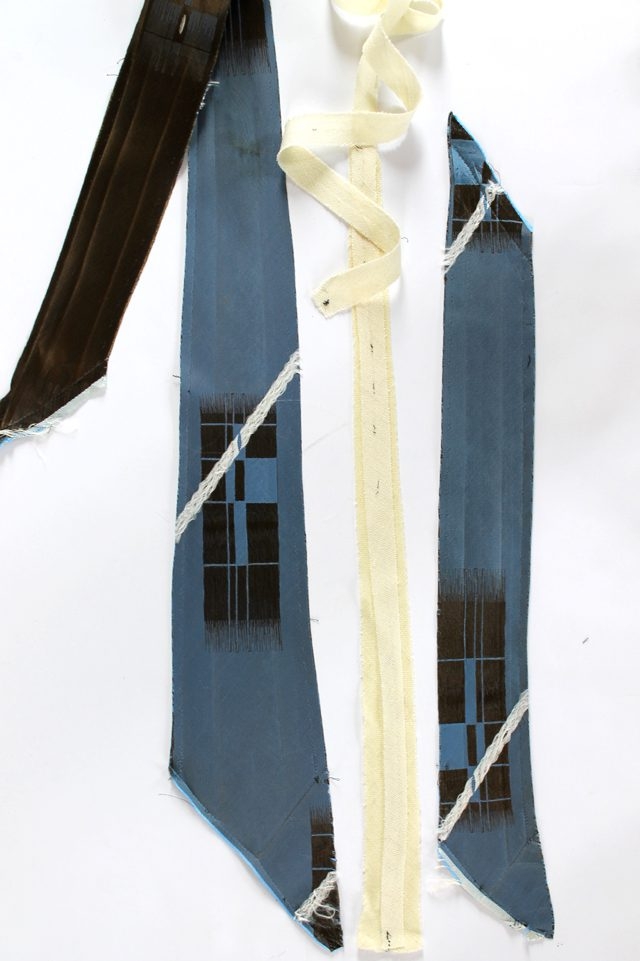
Herring
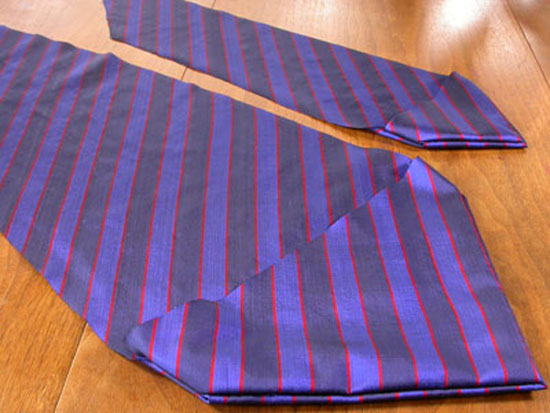
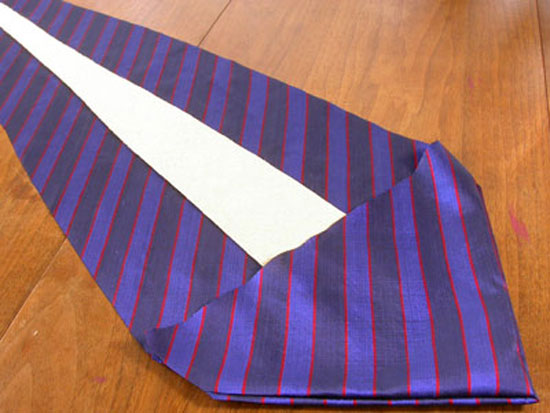
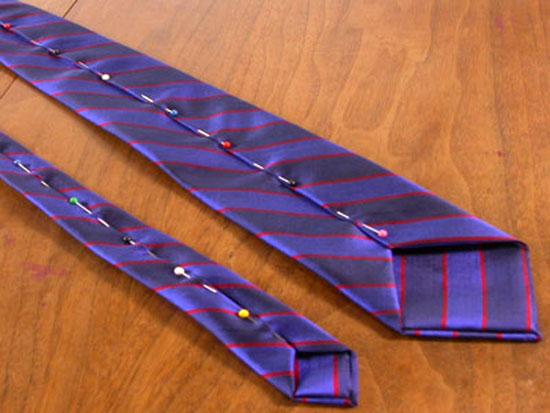
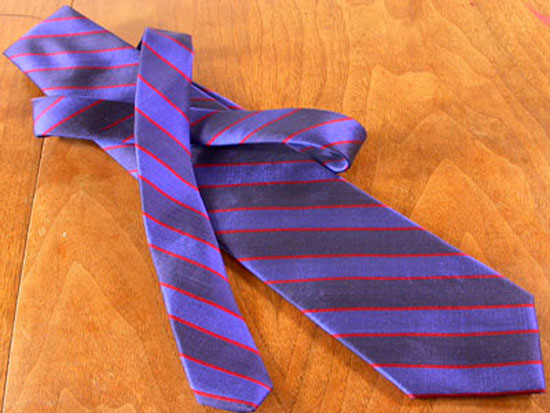
This model consists of 2 parts. When preparing the product parts, do not forget to leave 1 cm for the allowance. As an alternative, instead of a pattern, you can use a ready-made ripped tie: pin the parts to the fabric, trace and cut them out.
Progress of work:
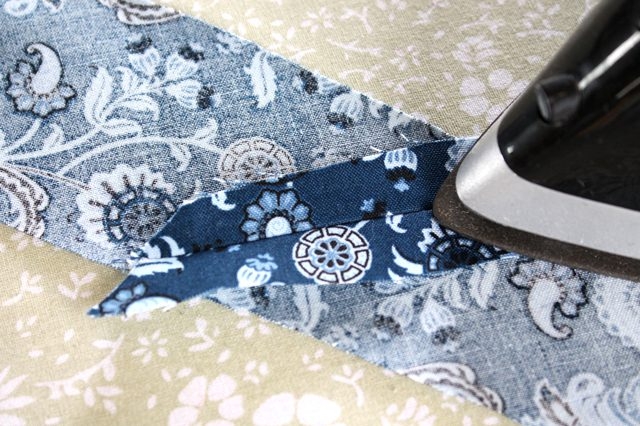
- The main part with the lining needs to be stitched along the relief seam. Then iron the allowances.
- Next, sew the base to the lining from the wrong side.
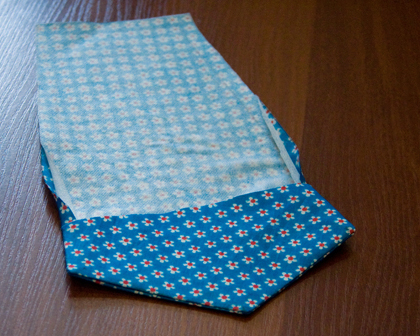
- Turn the facings of the upper and lower ends onto the tie with the right side facing, stitch the beveled edges. Now turn the facings inside out and iron the ends.
- Fold the product in half with the right side facing, sew the longitudinal cuts. Then iron the allowances.
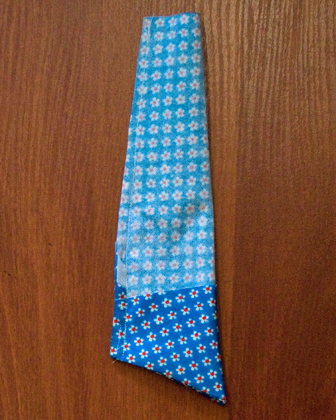
Then you should turn the accessory inside out and smooth it out so that the seam falls on the center line of the back of the tie.
In this model, the width of the main part should be reduced in the expansion area. How much to narrow it depends on individual preferences.


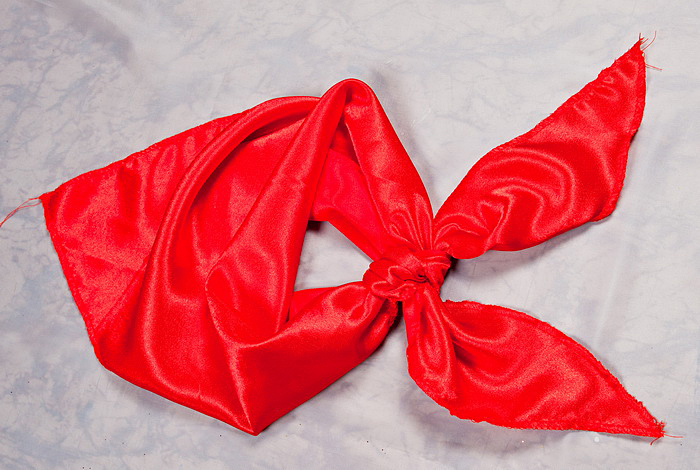
School for a girl
To sew such an unusual model, it is recommended to use natural fabric. The required size of the fabric is 50 x 50 cm. If a thin material is chosen, you will additionally need an adhesive interlining, which will be fixed with an iron. A creative tie for a girl to go with a school uniform is prepared according to the following scheme:
- First, you need to cut out 4 identical pieces 25-32 cm long. The narrow end should be 2.5 cm wide, the wide end 6 cm.
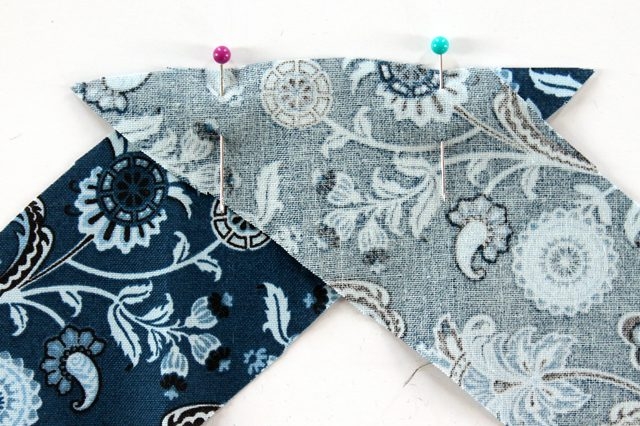
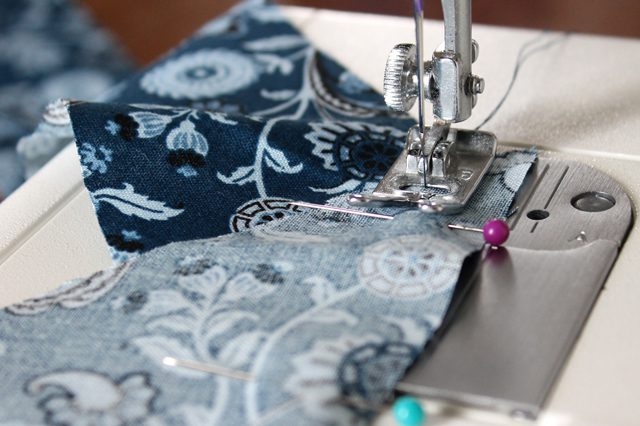
- Place the pieces right sides together. Sew the short seam to create 2 long pieces.
- Place the resulting pieces face down along the perimeter, marking the part that will remain open to turn the tie inside out. Leave a small allowance – about 5 mm.
- Next, carefully cut the corners to turn the base inside out.
- Now the girls' school tie needs to be ironed.
Finally, sew up the hole through which the product was turned inside out, and determine the place where the button and loop will be located, attach them. Making such a children's tie takes no more than 40 minutes.
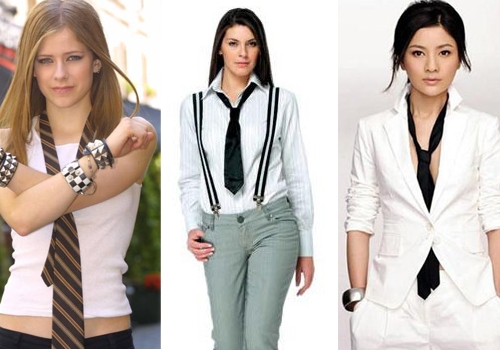
Female
An accessory for the fair sex is made in the same way as a classic men's tie or herring. The same patterns can be used to sew it, since the shape and size will be identical. The only difference in this case is the fabric used. Beginner craftswomen are recommended to choose silk, velvet, natural viscose, thick cotton.
A product intended for a woman's wardrobe does not need to be tightened all the way. It is better to leave the knot loose. As an alternative, you can use various clips, pins and brooches to fix the tie. To give the accessory a more unusual look, you can sew a satin or translucent ribbon to the front. Its shade can be similar to the main color of the product or contrasting.


Video