The stylish "bow tie" is extremely popular among gentlemen of all ages. Having appeared in the 17th century, this form of tying a tie has undergone many transformations, firmly securing the status of an aristocratic element of a man's wardrobe. Despite the huge range of finished products, many men prefer handmade accessories. Sewing an original bow tie with your own hands is quite simple - with the right tool and basic skills in handling a needle, even a teenager can cope with the task. Having chosen a stylish model, having decided on the size of the future product and having studied the advice of experienced craftsmen, you can safely get to work. Exclusive hand made accessories will become a worthy decoration of any image, will be appropriate for special events and in everyday life, they can be worn by adults and children.
Model selection
You can make different types of bow ties yourself. First of all, the products are classified by the method of tying:
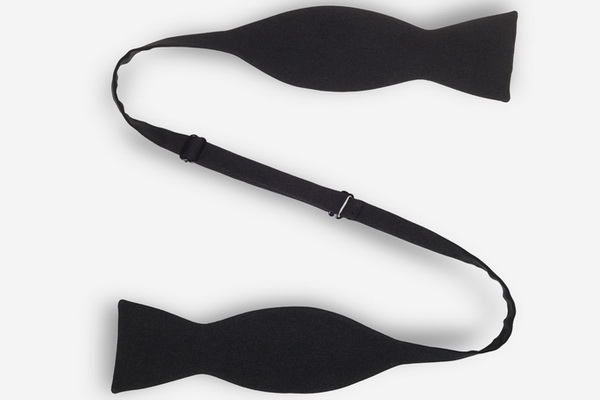
- Self-tie. The most creative option, allowing you to experiment with knots. Single-color and double-sided models are relevant.
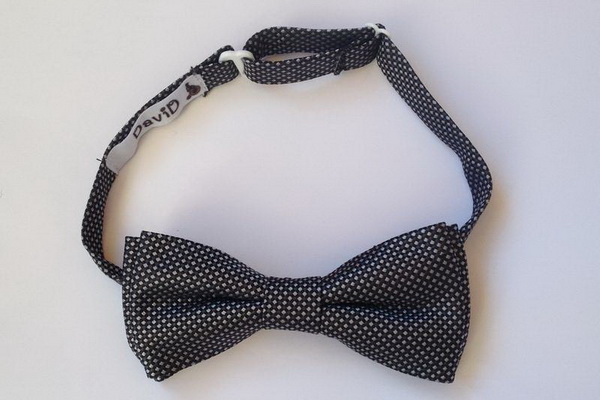
- On the clasp. To put it on, you just need to fasten the product - the bow tie in this case is already completely ready and does not need any additional manipulations.
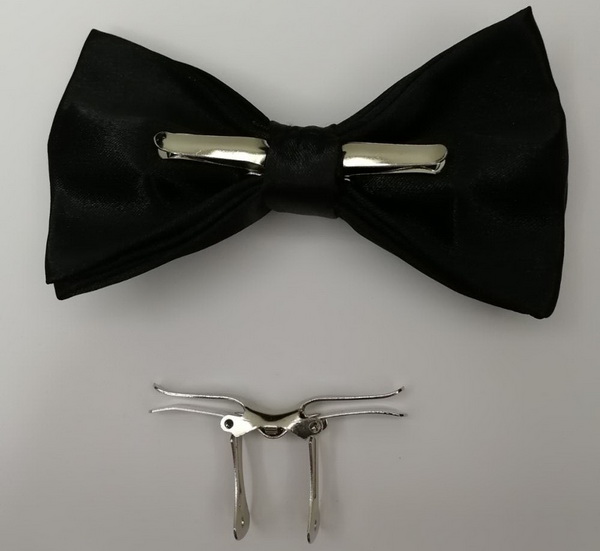
- Attachable. The model is fixed to the shirt hem, next to the top button, using a special clip.
The tying method is selected according to individual preferences. The easiest way is to make a self-tying bow tie, while ready-made models are somewhat more difficult to make.
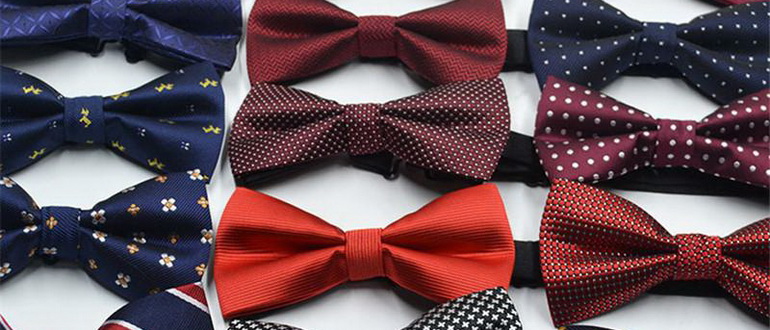
Depending on the shape, products come in the following types:
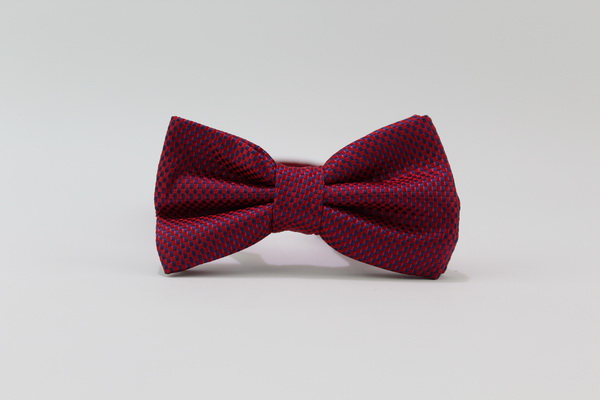
- Classic or Butterfly. A traditional option reminiscent of the wings of the insect of the same name. The width of the bow reaches 6.5 cm, suitable for a man of any build.
- Large Butterfly. The model is relevant for large men with a full neck. On a thin figure it will look strange and even comical. The width of the product is up to 8.5 cm.
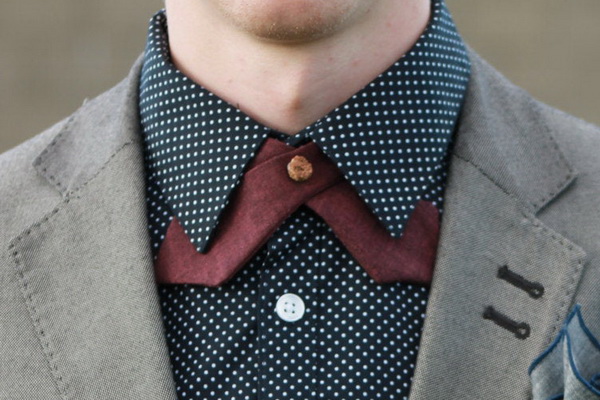
- Diamond Point. The bow tie resembles a diamond: the classic shape harmonizes perfectly with the angular tips, similar to diamonds. The asymmetrical cut serves to create original images.
- Rounded Club. A small club version with rounded outlines, suitable for theme events and parties.
- Continental tie. It is a fabric strip with extensions at the edges, fixed with a clasp by placing one end on top of the other.
The classic model and Large Butterfly are the easiest to sew yourself. The other options will be a little more difficult to make at home.
Materials and tools
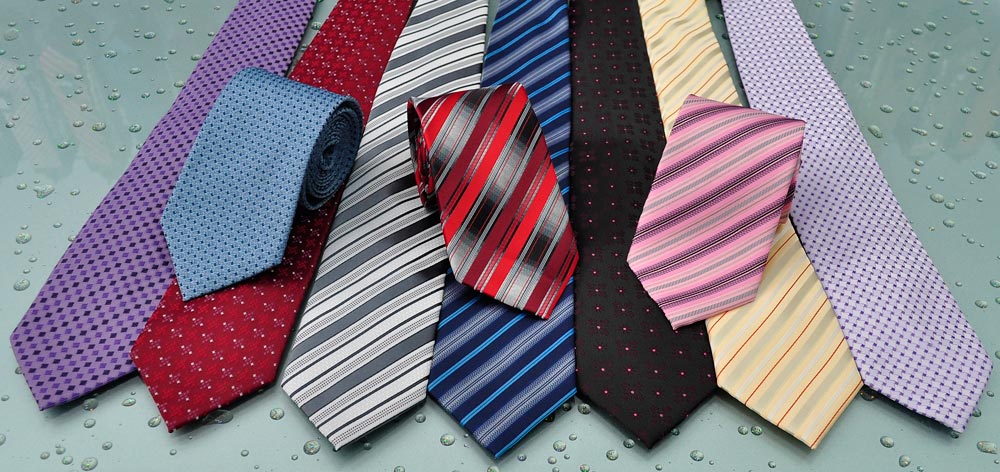
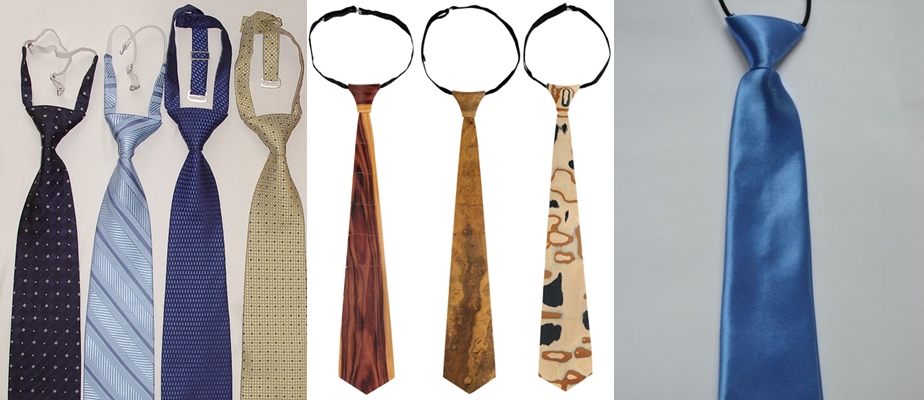
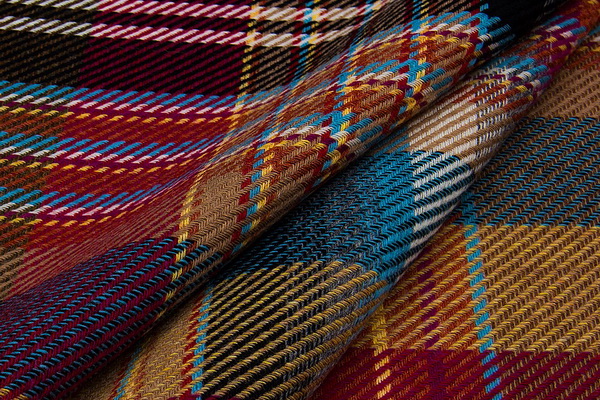
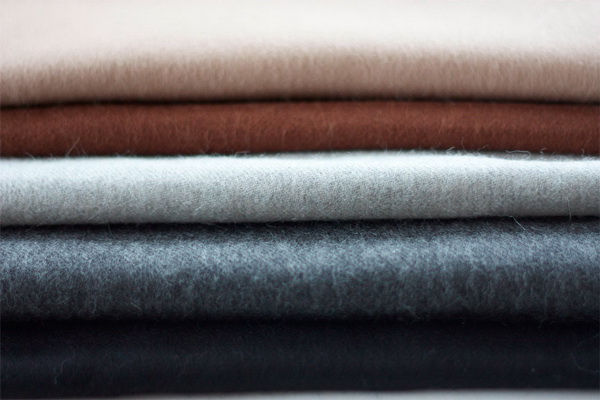
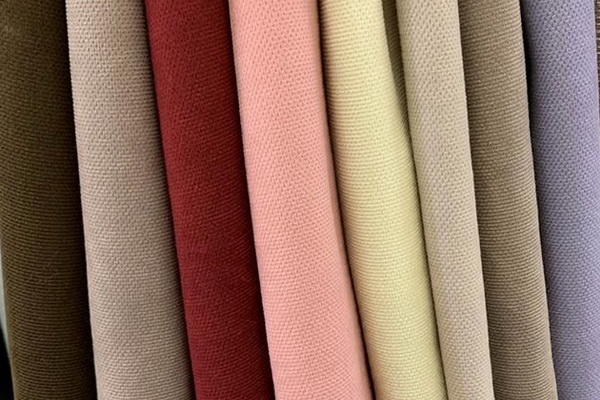
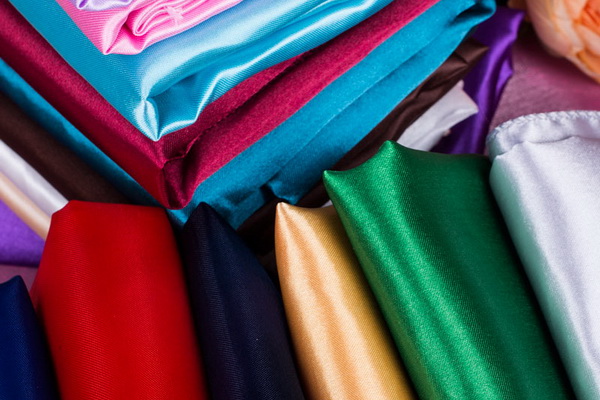
Practical fabrics that do not require complex care are suitable for sewing a bow tie. When choosing, take into account the season. Thus, tweed and wool are optimal for the cold season, and denim, cotton (canvas, oxford, thin material), and satin are optimal for the warm season.
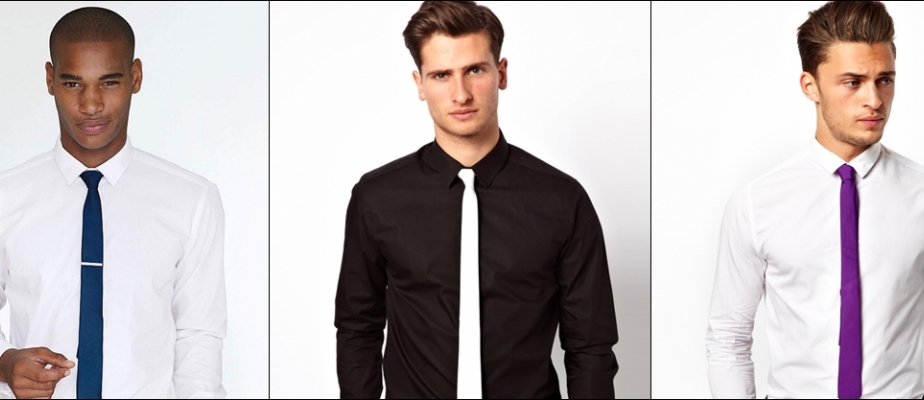
Adult men look good in solid colors: black, burgundy, white, dark blue. Pastel colors are trendy: pale blue, peach, milky, gray-silver. Representatives of the stronger sex who like to attract attention should turn to bright colors: yellow, pink, red, purple. There are various prints: polka dots, checkered patterns, geometric shapes. Bold fashionistas will appreciate drawings in the form of skulls, palm trees, deer.
Butterflies made of printed fabrics look much more interesting than plain ones. This is a great option for graduation or any other special occasion.
Butterflies for boys are decorated with bright prints. Images of hearts, unicorns, flamingos, and various inscriptions are popular. Kids will also like models decorated with their favorite cartoon characters.
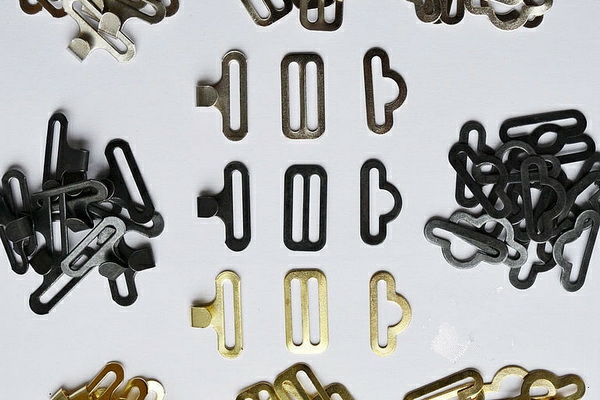
To sew a bow tie yourself, in addition to the main fabric, you will need the following materials and consumables:
- interlining or interlining;
- threads of matching color;
- elastic band or stretch tape;
- fittings for making fasteners;
- decorations - optional.
In the process of work you will need scissors, chalk or markers for marking the material, a set of needles. If you do not have a sewing machine, you can do the work manually. To obtain a high-quality result, use hidden hemming stitches ("puff", "back needle"). Regular basting stitches with a double pass will do.
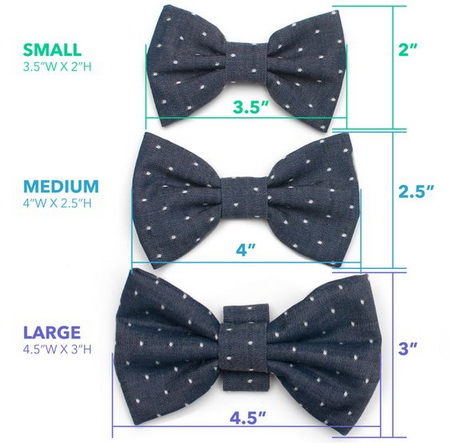
Dimensions of the accessory
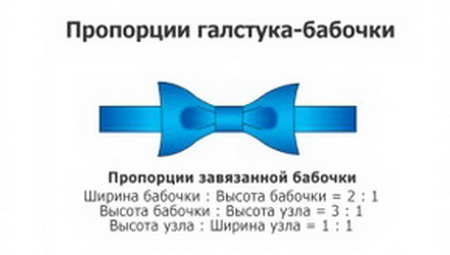
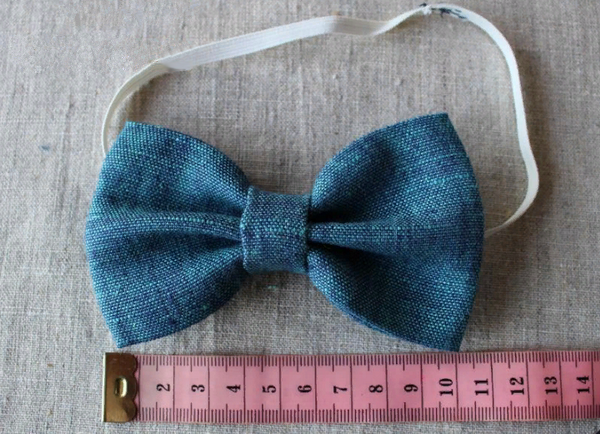
To make the perfect bow tie with your own hands, it would be a good idea to clarify the optimal parameters of the future product. The size is affected by the type of accessory. The length of classic models reaches 15 cm, mini - 10 cm, children's - 7 cm.
The width of a traditional tie is 5.5 or 6 cm, tapered models for adult men are 3 cm, for children - 2-3 cm. The length of the adjustable strap reaches 30-45 cm. To accurately determine the parameters, it is necessary to measure the neck circumference. Based on the data obtained, the future product is modeled. About 0.5 cm is added to the measurements obtained for allowance, then the put-on bow tie will sit freely, without causing discomfort.
With a neck circumference of 36.5 cm + 0.5 cm allowance, the final result is 37 cm. The optimal strap length in this case will be 41 cm or more.
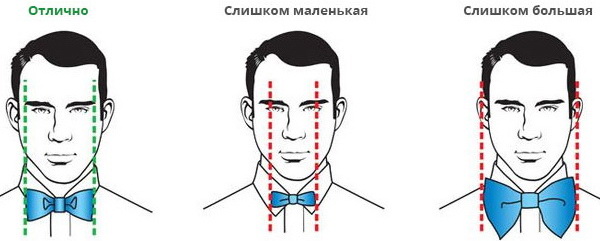
The appropriate size of the product is determined based on the principle: the tie should not be longer than the face. The width is selected in accordance with the parameters of the collar. A large bow tie on the neck harmonizes with a classic collar, a medium one - with soft semi-turn-down options.

Master class on sewing a butterfly
Even beginners can make a bow tie with their own hands. The most accessible are simple models with elastic, self-tie, multi-layer variations. Another interesting and quick option is bow ties made of satin ribbons with an adjustable clasp.
Simple with elastic
Polyester, silk, cotton, and fabric combinations are suitable for creation. The following materials are required for work:
- interlining or thermal fabric;
- elastic tape: 50 cm long and 1.5 cm wide;
- suitable clasp;
- adjustable strap;
- a small piece of material chosen for the tie: 60 x 20 cm.
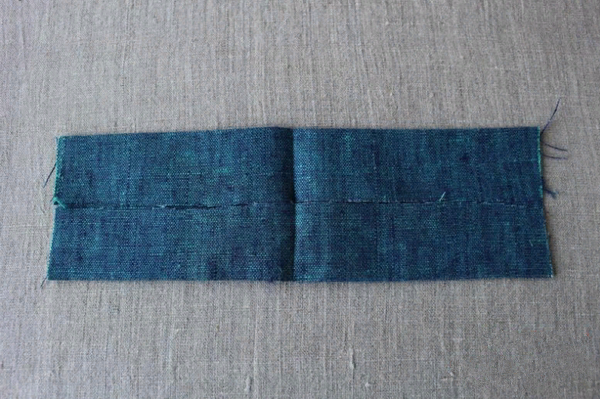
After preparation, you can start cutting and sewing. Step-by-step instructions will help you do the job correctly:
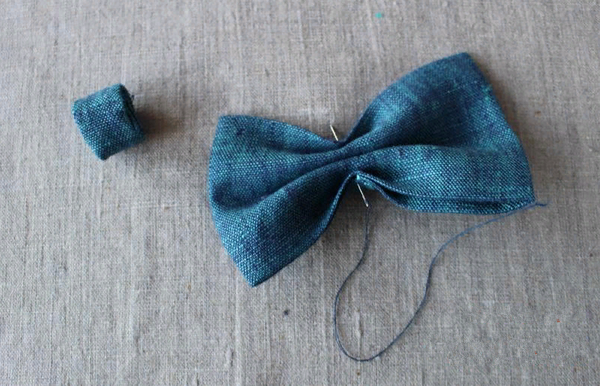
- A 50 x 13 cm rectangle is drawn on the material, markings are made, and the piece is cut out.
- Exactly the same element is cut out of thermal fabric, both parts are pinned across the cut.
- A 7 x 6 cm jumper is cut out, which is also reinforced with thermal fabric.
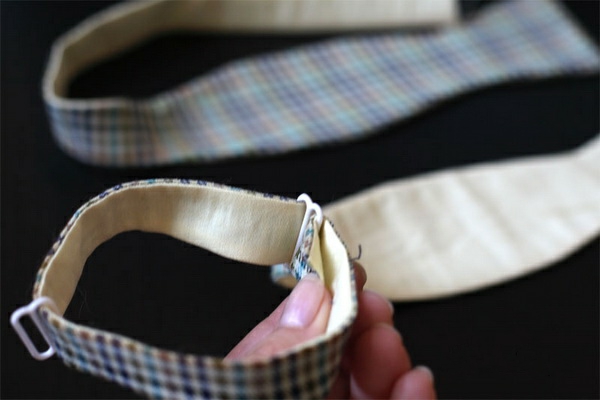
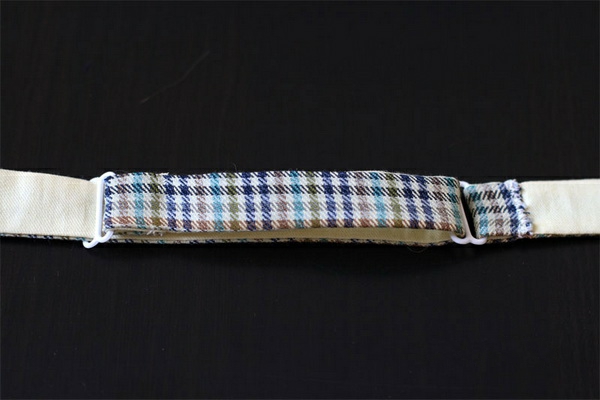
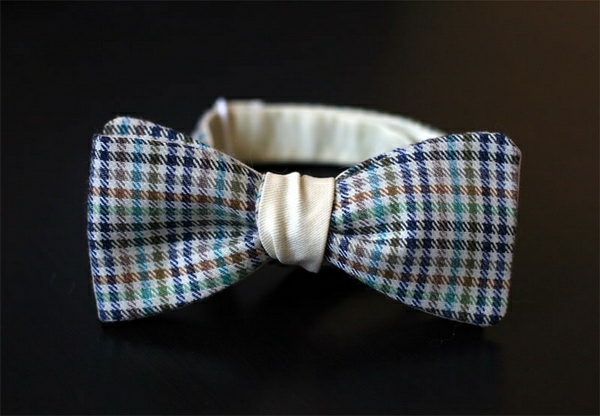
- A stitch is made along the longitudinal side of the main piece, the outer allowance is folded over and sewn on.
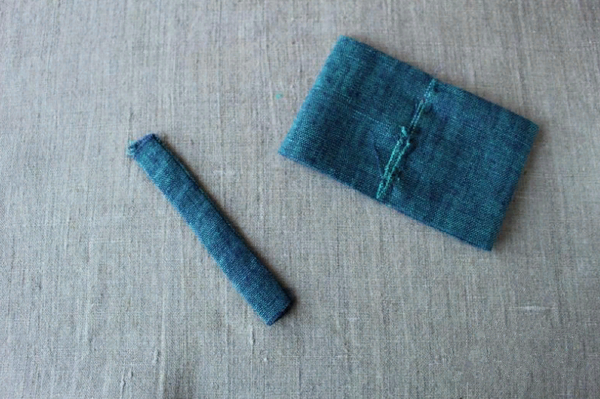
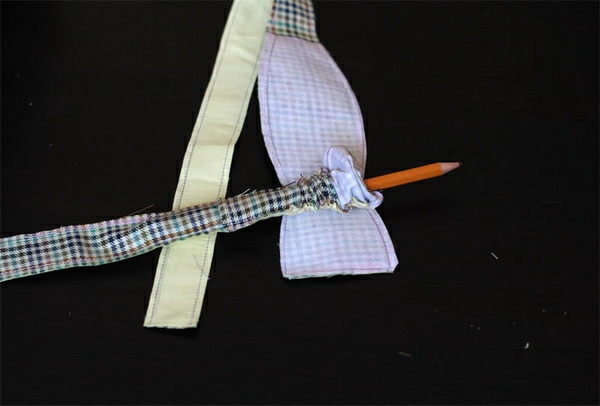
- The product is turned inside out and ironed. The butterfly is folded in half, at a distance of 12 cm from the fold a fixing line is created along the entire length.
- Open allowances and cuts are sewn down, and excess is cut off.
- A tie is formed from the fabric, ironed, another line is made in the center, and even folds are made.
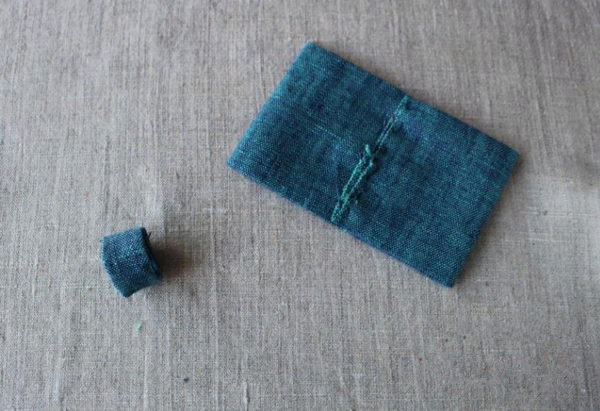
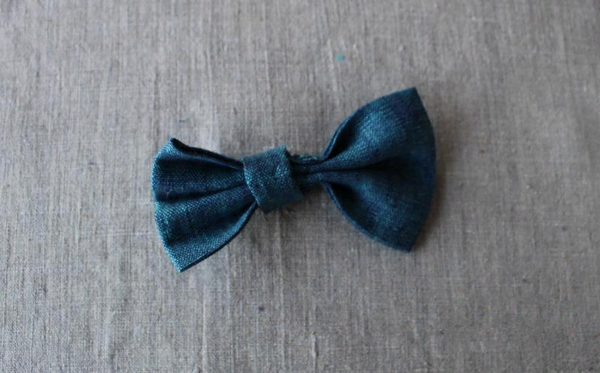
After performing the above manipulations, the product is wrapped with a jumper, the ends are connected with short stitches. If desired, you can use decor.


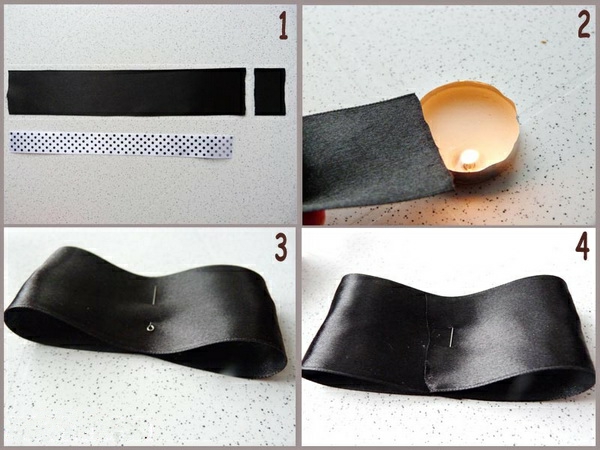
Made from satin ribbons with adjustable closure
The ideal bow tie for a boy is satin. To make a 5 cm wide model, you need two pieces of ribbon 11 cm long, one 25 cm and one 7 cm. A step-by-step master class will help you do the job correctly:
- A strip of satin 11 cm long is bent at a right angle and folded in half, secured with a pin.
- With a ribbon 7 cm long, the same actions are performed, but in mirror image.
- Both parts are processed with basting stitches. The thread does not break, but serves to fasten the elements.
- The longest section is folded in half, the center is marked. The edges are folded to the middle with an overlap of 1 cm. Basting stitches are made, the thread is pulled together and wrapped around several times.
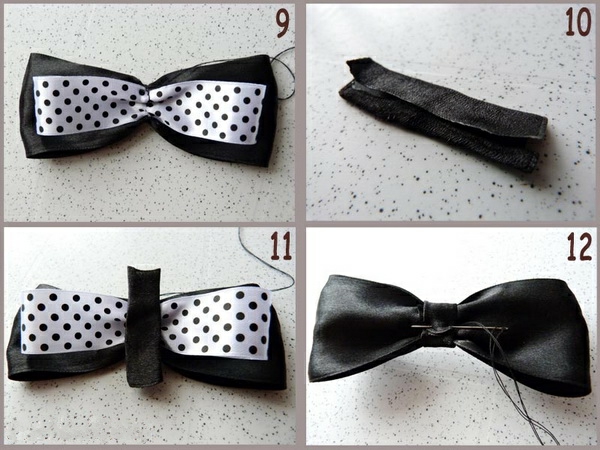
- The two resulting parts are sewn together.
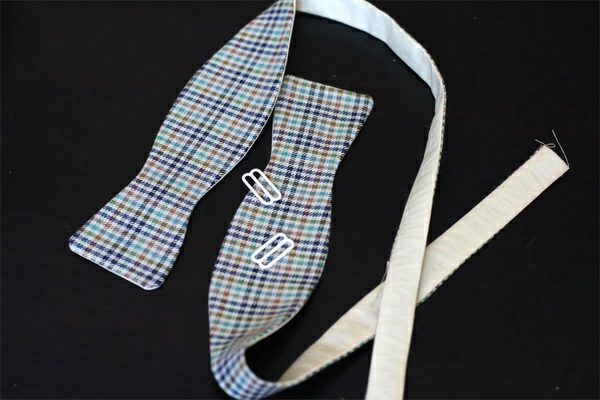
- To make a jumper, a 7-centimeter ribbon is pulled to the center, fasteners are attached to the elastic band, and a length regulator is installed.
- The butterfly is glued to the elastic band and wrapped with a jumper.
A pattern is not required to create a satin model for a young gentleman.

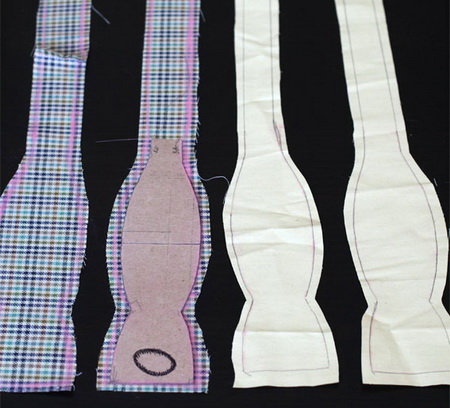
Self-tie
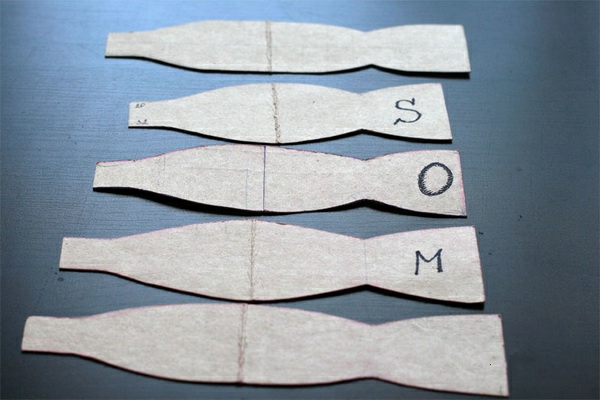
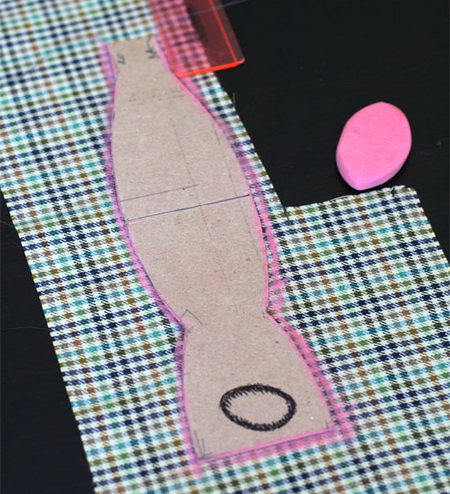
When sewing such a model of a butterfly on the neck with your own hands, you will need to start with constructing a pattern. You can download a ready-made version from one of the thematic resources and adapt it to your dimensions. In any case, the circumference of the neck is measured in advance. Do not forget about the increase of 0.5 cm. Let's sew step by step:
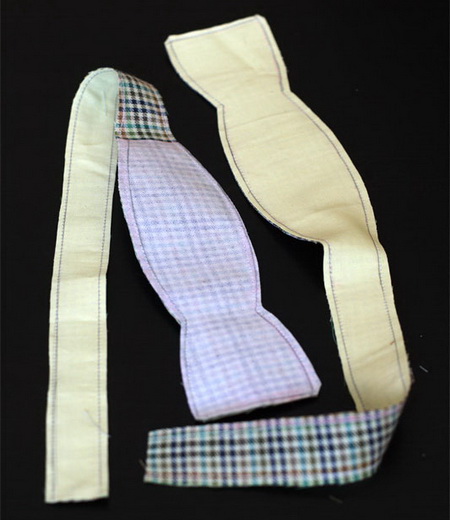
- The finished pattern should be applied to the fabric, then both sides of the product should be cut out.
- Sew the edges of the elements, leaving an opening on one side.
- Turn the product inside out and sew up the hole.
- Iron the surface.
To turn a simple tie into a stylish accessory, you should study the original tying patterns or get inspired by the examples of celebrity men.
Multi-layered bow shaped
To create a stylish bow tie with your own hands, you need to prepare pieces of fabric: 11 x 11 cm for the base and 3.5 x 5.5 cm for the jumper. Satin ribbons will be a suitable material, which will help to form an attractive bow. The work is carried out in stages:
- A piece 30 cm long and 3 cm wide is cut from the ribbon, the edges are burned in the fire.
- A bow is created from a wide section and secured with a pin. The same actions are performed with a narrow ribbon.
- Both elements are connected and stitched in the middle.
- On a small piece, a 1 cm wide strip is folded over and ironed.
- The seam is closed and the jumper is secured on the wrong side.
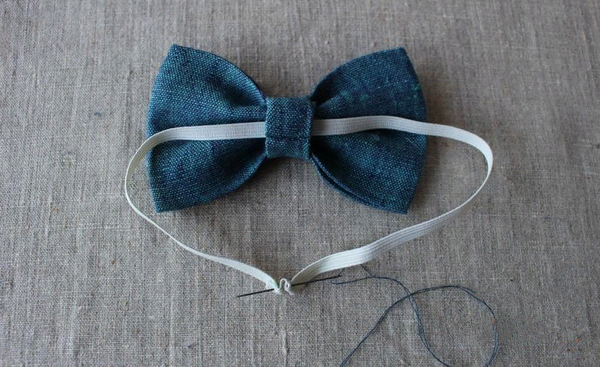
- The finished bow is complemented with an elastic band, a hair clip or a headband.
To secure it to the neck, an elastic band is pulled through a small fastening. You can simplify the task by sewing Velcro to a ribbon that is pulled into a bow.
Step-by-step master classes with photos clearly demonstrate how to sew a bow tie for a boy or a man. Having figured out simple ideas, you can safely experiment, creating unique accessories from unusual materials and textures, decorating them to your taste if necessary.


Video