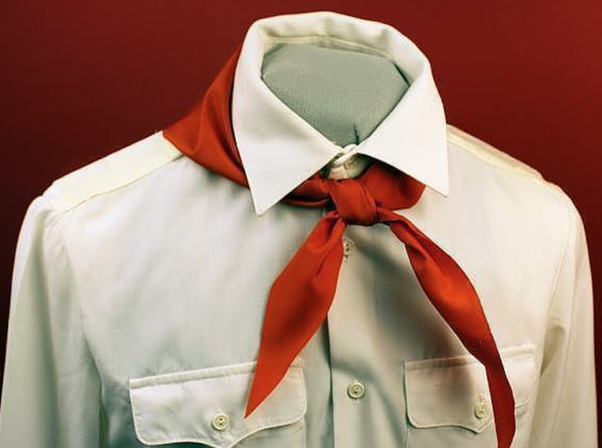
The red pioneer tie is a symbol of the Soviet school, considered generally accepted everywhere. Every student knew how to tie a pioneer tie correctly so that it looked beautiful and diligent. It was put on the neck and worn to classes. Today, this accessory has become history, but the ability to tie it will come in handy for various performances, theme parties.
Features of the accessory
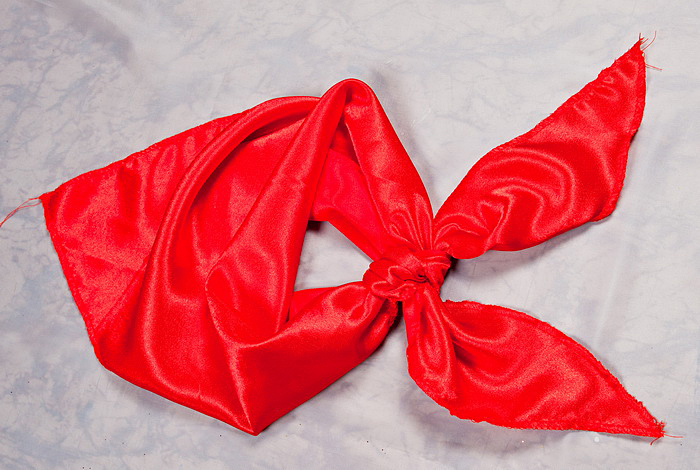
The pioneer tie is a red neck scarf. When straightened, this attribute has the shape of an isosceles triangle. The length of the base is 1 m, the height is 30 cm. The size of each side is 58 cm. In the USSR, a red neck scarf symbolized belonging to the pioneer organization. All students had to know how to tie a pioneer tie.
Although the neckerchief is considered an attribute of schoolchildren of the Soviet Union, it was actually invented in America. In the 1920s, scout children wore triangular ties around their necks. The Soviet government simply copied this idea, changing the color of the accessory to red.
Today, schoolchildren have not worn the pioneer tie for a long time. It is mainly used as a prop for films and plays about the Soviet era. This accessory is also sometimes worn in summer children's camps.

Tying methods
The pioneer tie was tied in different knots or fastened with special clips. It was combined with shirts, T-shirts, jackets. It looked good with any clothes, provided that the accessory was clean and ironed.
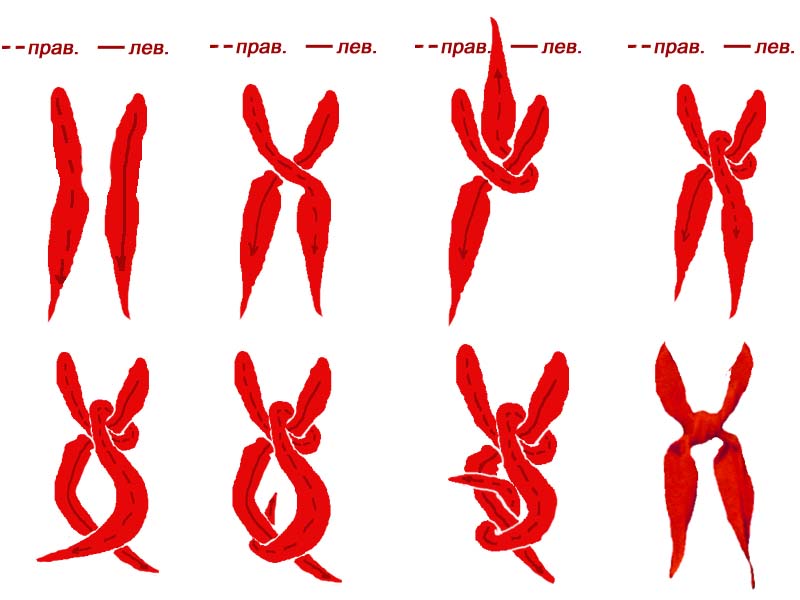
Simple knot
This method of tying is also called classic. It was used by Soviet schoolchildren. The technique is simple, anyone can learn to tie this accessory by following the steps below:
- The scarf is thrown over the neck so that the ends of the same length hang down on both sides. A slight error between them is allowed.
- Place the right edge over the left.
- A loop is formed on the neck, the right end is passed through it. The knot is not tightened too much. The tie should be loose and not interfere with breathing.
- The right end is lowered and the left end is pulled up.
- The left edge is placed into the loop on the right and then pulled through.
- Both edges are spread apart and straightened.
A variation of the classic knot is called a square knot. In essence, they are similar, only in the second case, after crossing the edges, you need to wrap the left side around the right. Then the tip is passed through the loop, moving from the bottom up, and threaded through the resulting "eye".
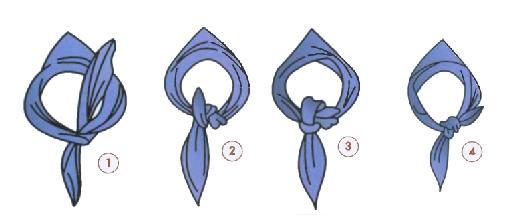
Double
This knot is also not difficult. To master how accessories were tied in the Soviet Union, a little practice in front of a mirror is enough. The algorithm is as follows:
- The scarf is wrapped around the neck and the ends are crossed on the chest.
- The left side is passed through the neck loop, after which it is tucked under the right strip.
- The left edge is pulled through the loop again.
- Both ends are carefully pulled tight, resulting in a double knot.
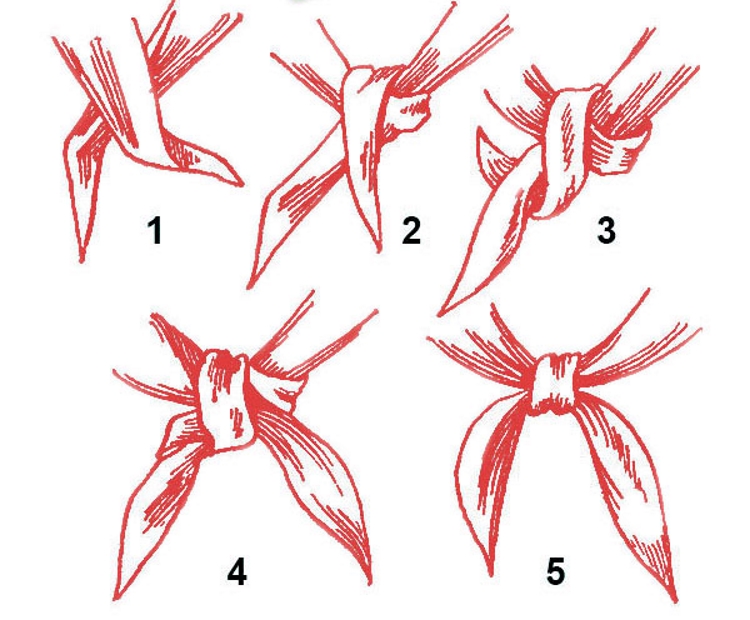
Cowboy
Today, the pioneer tie no longer indicates belonging to any community. The product can be used as a stylish accessory if you decorate it with a cowboy knot. This method is quite difficult to perform, but it looks attractive. Step-by-step tying scheme:
- The scarf is thrown over the neck, its edges are crossed with the right end on top.
- The right edge is carefully passed through the neck loop from below, while simultaneously tightening the knot.
- This same end is lowered down, and the left one, on the contrary, is pulled up.
- On the right side, a small “eye” is formed through which the left tip is pulled.
- Both ends are crossed again.
- The left side is pulled through the loop again, after which both ends are straightened evenly.
The cowboy knot is more massive than other options, so it is not tightened, but only loosely tied (but at the same time it should not hang loosely or fall apart). This method can be used for scarves and shawls made from thin material.
With a clamp
The simplest and oldest option. It requires a special device that holds the accessory on the neck. Tying pioneer ties is done as follows:
- The scarf is wrapped around the neck so that both ends hang down evenly or have an insignificant disproportion.
- The clamp is opened and both ends are inserted into the special clamping hole.
- The edges of the tie are taken by hand, pulling the fastener upward to the required position.
- The clamp is released and the ends are straightened.
- The neck loop is adjusted to give the accessory elegance.
The pioneer's stock phrase "always ready" is closely connected with the red neckerchief. Initially, it was not tied, but fastened with a clip, on which this slogan was engraved. The badge also depicted Soviet symbols.
Today, you can fasten the ends of the accessory with any suitable mechanisms. They should not be too heavy or large.

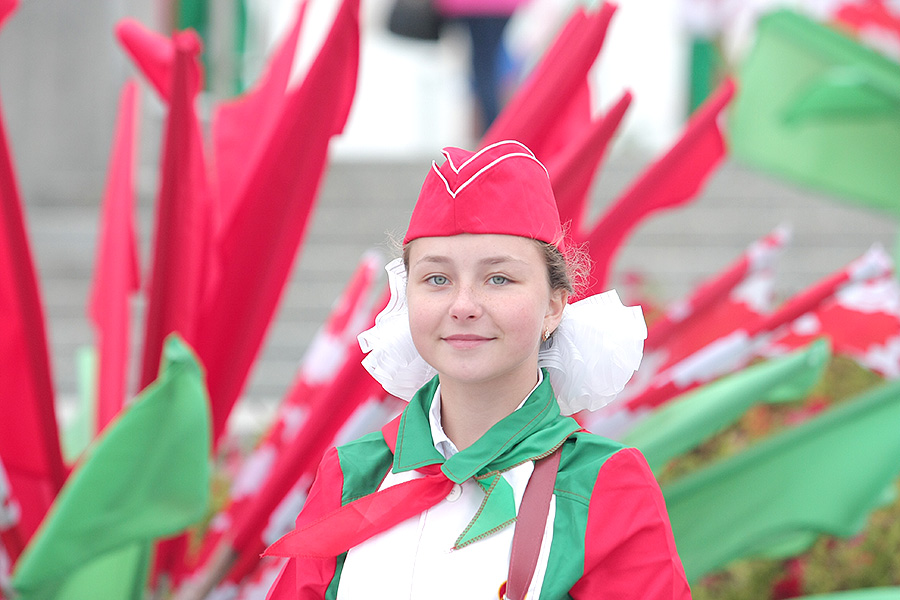
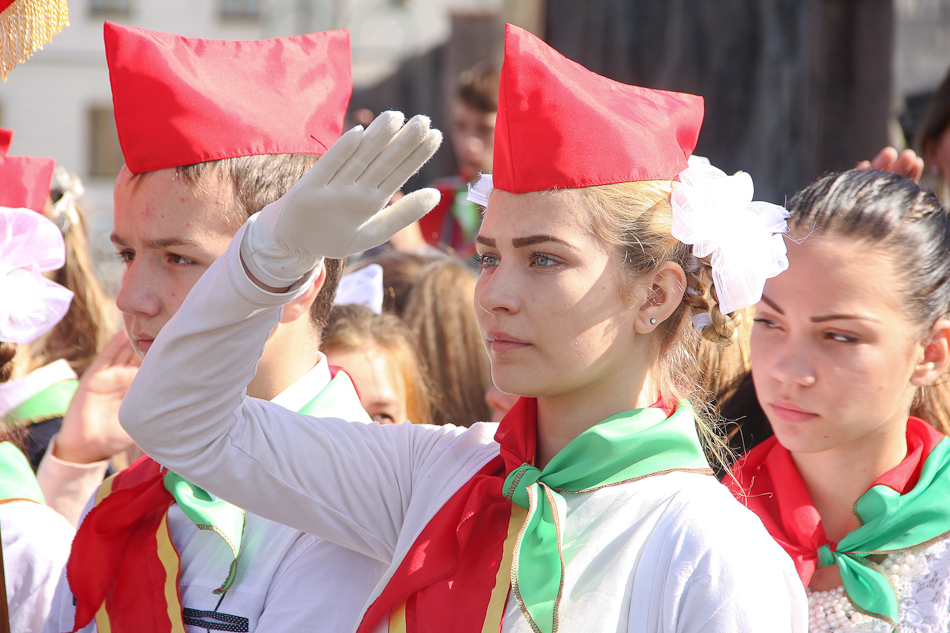
How to tie a red and green Belarusian tie step by step
After the collapse of the USSR, Belarus revived the tradition of wearing pioneer ties among schoolchildren. True, now they are not painted in the classic red, but in red and green. These shades represent the state Belarusian flag. Today, every schoolchild in this country knows how to tie a pioneer tie correctly.
The method of wearing is almost identical to the generally accepted one in the Soviet Union, but it still has its own peculiarities. Since the tie is two-colored, there should only be one shade per knot. It is unacceptable for it to have two colors at once. In order to tie a tie correctly, do the following:
- Place a triangular scarf around your neck so that the red (right) and green (left) sides are at approximately the same level.
- The green edge is taken in the left hand and placed crosswise on the red one, and then passed underneath so that both corners are positioned vertically: the green one is on top and the red one is on the bottom.
- The green end of the tie is wrapped around the red edge from right to left.
- The same edge is threaded from left to right into the small hole that appears between the two ends.
- The knot is tightened to form a cushion.
- The ends are carefully straightened so that they are straight.
If done correctly, the colors of the falling corners match the base. The pillow turns out green.
Having carefully studied the master classes and having practiced a little, you can learn to make different knots from a pioneer tie. There is nothing complicated about it. A stylish accessory will allow you to feel like a true patriot or add originality to your image.
Video